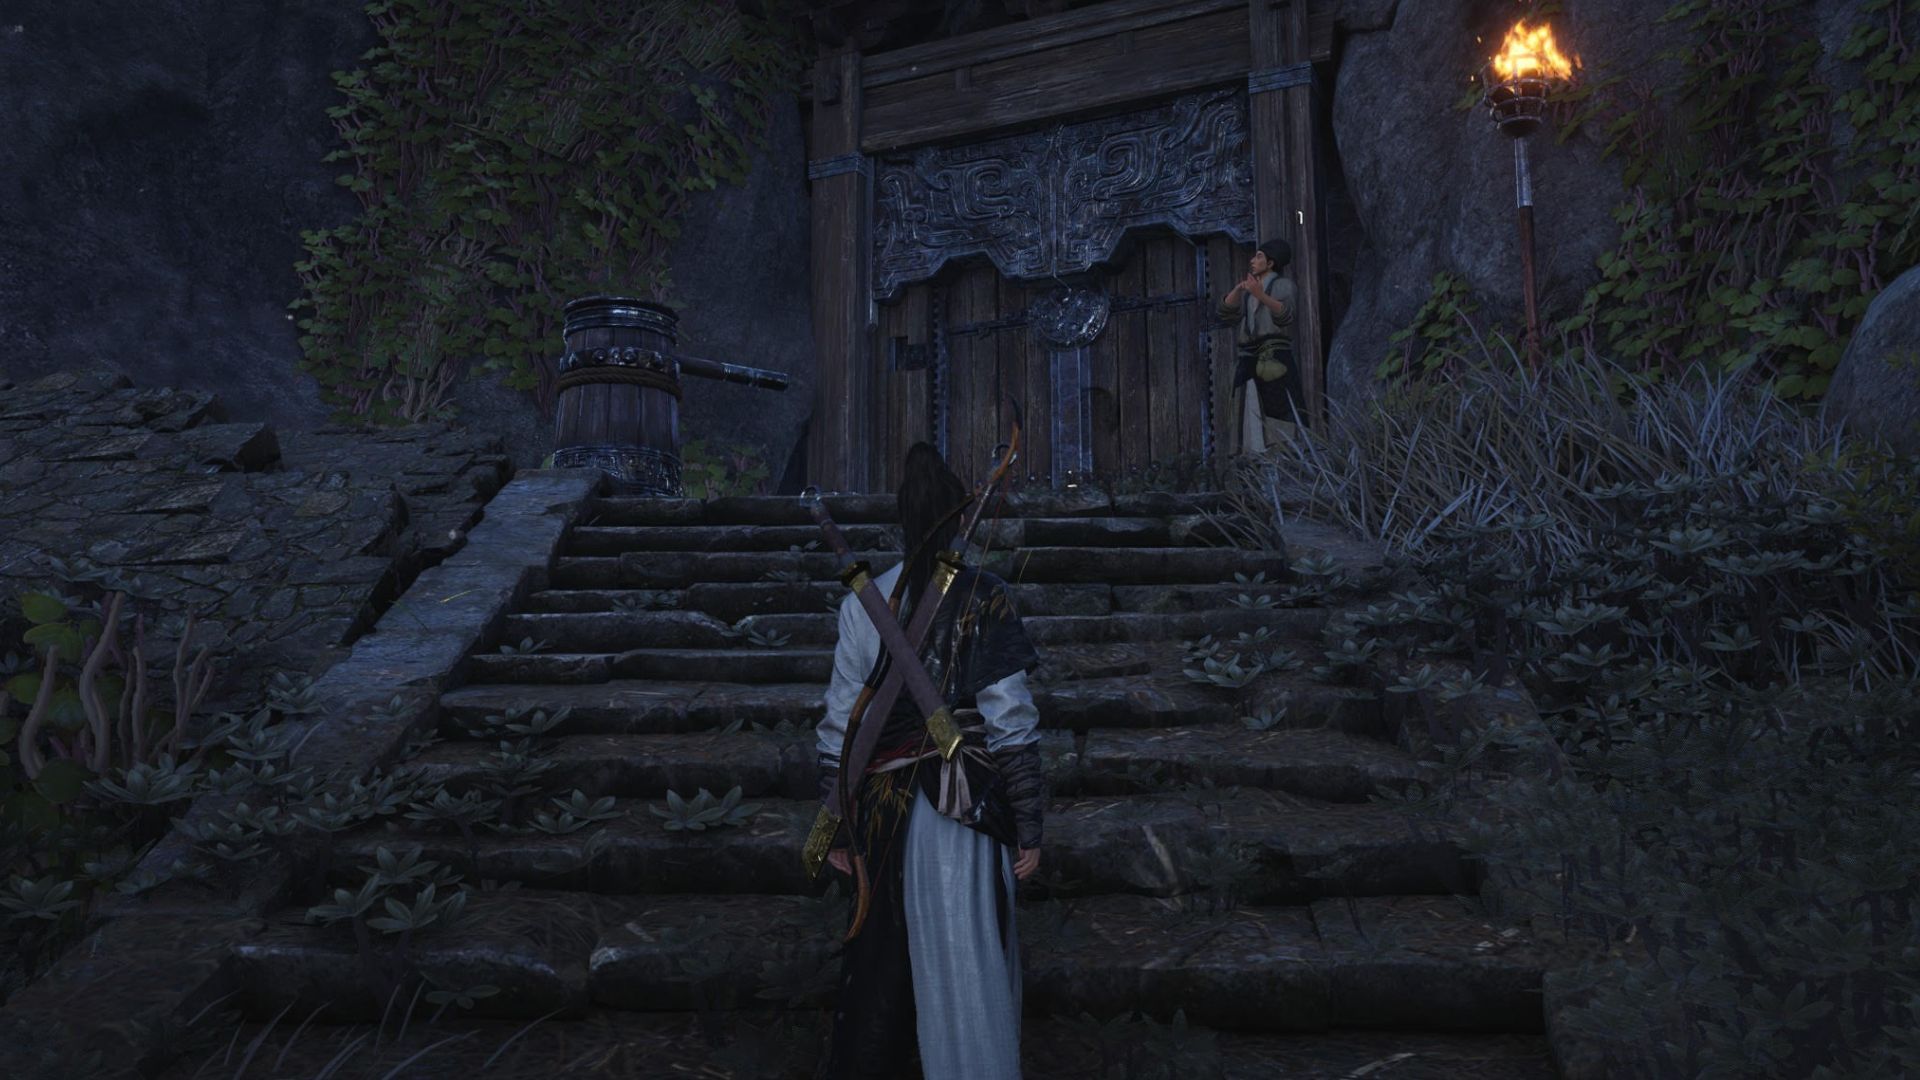
Coppergold Hollow is one of the first Divinecraft Dungeons you’ll encounter in Where Winds Meet. It’s a good way to learn the puzzle-based Mystic Arts challenges in the game. These challenges require you to recognize patterns, time your movements, and effectively use your Meridian Touch ability. The entire dungeon revolves around rotating statues; in each room, you need to align the rotating statues with the stationary ones. While Coppergold Hollow is relatively short in Where Winds Meet, it still demands both patience and fast reactions, particularly in the last part.
Coppergold Hollow Location in Where Winds Meet
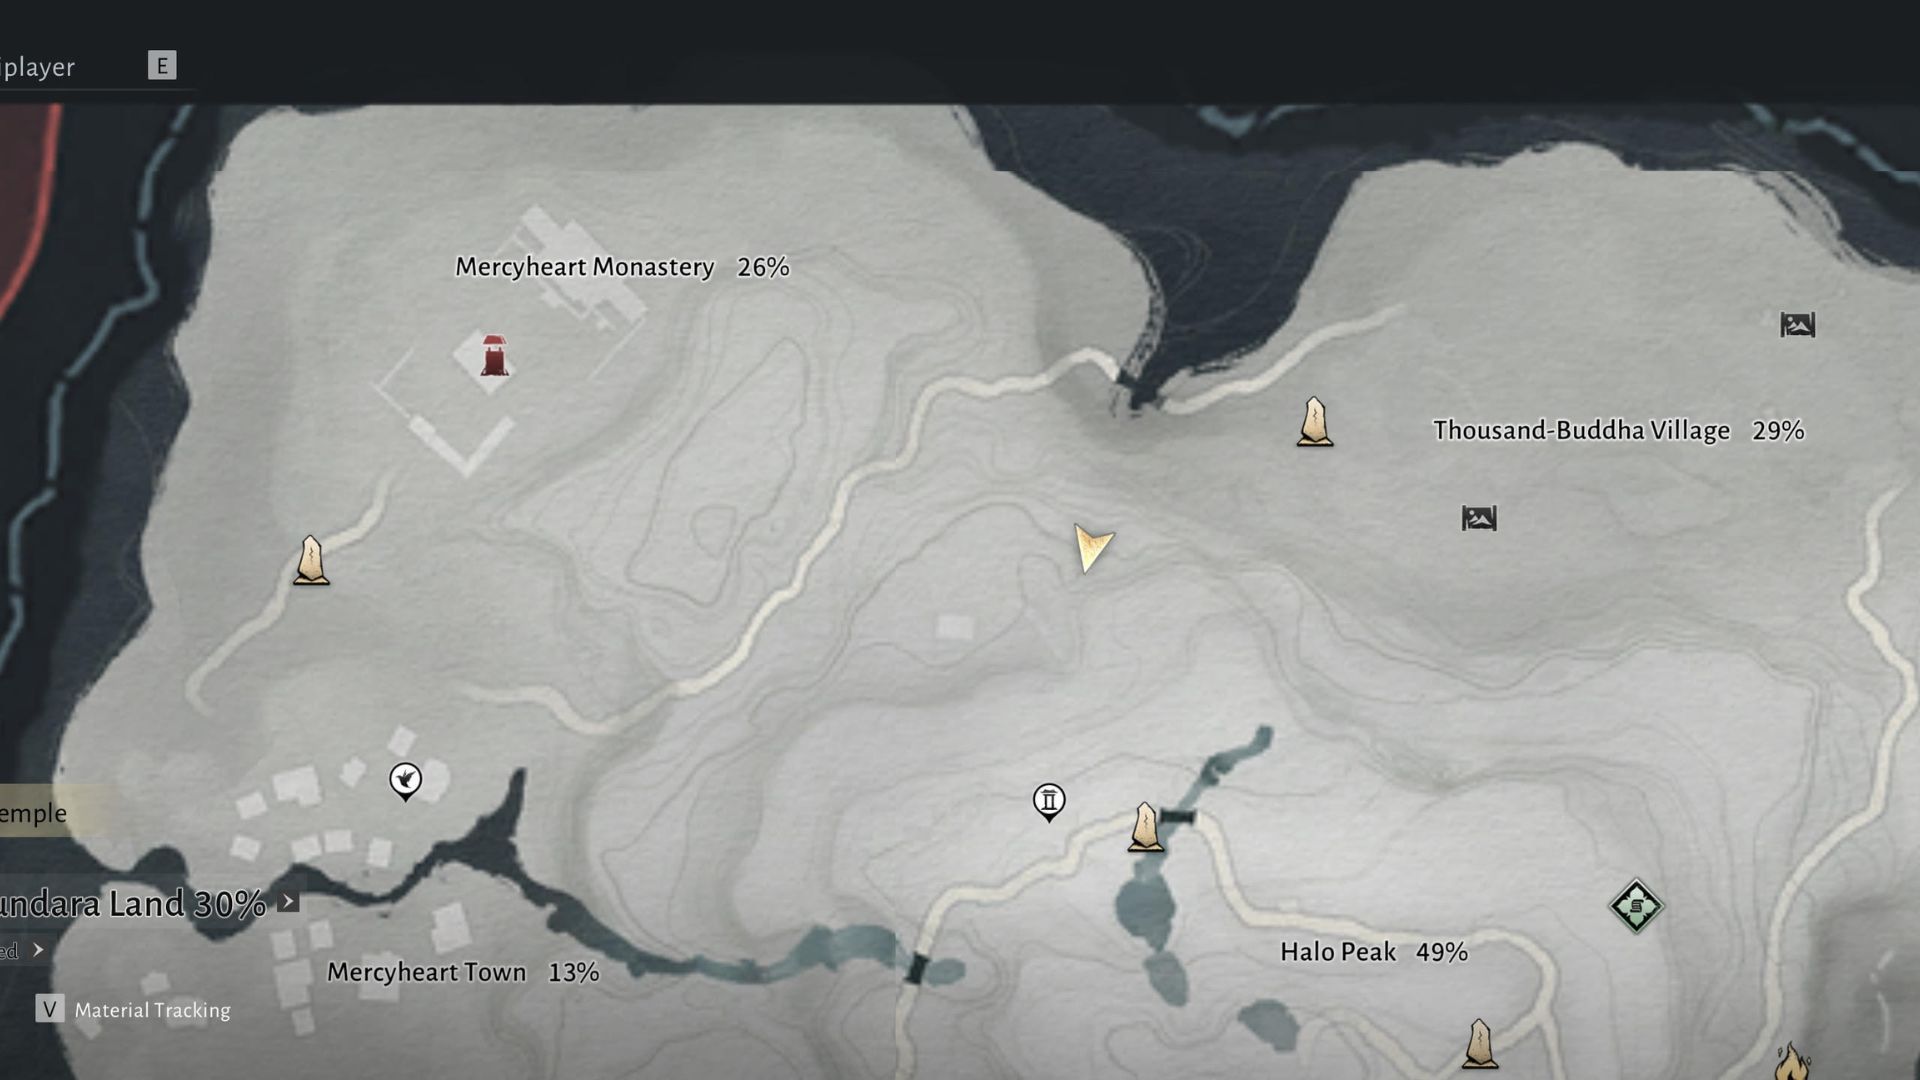
Coppergold Hollow is located in Sundara Land, Qinghe, nestled between Halo Peak and Thousand-Buddha Village. The entrance is near the Thousand-Buddha Vale Boundary Stone, just a little to the southwest, and the Path of Void Boundary Stone on Halo Peak, which is north of that location.
When you get there, go up the stone steps to the big, closed door. You’ll find a lever you can turn to unlock and open the entrance.
Before you enter the dungeon, you need to have Meridian Touch unlocked.
Coppergold Hollow Room #1
The first room you’ll find in Coppergold Hollow has a simple statue puzzle. It teaches you how the pose-matching works. Here’s how to solve it:
- Stand on the golden gear plate.
- The left statue begins rotating, while the right statue stays still.
- When the left statue faces the exact same direction as the right one, use Meridian Touch to freeze it in place.
- The door ahead will open immediately.
Coppergold Hollow Room #2
This room is split into two levels, and you’ll need to solve two puzzles to progress. It’s best to begin with the puzzle on the lower level.
Puzzle 1 – Lower Level
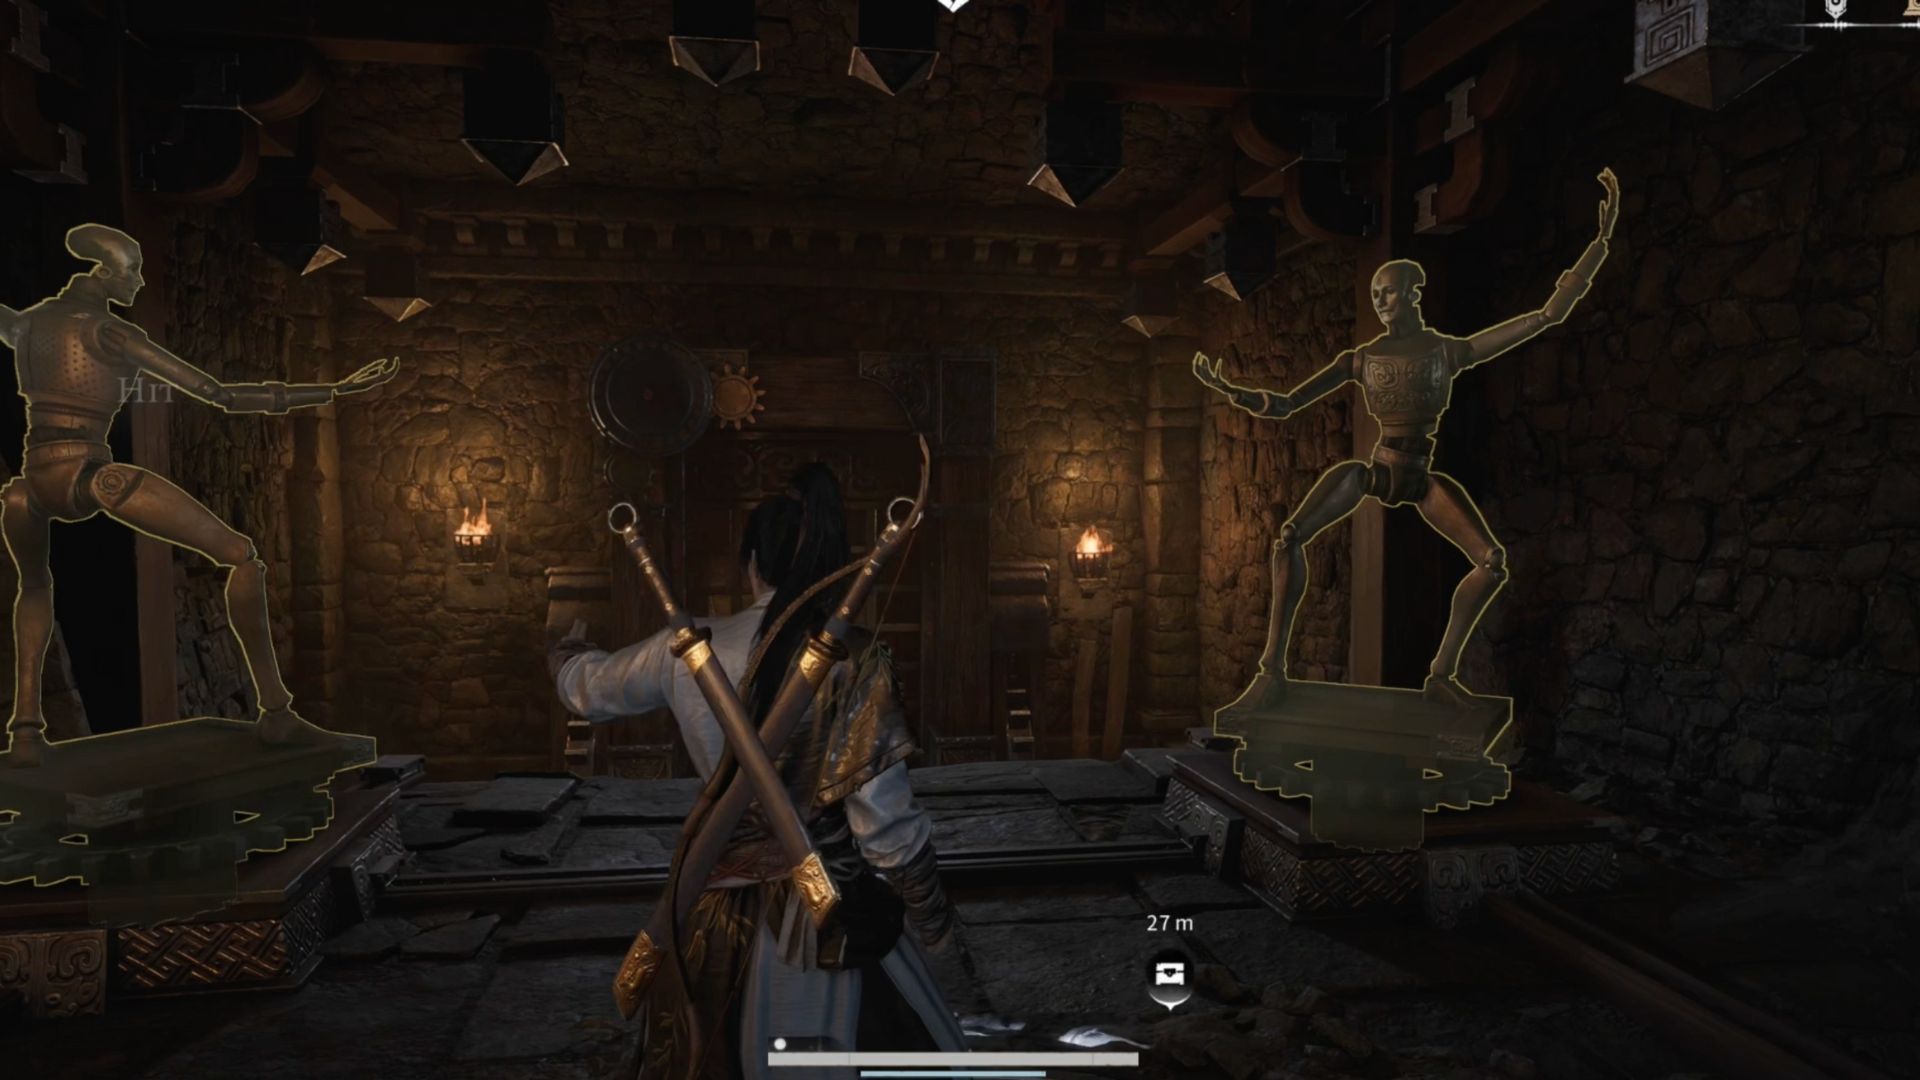
You’ll discover another golden plate that manages two statues facing each other. Stepping on the plate makes both statues turn. Your goal is to stop them precisely when they’re looking directly at each other. If you succeed, a door will open behind you, revealing the first chest.
Puzzle 2 – Upper Level
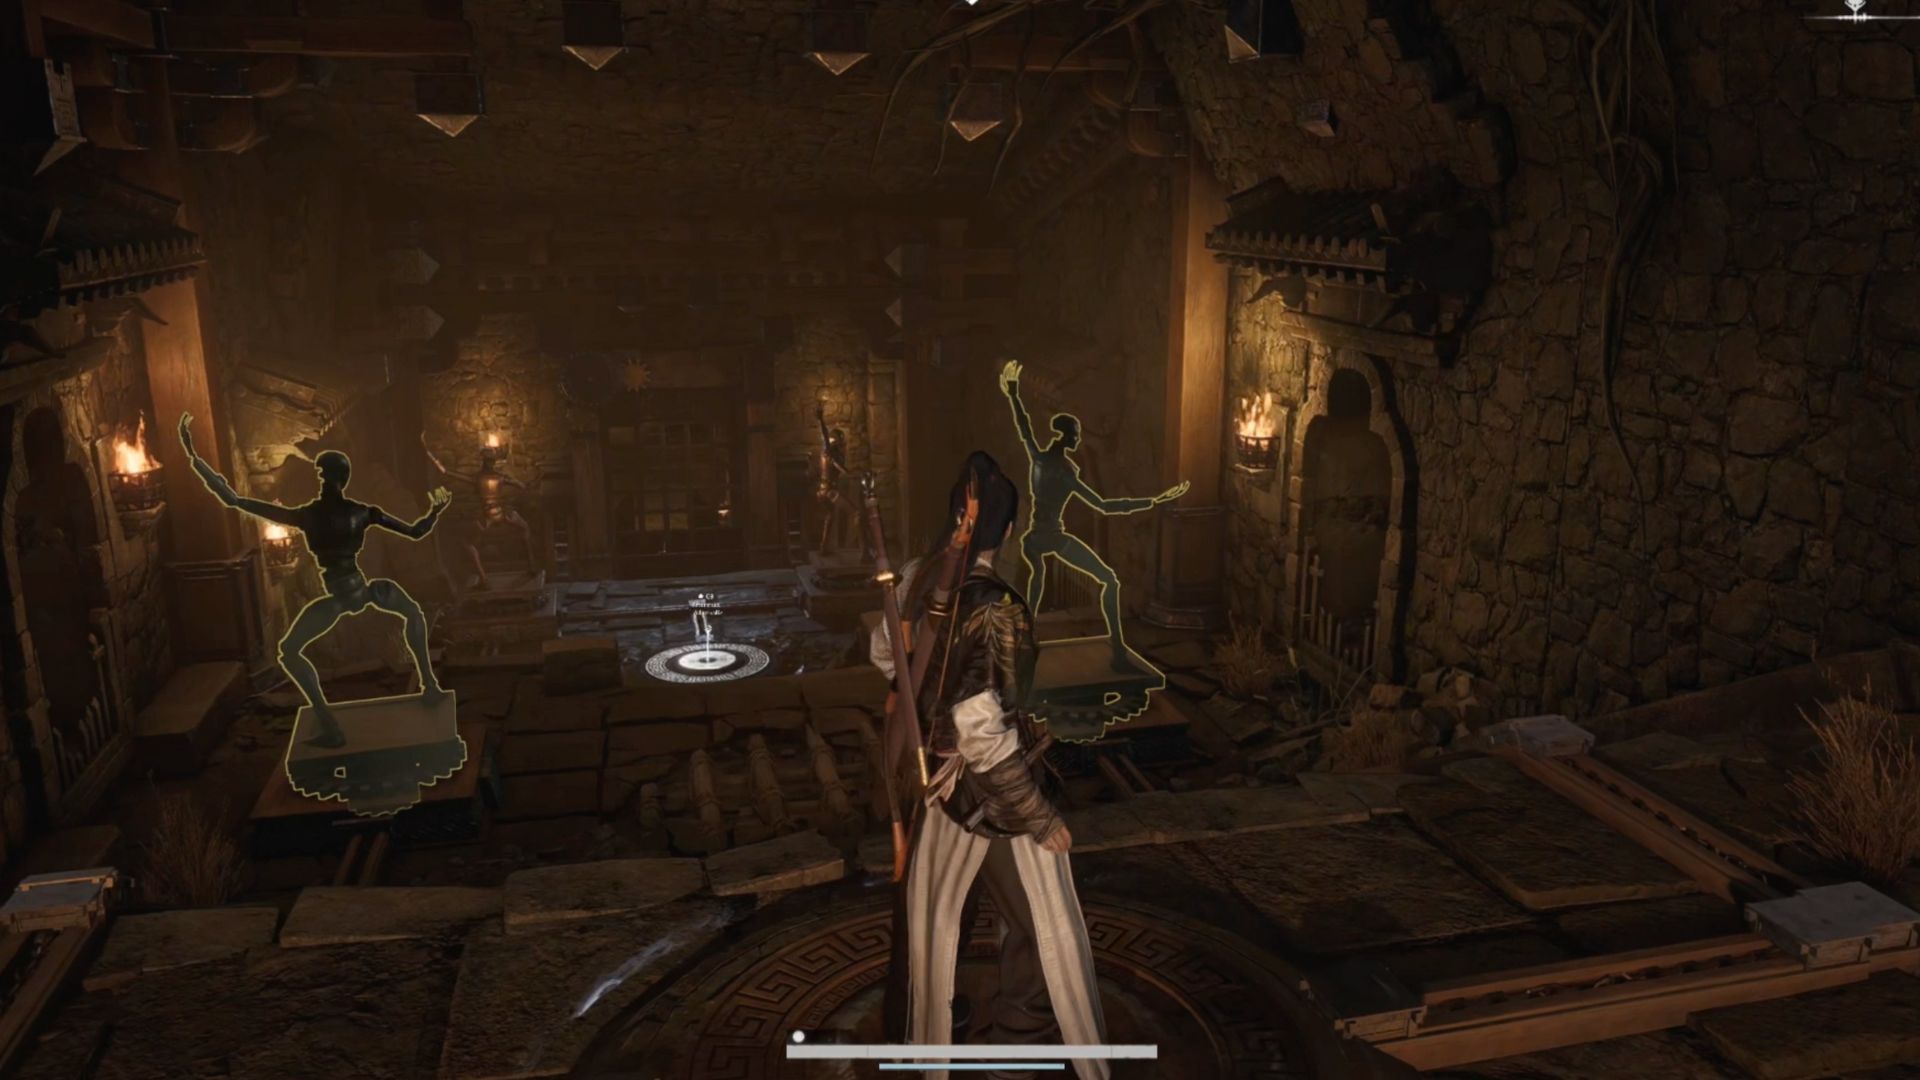
Once you get the first chest, head upstairs. You’ll notice the bottom statues have moved back to where they started. Now, when you step on the top pressure plate, the statues above will spin around.
You need to align the top statues to exactly match the poses of the statues below. Once the bottom statues are clearly positioned, use Meridian Touch to adjust the upper ones so they mirror the bottom pair. Successfully matching both sets of statues will unlock the door to the next room.
Coppergold Hollow Room #3
The last room is the most urgent, and it’s broken up into three smaller puzzle areas. Start by looking at the northwest and southeast corners. In each corner, you’ll find a statue you can spin, and another statue blocked by a locked gate.
To open the chests on the sides, turn each statue you can control until it faces the fixed statue behind the gate. Solving the puzzle in the northwest corner will open the second chest, and doing the same in the southeast corner will open the third.
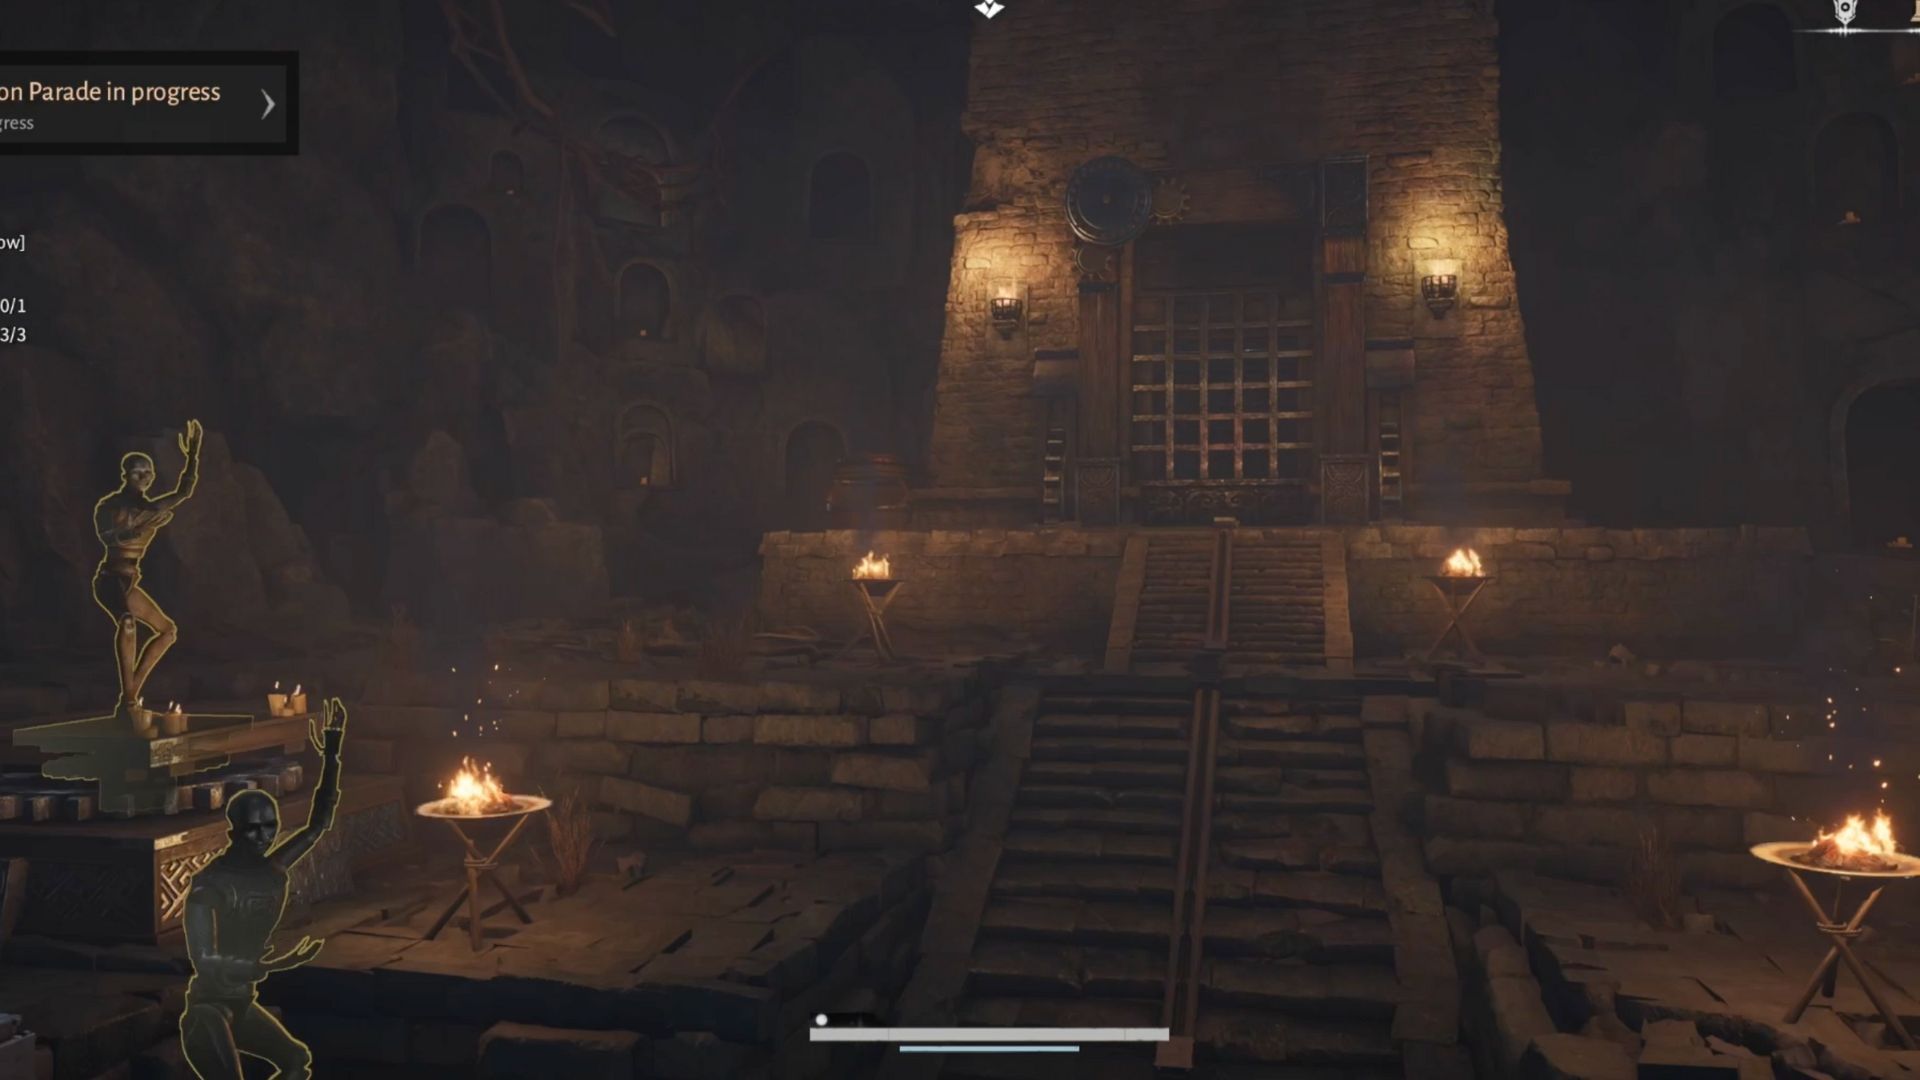
After you’ve finished the optional areas, thaw any frozen statues and get ready for the last puzzle. This involves positioning all four rotating statues to match the one fixed statue behind each of them. Be quick, though – if you take too long, the statues you previously thawed might freeze up again.
The simplest way to solve this puzzle is to move around in a circle, quickly securing each statue until all four are aligned with their matching pieces.
Okay, so after lining up all those statues just right, the final door actually opened! There it was, the last chest, and that meant I’d officially finished Coppergold Hollow Dungeon in Where Winds Meet. What a relief!
Read More
- United Airlines can now kick passengers off flights and ban them for not using headphones
- Crimson Desert: Disconnected Truth Puzzle Guide
- All 9 Coalition Heroes In Invincible Season 4 & Their Powers
- Grey’s Anatomy Season 23 Confirmed for 2026-2027 Broadcast Season
- Mewgenics vinyl limited editions now available to pre-order
- All Golden Ball Locations in Yakuza Kiwami 3 & Dark Ties
- How to Get to the Undercoast in Esoteric Ebb
- Does Mark survive Invincible vs Conquest 2? Comics reveal fate after S4E5
- Viral Letterboxd keychain lets cinephiles show off their favorite movies on the go
- Katanire’s Yae Miko Cosplay: Genshin Impact Masterpiece
2025-11-29 22:06