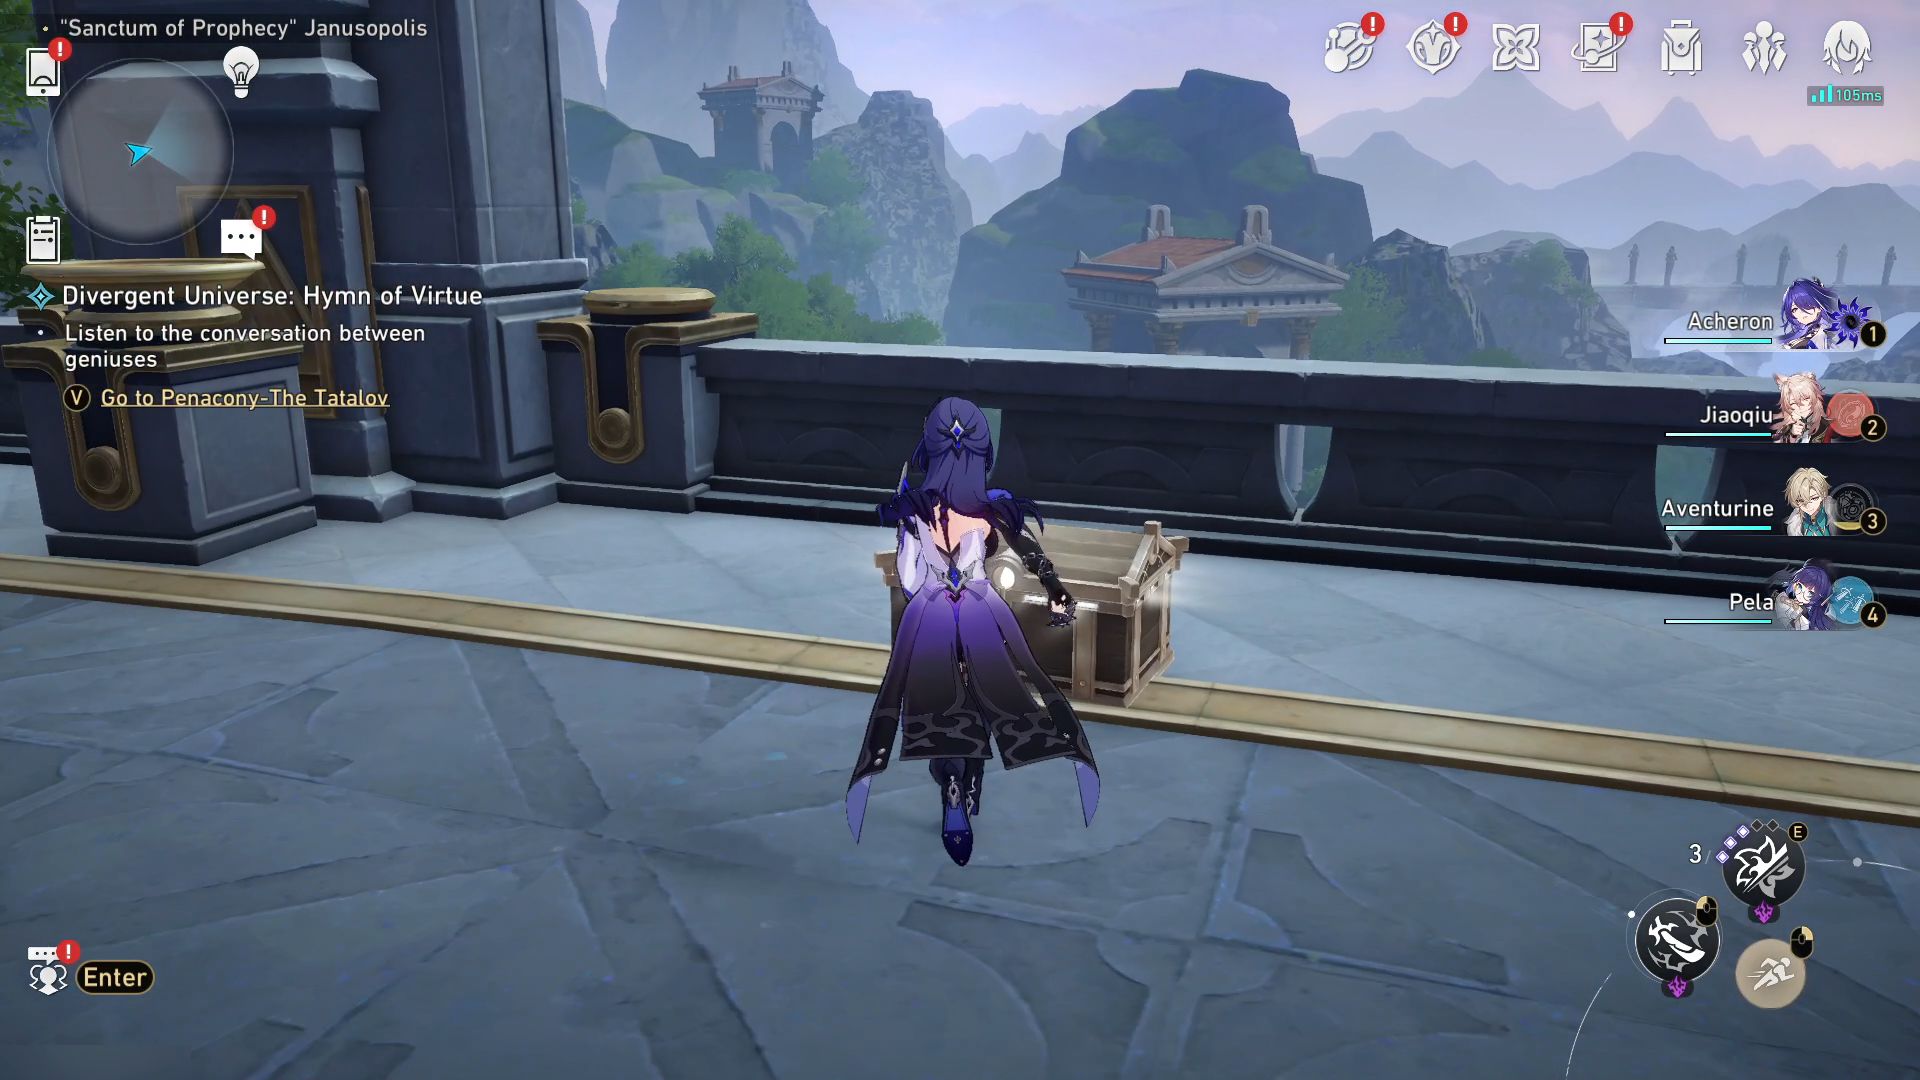
As a dedicated gamer of Honkai: Star Rail, I’ve just found myself stepping into a freshly unveiled locale – the Sanctum of Prophecy in Janusopolis, Amphoreus. This place carries significant weight in Tribbie’s history for the latest Trailblaze Mission. Given its importance, it’s no surprise that it’s sprawling, filled with numerous 3D rooms just waiting to be discovered. Naturally, the adventure is sweetened by the promise of treasure chests and a healthy dose of Stellar Jades, our precious premium currency.
In Honkai: Star Rail, there are a total of 59 treasure chests to be found. These chests include puzzles from the Prophecy Tablets, Golden Scapegoat, and Spirithief. This article will help you find each chest and guide you to their locations so you can collect all the promised Stellar Jades. To maximize your chances of finding every chest, it’s recommended that you complete the entire Trailblaze Mission ‘Light Slips the Gate, Shadow Greets the Throne’ first, as this will ensure that all gates are unlocked and accessible in the game.
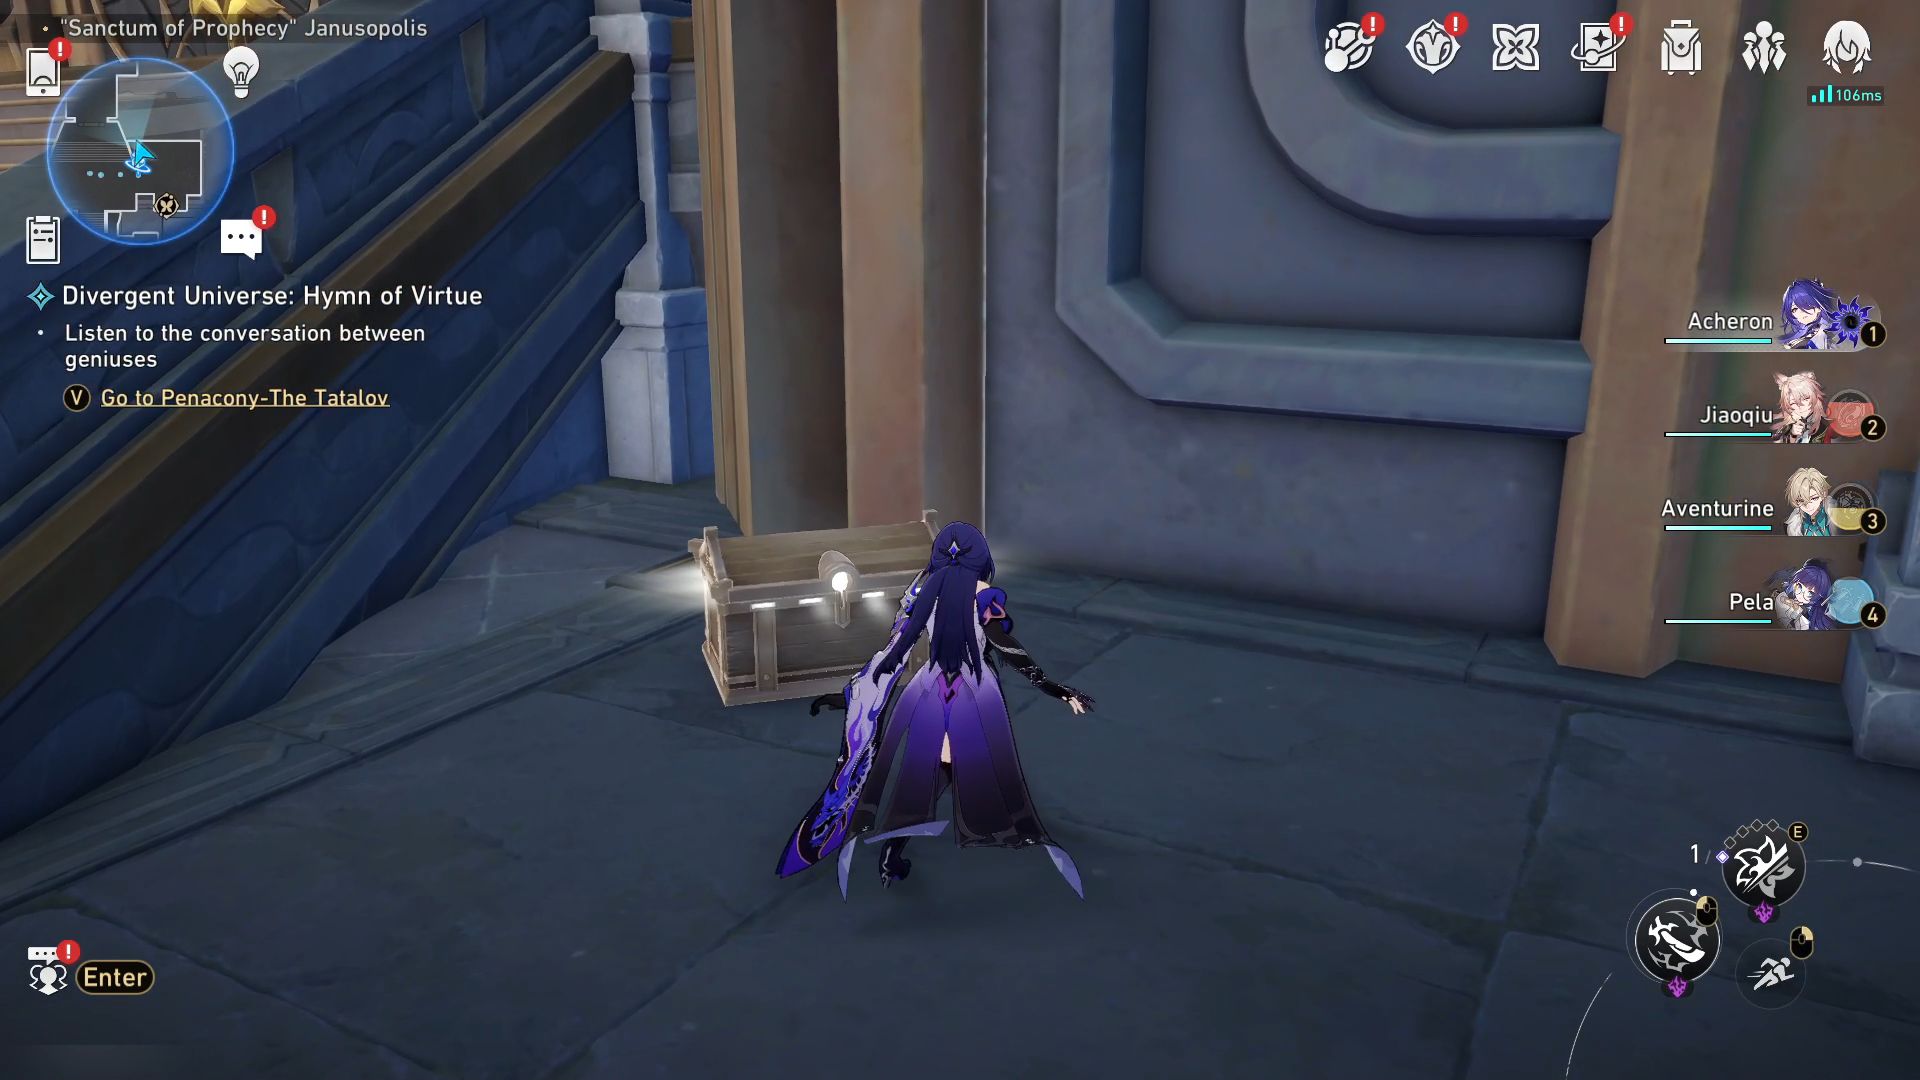
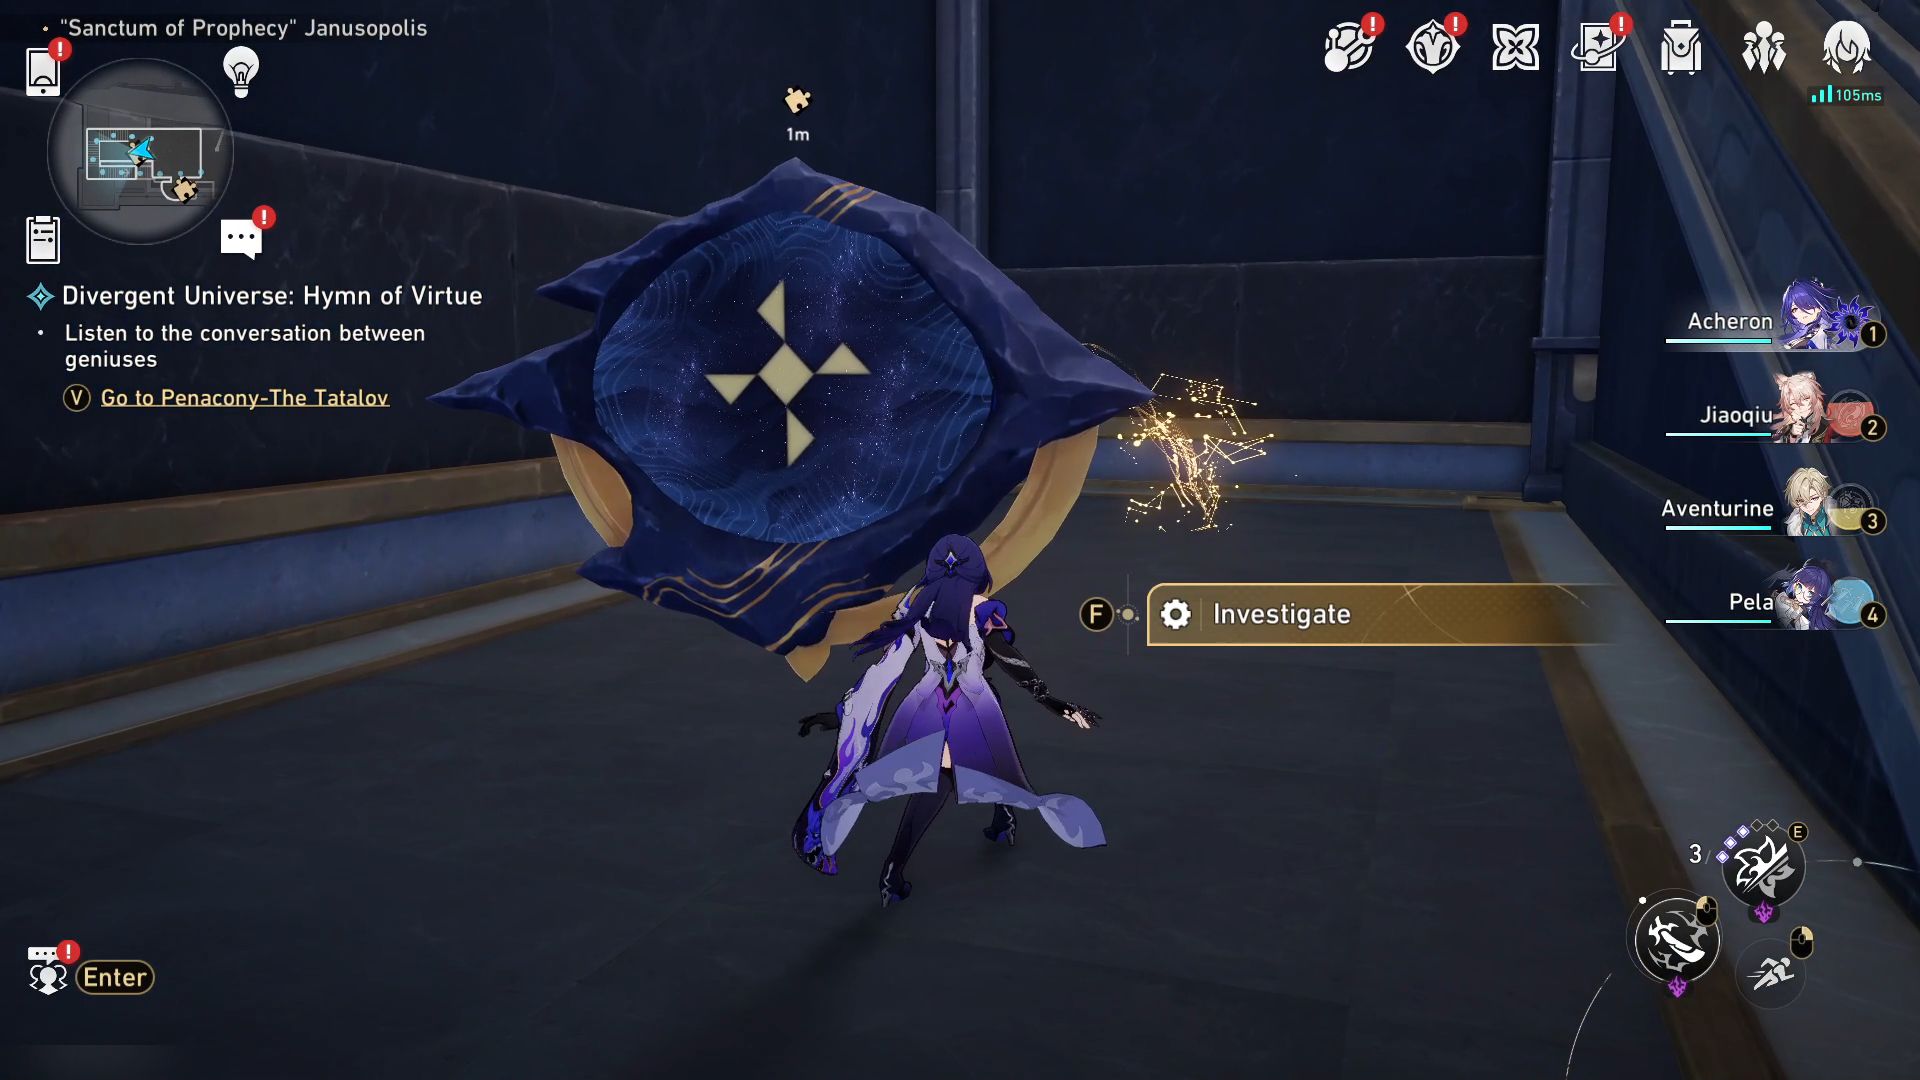
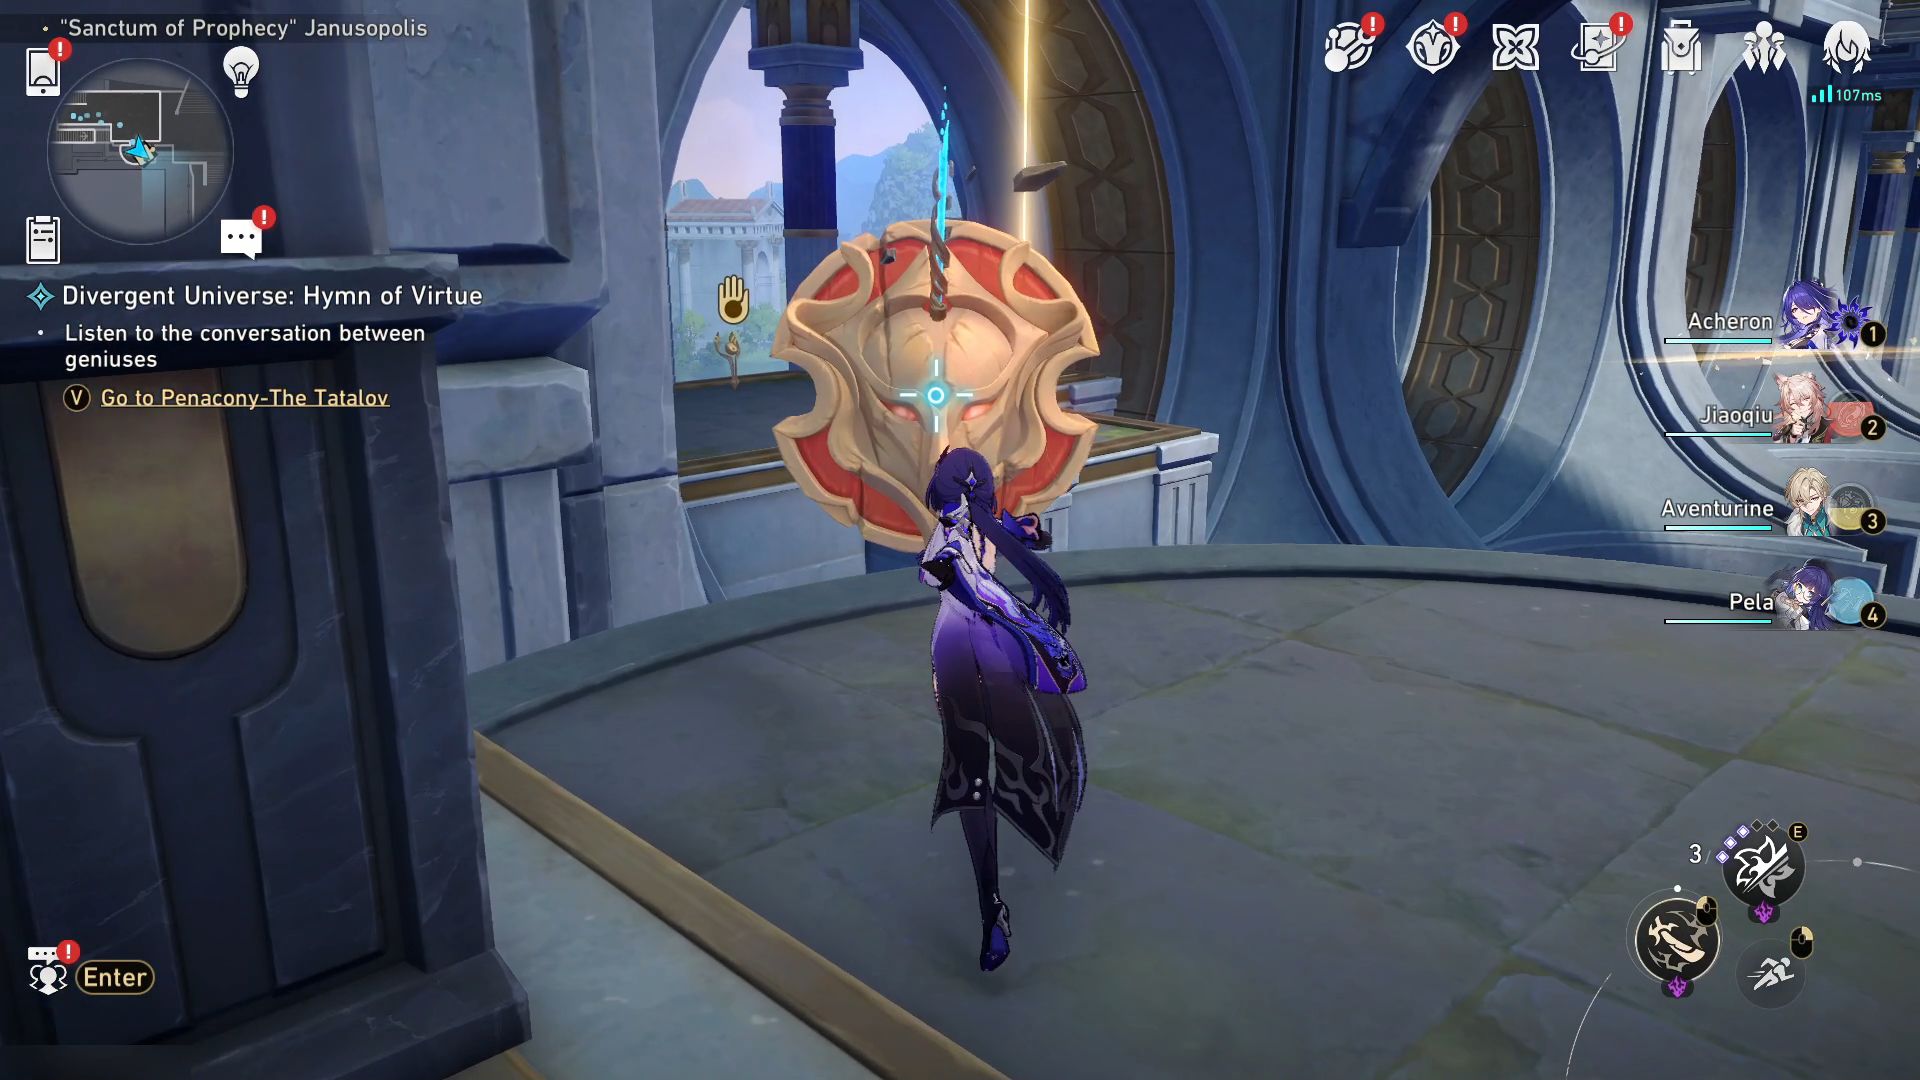
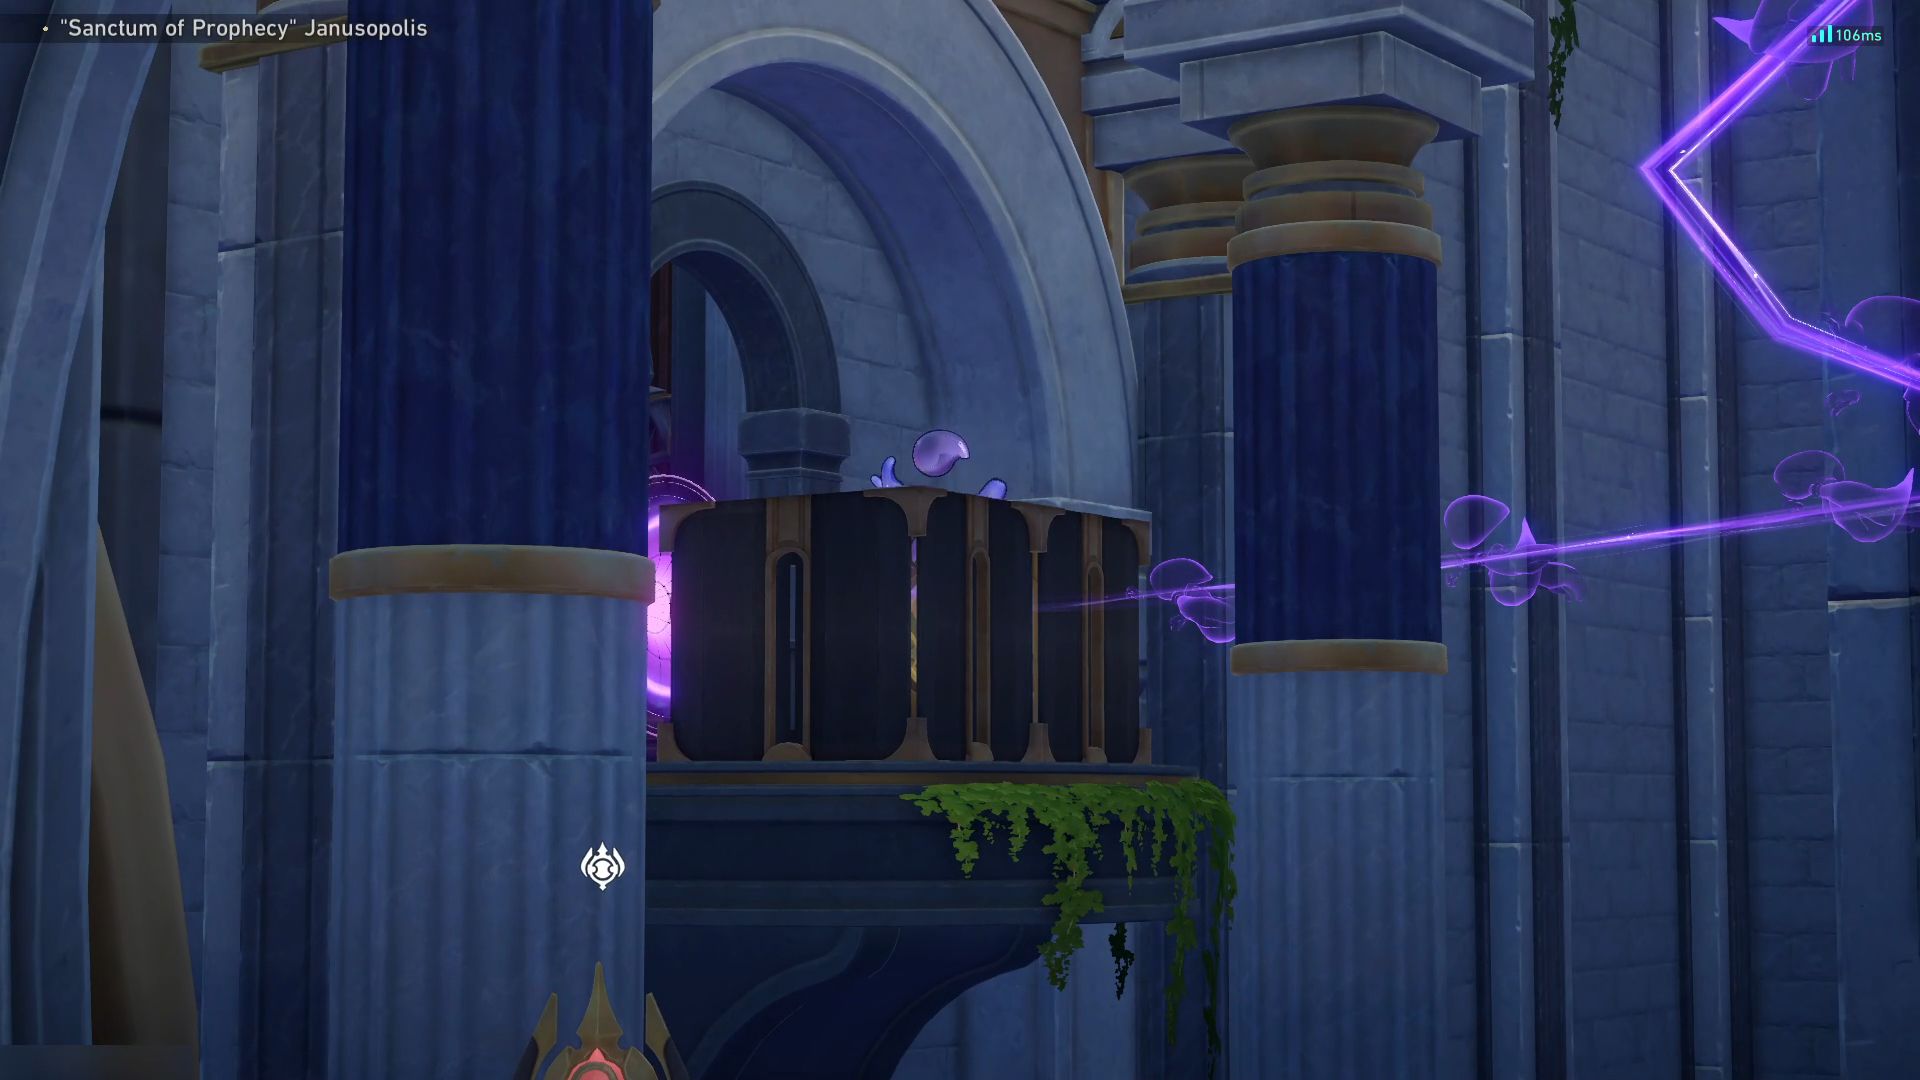
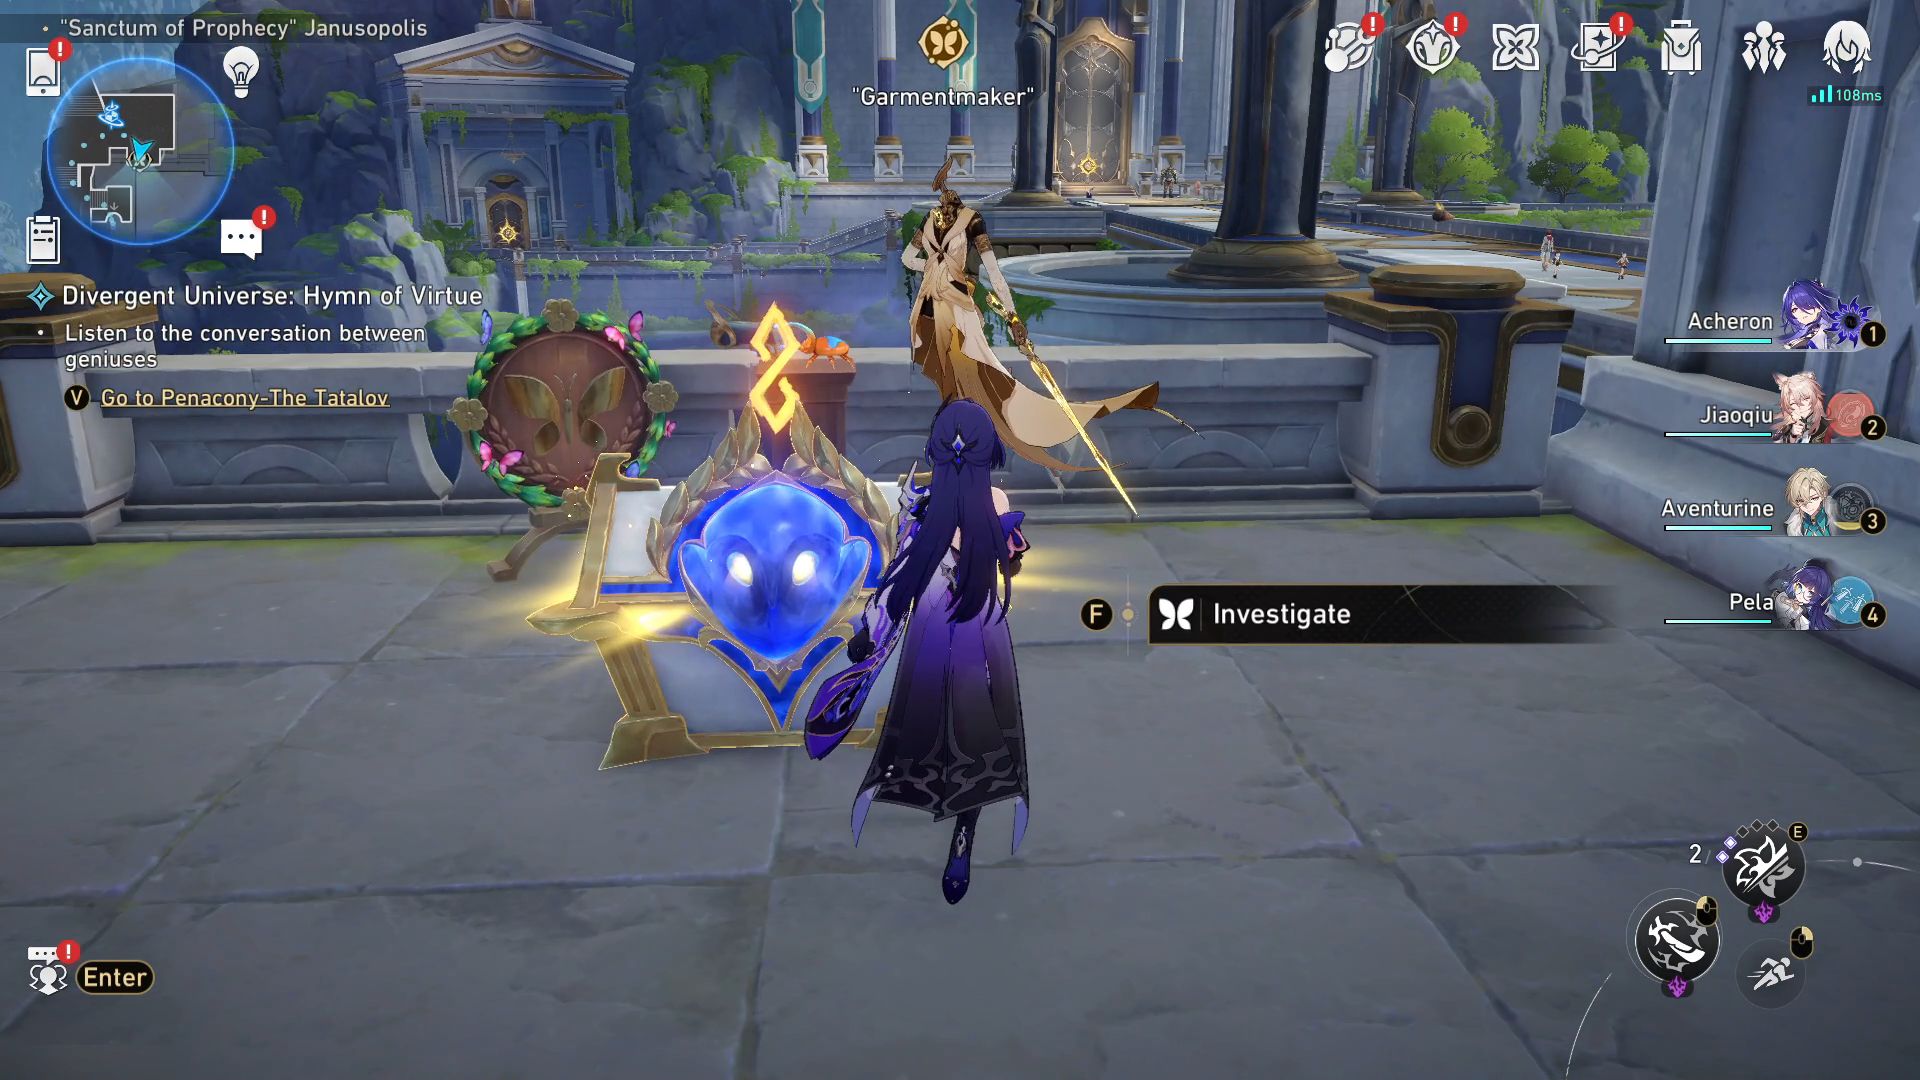
“Sanctum of Prophecy” Janusopolis Treasure Locations In Honkai: Star Rail
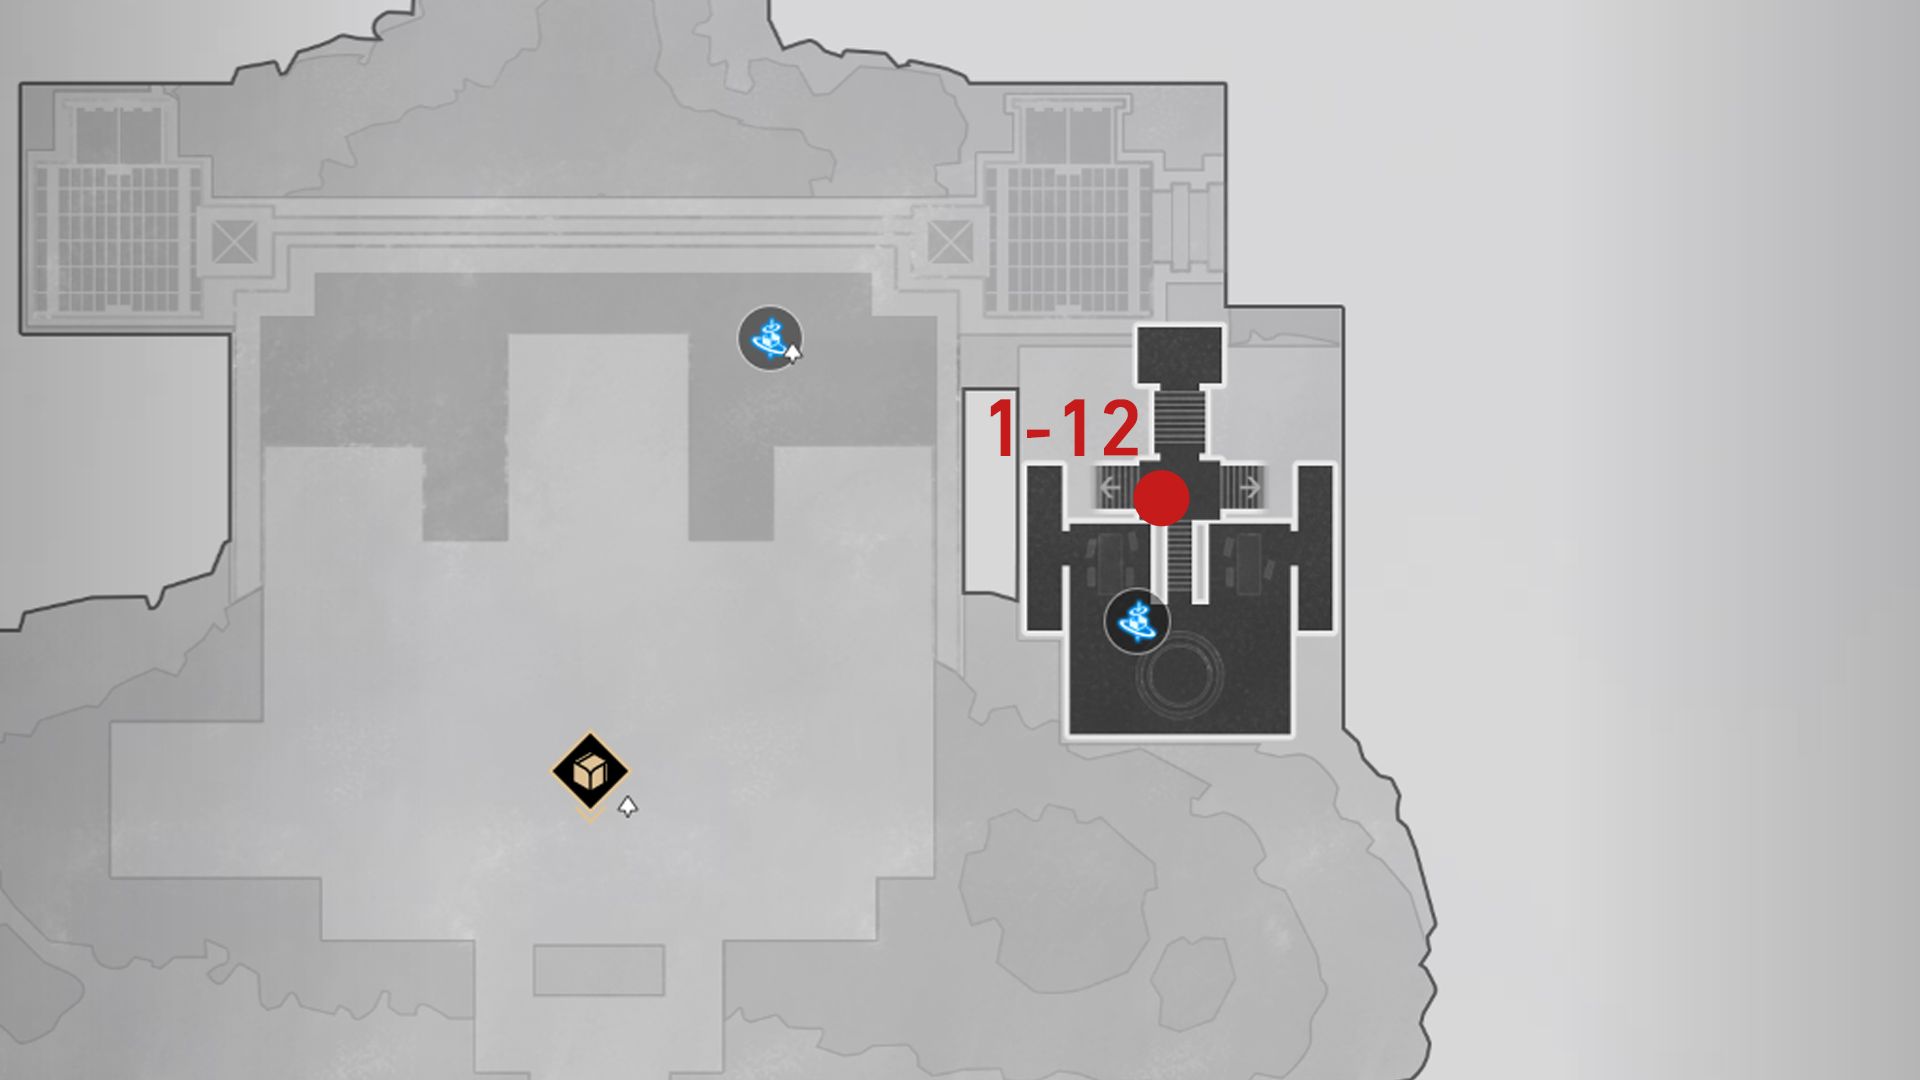
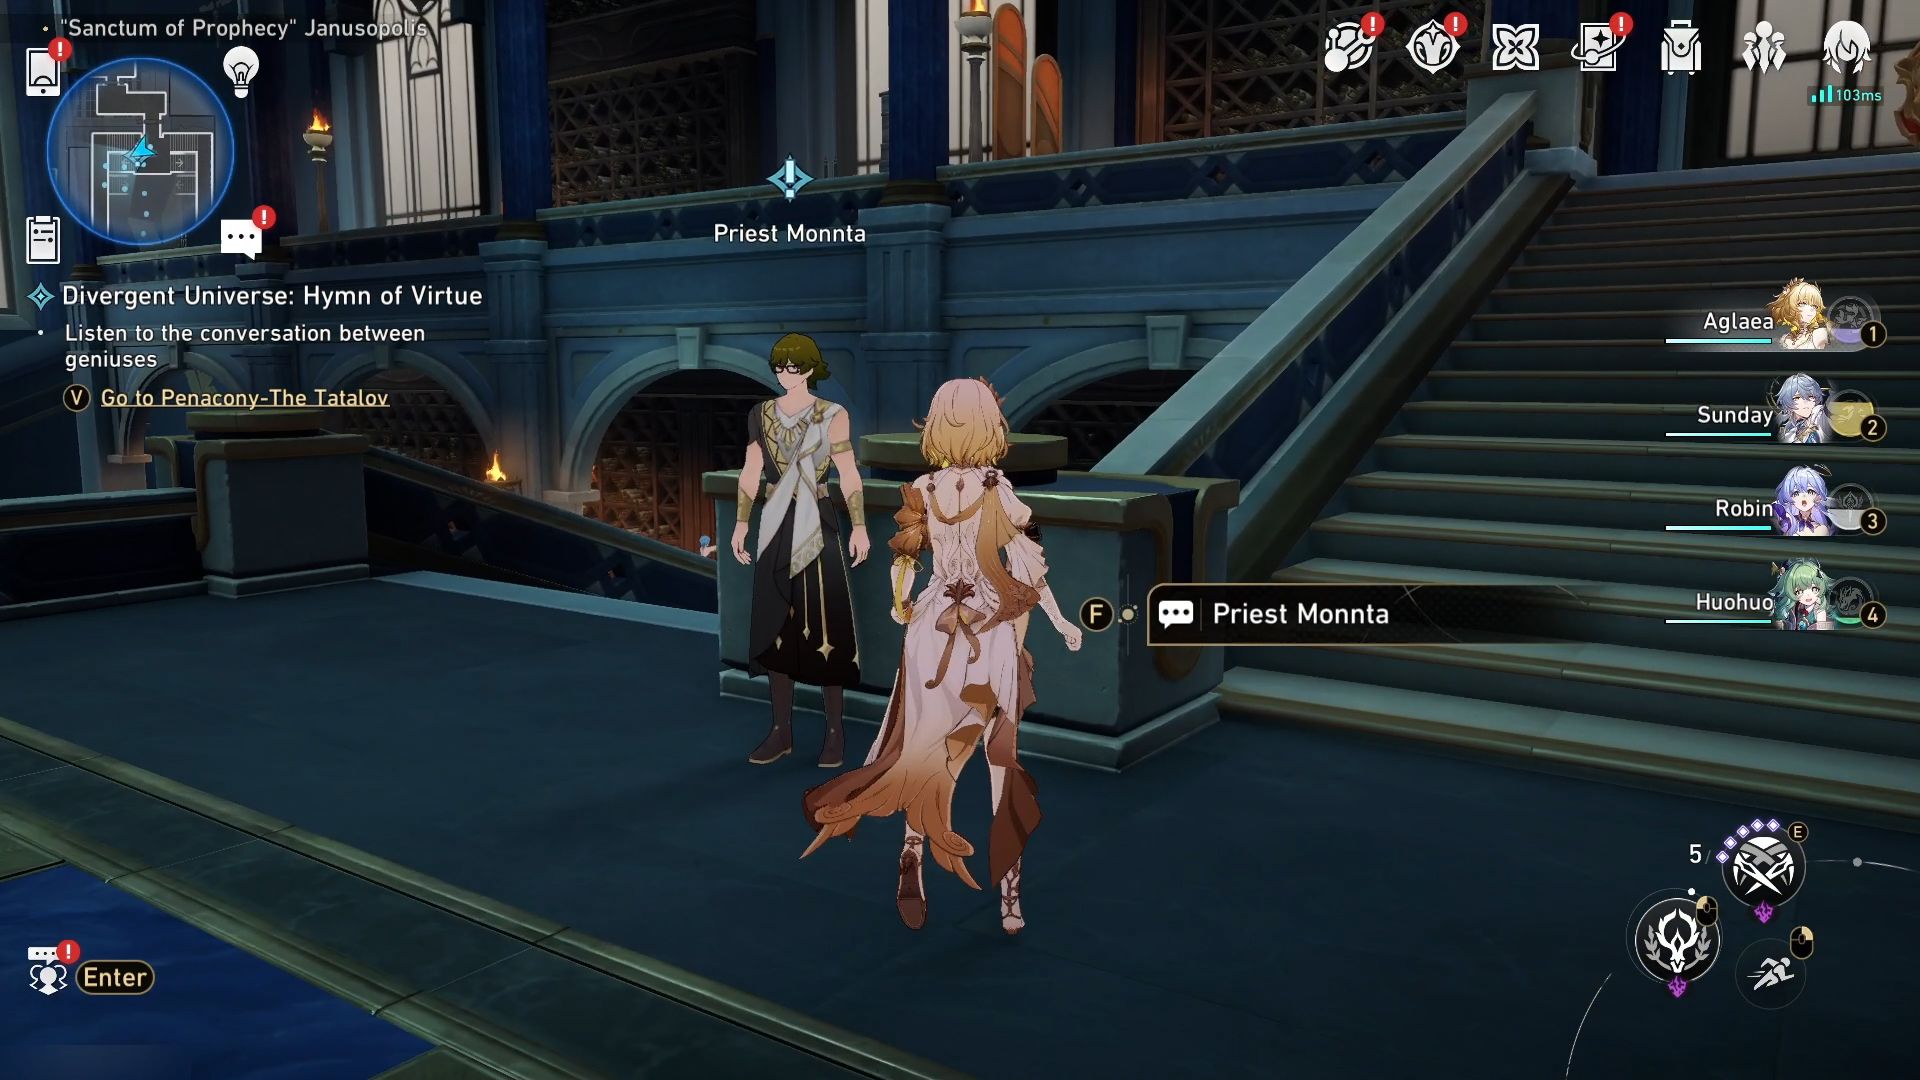
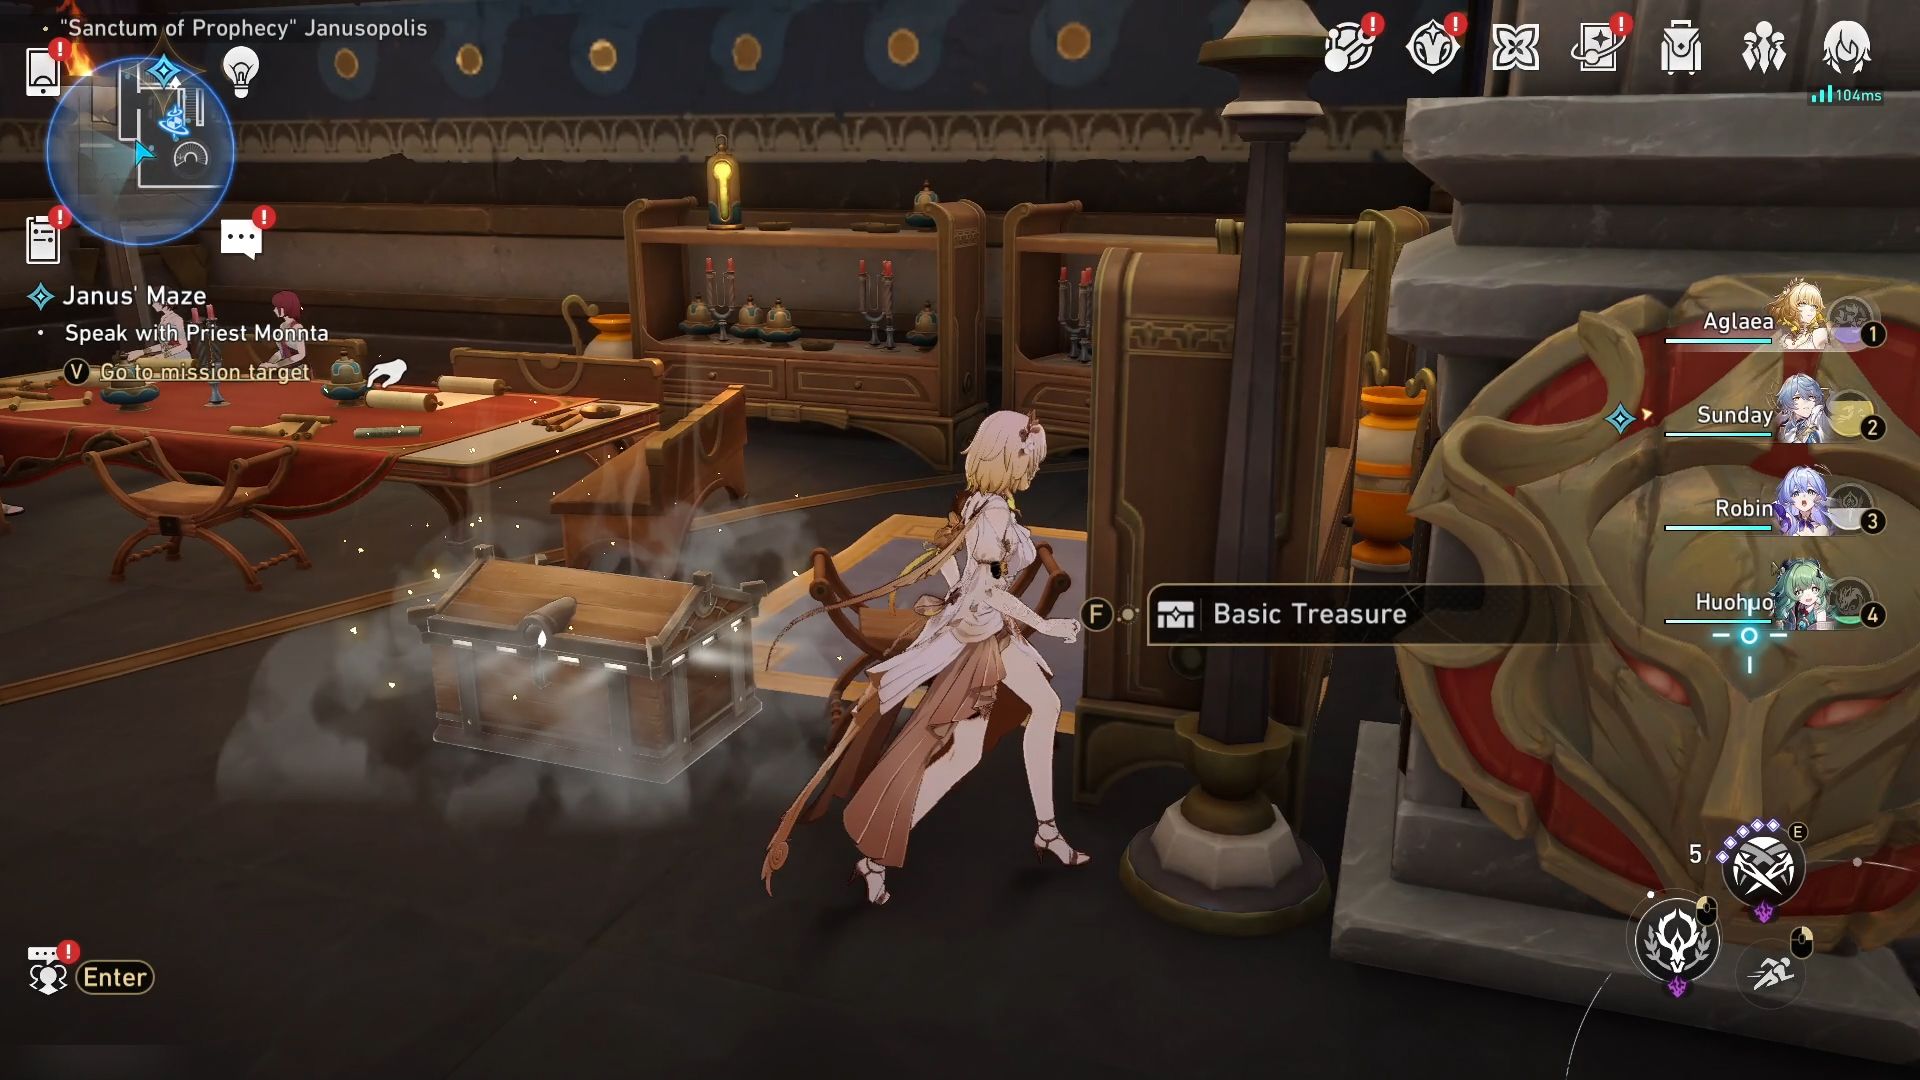
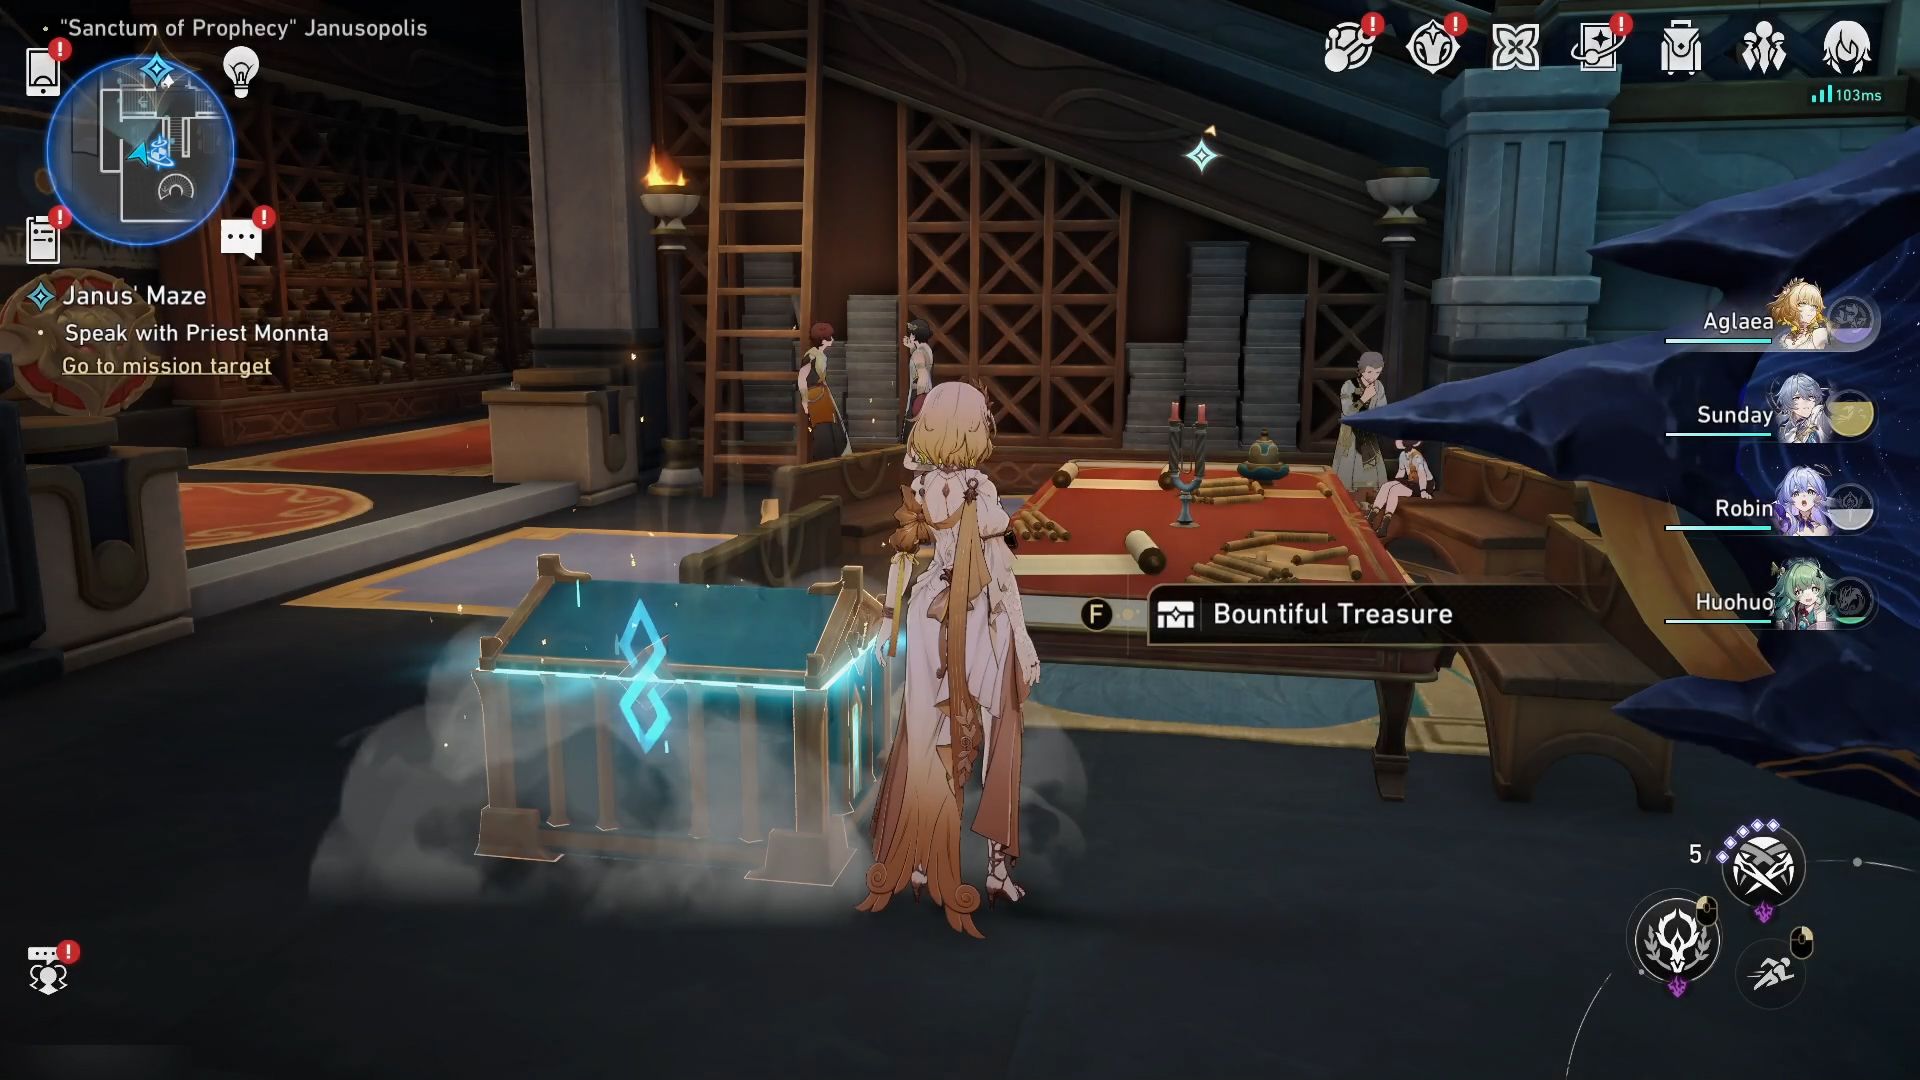
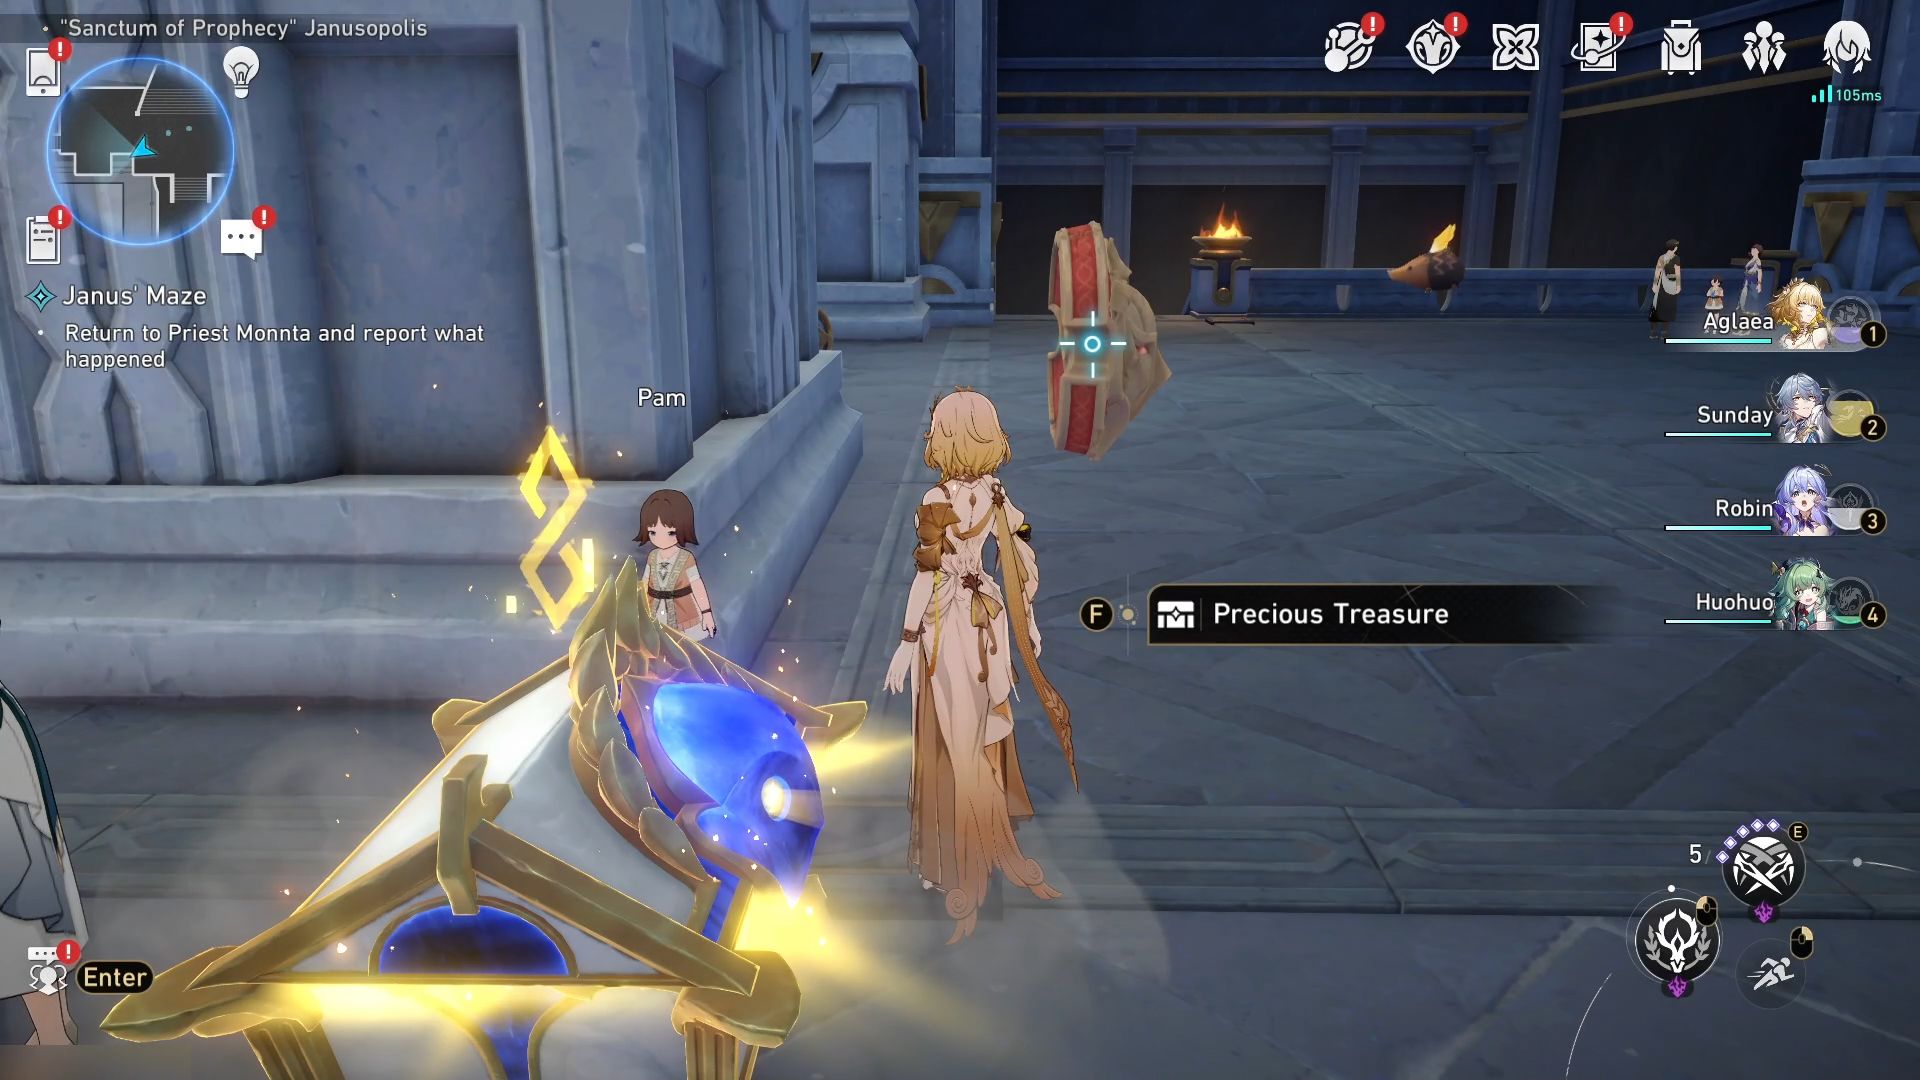
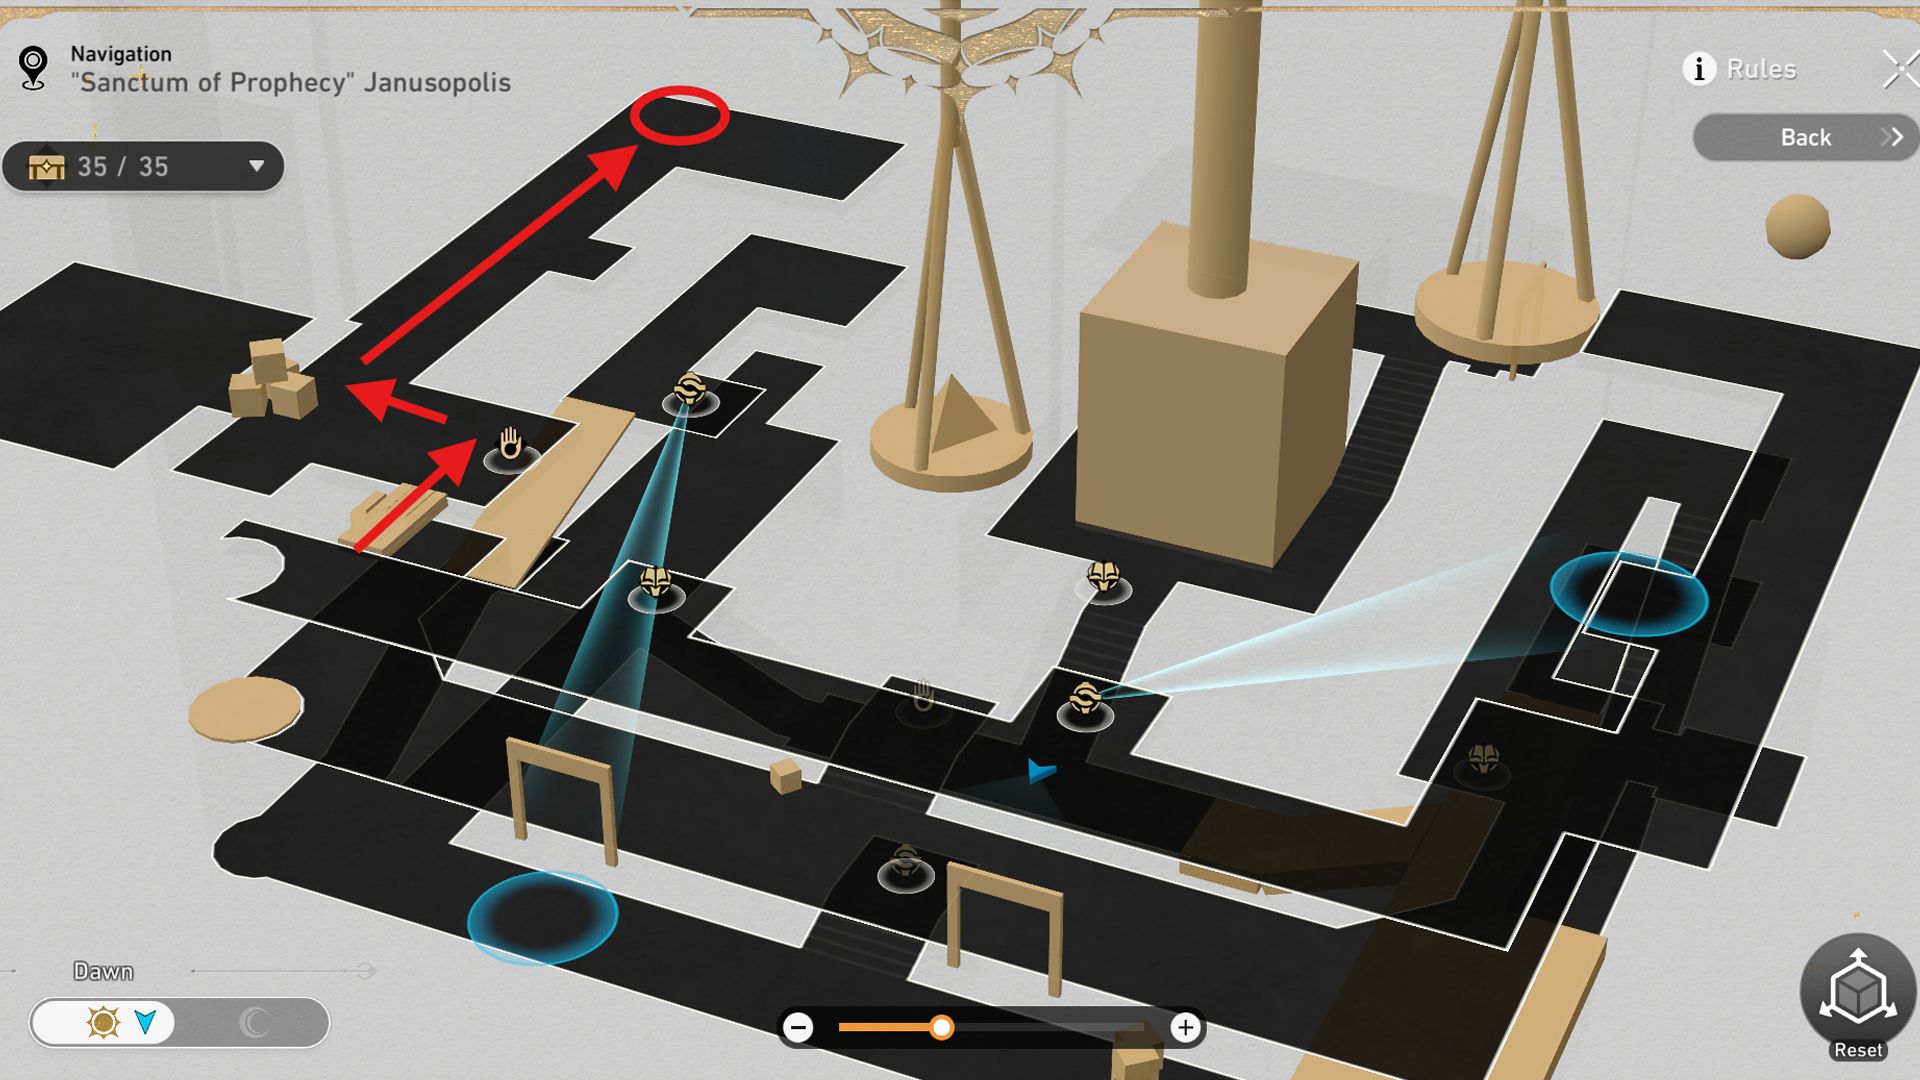
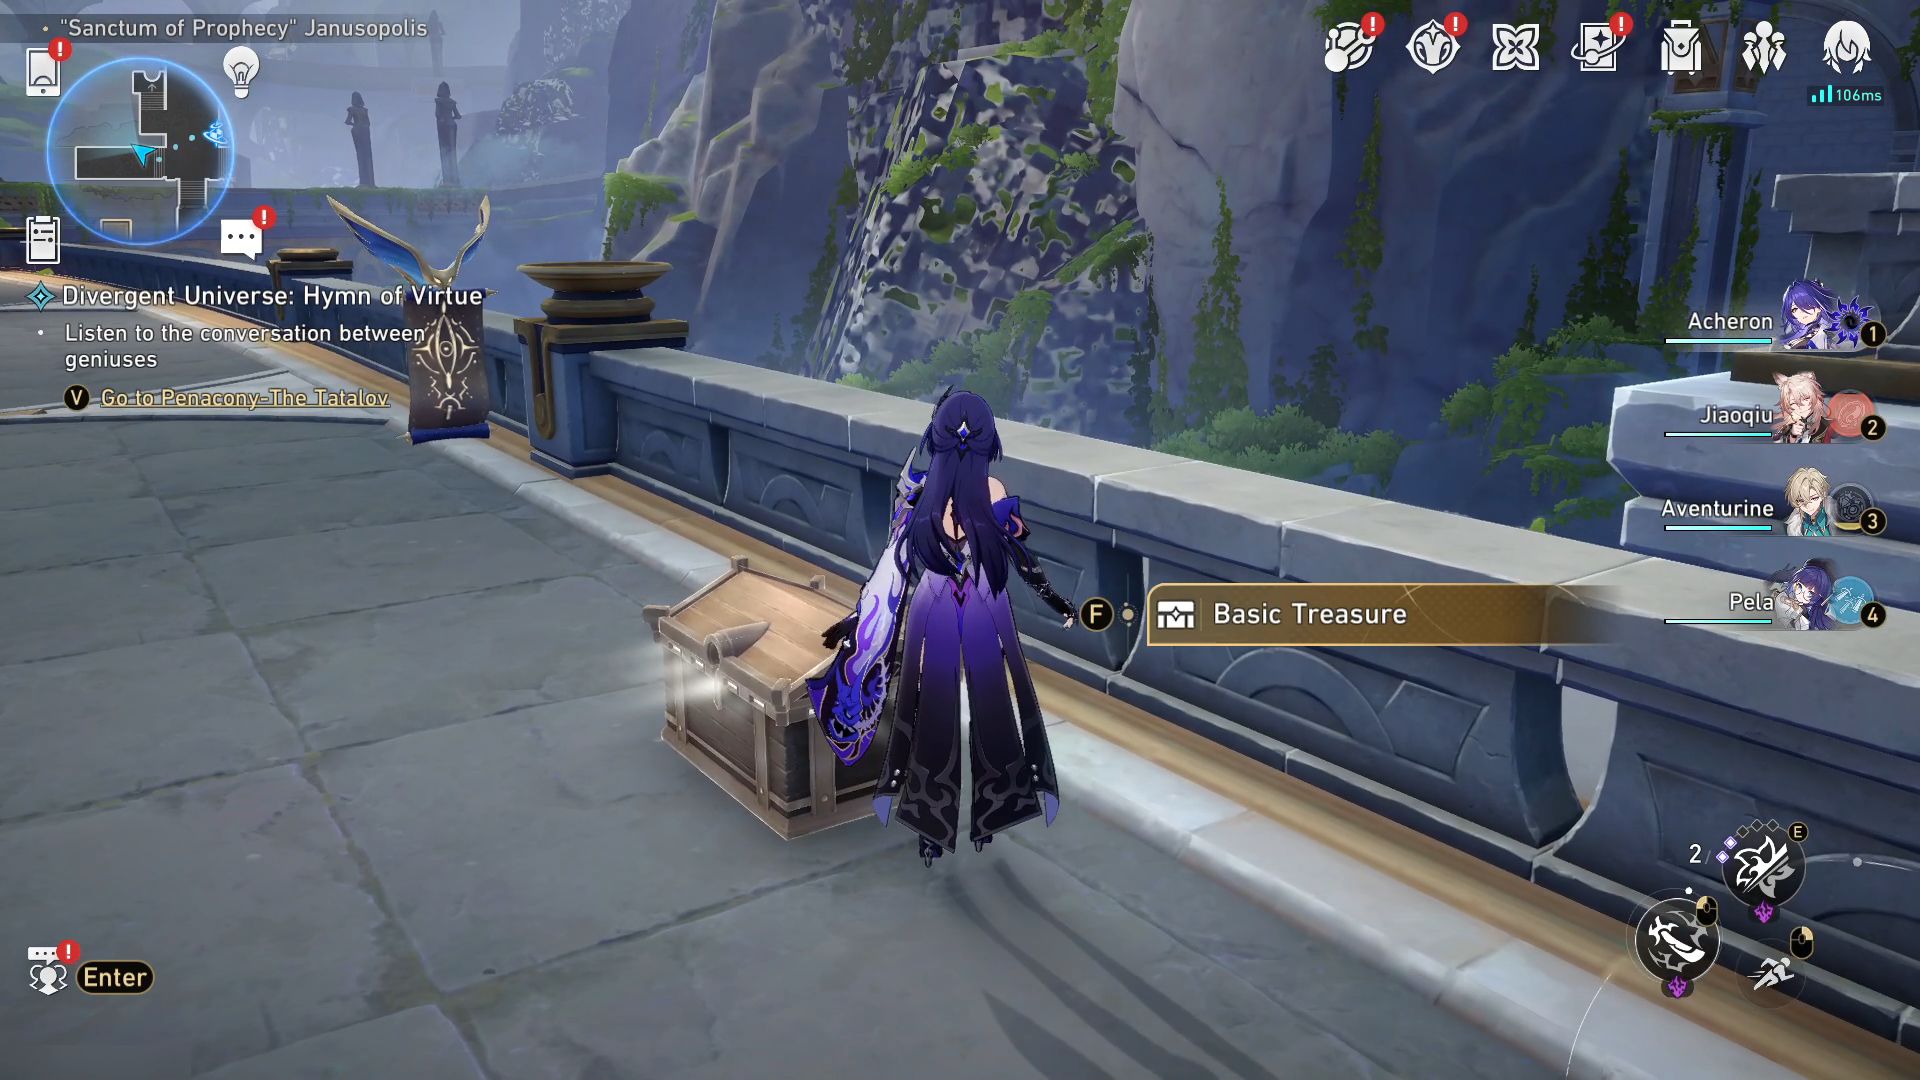
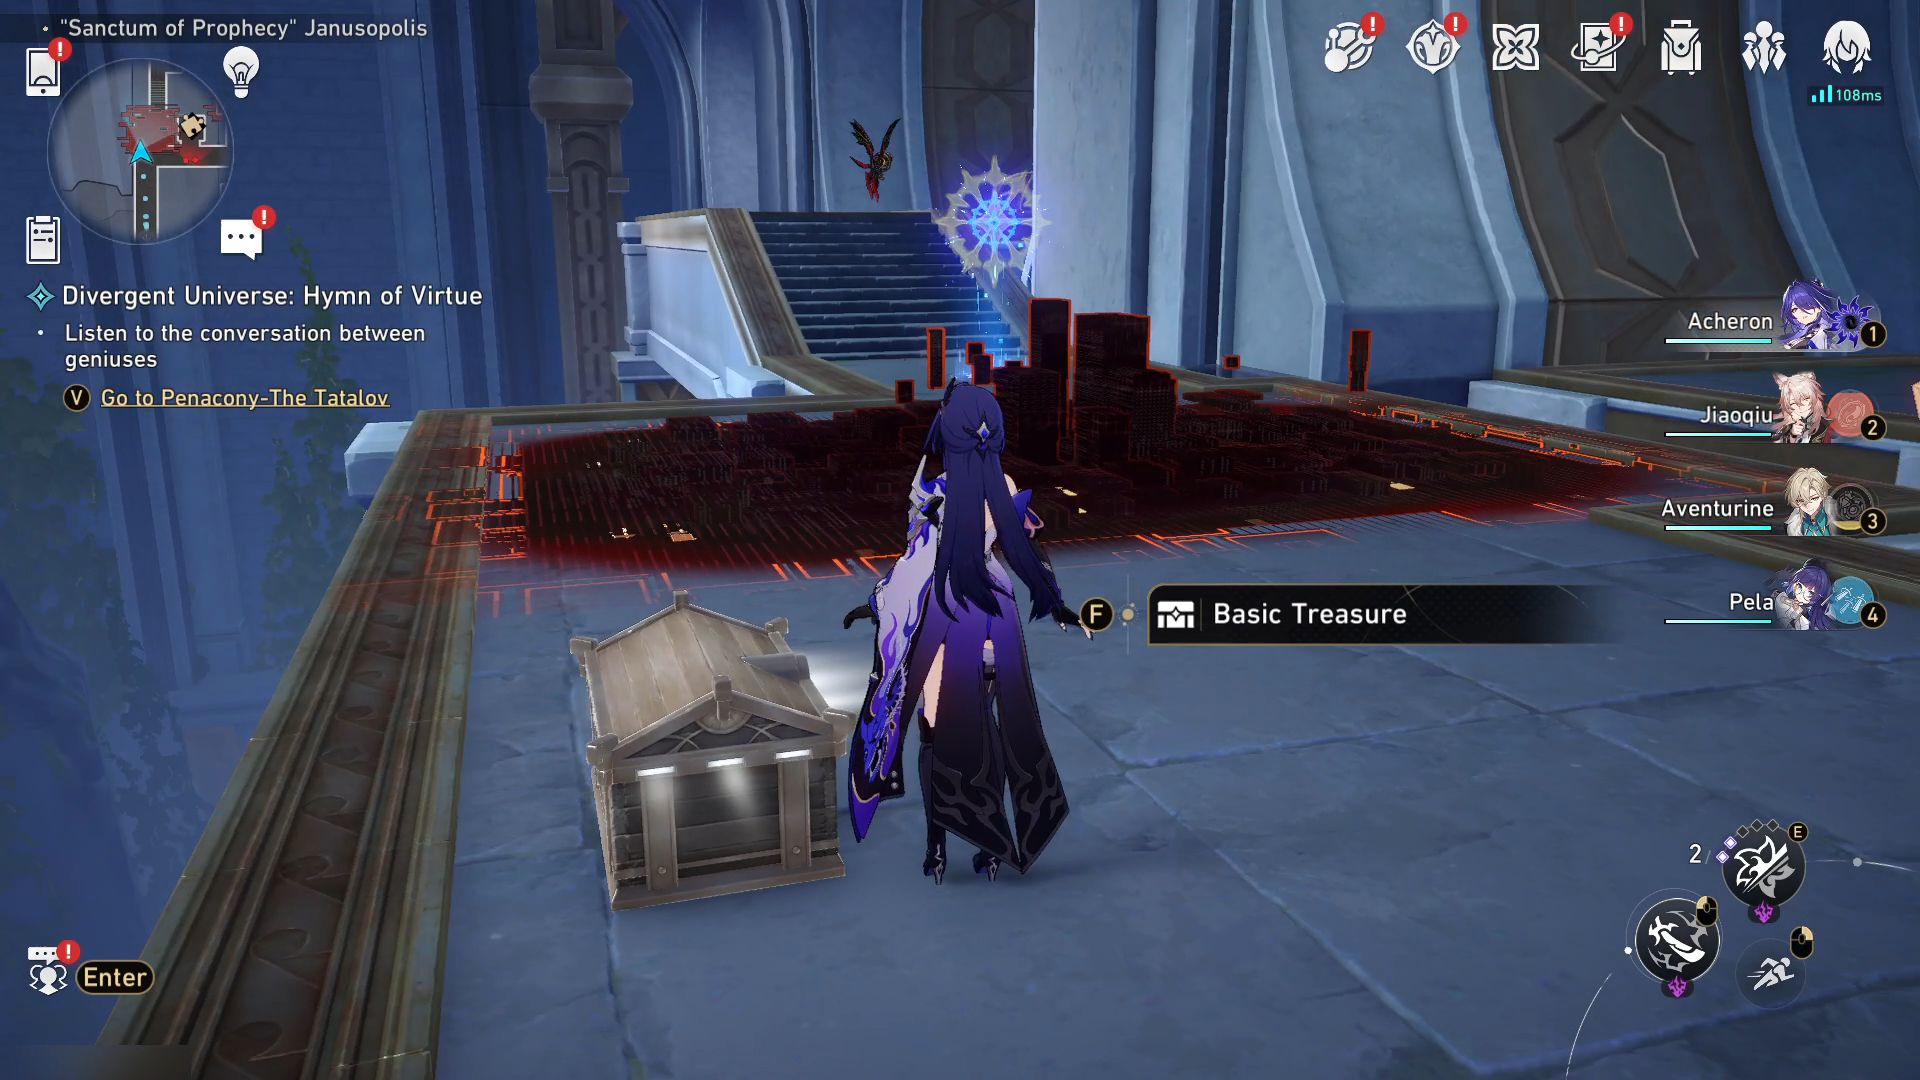
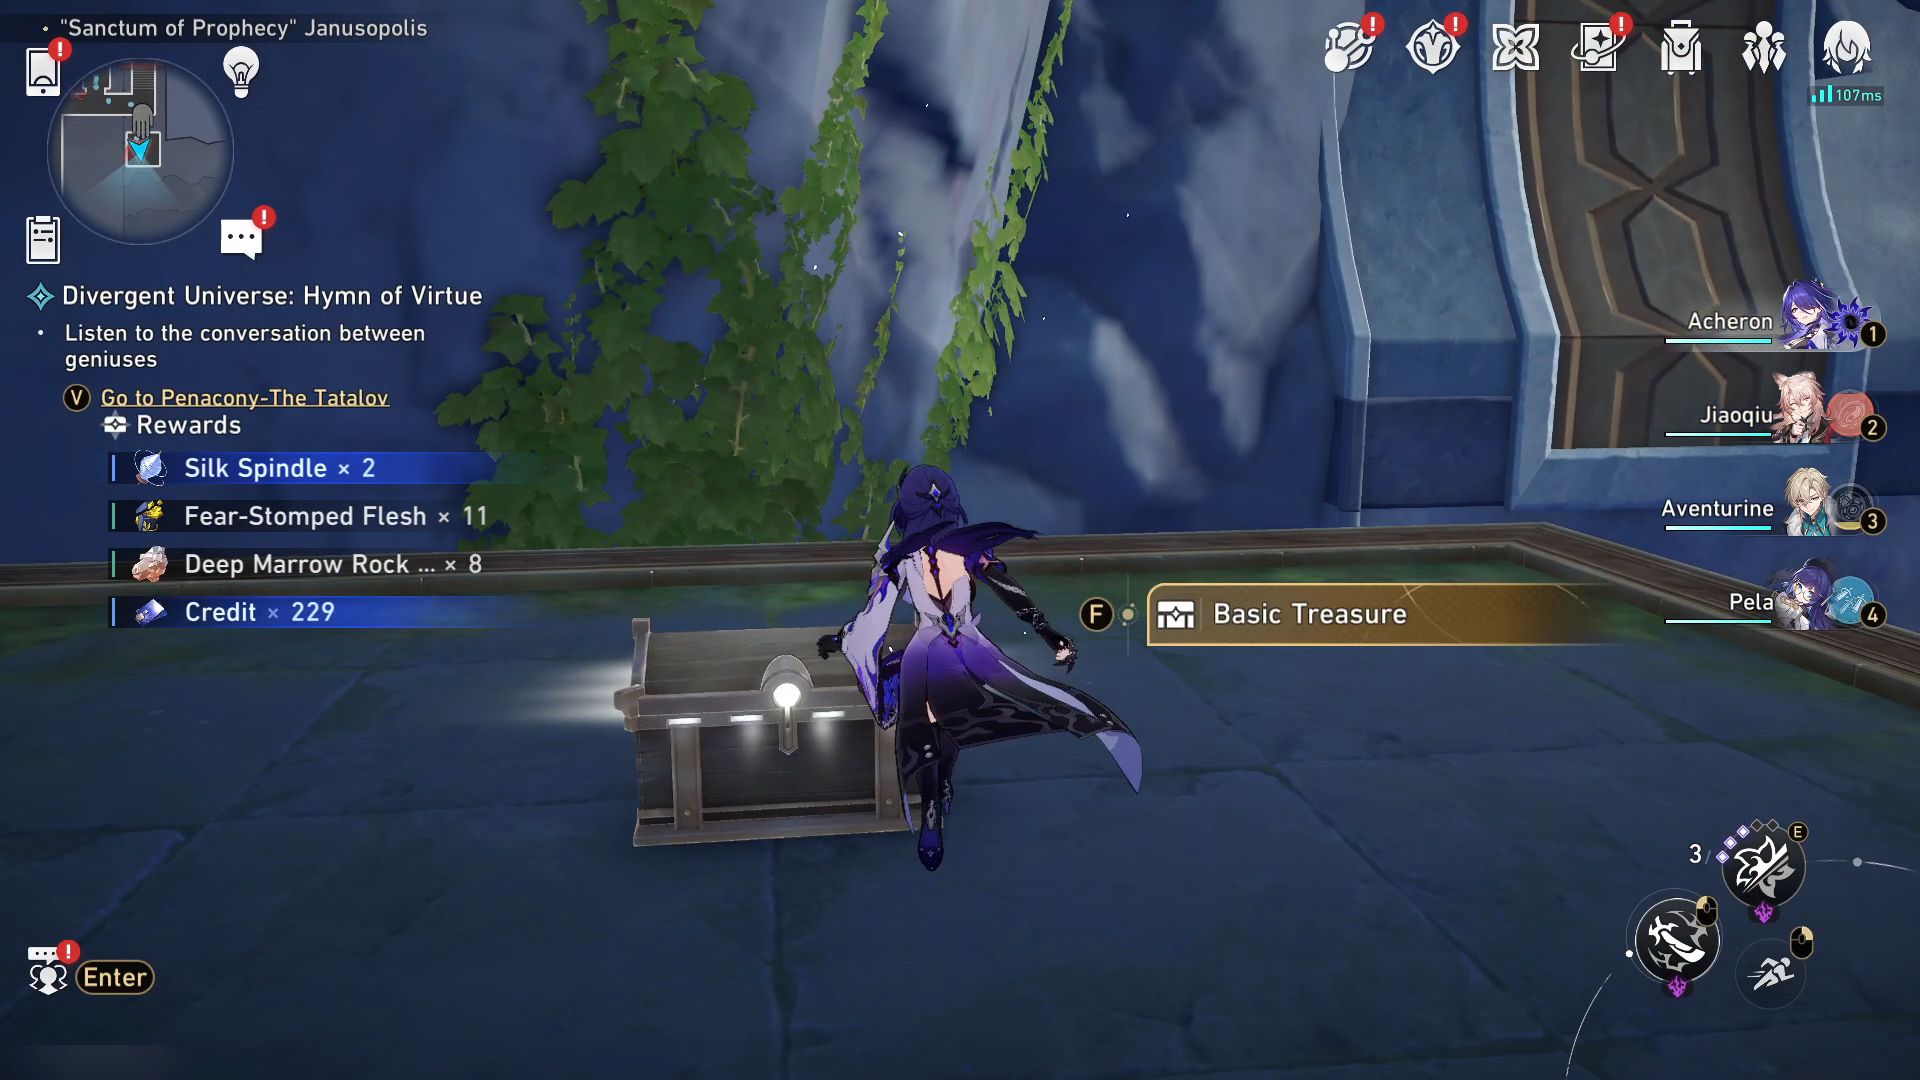
In the mystical city of Janusopolis, located within the Sanctum of Prophecy, the initial 12 treasure chests can be acquired by successfully finishing a mission known as “Janus’ Maze”. To initiate this quest, simply approach Priest Monnta in the Archive of Prophecies and engage in conversation. As you progress through the intriguing puzzles within Janus’ Maze, you will unlock 9 treasure chests. Furthermore, along your journey, Priest Monnta will allow you to interact with three additional NPCs who will bestow further rewards upon you in the form of treasure chests.
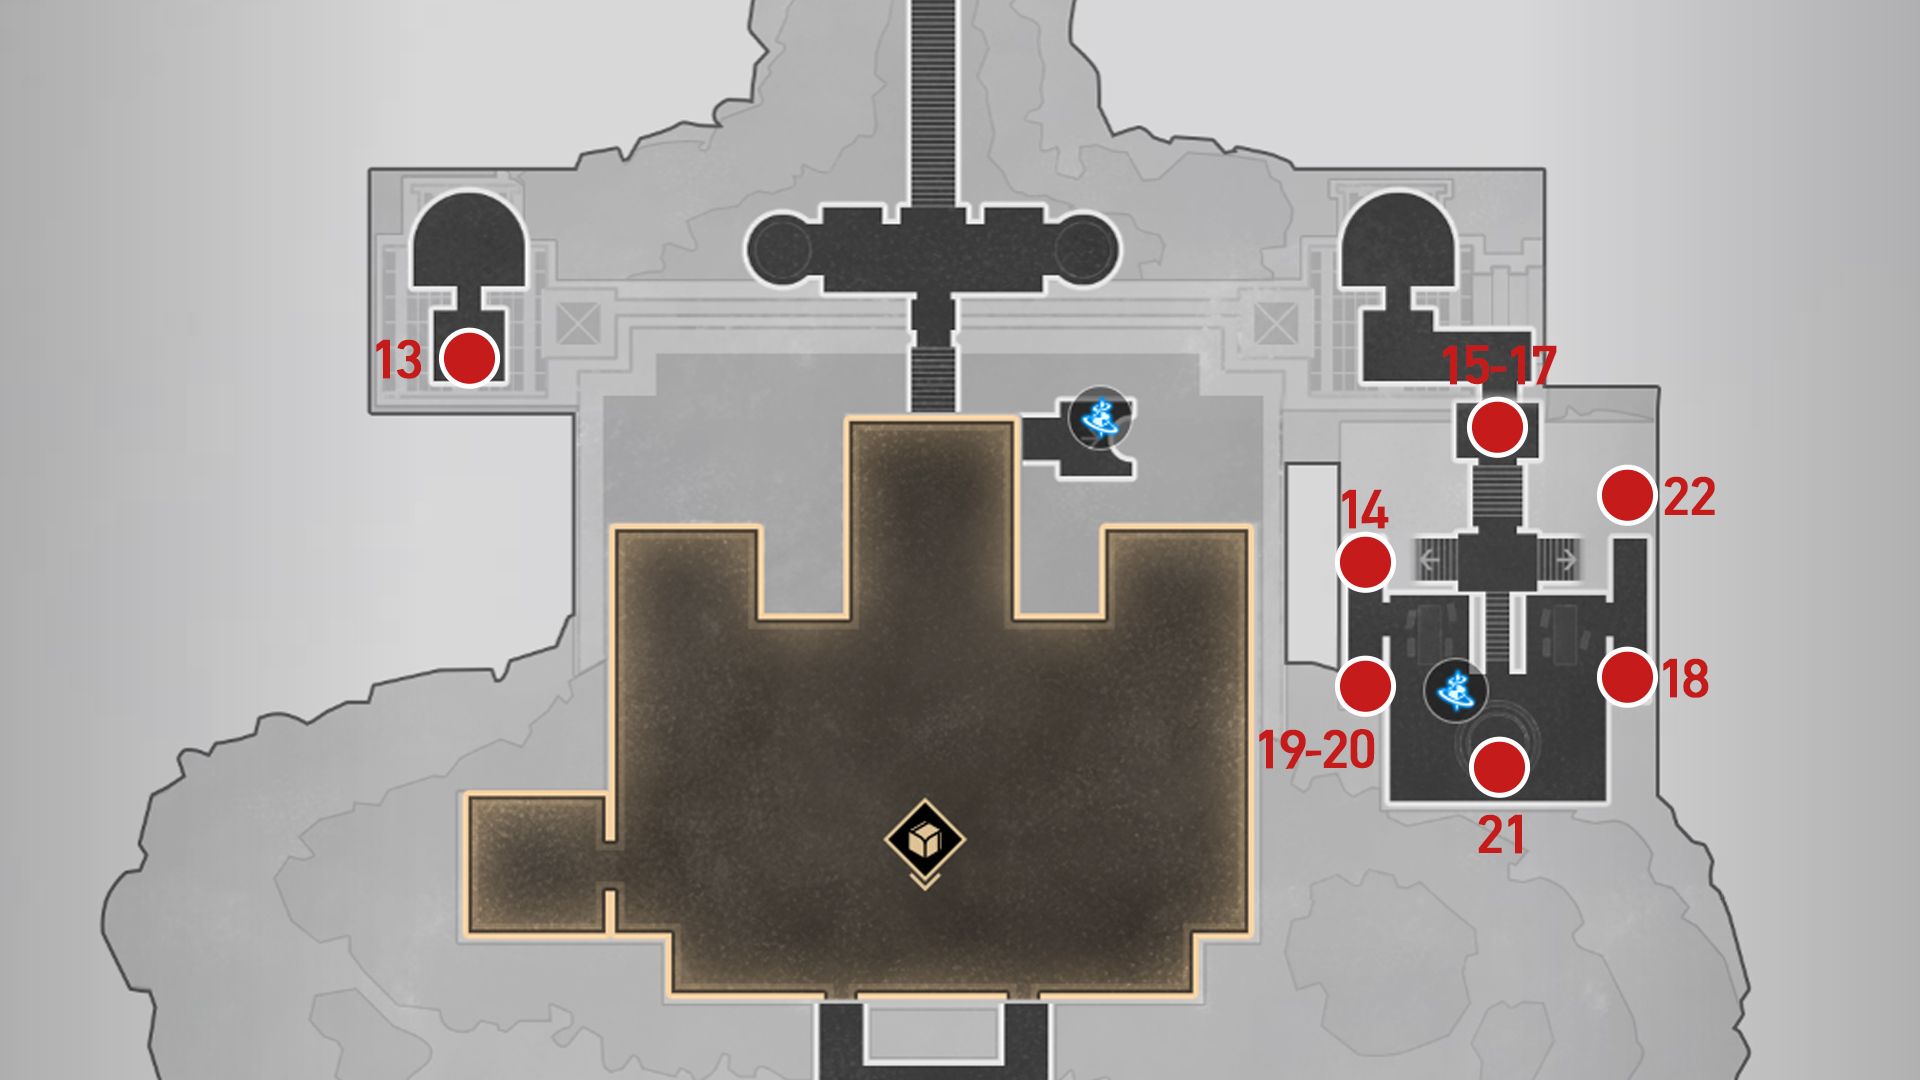
- 13. Use the Theophany Altar Space Anchor and head south before using the Janus’ Hidden Passage on the west to reach a hidden room.
- 14 through 16. Next, warp to Archive of Prophecies Space Anchor and turn around for a Prophecy Tablet puzzle after arrival. This puzzle will unlock a gate in the middle of the room and you can get the next two treasure chests and a Golden Scapegoat puzzle.
- 17. Get out of that room and descend the stairs before heading west towards another treasure chest.
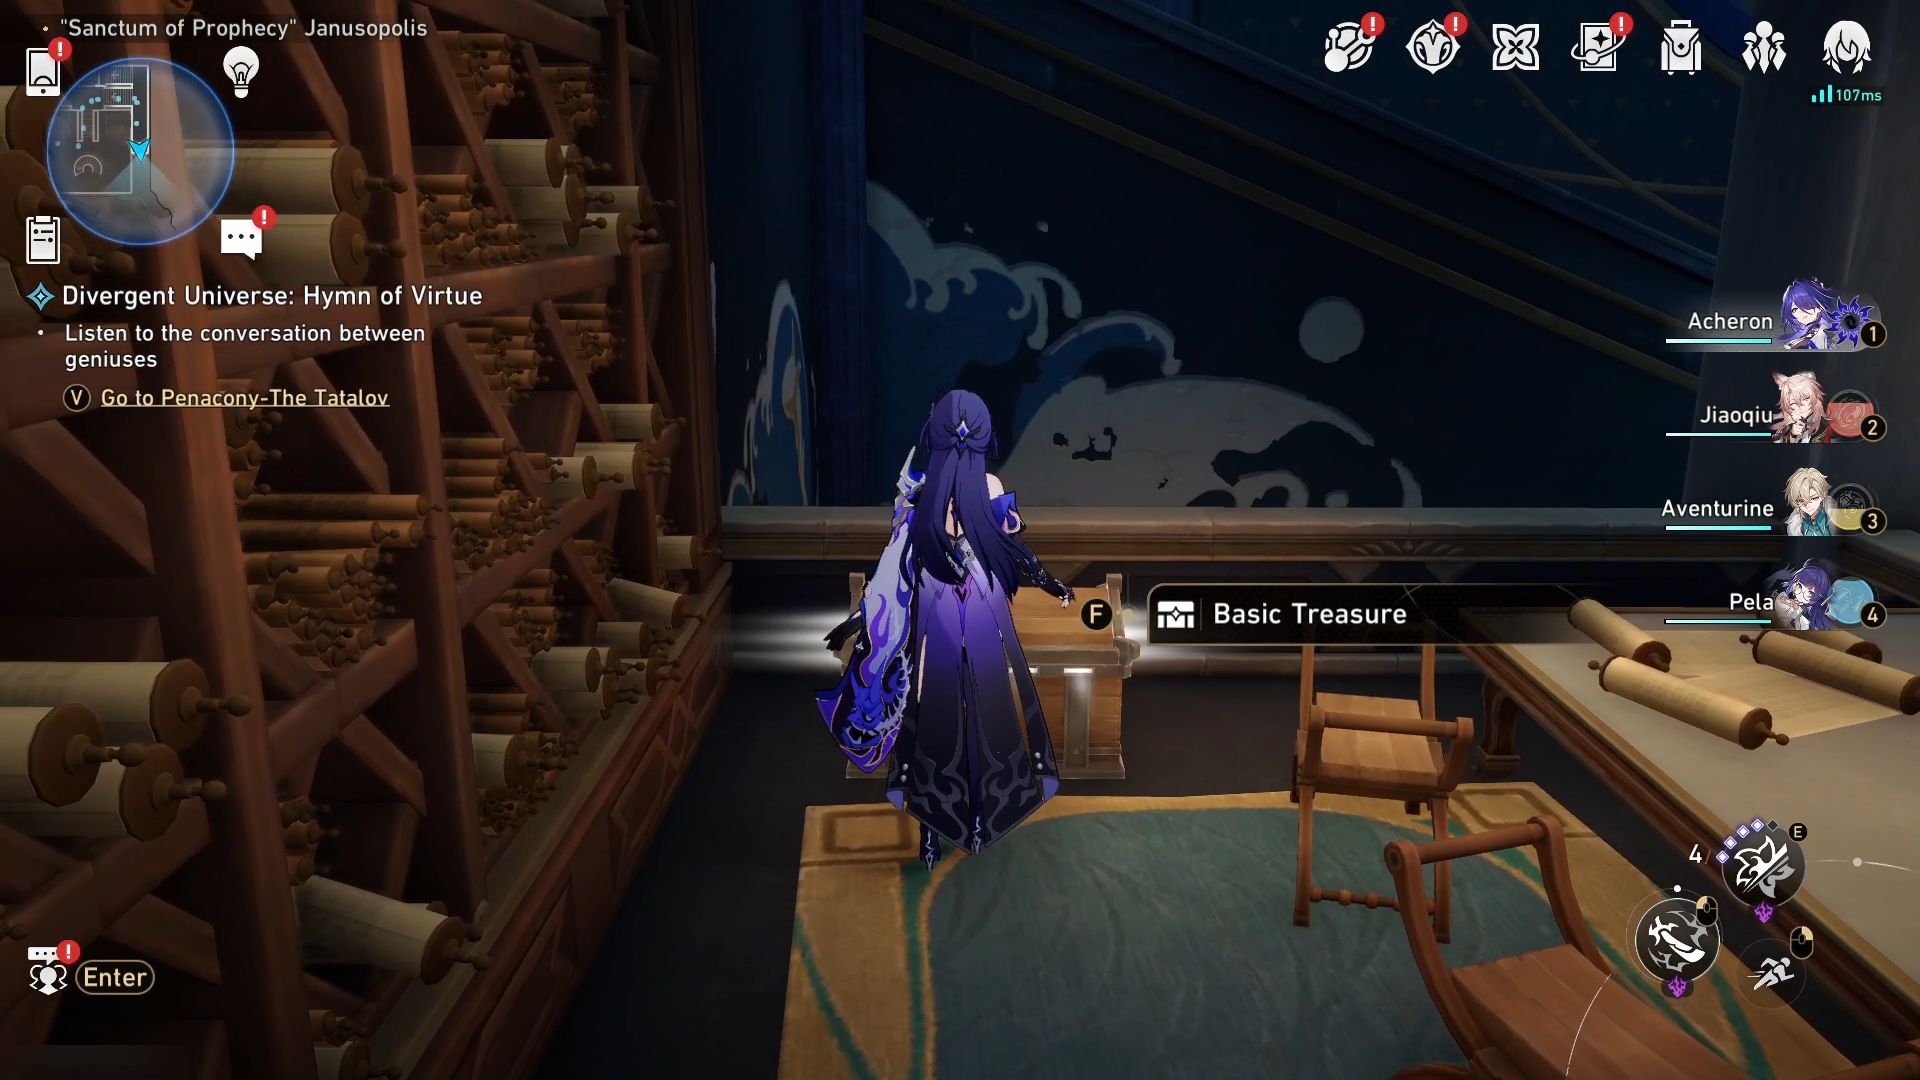
- 18. Walk to the second floor using the stairs and head southeast to the end of the corridor.
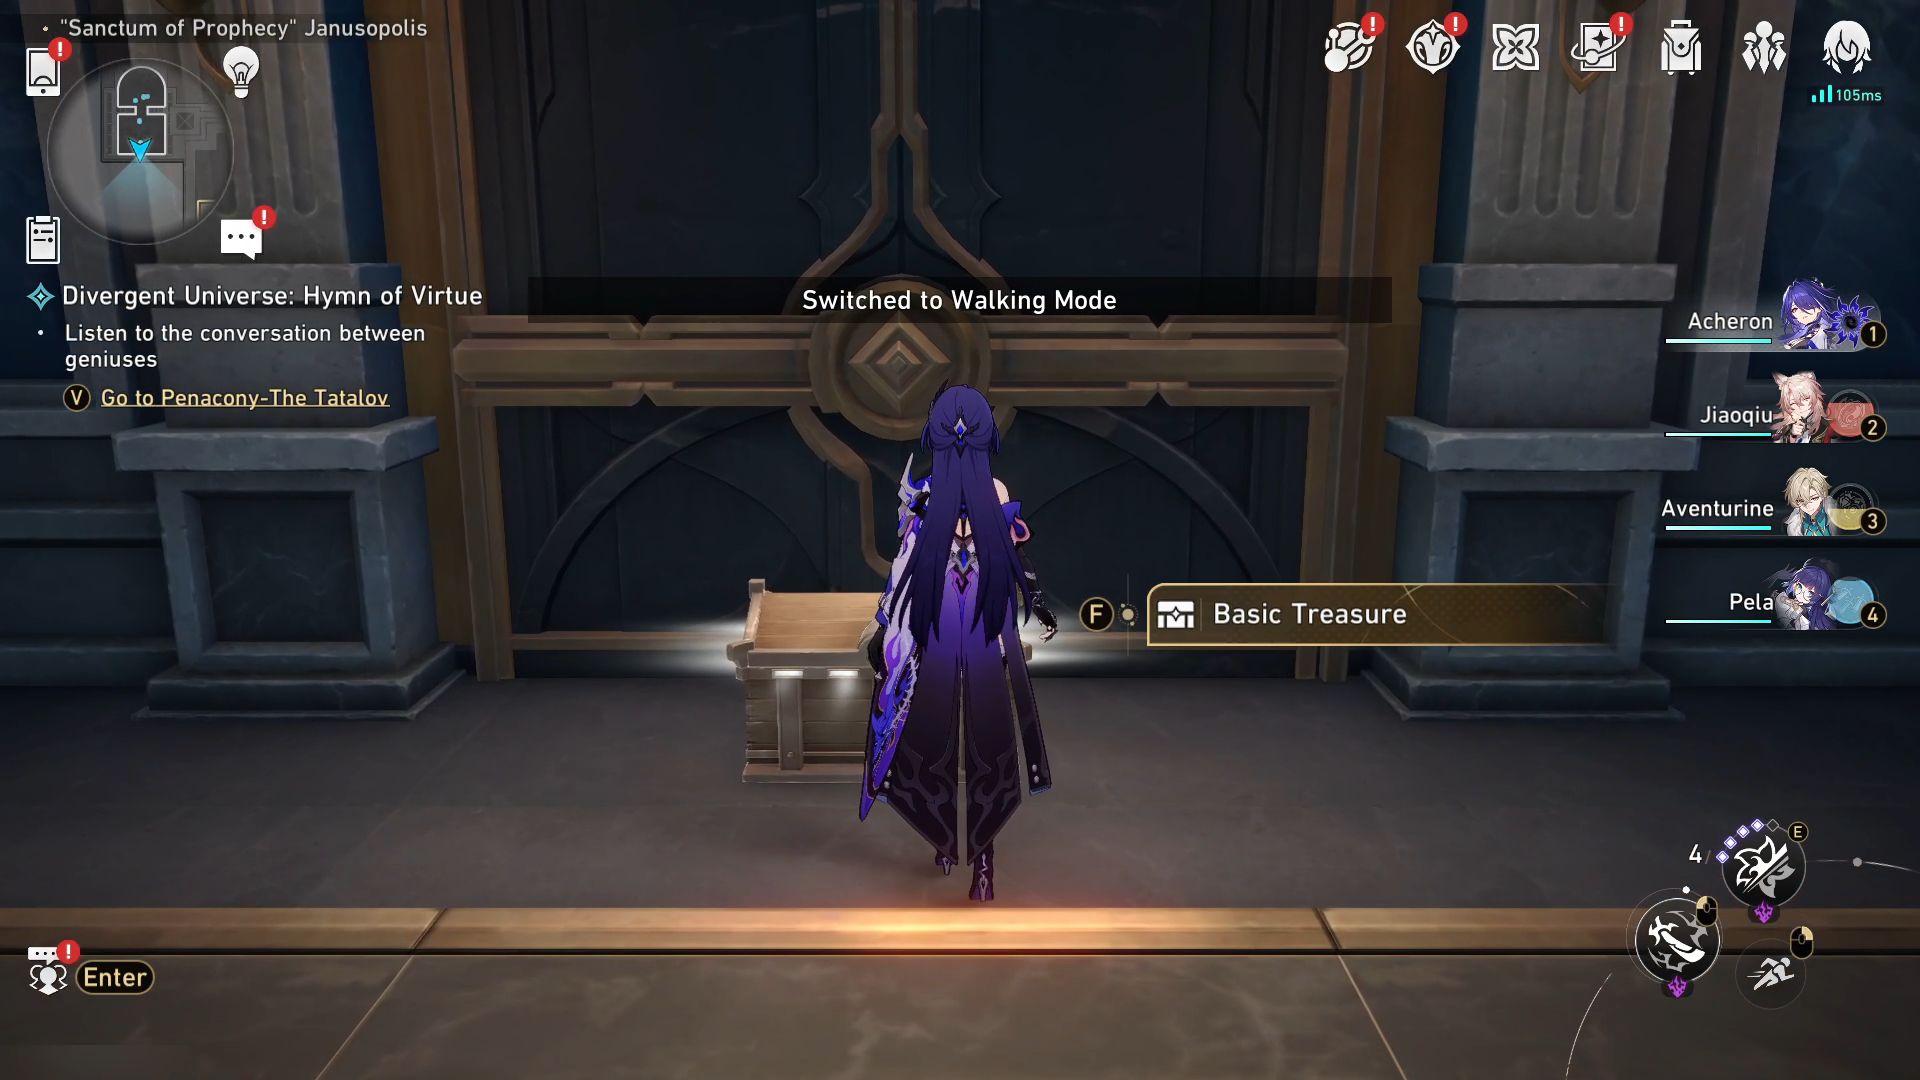
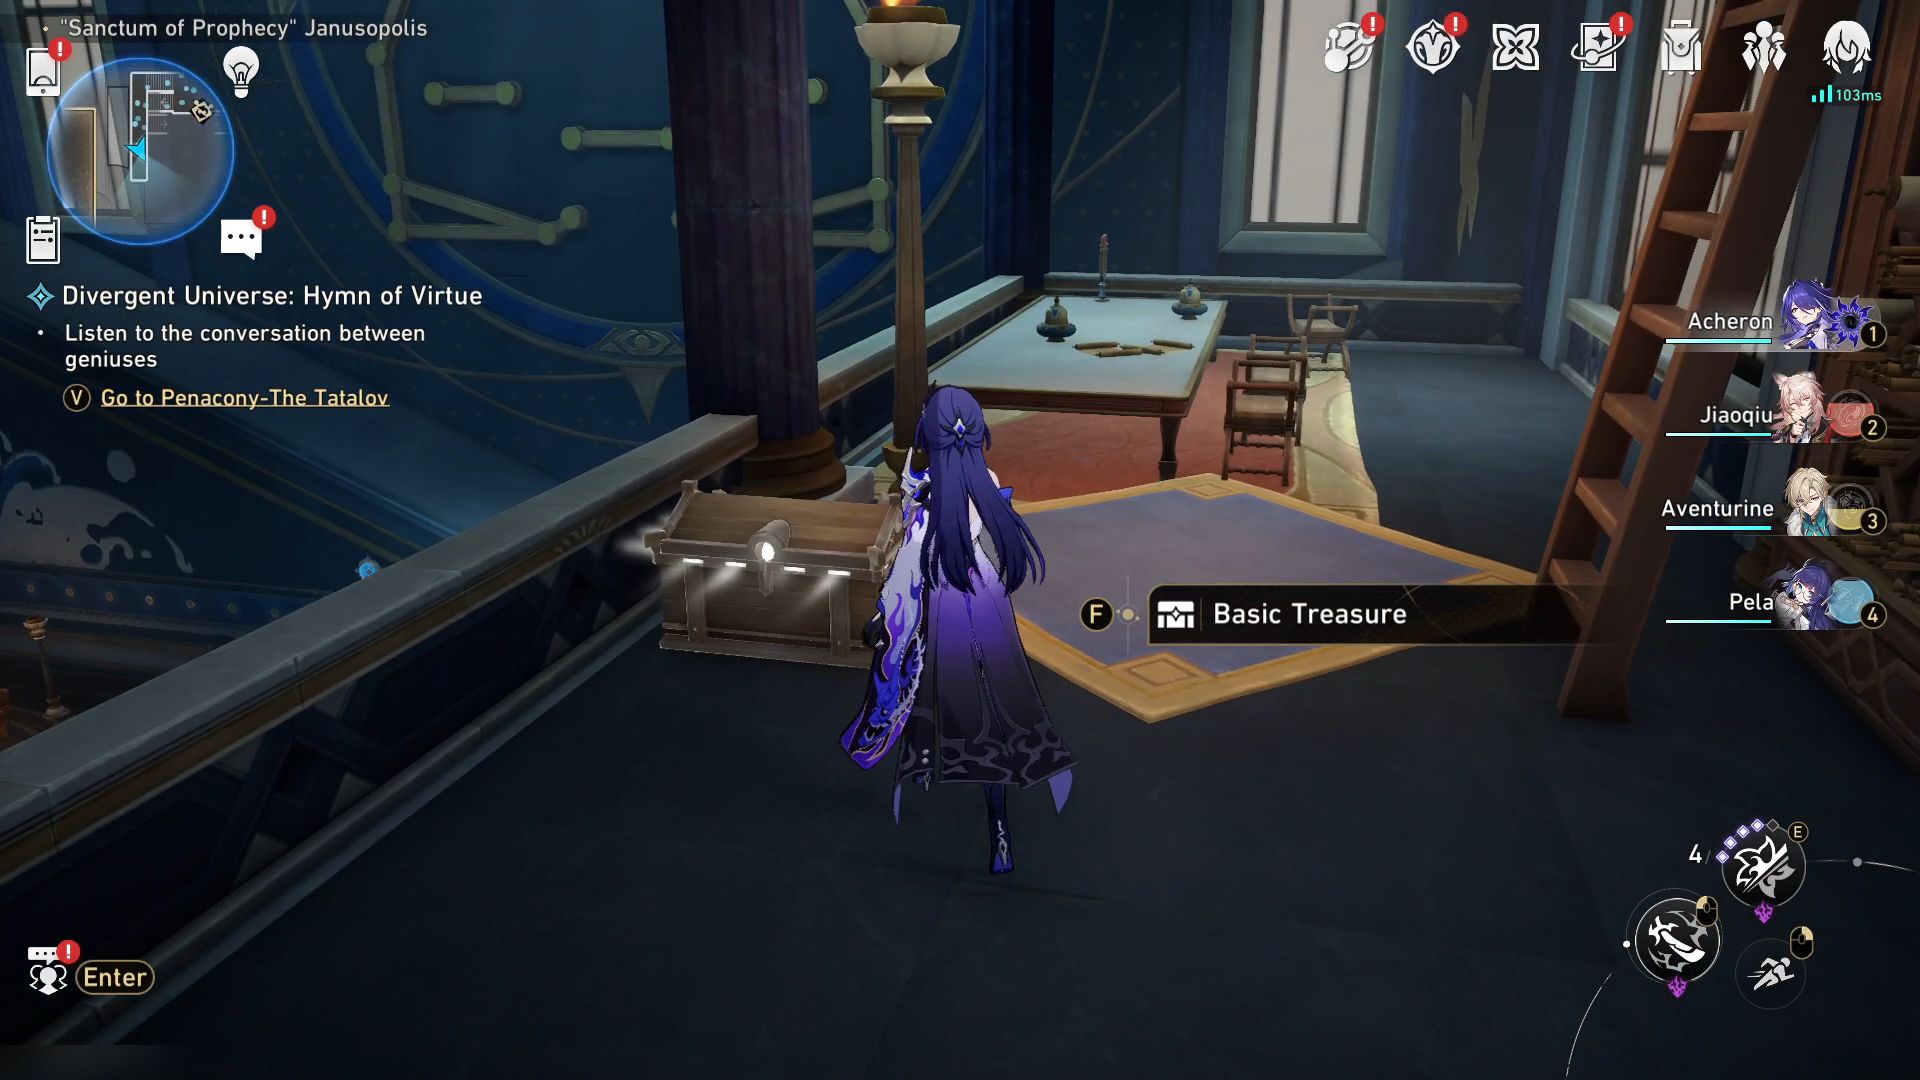
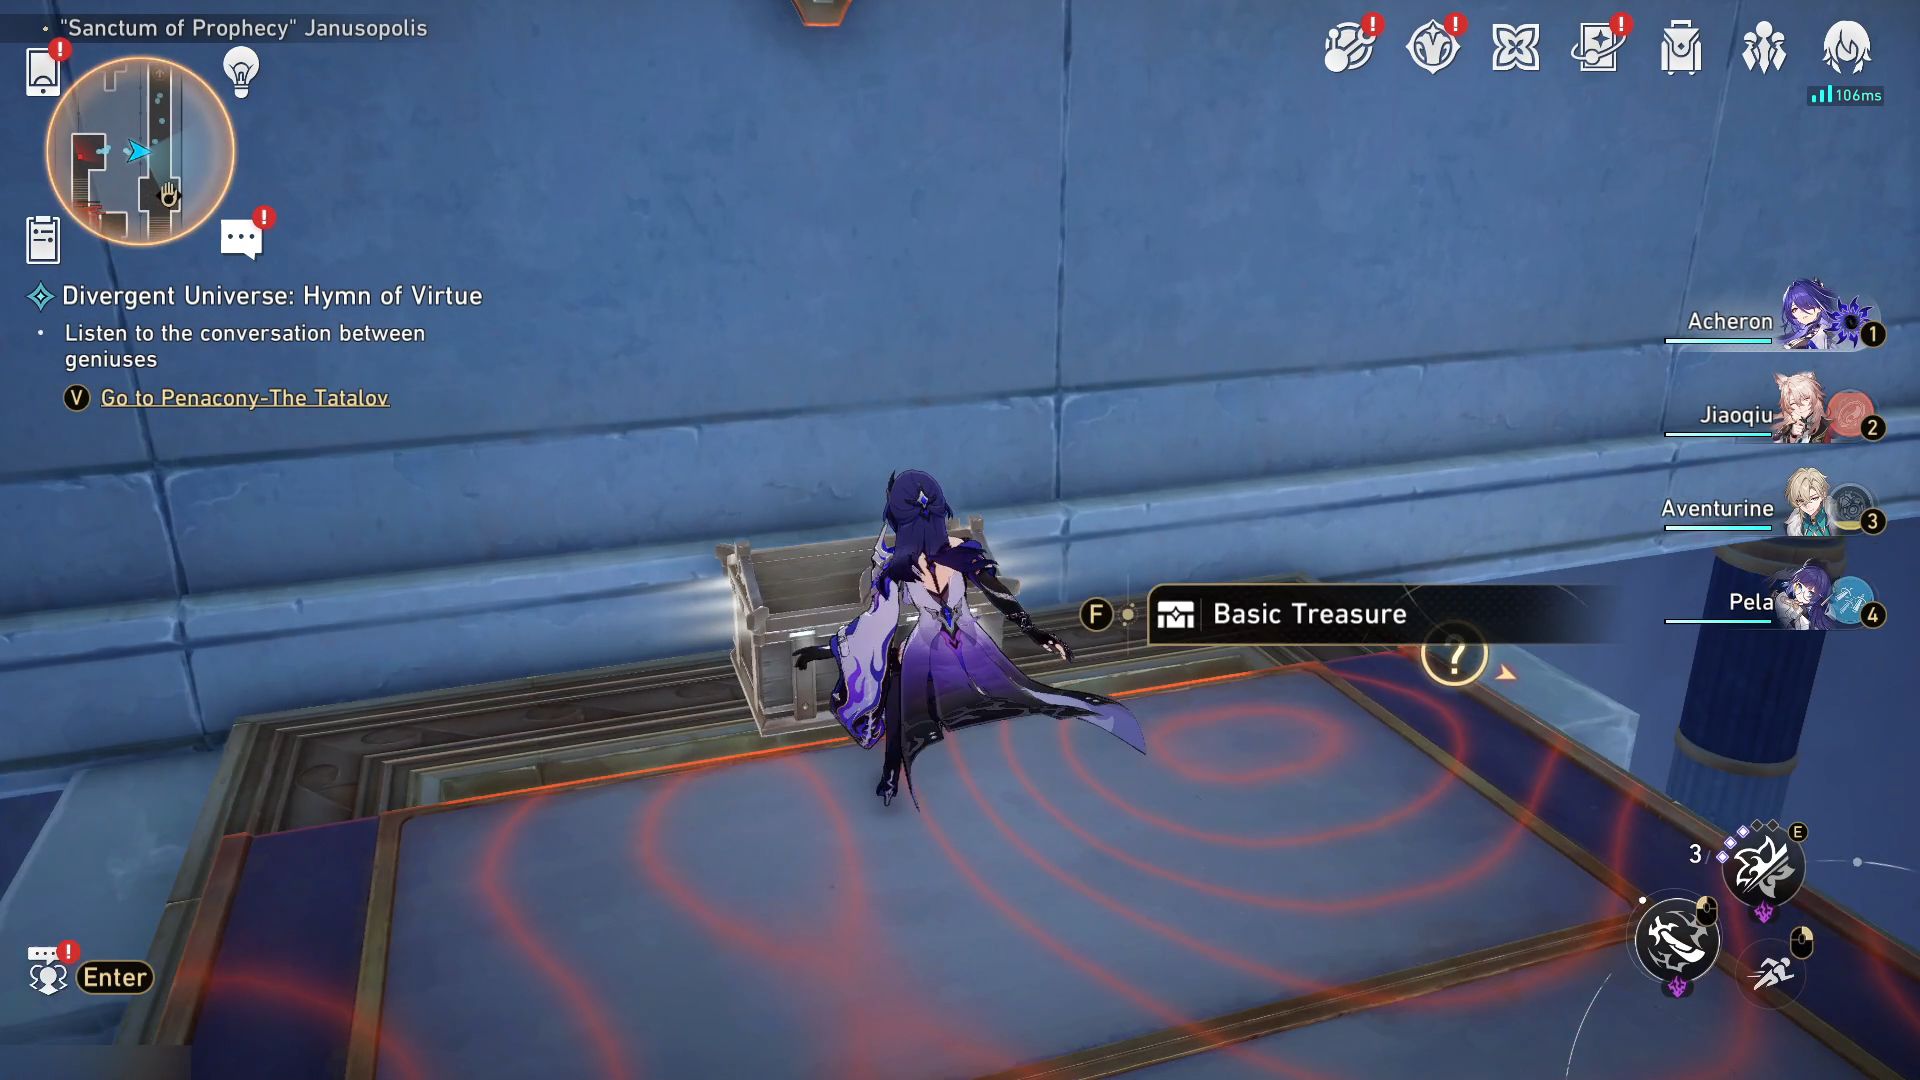
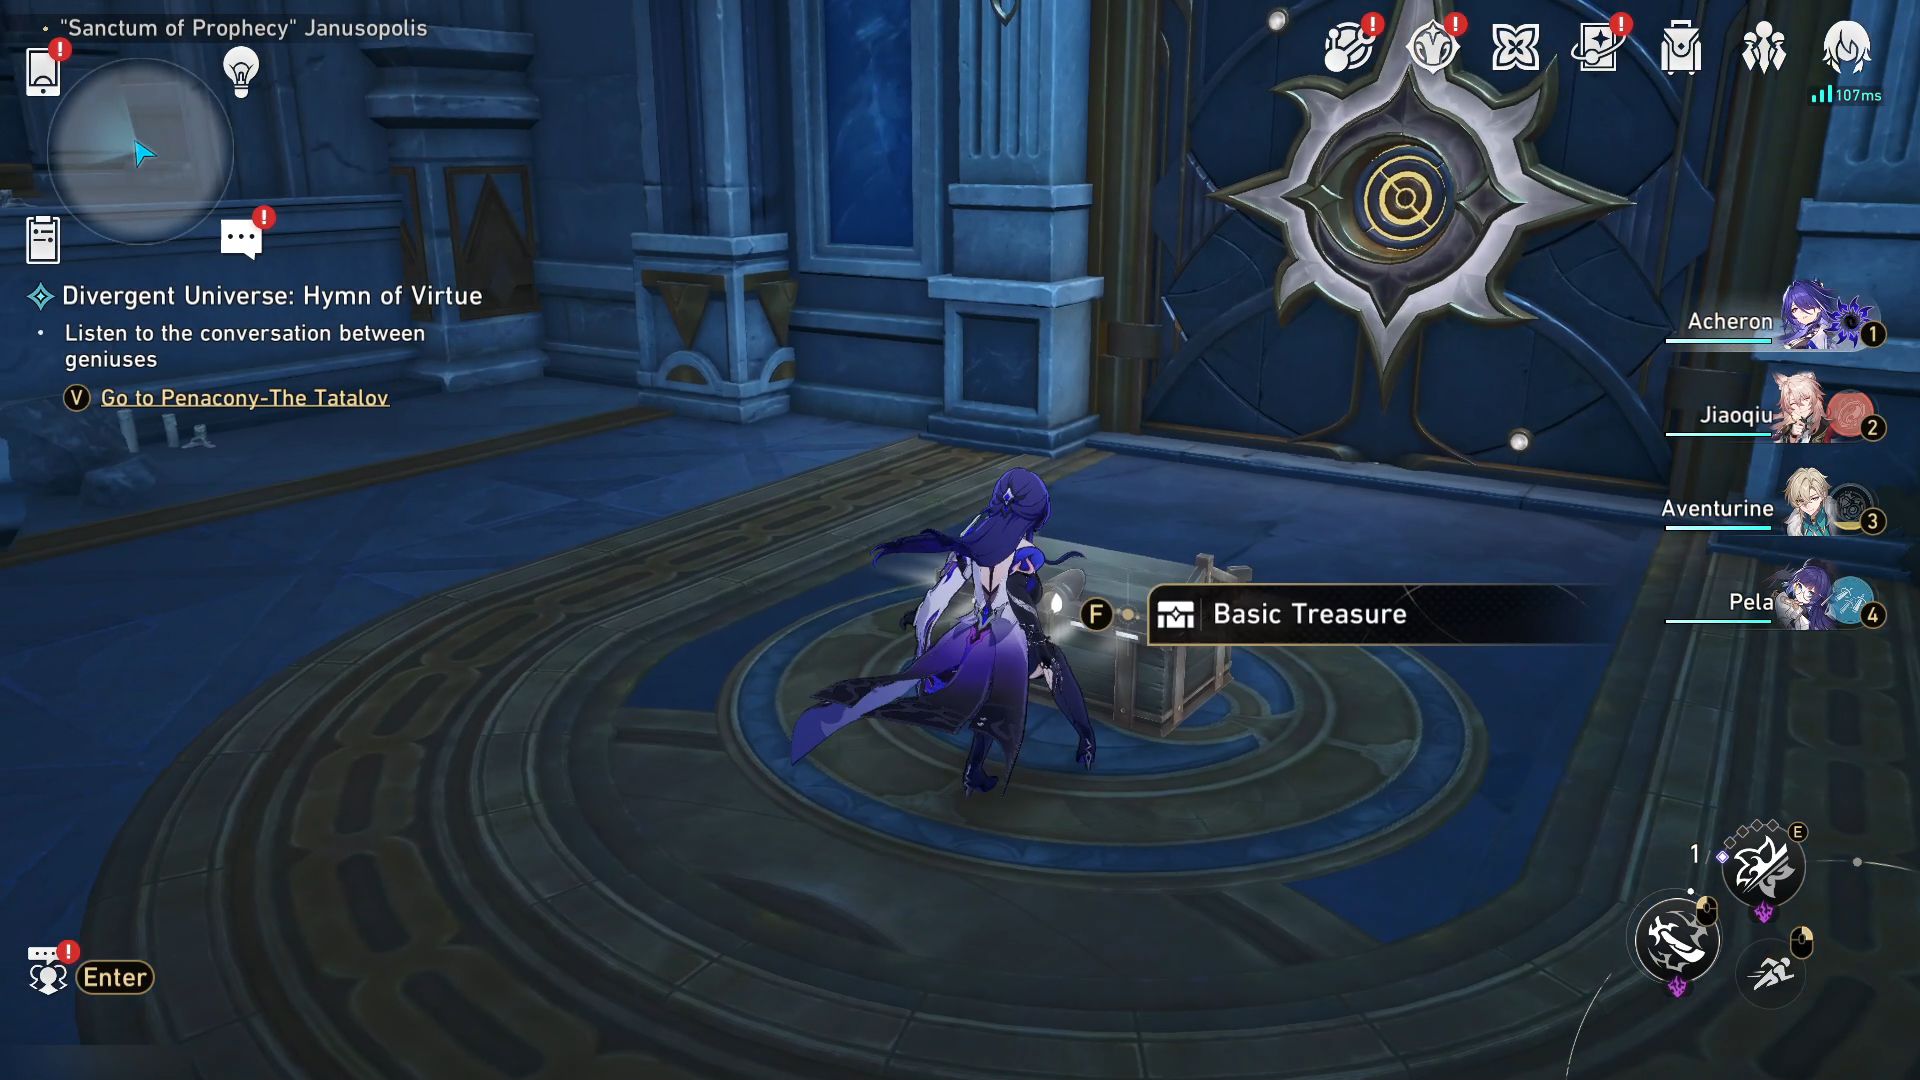
- 19. Now go to the third floor towards the southwest for another Basic Treasure Chest.
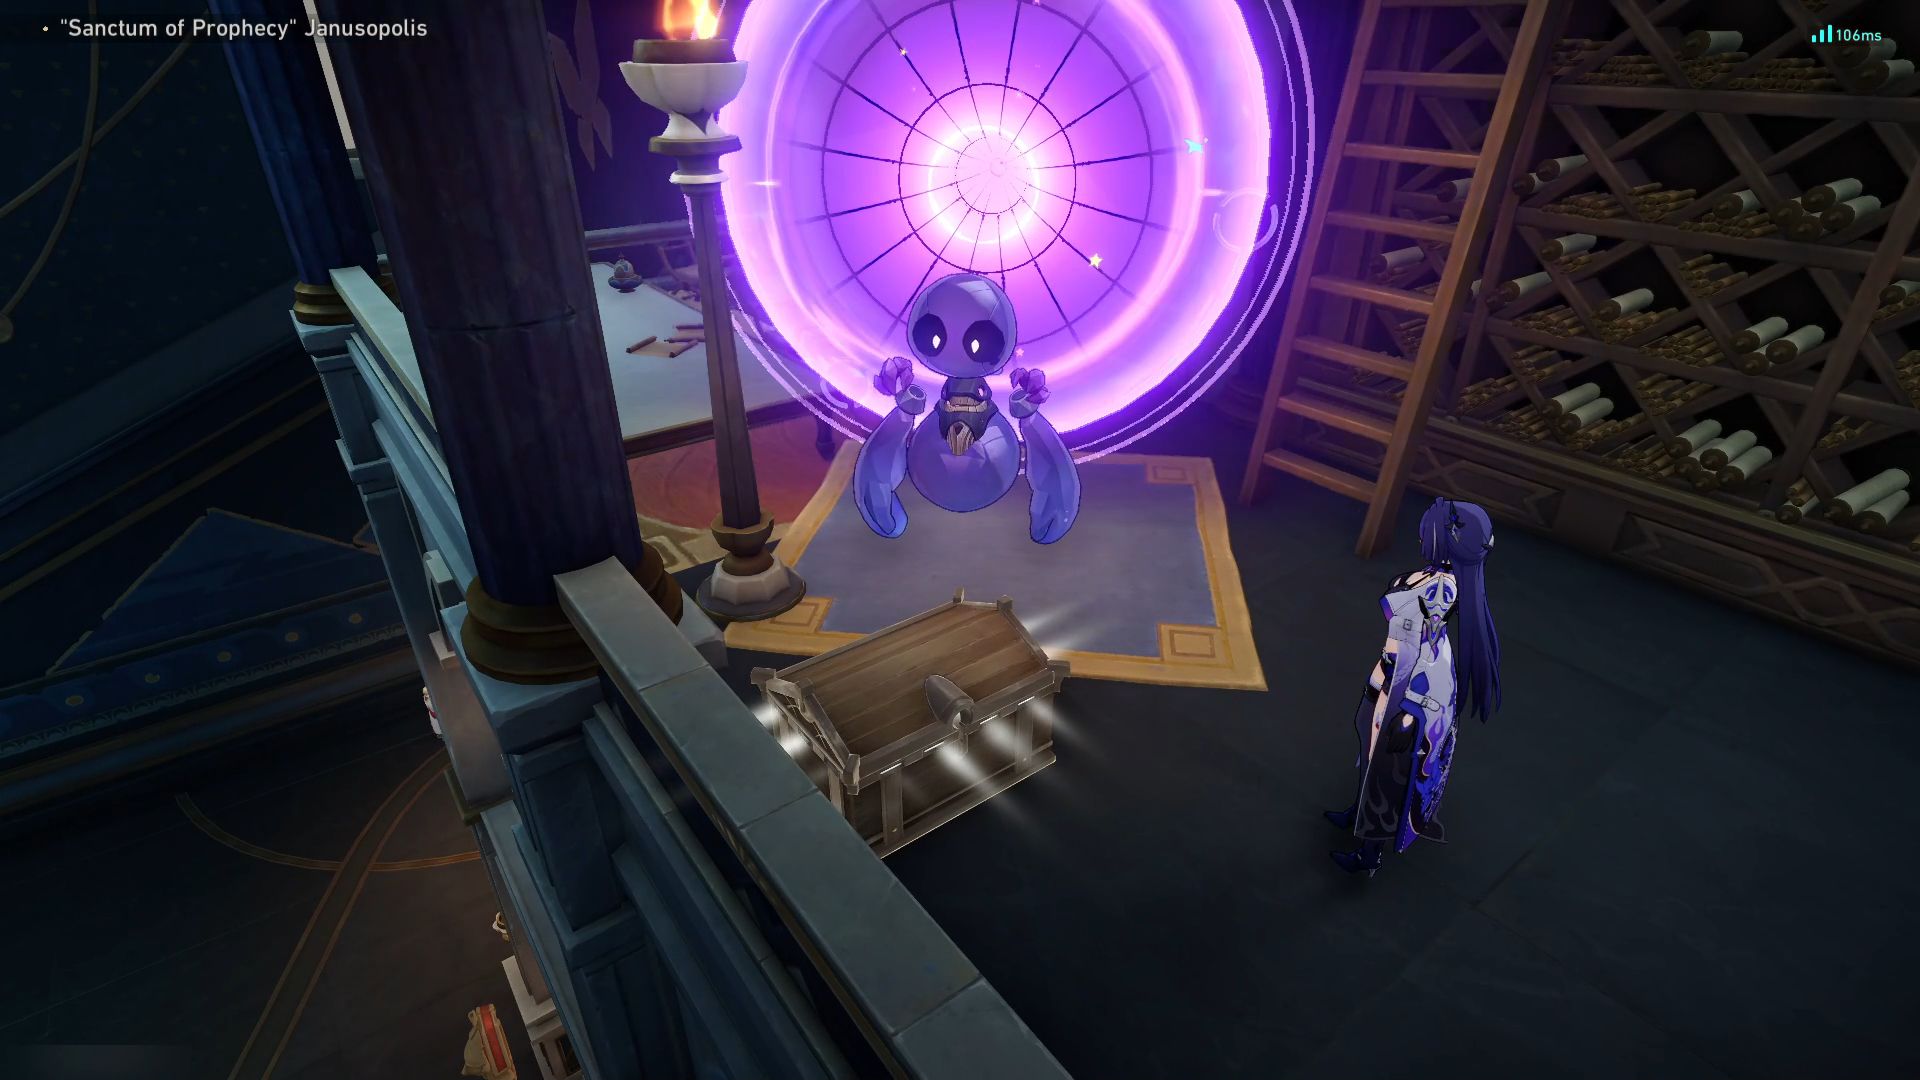
- 20. A Spirithief will steal the previous chest. Catch it using the power of Oronyx to get Stellar Jade and the stolen treasure chest.
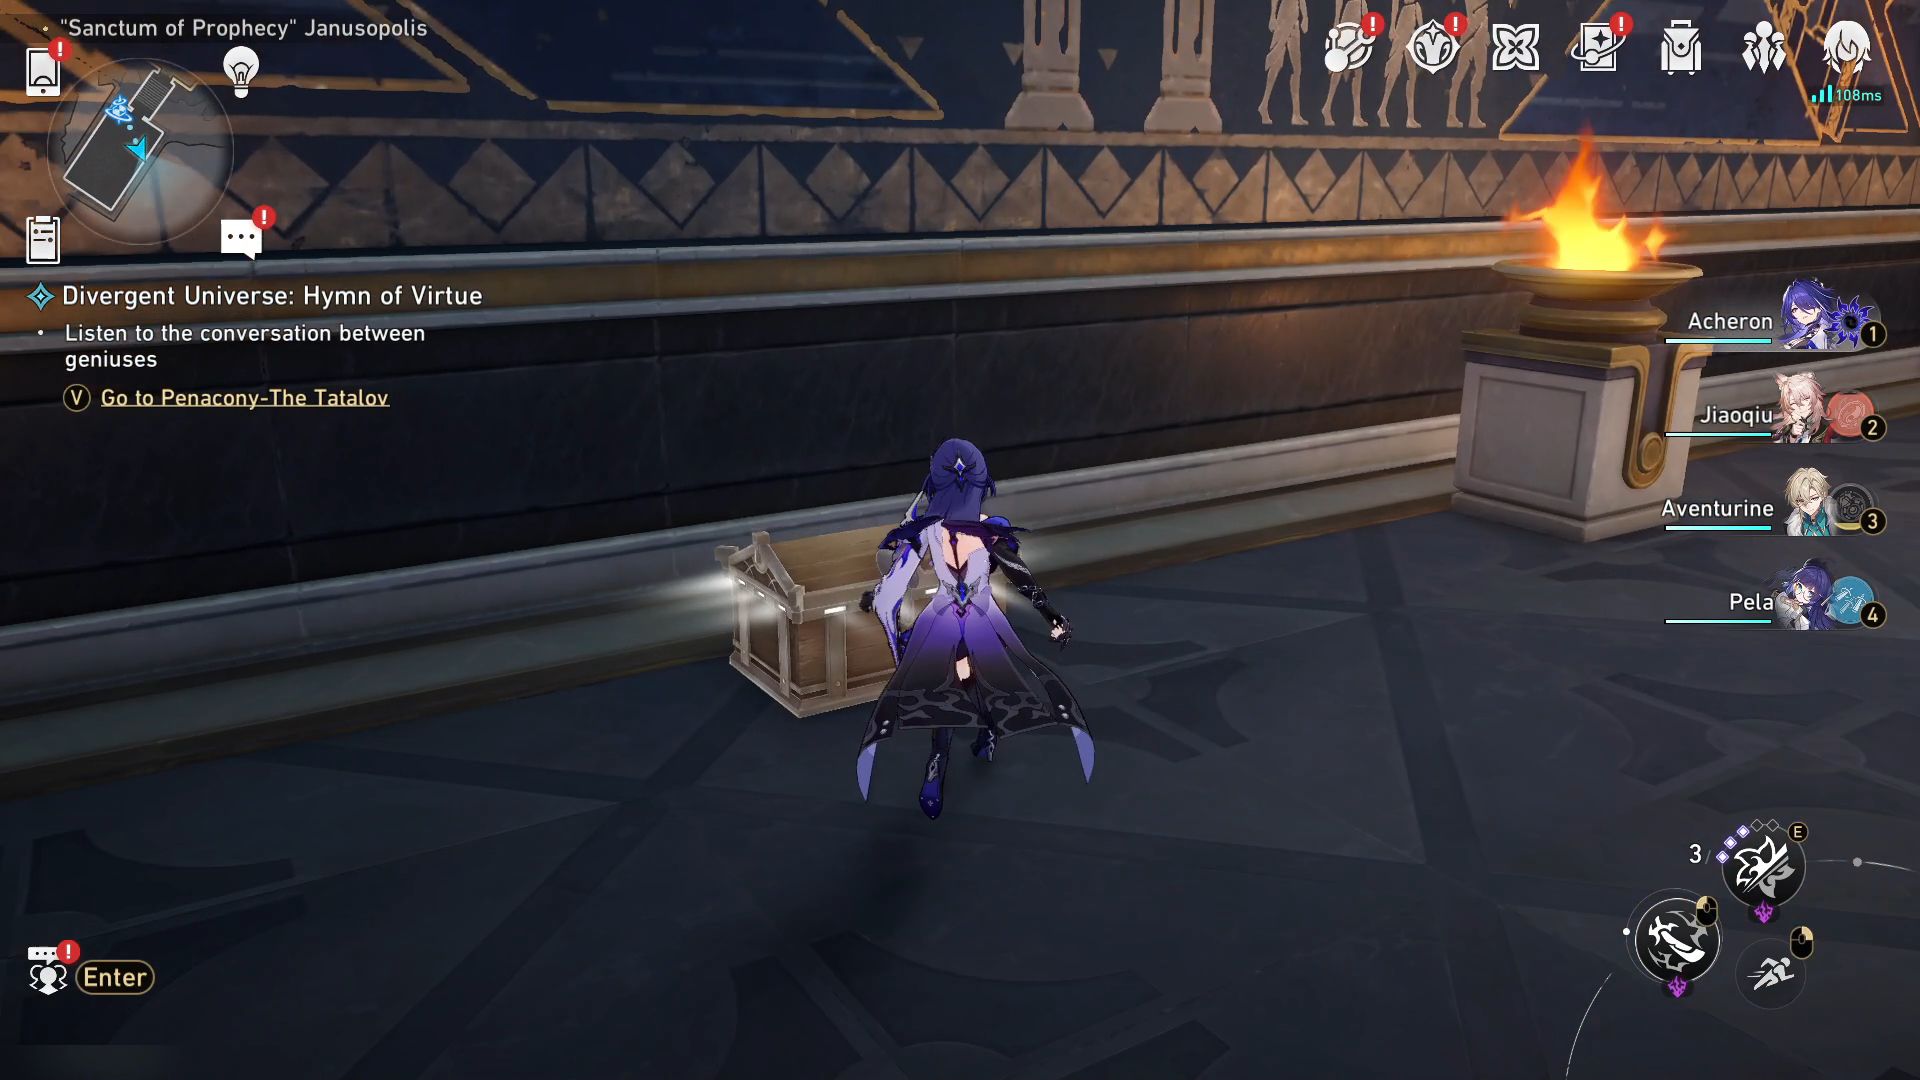
- 21. Teleport to Archive of Prophecies Space Anchor once again and go to the basement. The next chest is behind the spiral staircase.
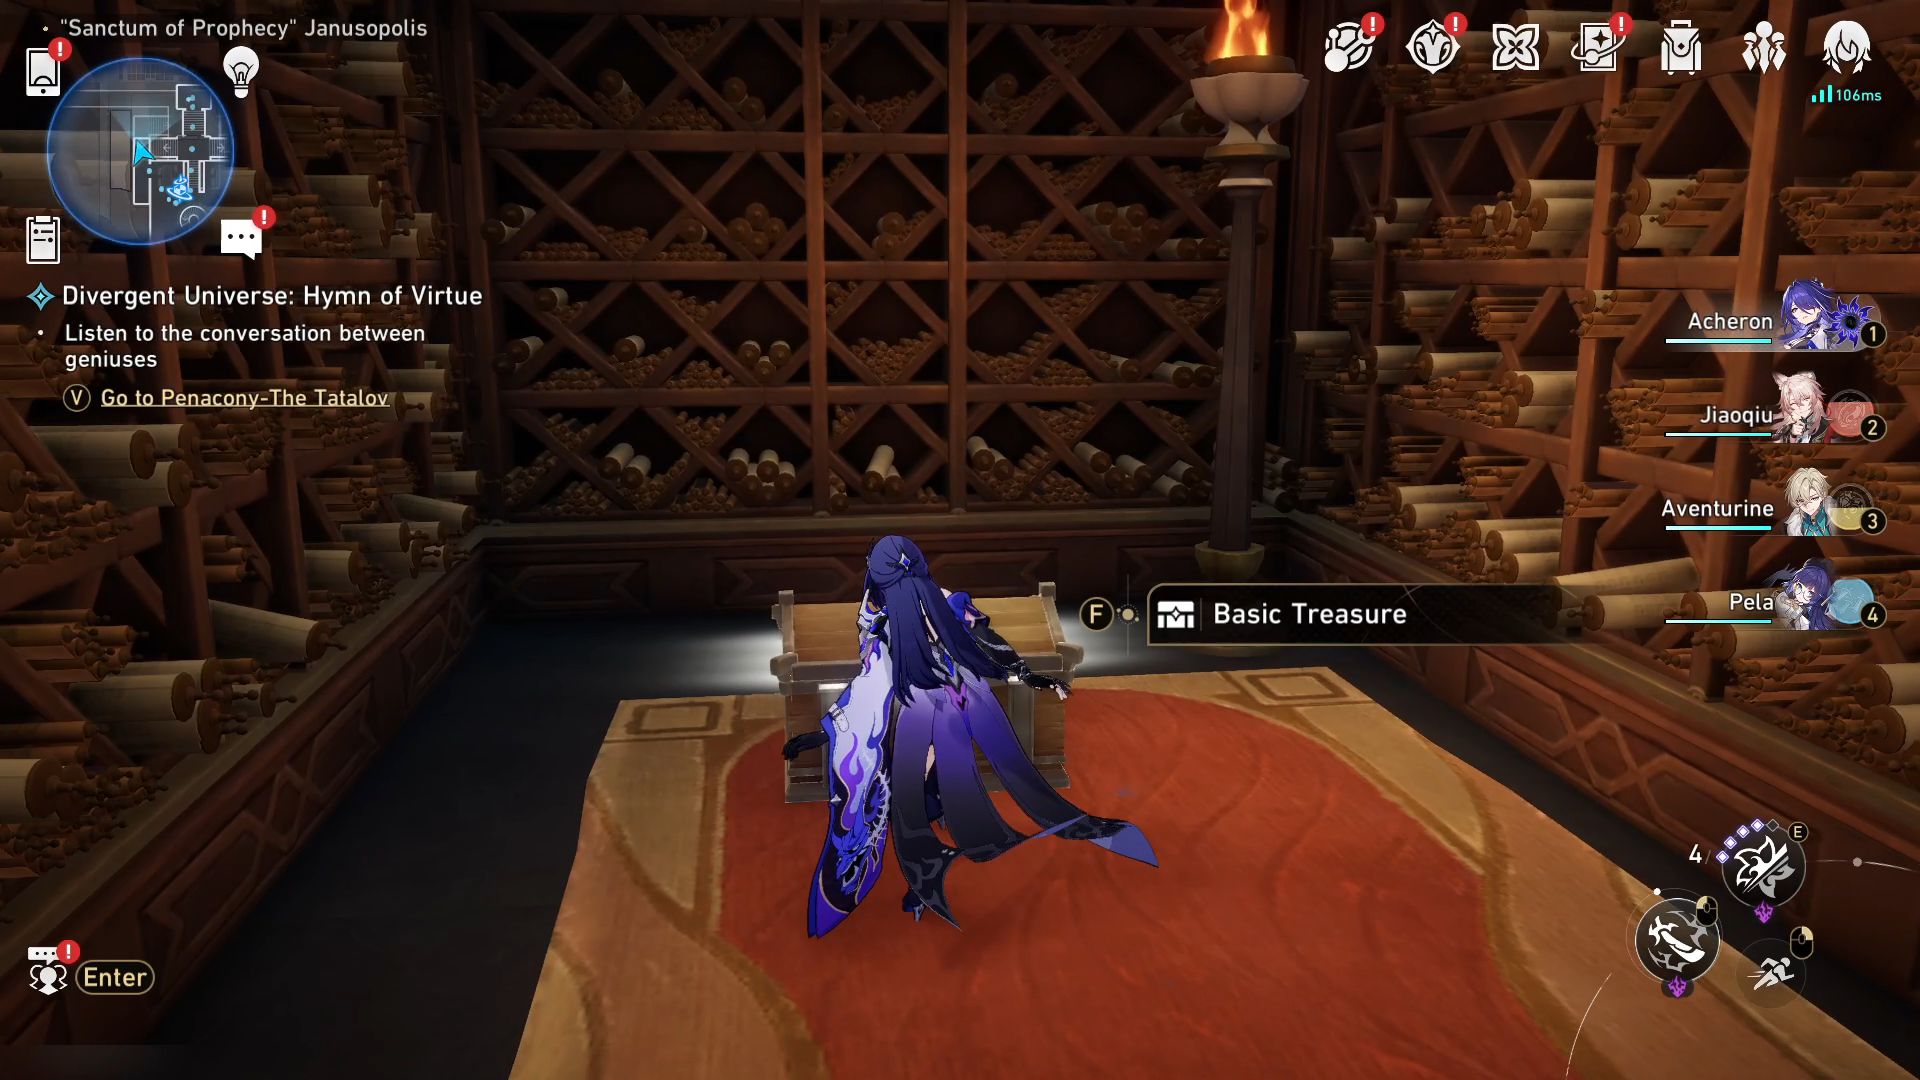
- 22. Enter the door leading to Tribbie’s room and head to the bedroom for another Basic Treasure.
Make your way to the 3D chamber through the “Secret Pathway to the Meditative Realm.” This multi-level space features the intriguing Evernight and Dawn mechanisms on each floor.
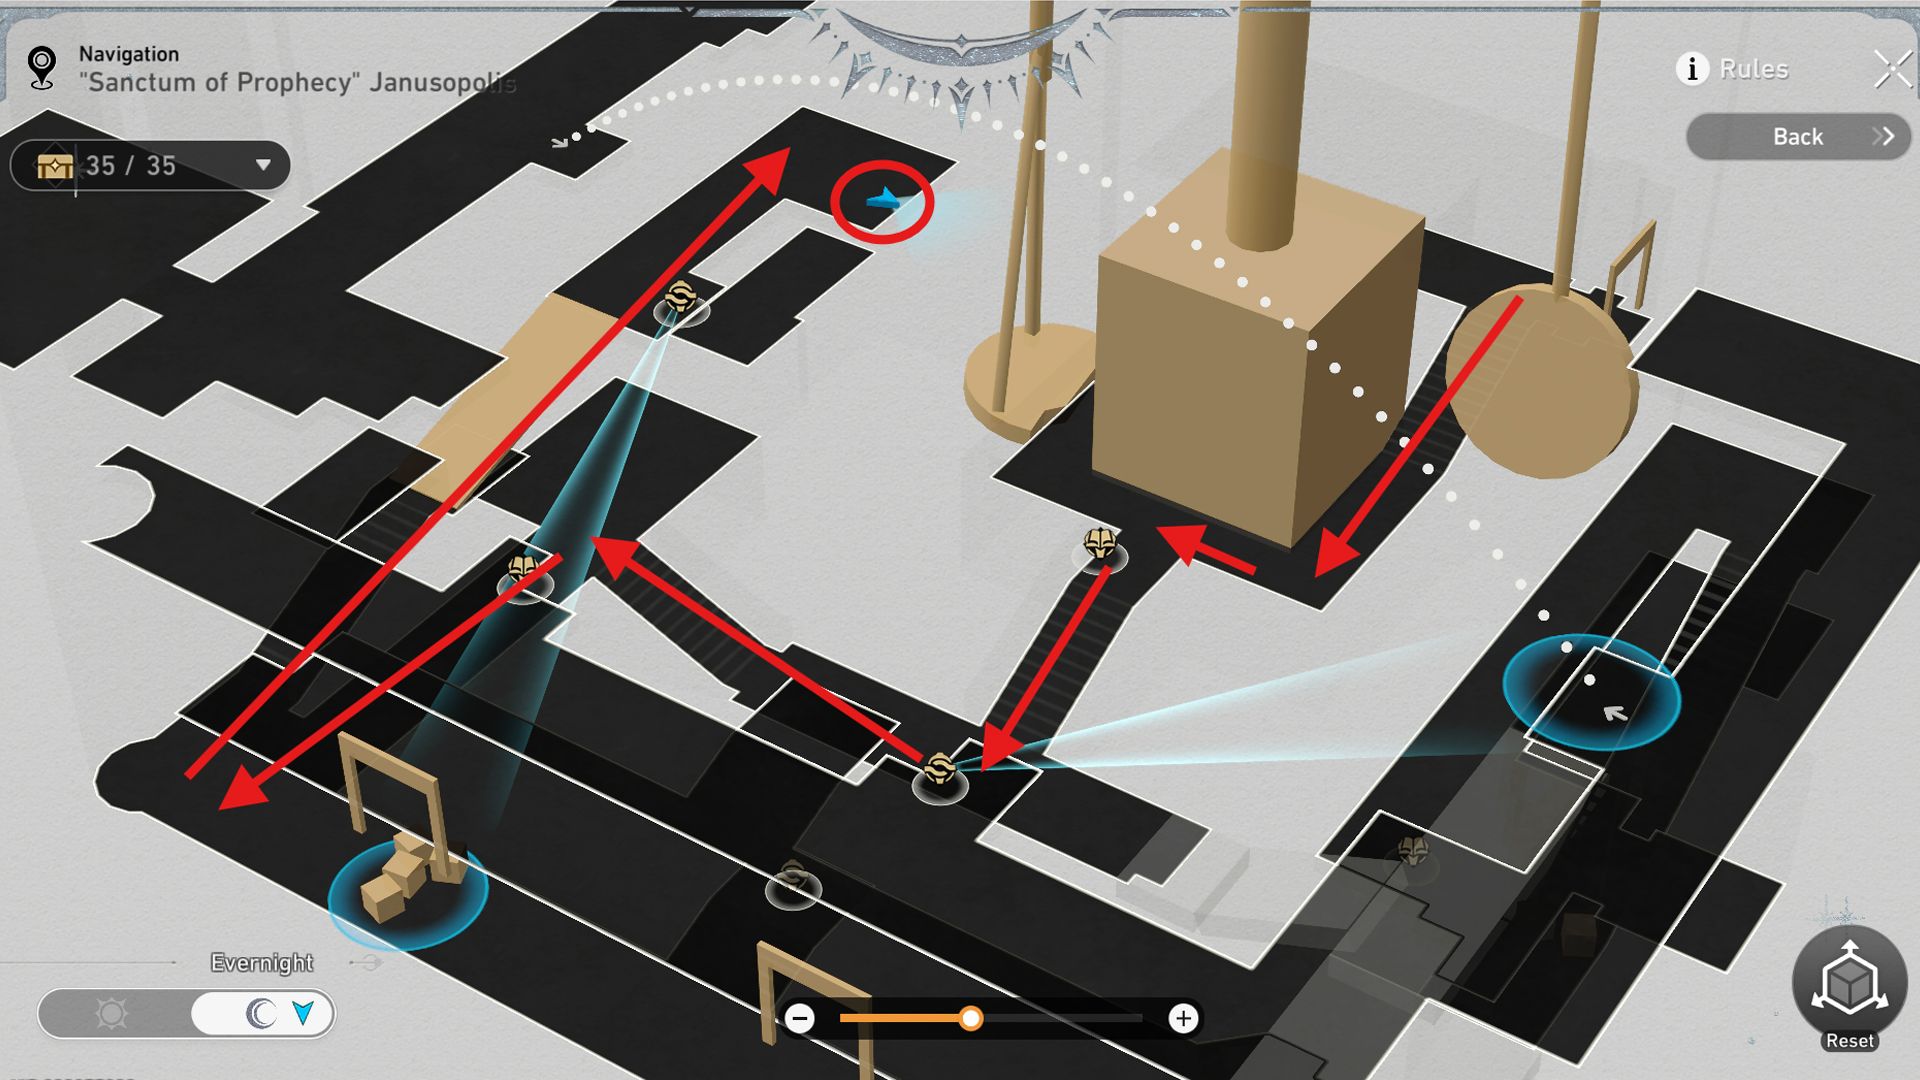
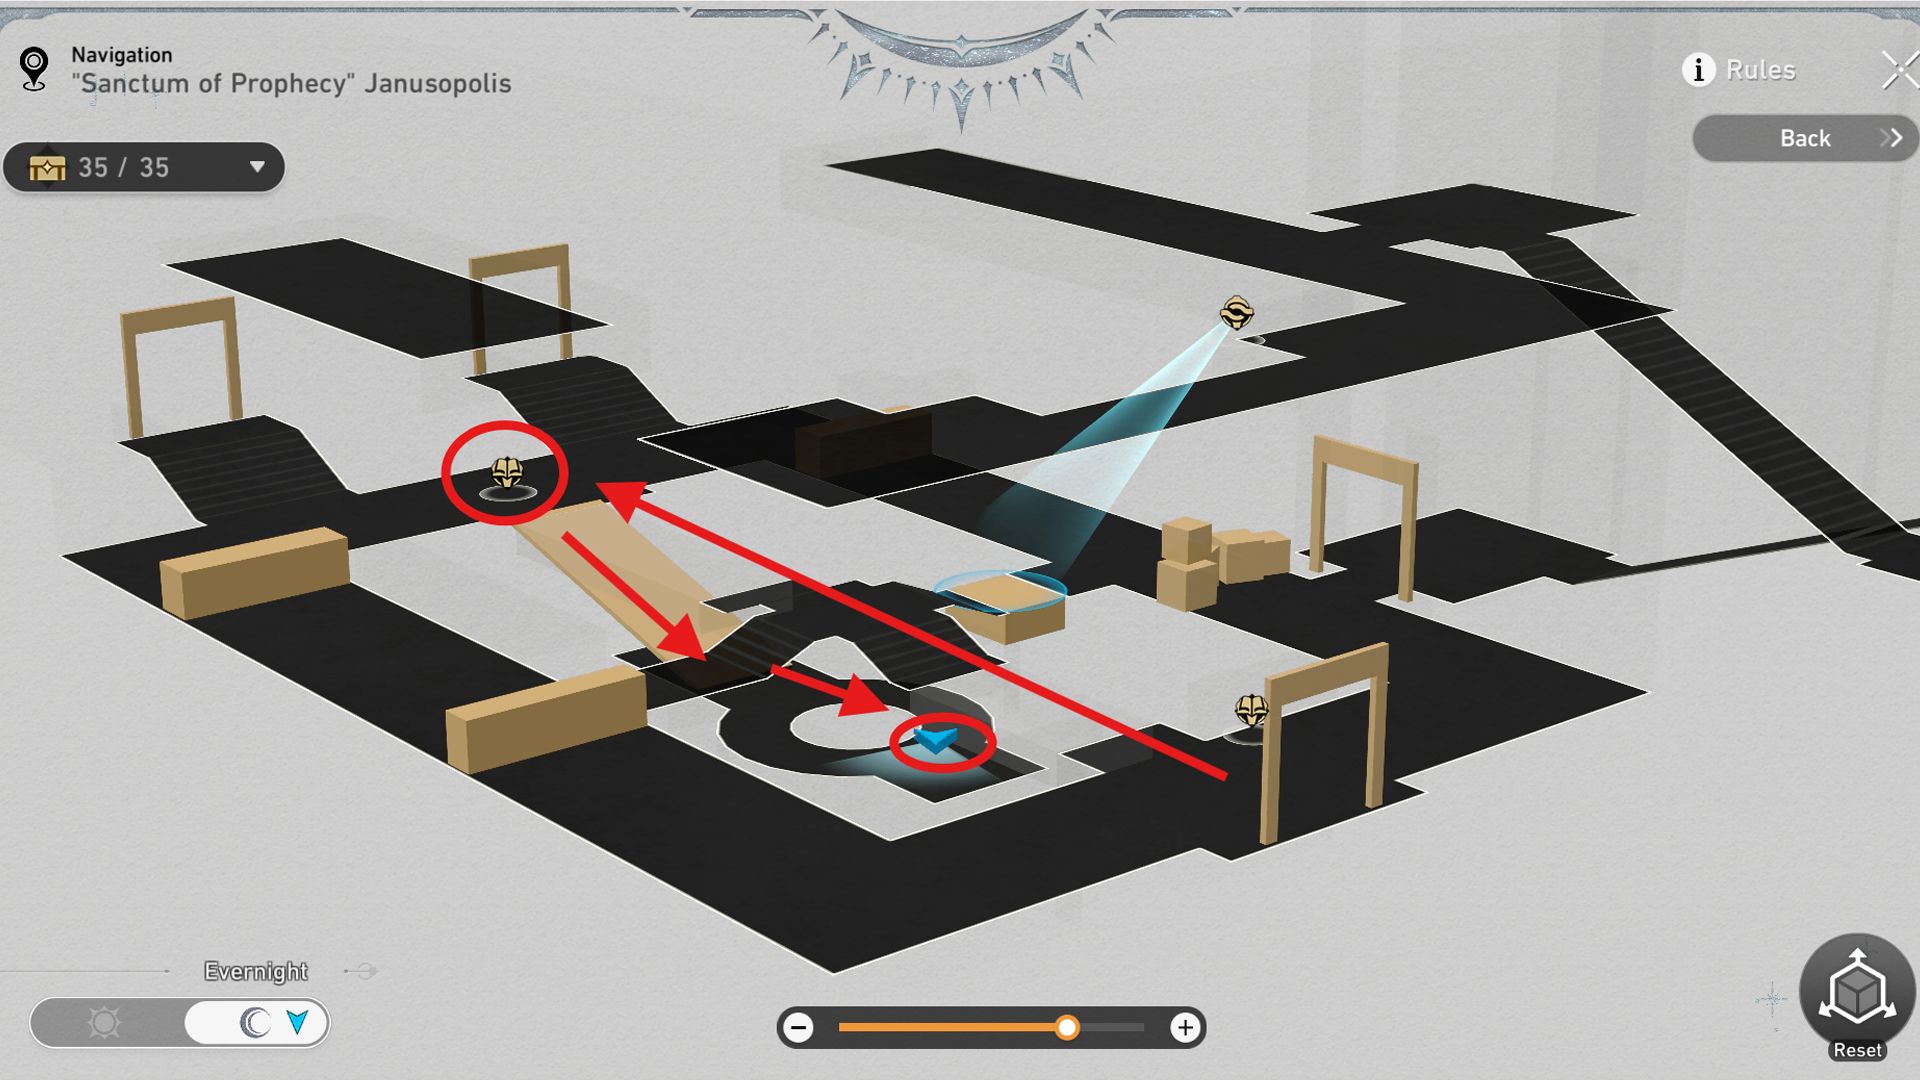
- 23. Once players enter the room, make sure the space-time is Evernight. Then, head to the second floor on the left side for a Prophecy Tablet puzzle.
- 24. Turn around and fix the broken bridge using Oronyx’s power to get the treasure chest across the bridge.
- 25. Use the broken bridge to reach the lower floor and use the Miracle Orb to shine the light on the stairs. Then, head to the right side for a Basic Treasure under the stairs.
- 26. Head upstairs and turn the space-time to Dawn to find a Golden Scapegoat puzzle in the corner near the Tome of Miracles.
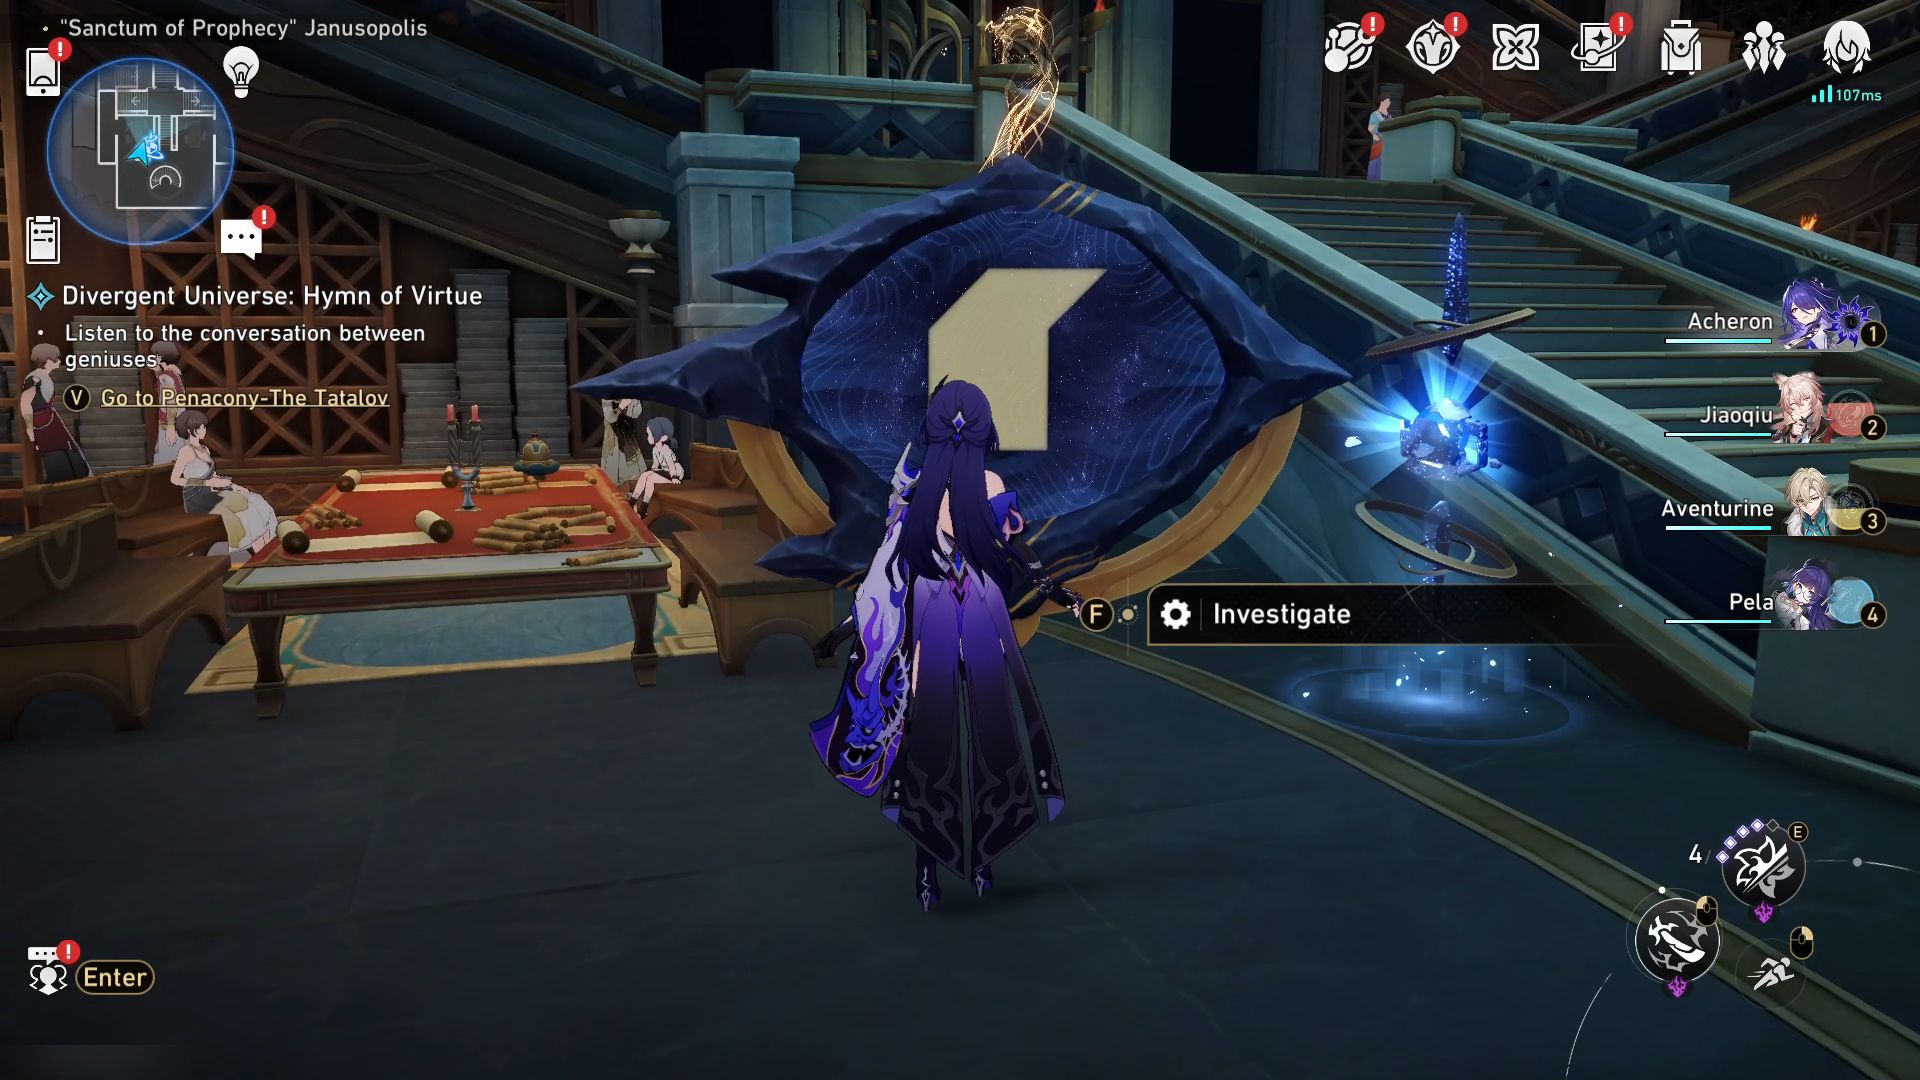
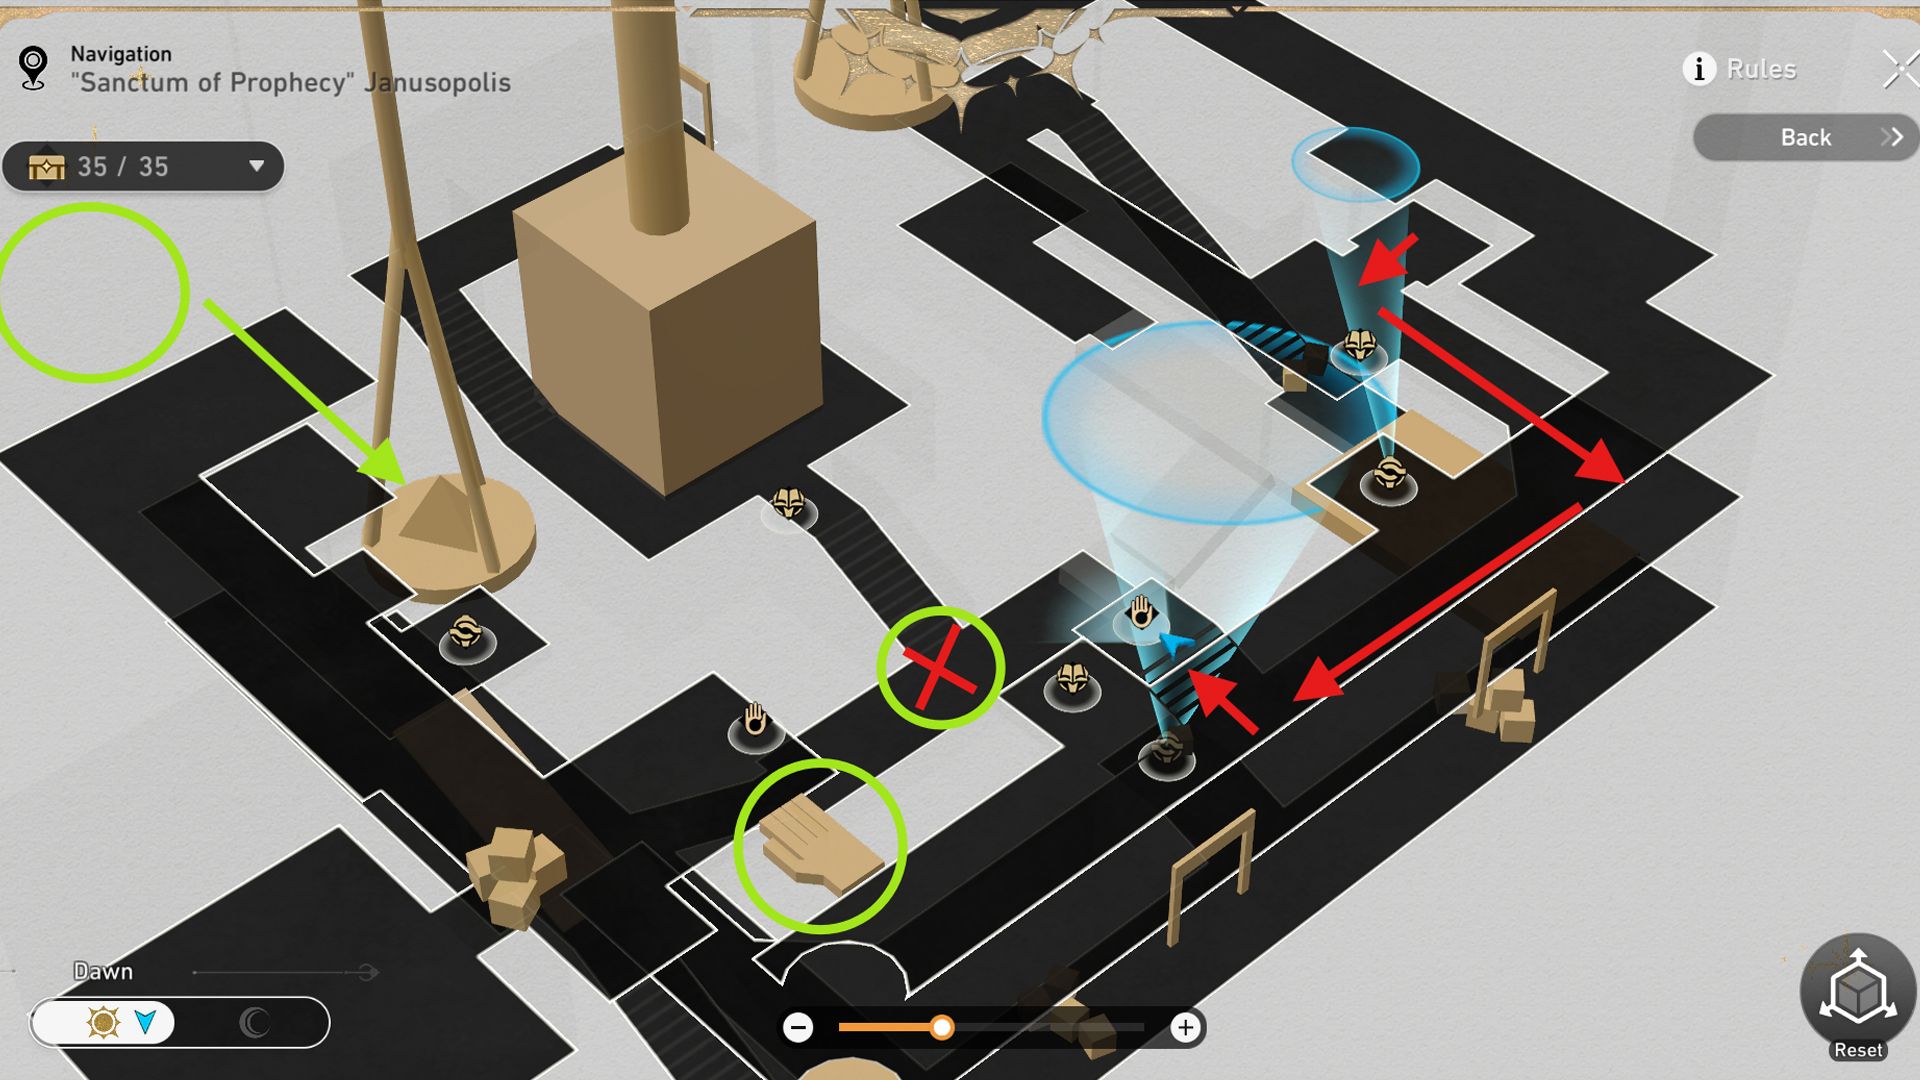
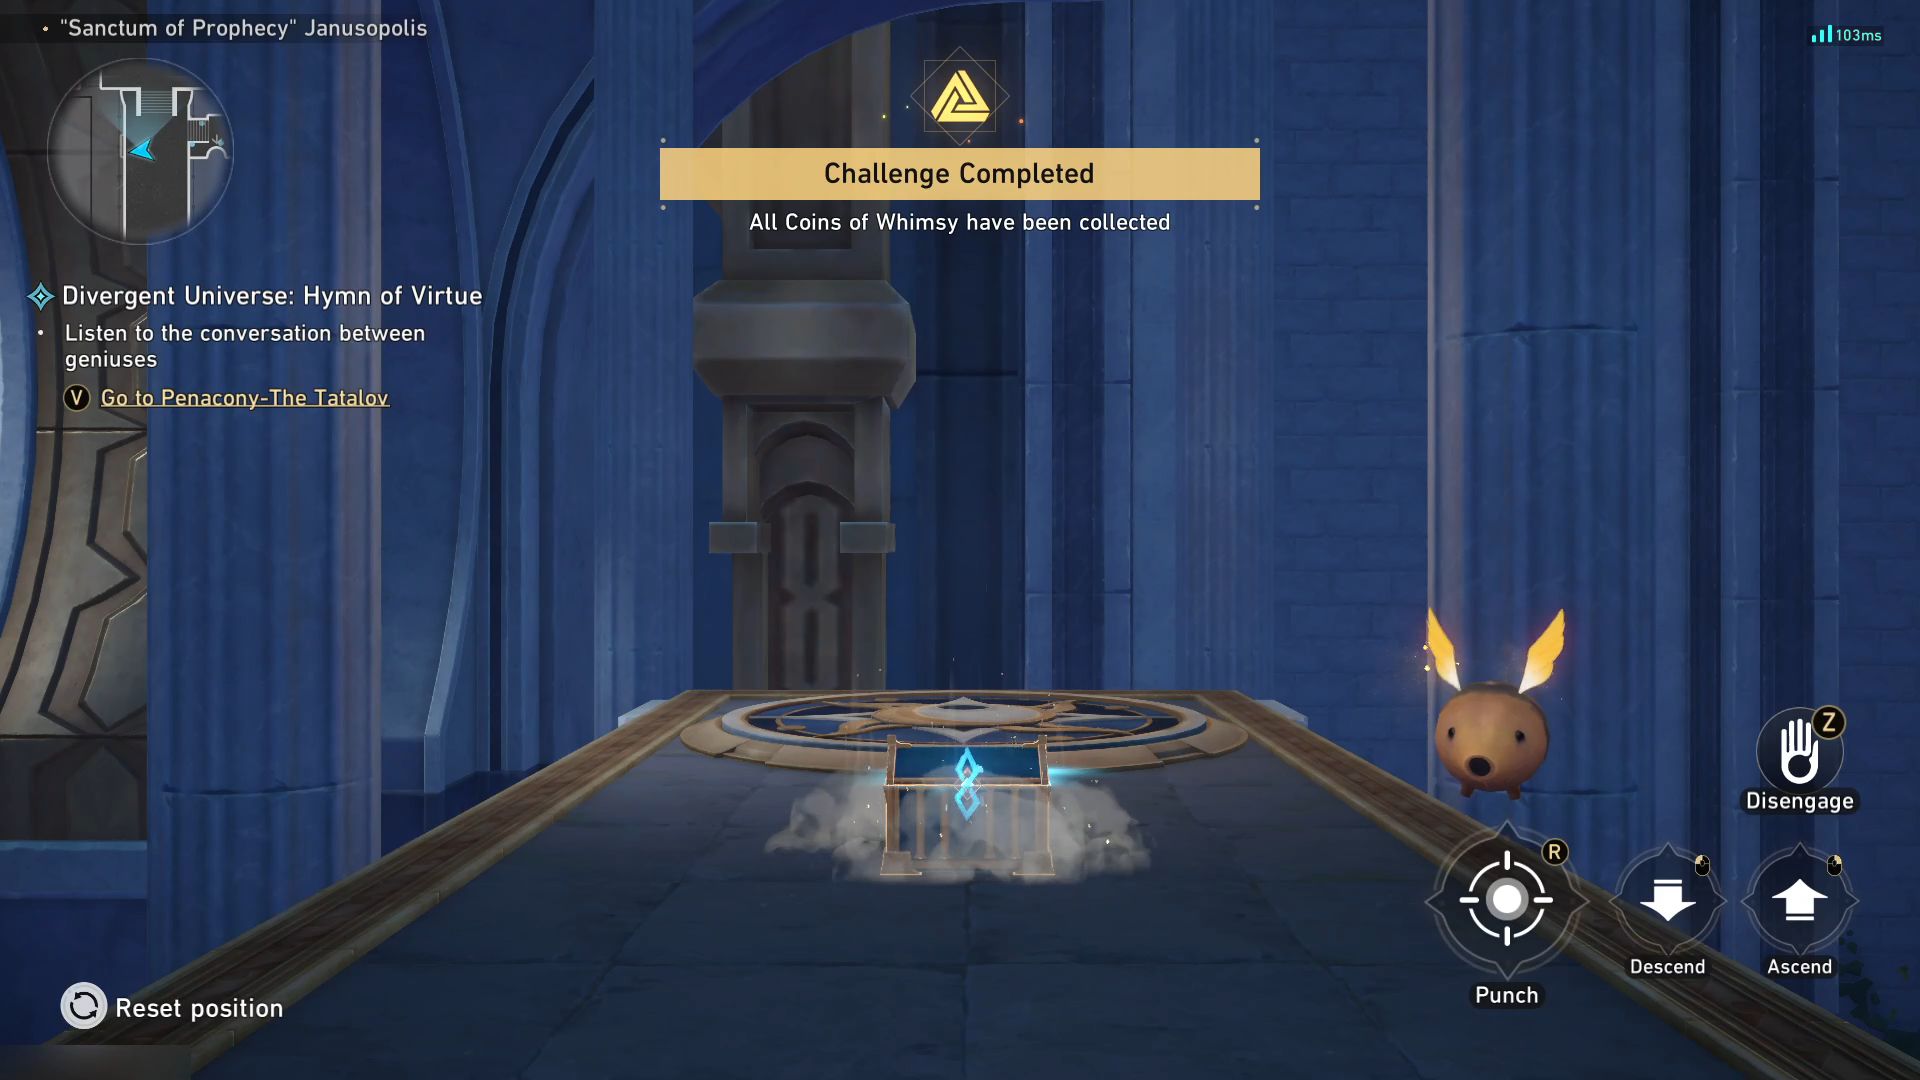
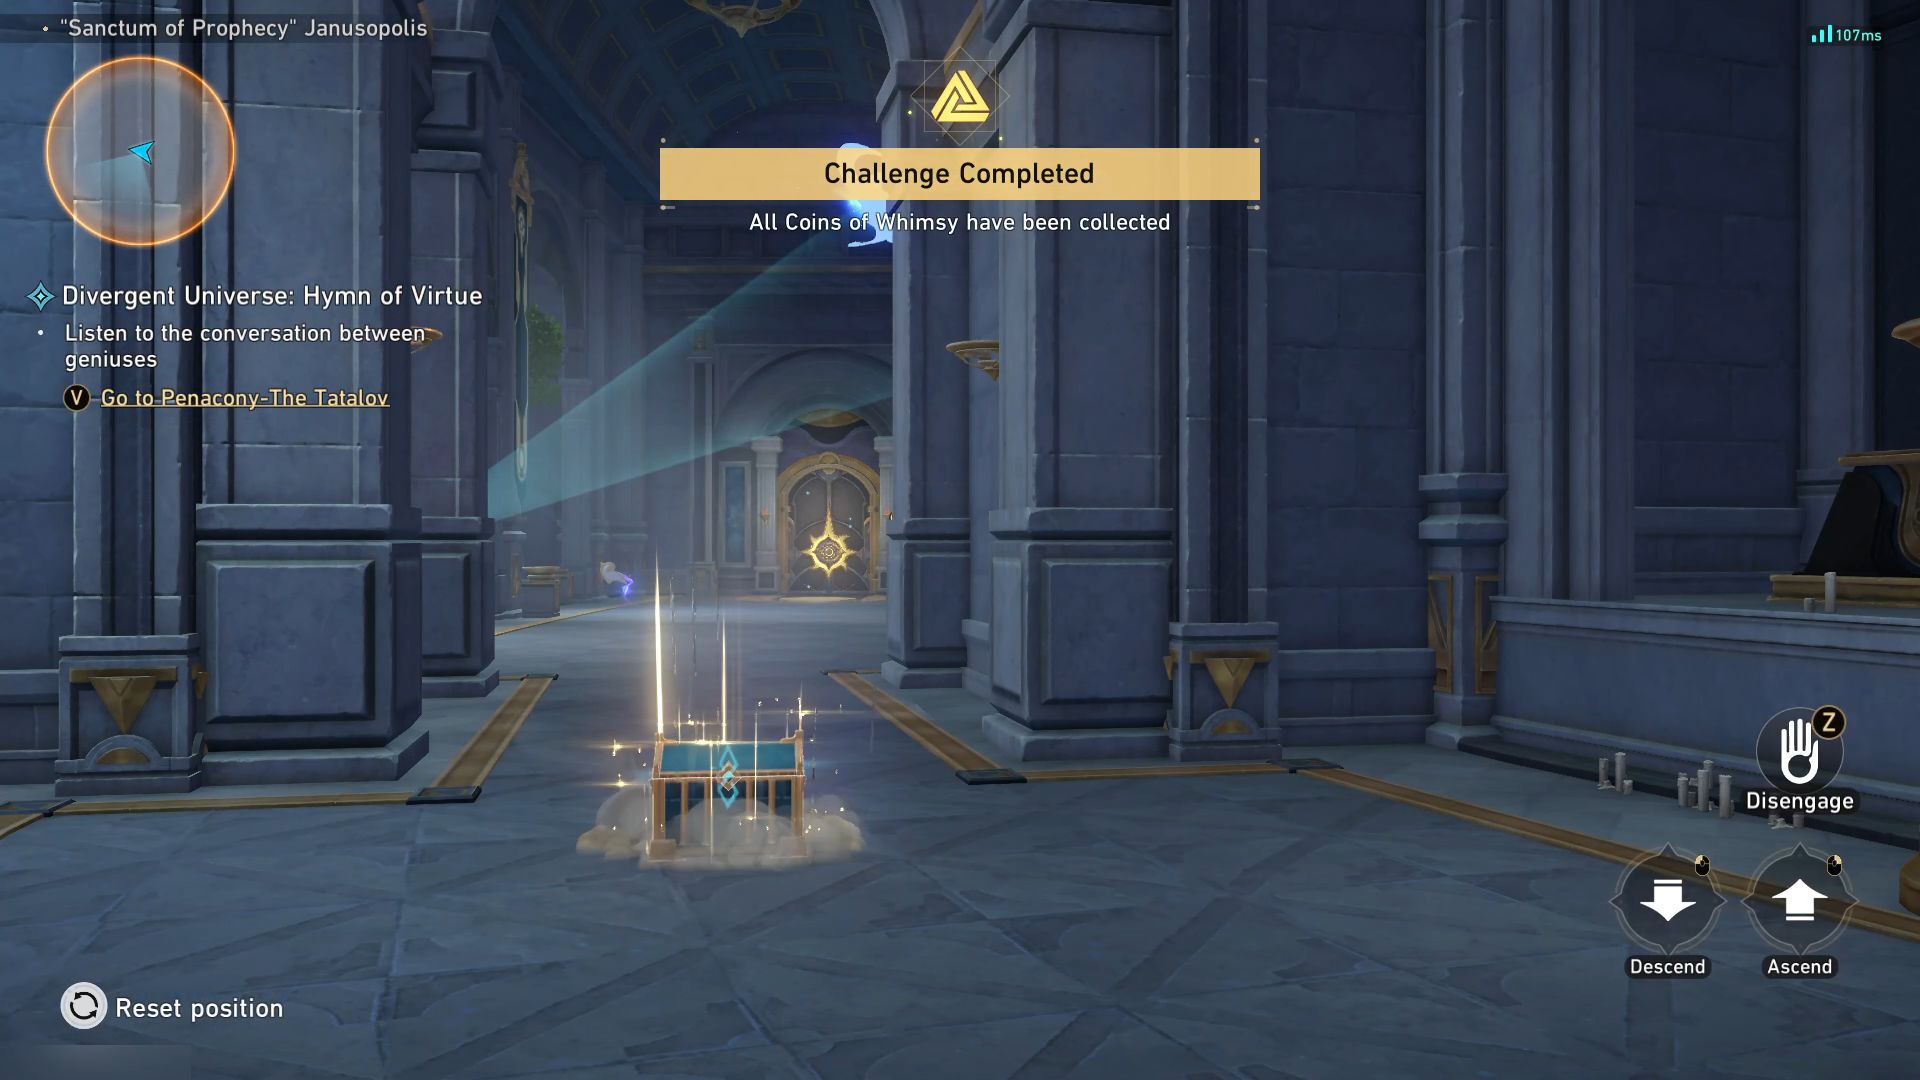
- 27. At the same level, walk to the middle of the room for a stone control platform to control the Hand of Zagreus. Find 3 Coins of Whimsy to unlock a hidden treasure chest. At the same time, use the mechanical hand to punch a breakable box in the center of the lowest level and pick up a triangle stone before putting it down on the left scale. Lastly, place the Hand of Zagreus as a bridge on the third floor before disengaging.

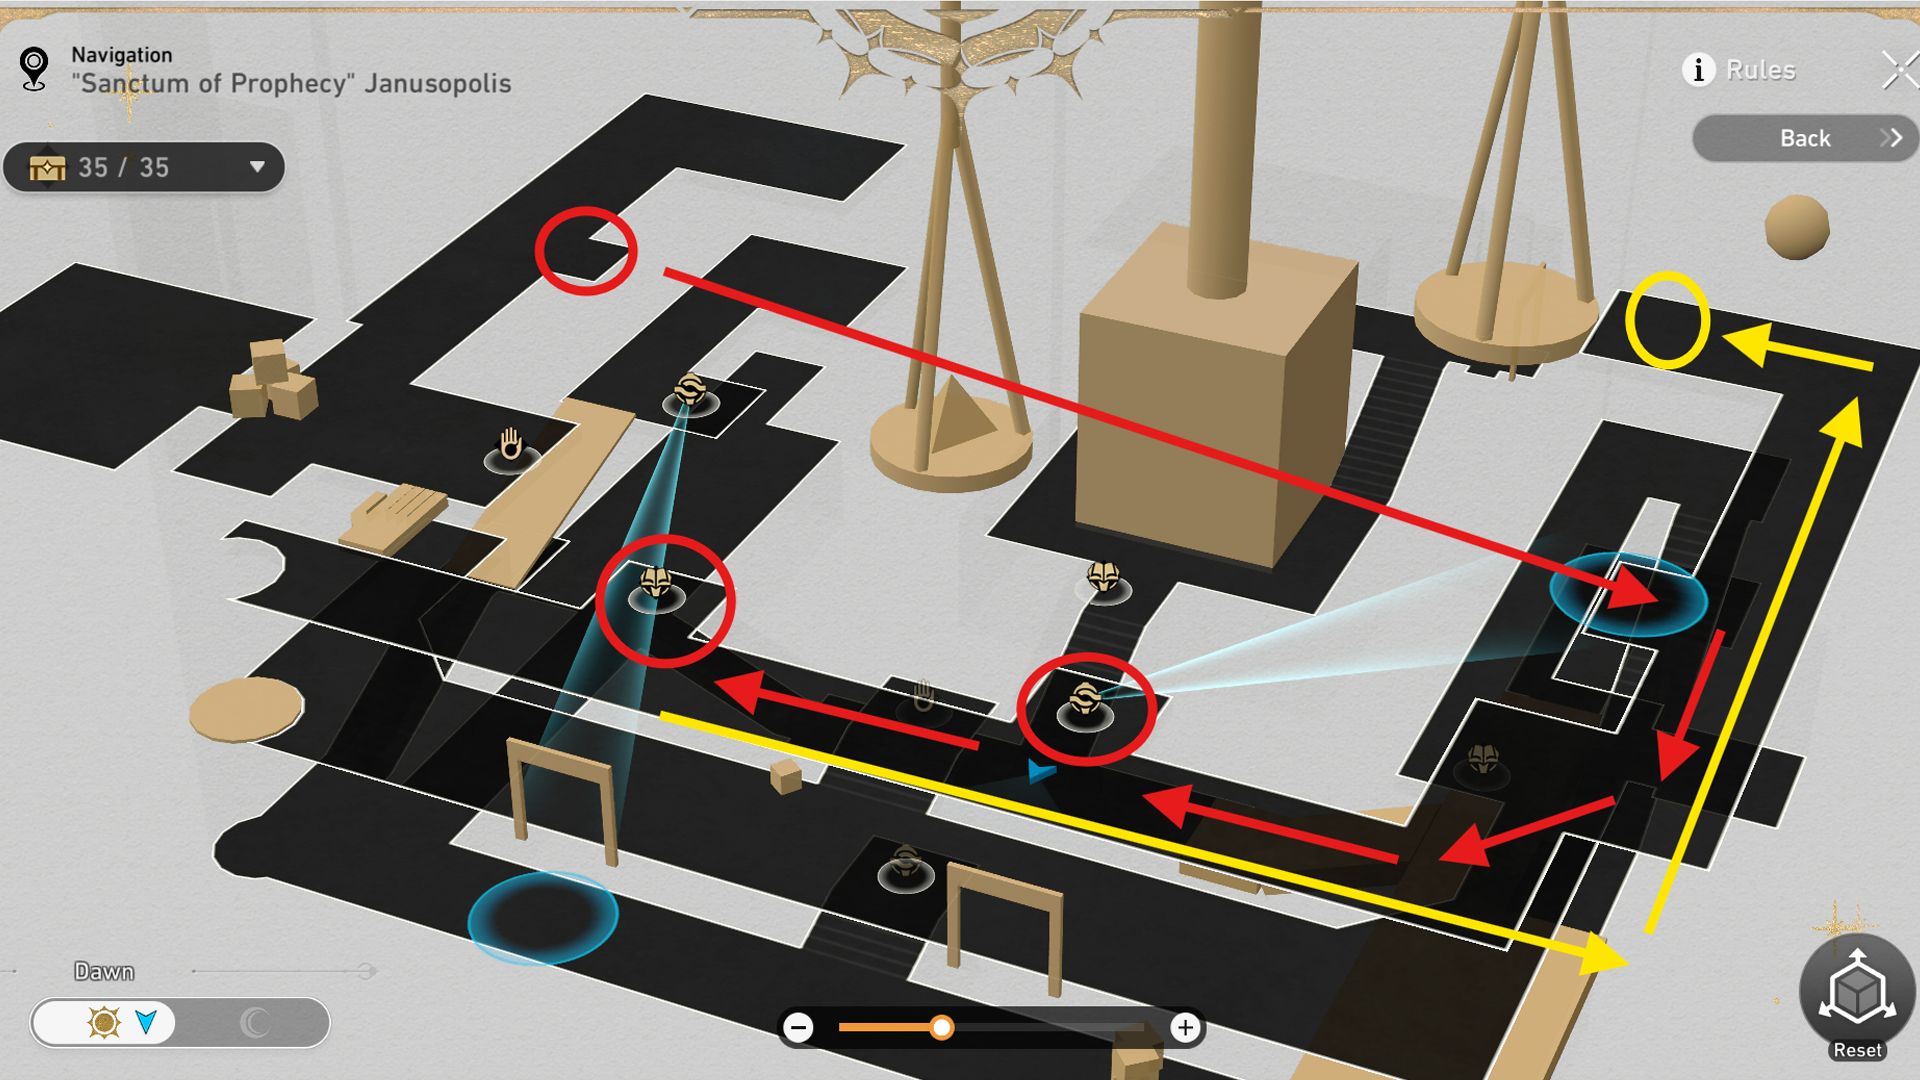
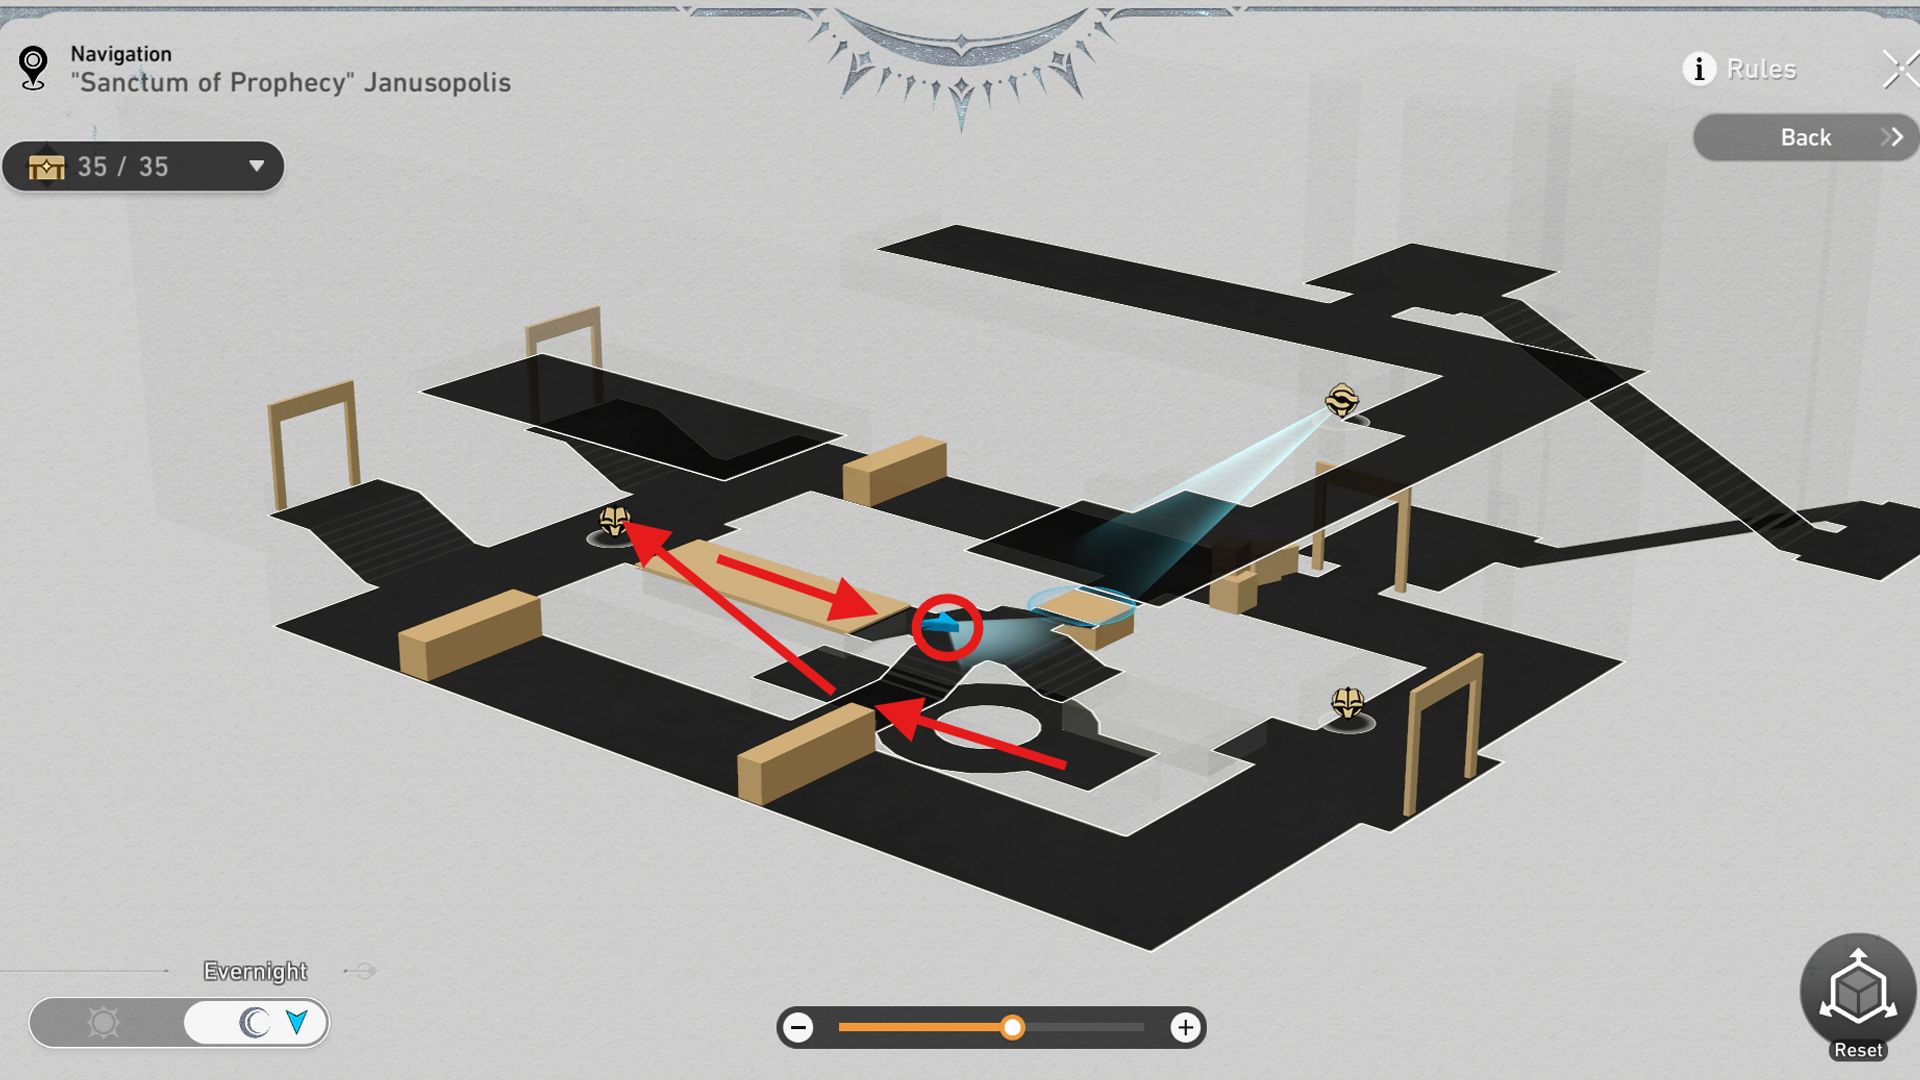
- 28. Go to the left side of the 3D room and use the Miracle Orb to shine a light on boxes on the lower floor. Then, walk downstairs to the end of the road for a treasure chest. In addition, turn off the Miracle Orb nearby for the following treasure chest.
- 29. Still on the same level, go to the left side of the room past two enemies for a treasure chest hiding behind breakable shields.
- 30. Now, walk to the opposite side of the room and use the stairs to reach the right scale. Standing on the scale will bring you to the third floor. The treasure chest here is just in front of the scale.
- 31. From the previous position, follow the path until you see the first Miracle Orb and shine it to the Janus’ Hidden Passage on the left side. Then, walk to the end of the road for a Golden Short Spear. Break the shield before fixing the spear before following it until the end to spawn the reward.
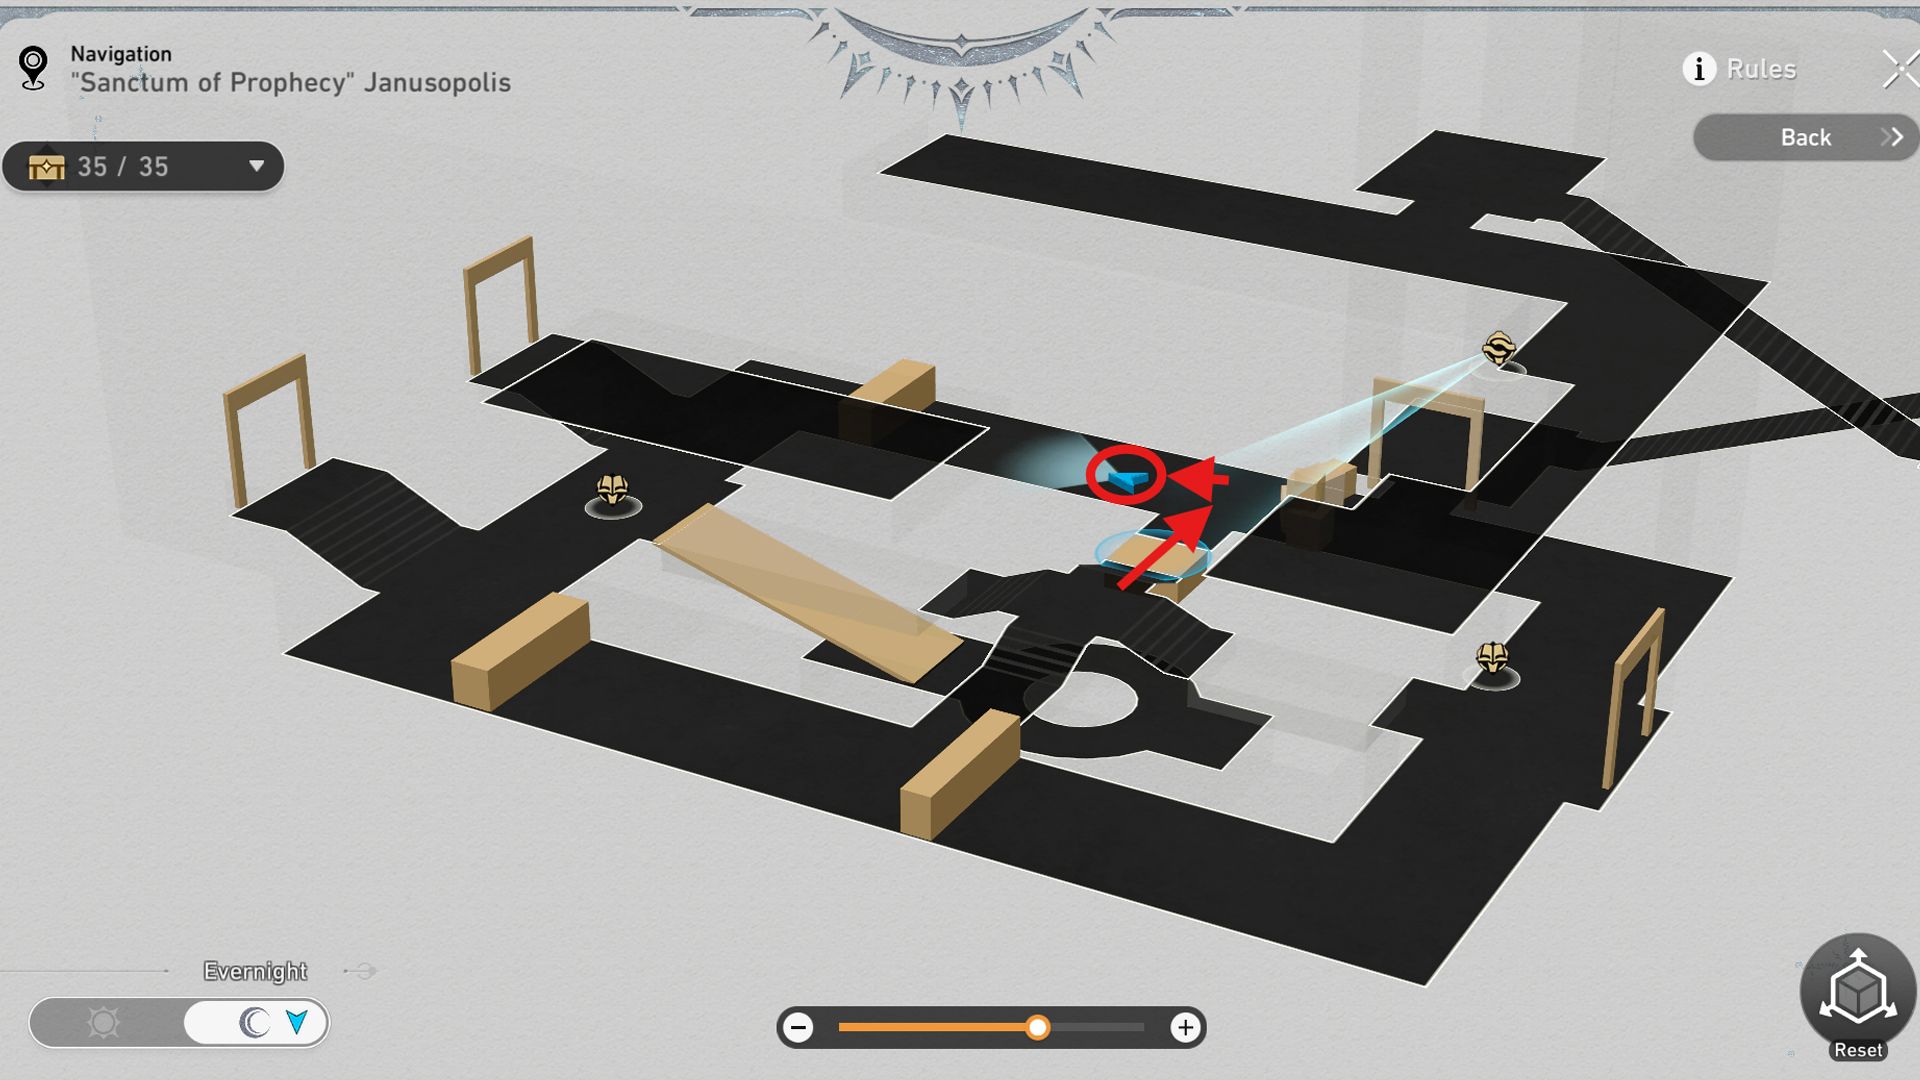
- 32. Cross the Hand of Zagreus posing as a bridge, and go to the end of the path to find a treasure chest.
- 33. Use the Janus’ Hidden Passage to reach the other side and use the Miracle Orb to shine the Janus’ Hidden Passage on the right side. Turn the space-time to Evernight and head to the right scale for another treasure chest in front of it.
- 34. Lastly, use the illuminated Janus’ Hidden Passage to reach the other side and enter a small room for a Precious Treasure.


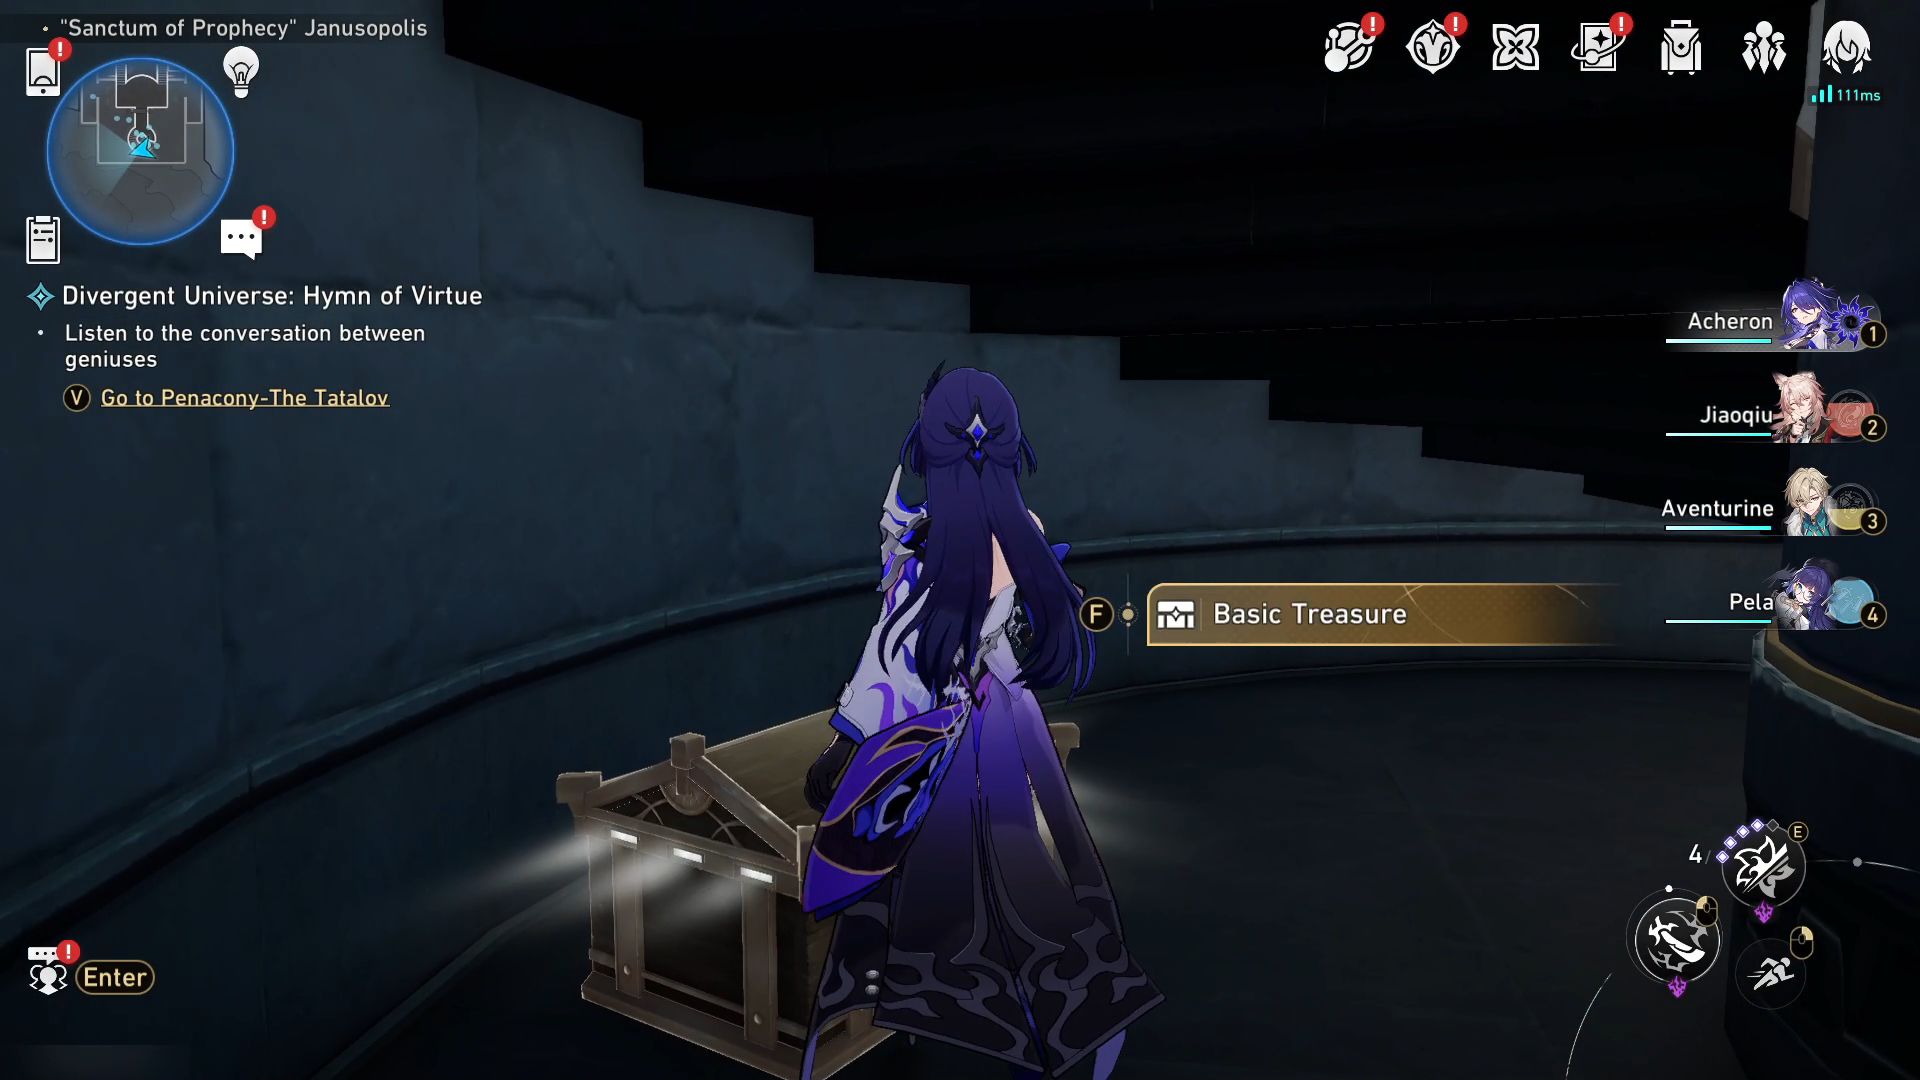
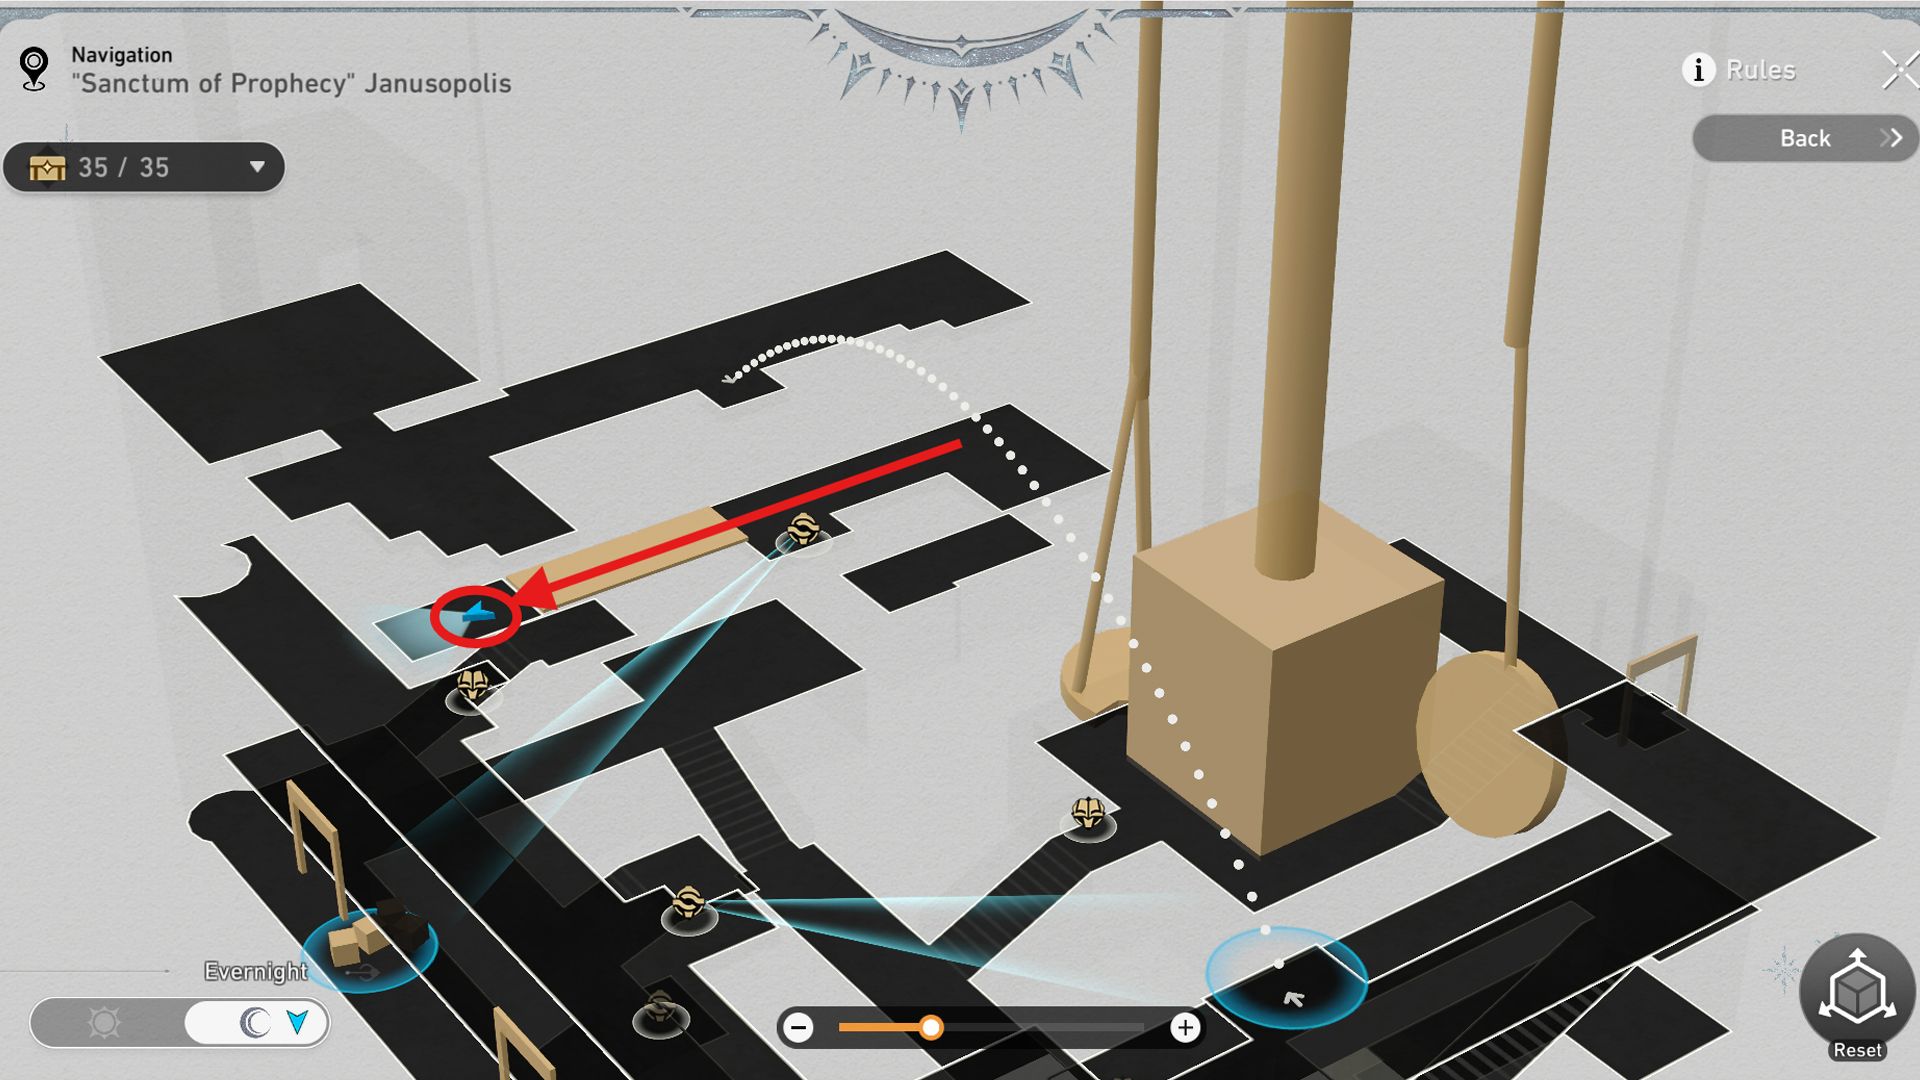
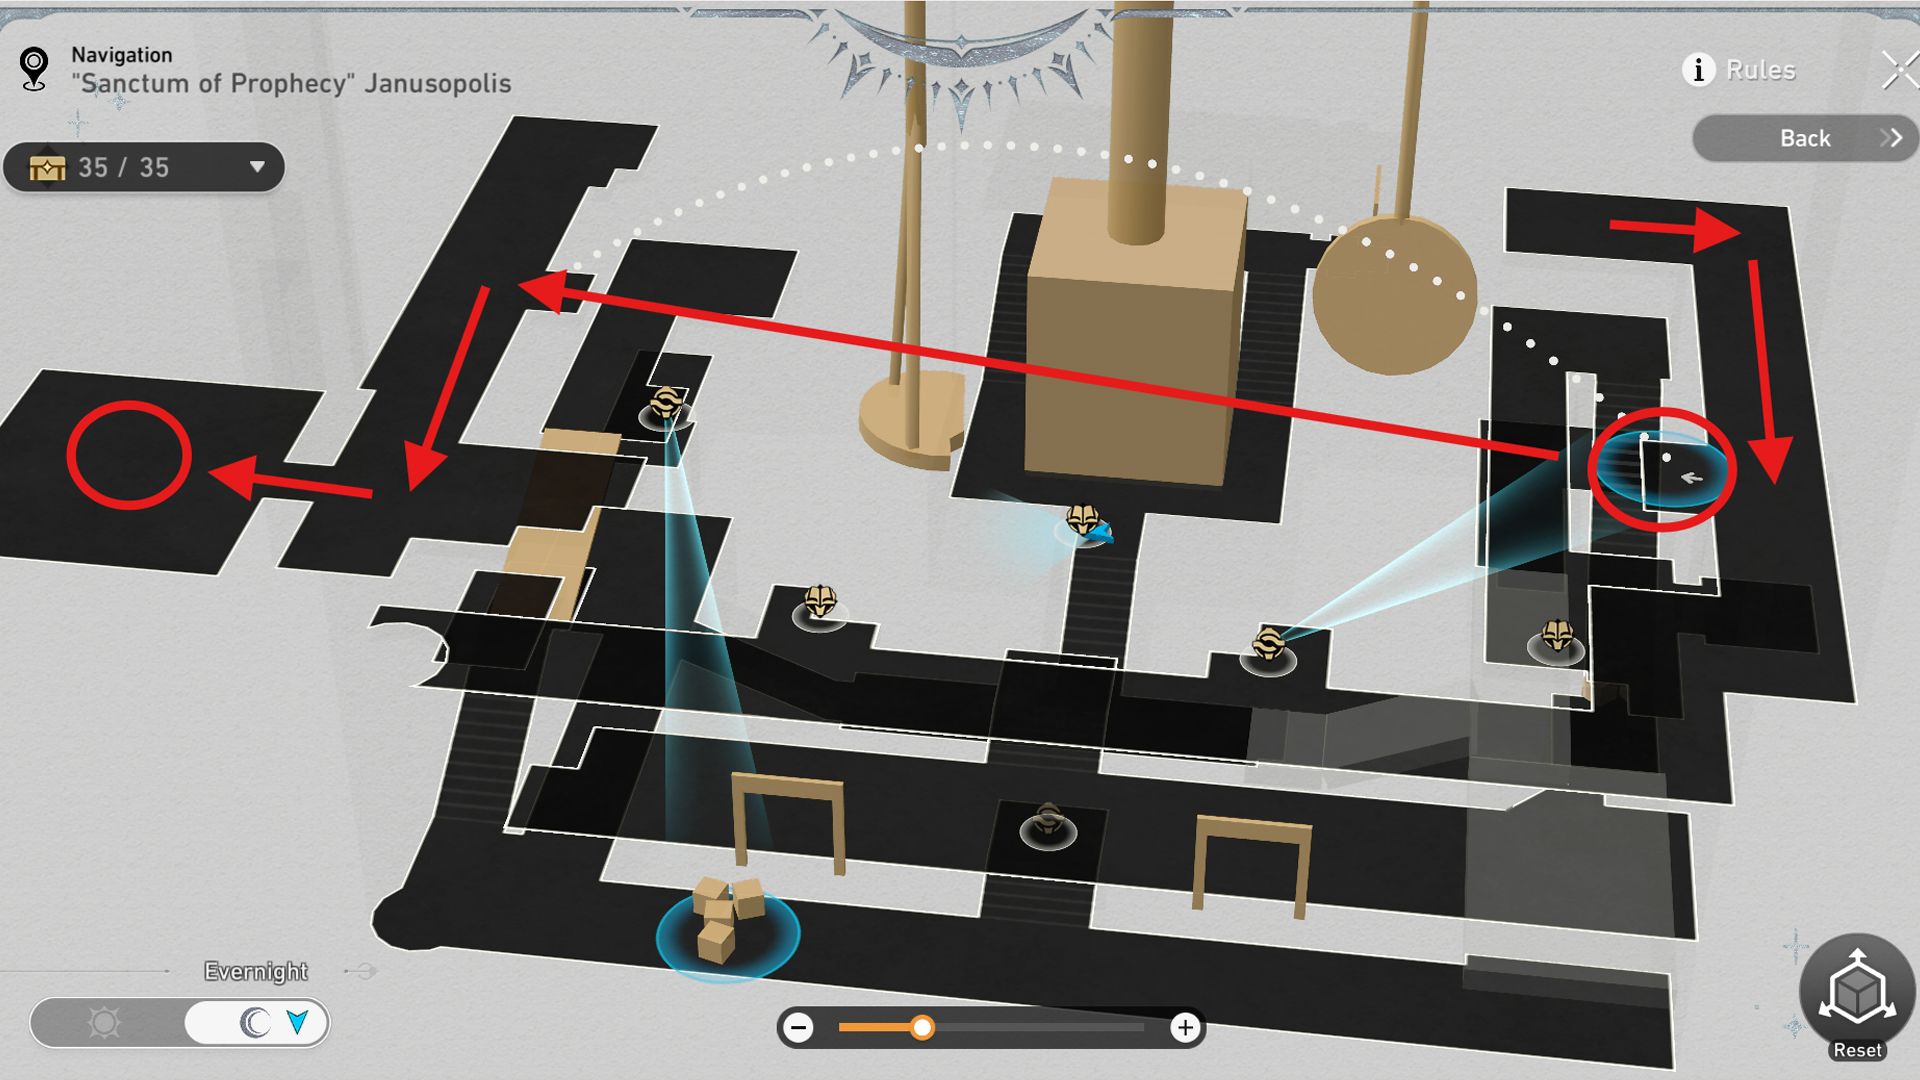
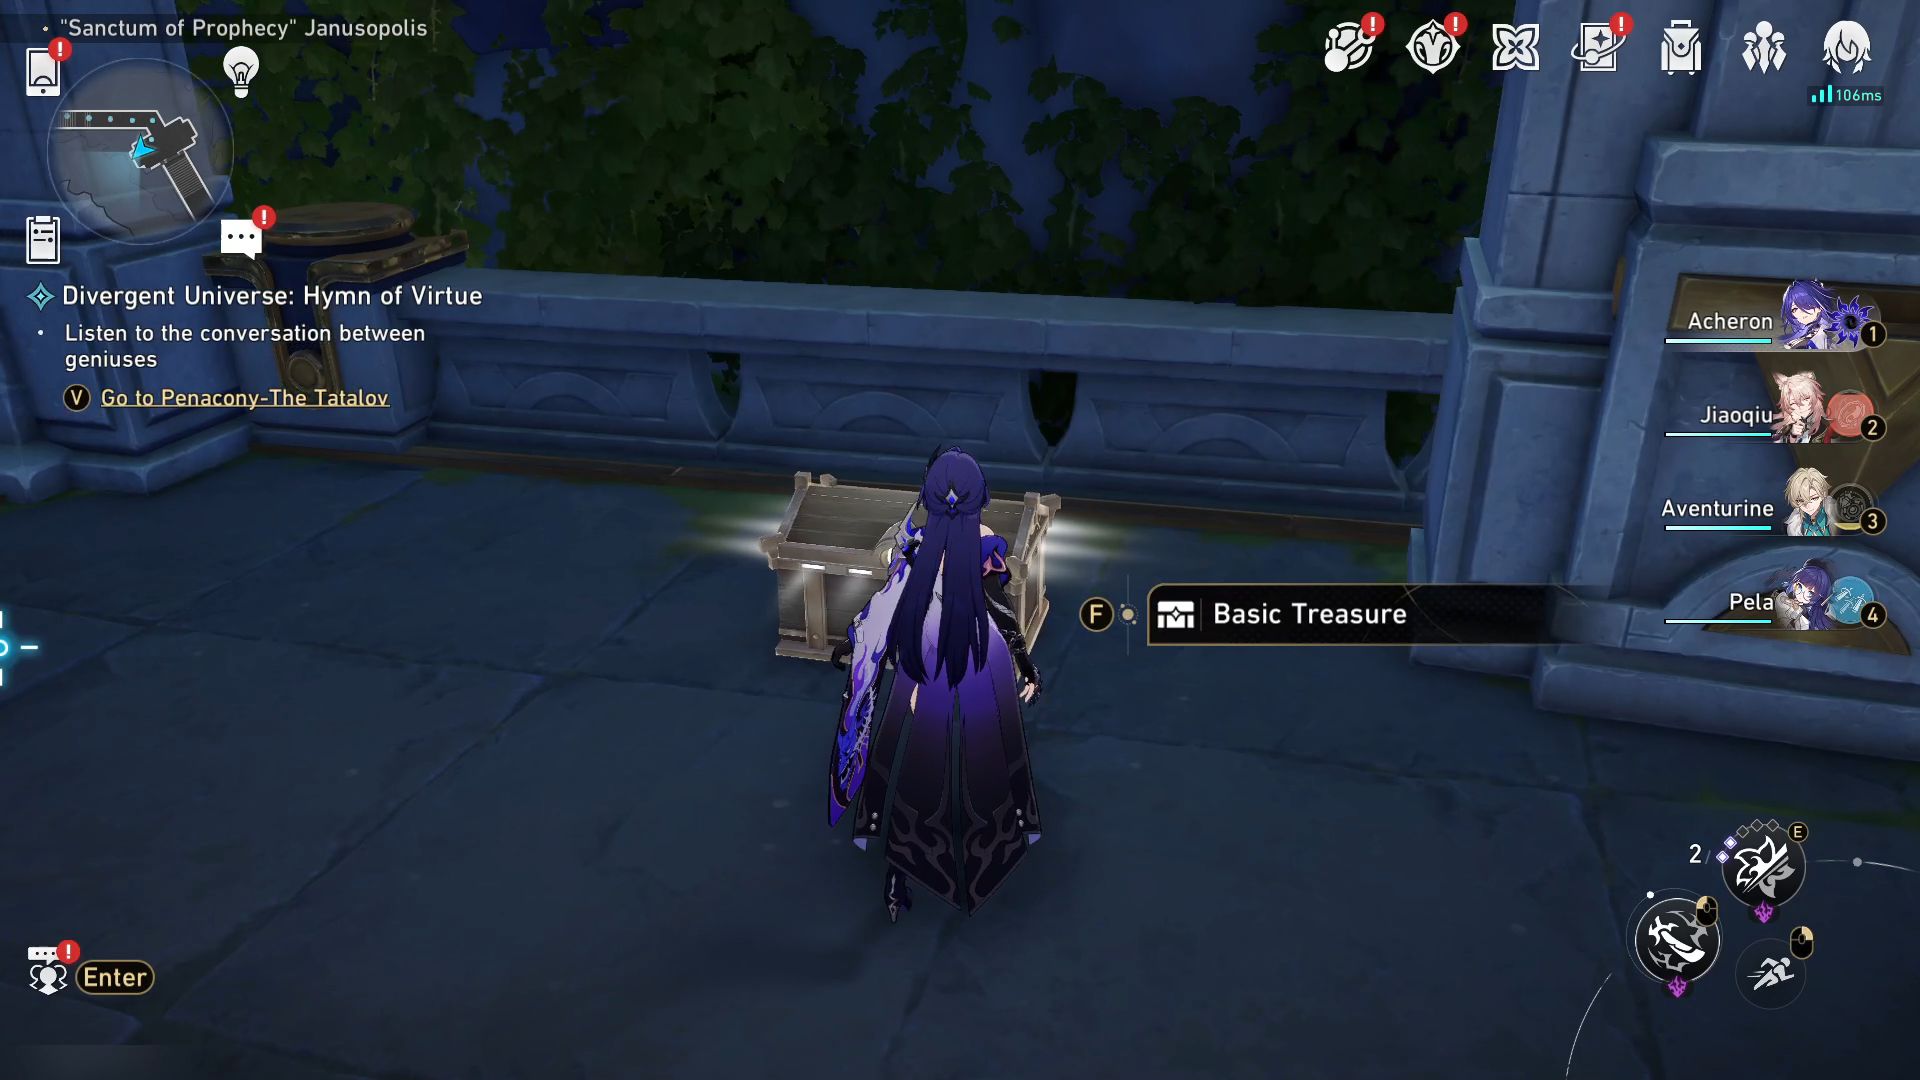
- 35. Teleport to Destiny’s Gate Space Anchor, where you can find the next treasure chest behind the waypoint.
- 36. Then, walk to the west and descend the stairs for a Prophecy Tablet puzzle. Complete the puzzle to get a Bountiful Treasure.
- 37. Walk to the balcony on the south, as a Golden Short Spear is right on the edge. Fix the spear before following it to get the rewards.
- 38. Use Janus’ Hidden Passage near the previous spot to reach a hidden area, and a treasure chest will be on your right.
- 39. A Spirithief will steal the previous chest, but you won’t be able to capture it as the last fissures it escapes to are locked behind boxes. Use the Hand of Zagreus nearby and punch the boxes to break them so you can use Oronyx’s power to catch the Spirithief.
- 40. After that, collect Coins of Whimsy using the Hand of Zagreus to discover a hidden chest. At the same time, go to the middle of the area and punch breakable boxes to reveal a Golden Scapegoat puzzle and place the mechanical hand as a bridge nearby.
- 41. Use the Janus’ Hidden Passage near the previous Spirithief location to reach a hidden room and complete the Formidable Foe challenge to unlock a treasure chest.
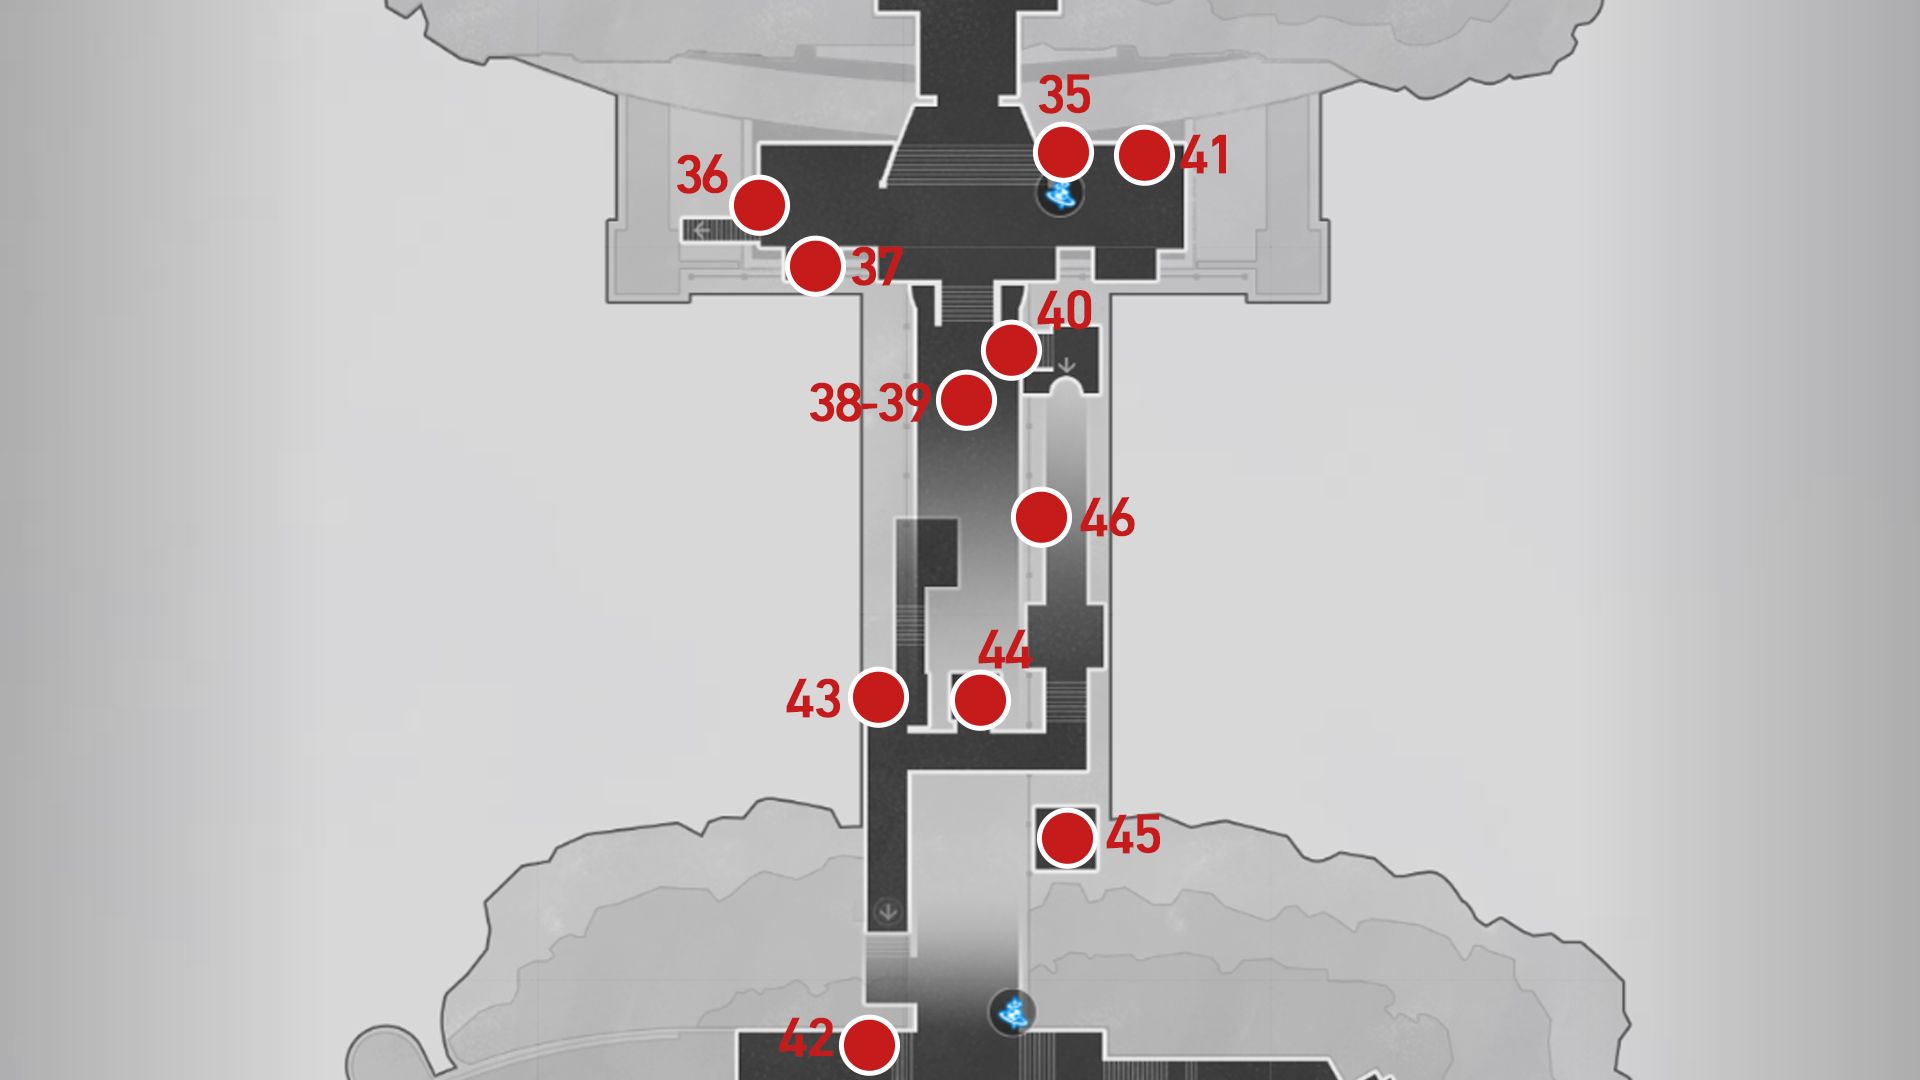
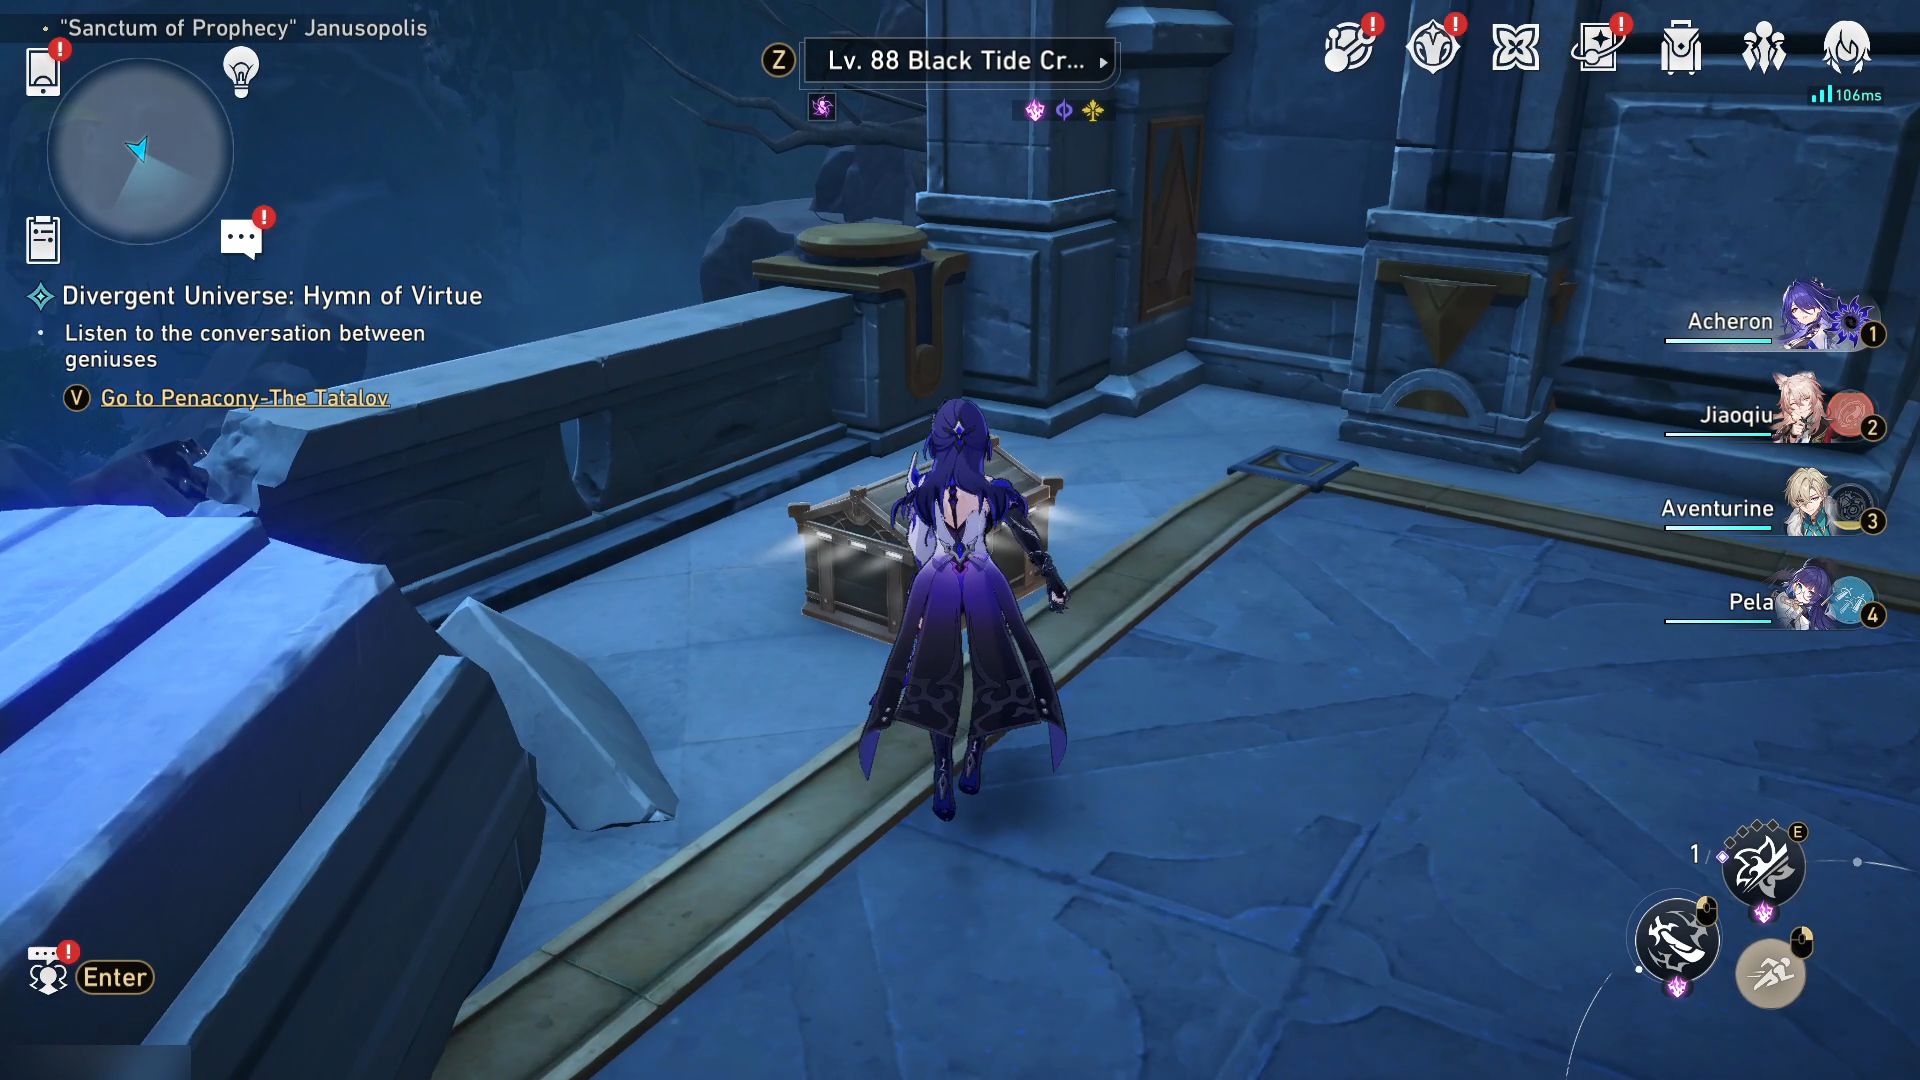
- 42. Now, warp to Worshiper’s Footpath Space Anchor and look to the west for another chest.
- 43. Go to the previous waypoint and use the elevator on the northwest to reach the lower level. The next chest is just ahead of the elevator.
- 44. A Golden Scapegoat puzzle can be seen nearby; this is the one that the Hand of Zagreus uncovered before. Complete the puzzle to get the rewards.
- 45. Head south passing the Hand of Zagreus acting as a bridge, and get the treasure chest on the other side.
- 46. From the previous spot, turn around and fix the broken bridge before passing it. Once the bridge falls, get the treasure chest below it.
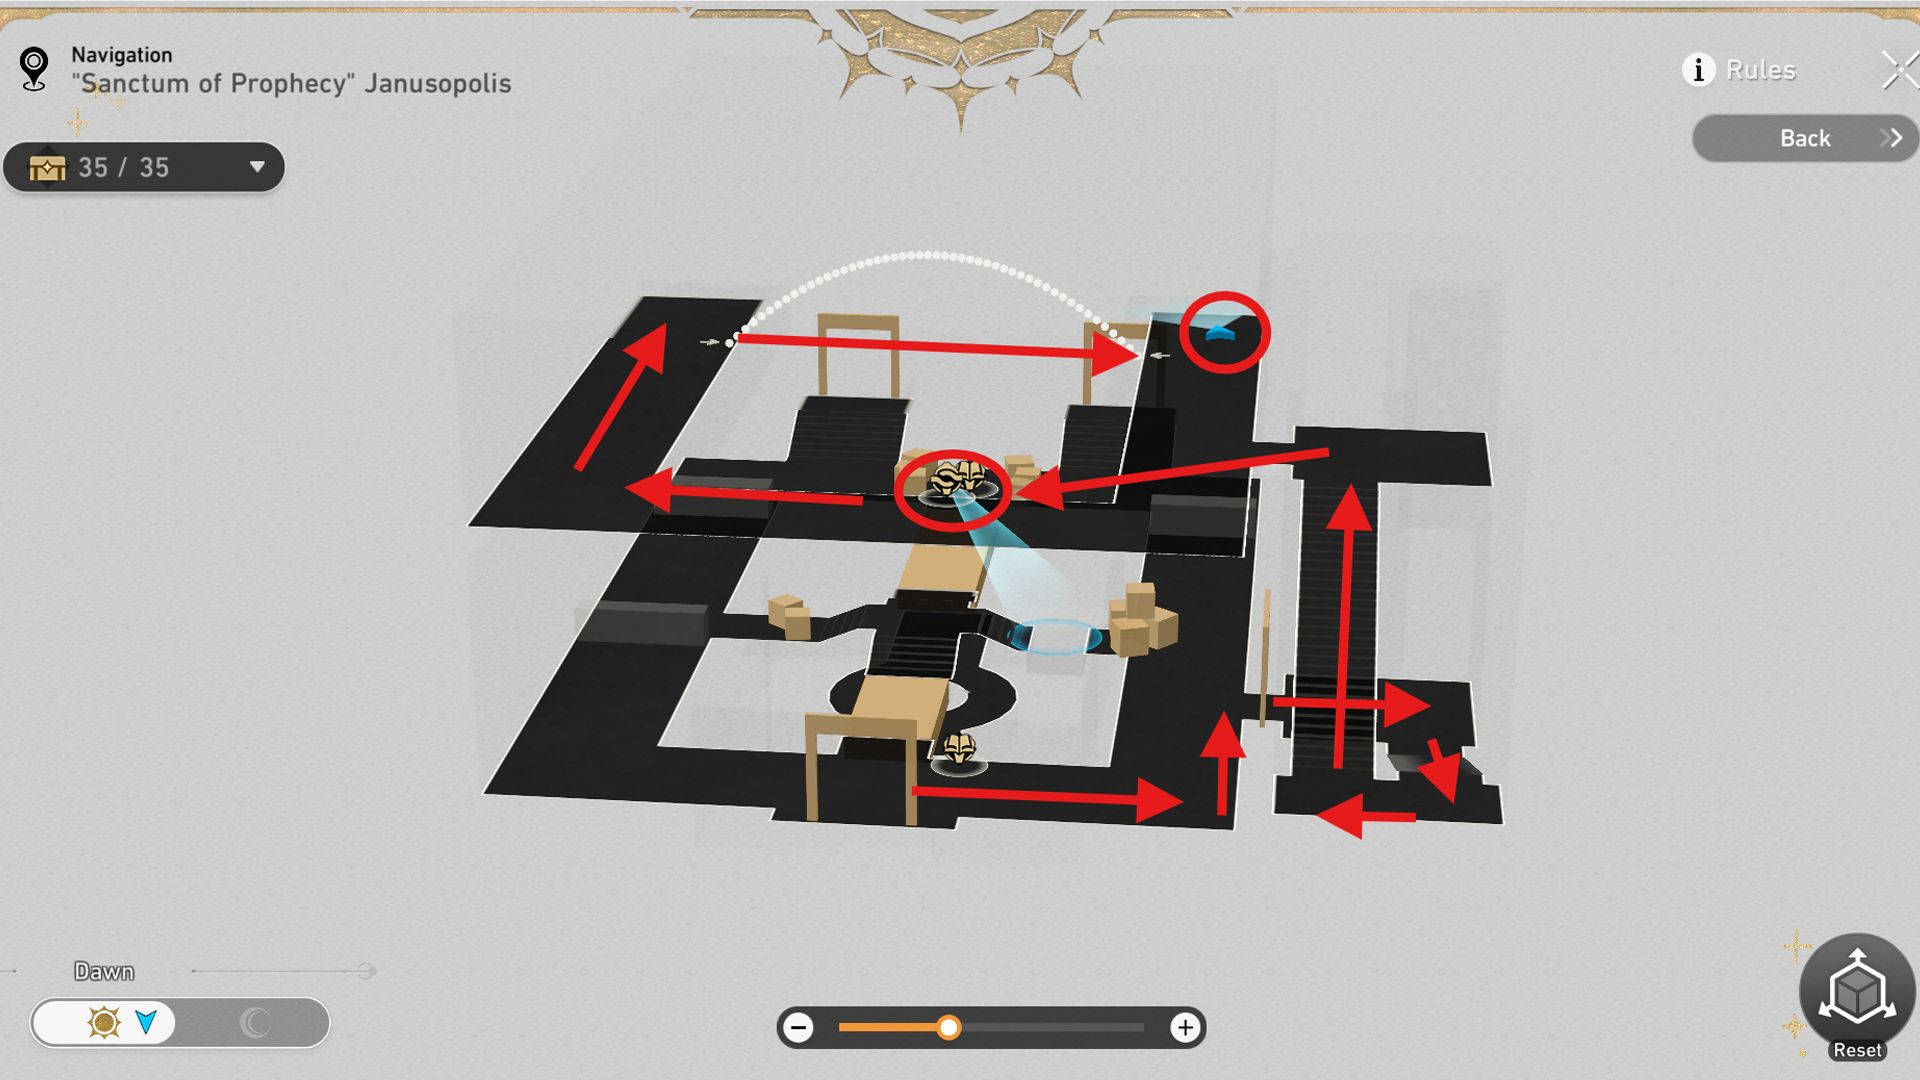
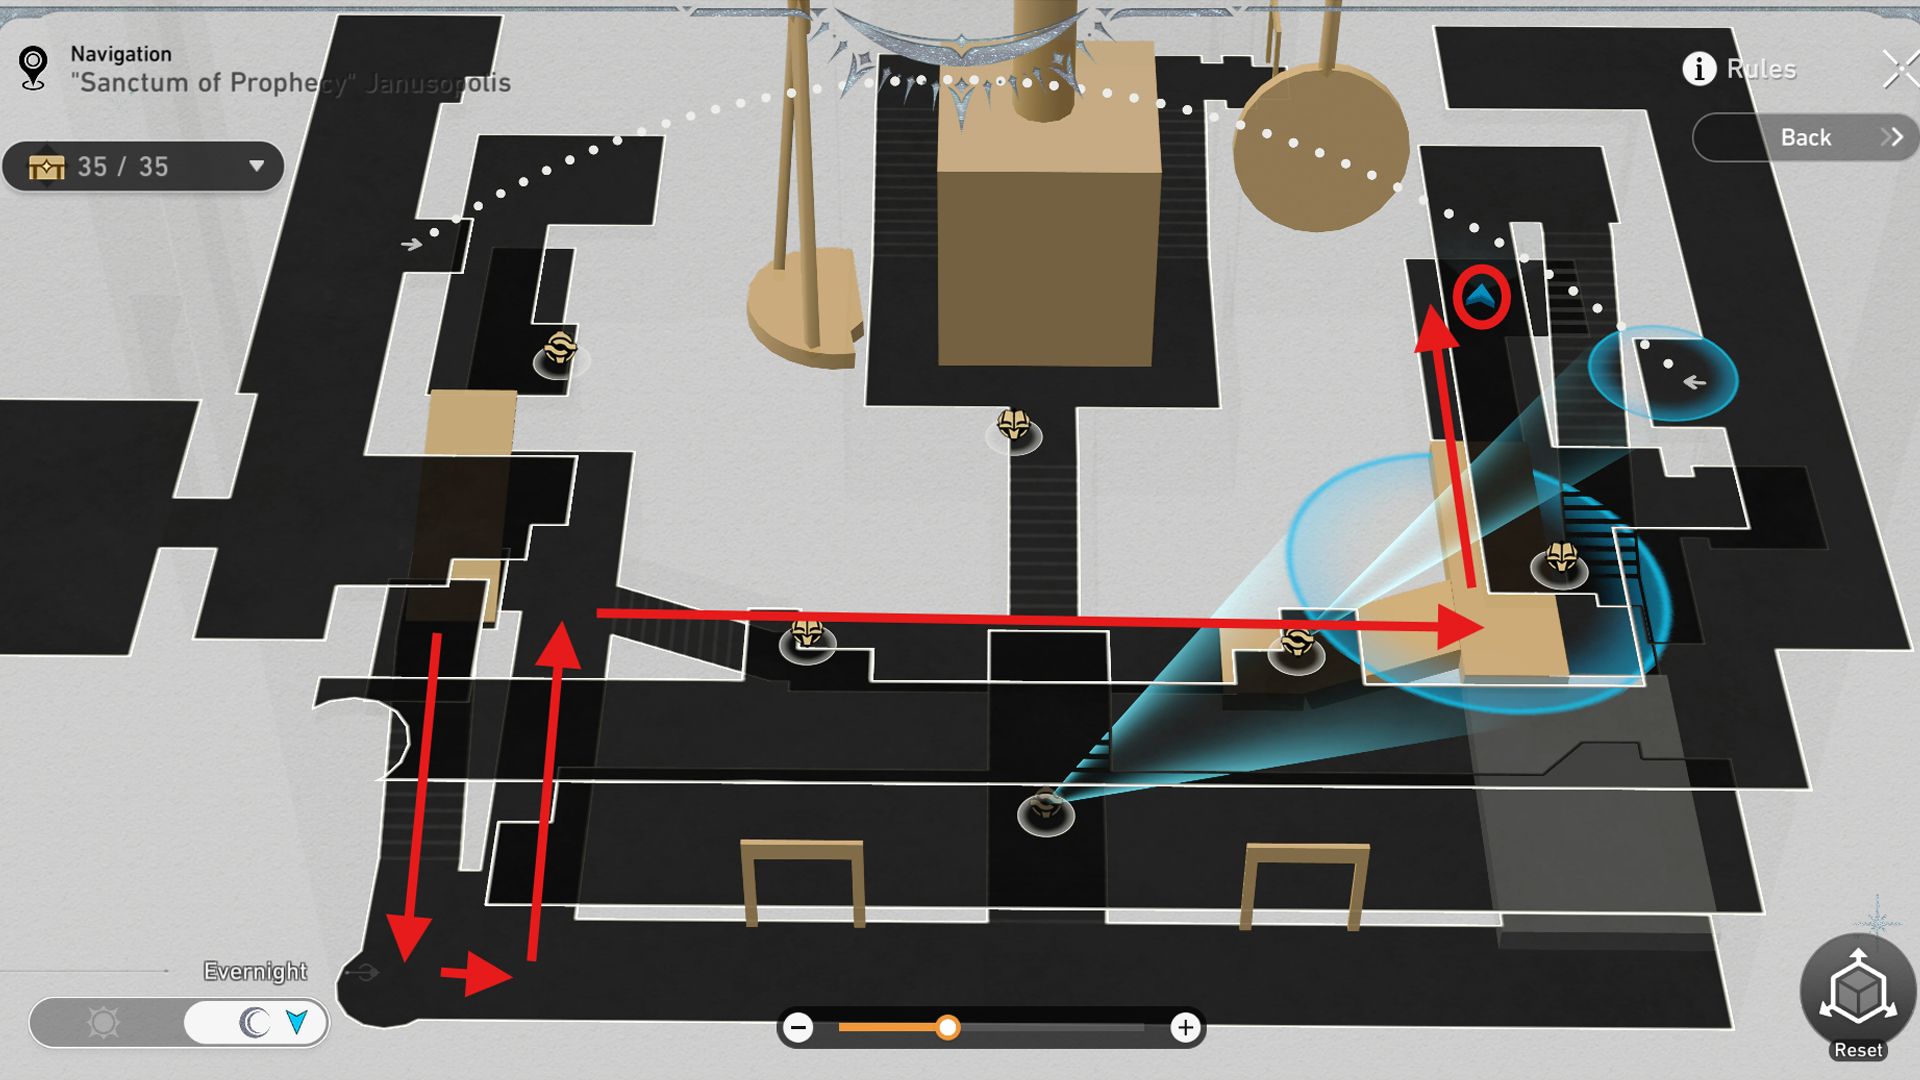
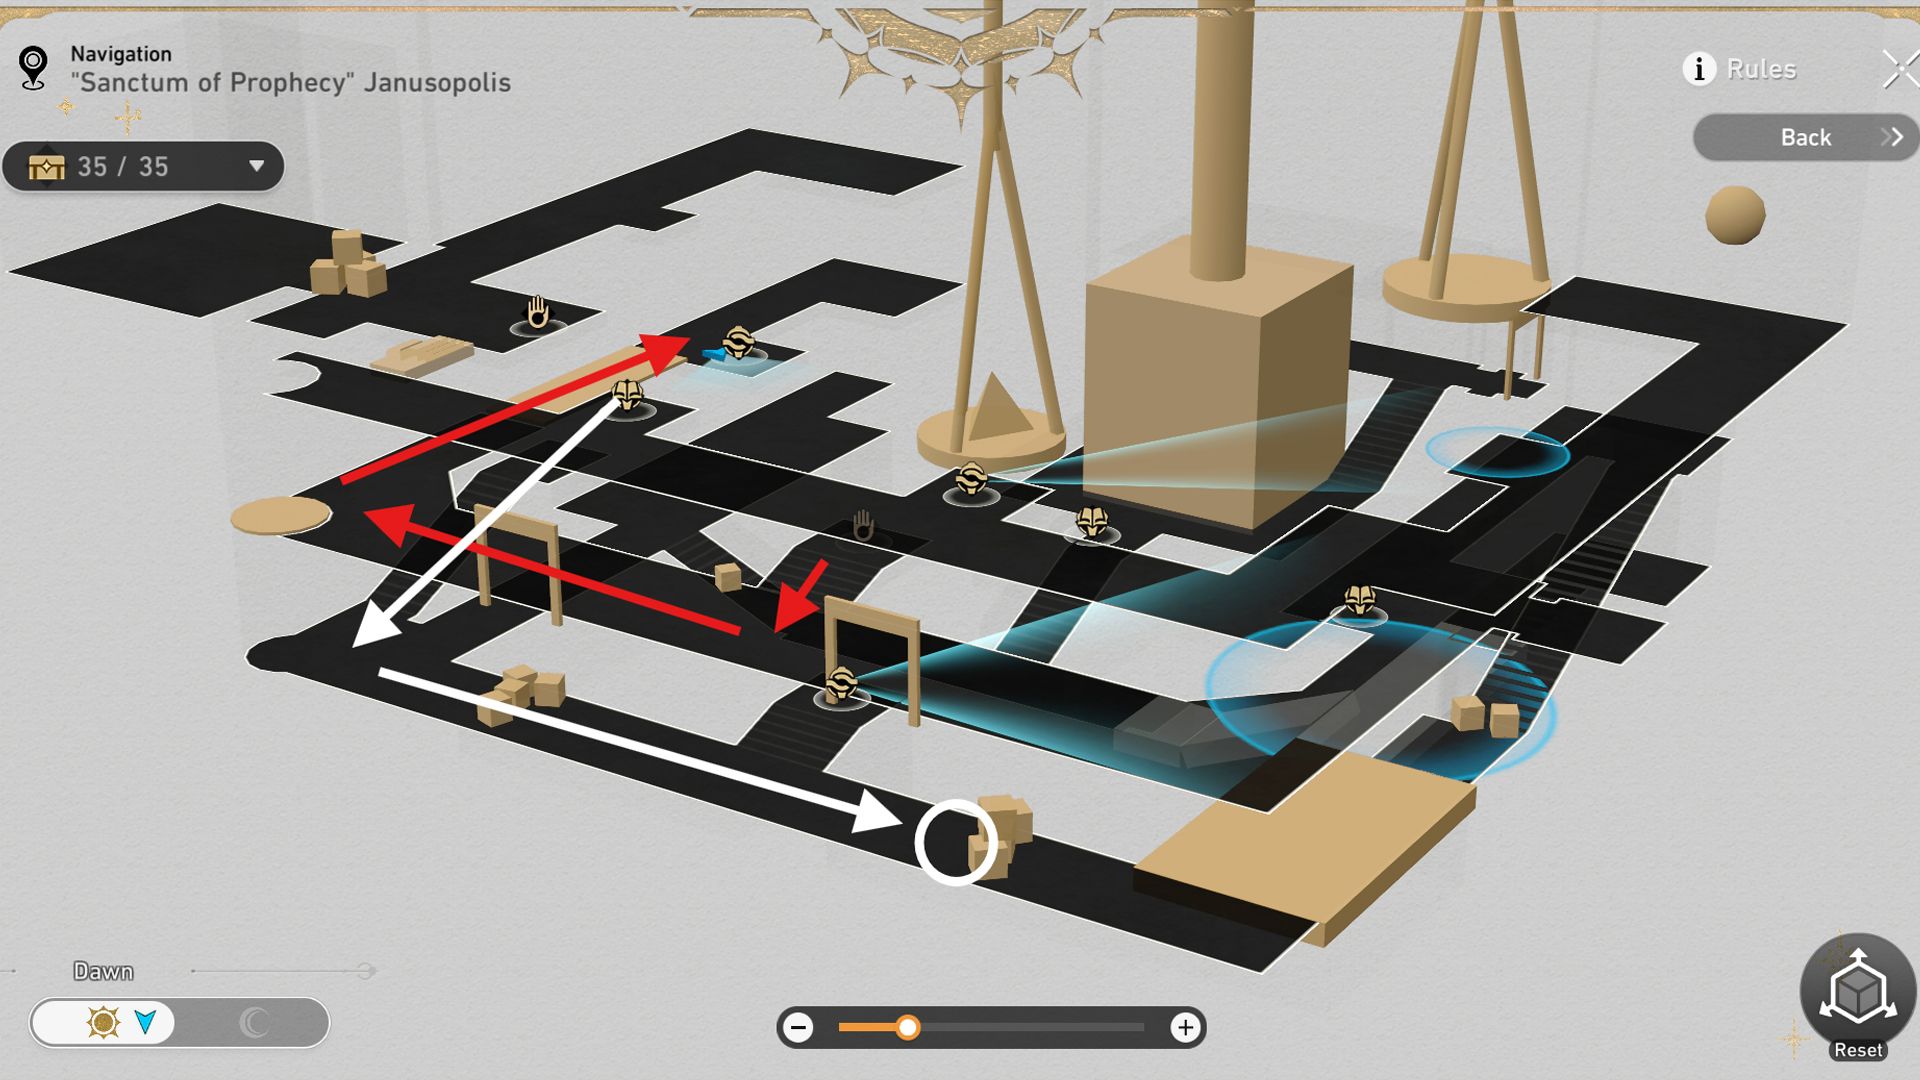
In our final leg of the journey, we’ll explore the two remaining 3-dimensional rooms in the “Sanctum of Prophecy” of Janusopolis. First, let’s transport ourselves to the Worshiper’s Footpath Space Anchor. From there, proceed south and enter the 3-D room. Upon entering, move towards the right side and climb up to the second level. On reaching the upper floor, trigger the Miracle Orbs to illuminate a bridge on the left side.
- 47. From the previous spot, keep following the path beyond the Miracle Orb and use Janus’ Hidden Passage to reach the opposite side and get the treasure chest.
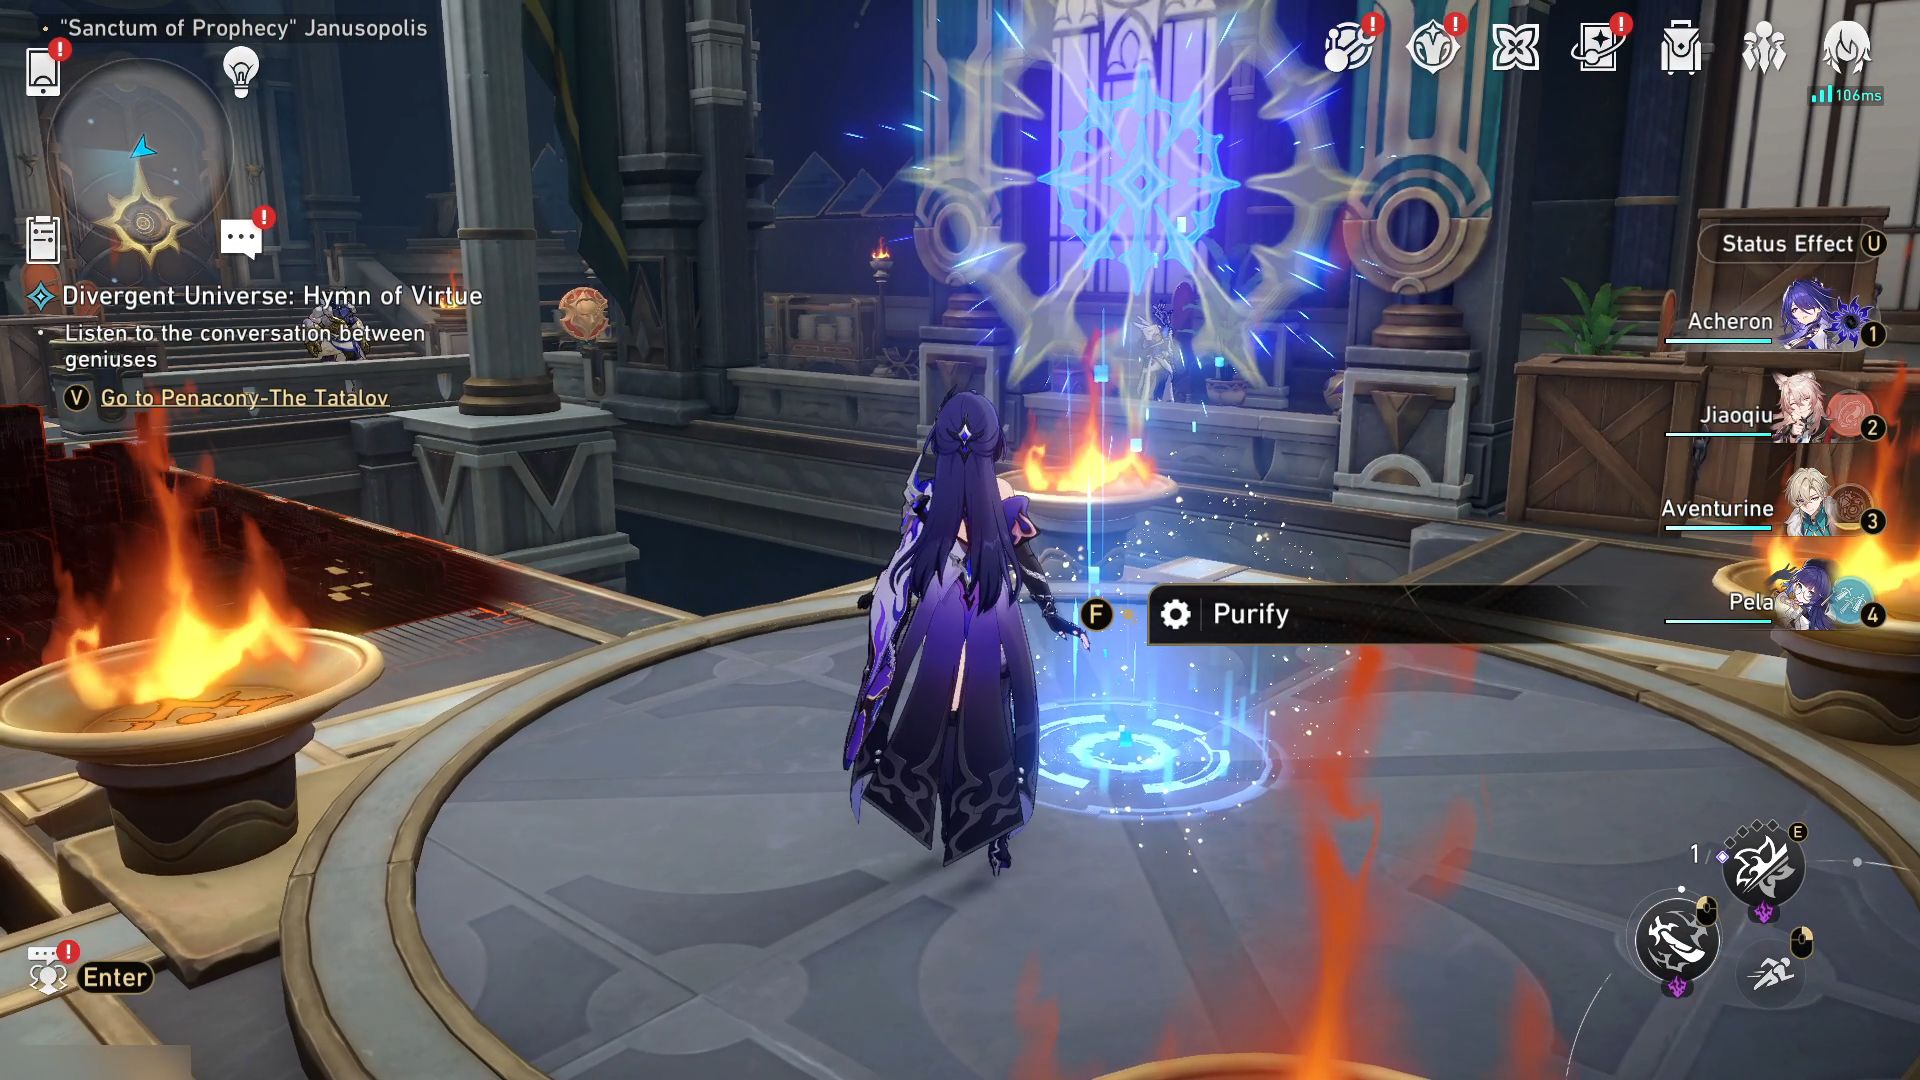

As a gamer, I’ll navigate my way down to the lower level, step across the radiant bridge that glows beneath my feet, and straighten up at the heart of the chamber. Here, I’ll set out to cleanse the ominous tide flowing black. Once completed, I’ll ascend once more to the upper floor, where I can activate the Miracle Orb, causing its light to illuminate the bridge on my right side.
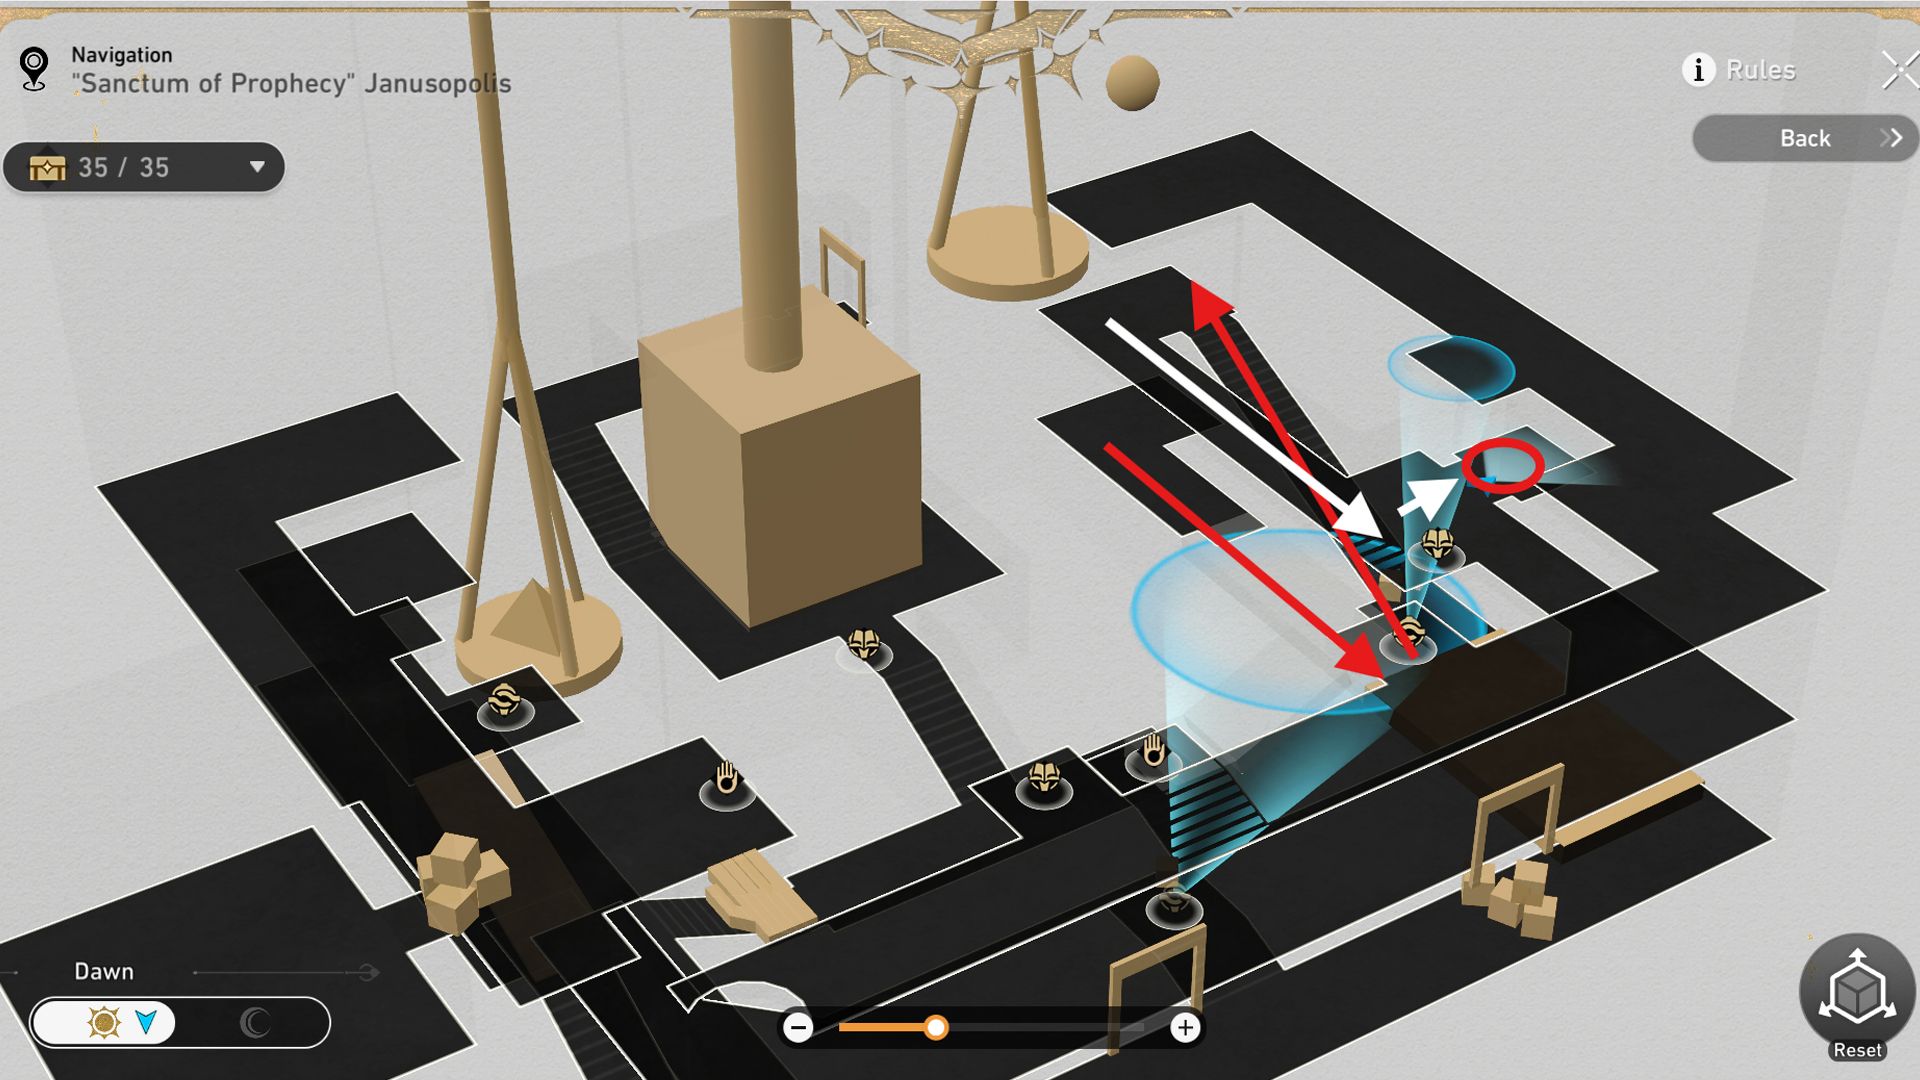
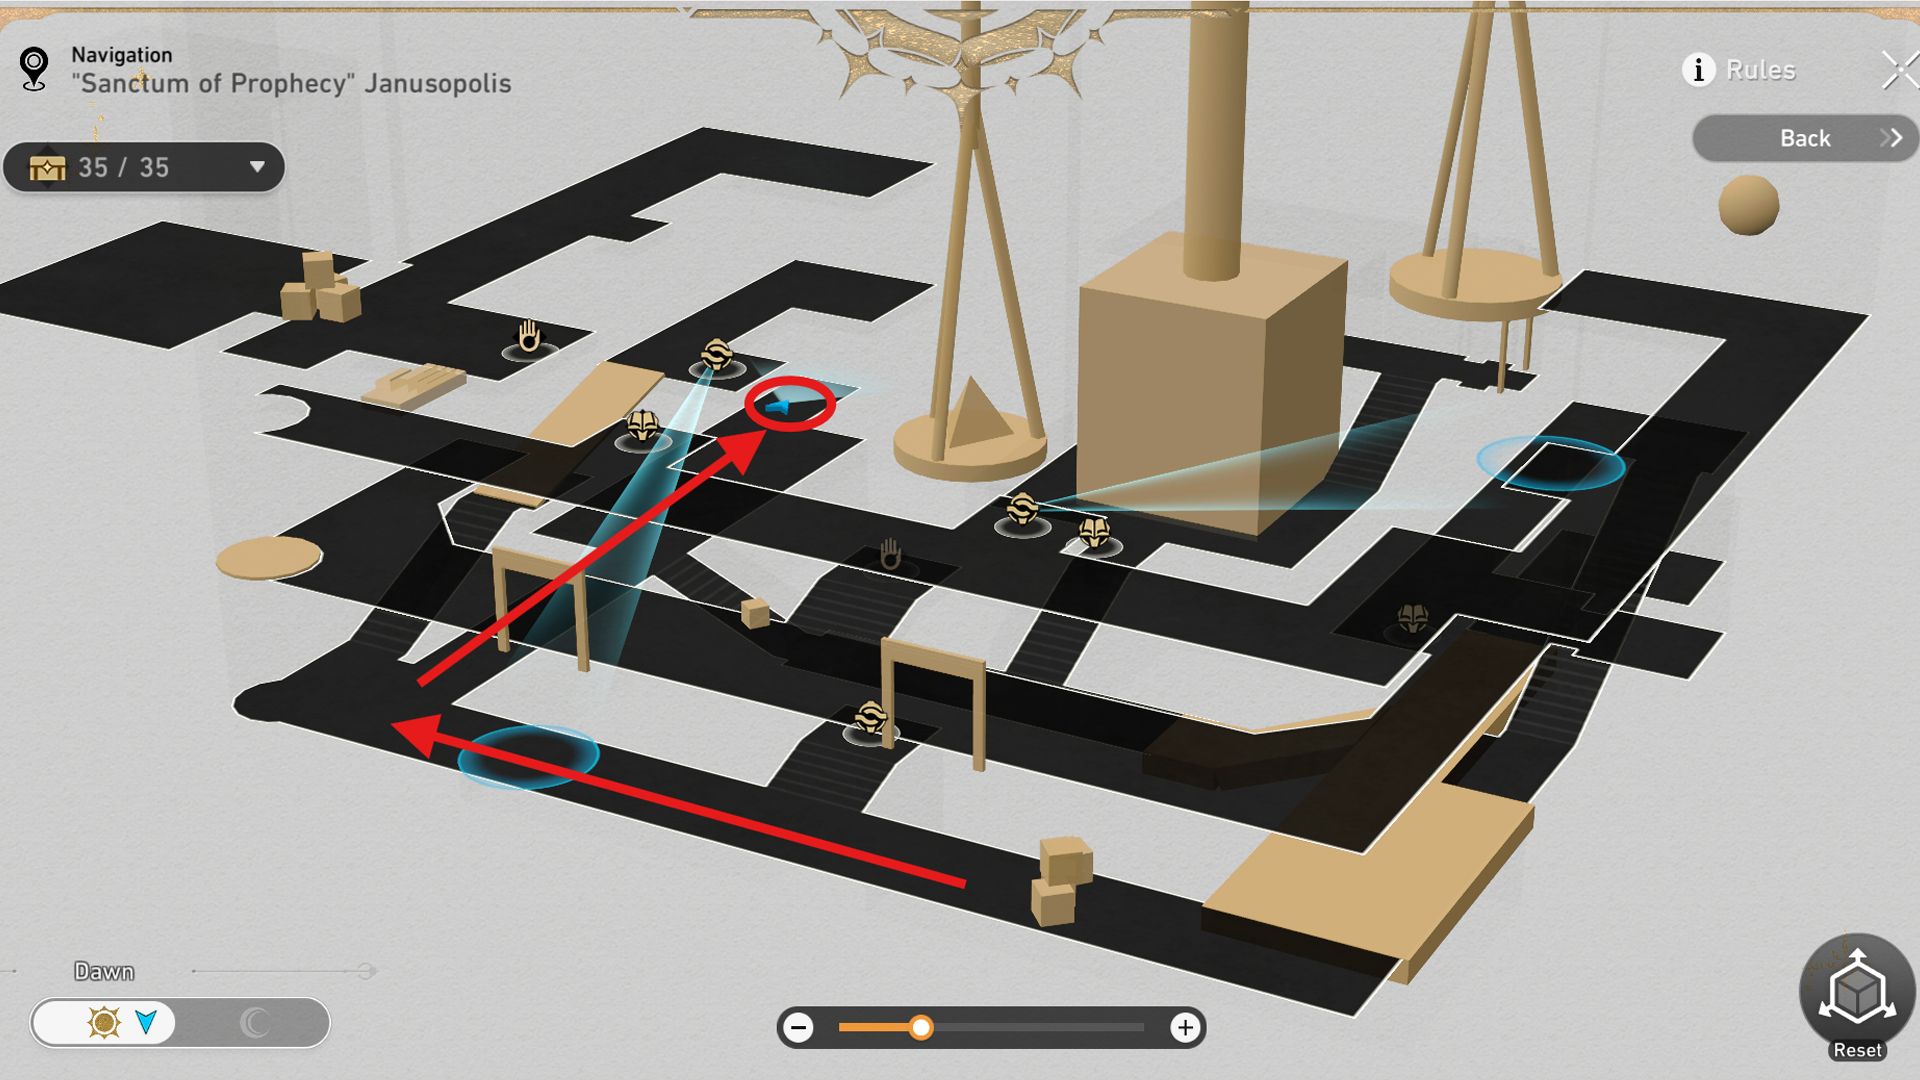
- 48. Go downstairs and use the Tome of Miracles at the front of the room to turn the space-time to Evernight. Then, turn around and go down the broken bridge to get the treasure chest behind the pillar.
- 49. Head upwards again before fixing the bridge to cross it and get the Precious Chest at the center of the room.
- 50. Use the illuminated right bridge to get this room’s last treasure chest.
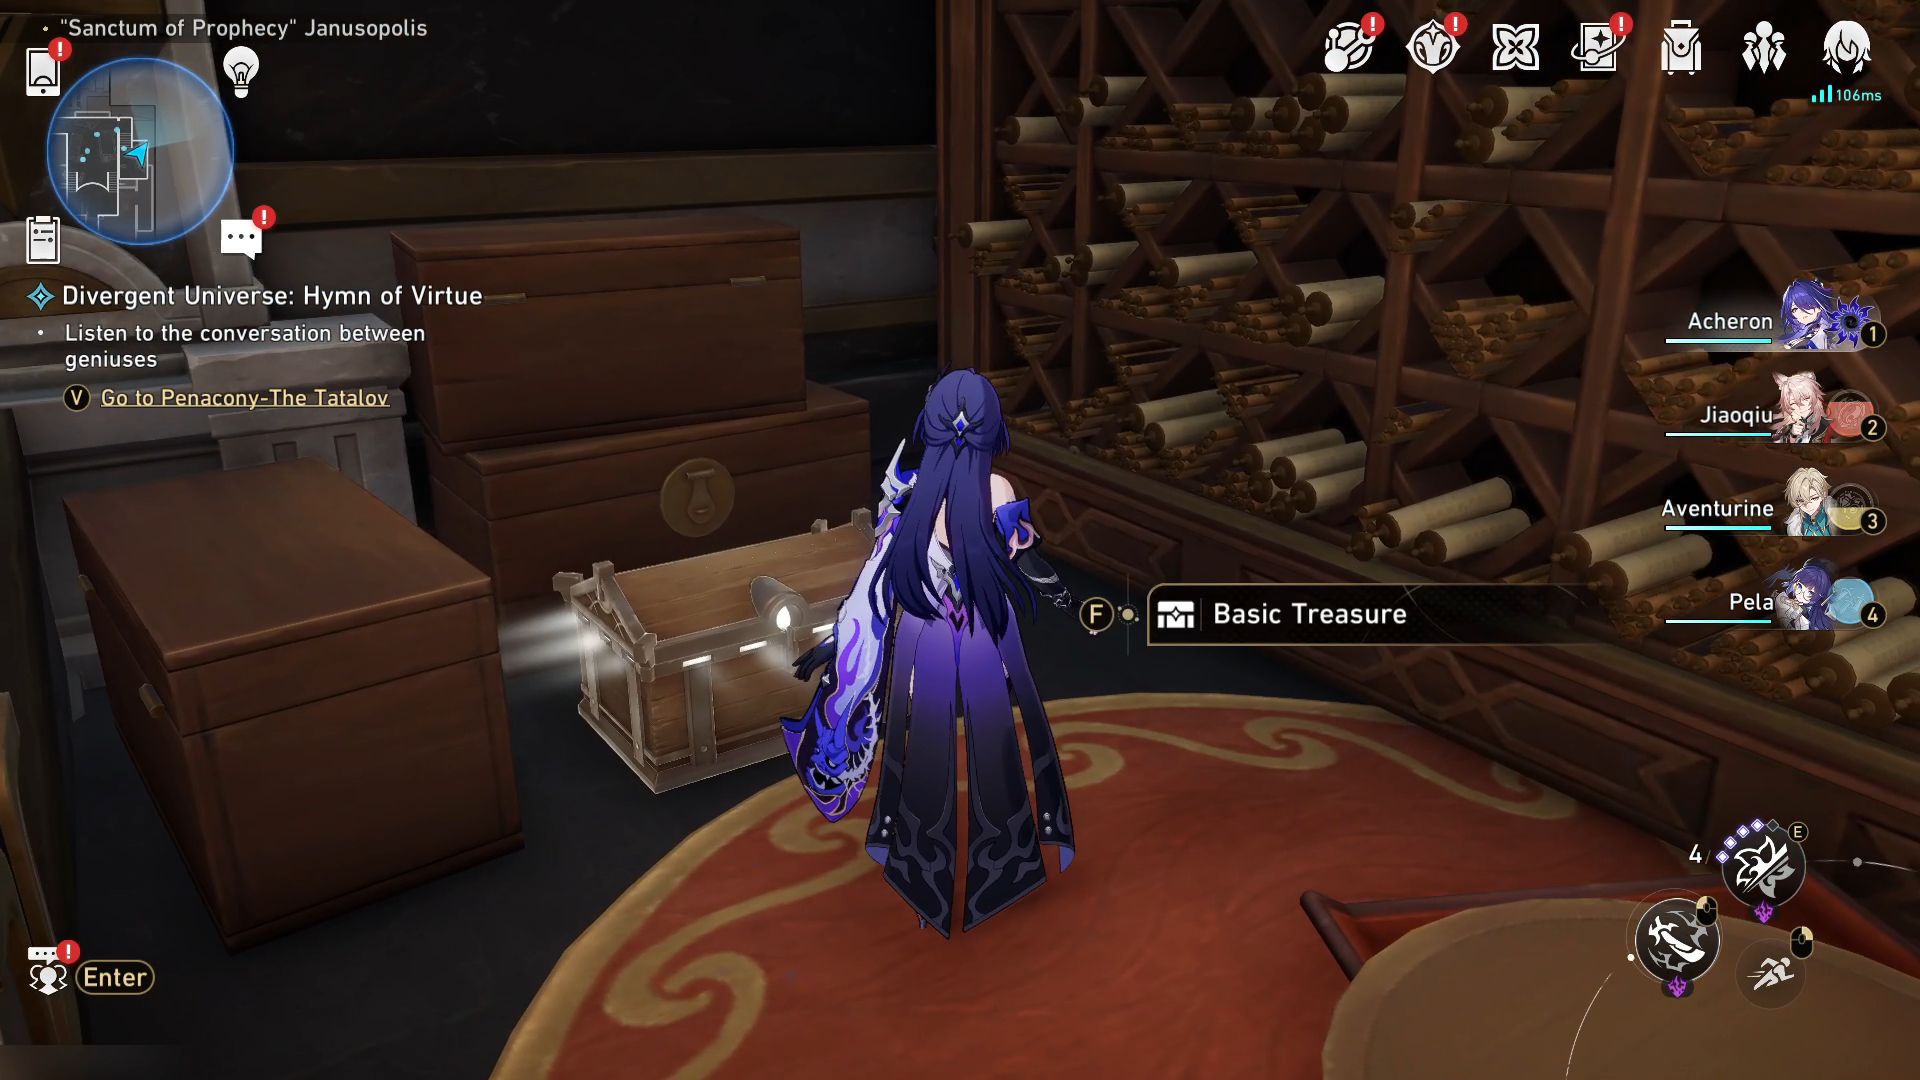
- 51. Teleport to Calyx (Golden): Bud of Memories, and you can find a chest near the flower.
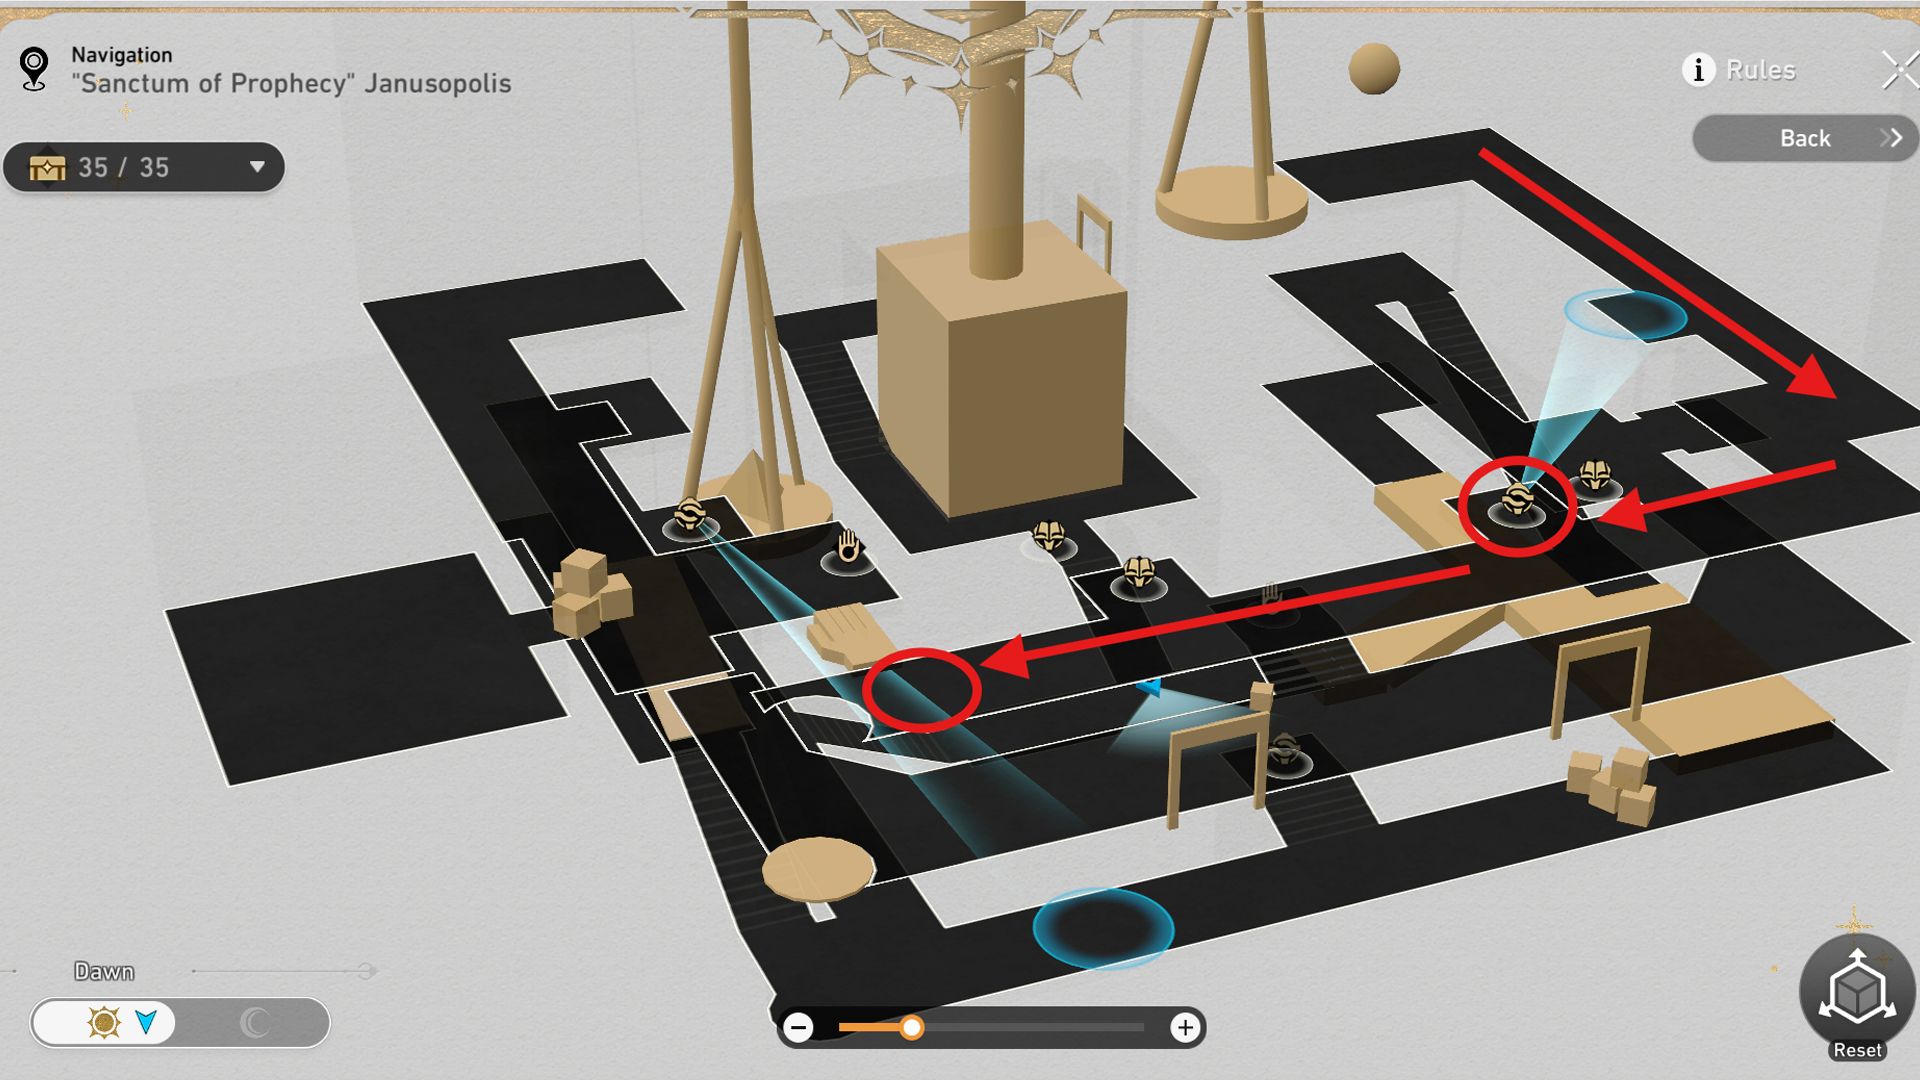
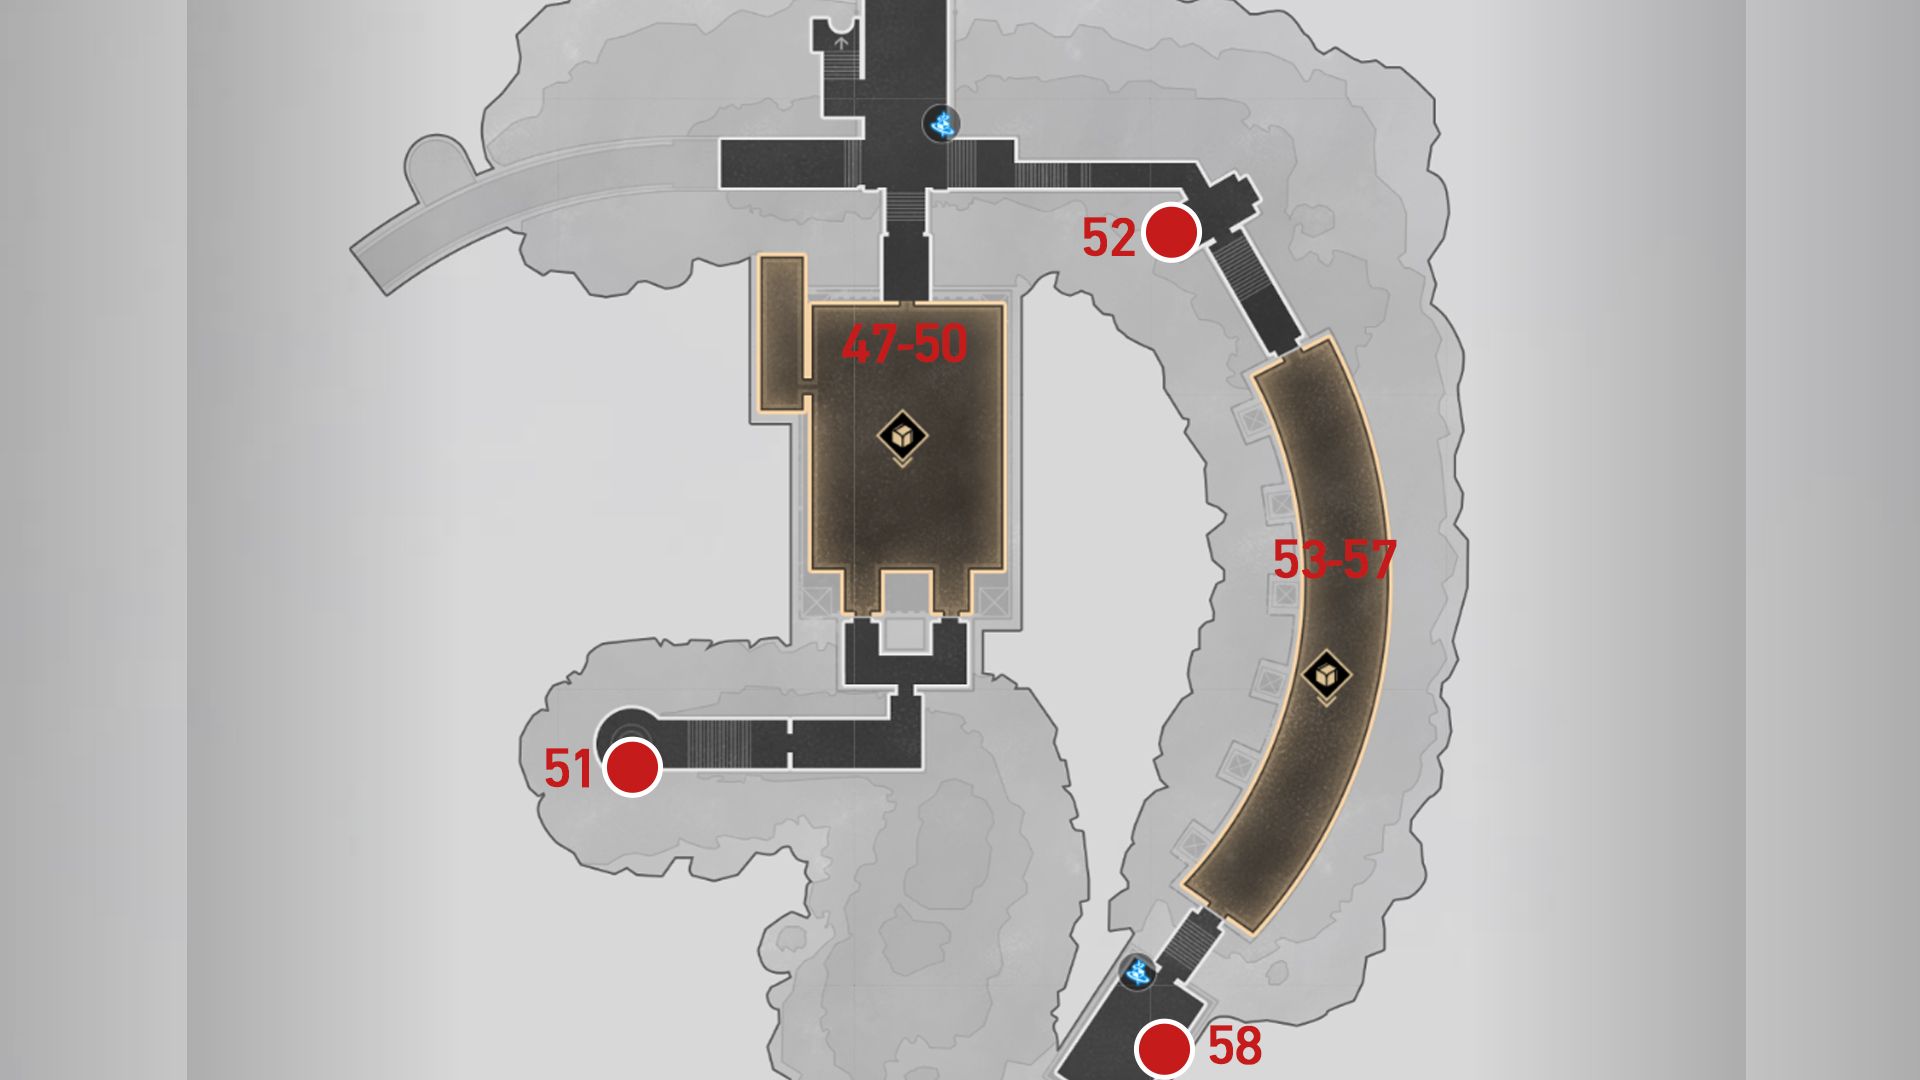
- 52. Use the Worshiper’s Footpath Space Anchor and head east toward the path leading to the last 3D room. There is a treasure chest on the right side of the path, before the room entrance.
- 53. Once you enter the 3D room, change the space-time to Evernight and look at the entrance again for a Basic Treasure.
- 54. Turn around and cross the bridge to get to the next treasure chest on the left.
- 55. Continue walking forward to find a Miracle Orb. Use it to illuminate an area near the door before changing the space-time to Dawn. In the illuminated area, there will be a treasure chest.
- 56. After that, use the Miracle Orb again and change the direction towards the statue. Then, approach the stone control platform nearby to control the Hand of Zagreus and find 3 Coins of Whimsy to unlock a Bountiful Treasure.
- 57. From the previous spot, turn left to find another treasure chest.
- 58. Teleport to the End of the Gate Space Anchor, and after arrival, look to the left for a Basic Treasure.
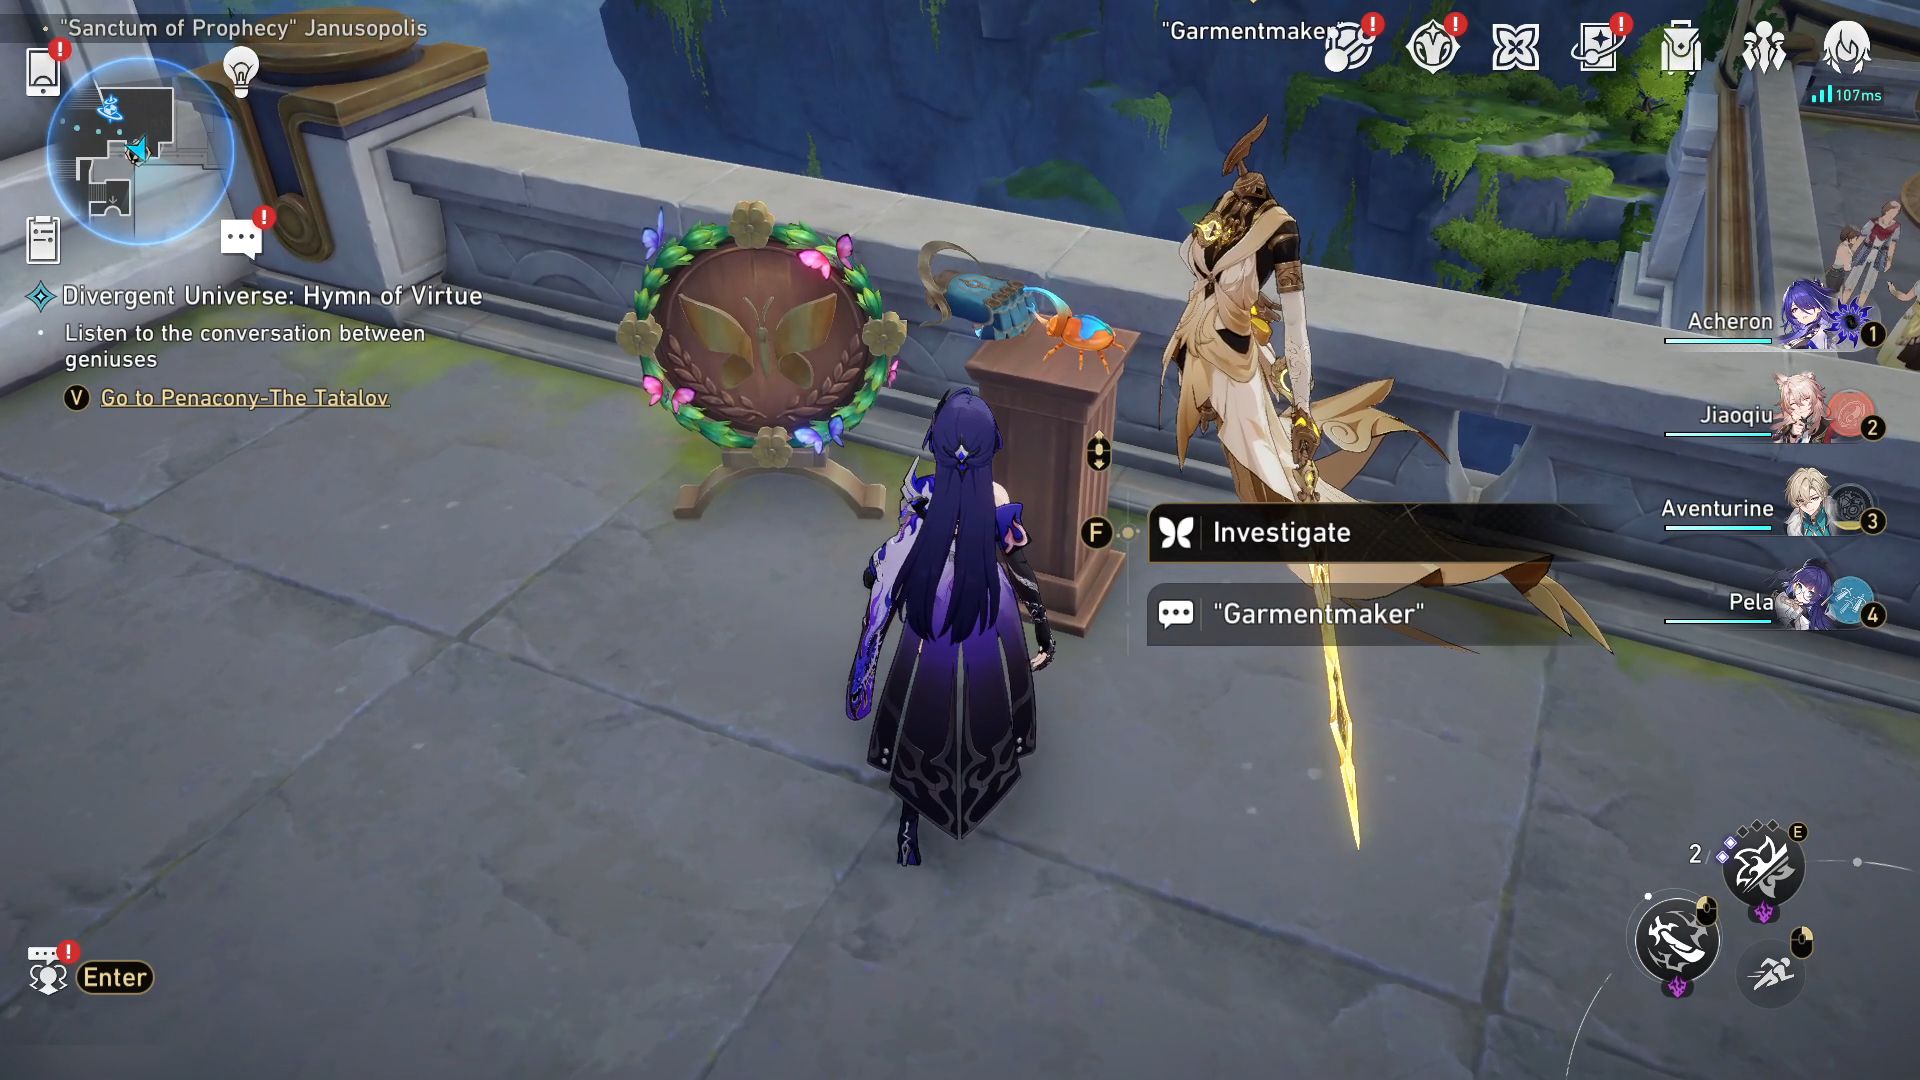
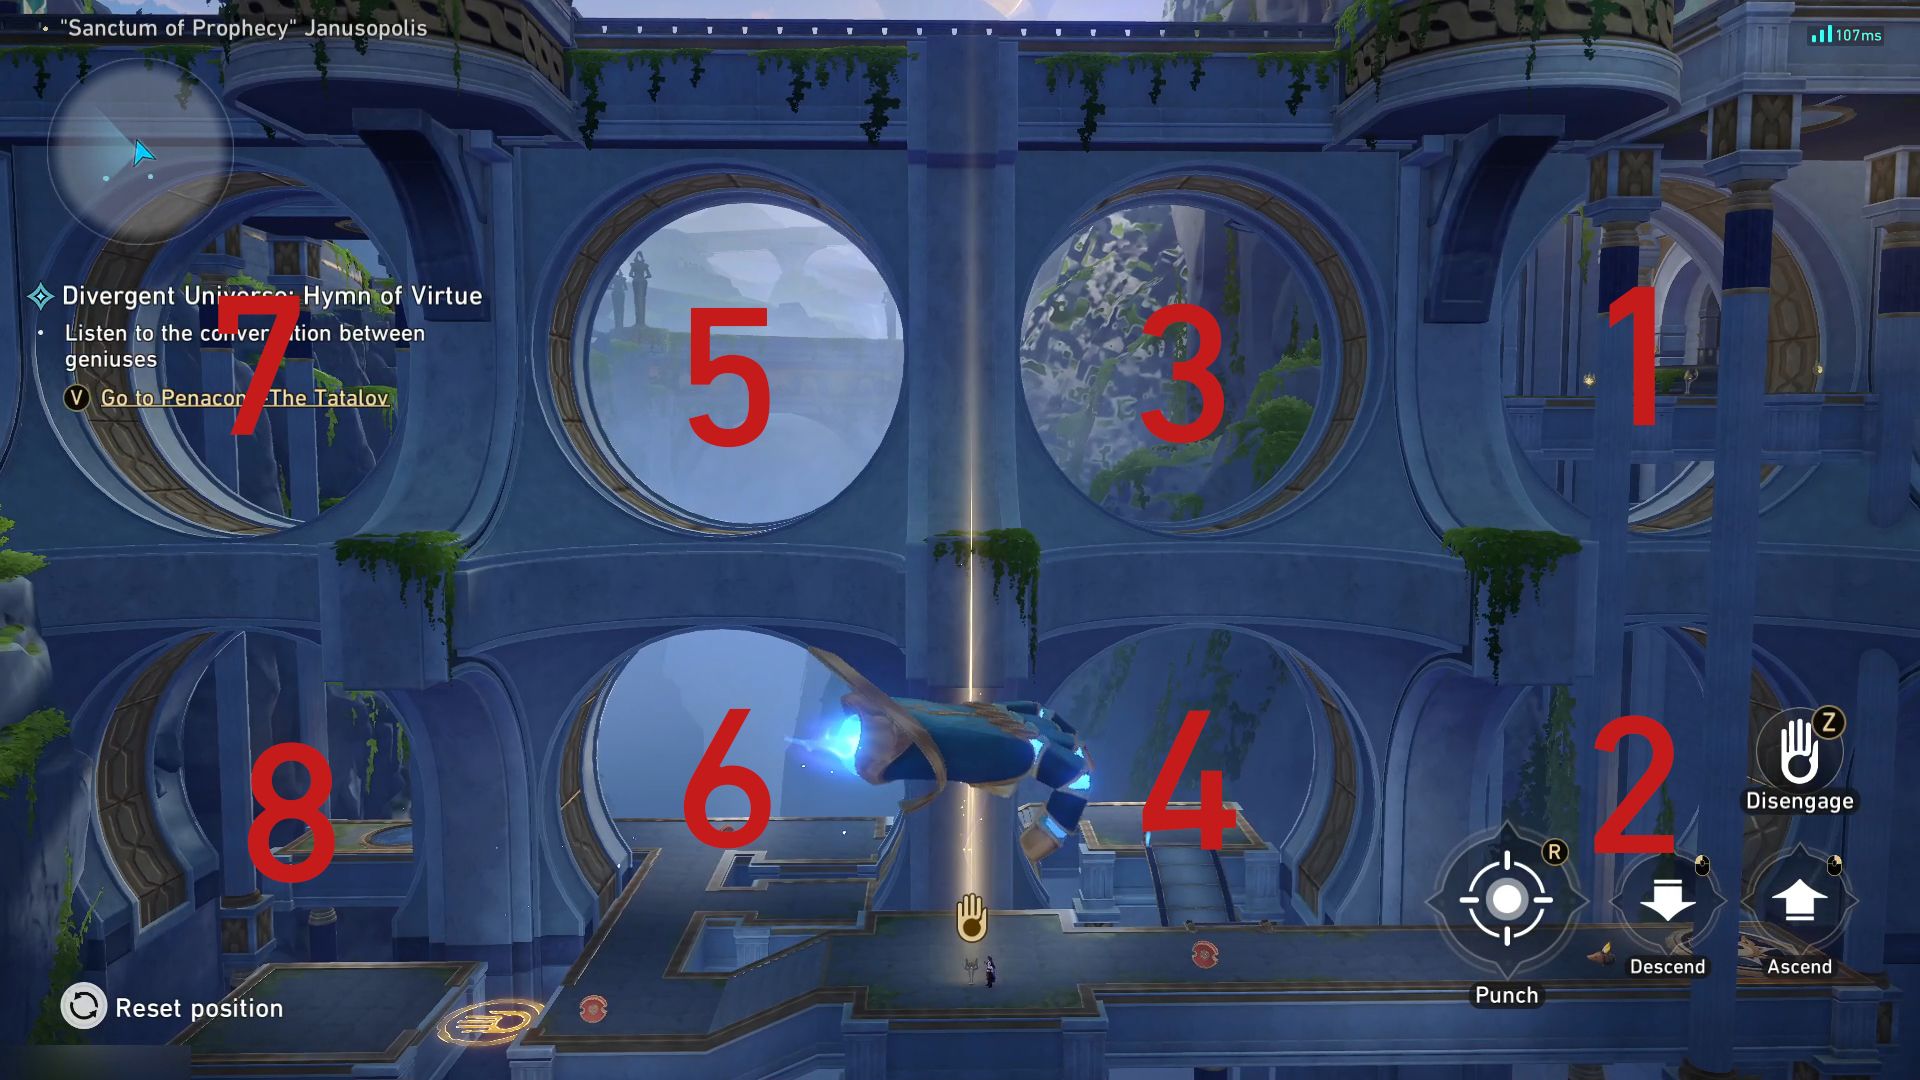
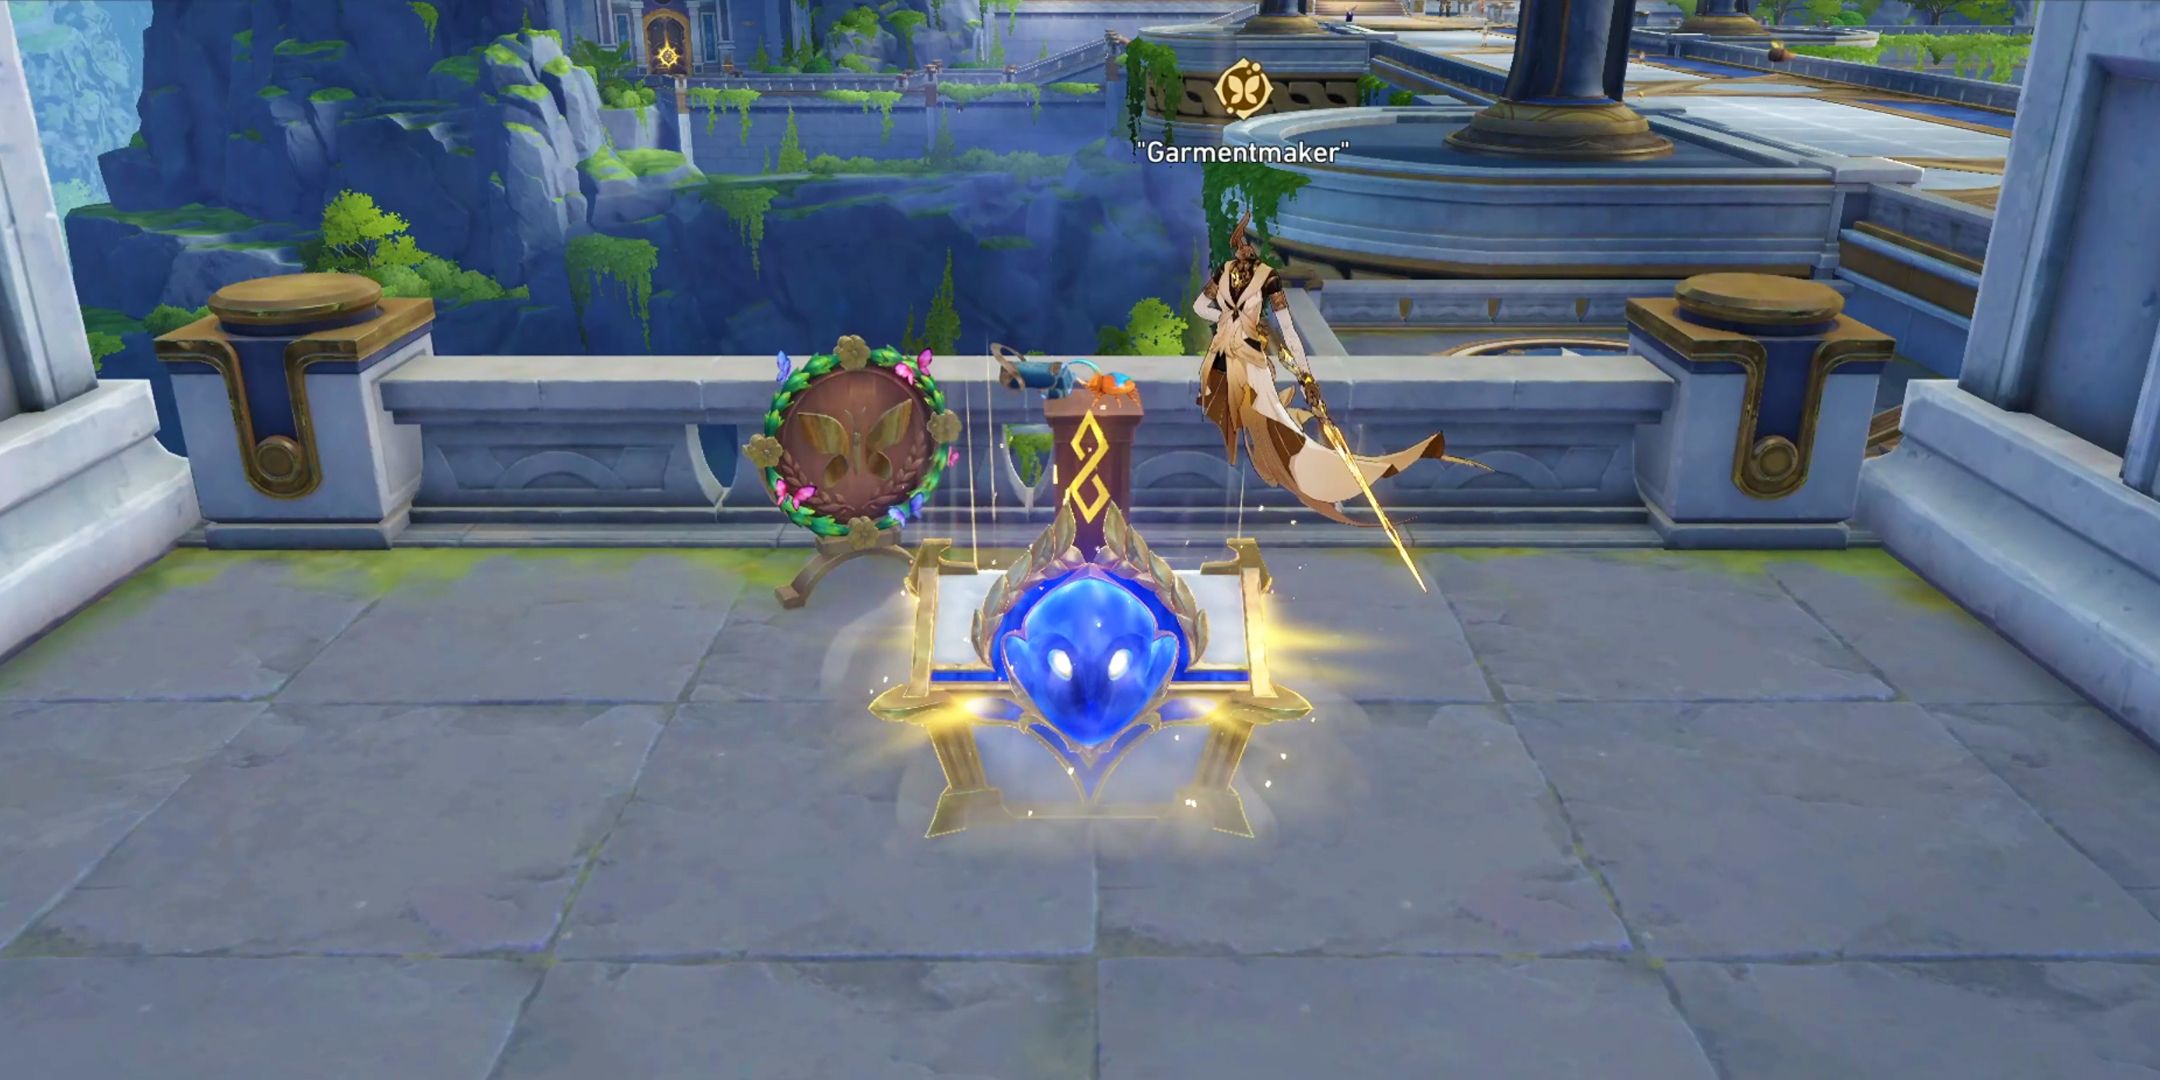
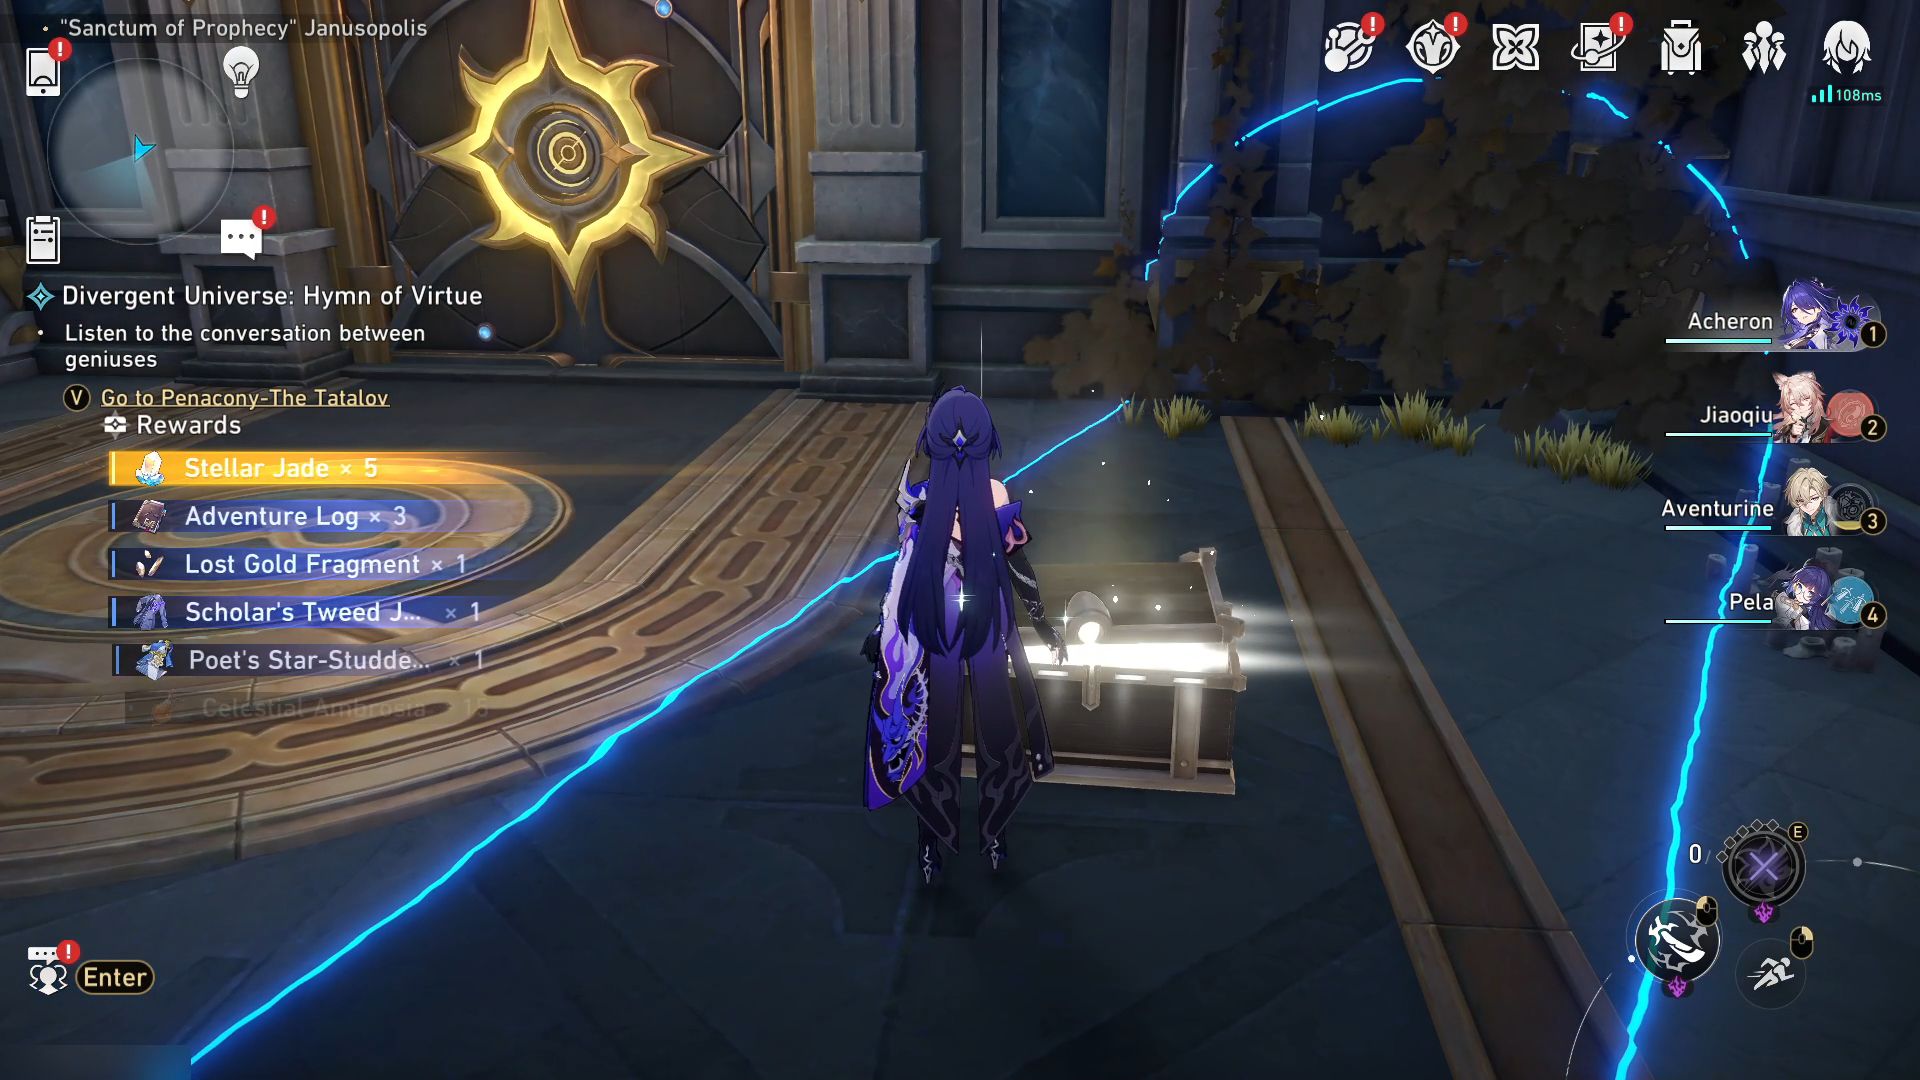
To get the final treasure chest in “Sanctum of Prophecy” Janusopolis, Trailblazers must first find and return all ten Nymphs scattered throughout the area to Garmentmaker next to the Destiny’s Gate Space Anchor. Once this task is accomplished, a tiny Hand of Zagreus will appear on a platform nearby. Subsequently, you can move down to the lower level using the close-by elevator and assume control over the Hand of Zagreus. The objective then becomes guiding the mechanical hand through eight wall circles in the appropriate sequence (3 – 1 – 4 – 1 – 5 – 5 – 2 – 6) to unlock the treasure chest.
Read More
- Who Is Harley Wallace? The Heartbreaking Truth Behind Bring Her Back’s Dedication
- 50 Ankle Break & Score Sound ID Codes for Basketball Zero
- 50 Goal Sound ID Codes for Blue Lock Rivals
- 100 Most-Watched TV Series of 2024-25 Across Streaming, Broadcast and Cable: ‘Squid Game’ Leads This Season’s Rankers
- Lottery apologizes after thousands mistakenly told they won millions
- Basketball Zero Boombox & Music ID Codes – Roblox
- KPop Demon Hunters: Real Ages Revealed?!
- Umamusume: Pretty Derby Support Card Tier List [Release]
- Ultimate AI Limit Beginner’s Guide [Best Stats, Gear, Weapons & More]
- How to play Delta Force Black Hawk Down campaign solo. Single player Explained
2025-03-01 13:04