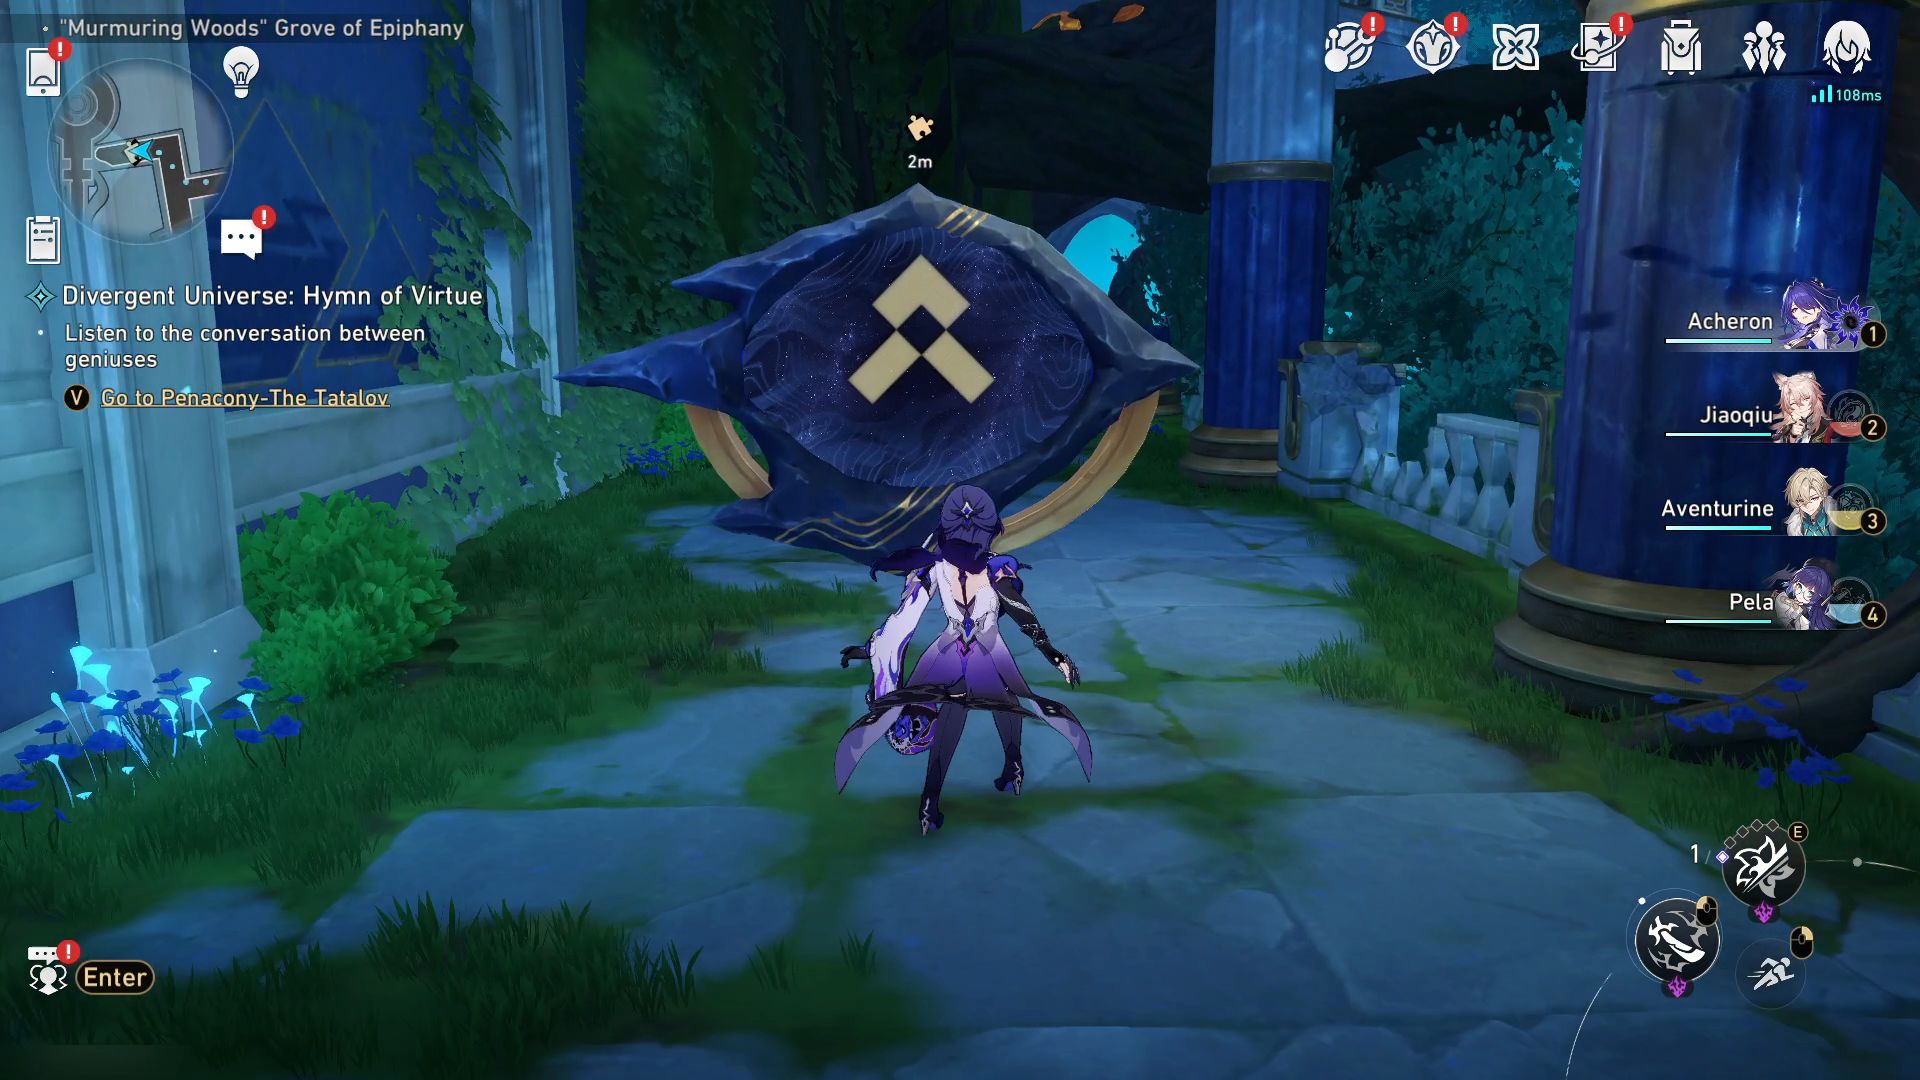
Among the fresh additions to “Honkai: Star Rail“, you’ll find “The Grove of Epiphany, The Murmuring Woods“. This vibrant location is teeming with trees and lush greenery. Similar to other maps in Amphoreus, it has been sectioned into multiple levels. Each floor is brimming with treasure chests that Trailblazers can gather.
To access “Murmuring Woods” Grove of Epiphany, players need to accomplish the latest mission called ‘Light Slips the Gate, Shadow Greets the Throne’, which includes the previous Amphoreus characters along with Anaxa and Hyacine. After the area is illuminated, Trailblazers can then gather all 36 treasure chests in this location by following this guide.
“Murmuring Woods” Grove of Epiphany Treasure and Spirithief Locations In Honkai: Star Rail
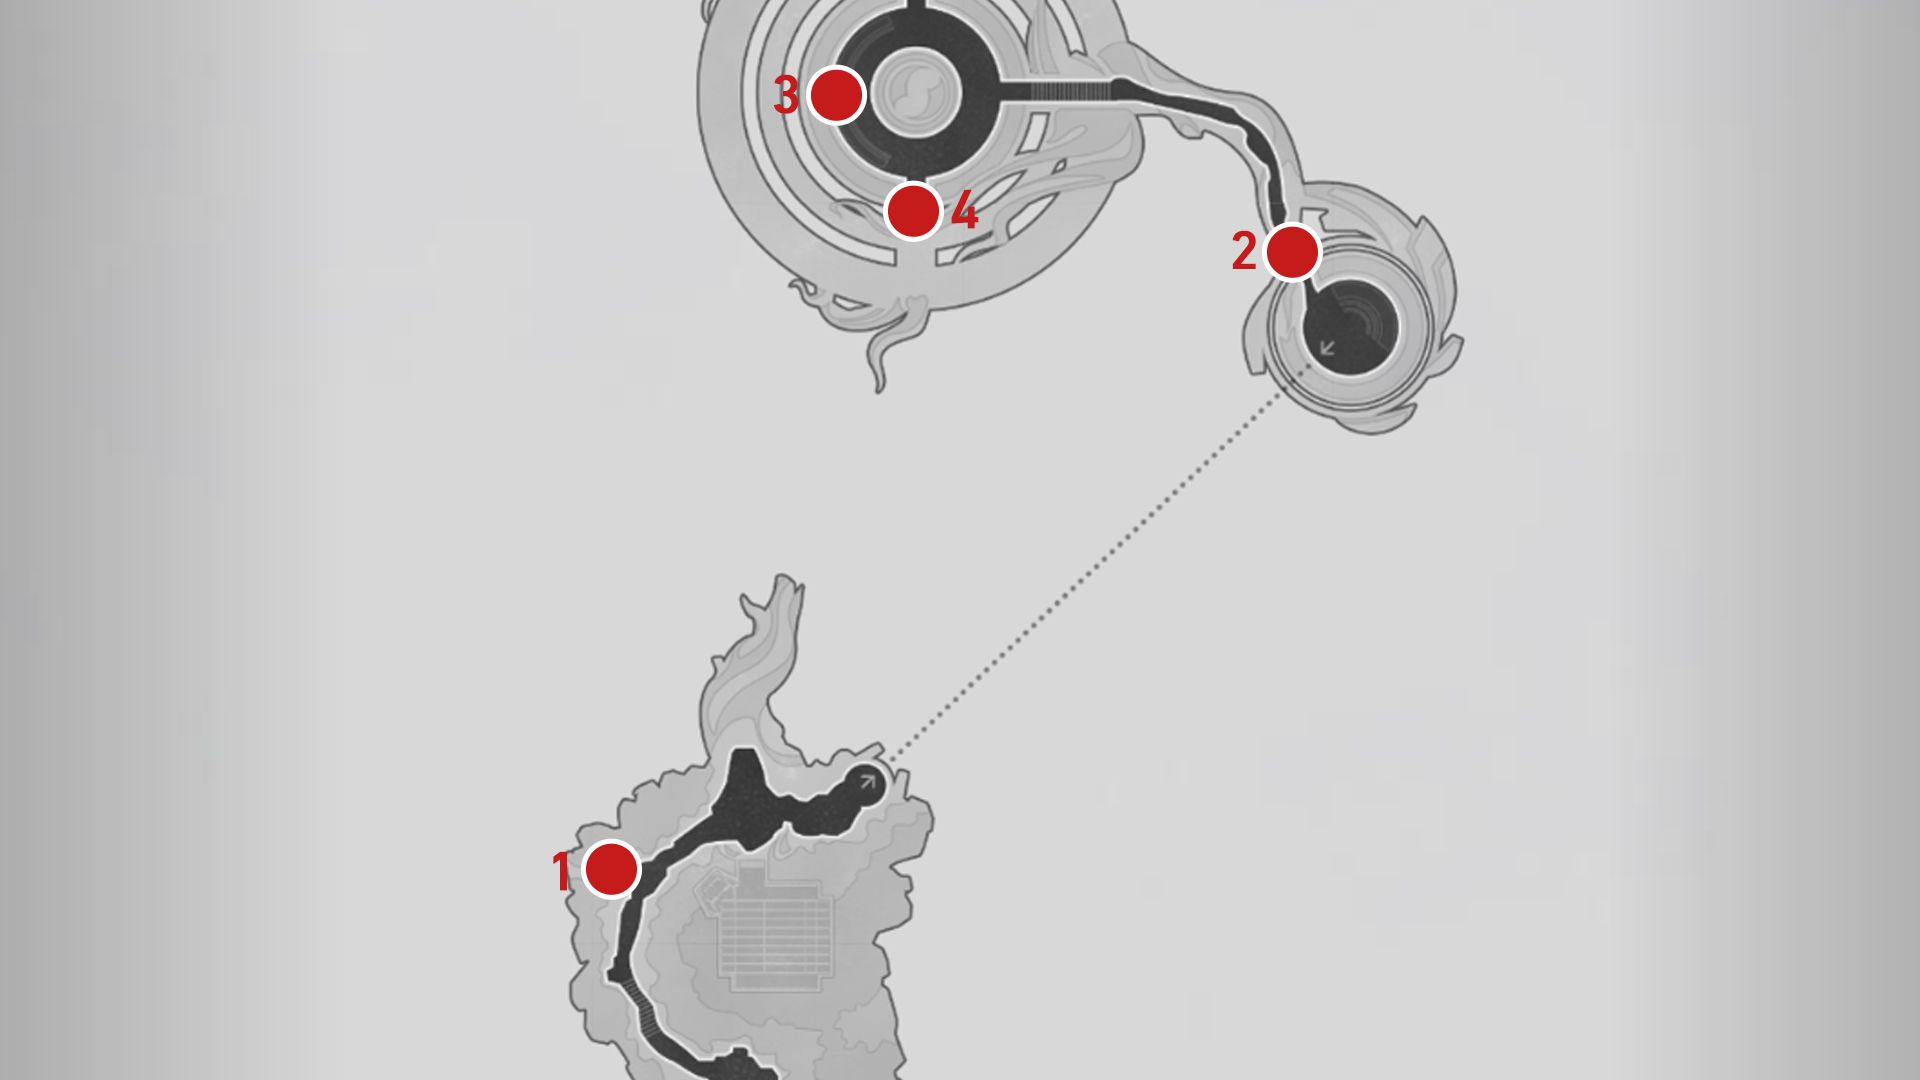
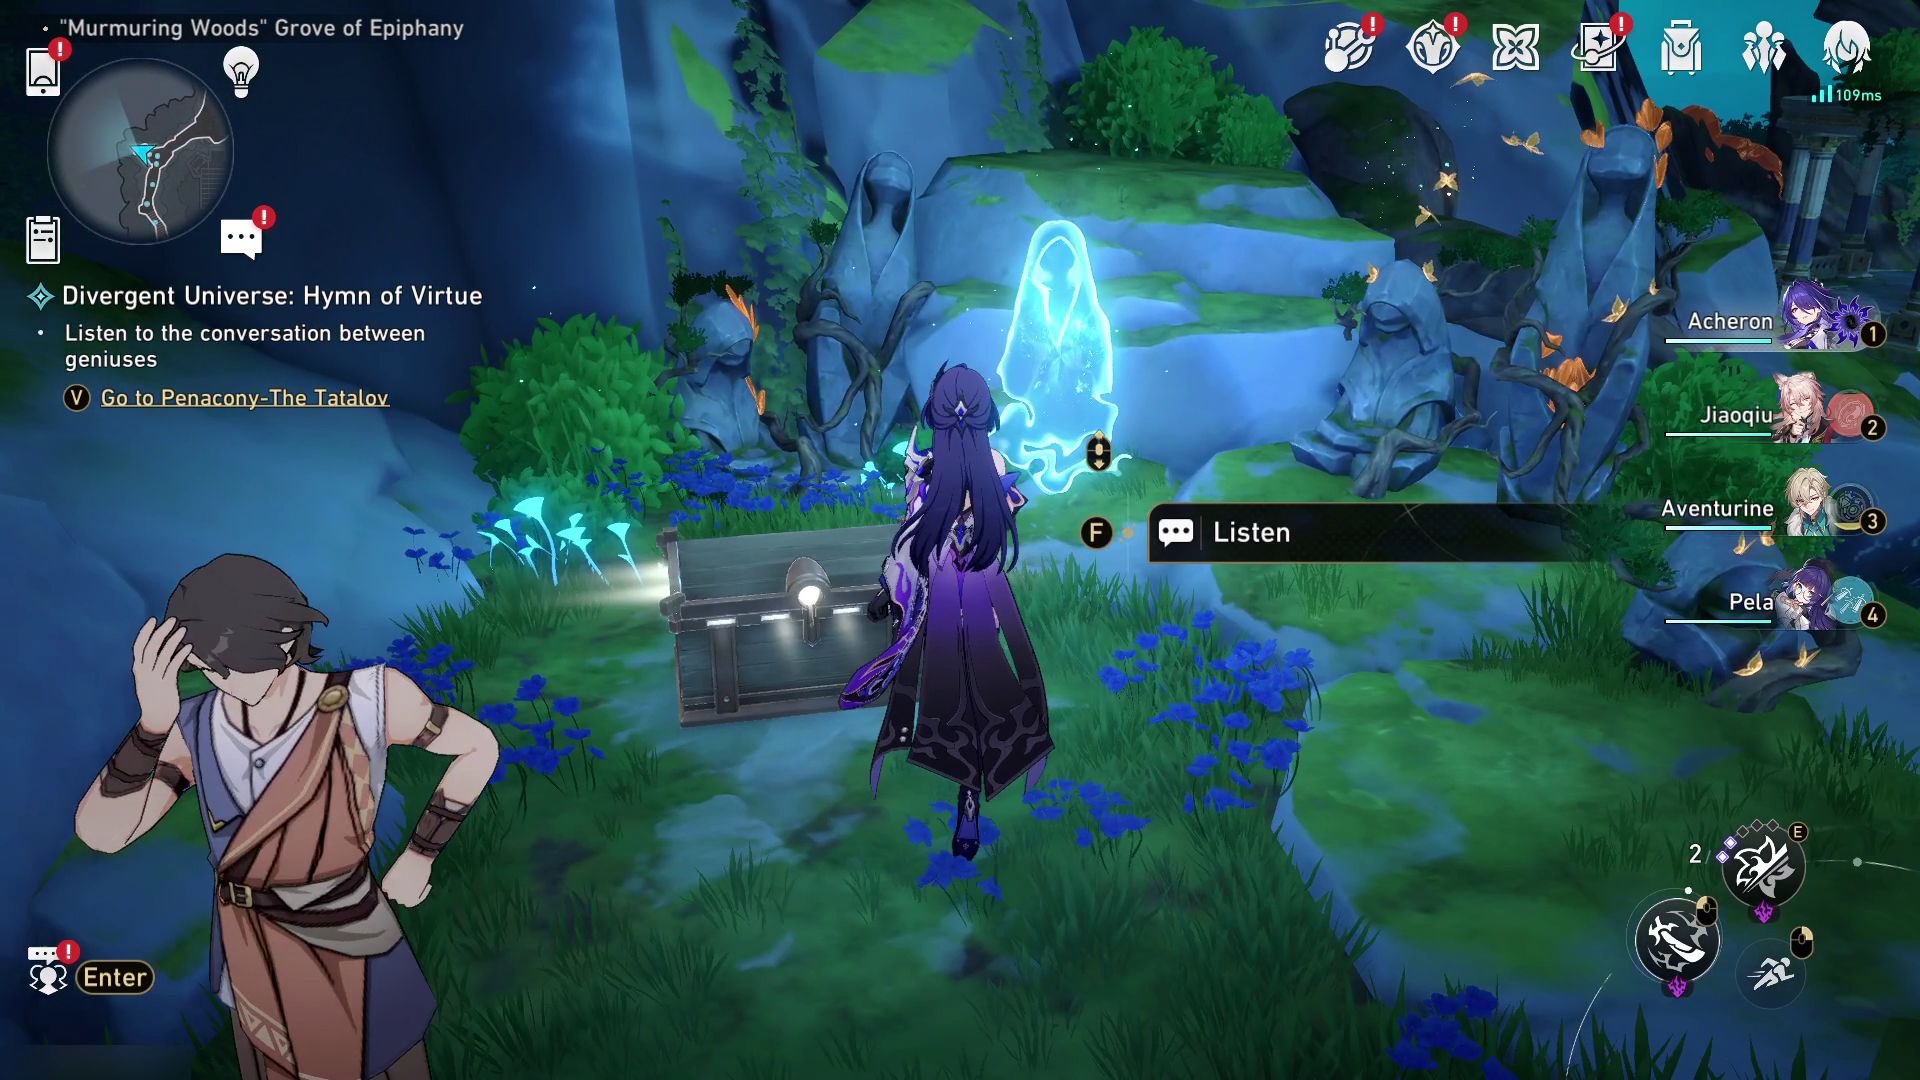
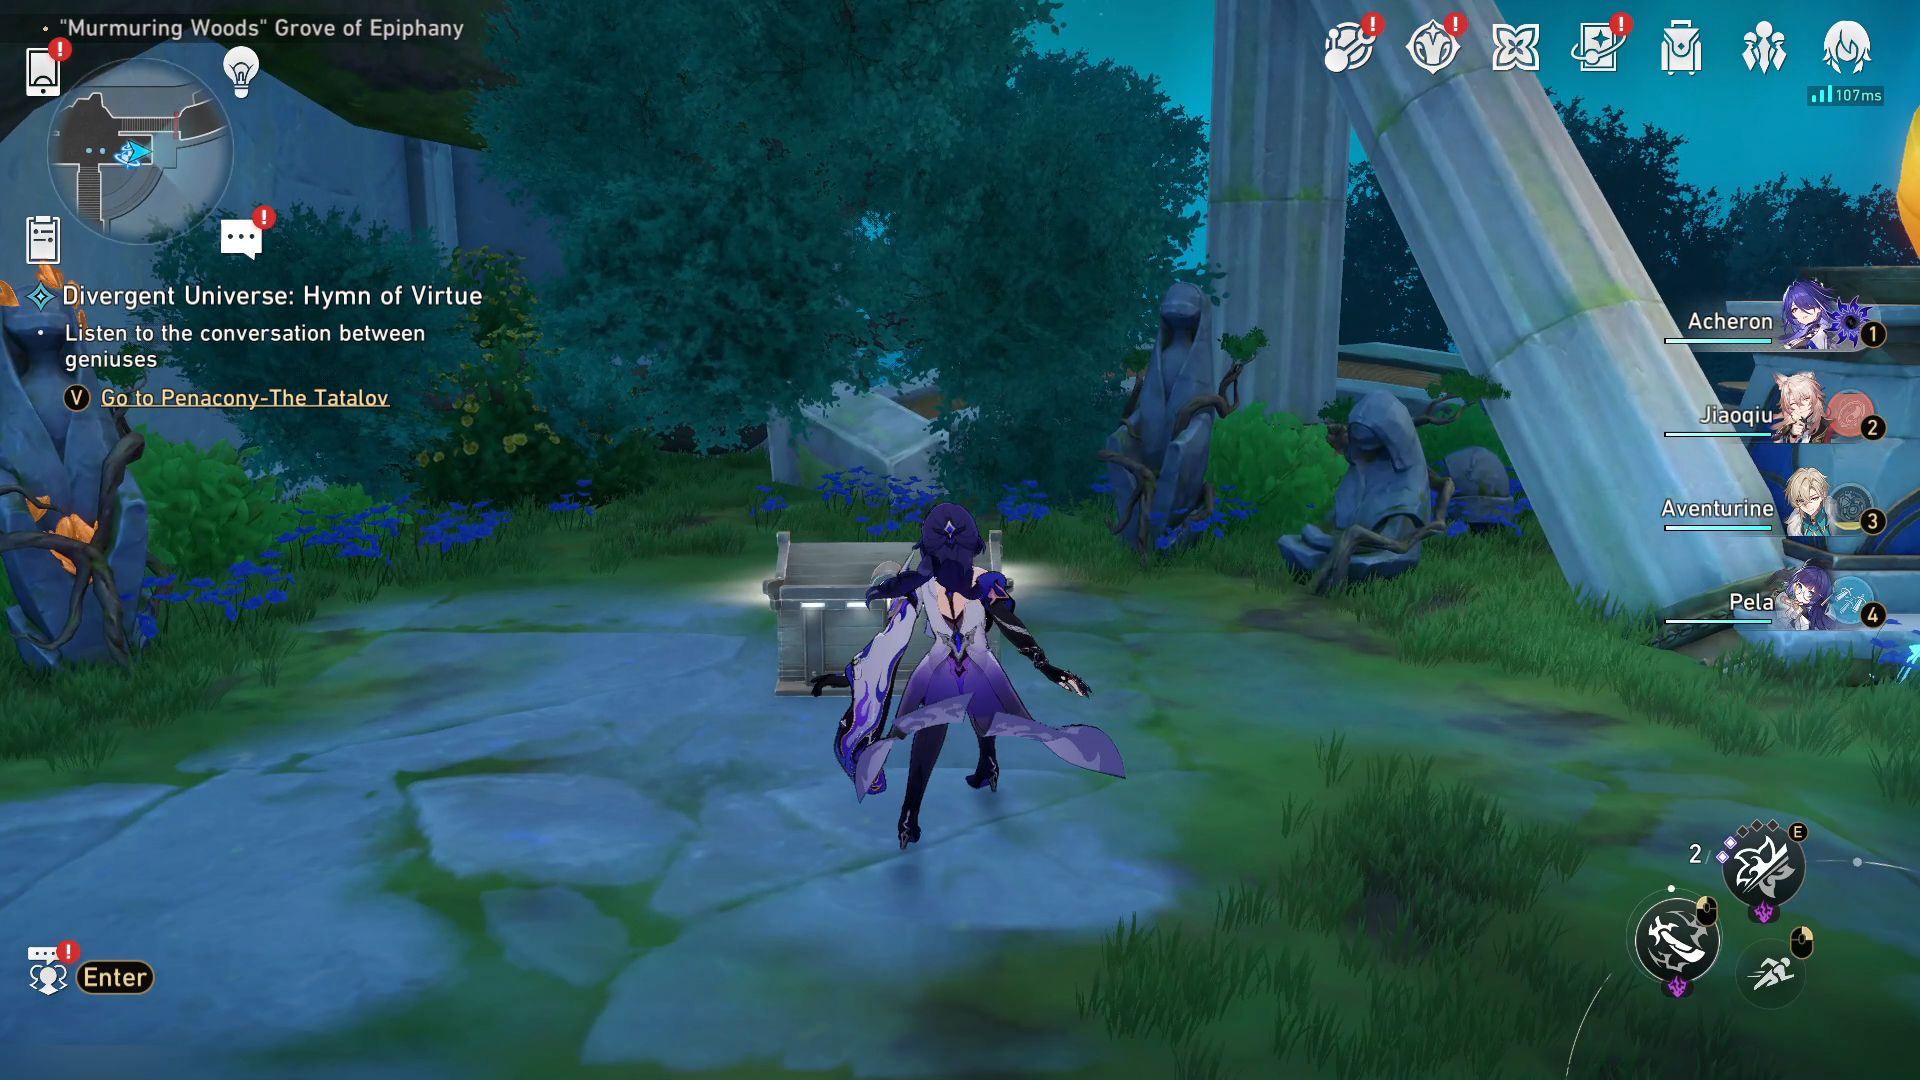
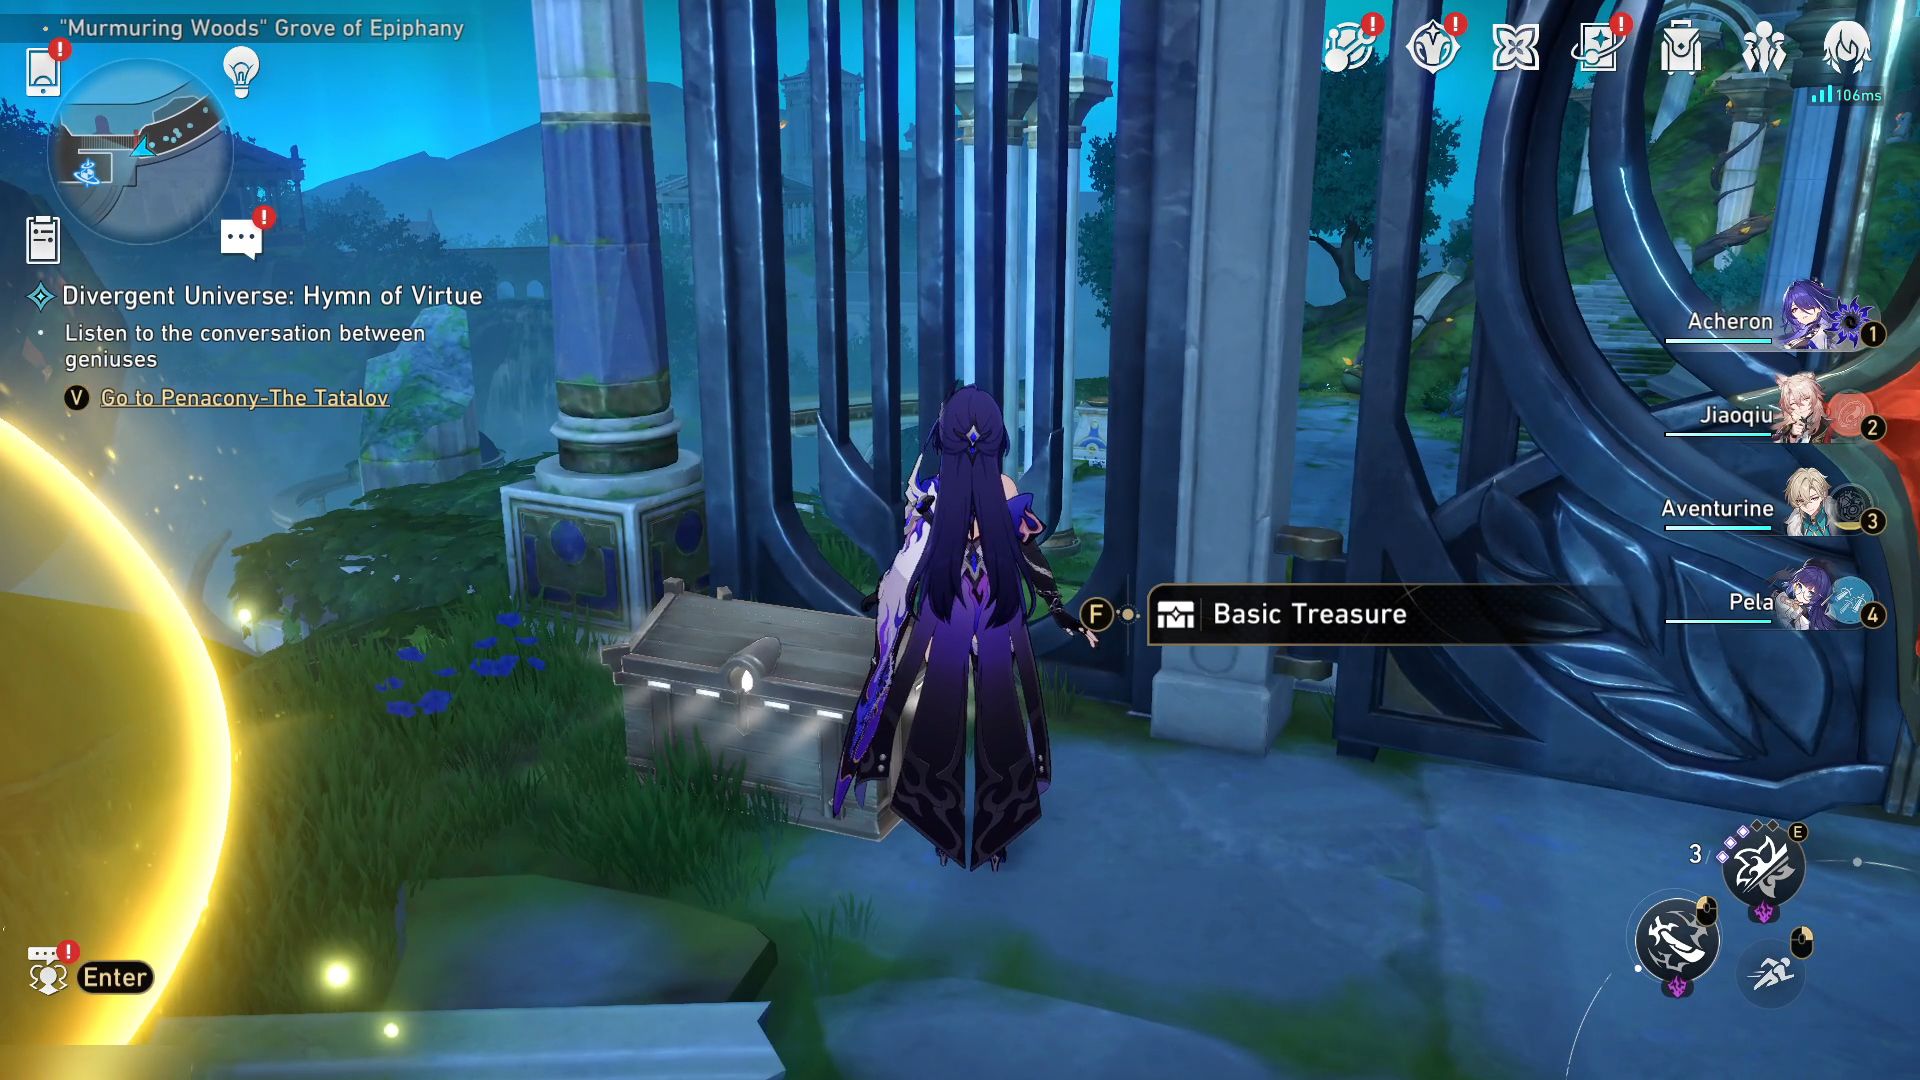
- 1. Teleport to Woven Trail Space Anchor and follow the path leading to the north. Once you see a group of people, look to the left for a small area with a treasure chest in front of many statues.
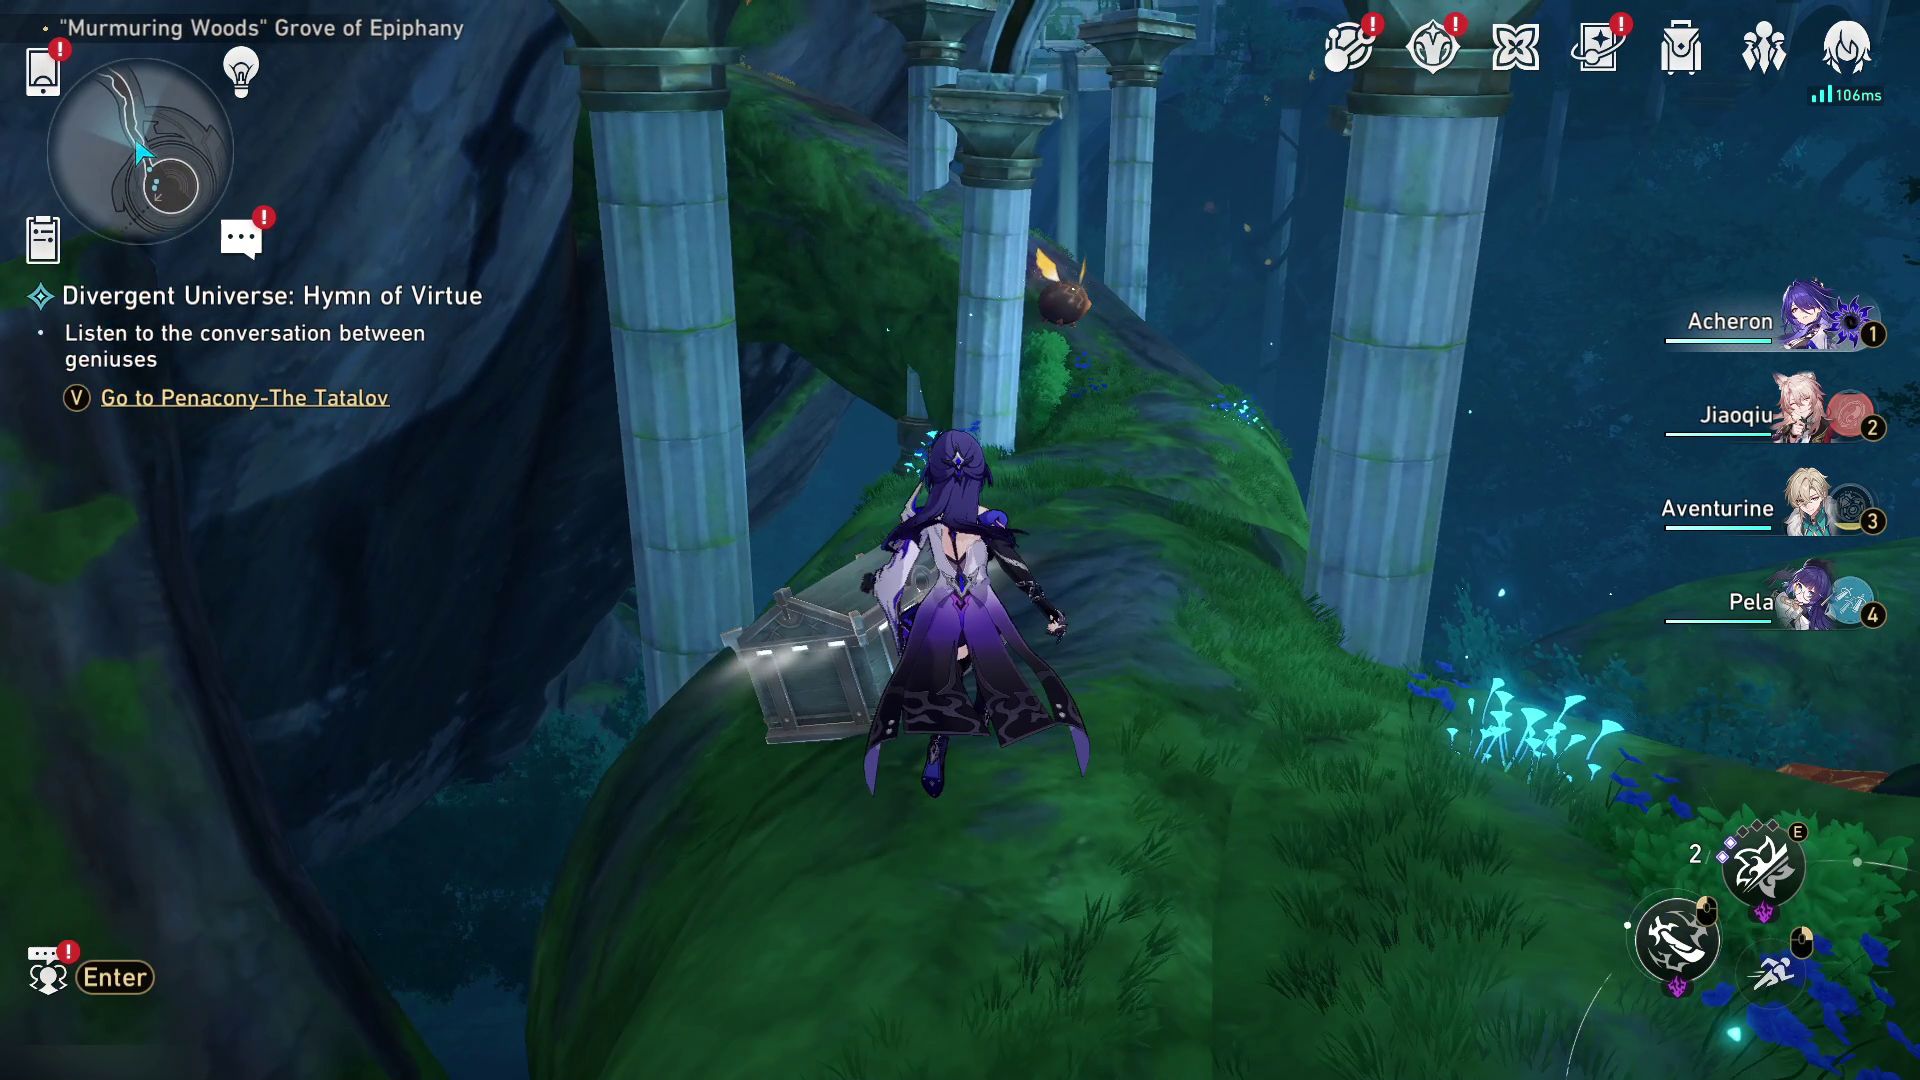
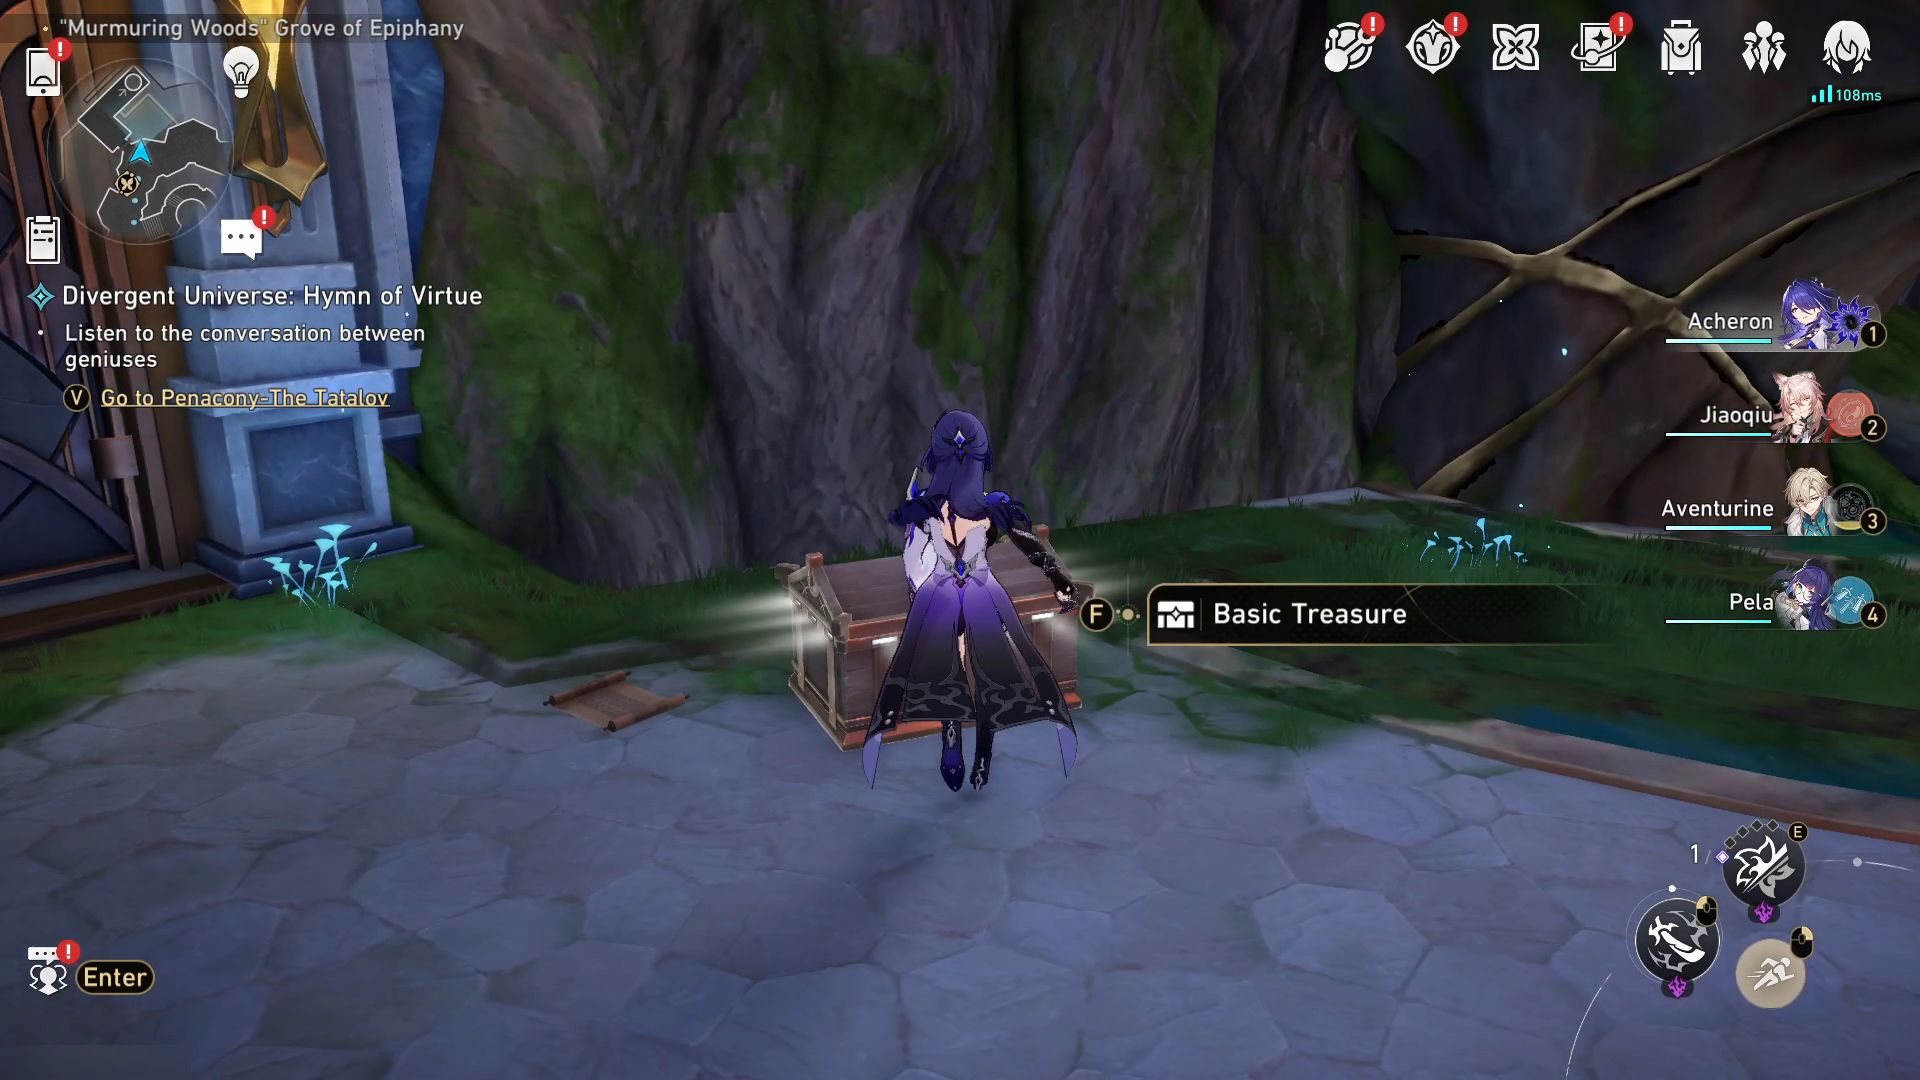
- 2. Then, follow the road until you reach Janus’ Hidden Passage and use it to reach the opposite platform. Once you arrive, another Basic Treasure will be on the giant tree root on the left.
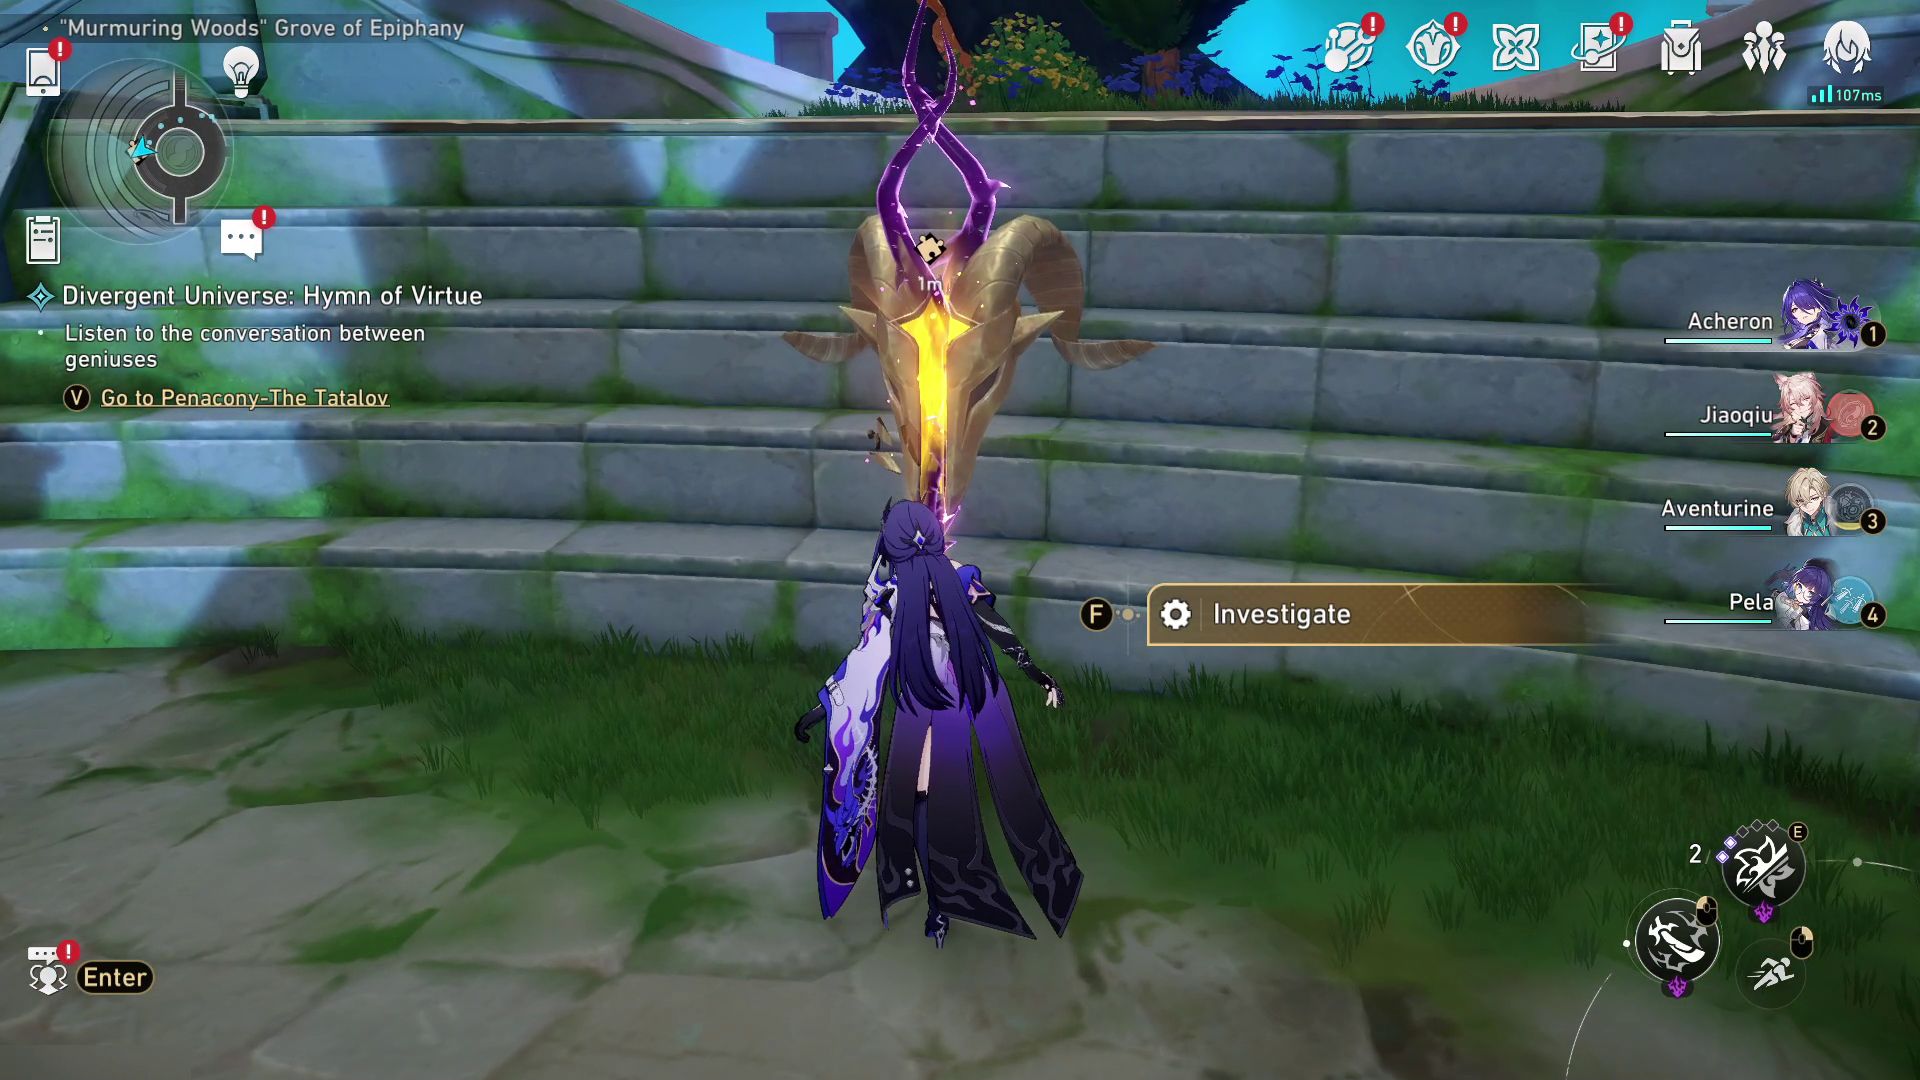
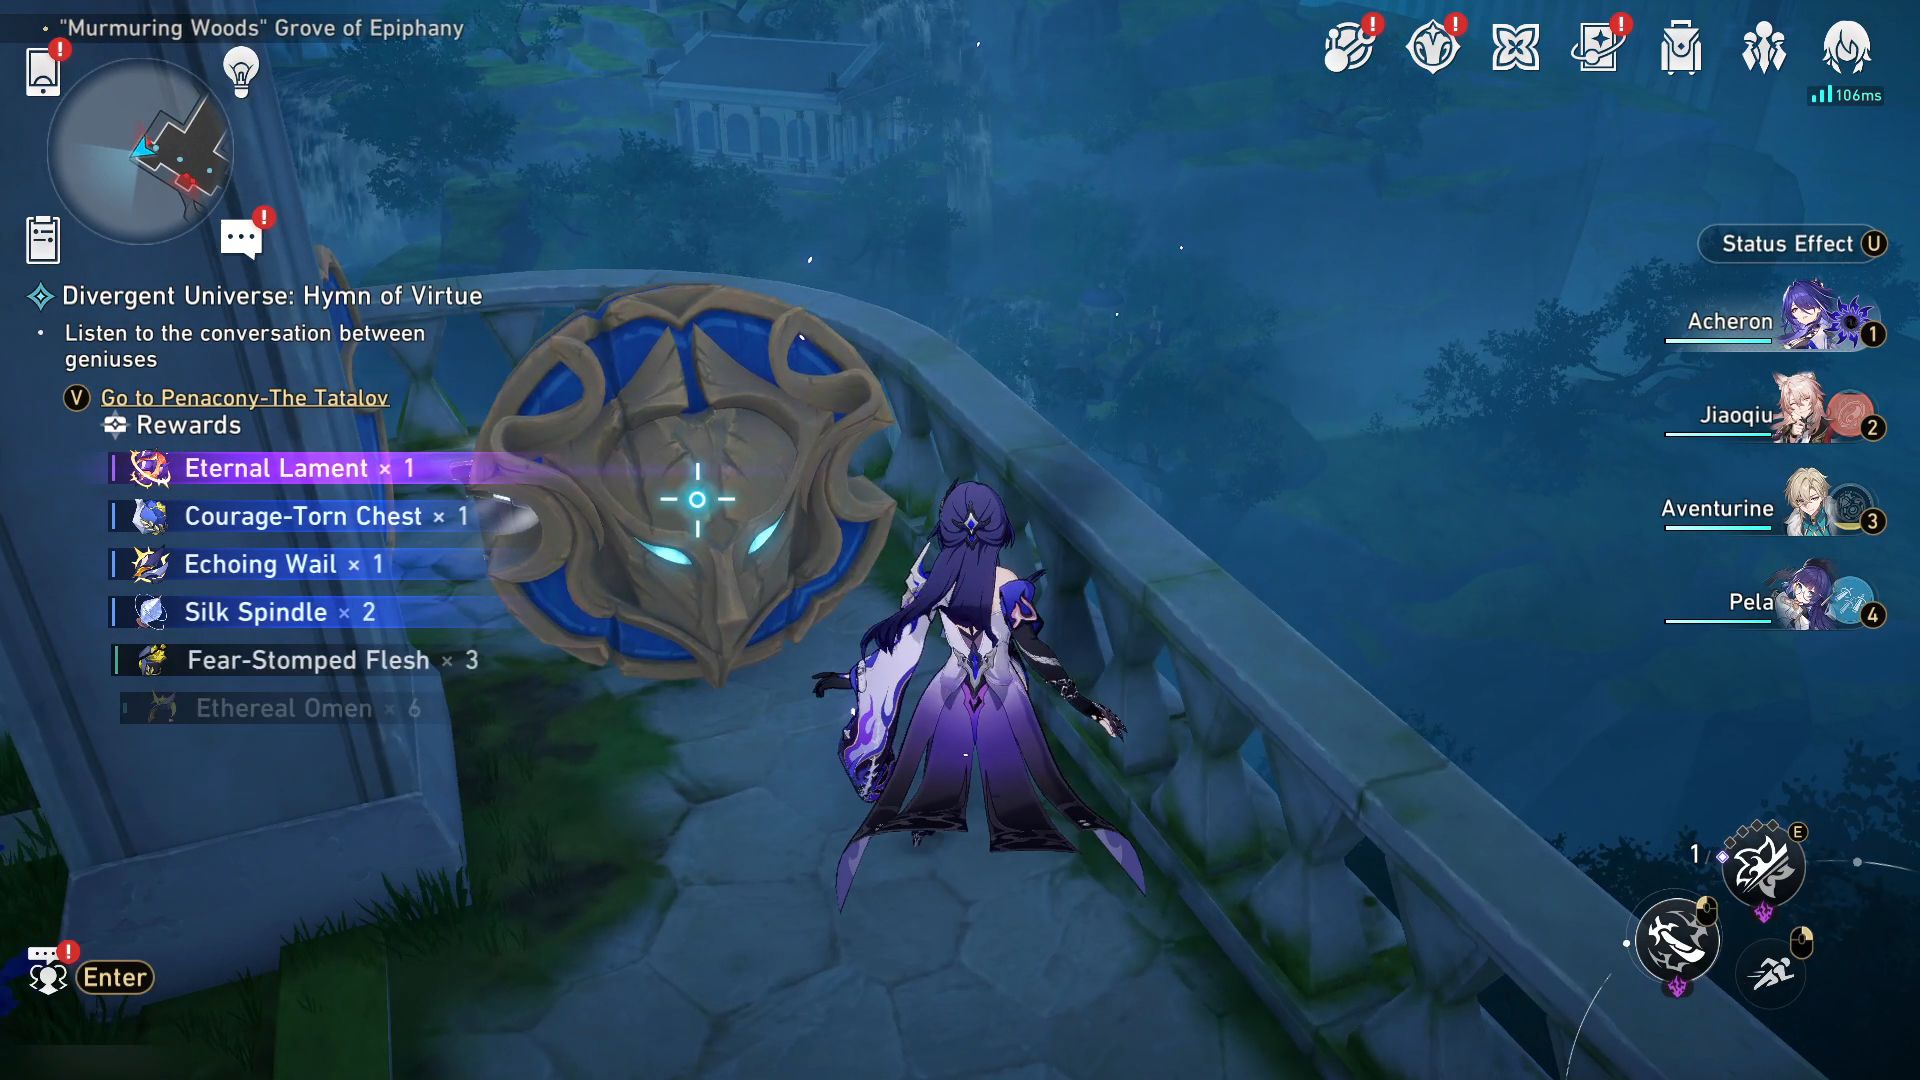
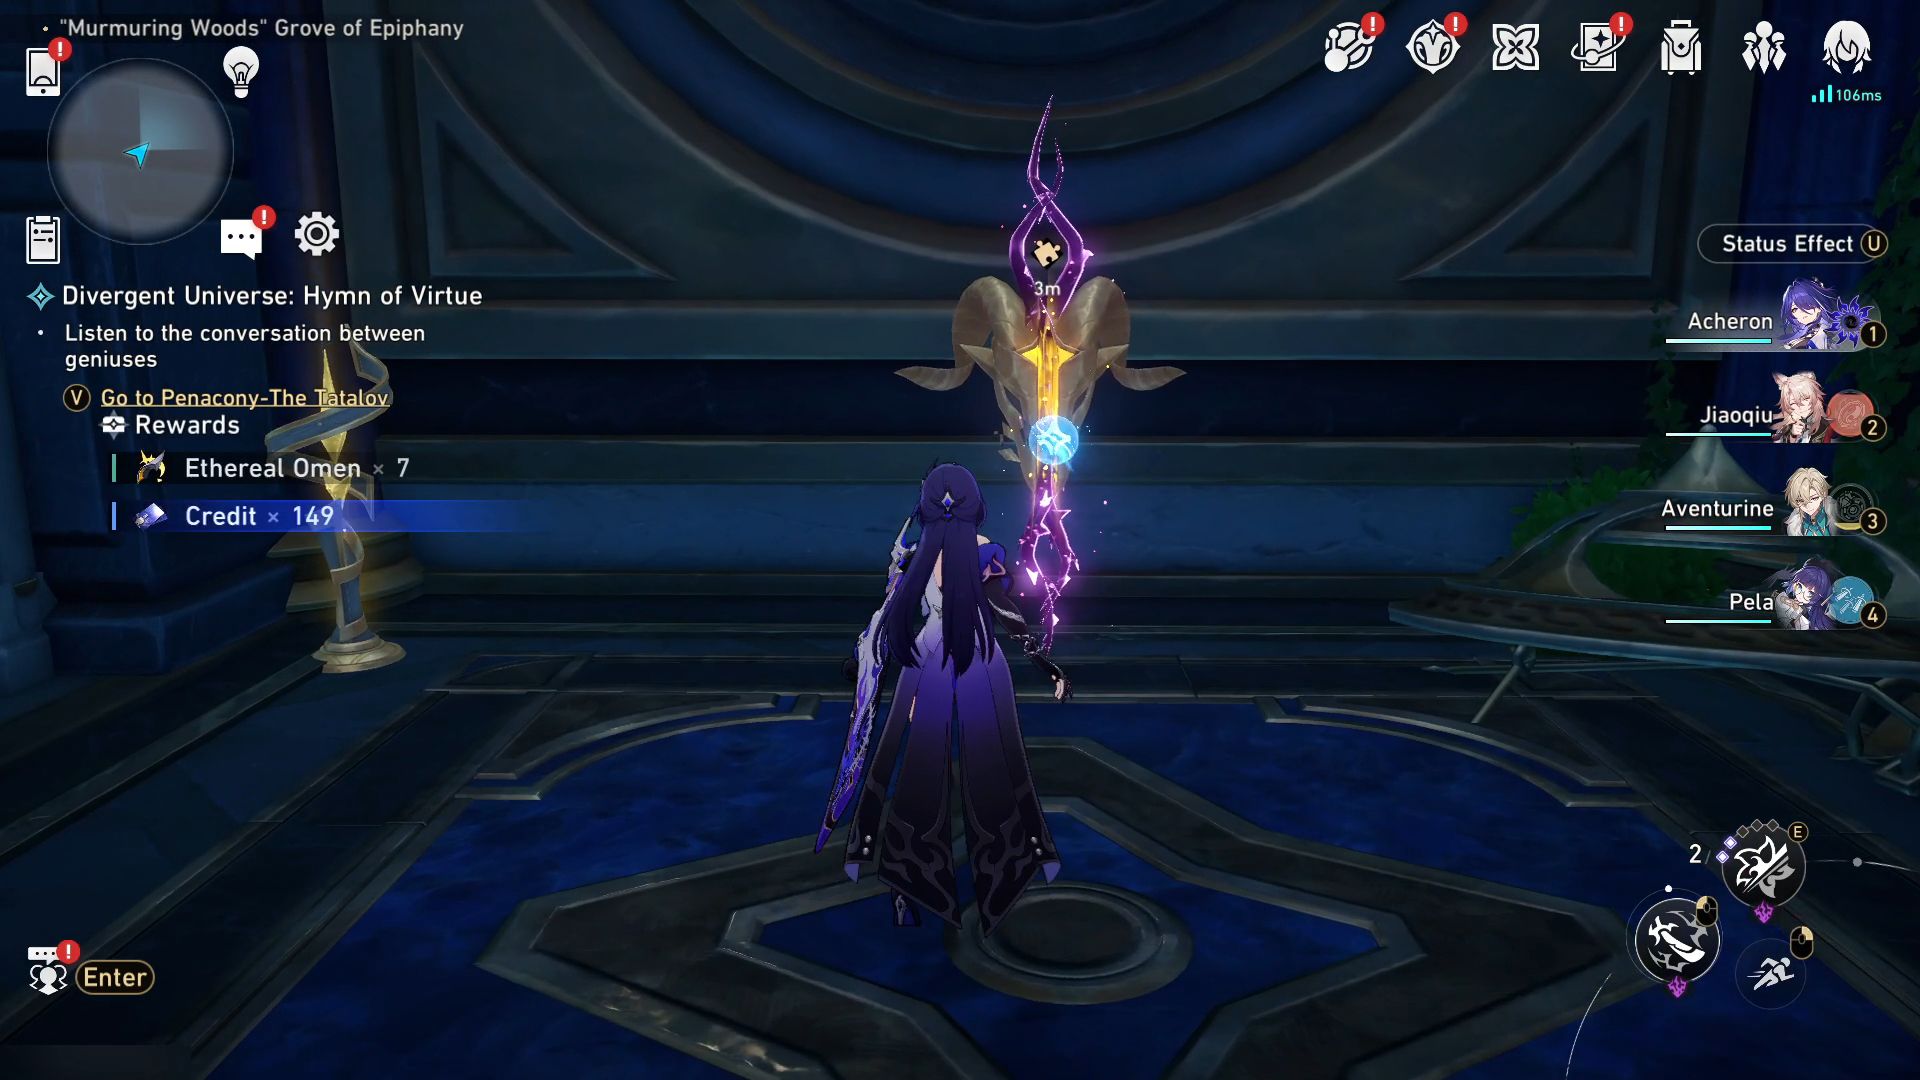
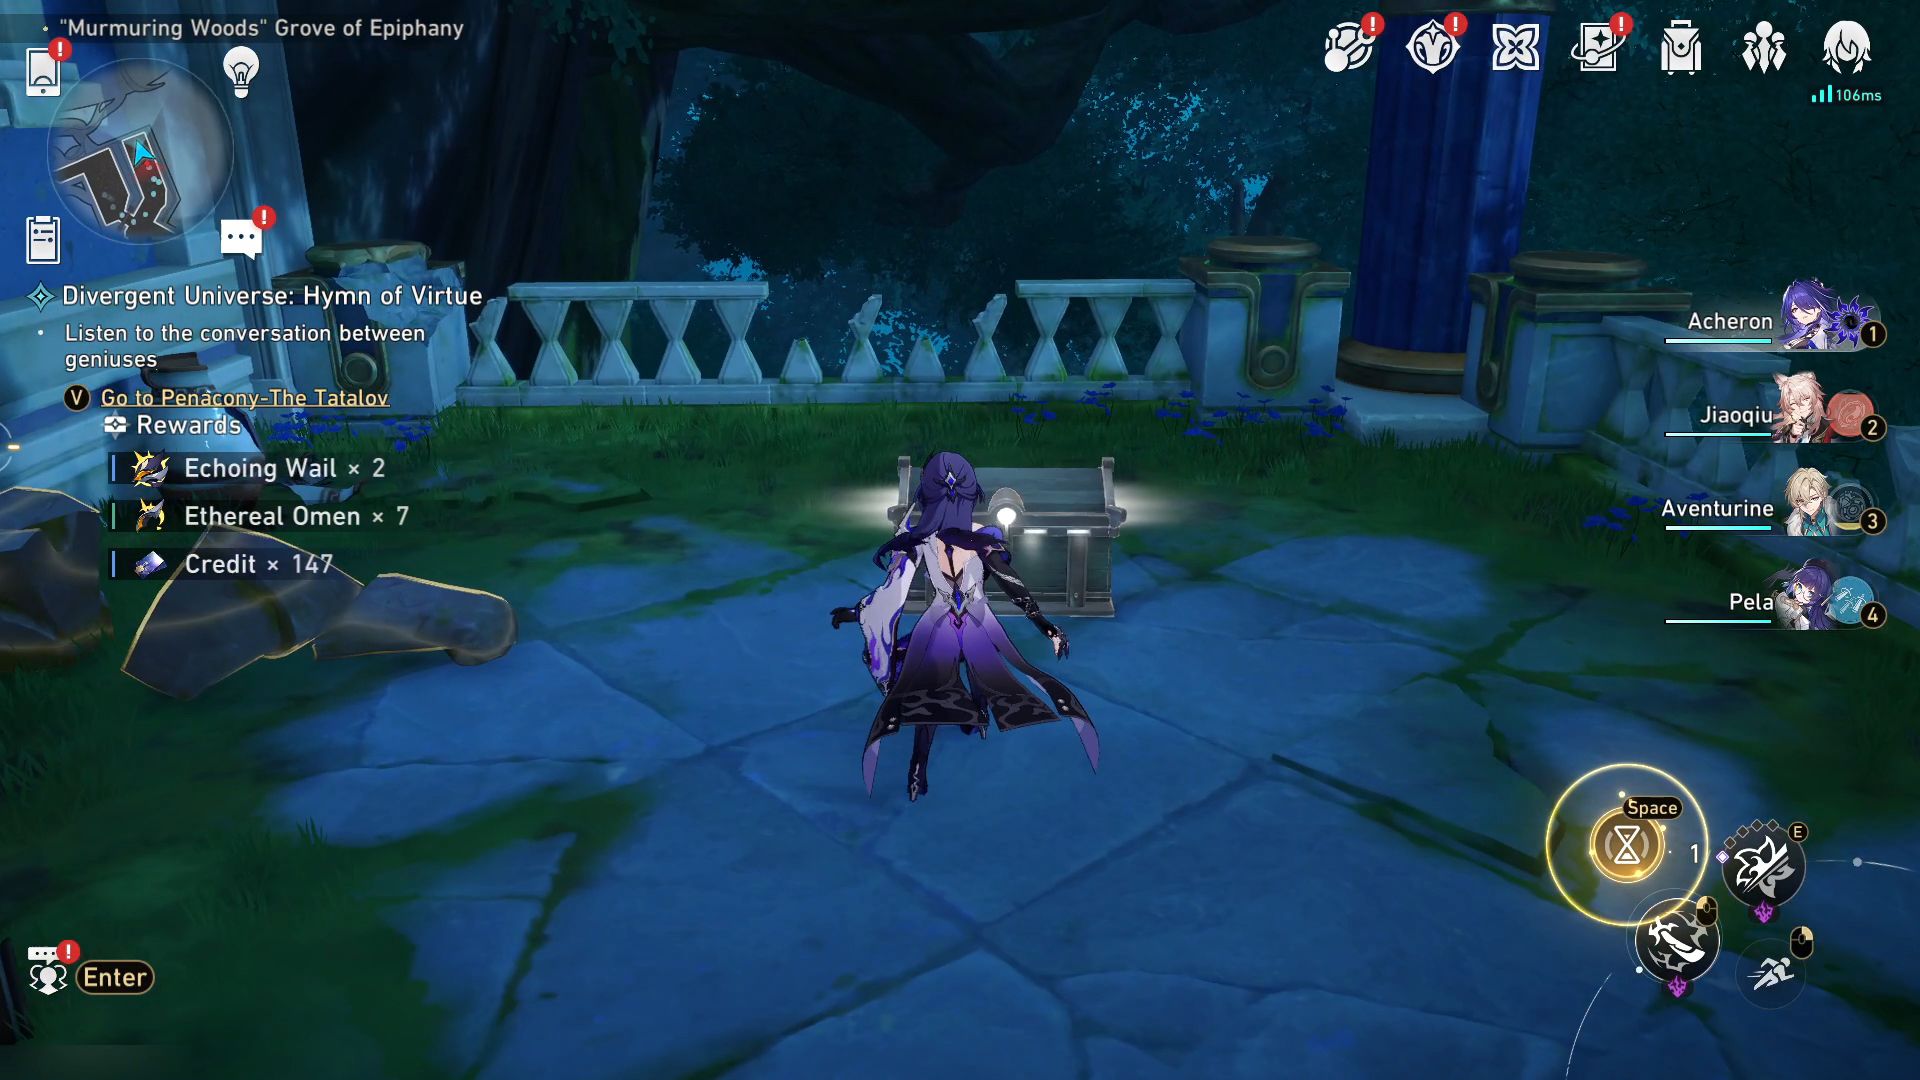
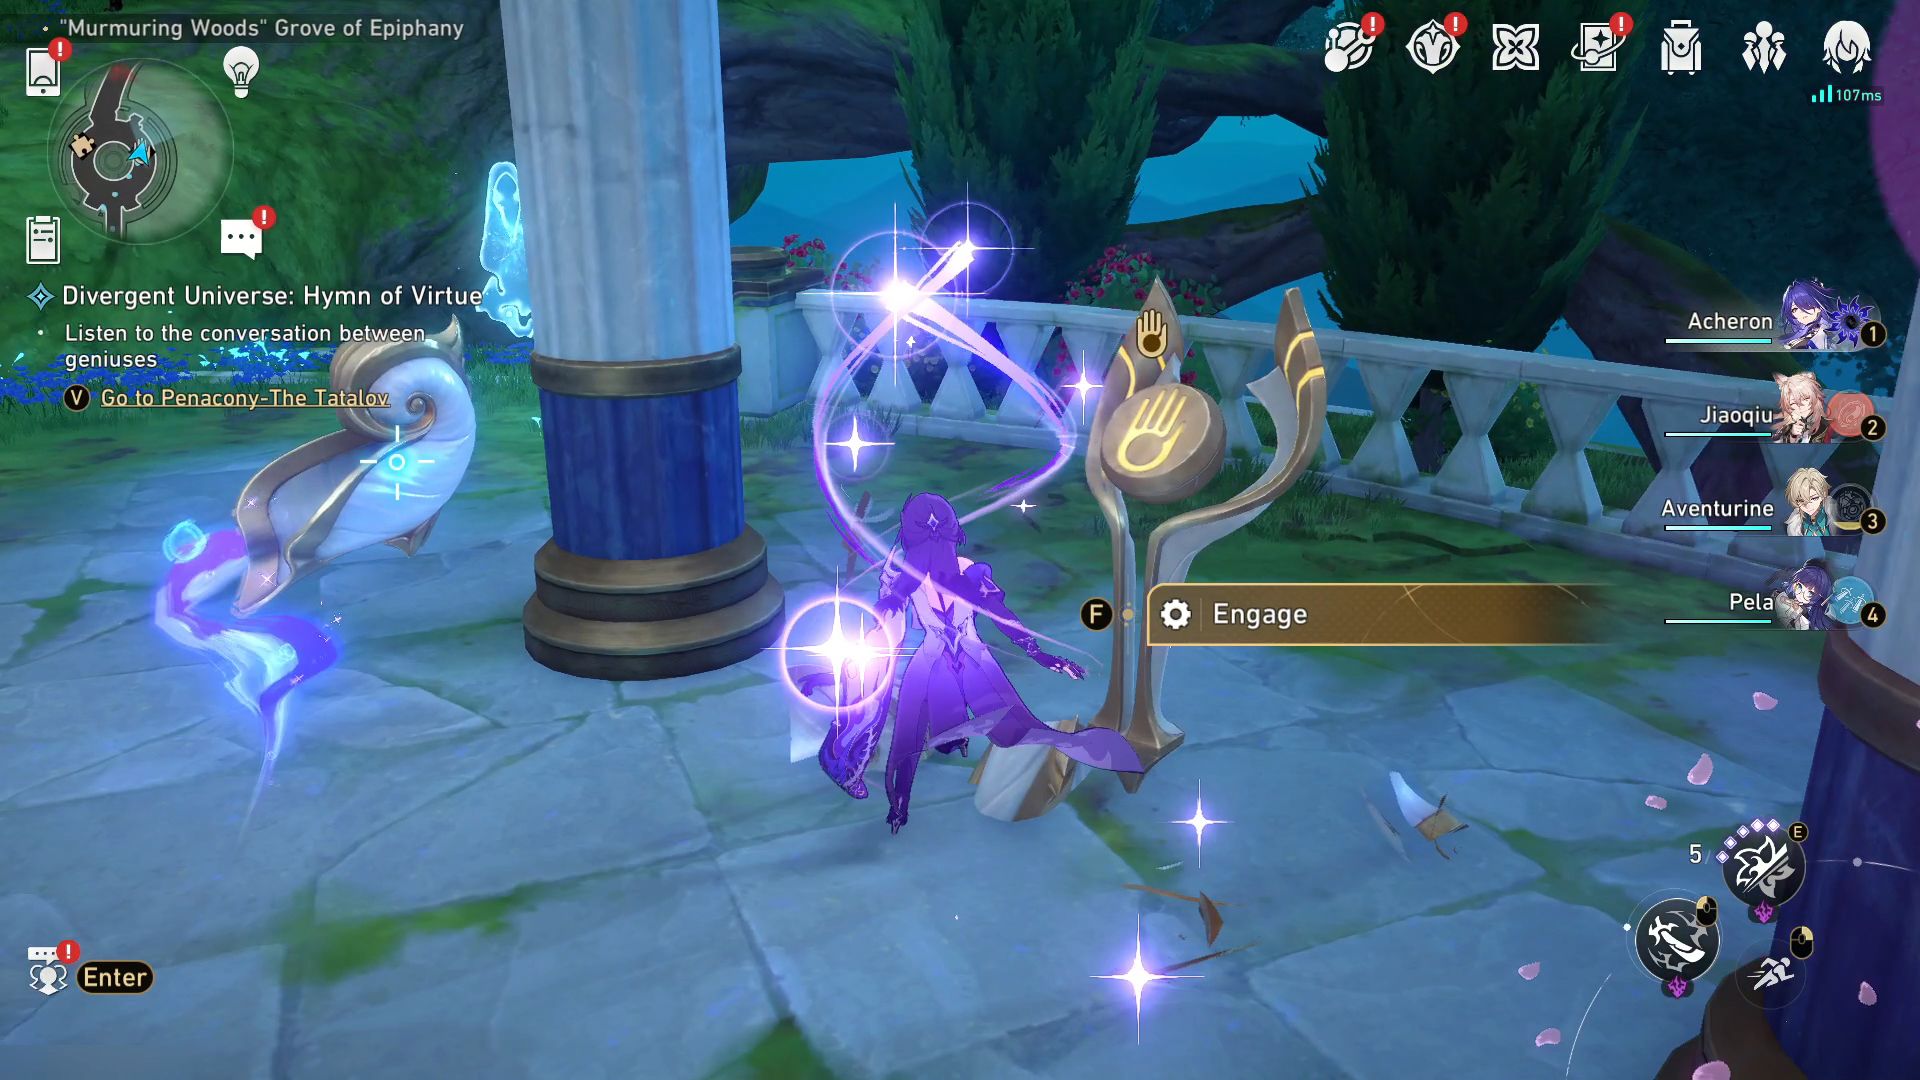
- 3. Keep heading forward to the Courtyard of Storge, where a Golden Scapegoat puzzle can be seen behind the tree.
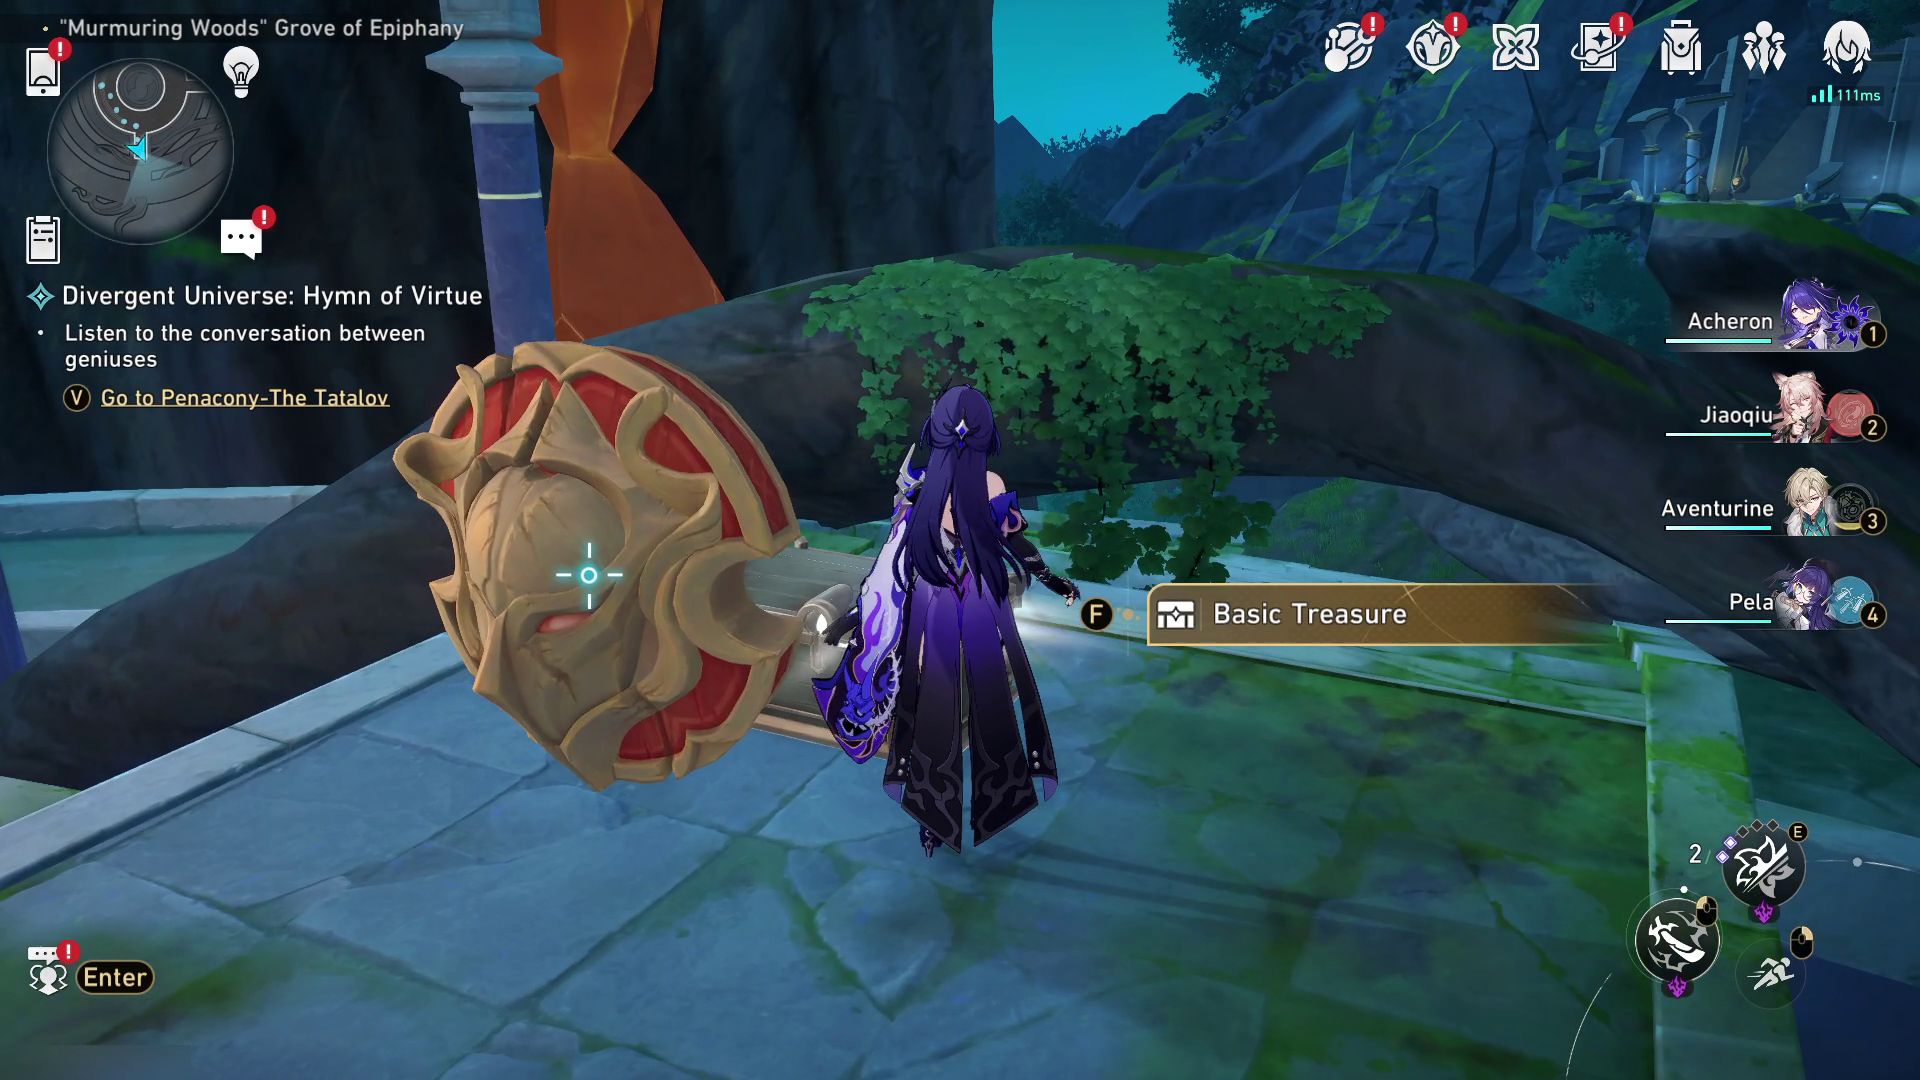
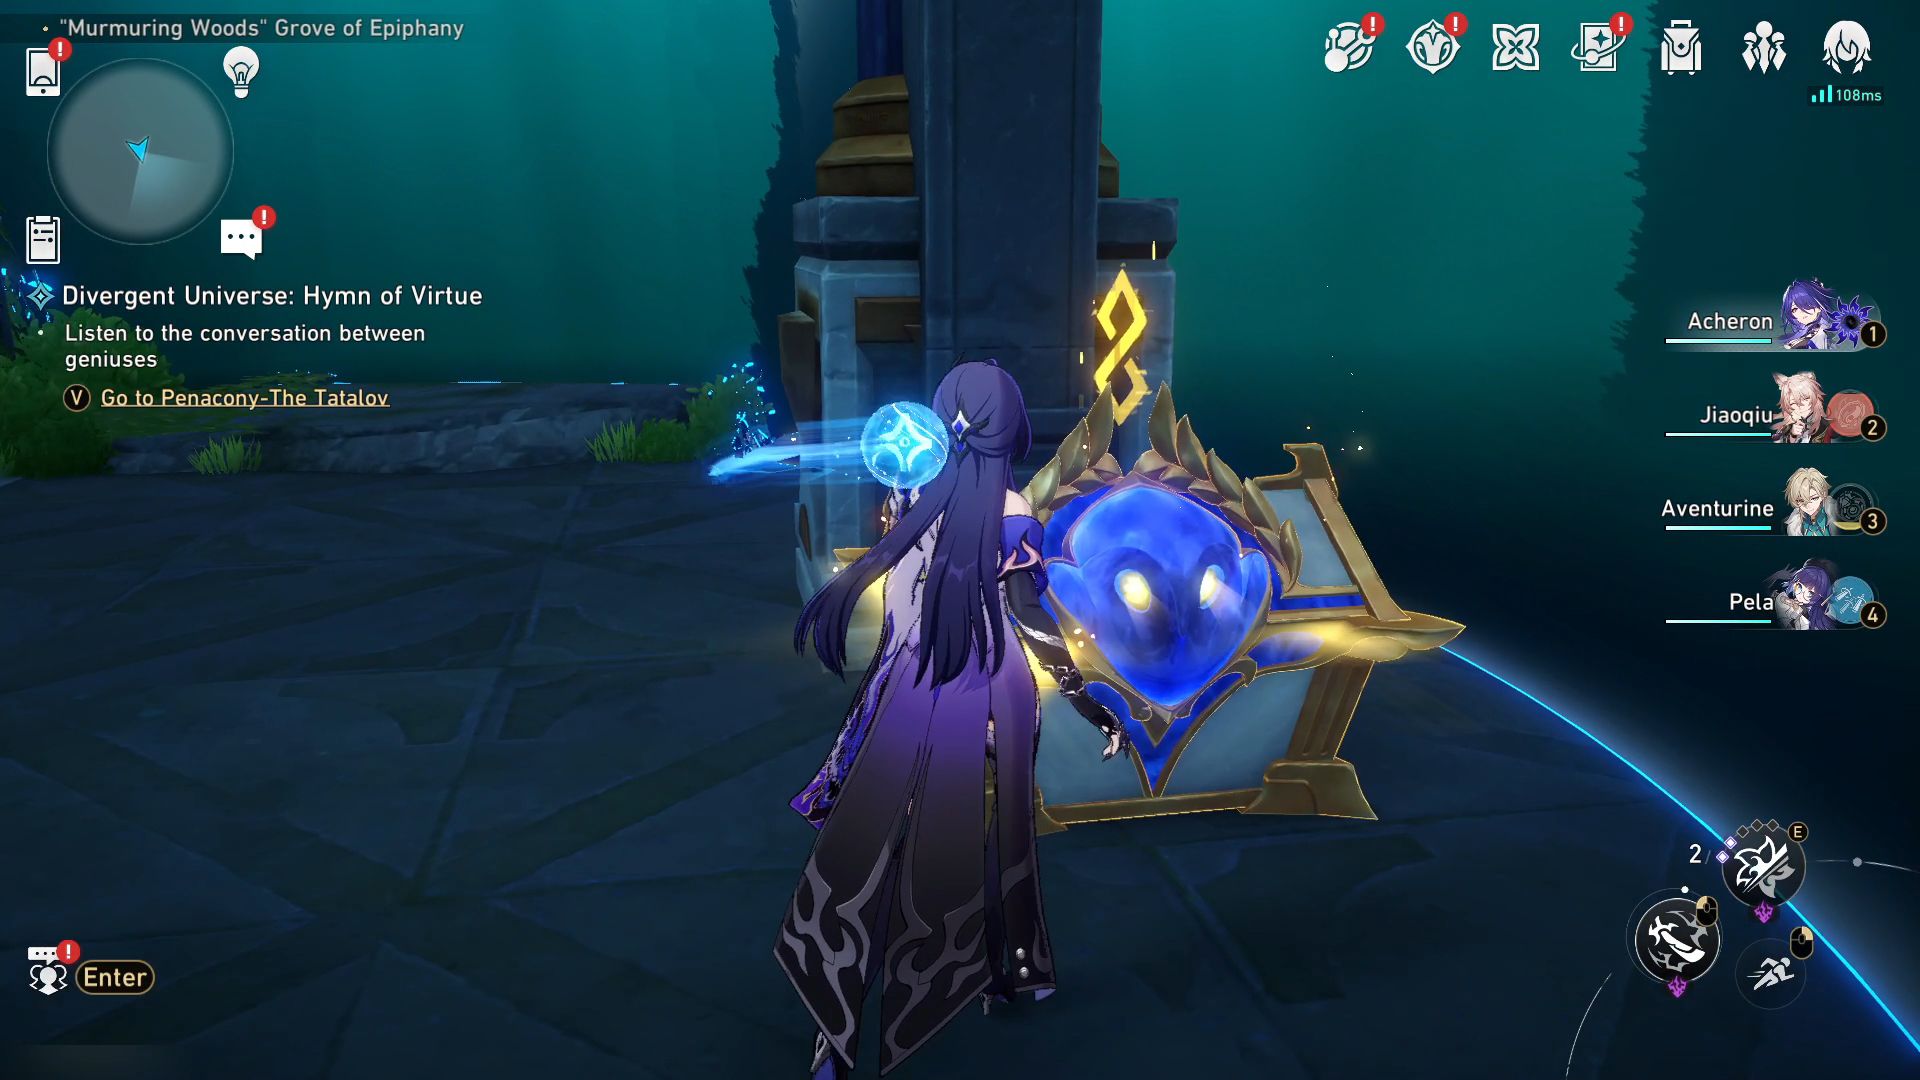
- 4. After solving the previous puzzle, walk to the south to a treasure chest behind a breakable shield.
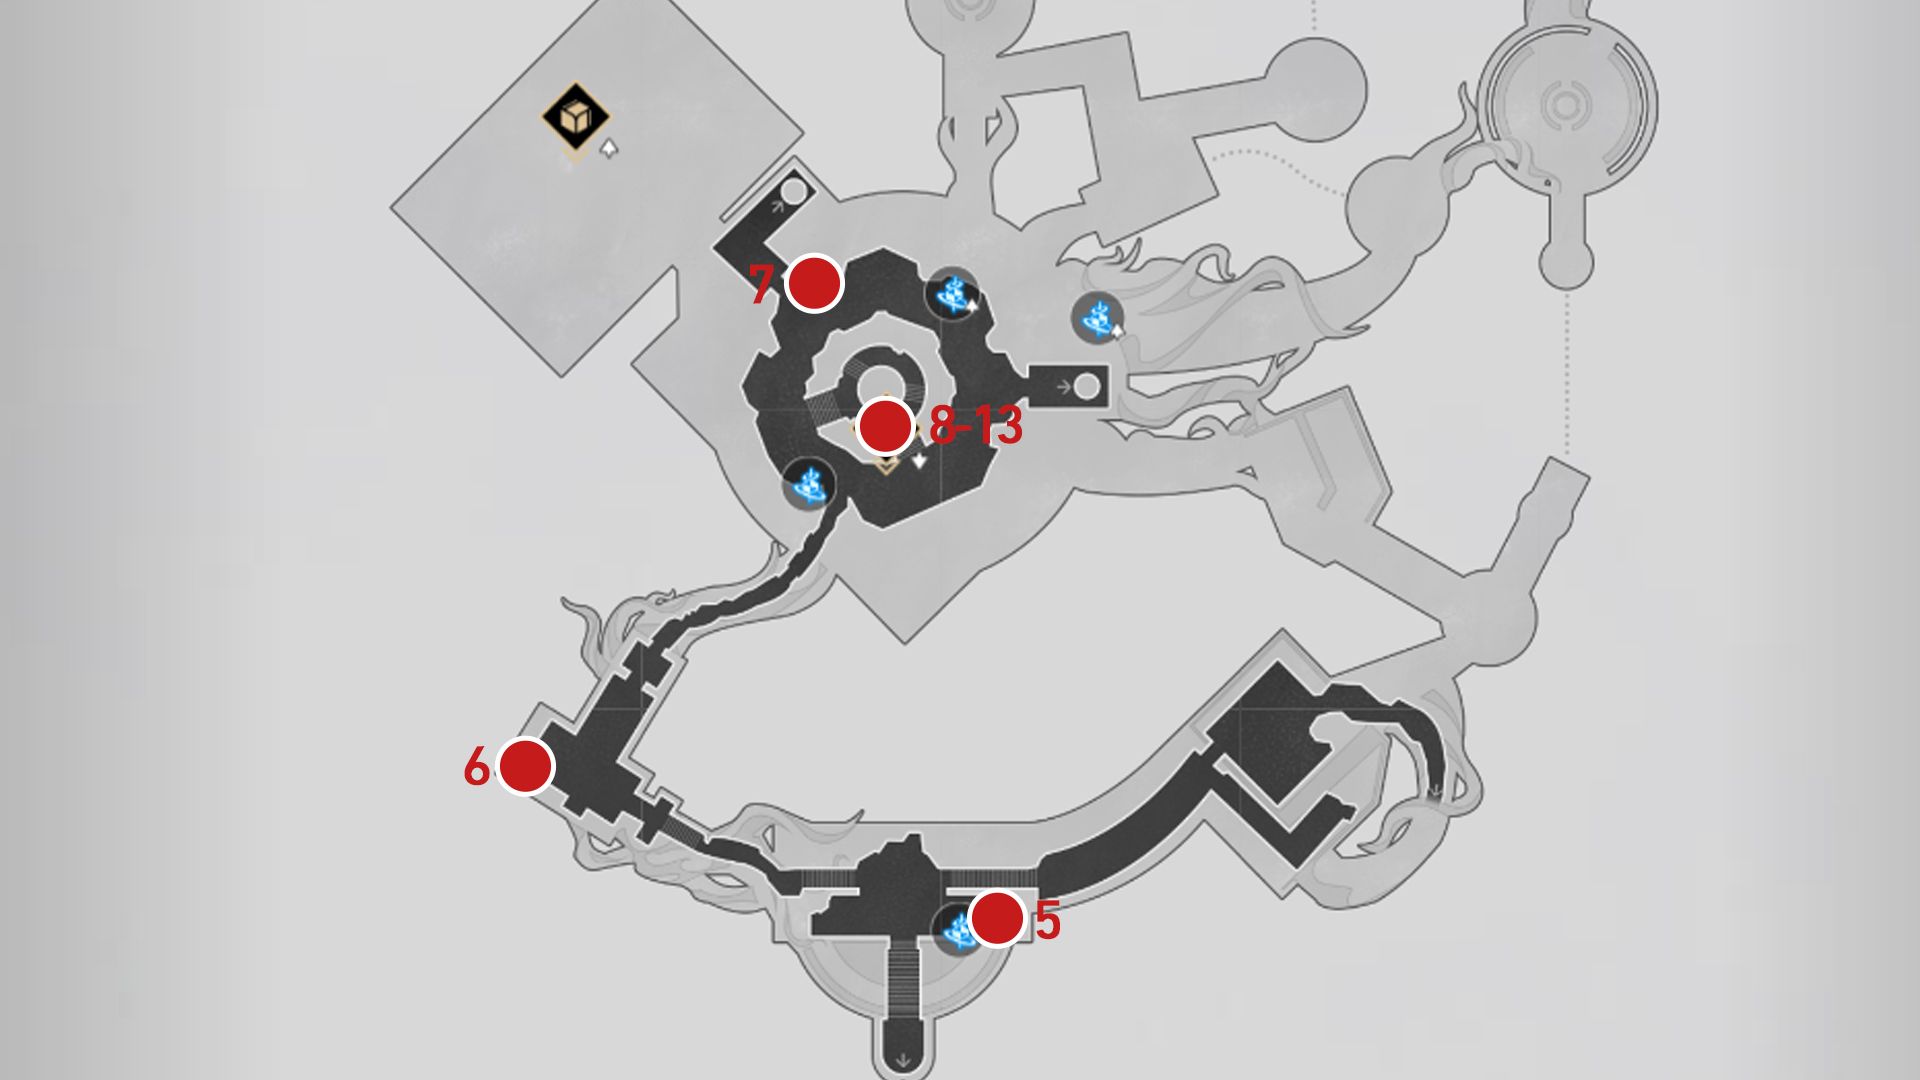
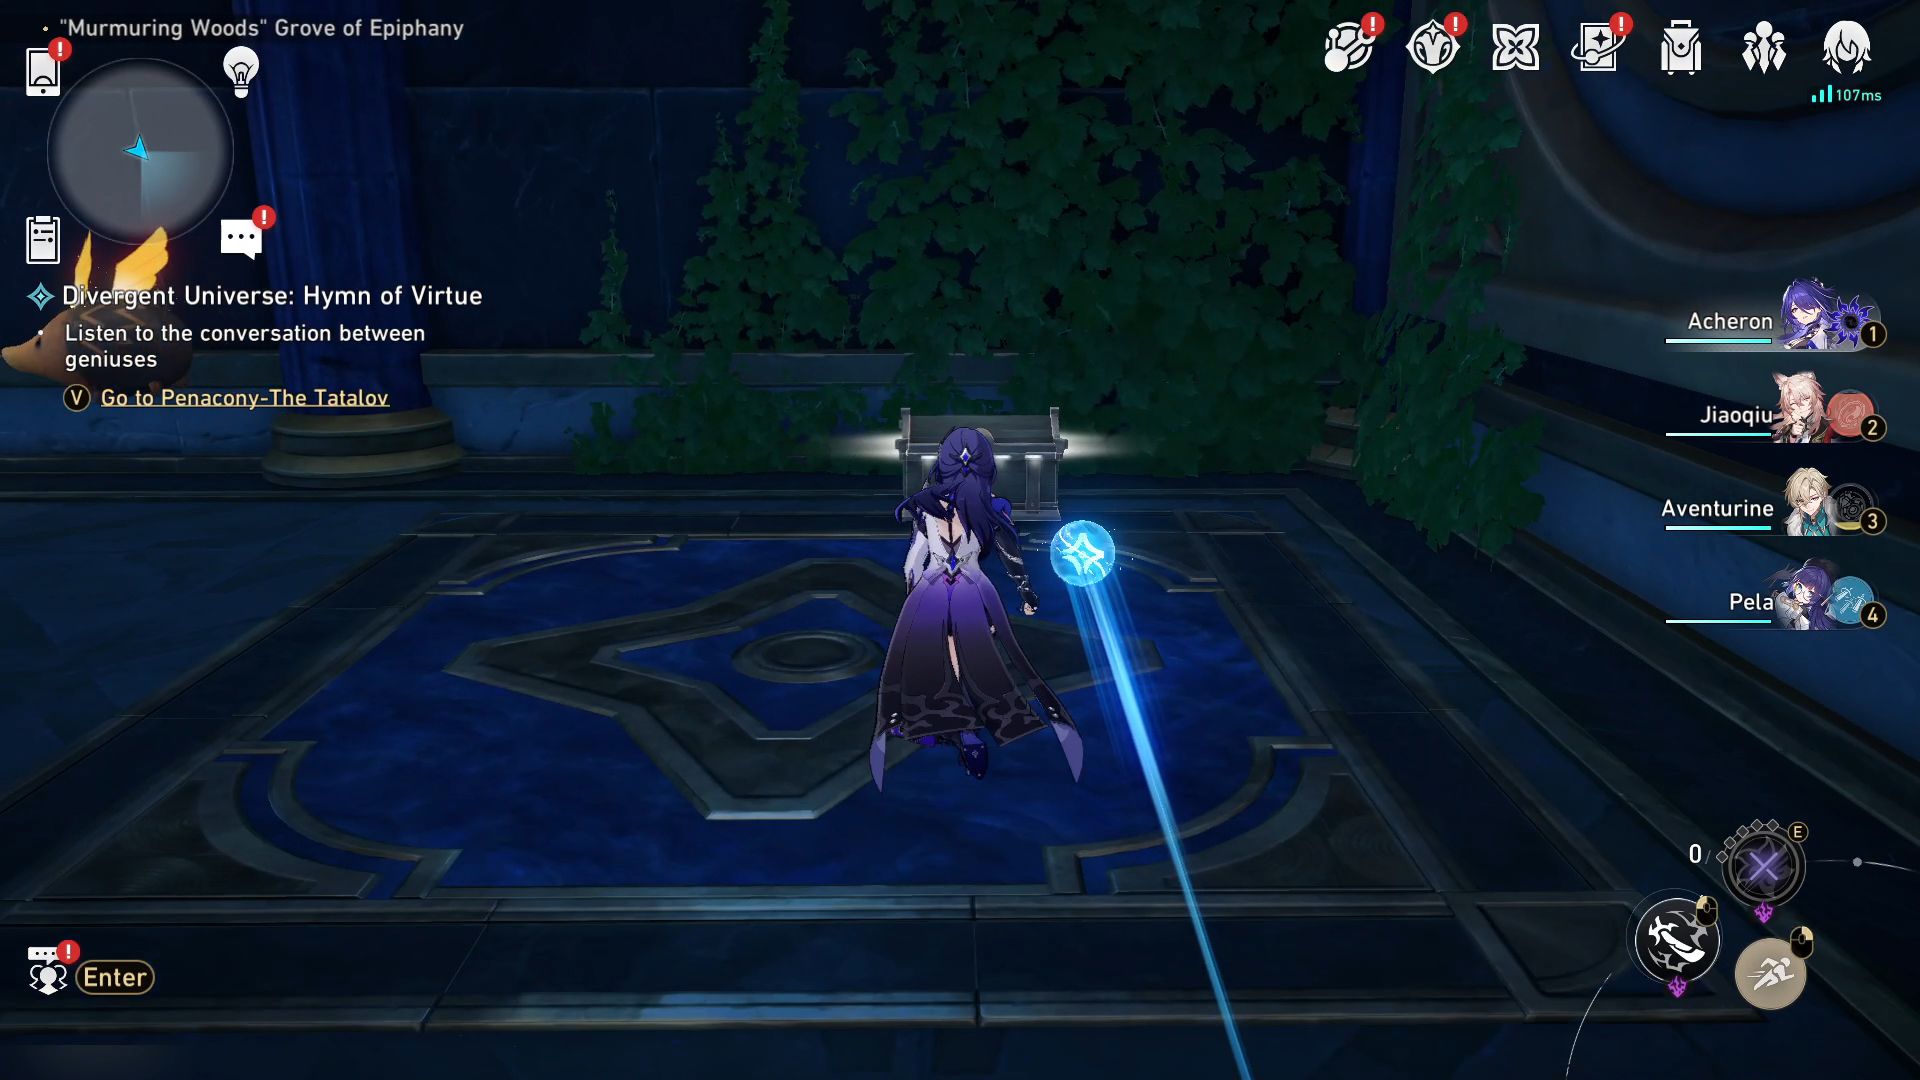
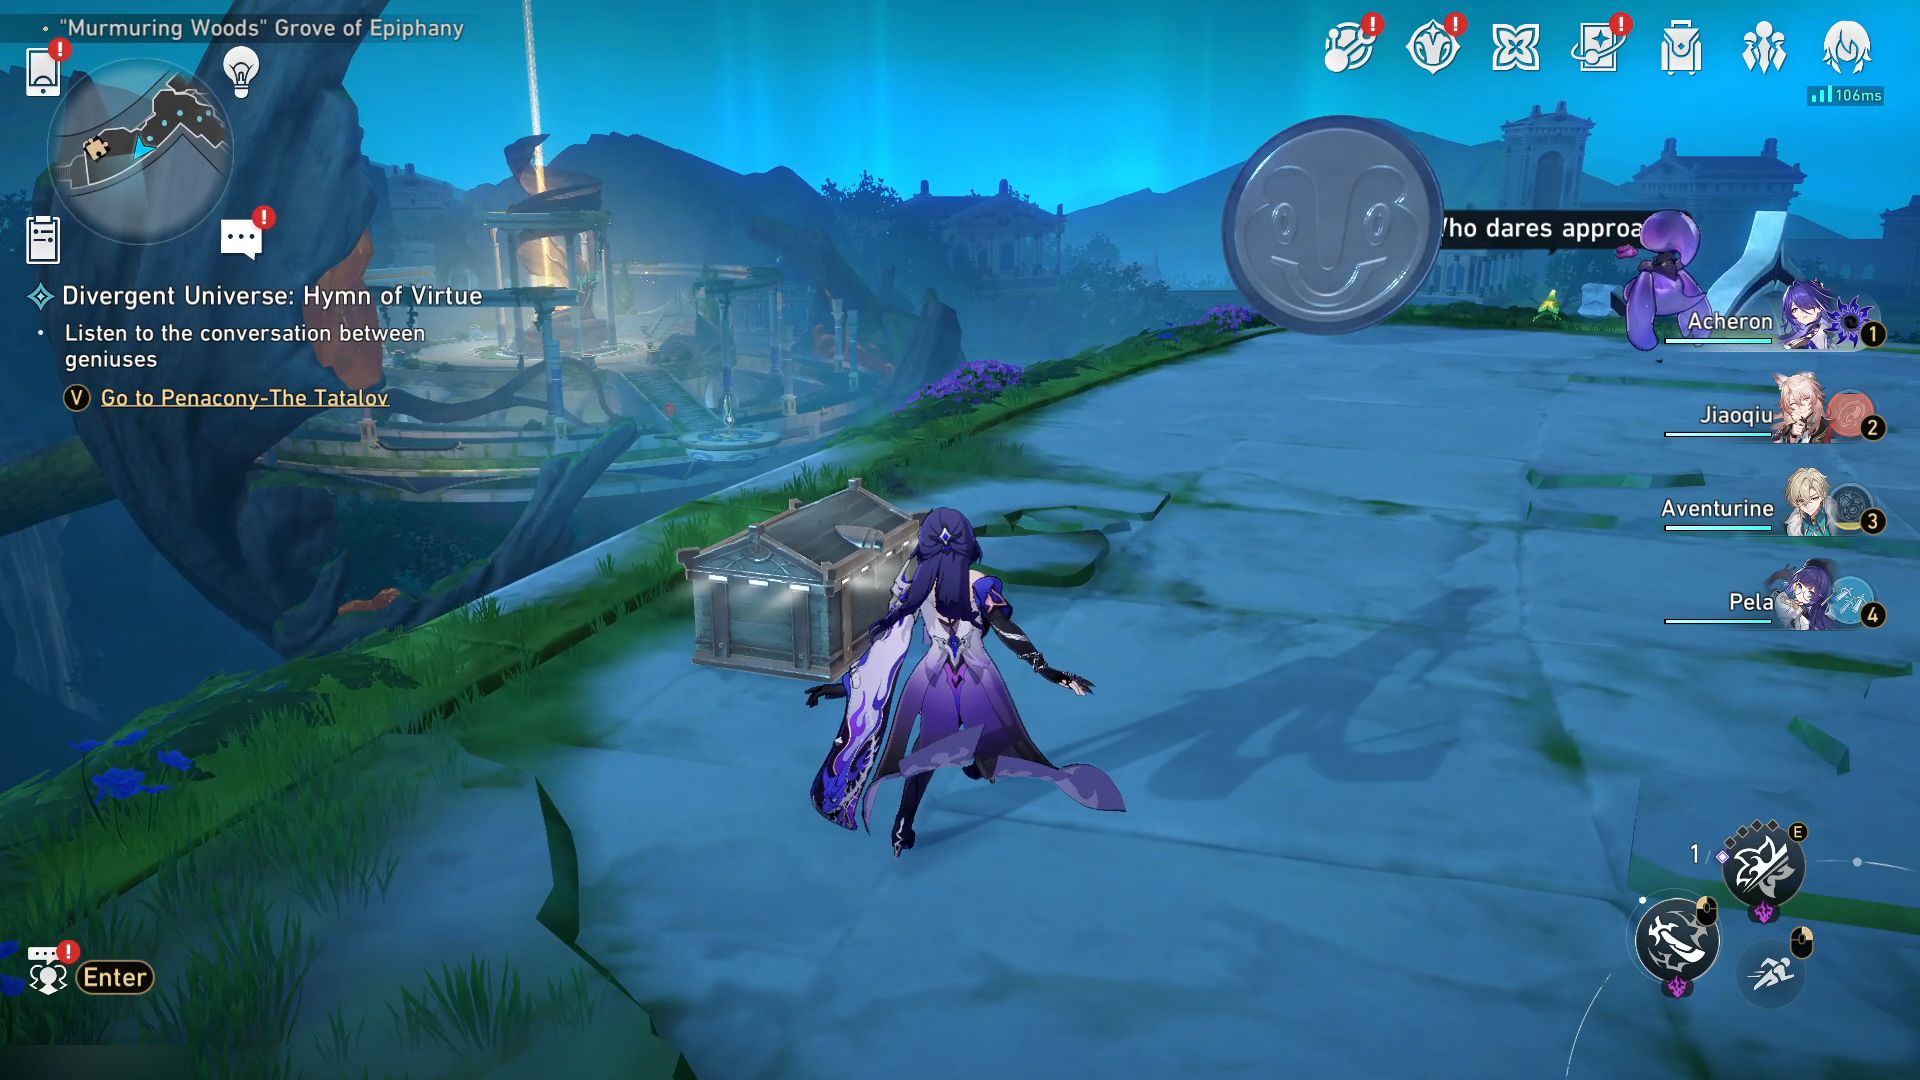
- 5. Teleport to Serene Court of Learning Space Anchor, and the next chest is just behind the waypoint.
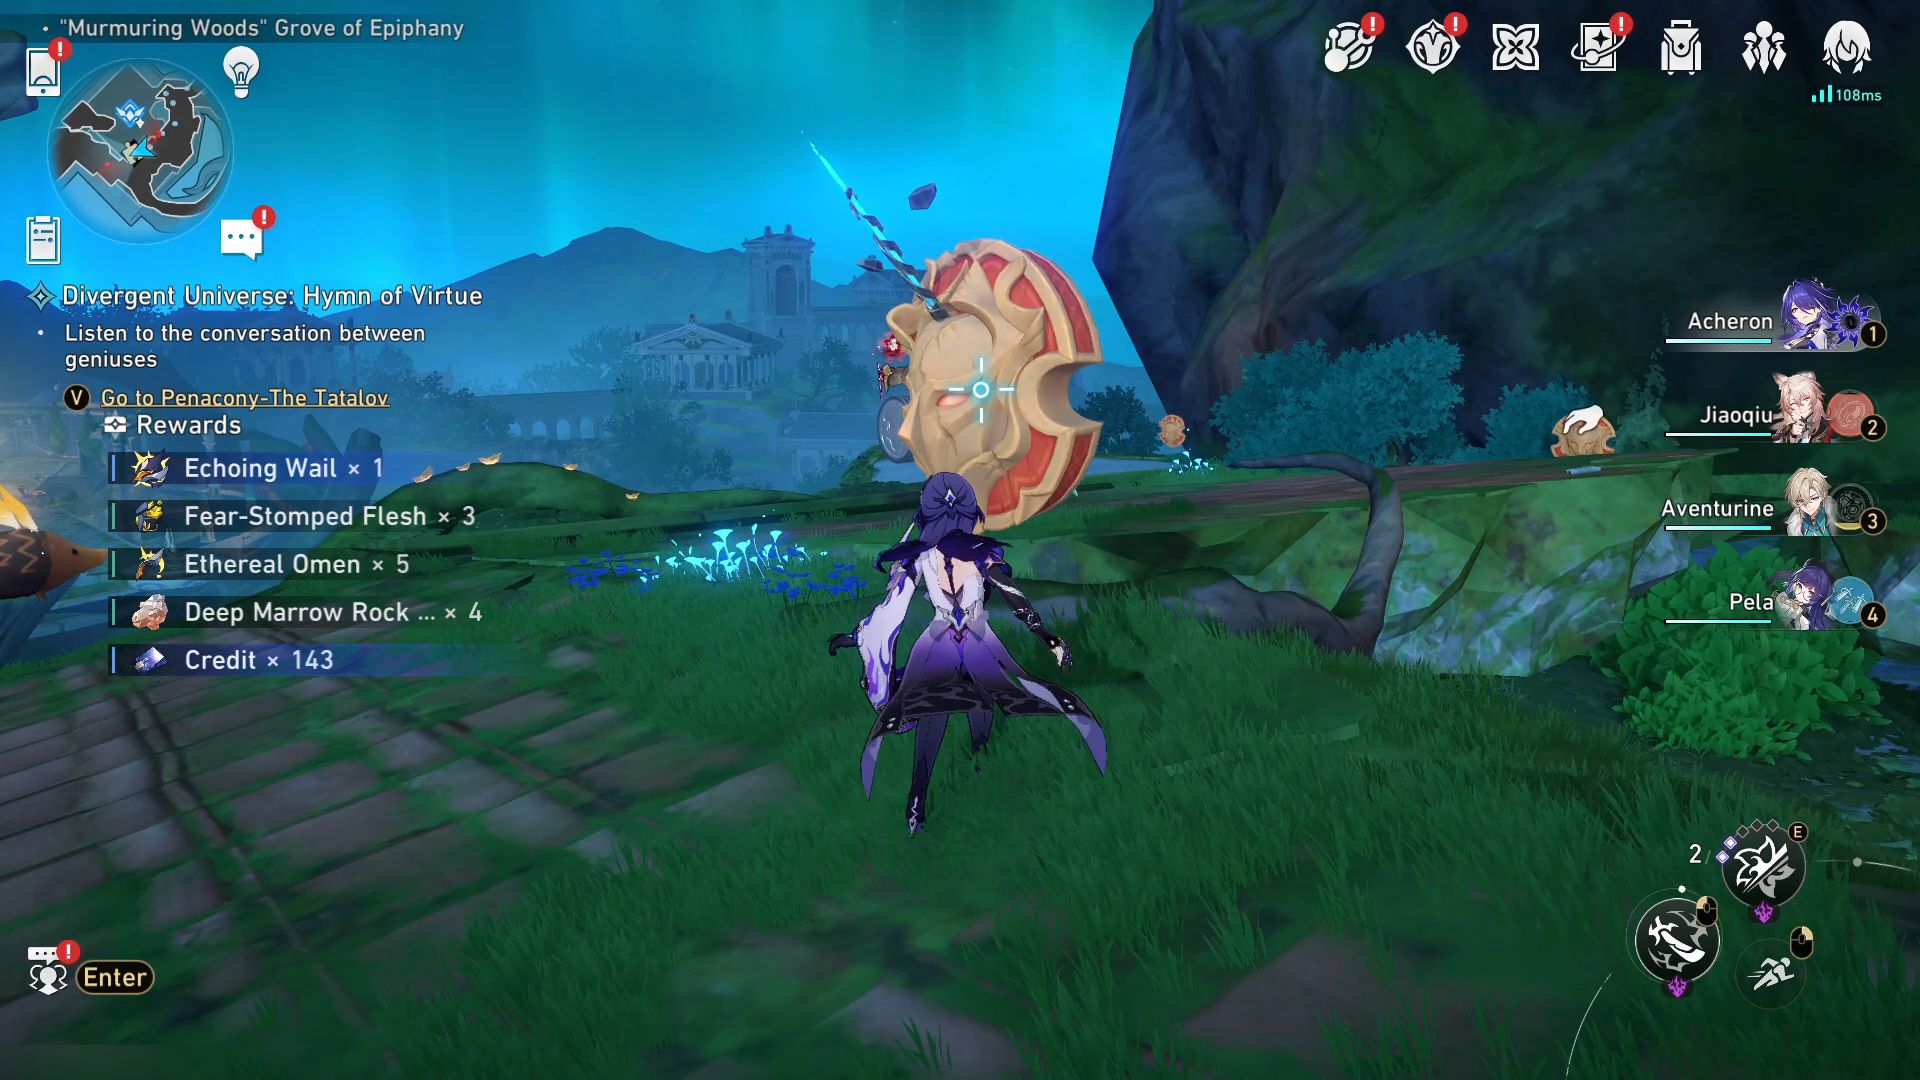
- 6. From the previous spot, follow the path leading to the northwest; a treasure chest is hidden at the corner behind breakable shields.
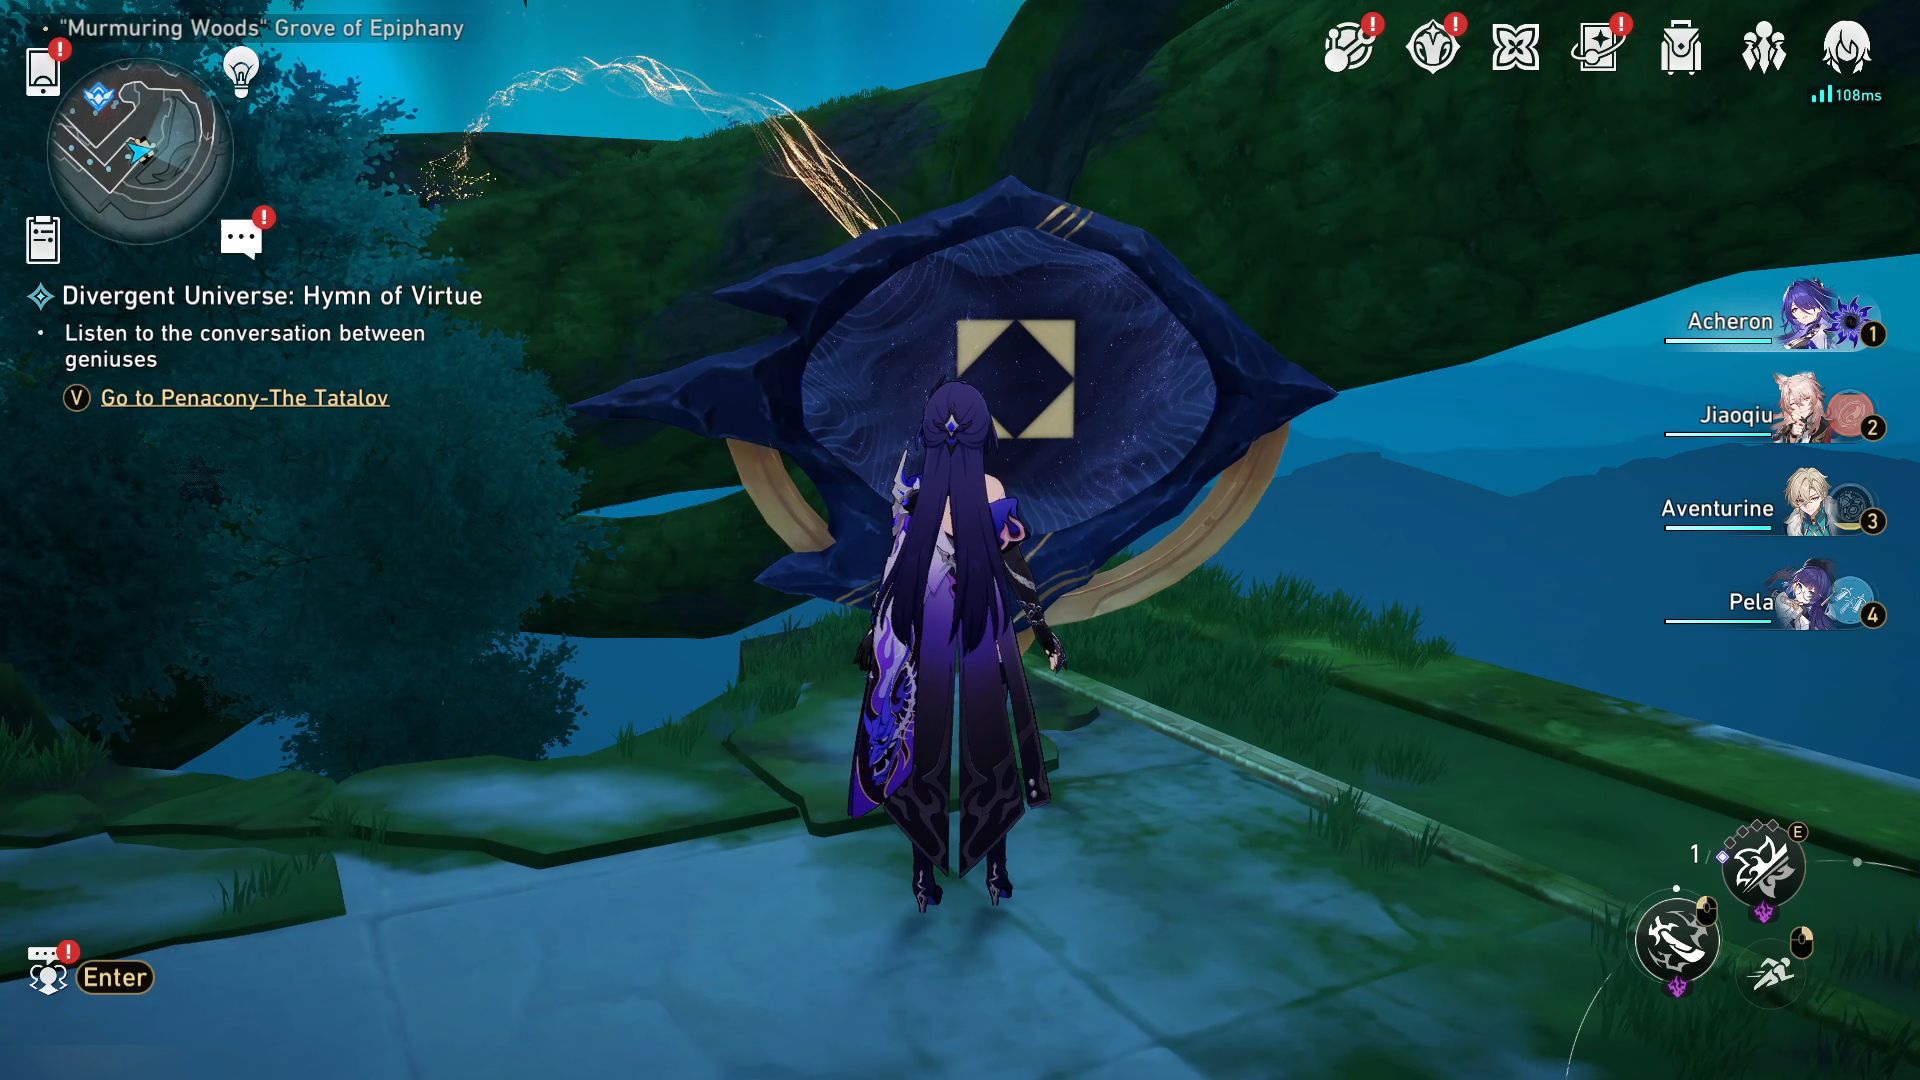
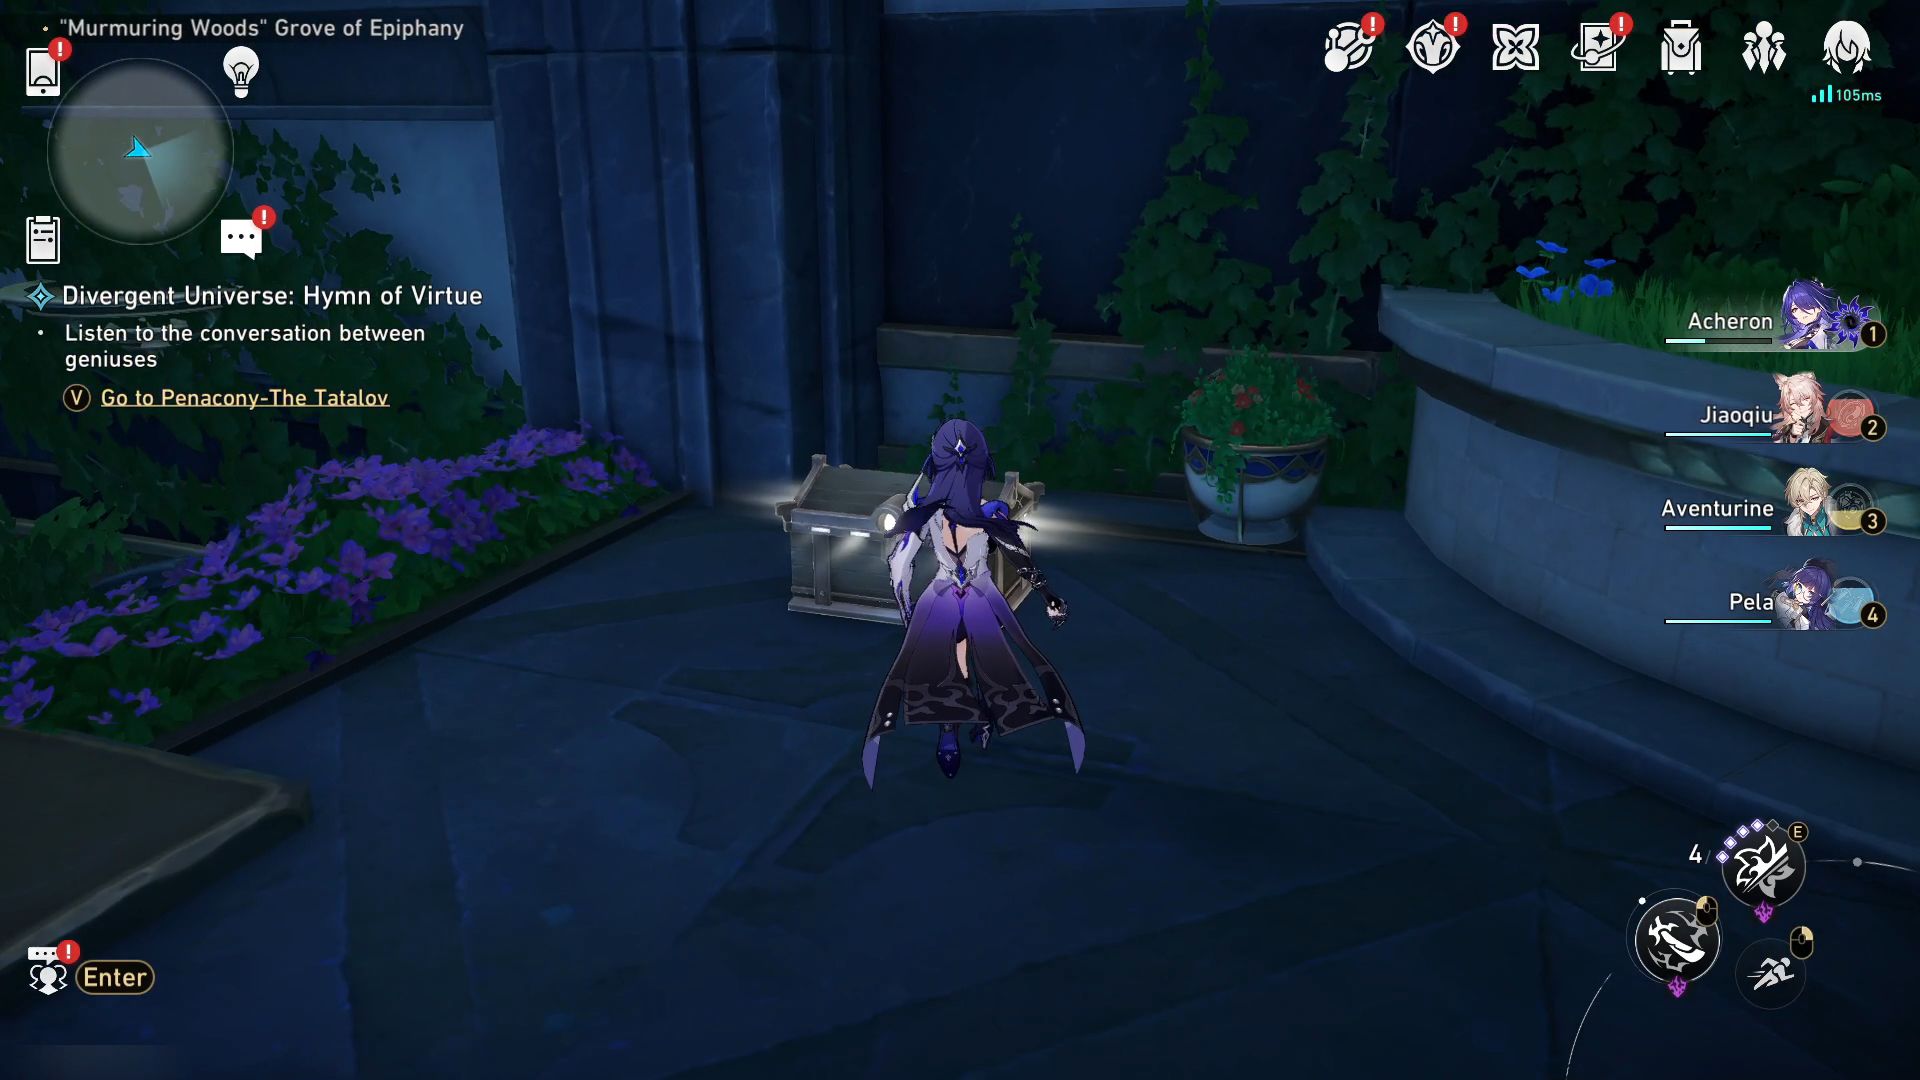
- 7. Now, warp to the Library of Philia Space Anchor and walk north to a door ahead of Garmentmaker for a treasure chest beside it.
Go through the door close to the old chest and step into the elevator inside. This will take you down to a lower level. Here, you’ll find yourself in a 3D room below. To solve the puzzles and collect all the treasure chests here, remember to adjust the space-time settings to Dawn first. After that, trigger the nearby shrine of Oronyx to unleash Trailblazer’s ability to rewind without limitations.
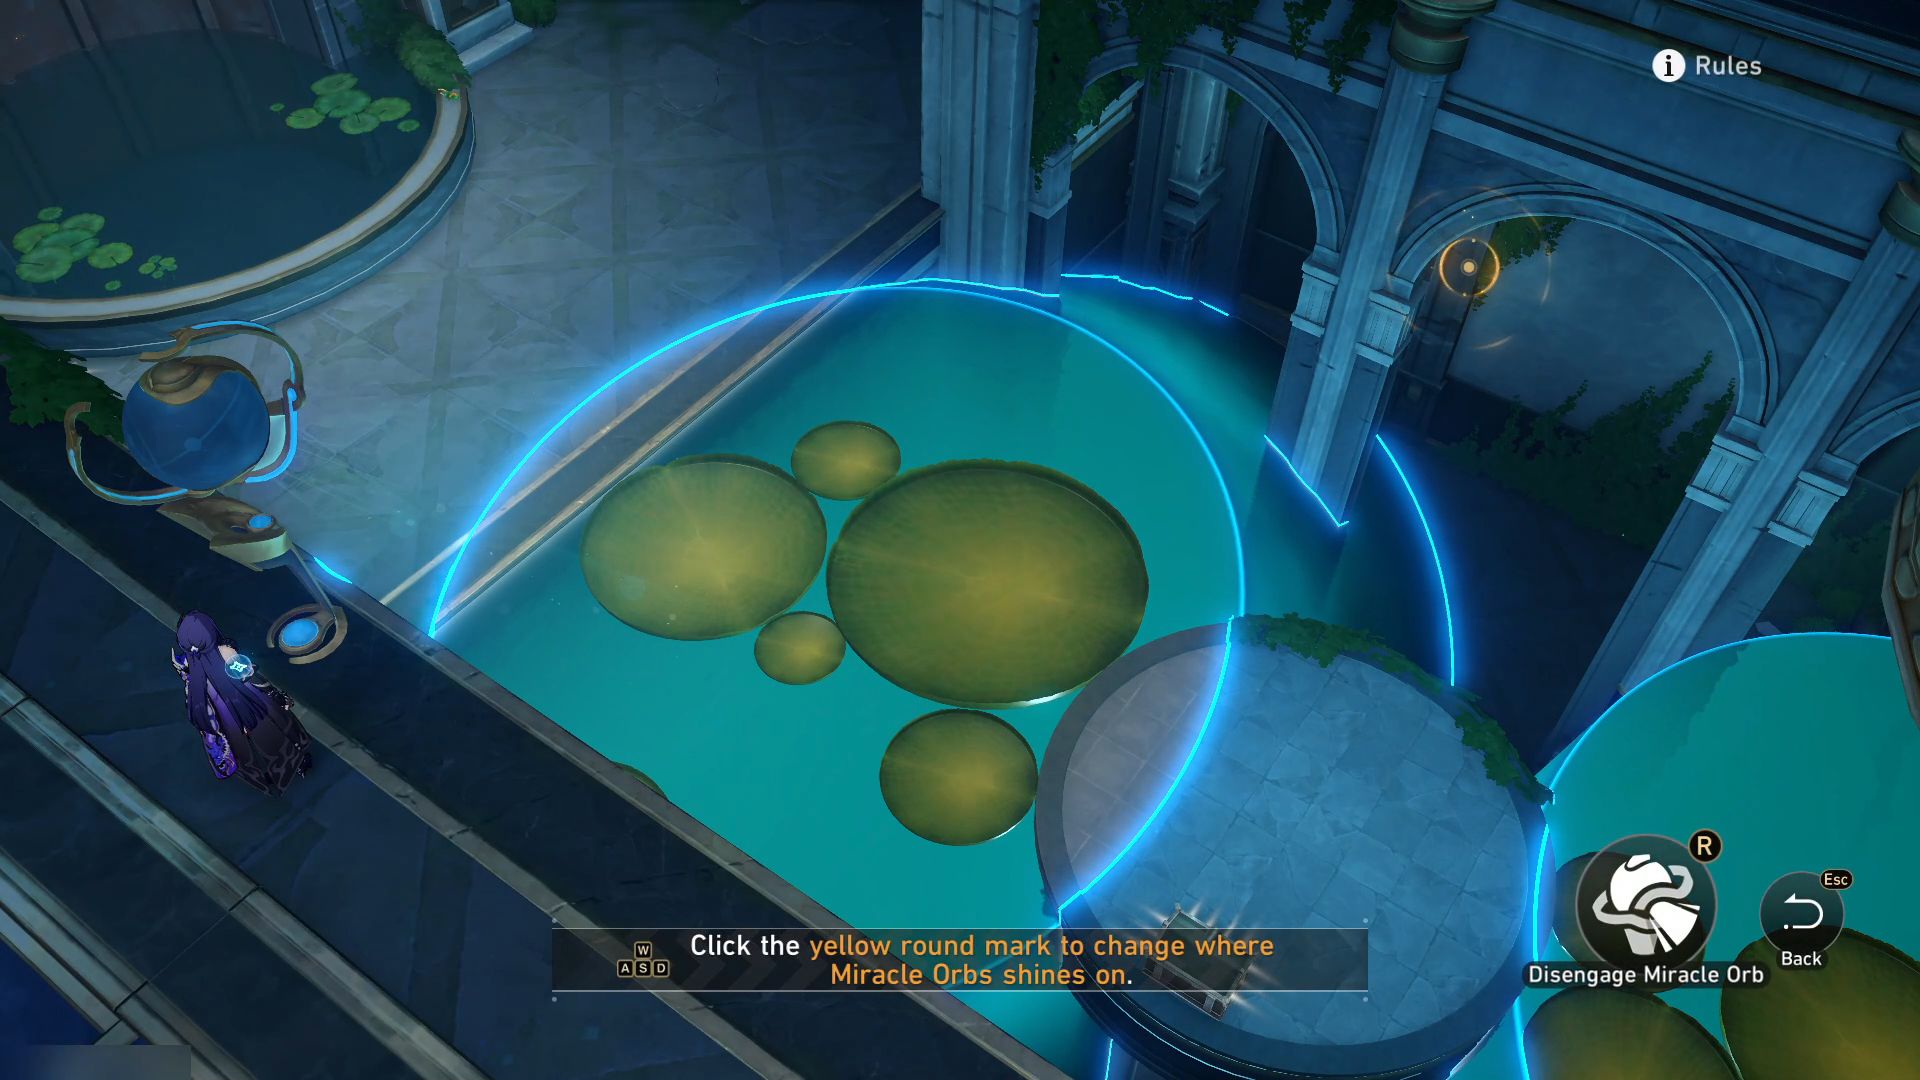
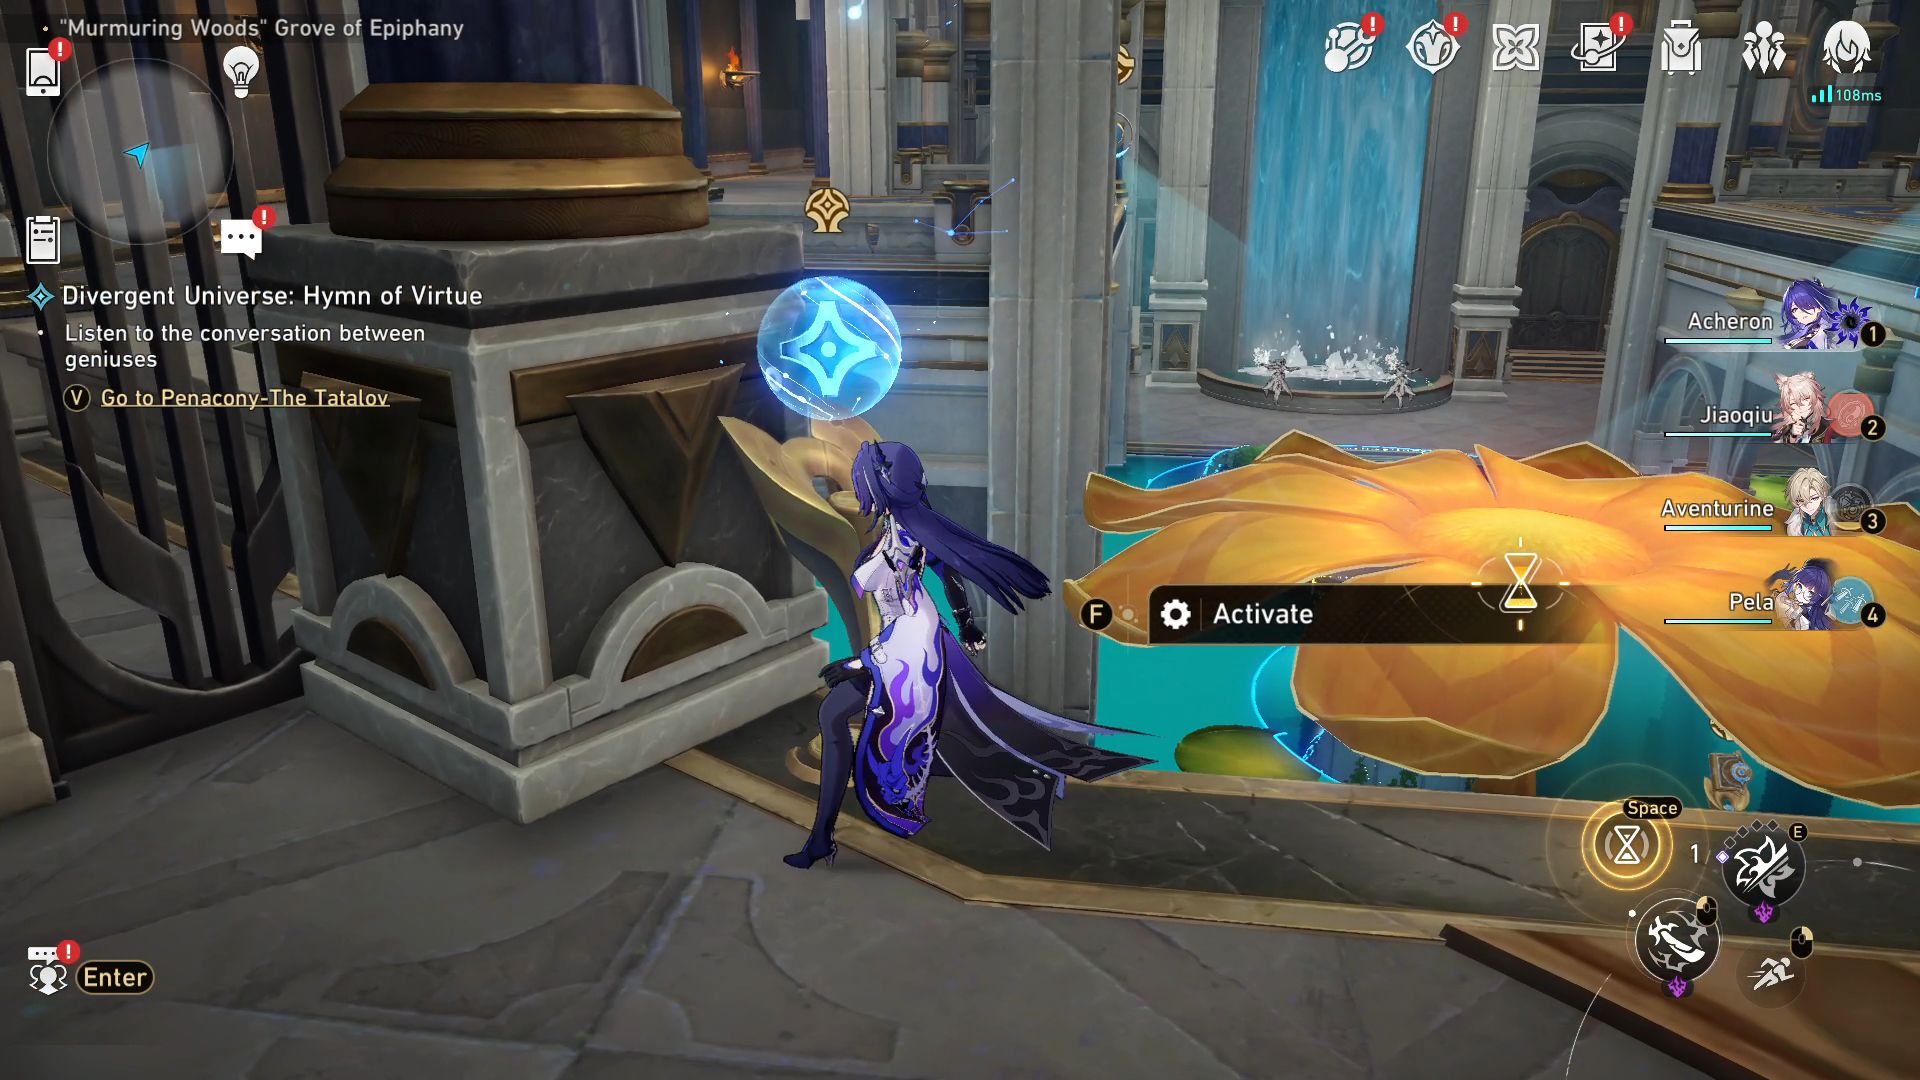
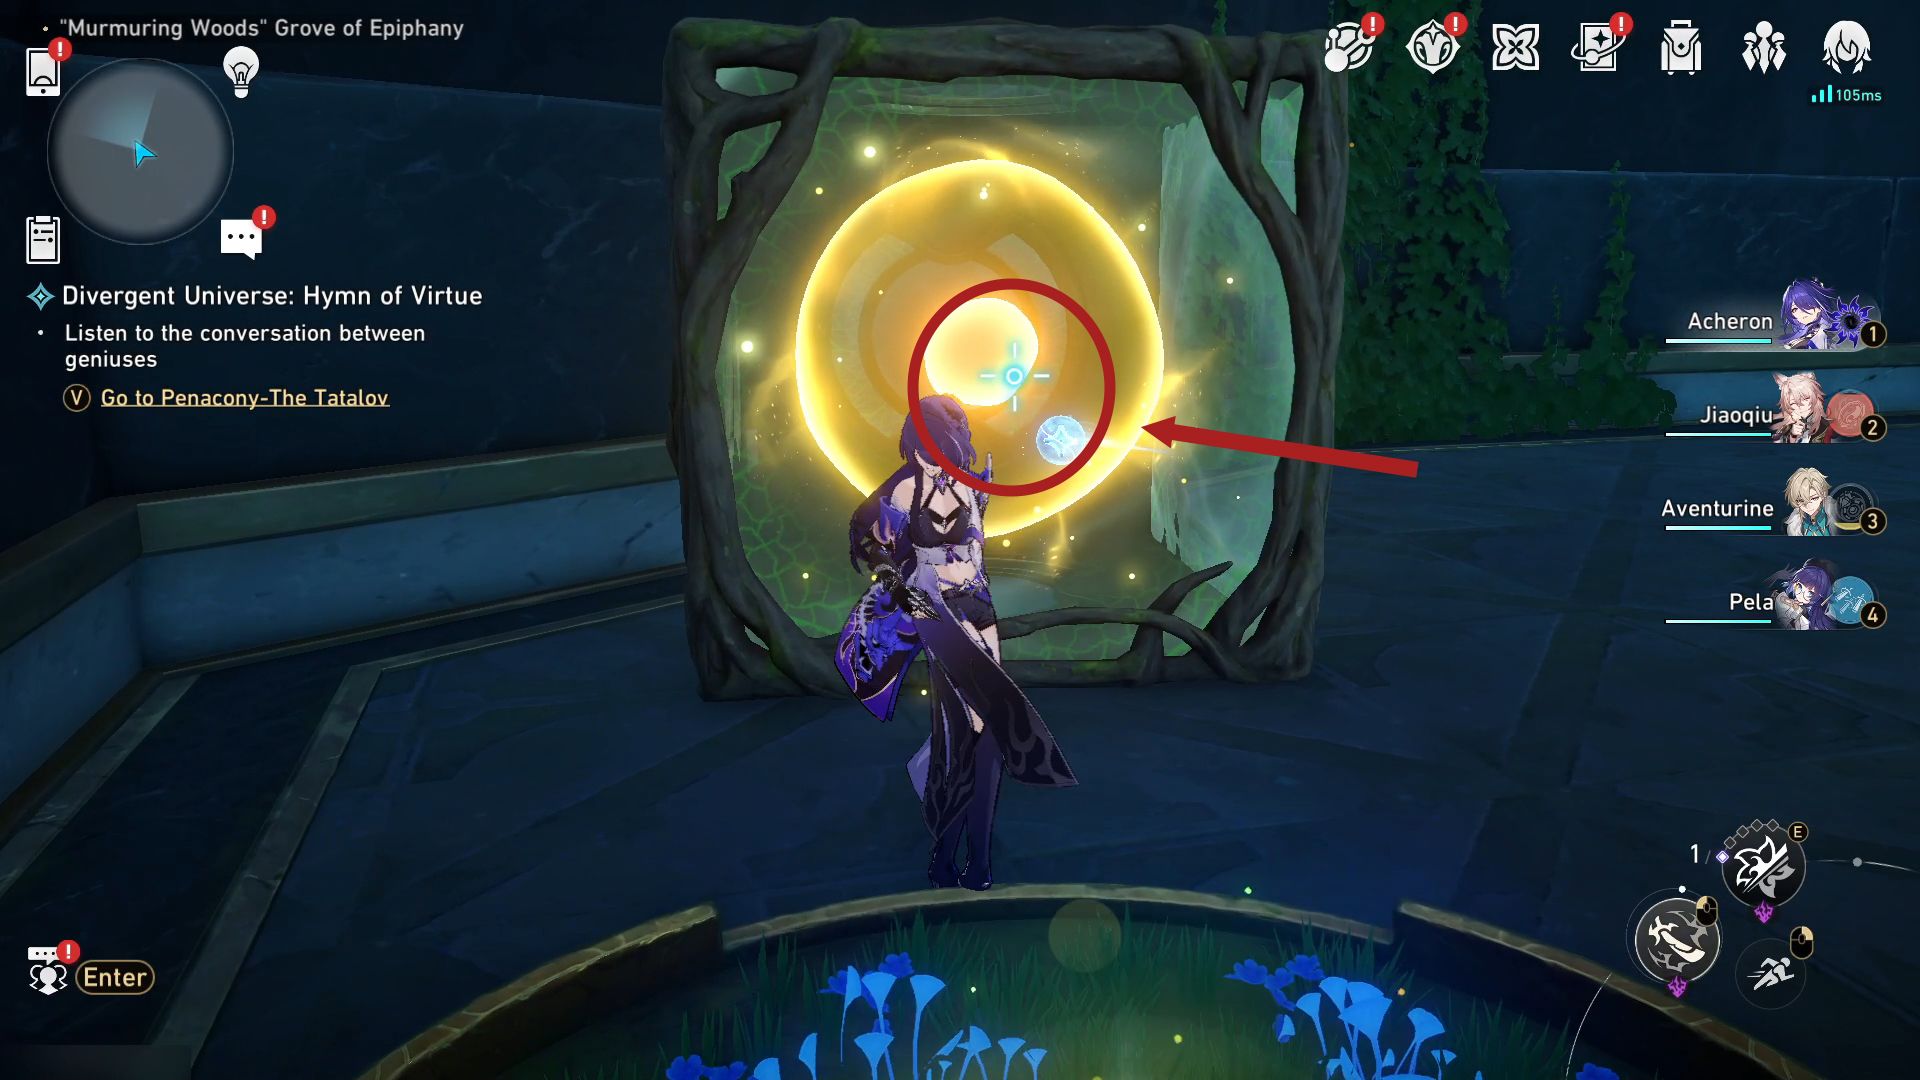
After completing all necessary preparations, utilize the Cognos Bloom as your means of transportation down to the lower level. Next, transform the space-time into Evernight by activating the Cognos Bloom. Subsequently, target the Ichor Vessel situated on the right side, ensuring it collides with the flower bed on the left. Once you’ve ascended back upstairs using the Cognos Bloom, engage the Miracle Orbs to illuminate the pond area.

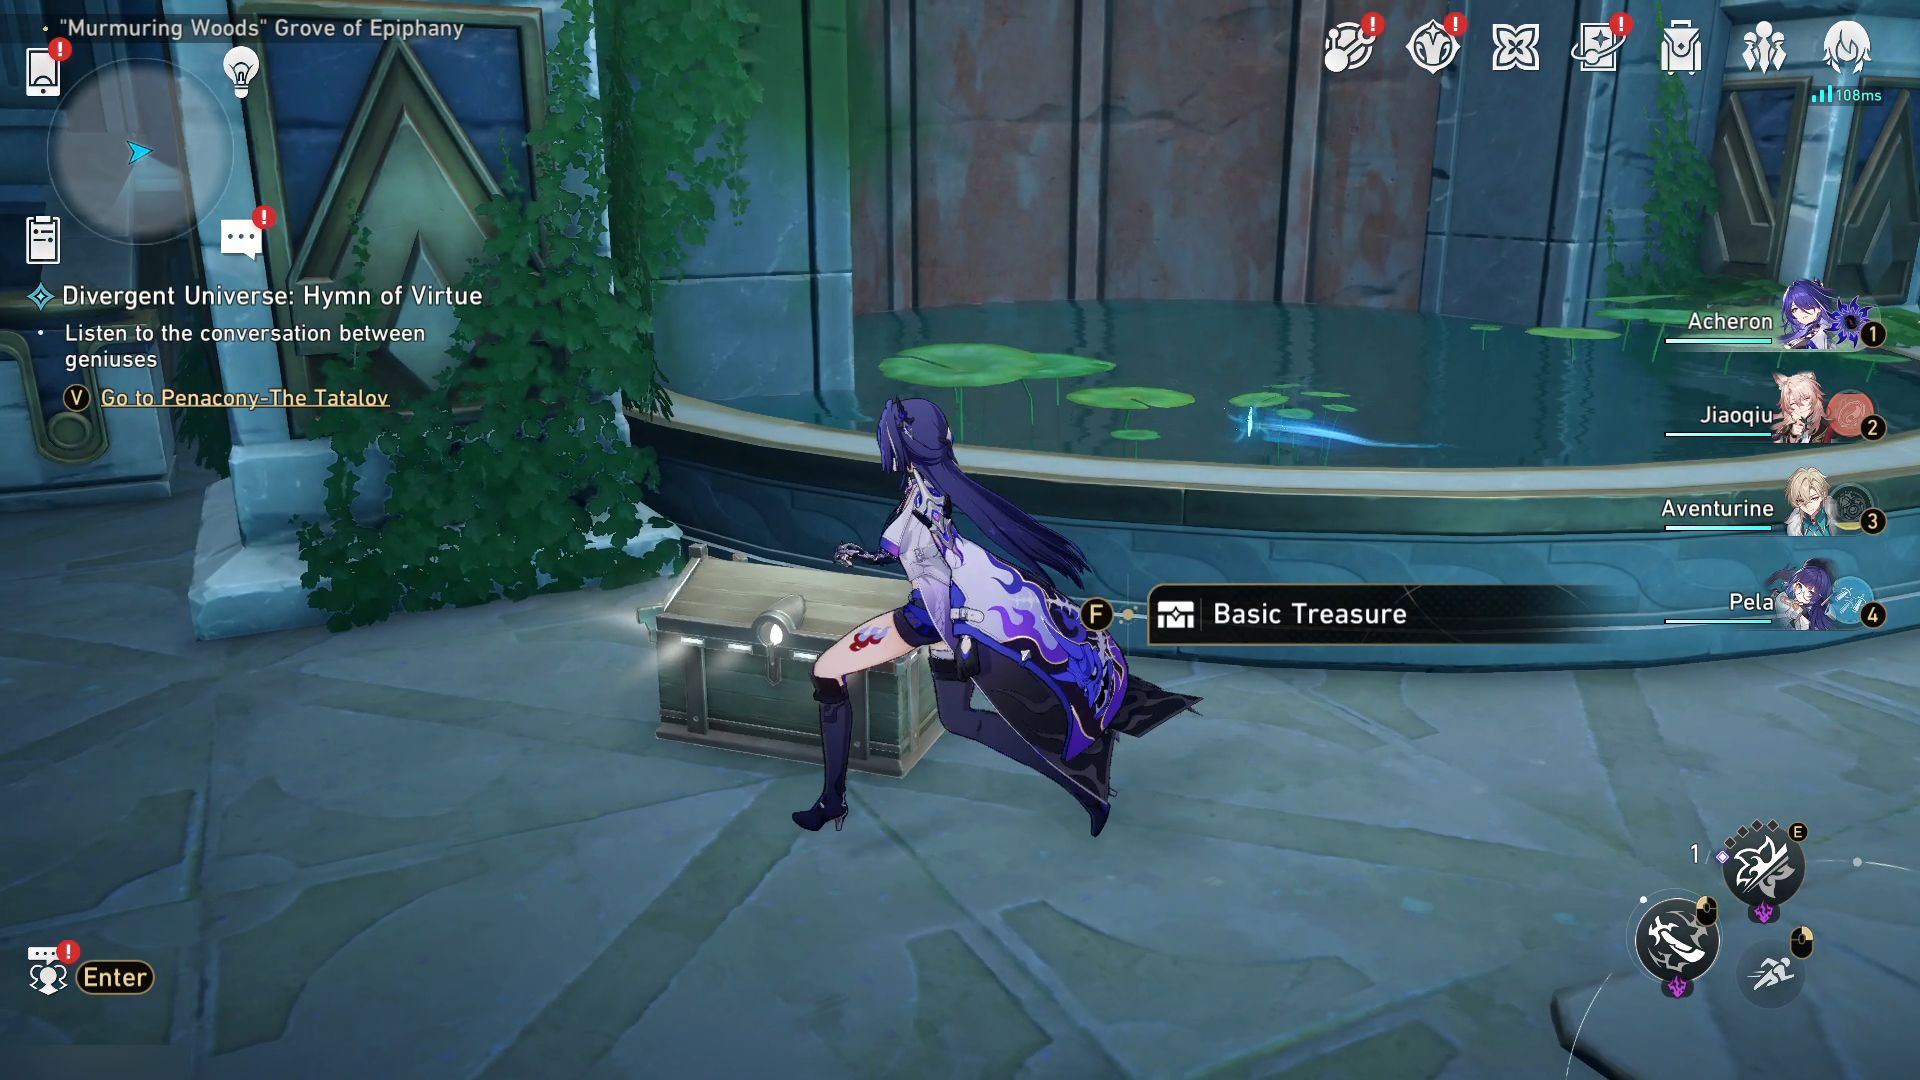
- 8. Now, go back down using the Cognos Bloom and take the treasure chest on the platform in the middle of the pond.
- 9. Continue walking forward, and there will be another chest next to a smaller pond. Look to the right, and you will see a Prophecy Tablet puzzle to be completed, so the Ichor Vessel has another side that can be attacked.
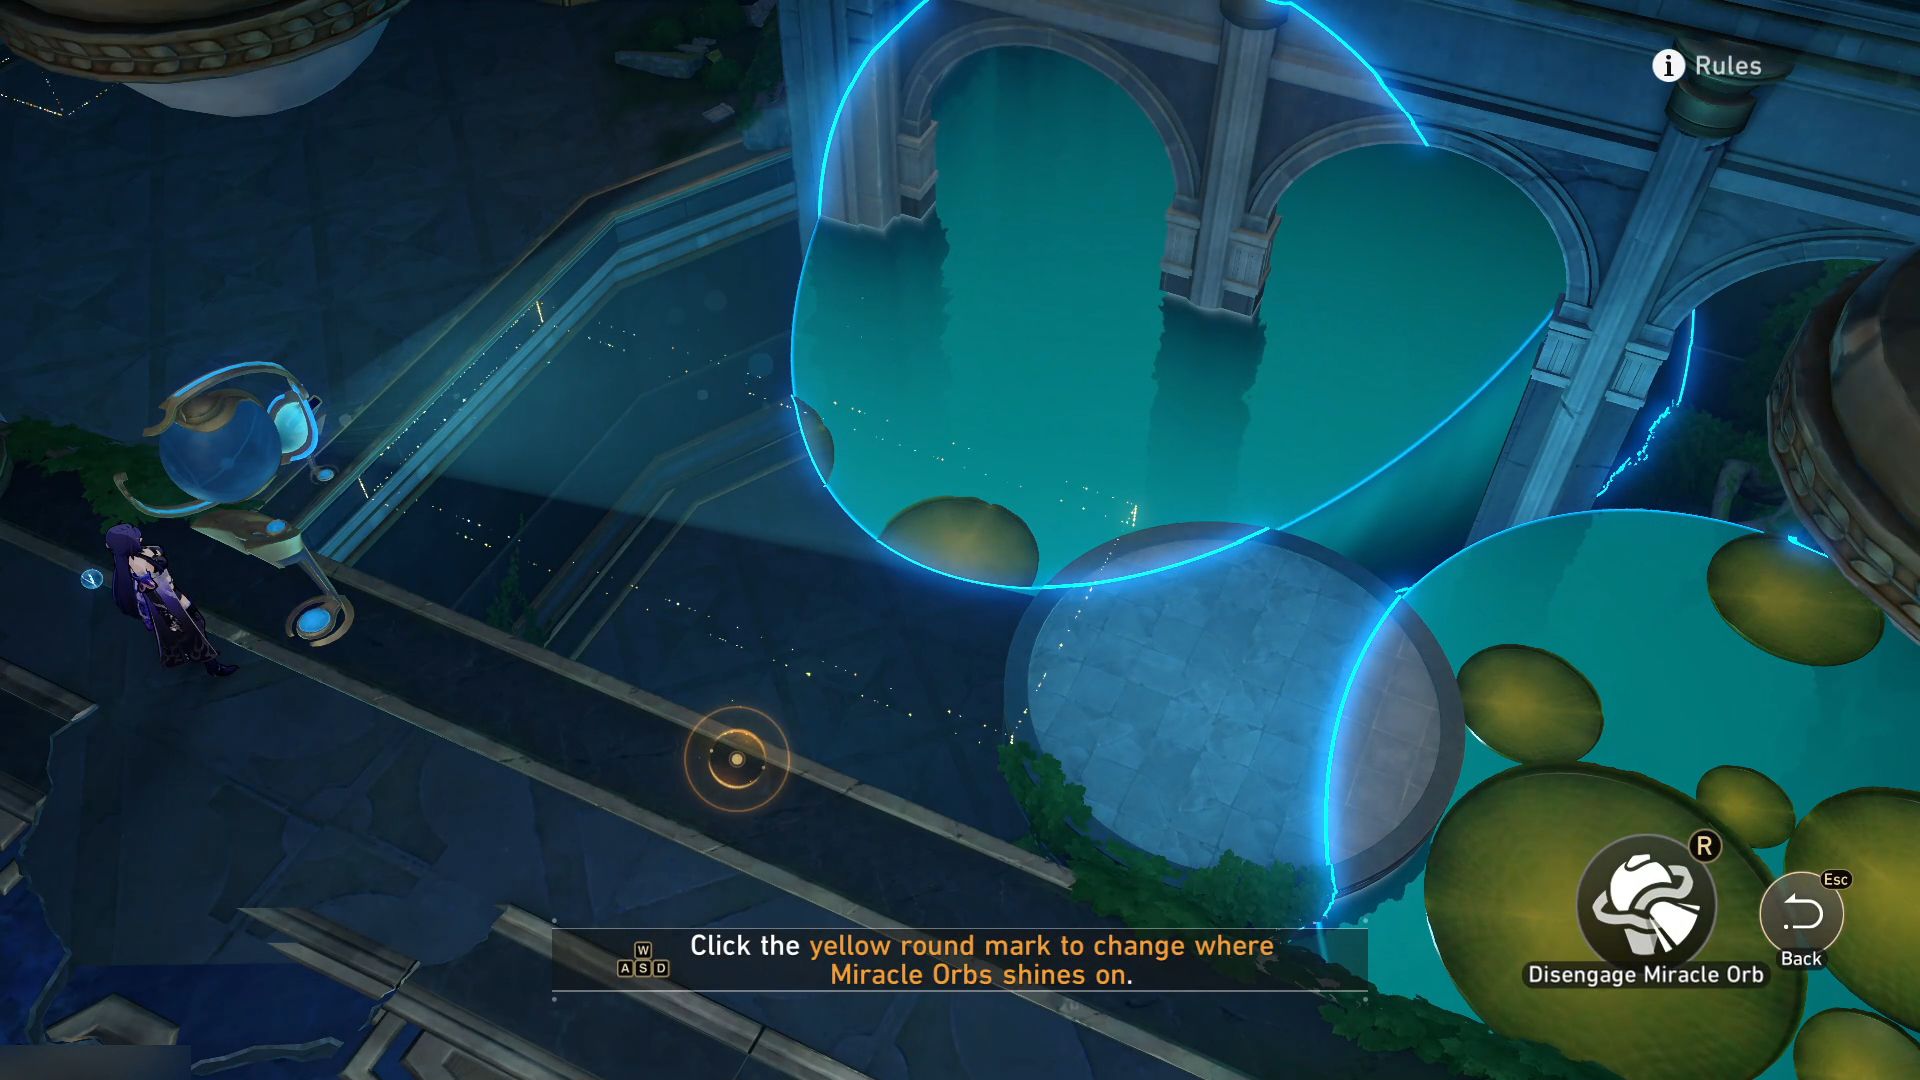
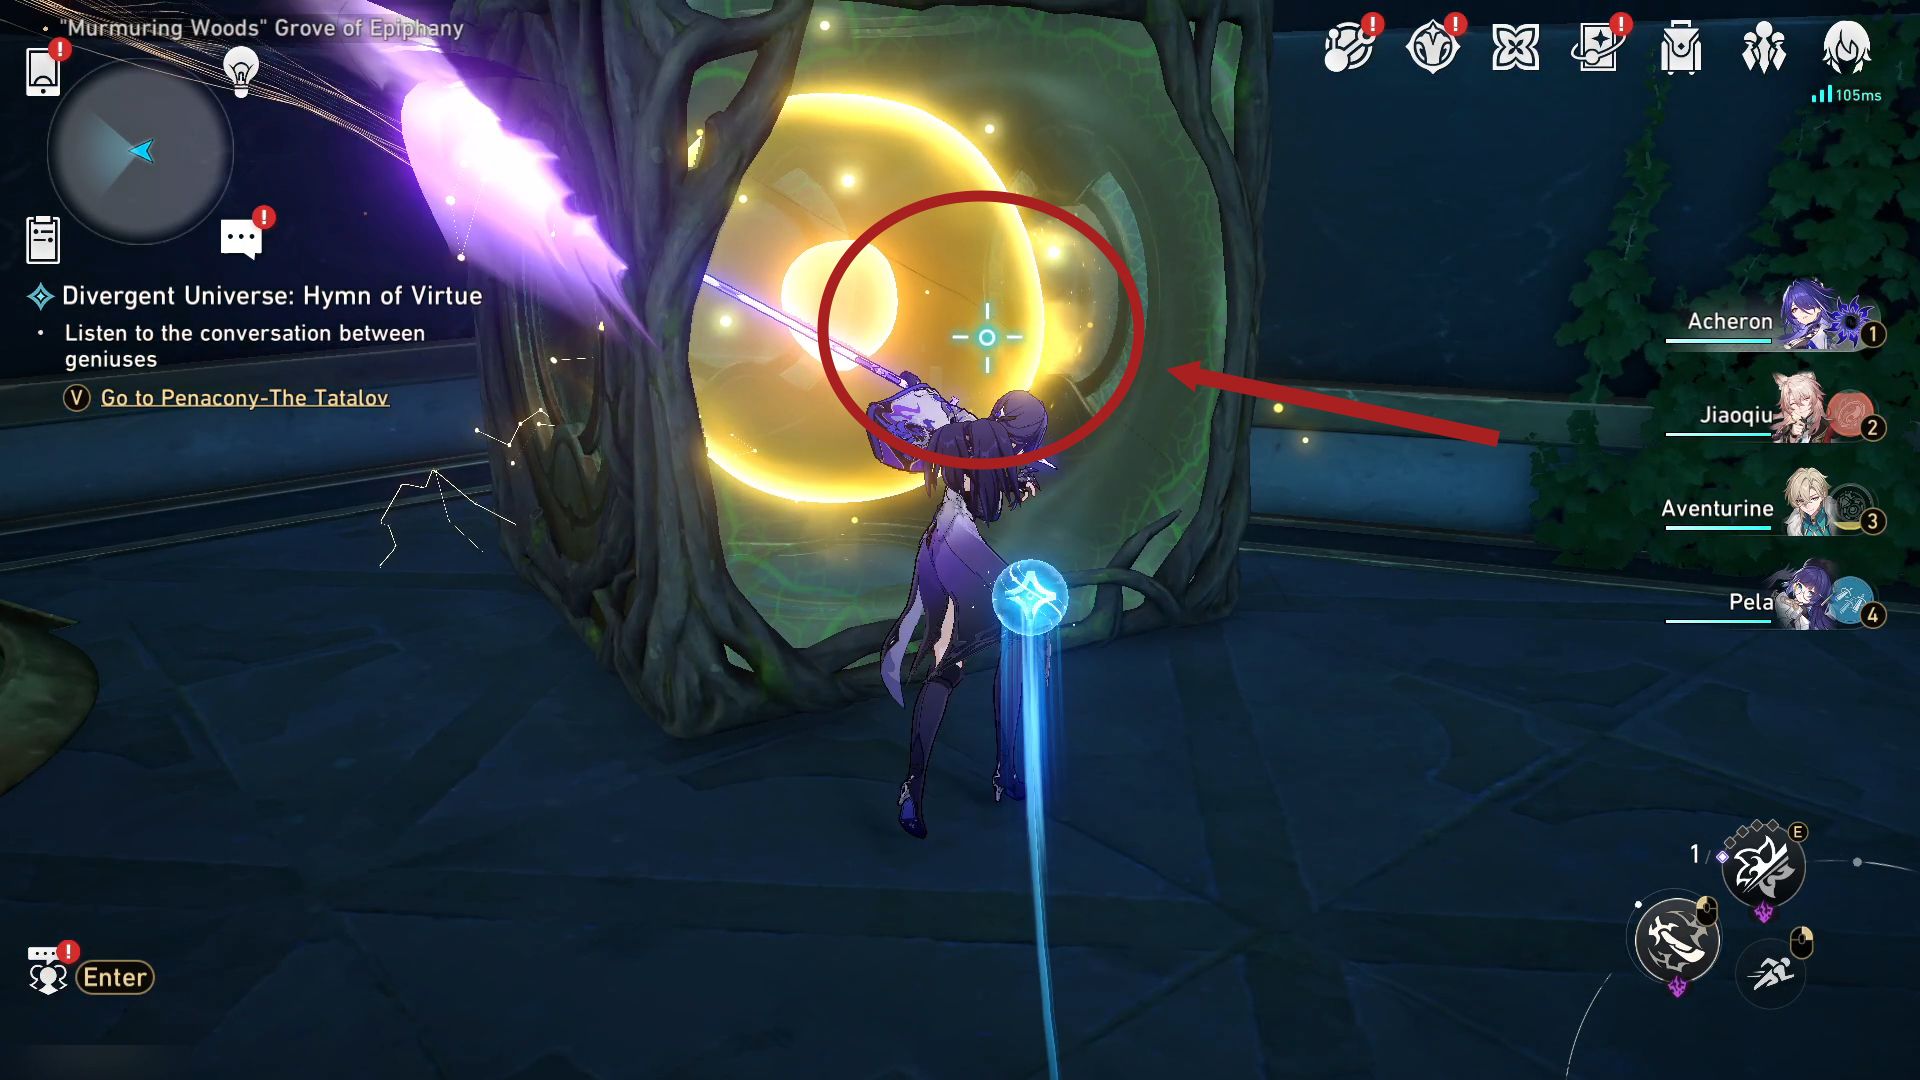
Head back to the last Ichor Vessel, then launch an assault on its left flank so it gets engulfed by the flower bed next to it. Climb up to the higher level, open the locked gate first before activating the Miracle Orb to illuminate the upper, circular yellow mark.

- 10. From the previous spot, follow the path that leads to a long corridor for a treasure chest.
- 11. Turn left and walk until the end for a Golden Scapegoat puzzle. Then, unlock the gate to the left and deactivate the Miracle Orb on the path. Continue on the path to open another locked gate.
- 12. You should be at the initial location with the Tome of Miracle and an Orony’x Shrine. Turn the space-time to Dawn and go down again using the Cognos Bloom. Afterward, use another Cognos Bloom on the left to head further down for a Precious Treasure.
- 13. Ascend to the upper floor and cross the pond before turning right for a treasure chest on top of the lily pad.

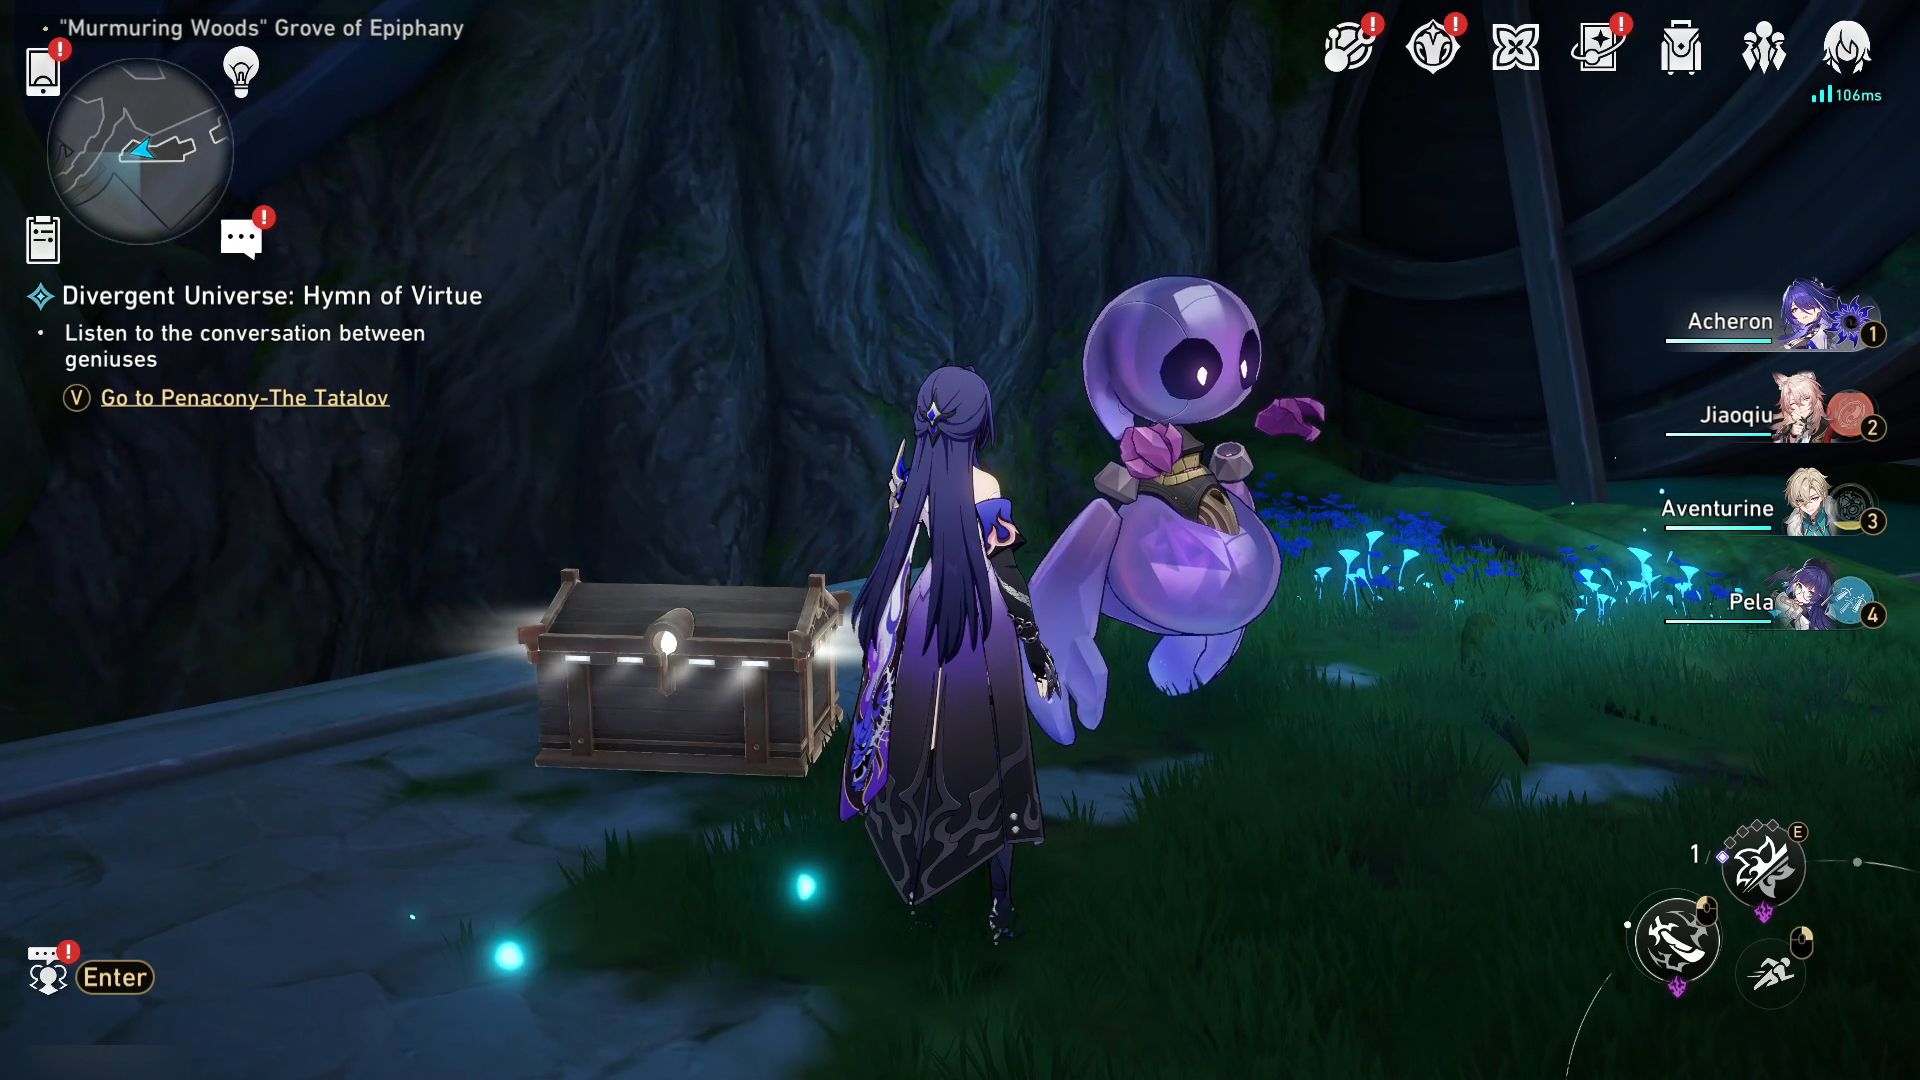

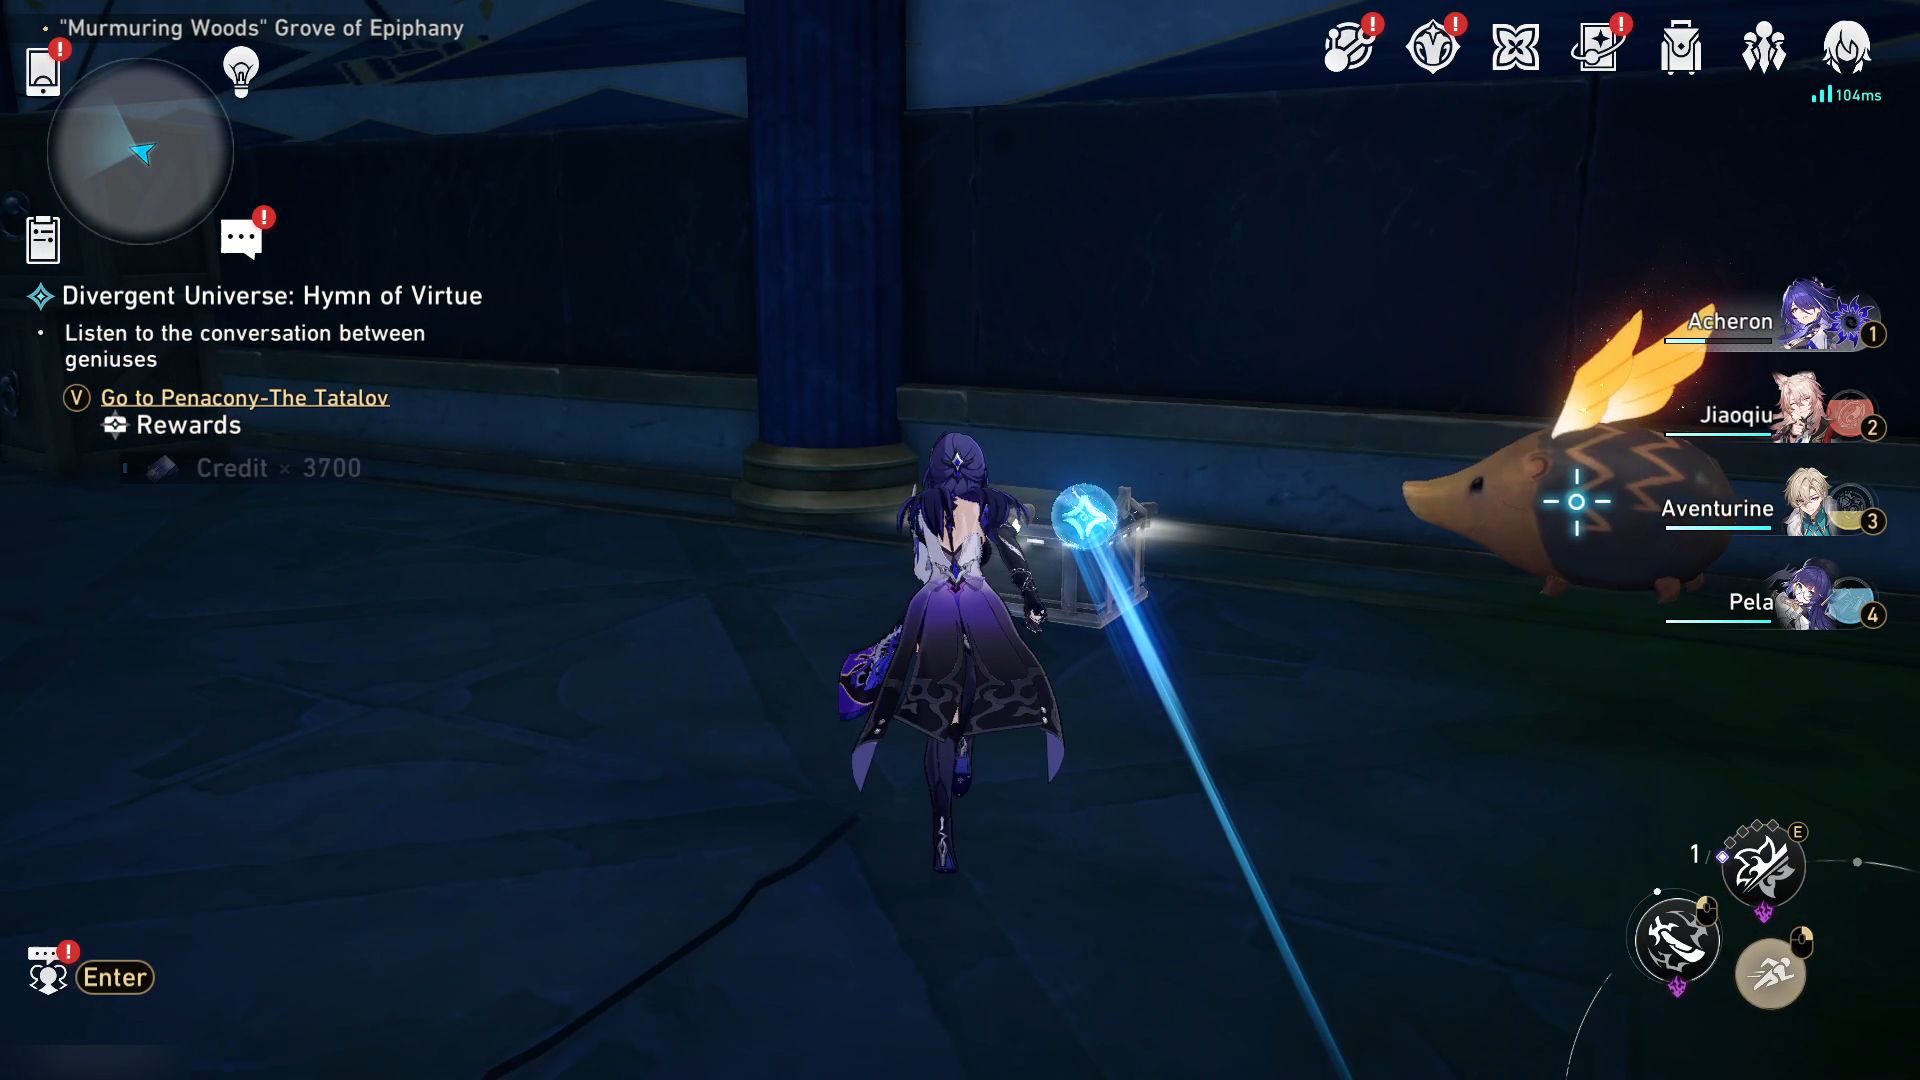
- 14 through 15. Teleport to the Library of Philia Space Anchor and use the waterwheel on the south to reach the upper floor. A Basic Treasure is located near the edge, and a Spirithief will appear once you interact with the chest. Capture the thief first before you can collect the rewards.
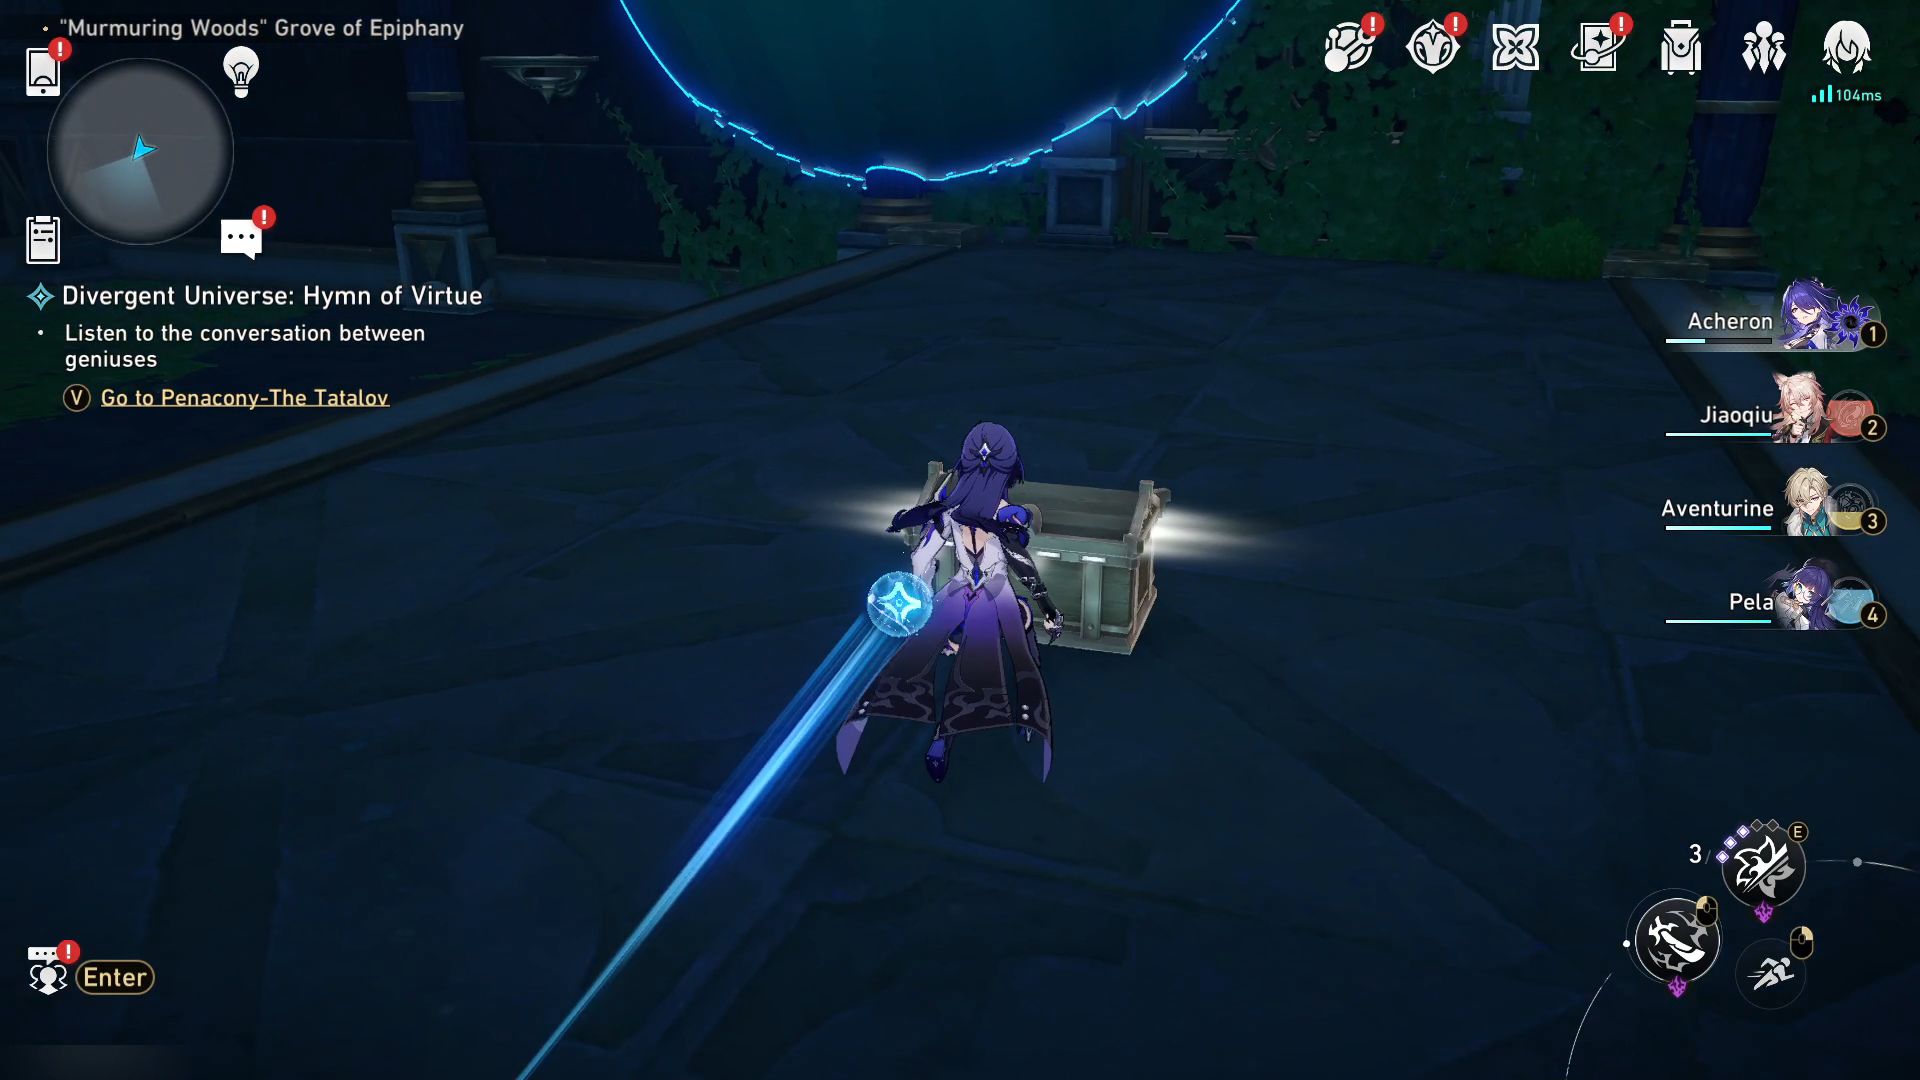
- 16. Call another waterwheel, and when it arrives, cross the gap using the waterwheel and continue following the path until you see a door. Once you enter the door, look for a treasure chest to the left.
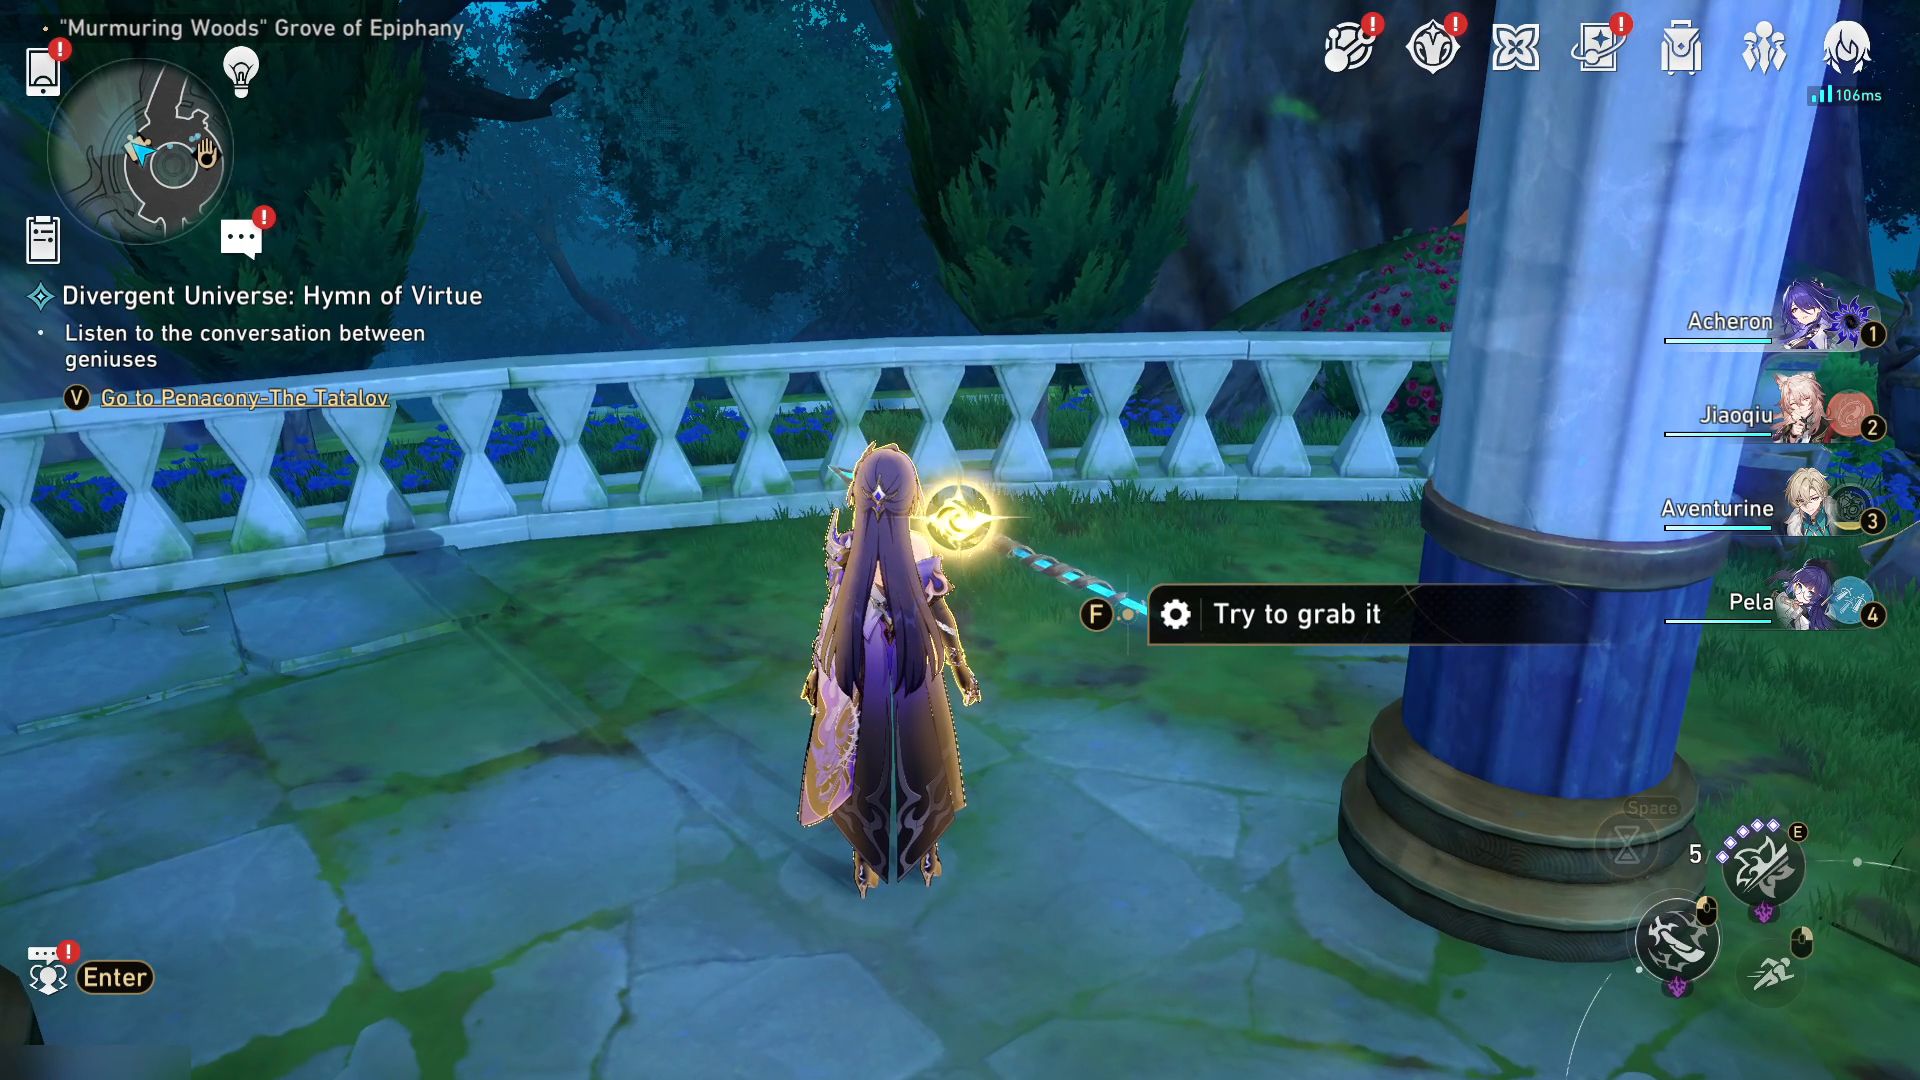
- 17. Now, use the Calyx (Golden): Bud of Treasures to teleport and head southwest for a Golden Short Spear.
- 18. Follow the direction of the flying spear, and you will see a treasure chest on the left.
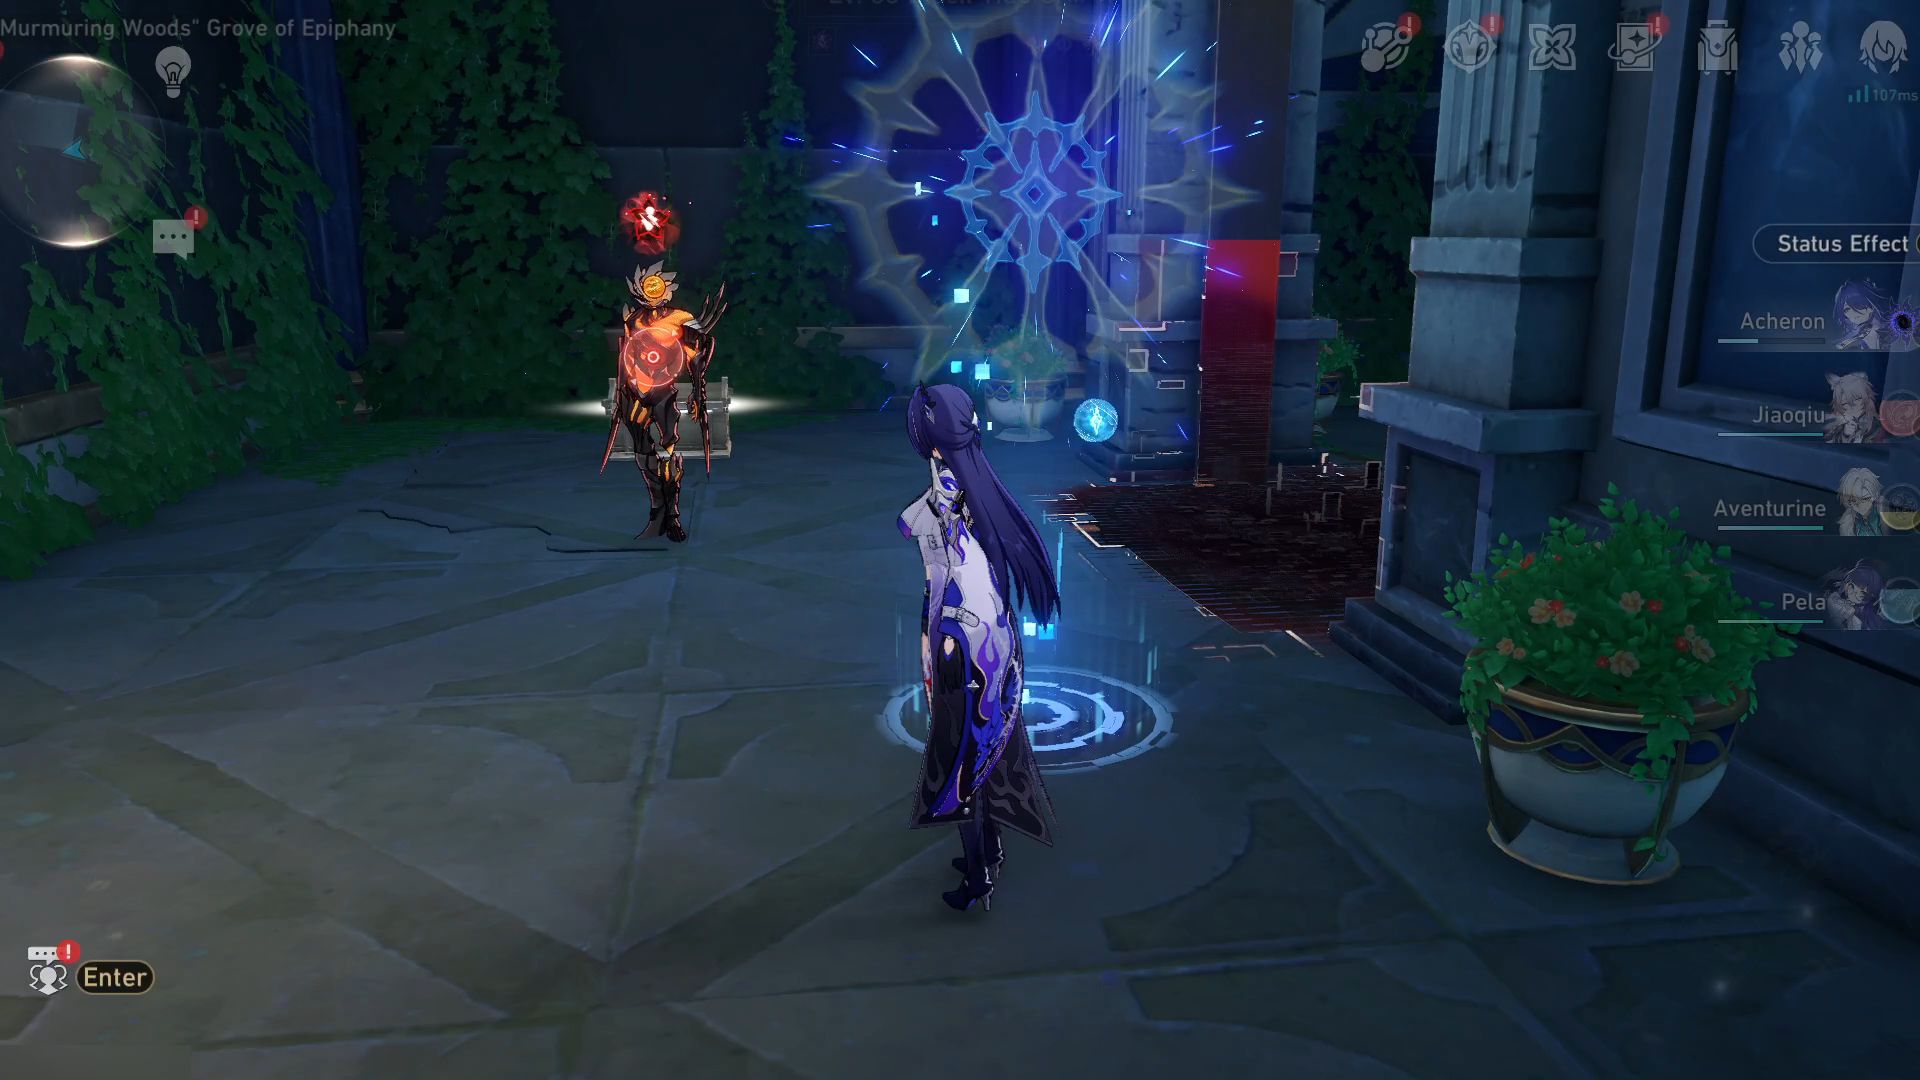
- 19. Continue walking forward towards the Ichor Vessel, and when you get near, a Spirithief will come stealing it. Capture the Spirithief and break the Ichor Vessel so it will fall and break the boxes below.
- 20. Warp to Stagnant Shadow: Shape of Gelidmoon and head southeast for a Prophecy Tablet puzzle.
- 21. From the previous spot, walk to the west towards where the Ichor Vessel falls. Now that the boxes are gone, you can get the treasure chest and unlock the gate.
- 22. Teleport to Calyx (Golden): Bud of Treasures again and use the Janus’ Hidden Passage on the north. Control the Hands of Zagreus and collect all Coins of Whimsy to unlock a Bountiful Chest. In addition, break a box near the stone control panel to uncover a Golden Short Spear.
- 23. Go towards the Golden Short Spear and fix it before following it to spawn a treasure chest.
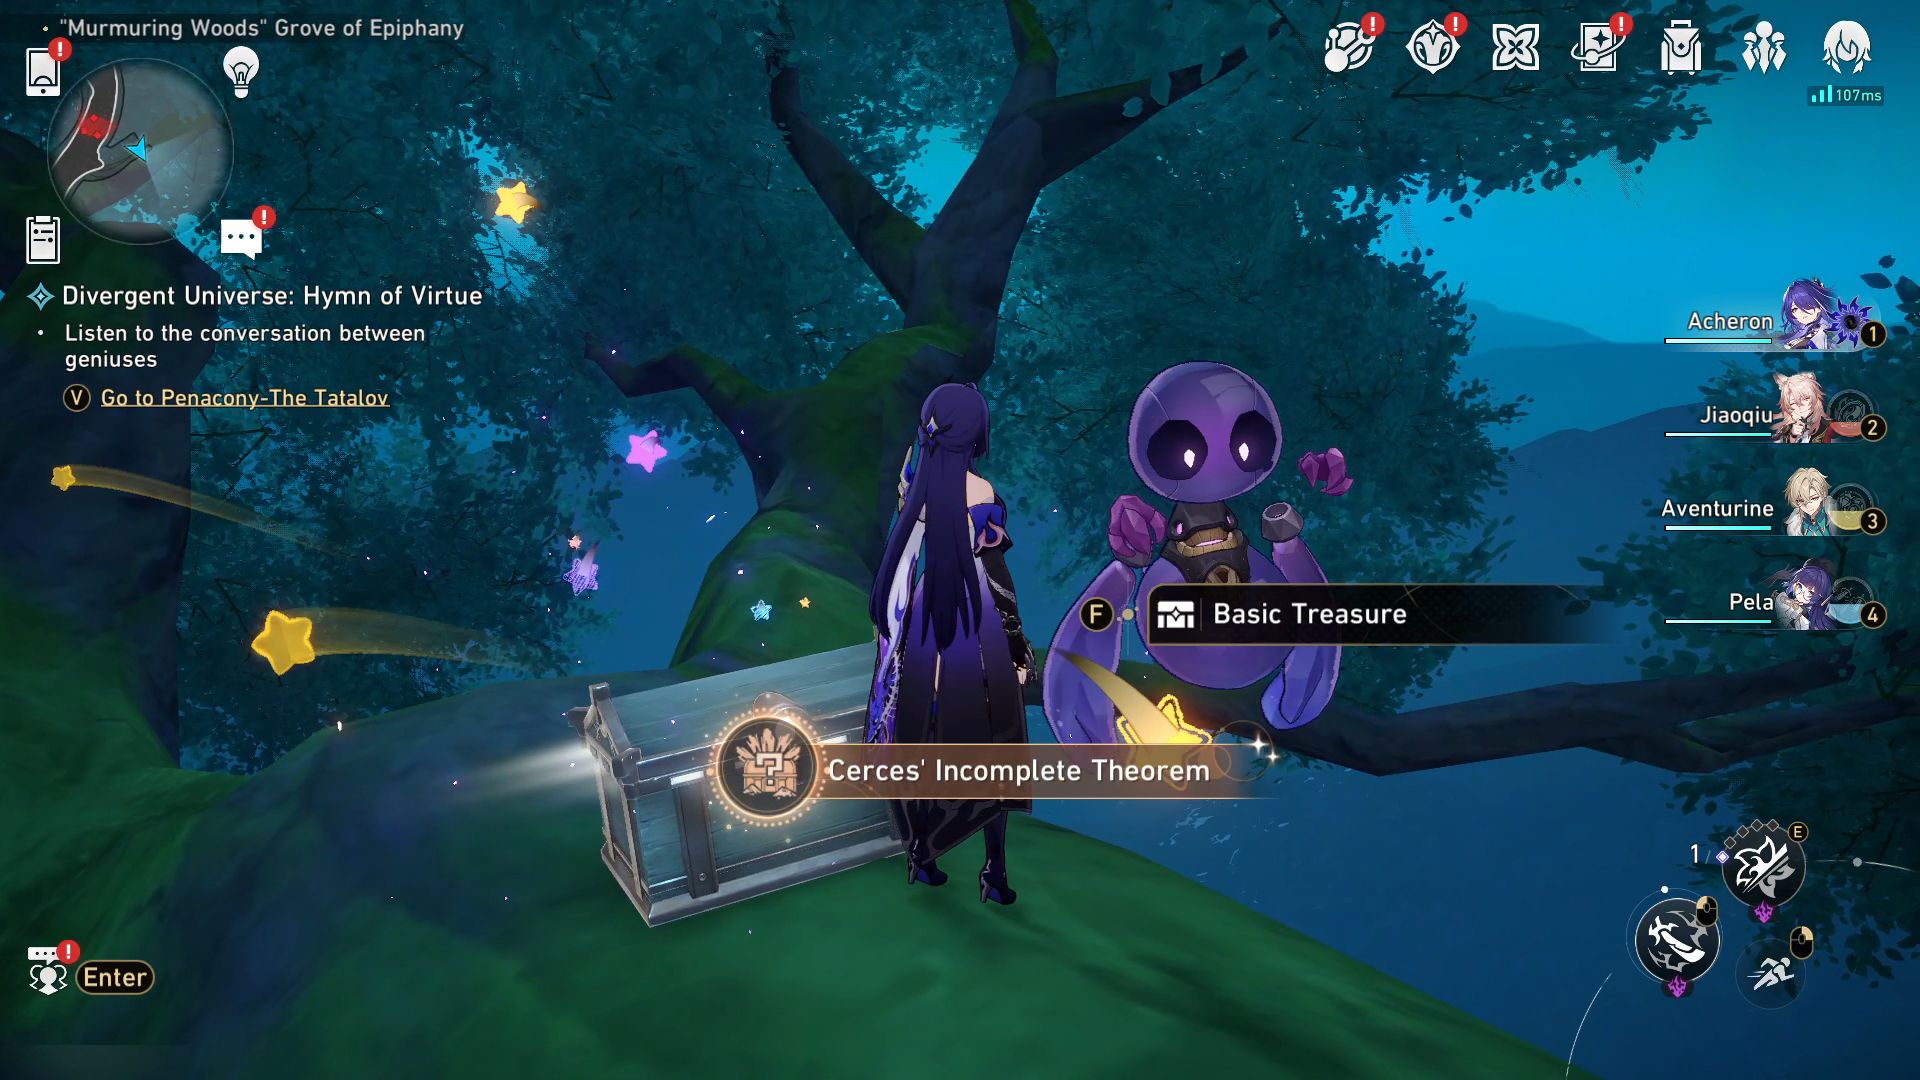
- 24 through 25. Look to the north and go towards a branch with a treasure chest behind an enemy. Defeat the enemy and interact with the chest to summon the Spirithief. Once you capture it using Oronyx’s power, you will get both Stellar Jades and a treasure chest.
- 26. Use the Janus’ Hidden Passage up north and then change the direction of the next one before using it again. Follow the path, and you will encounter a Prophecy Tablet puzzle.


- 27. Teleport to the Dome of Devotion Space Anchor and follow the tree root to enter the 3D room on the northwest. Change the space-time to Dawn and go to the left side towards the stairs. A treasure chest will be visible once you get through the door.
- 28. Switch the space-time to Evernight using the nearby Tome of Miracle and activate the Miracle Orb to shine the light on the left yellow round mark. Turn the space-time to Dawn again, pass through the now unblocked road, and activate another Miracle Orb. After that, you can complete the Formidable Foe challenge nearby to unlock the treasure chest.
- 29. Go to the Tome of Miracle and change the space-time to Evernight before switching the nearby Miracle Orb to shine the light on the right yellow round mark. Then, you can take the treasure chest on the right side of this floor.
- 30. Activate the Oronyx’s Shrine near the previous chest and go down using the Cognos Bloom beside it. At the bottom floor, turn left and walk forward until you reach a Prophecy Tablet puzzle. Complete the puzzle to place a Cognos Bloom for the next path. Unlock the gate on the other end of the corridor and keep following the path until you see another treasure chest behind an enemy.
- 31. Enter the room on the right and use the Cognos Bloom again before walking across the lily pads. On the other side, look to the right side for a treasure chest.
- 32. Now, use the Cognos Bloom nearby to reach the upper floor before breaking the Ichor Vessel so it will collide with the boxes. Behind those boxes is one Golden Scapegoat puzzle.
- 33. From the previous spot, look ahead to the left and get a Basic Treasure Chest.
- 34. Finally, use the Cognos Bloom to reach the lower floor, and walk to the right side for another Cognos Bloom to use. At the most bottom floor, head to the right side for the last treasure chest in this 3D room.
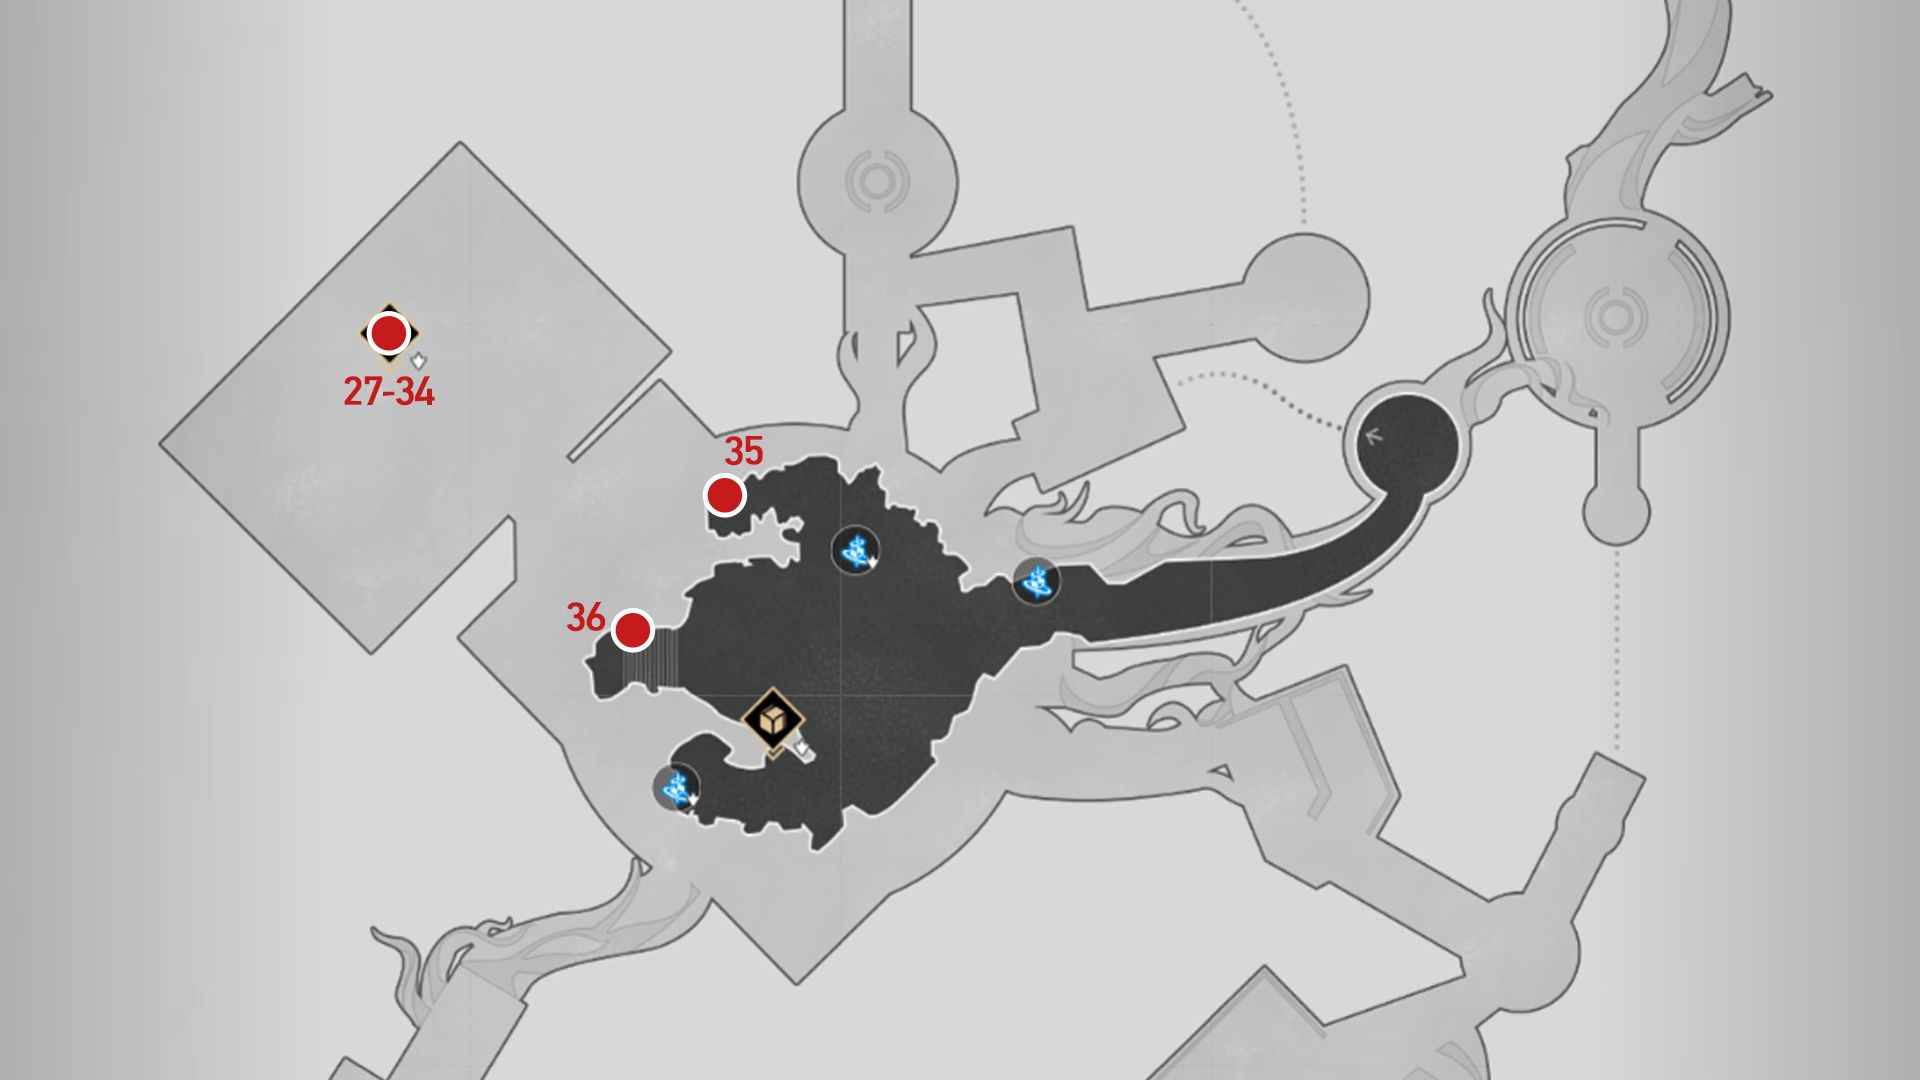
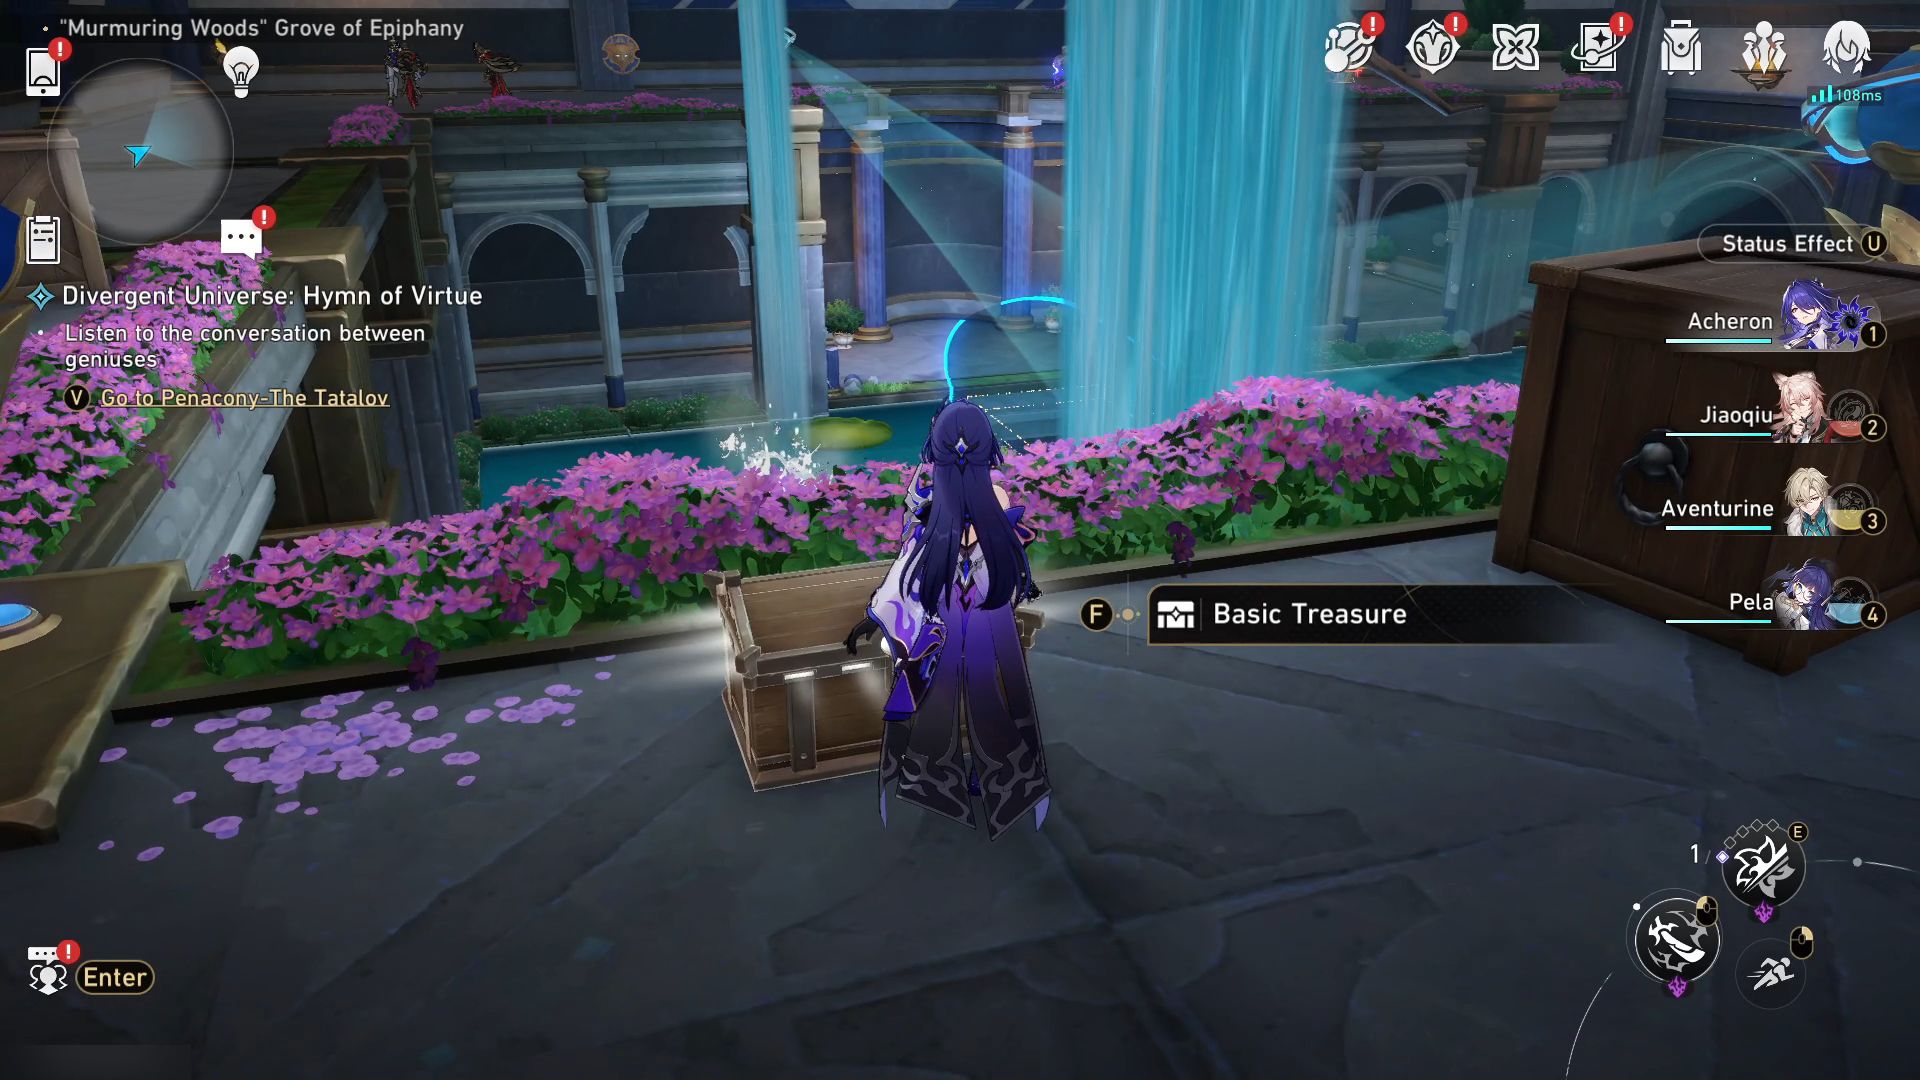
- 35. Teleport to Luminary Throne Space Anchor and head northwest for a chest in front of a mural.
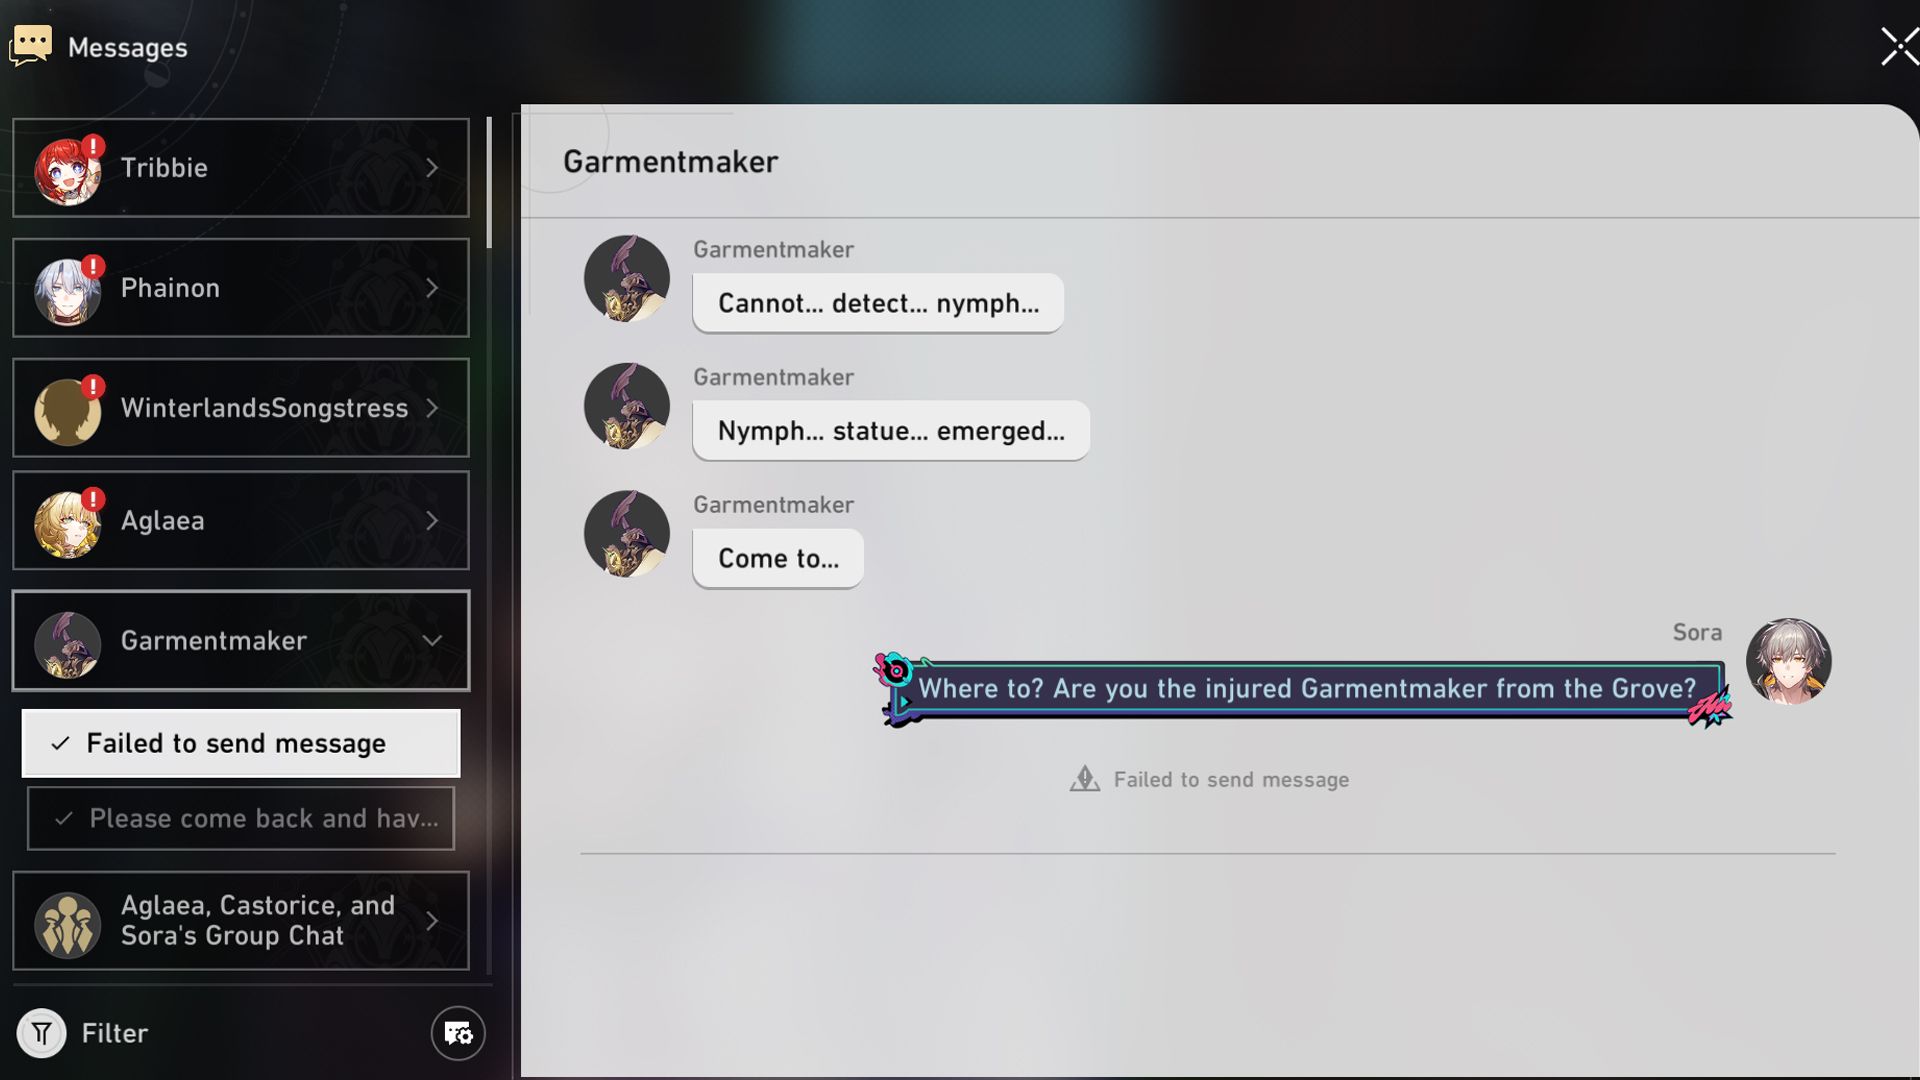
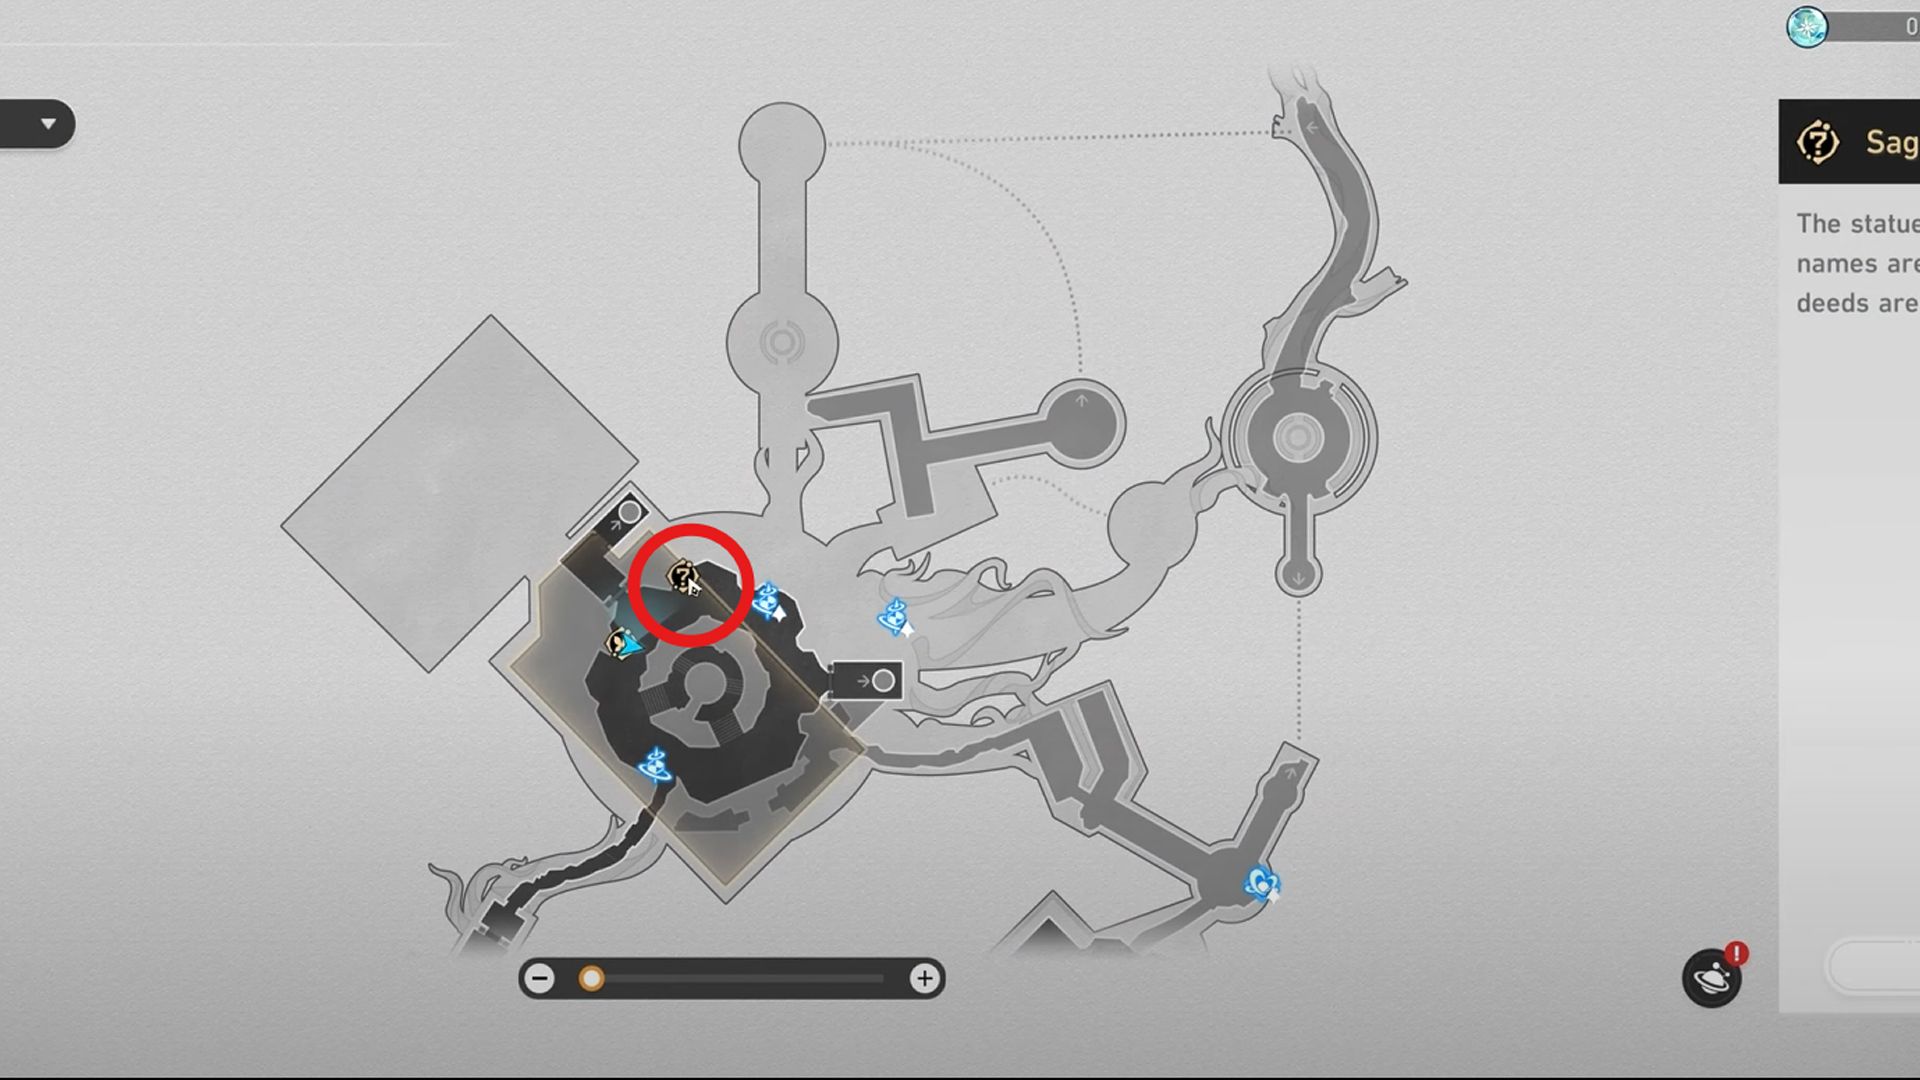
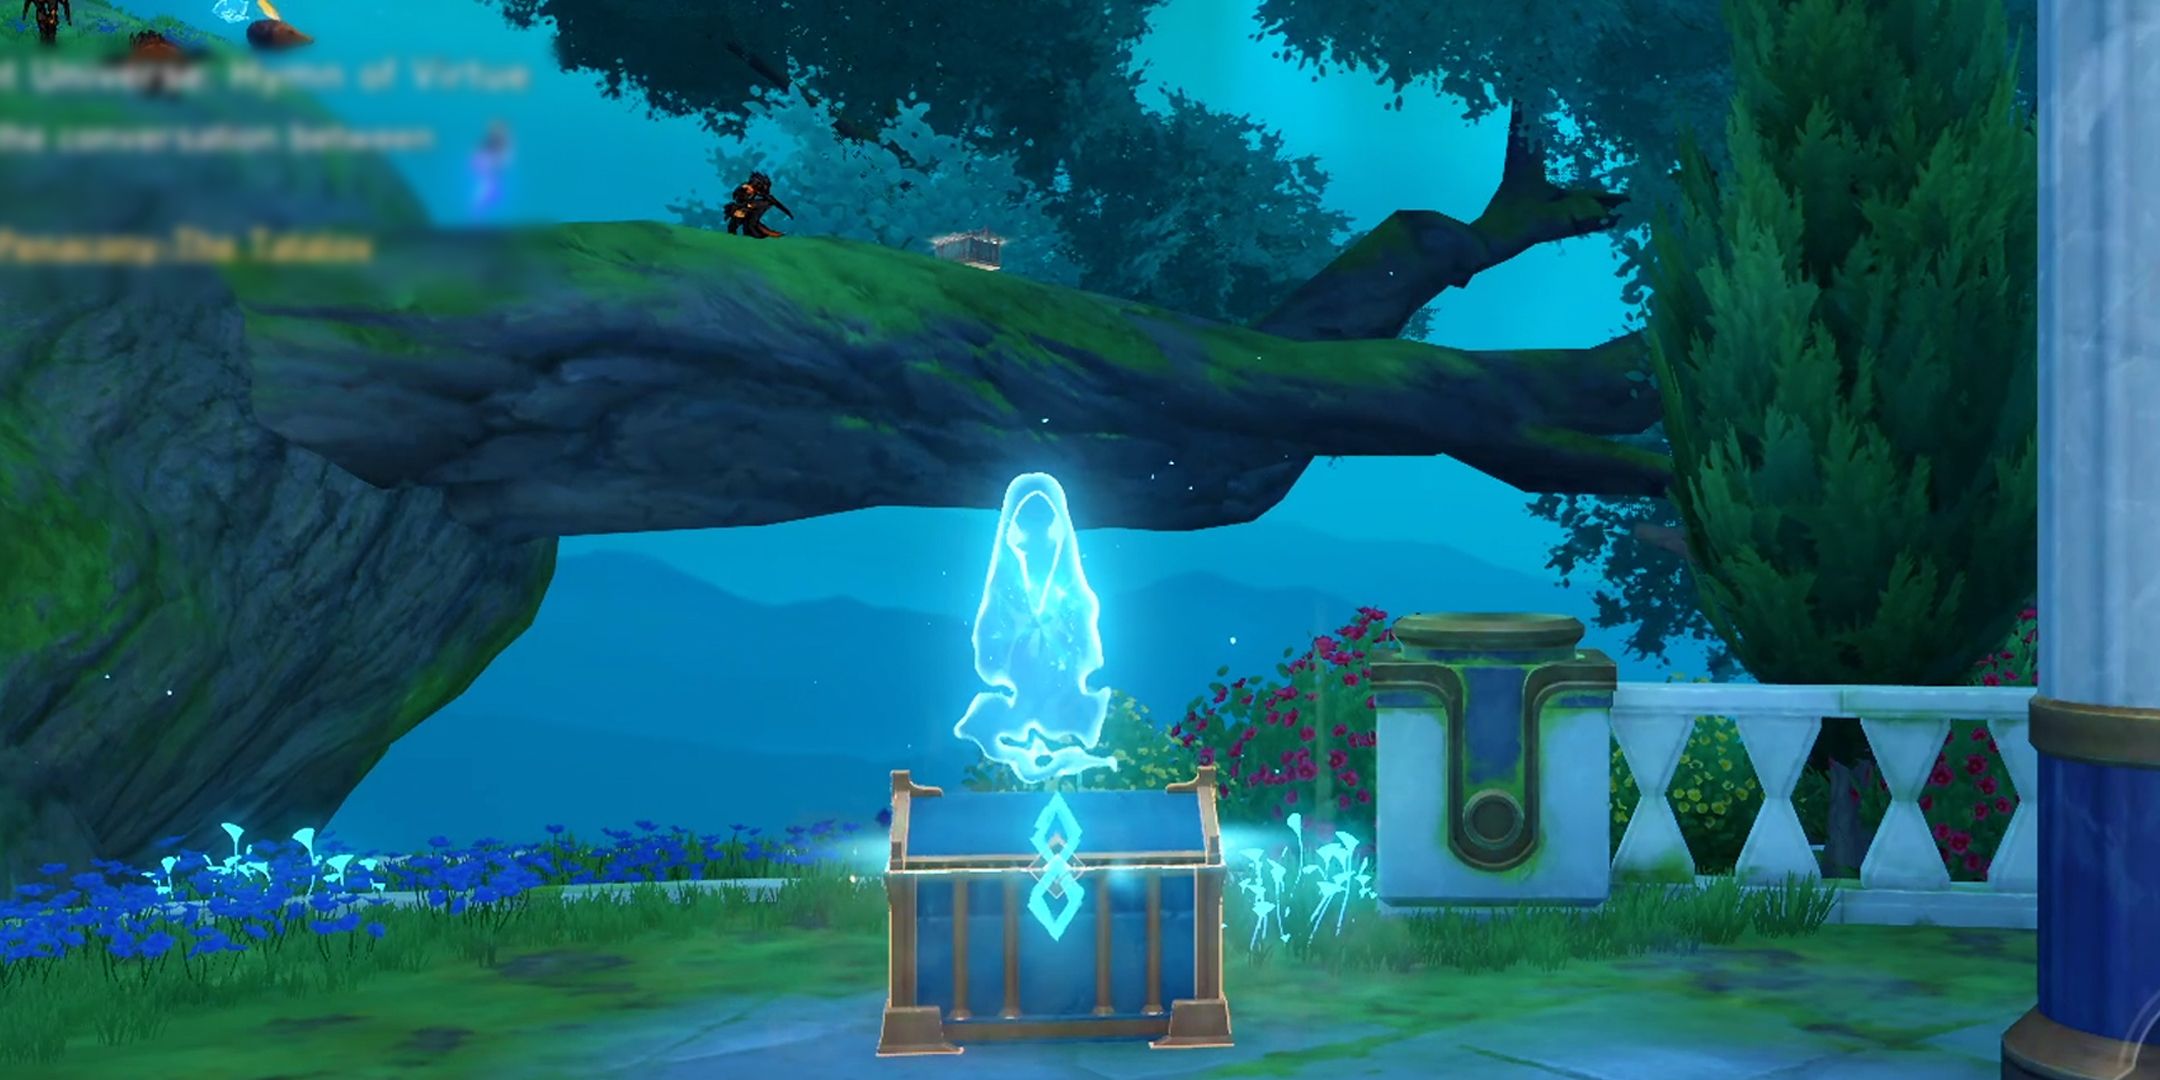
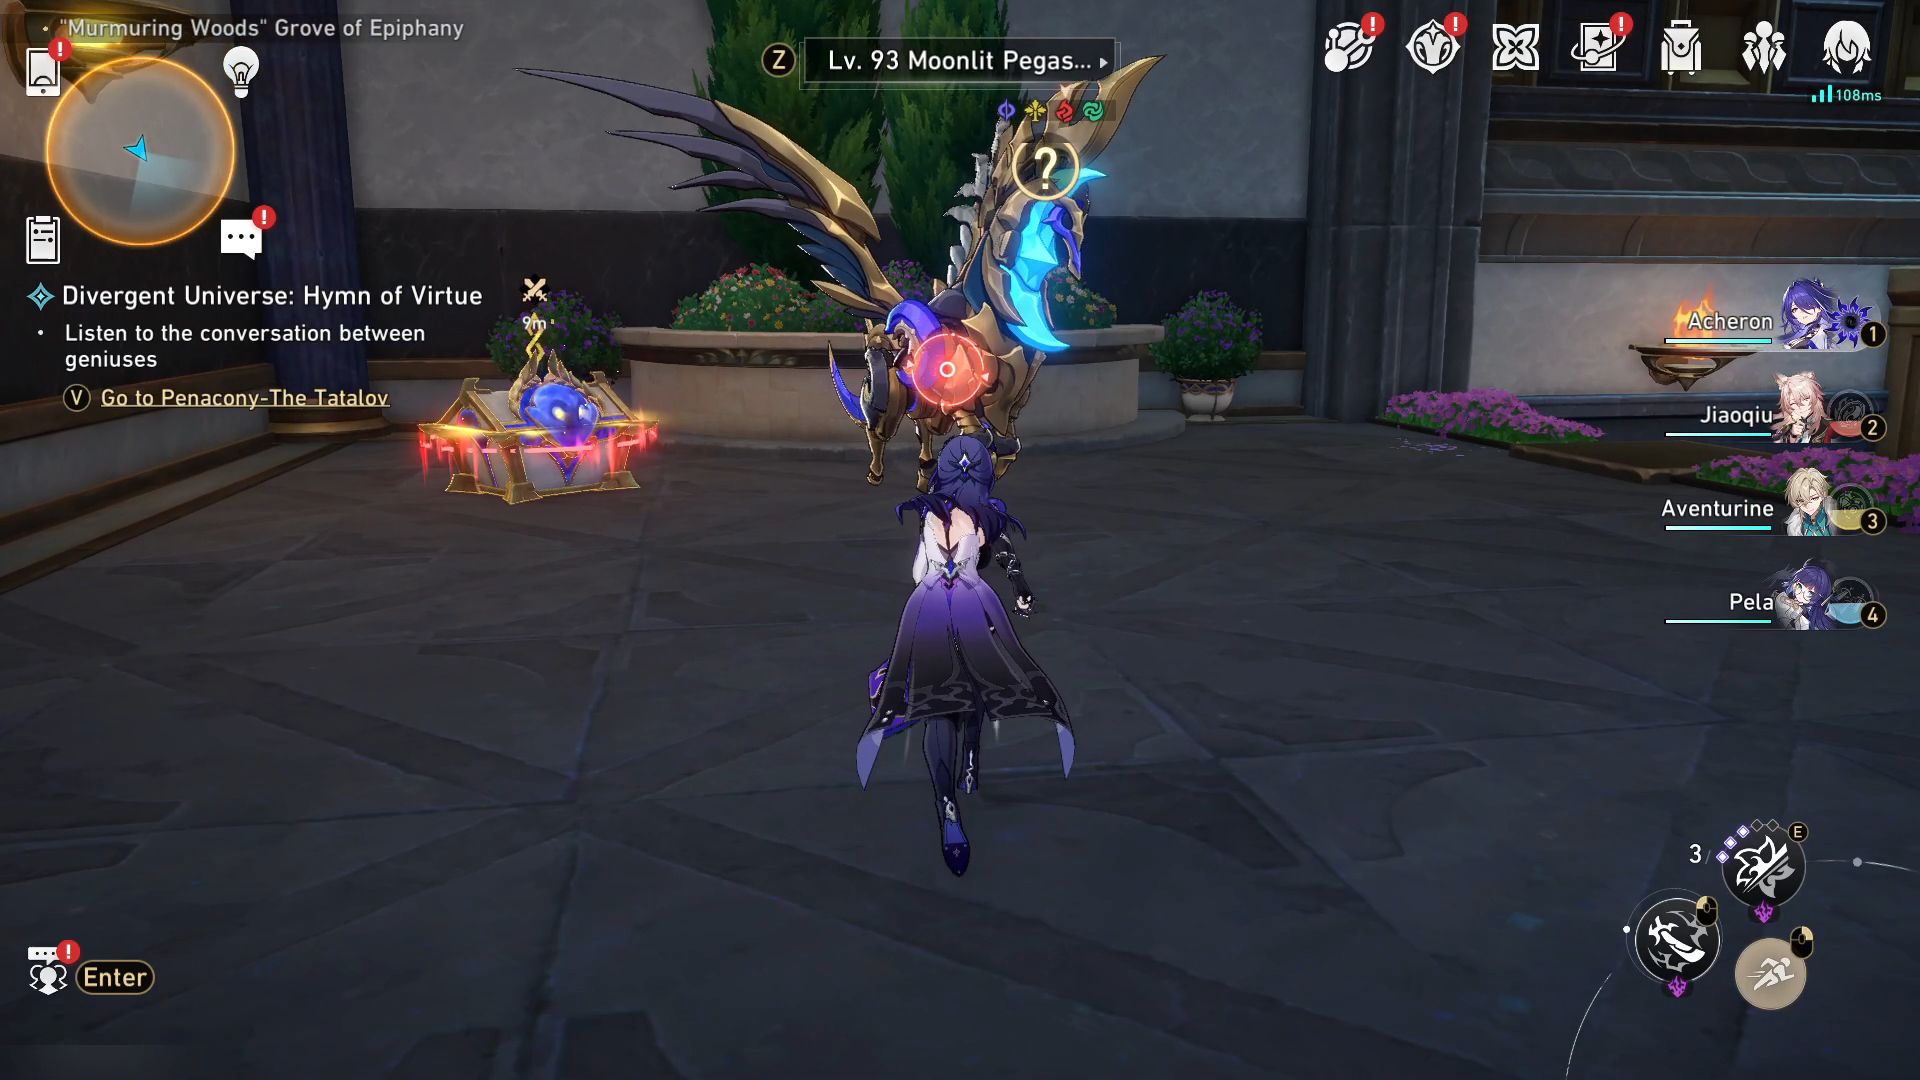
The final treasure chest is hidden within the grove of Epiphany in the ‘Murmuring Woods’, guarded by Nymphs. Once you’ve gathered all 10 items and returned them to the Garmentmaker, he will provide a clue about the last treasure chest through a scroll. This clue will instruct you on which statues to either repair or destroy. After receiving the clue, the map will indicate Sage’s Statue that needs your interaction. Proceed to all the marked statues and follow the instructions given (either break them if told to do so, or fix them if told otherwise). This should lead you to the location of the last treasure chest.
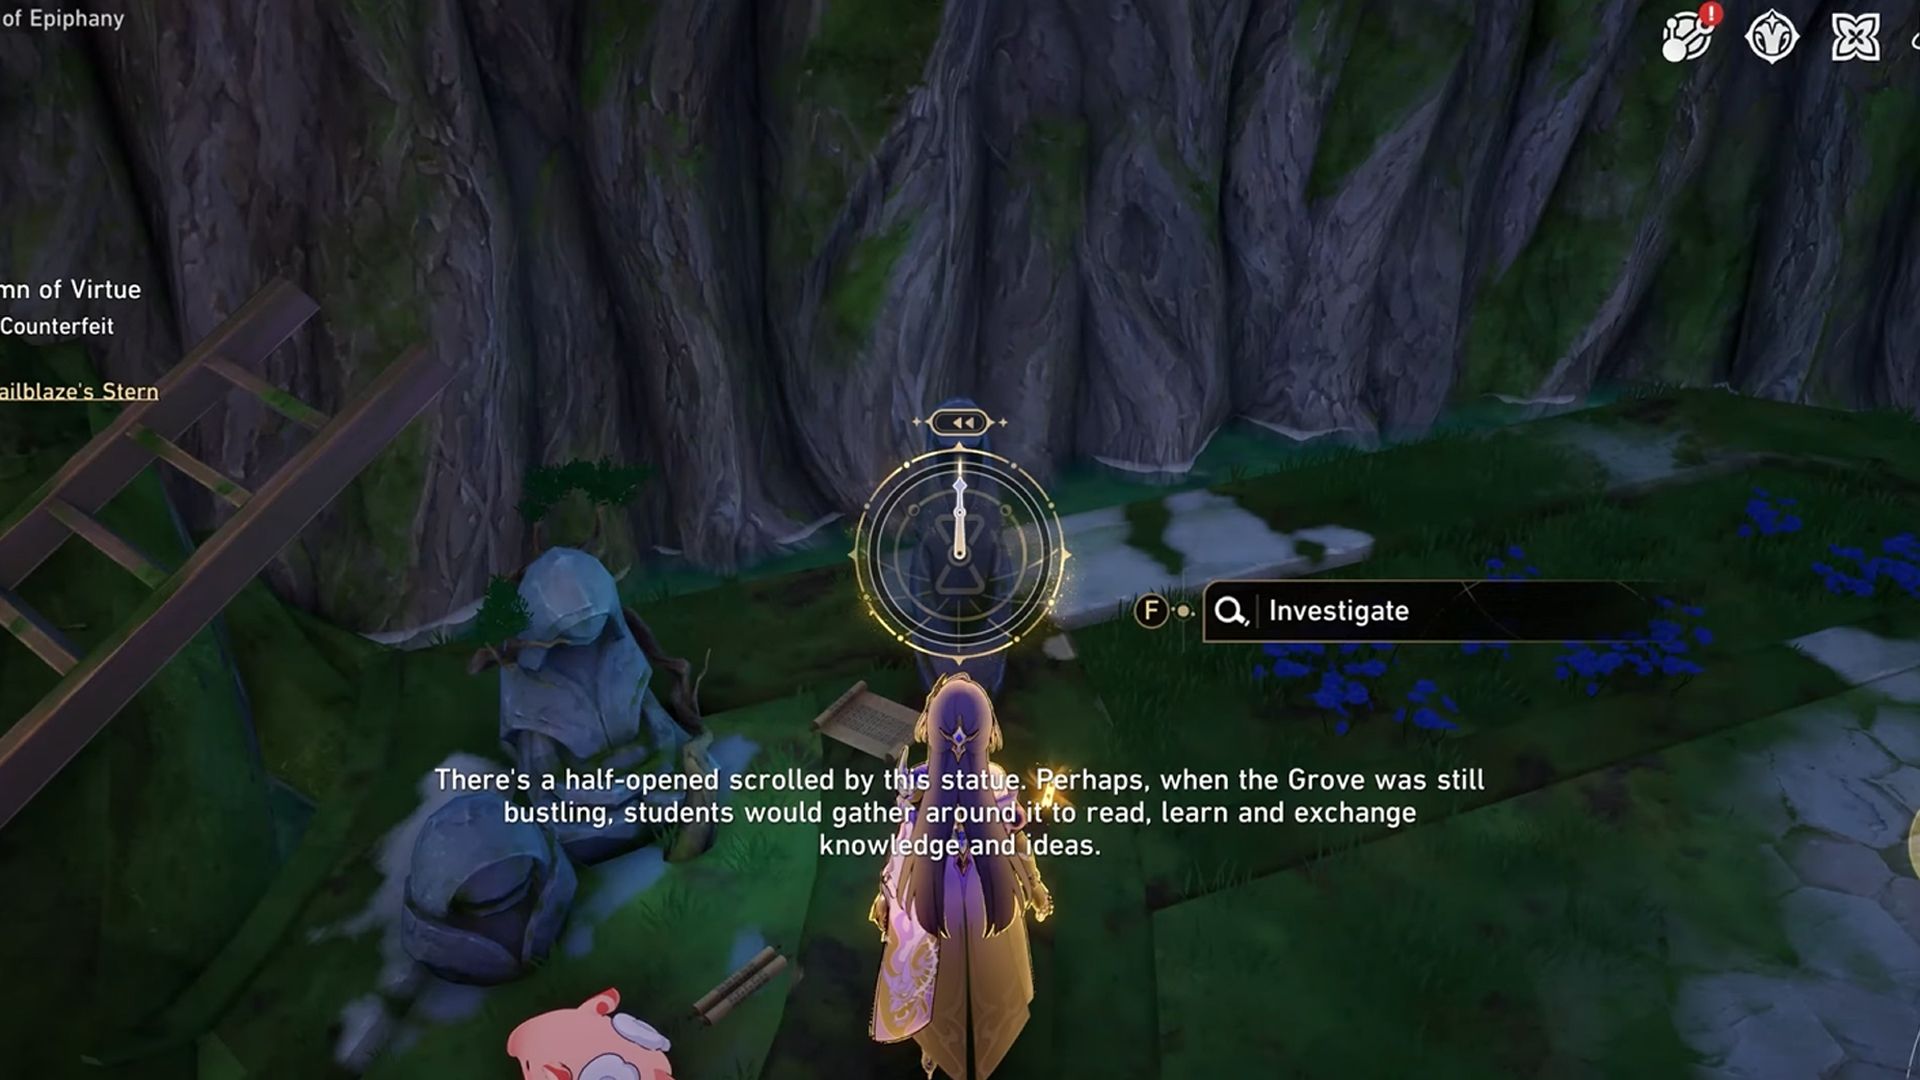
As a devoted fan, I’d suggest this: “If my character remains silent during the scene with the statue, I’ll go back in time to where the dialogue should have been spoken. But if my character speaks while the statue is shattered, I’ll let it stay as it is.
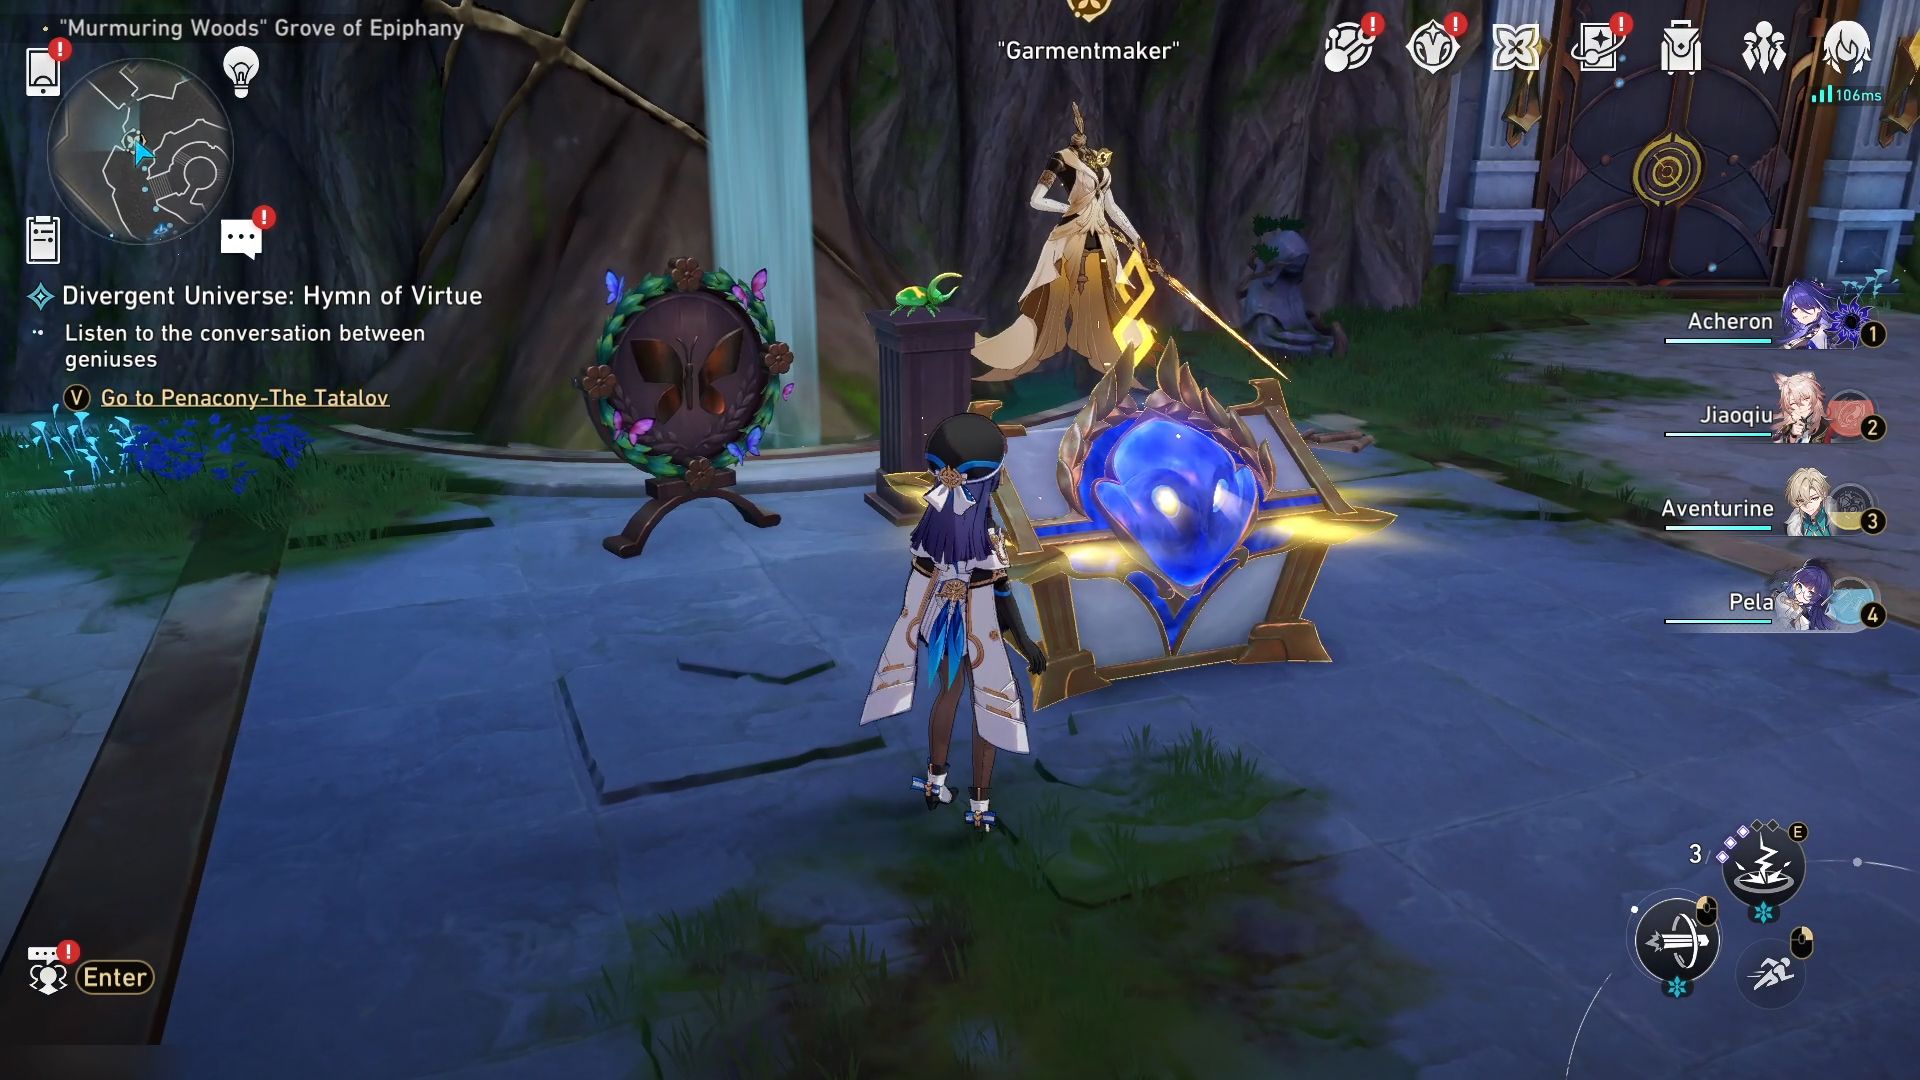
After exploring all the designated statues, return to Garmentmaker, whereupon a treasure chest will materialize next to it. This event will also unlock the achievement titled ‘Whispers from the Past: Weaving Knowledge.’
Read More
- Who Is Harley Wallace? The Heartbreaking Truth Behind Bring Her Back’s Dedication
- 50 Ankle Break & Score Sound ID Codes for Basketball Zero
- 50 Goal Sound ID Codes for Blue Lock Rivals
- KPop Demon Hunters: Real Ages Revealed?!
- Lottery apologizes after thousands mistakenly told they won millions
- 100 Most-Watched TV Series of 2024-25 Across Streaming, Broadcast and Cable: ‘Squid Game’ Leads This Season’s Rankers
- Umamusume: Pretty Derby Support Card Tier List [Release]
- Ultimate AI Limit Beginner’s Guide [Best Stats, Gear, Weapons & More]
- J.K. Rowling isn’t as involved in the Harry Potter series from HBO Max as fans might have expected. The author has clarified what she is doing
- Mirren Star Legends Tier List [Global Release] (May 2025)
2025-03-02 11:34