
Windrose features a wide variety of strong weapons and armor, including swords, muskets, and even magical halberds that inflict disease! But the most powerful weapon is difficult to find and only appears near the game’s finale.
The Rapier of Devastation is a powerful weapon, and it lives up to its name. In the fast-paced game Windrose, you’re constantly dodging, running, and blocking enemies. Staying quick and agile is key, and that’s where the Rapier shines. Heavy weapons like Greatswords and Halberds can slow you down, making them less ideal for this type of combat.
This rapier lets you deal fast damage without quickly exhausting your stamina, giving you time to dodge and recover. Plus, it has an incredibly powerful special attack. Let’s find out where to get it and how to use it effectively.
Where to Find the Rapier
On the Hunt

You’ll find this weapon in the third part of the Windrose questline. To get there, you first need to defeat the second main boss, who is found in the Foothills.
Next, you’ll head to the Cursed Swamps, a truly unsettling place filled with bizarre, diseased creatures and the tormented spirits of the lost. It’s not a pleasant destination, to say the least!
The biggest challenge is locating the Rapier. Each player receives a unique map from Windroses, meaning the islands appear in different places for everyone. However, the islands themselves are always the same – just their positions change.
The items you find in chests and on defeated enemies aren’t fixed – they change each time. The rapier, and other weapons related to the plague found in the Swamps, can appear randomly in any chest or on any enemy you can loot at locations throughout the game.
Finding this item can be really quick – you might get lucky and find it in the very first chest. Or, like what happened to me, it could take a while, appearing near the very end of the third island. But don’t worry, you’ll eventually find it as long as you search every container in every location.
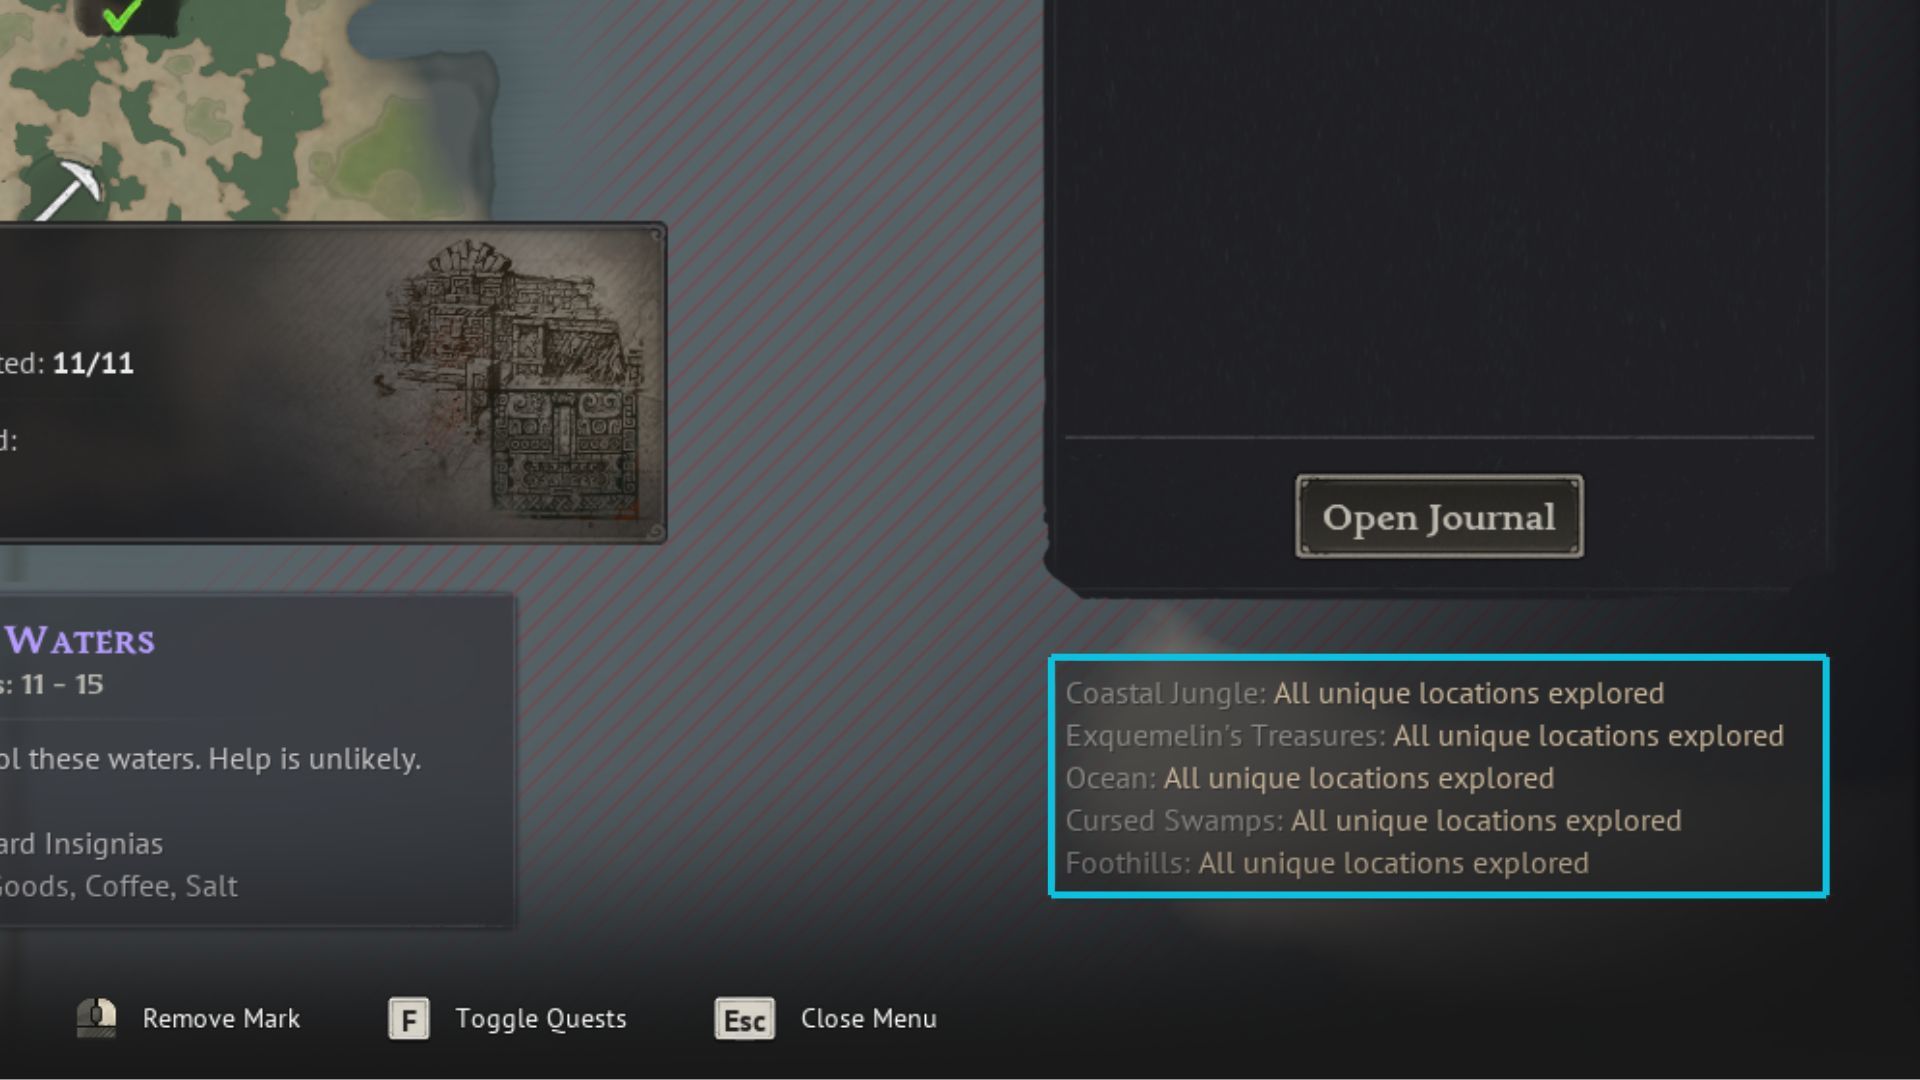
You can check if you’ve completed all spots by looking at the bottom right of the map page.
Targeted Searching
Just because finding the rapier will be challenging doesn’t mean you shouldn’t try to get it quickly. Trust me, you’ll really want this weapon as soon as you reach the Swamps – it will make dealing with all the enemies there much easier.
The swamps have several areas where you can find valuable items, as you can see in the pictures. Here are a few good places to check out first:
- Ruin with a Flowerbed – 8 Chests
- Crypt – 11 Chests
- Tainted Ruins of an Ancient Temple – 6 Chests
These areas are packed with valuable items, but they’re also heavily guarded by enemies protecting the treasure.
If the main ruins are too difficult, you can explore the smaller ones around the islands. They’re less guarded, so you might have better luck. A good strategy is to pull enemies away from the ruins before quickly running in to collect your treasure. You can try fighting them directly, but be aware that many will be around level 15, making it challenging.
Combat Capabilities

You’ve got your hands on a Rapier – and it’s a great weapon! Beyond its standard damage and how it improves with your level, what really makes it special are its extra effects.
Each time you hit an enemy with the Rapier, you’ll inflict one Plague Mark. After applying eight Plague Marks, you can use a Heavy Attack to detonate all of them, dealing significant extra damage.
Okay, so this weapon gets really good if you upgrade it to epic. Seriously, if you manage to detonate five or more marks all at once, you’ll instantly heal back 40% of your total health! That’s huge. It means this weapon isn’t just about dealing a ton of damage quickly, but it also helps you stay alive while you’re building up those marks. It’s a lifesaver!
This is incredibly useful whether you’re caught unprepared without supplies in the wilderness, or you need to stay alive during lengthy boss battles, such as the one concluding Act 3.
To get the most out of this weapon, focus on increasing your precision stat. Also, equip the Spear-throwers Ring and the Necklace of Precision. Don’t be afraid to try different builds – you can freely reset your stats and talents to experiment!
Upgrading the Rapier
You can get the Rapier at level 10, and it’s pretty good even then. With the right materials, you can upgrade it all the way to level 15.
Subscribe to the newsletter for more Windrose weapon guides
To upgrade the Rapier, you’ll need the following items:
- Mire Metal Ingot
- Crocodile Hide Piece
- Ingot Arborum
- Smithing Flux
As a crafting enthusiast, I’ve figured out how to make Metal Ingots! You need to smelt them using Ancient Scraps – I’ve been collecting those from the swamps – and Quagmire Powder, which thankfully drops from pretty much any enemy you fight.
The Smithing Flux can be found on , and costs 10 Piastre from the Smugglers found there.
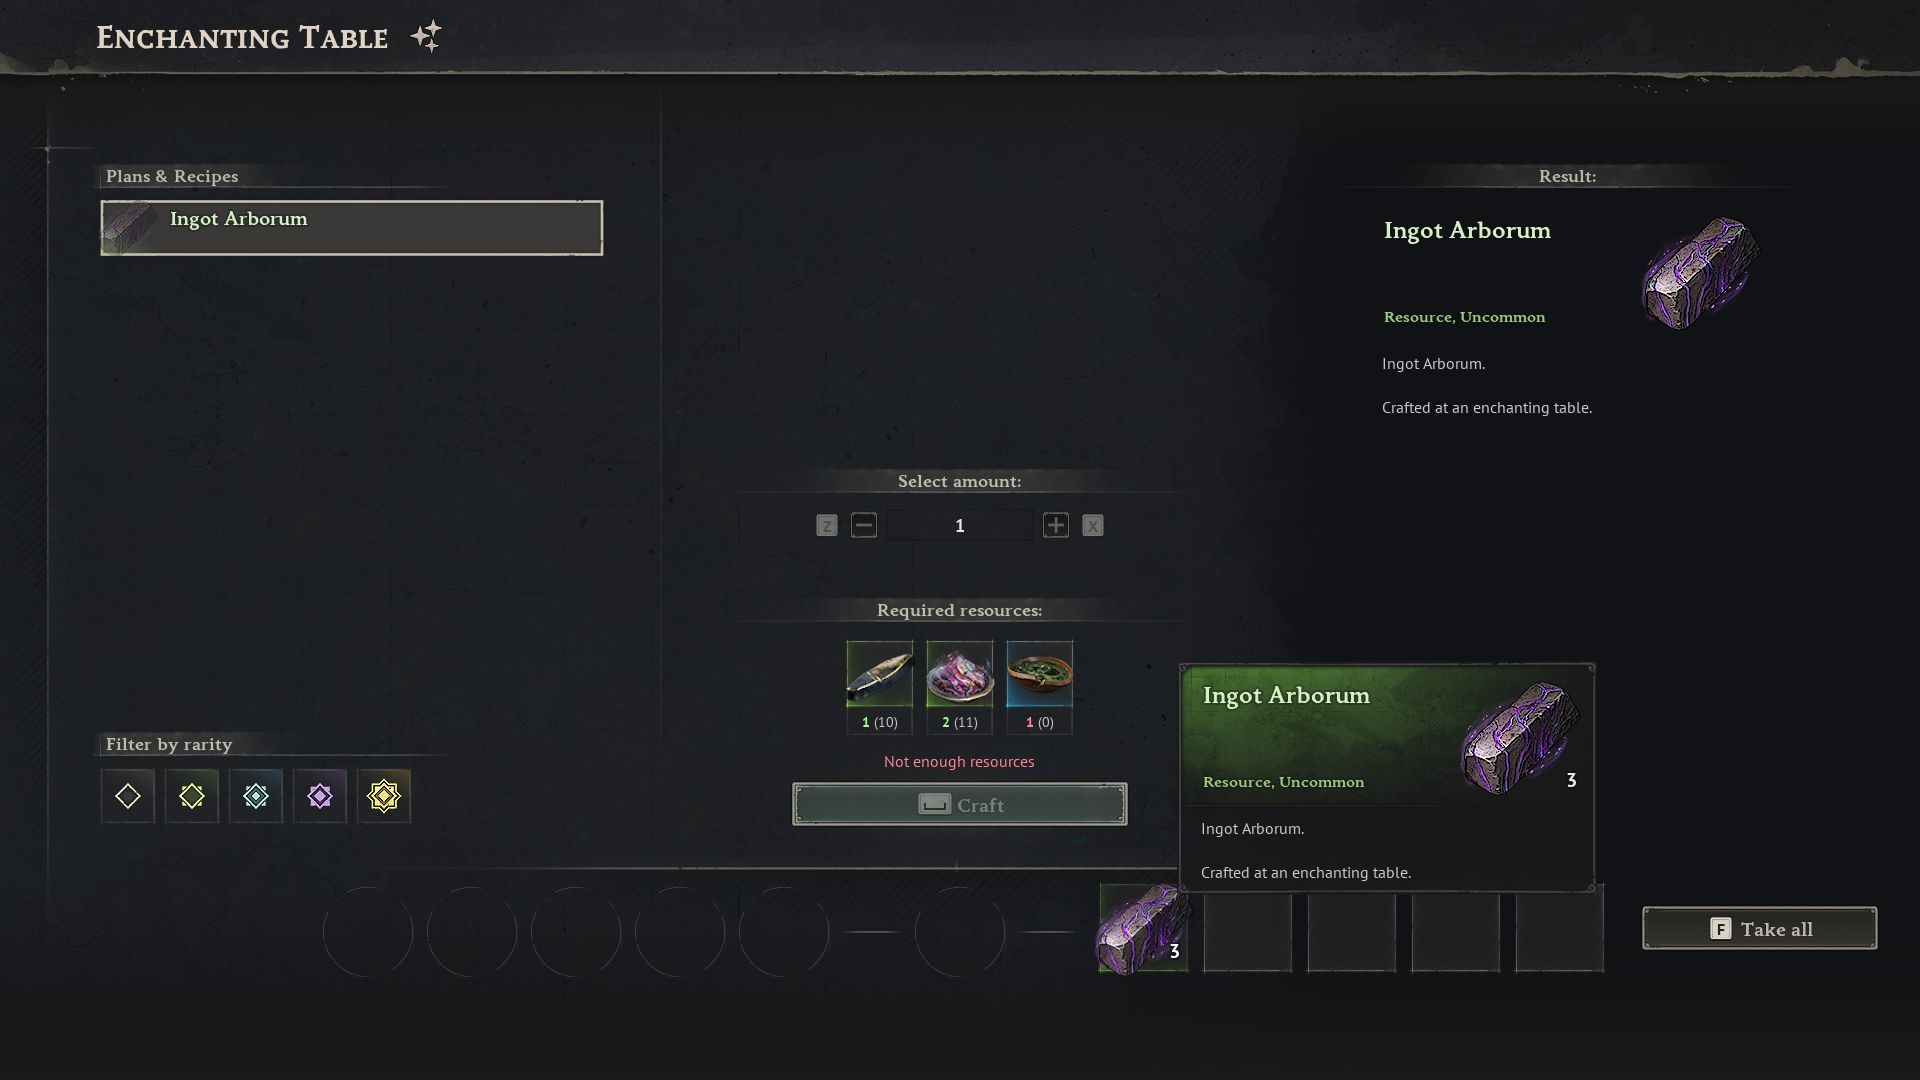
You can create the Ingot Arborum using an Enchanting Table. You’ll need Mire Metal ingots, Essence Arborum, and Tainted Bile. Essence Arborum is made by smelting plague logs, and Tainted Bile is dropped by Plague Crocodiles. When you defeat these Crocodiles, you’ll also get Crocodile Hide Pieces, so it’s a great way to get everything you need!
Okay, so listen up! As I’ve been upgrading my Rapier, I’ve noticed it takes way more materials each time. Seriously, when I’m heading out into the swamp, I’m making a point of grabbing everything I can carry. You don’t want to be caught short when you’re trying to level up that weapon!
Read More
- Gold Rate Forecast
- What is Omoggle? The AI face-rating platform taking over Twitch
- Elden Ring Is Back With A New Free Game, Thanks To The Fans
- Audible opens first ‘bookless bookstore’ in New York
- 10 Adorable Quotes from Diana in Pragmata
- Wartales Curse of Rigel DLC Guide – Best Tips, POIs & More
- INJ/USD
- Below Deck Down Under Recap: Battle of the Egos
- 10 Classic 2000s Anime That Aren’t As Good As You Remember
- Alix Earle vs Alex Cooper Makes It to 30 Rock
2026-05-05 19:10