The Legend of the Stone Demon DLC for Borderlands 4 features four bosses to find. Three of them, such as Chisabella, are optional encounters, while one is required to progress.
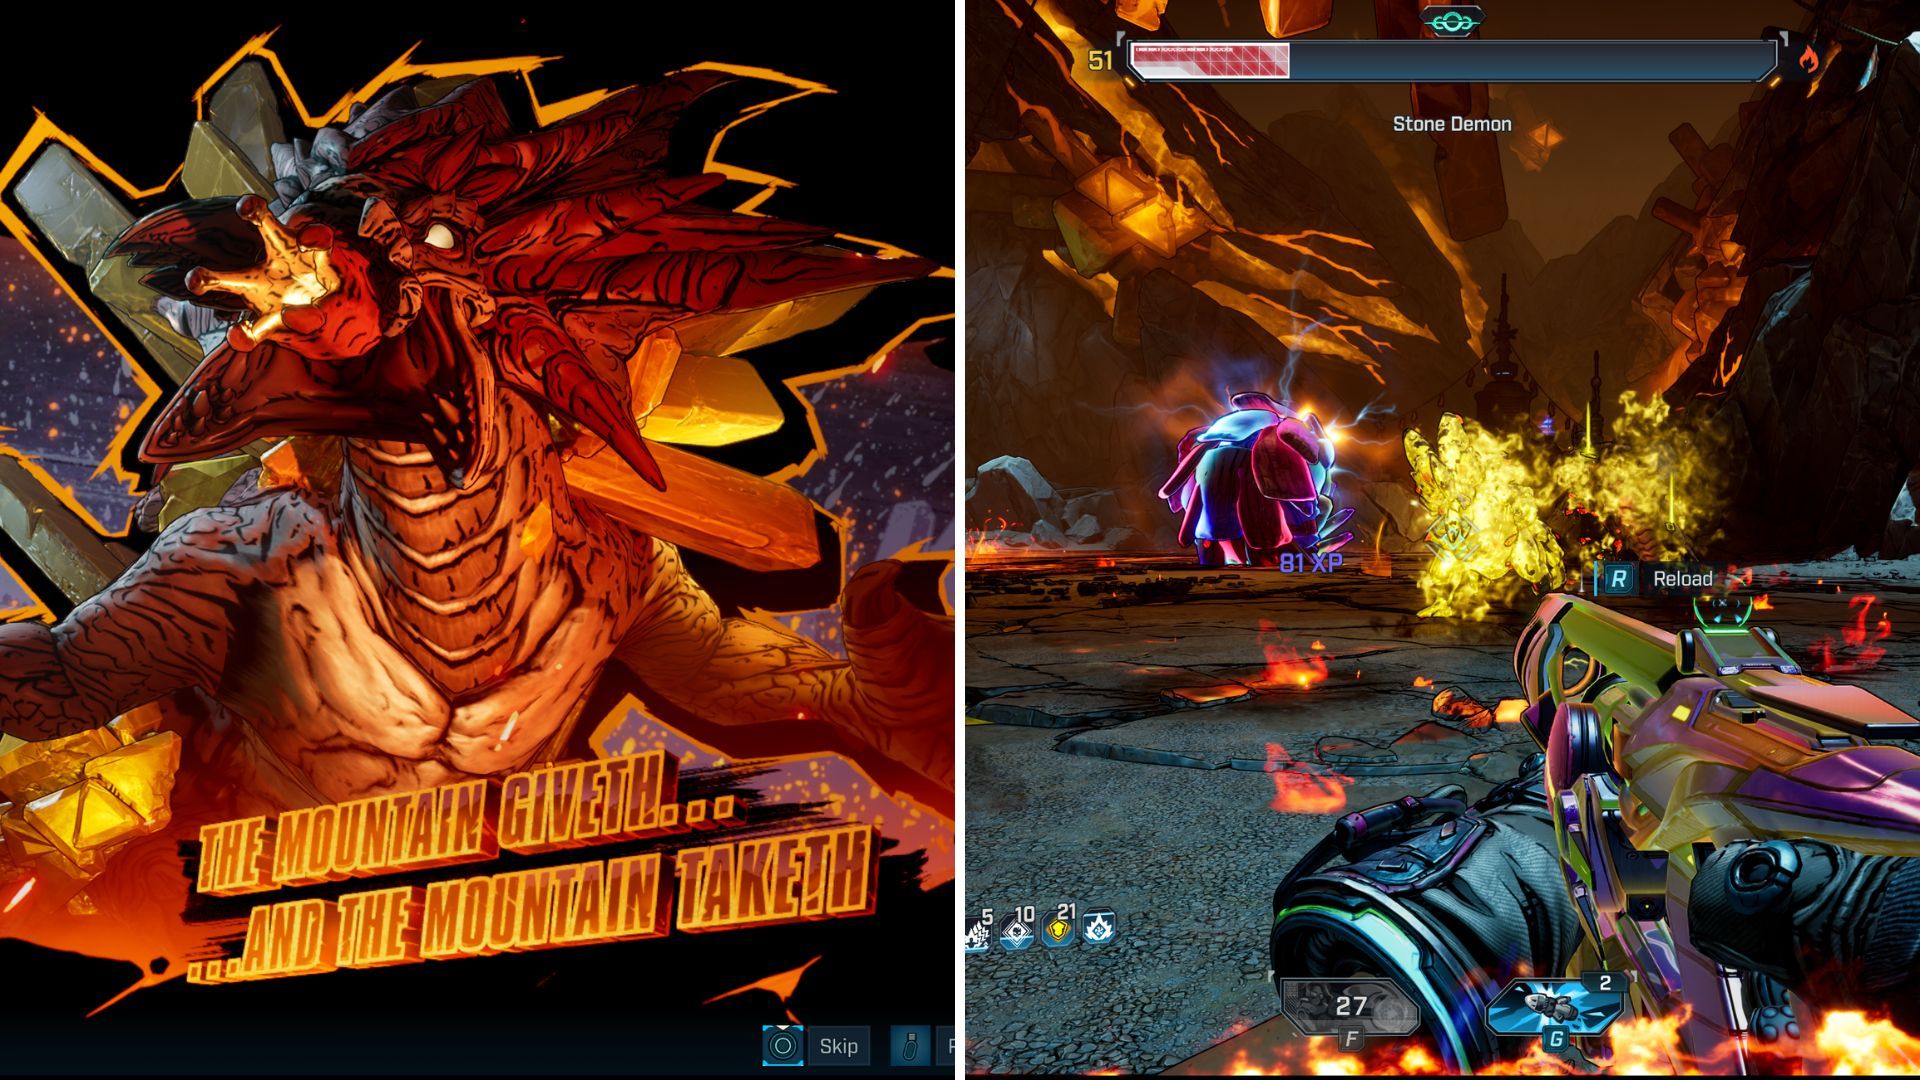
The main boss in the downloadable content is called The Stone Demon, and you’ll find it at the very end of The Demon’s Domain. It takes some time to get there, but the challenging fight and valuable rewards make it worthwhile.
Let’s break down everything you need to know about The Stone Demon in Borderlands 4.
The Stone Demon Location
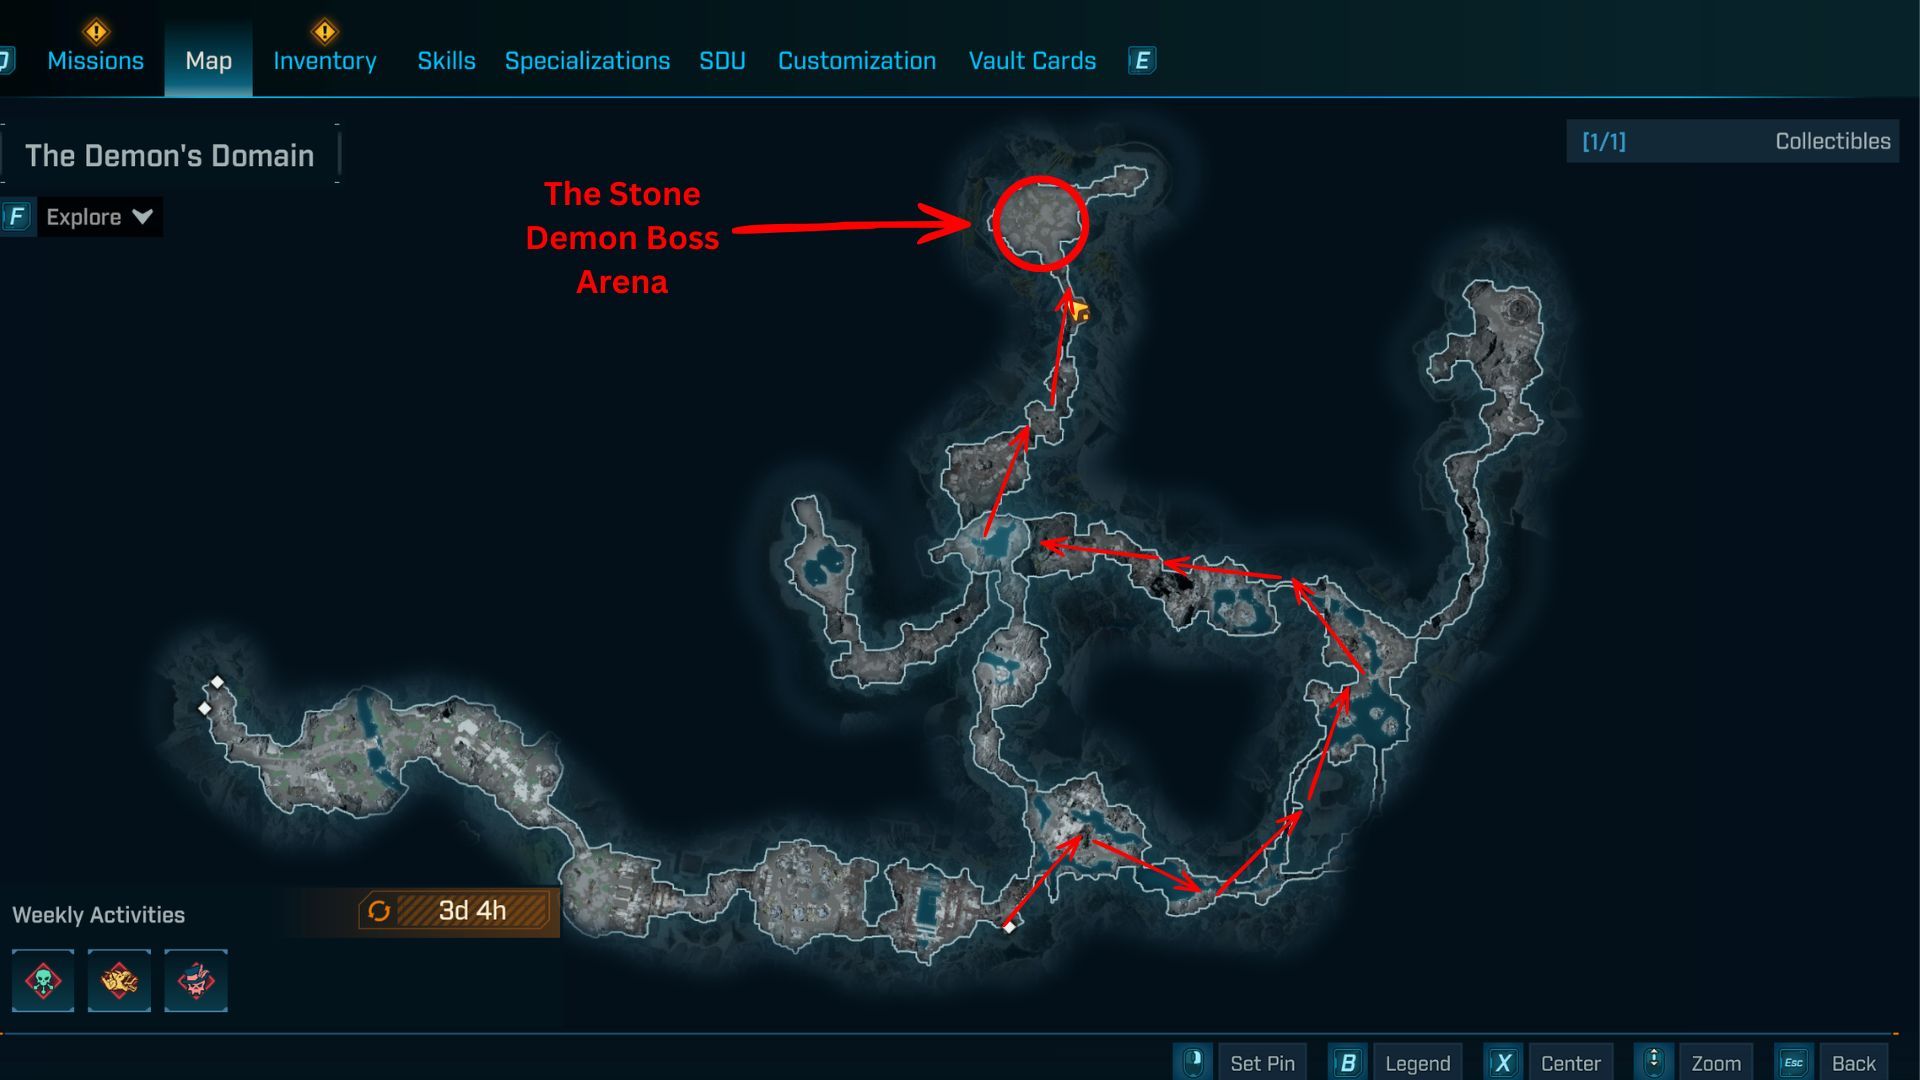
You’ll find the Stone Demon at the very end of The Demon’s Domain. This map is the only one included with the downloadable content, and you’ll spend all of your time here while playing through it.
Begin at the Demonhold fast travel point and head north into the big chamber. Drop down to the bottom, then go east. This will take you along one of two paths heading north to another large chamber.
Continue descending into the cave, but follow the path heading west. The eastern path will take you to Bore-Tex.
If you continue along the western path, you’ll eventually come to a fork in the road heading north and south. The southern path leads to the Sturm & Drang boss, so you should go north instead.
Okay, so all I have to do is head north, and it’ll take me right to The Stone Demon! Awesome, finally gonna get a shot at him!
The Stone Demon Loot
The Stone Demon offers the best chance to get unique items compared to other bosses in the downloadable content, with four specific items it can drop. Here’s a list of what it can drop:
| Item Name | Type | Ability |
|---|---|---|
| Broken Wings | SMG | Fledgling — Shots fired from this gun shoot in a horizontal pattern and slow down as the trigger is held. |
| Fleabag | Assault Rifle | Ringleader – Sticky projectiles track to the most recently hit target. |
| Hopscotch | Shield | Shook — Whenever an armor segment breaks, the shield spawns a singularity. |
| Handcannon | Pistol | Elemental Override – Damage is converted to elemental damage depending on the enemy’s health bar type. |
Notably, three of these items are incredibly rare legendary treasures, and one is pearlescent. The pearlescent item is the Handcannon pistol. This weapon is particularly versatile because it can change its damage type to best suit the enemy it’s facing, depending on their health bar.
The Broken Wings is a pretty good SMG that fires its bullets side to side. This firing style is much like the T.K.’s Wave shotgun, which also shoots in a horizontal spread.
The next weapon is Fleabag, a Torgue assault rifle that fires grenades that stick to targets. What makes it special is that these grenades will automatically move to whatever enemy you most recently hit, letting you keep the damage going on a single foe.
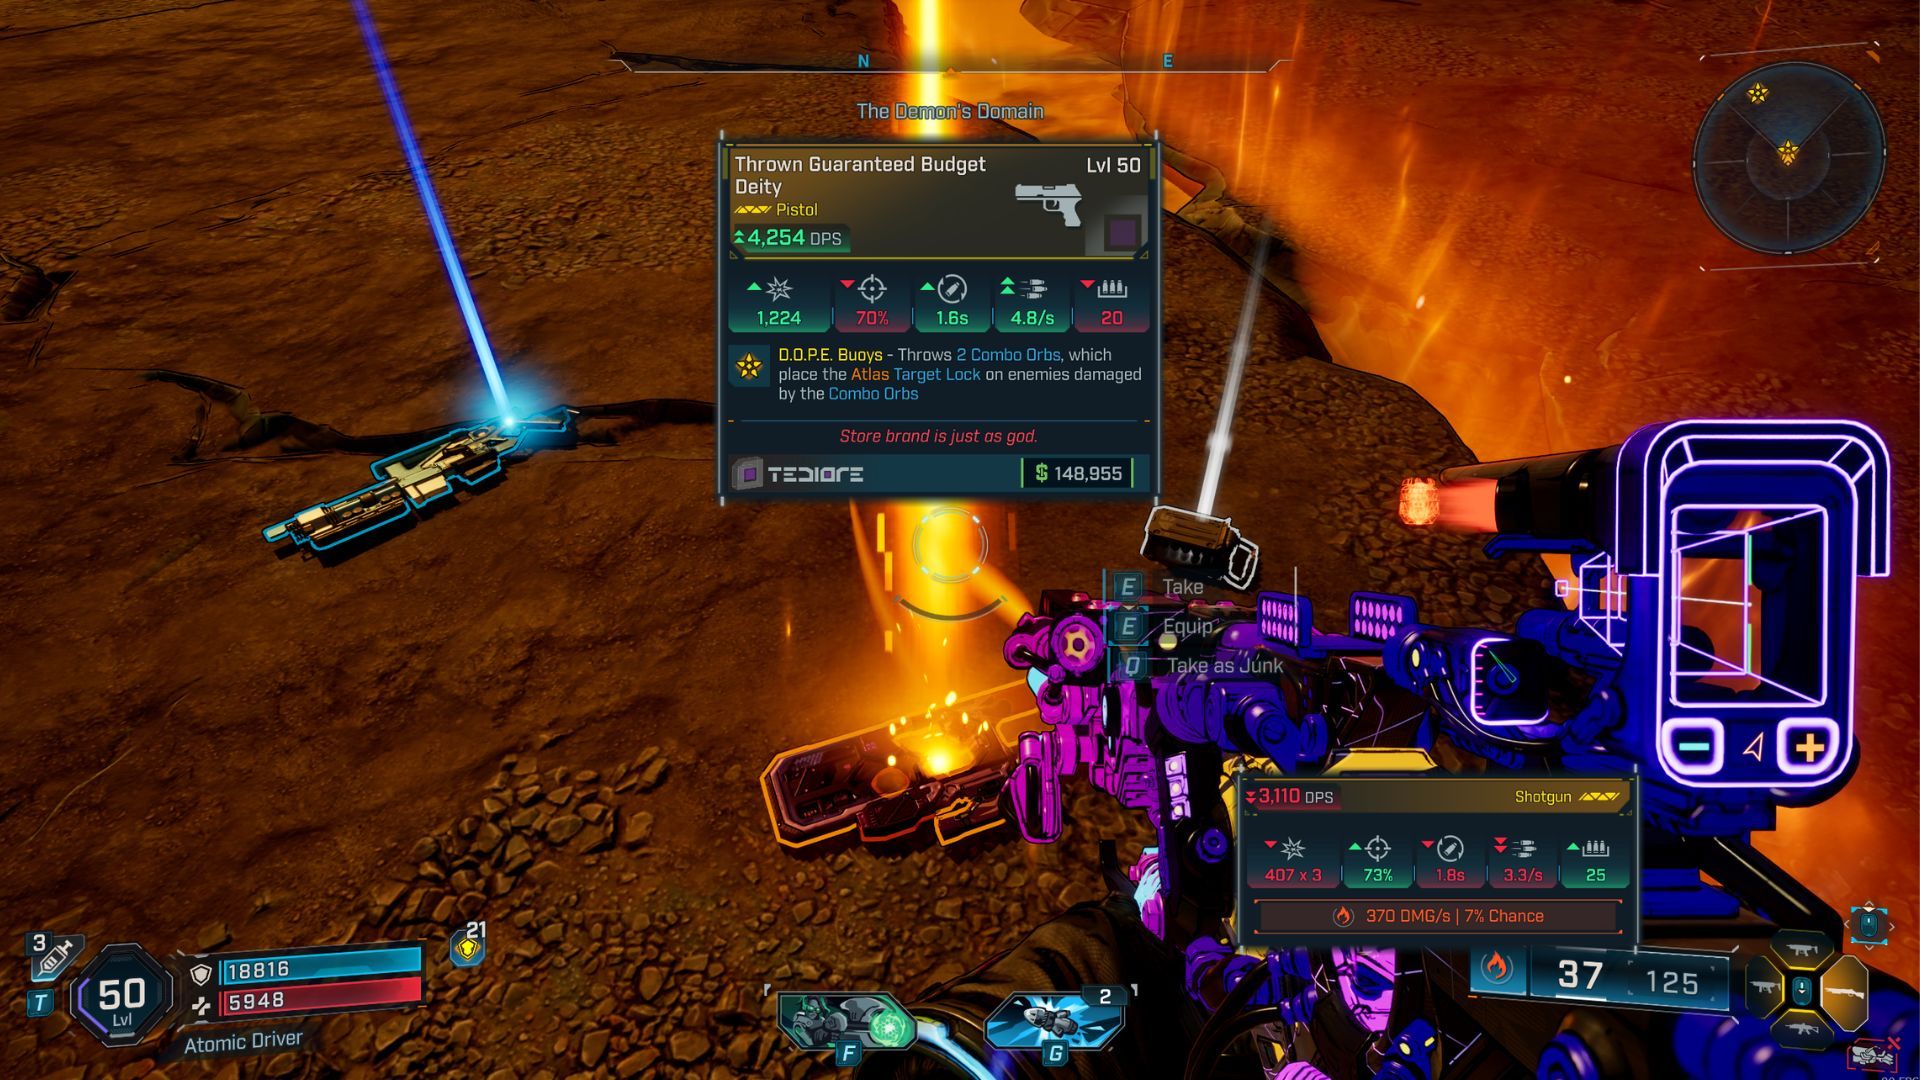
Hopscotch is a unique shield with a powerful ability: when any part of it is destroyed, it creates a singularity. Also, keep in mind that the Stone Demon can drop other rare items, including the Deity.
Tips for Fighting The Stone Demon
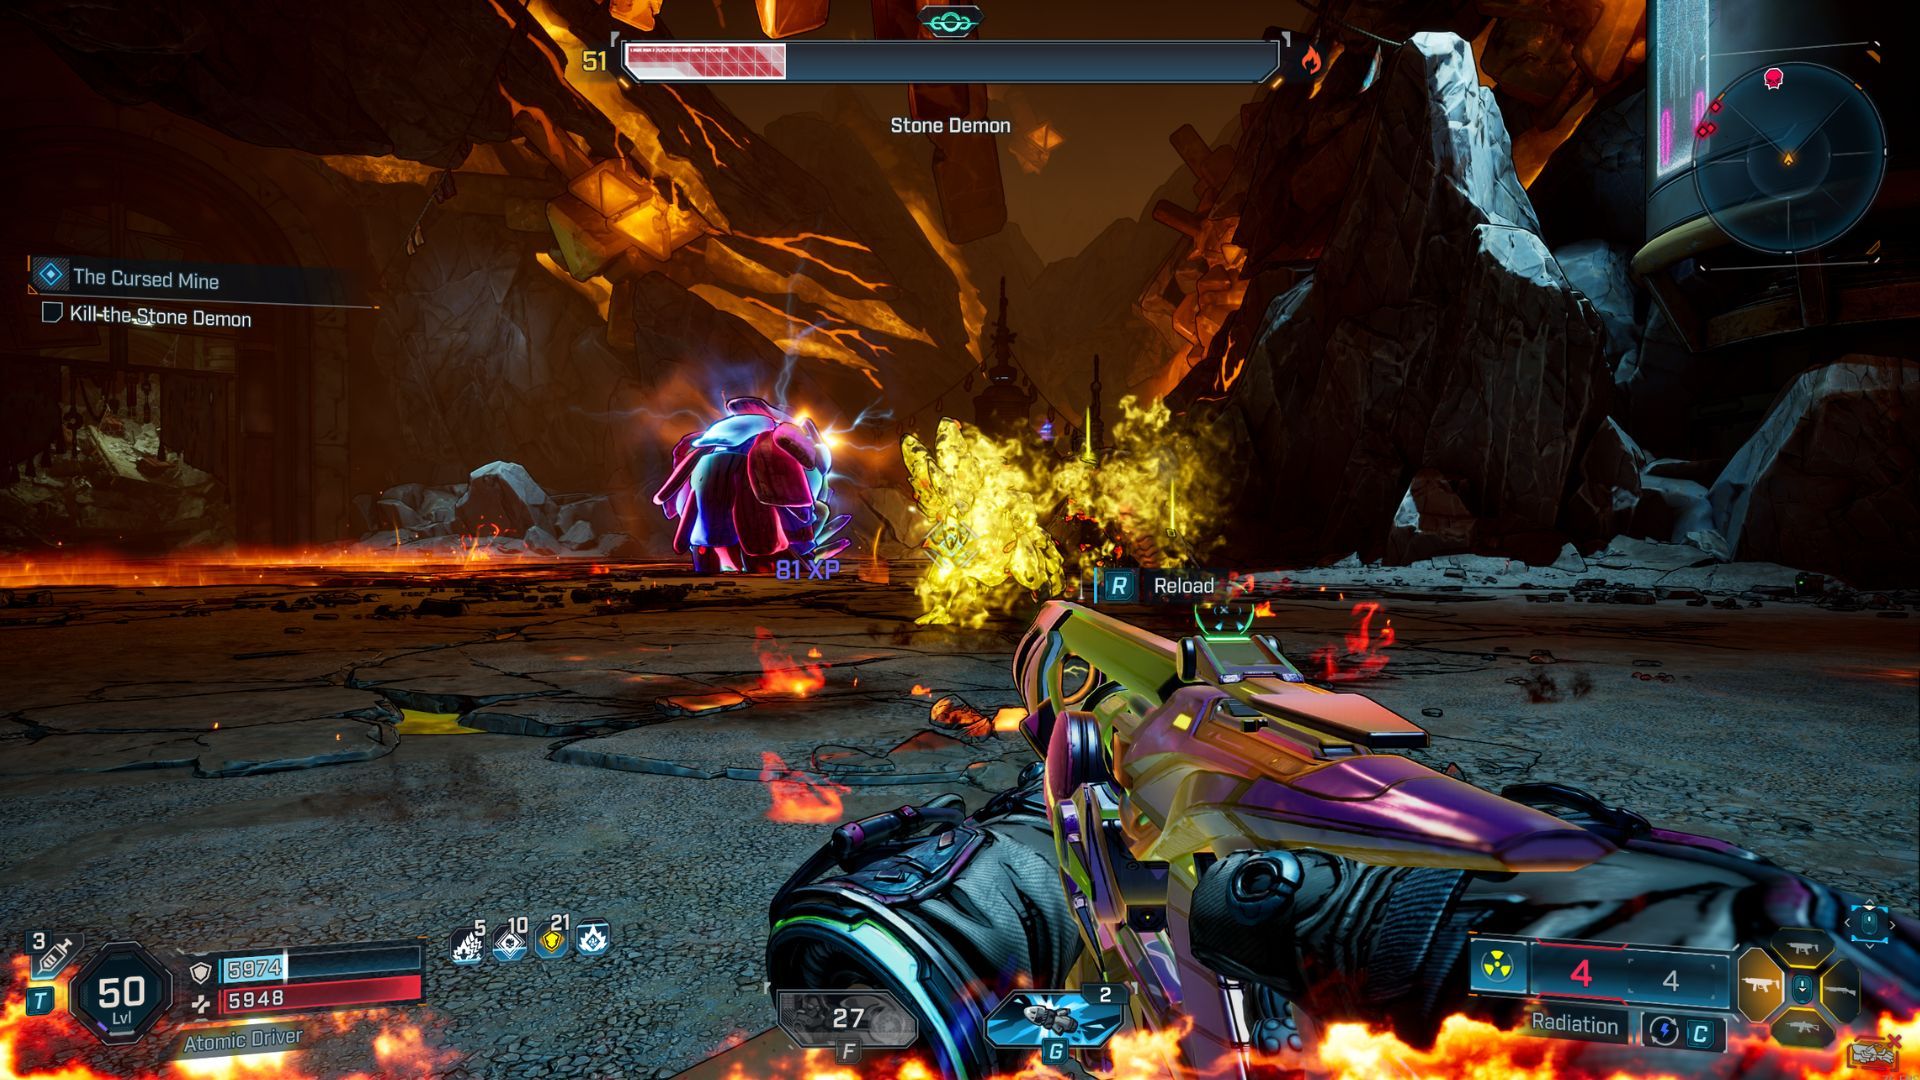
Okay, so the Stone Demon boss is actually really cool! It’s this giant pangolin, and it moves all over the place, which at first seems tricky. But honestly, because it’s so huge, it’s surprisingly easy to land hits on. I was expecting a much harder fight, but it was a lot of fun!
The boss uses several area-of-effect attacks that can be tricky to avoid. One of these is a ground slam that creates waves of dirt and rock spreading outwards. To prevent damage, you’ll need to jump over these waves.
Subscribe to our newsletter for Stone Demon loot & fight tips
Be careful when the boss starts throwing lava rocks! This attack sends rocks flying in every direction, but you can easily dodge them with a well-timed roll.
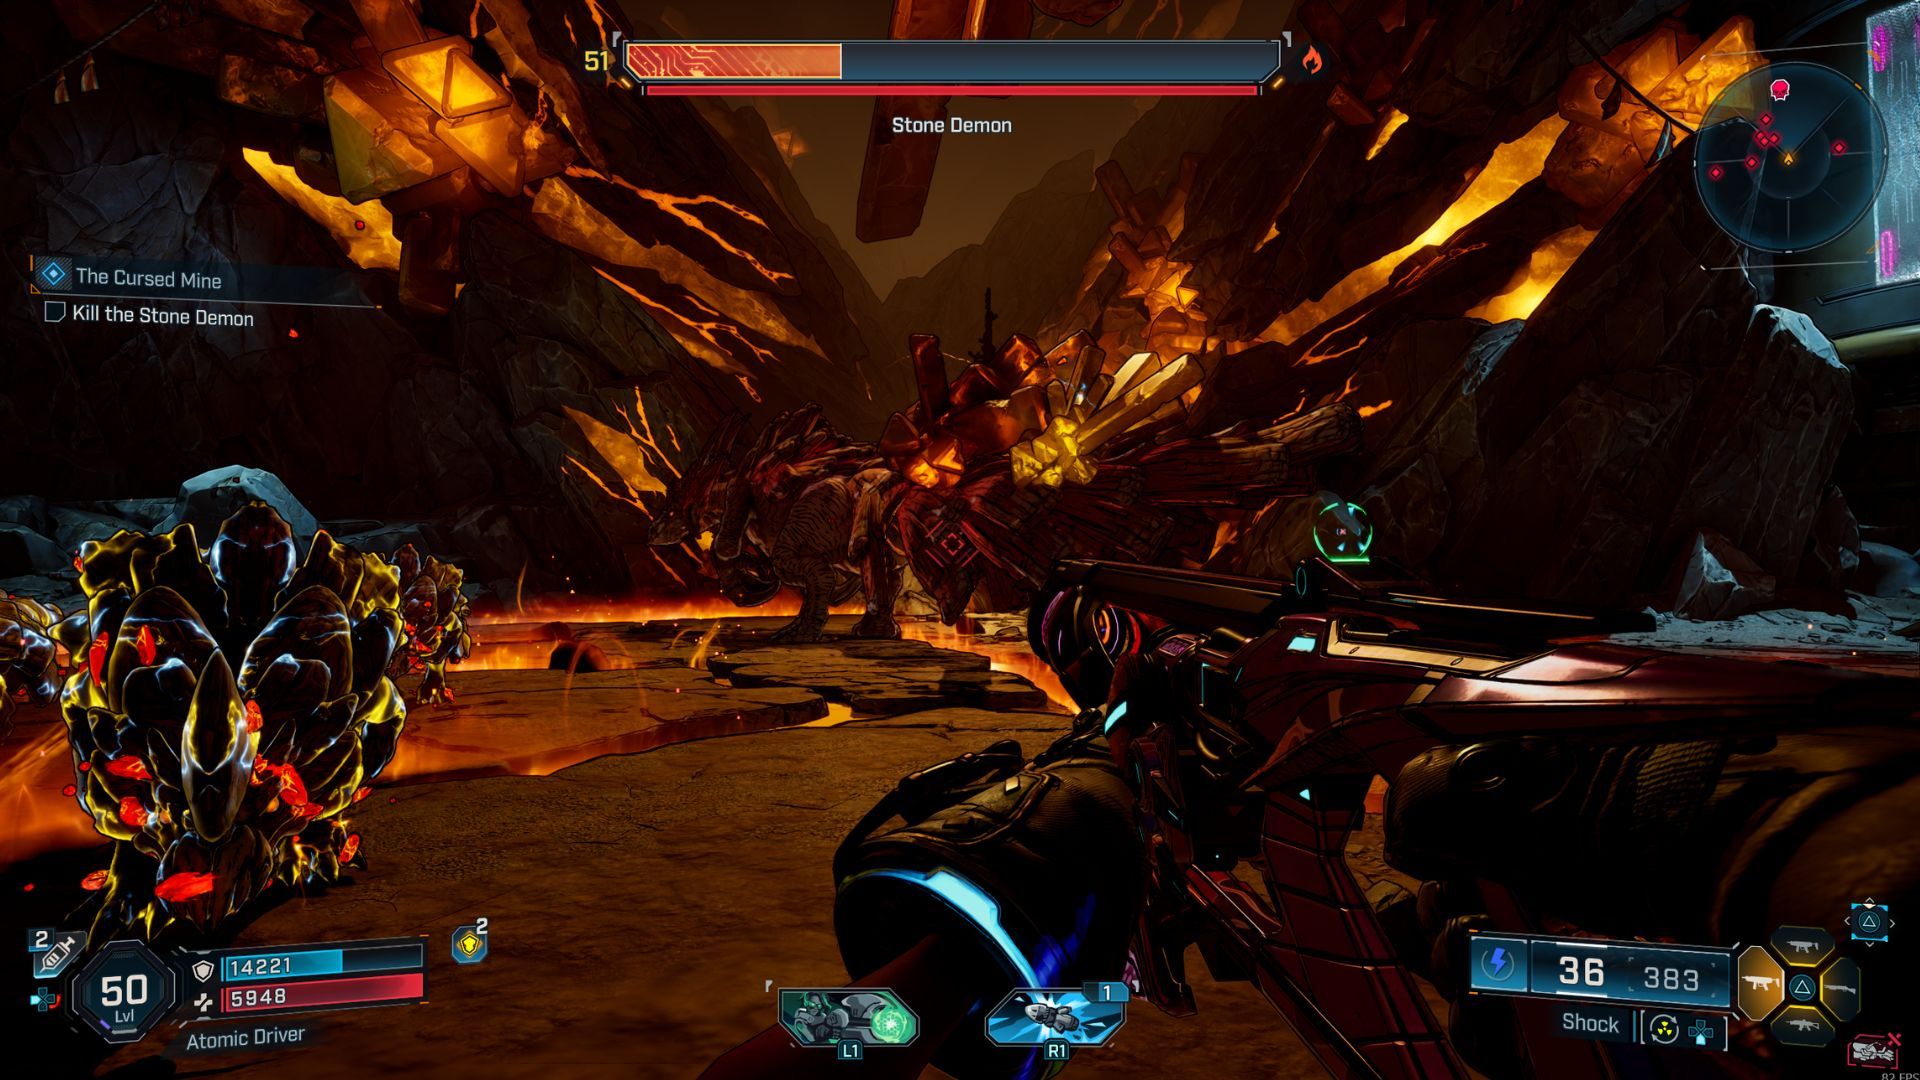
To defeat the boss, you’ll need to break the crystals on its back, which will open it up to attack. This is the same strategy used for all the bosses in this downloadable content.
After you’ve broken all the crystals, you’re free to attack the boss. Because the boss’s health bar is red, I suggest using a weapon that deals fire damage.
When the boss is down to about one-third of its health, it will shield itself by curling into a ball, making it temporarily unable to be damaged. While it’s doing this, smaller enemies called Rippers will try to heal the boss. To stop them, you need to destroy the Rippers before they can reach the boss.
Once you’ve completed this step, you can defeat the boss with a fire-based weapon or whatever weapon you prefer. Keep in mind that the boss only becomes invincible once during this encounter; in future attempts, it won’t happen. However, enemies called Rippers will still try to heal the boss.
Read More
- United Airlines can now kick passengers off flights and ban them for not using headphones
- Solo Leveling’s New Manhwa Chapter Revives a Forgotten LGBTQ Story After 2 Years
- The Boys Season 5 Spoilers: Every Major Character Death If the Show Follows the Comics
- Grok’s ‘Ask’ feature no longer free as X moves it behind paywall
- How to Get to the Undercoast in Esoteric Ebb
- Invincible Season 4 Episode 6 Release Date, Time, Where to Watch
- ‘Timur’ Trailer Sees Martial Arts Action Collide With a Real-Life War Rescue
- TikToker’s viral search for soulmate “Mike” takes brutal turn after his wife responds
- Nintendo Officially Rewrites Princess Peach After 41 Years
- Mewgenics vinyl limited editions now available to pre-order
2026-03-02 15:40