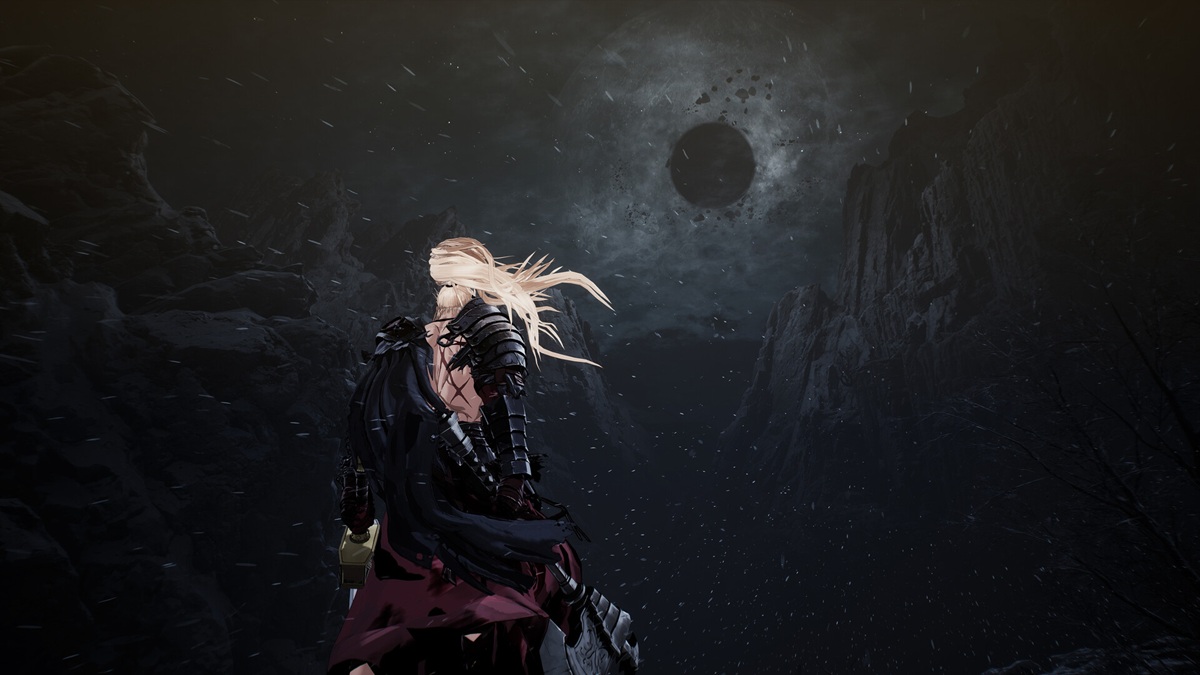
In a straightforward and engaging manner, “The First Berserker: Khazan” adheres closely to the traditional Soulslike structure, placing thrilling boss encounters at the forefront. Here is the sequence of all the bosses found in “The First Berserker: Khazan”, arranged in the order you’ll face them.
Table of contents
- All Main Mission Bosses in The First Berserker: Khazan
- Mission 1 Boss – Yetuga
- Mission 2 Boss – Blade Phantom
- Mission 3 Boss – Viper (Phase 1)
- Mission 3 Boss – Viper (Phase 2)
- Mission 4 Boss – Volbaino
- Mission 5 Boss – Aratra
- Mission 6 Boss – Rangkus
- Mission 7 Boss – Maluca
- Mission 8 Boss – Elamein
- Mission 9 Boss – Shactuka
- Mission 10 Boss – Trokka
- Mission 11 Boss – Bellerian
- Mission 12 Boss – Skalpel
- Mission 13 Boss – Princess Ilyna
- Mission 14 Boss – Hismar
- Mission 15 Boss – Reese (Phase 1)
- Mission 15 Boss – Reese (Phase 2)
- Mission 16 Boss – Ozma (Phase 1)
- Mission 16 Boss – Ozma (Phase 2)
- Mission 16 Boss – Ozma (Phase 3)

All Main Mission Bosses in The First Berserker: Khazan
16 main mission bosses can be found in the game “The First Berserker: Khazan“. Some of these bosses have multiple stages, where each stage represents a distinct battle. Here’s a list of all main mission bosses in their encounter order, along with some strategies for defeating each one:
[List of bosses and strategies]
This way, you can tackle the bosses in “The First Berserker: Khazan” effectively, using the provided strategies.
Mission 1 Boss – Yetuga
In the chilly peaks of The First Berserker: Khazan, Yetuga, the boss of Mission 1, stands as one of the fiercest creatures. Known for his territorial nature, Yetuga exhibits an unwavering aggression towards any moving object. Brace yourself for instant confrontation as you approach! Given that Yetuga is a creature rooted in frost, it would be wise to pack items that provide resistance or counteract frost-based status effects.
Key Boss Strategy Tips for Yetuga
- Focus on first destroying Yetuga’s Ice Spikes as it will remove his ability to use Ice Spike Attacks, making the fight much easier.
- Be sure to avoid Yetuga’s grab attacks by dodging them, as they can quickly result in your demise.
- Try to stick near Yetuga’s rear as many of his attacks are frontal, making it easier to avoid taking damage while upkeeping sustained damage yourself.
- When possible, bait Yetuga into slamming into walls when he does his charge attacks, as it will result in a long-duration Stagger where you can get plenty of easy attacks on him.
Mission 2 Boss – Blade Phantom
In simpler terms, the Blade Phantom is a ghostly entity brought into our world by Charon’s orders, tasked with maintaining balance in the underworld. It consists of numerous spirits that grant it increased strength as it collects the souls of potent warriors. A well-timed Perfect Guard opens up a massive chance for a counterattack against the Blade Phantom.
Key Boss Strategy Tips for Blade Phantom
- Try to time a Perfect guard when the Blade Phantom does its final strike with the Netherworld Spear or Twin Swords attack and follow up with a flurry of counterattacks.
- Play defensively until the Blade Phantom drains its Stamina by attacking, and then attack the boss aggressively.
Mission 3 Boss – Viper (Phase 1)
In simpler terms, Viper is a powerful dragonkin that was made by Hismar. After the defeat of the dragons, he took over as their leader. He carries a piece of Hismar’s power which he can use to boost his strength when needed. Notably, during Phase 1, the Viper boss has an opportunity called Perfect Guard.
Key Boss Strategy Tips for Viper (Phase 1)
- You can break the Viper’s horns to expose a weak point that takes increased damage.
- Be careful of the Viper’s spear-throwing attack which deals massive damage.
- A successfully timed Perfect Guard during its five-attack Rapid Strike can send it into a Staggered state where you can counterattack with ease.
Mission 3 Boss – Viper (Phase 2)
During Phase 2, the Viper’s strength is amplified by the power of the Raging Dragon, resulting in a boost to its total might and alterations in its combat behavior during the battle.
Key Boss Strategy Tips for Viper (Phase 2)
- You can still break the Viper’s horn to expose a weak point that takes increased damage.
- Any attacks coming from Viper’s right-hand can be countered or blocked via Perfect Guard, though his left-hand attacks must be dodged.
- When the Viper starts the Darkness Phase, you can time an ambush with the Lightning Strike to improve your chance of survival.
Mission 4 Boss – Volbaino
Originally revered as the protector of Phraugh, Volbaino was seized by dragonkin during their attack on his village. He was compelled into labor but was subjected to perpetual violence and torment. Now, Volbaino brandishes a chisel and hammer, seeking destruction wherever he goes. Be prepared for this encounter with items that nullify or alleviate burn status effects.
Key Boss Strategy Tips for Volbaino
- Volbaino is briefly vulnerable when pulling out his Chisel.
- Look out for flames across the arena, and climb to the second floor via the nearby ladders when the arena becomes engulfed in flames.
- You can execute a Perfect Guard to extinguish the flames when Volbaino’s Chisel is on fire. You can also attack it when it’s embedded into the ground to put out the fire.
Mission 5 Boss – Aratra
The colossal, venomous spider named Aratra stalks its victims using its lethal fangs and fortified front limbs. Aratra is highly mobile and agile, capable of launching surprise attacks from various spider lairs along its territory. By eliminating these spider lairs as you travel through the area, you can reduce Aratra’s chances of ambushing you.
Key Boss Strategy Tips for Aratra
- Destroy both of Aratra’s front legs to disable its claw attacks, making the encounter easier.
- You can also break Aratra’s bulbous green abdomen area to disable its poison-based attacks.
- When Aratra climbs the walls you can throw a spear at its abdomen to knock it down.
Mission 6 Boss – Rangkus
In the hierarchy of Knivesveil, Rangkus holds the position of deputy leader, demonstrating an innate talent for weapon-making. He possesses a multi-functional weapon that serves as both a bludgeon, crossbow, and flamethrower. To counteract the burn status effects during this confrontation, remember to carry items designed to extinguish fire.
Key Boss Strategy Tips for Rangkus
- You can Perfect Guard the final hit of Rangkus’ bludgeon combo for a major combat advantage.
- Dodging multi-shot attacks from Rangkus will deplete his Stamina leaving him exposed for counterattacks.
- Rangkus can be more effectively fought at close-range as opposed to mid or long range.
Mission 7 Boss – Maluca
The head of Knivesveil, Maluca, is an expert in the use of swords, skillfully handling both large two-handed swords and curved blades. Due to being altered by Ozma, Maluca now possesses chaotic energy that amplifies his attacks. Therefore, it’s advisable to carry items capable of purging chaos for this confrontation.
Key Boss Strategy Tips for Maluca
- It’s best to dodge Maluca’s dual greatsword attacks while you can block or Perfect Guard his curved sword attacks.
- A Perfect Guard against his quick-draw attacks gives you a powerful counterattack opportunity.
- You can bait Maluca into extended attack chains to drain his Stamina and expose him.
- When Malulace transforms into a Corrupted One you can dodge his first curved sword skill attack.
Mission 8 Boss – Elamein
Elamein, the warrior who carries a shield, can take incoming attacks and turn them back against her foes as counterstrikes. Her mind has been shattered by a tainted seal in El Ravaca, making her one of the Corrupted Ones. Remember to equip Lightning purification items for this confrontation.
Key Boss Strategy Tips for Elamein
- Do not enter an Exhausted State throughout this encounter or Elamein will follow up with a deadly Brutal Attack.
- The more you let her shield absorb, the stronger her counterattacks will be.
- It’s best to attack Elamein from behind where she cannot block with her shield.
Mission 9 Boss – Shactuka
In simple terms, Shactuka is a fierce creature that the Imperial Soldiers have captured. Its menacing claws, sharp as razors, and enormous teeth make it a formidable and dangerous predator. It would be wise to carry Plague-purifying supplies when facing this encounter.
Key Boss Strategy Tips for Shactuka
- You want to target Shactuka’s head as it is its weak point.
- It’s important to alternate between dodging and guarding during this encounter, especially following Shactuka’s high-jump attack.
- It’s better to dodge Plague-inflicting attacks rather than block or even Perfect Guard them to prevent the plague status effect.
Mission 10 Boss – Trokka
Trokka, a devoted believer in Ozma, possesses and utilizes power that allows her to unleash floods upon Aldevir. In essence, she is a spellcaster specializing in water magic, armed with an intriguing combination of staff and umbrella as her weapon. Remember to carry water purification supplies for this meeting.
Key Boss Strategy Tips for Trokka
- Close-range positioning is more effective than long-range for this encounter.
- Interrupt Trokka’s magic casting with preemptive attacks. You can also counterattack when she charges her Umbrella Burst Attack.
- The Red Jellyfish inflicts poison when you touch it, while the Blue Jellyfish restores Stamina.
Mission 11 Boss – Bellerian
From the realm of Fennes, there’s a Dark Elf mage who is an expert in Necromancy and summoning spirits. To tackle him effectively during combat, it would be wise to have on hand cleansing items for Fire, Earth, and Lightning elemental attacks that Bellerian might unleash.
In the Kingdom of Fennes dwells a proficient Dark Elf mage in Necromancy and spirit conjuration. To prepare for combat against him, it’s crucial to have purification items for Fire, Earth, and Lightning elemental attacks that Bellerian may use.
Key Boss Strategy Tips for Bellerian
- You can interrupt Bellerian’s spellcasting with preemptive attacks.
- Bellerian will consume Skulls to summon powerful undead minions.
- You can attack to disrupt the Skull energy buildup, preventing the minion summoning.
Mission 12 Boss – Skalpel
Initially, Skalpel had been Khazan’s loyal companion, going so far as to attempt to exonerate Khazan from charges of treason. However, he was apprehended and transformed into a Corrupted one. Now, under the influence of turbulent energy, his mind has fractured, leaving him as a ferocious berserker. For this confrontation, it would be wise to carry Plague purification items with you.
Key Boss Strategy Tips for Skalpel
- You want to prevent Skalpel from building up his Berserk state.
- Avoid getting hit by his blade to minimize this buildup.
- You can interrupt his Ritual by attacking the coffin before he infuses it with blood.
- Utilize Perfect Guard against his long-reaching Greatsword attacks, but dodge his high-impact coffin attacks.
Mission 13 Boss – Princess Ilyna
In an effort to prevent the collapse of her empire and thwart Ozma’s plots, the music-loving princess tried but ultimately fell short. Unfortunately, she was uncovered, apprehended, and transformed into a Corrupted One. It’s advisable to carry Chaos purification items when dealing with this situation.
Key Boss Strategy Tips for Princess Ilyna
- You can evade her Rapier attacks by dodging to the side or diagonally, and following up with a counterattack.
- You can also avoid her musical attacks by dodging them at the right moment.
- Try to identify the Choir’s position to know which way to effectively dodge the sound wave attacks.
Mission 14 Boss – Hismar
In simpler terms, long ago, a fearsome dragon named Hismar posed a threat to the Pell Los Empire. However, thanks to Ozma’s powerful and chaotic abilities, Hismar’s lifeless form was restored. To tackle this revived beast, it would be wise to have items intended for purifying chaos on hand.
Key Boss Strategy Tips for Hismar
- You can destroy Hismar’s horn to prevent his deadly horn-related attacks, which you should do ASAP.
- Hismar’s forehead becomes a weak point so make sure to focus it.
- When Hismar is flying in a weakened state you can hit him with a spear to force him to crash.
- As Hismar’s body glows purple, it will unleash Chaos-based attacks, which you should dodge rather than block.
Mission 15 Boss – Reese (Phase 1)
In the original tale, Reese, who was once the beloved of Ozma and a priestess from the church of Pell Los, has had her divine powers tainted by chaos. This merging of light and chaotic magic has occurred. It’s advisable to bring purification items infused with order to counteract this encounter.
Key Boss Strategy Tips for Reese (Phase 1)
- You can Perfect Guard Reese’s Wing Charge to force her to crash and enter a Staggered state.
- Use the summoned Walls strategically to block her spear-throwing attacks.
- When Chaos Amplication builds up her magic becomes stronger and she becomes immune to damage. You need to sustain constant attacks to break this Chaos Amplification.
Mission 15 Boss – Reese (Phase 2)
During Phase 2, Reese becomes entirely engulfed by the forces of Chaos, draining away her Holy Power. Her scythes, imbued with chaos energy, become extremely lethal. It would be wise to have items to purify chaos on hand for this confrontation.
Key Boss Strategy Tips for Reese (Phase 2)
- You can still Perfect Guard against her Wing Charge attack to force her to crash and become Staggered.
- Once again use the summoned walls to block her spear-throwing attacks.
- Perfect Guard or dodge her deadly Twin Scythe attacks as they are incredibly deadly in this phase.
Mission 16 Boss – Ozma (Phase 1)
In a new turn of events, the once valiant Ozma, who vanquished Hismar the Frenzied Dragon and was inseparable with Khazan, has succumbed to raw chaos. To face him, you’ll need purifying items that counteract Chaos, Fire, and Water for this upcoming challenge.
Key Boss Strategy Tips for Ozma (Phase 1)
- Close-range combat is best in this phase as Ozma attacks more the further away you are.
- Destroy Chaos Spears as they will accumulate and trigger powerful attacks if embedded in the ground for too long.
- Use Perfect Guard or Parry to neutralize incoming Chaos Spears.
Mission 16 Boss – Ozma (Phase 2)
In Phase 2, Ozma attains absolute divinity, fueled by his intense animosity towards the Empire and Humans. He’s now fully immersed in Chaos, renouncing any vestige of human feelings. To face this challenge, you will need purifying artifacts imbued with chaos-cleansing properties.
Key Boss Strategy Tips for Ozma (Phase 2)
- You want to dodge any Chaos-infused attacks to prevent chaos buildup rather than block them.
- Use a Perfect Guard for non-chaos physical attacks.
- Ozma unleashes a deadly Chaos ability when all 8-winged eyes open. Powerful Chaos magic closes the eyes temporarily which is an opening for counterattacks.
- Prevent the eyes from reopening to maintain control of the fight while Ozma recharges his Chaos attacks.
Mission 16 Boss – Ozma (Phase 3)
In the concluding stage of the battle against Ozma, a completely corrupted version of Chaos Ozma appears. Overcoming it is essential to access the True Ending. At present, we haven’t managed to activate this phase, but rest assured, we’ll post an update as soon as we do!
Read More
- Who Is Harley Wallace? The Heartbreaking Truth Behind Bring Her Back’s Dedication
- 50 Ankle Break & Score Sound ID Codes for Basketball Zero
- Basketball Zero Boombox & Music ID Codes – Roblox
- 50 Goal Sound ID Codes for Blue Lock Rivals
- The best Easter eggs in Jurassic World Rebirth, including callbacks to Jurassic Park
- Lost Sword Tier List & Reroll Guide [RELEASE]
- 11-year-old boy beats 7-year-old to win 2025 Rubik’s Cube World Championship
- Gaming’s Hilarious Roast of “Fake News” and Propaganda
- Summer Games Done Quick 2025: How To Watch SGDQ And Schedule
- Revisiting Peter Jackson’s Epic Monster Masterpiece: King Kong’s Lasting Impact on Cinema
2025-03-25 05:49