As a gamer, I’ve got to admit, the modding community for Monster Hunter Wilds is thriving like never before! There are so many mods available that it feels like I could craft a new pair of fancy pants every day from the pelts of doshagumas I haven’t even hunted yet. And let me tell you, with all the performance and graphical challenges this game throws at us on top-notch PC settings, having these mods to tweak and optimize is a lifesaver!
The community of creators for The Wilds is stepping up to the challenge, diligently producing tools to enhance performance and address practical inconveniences. Additionally, there are a variety of other mod types: useful adjustments (such as disabling the kill cam that temporarily takes away control of your camera whenever you defeat a monster), personalized character costumes, and whimsical alterations you never knew you desired, like transforming your Palico into a giant.
Here are the must-have Monster Hunter Wilds mods so far.
How to install Monster Hunter Wilds mods
Most Monster Hunter Wilds mods will work only with a tool called REFramework. To start modifying the game, you should first install this utility, which has existed since 2019; it was initially developed for altering Capcom’s Resident Evil 2 Remake, but has since been upgraded to accommodate other games based on the RE Engine.
Install REFramework
- Download the latest version of REFramework from Nexusmods or Github (where it’s named MHWILDS.zip)
To set up REFramework, take the “dinput8.dll” file out of the .zip archive and place it in the Monster Hunter Wilds installation directory located at “\steamapps\common\MonsterHunterWilds”.
Let’s kick off Monster Hunter Wilds now. As a result, a new folder named ‘reframework’ will be generated in the installation directory of Wilds, which is perfect for storing additional mods that require REFramework to operate effectively.
Hey fellow gamer! Just a heads up that I’m currently using REFramework with Monster Hunter Wilds, but it’s still under development, so you might encounter some hiccups like crashes or a black screen upon startup. Also, keep in mind that it may require updates each time Capcom rolls out a new patch for the game. If you experience problems launching the game after an update, try deleting the “shader.cache” file from your install folder to fix the issue. Happy hunting!
As a devoted gamer, when I encounter issues like recurring crashes or failure to launch my favorite game, one effective solution is to remove the dinput8.dll file. This action essentially disables REFramework, helping me get back into the game as smoothly and quickly as possible.
Monster Hunter Wilds performance mods
By setting up REFramework, you’re likely to notice an enhancement in frame time consistency right away. However, for even more tailored performance, there’s another utility that allows Wilds to run optimally on your computer.
Special K
- Download Special K from Github
Special K is a utility tool that boosts various PC games, including Nier Automata, thanks to the work done by modder Kaldaien. Although it can’t miraculously make Monster Hunter Wilds run smoothly on your system (Capcom needs to optimize it further), Special K addresses some specific issues. It particularly enhances Capcom’s use of Nvidia Reflex and frame generation, improving the game’s frame rate synchronization. If you’re utilizing either of those features, I recommend giving Special K a try.
According to the creator of Special K, it is suggested to enable “Override Game’s Reflex Mode” and set Reflex Mode to ‘Off’ when utilizing Frame Generation with an unlimited frame rate under the Nvidia Latency Management settings. If you’re restricting the frame rate, it’s recommended to select “Low Latency.
Besides regular usage, you can adjust High Dynamic Range (HDR) settings, apply a frame rate limiter that usually outperforms in-game options, and so much more with Special K. For detailed instructions, refer to the wiki.
Monster Hunter Wilds gameplay and quality of life mods
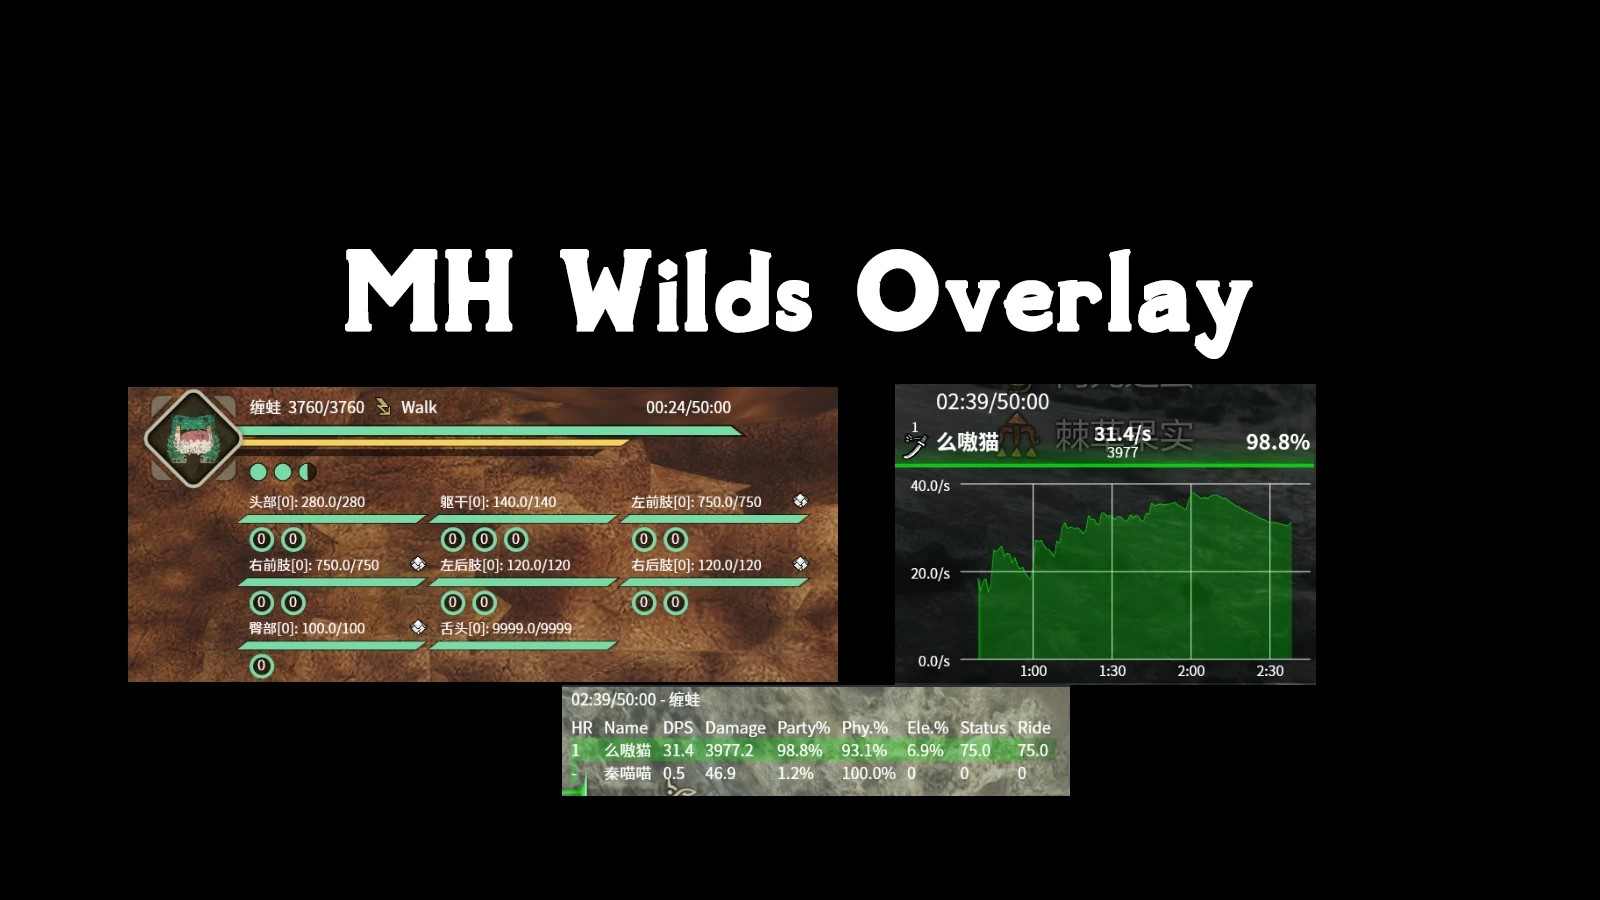
MHWilds Overlay
- Download MHWilds Overlay at Nexusmods
Prerequesites:
- REFramework
- CatLib v1.9 or newer
- REFramework-D2D v1.3.0 or newer
To use this overlay that provides details about a monster’s health, damage it has taken on specific parts, and your team’s Damage Per Second (DPS), you’ll also have to install some necessary add-on modules along with REFramework.
To use CatLib, first, transfer the CatLib files to the “reframework/autorun” directory after downloading and extracting them. Secondly, download, unzip, and move reframework-d2d.lua into the same “autorun” folder. Lastly, put reframework-d2d.dll in the “reframework/plugins” folder following its extraction.
Ultimately, place the MHWilds Overlay mod files in your “autorun” folder by extracting them there. To activate and customize it, run Wilds and press the Insert key to open the REFreamwork menu; look for “Script Generated UI” and you’ll find MHWilds Overlay ready to be configured. Visit the mod page for details on what settings can be adjusted.
Some Monster Hunter: World players strongly argue that health bars for monsters are unnecessary, as there are numerous signs indicating when a monster is close to death. However, modding isn’t about necessities but rather enhancing the game to suit personal preferences. After spending approximately 100 hours in the game, I opted to add an overlay mod that enabled me to evaluate the damage I was inflicting relative to my teammates and monitor how close various monster parts were to shattering, ensuring we got the best possible rewards from each encounter. This enhancement improved my insect glaive skills and helped us determine where to focus our attacks more effectively, resulting in a more enjoyable experience overall!
Absolutely, I endorse players who wish to install such a stats mod. It will undoubtedly prove useful when Capcom introduces more challenging event quests down the line.
1. Guide for Monster Hunter Wilds Weapons Tier Ranking
2. Best Weapons in Monster Hunter Wilds (Tier List)
3. Top Armor Options in Monster Hunter Wilds
4. List of Monsters Found in Monster Hunter Wilds
5. Event Quests Available in Monster Hunter Wilds
6. Multiplayer Features and Gameplay in Monster Hunter Wilds
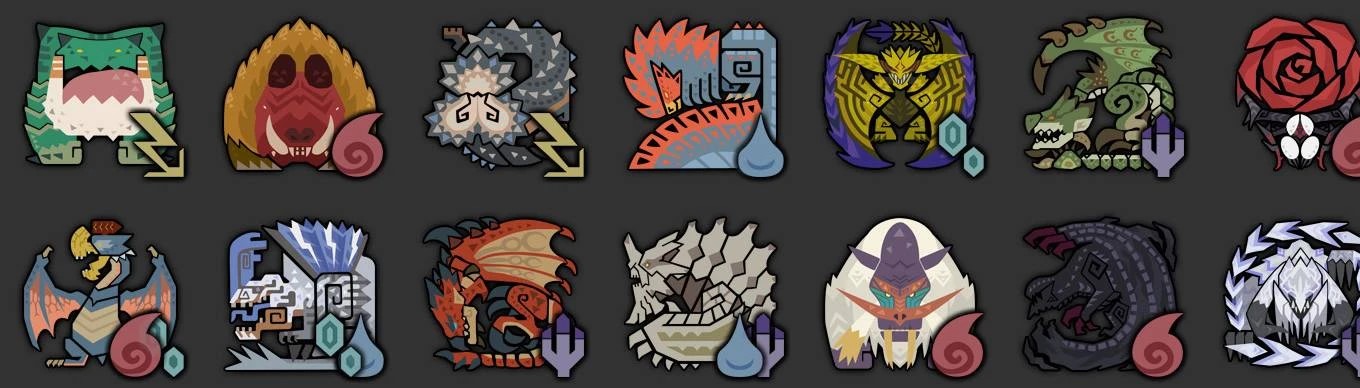
Monster Weakness Icon Indicator for WILDS (Hi-Res)
- Download Monster Weakness Icon Indicator for WILDS (Hi-Res) from Nexusmods
Prerequesites:
- REFramework
To use this mod, simply unzip its files into the main folder of your Monster Hunter Worlds game located at \steamapps\common\MonsterHunterWorlds. Enjoy!
This straightforward modification enhances the game experience by making certain details more easily accessible. It introduces elemental icons for each monster displayed in the user interface, eliminating the need to consult the monster guide frequently as it clearly indicates a creature’s weaknesses at a glance. This feature proves especially useful when you intend to engage in prolonged monster hunting sessions.
Remember that certain monsters may have multiple vulnerabilities when it comes to different elements, but this suggestion specifically points out the strongest one against which they can be effectively weakened!
Monster Hunter Wilds aesthetic mods
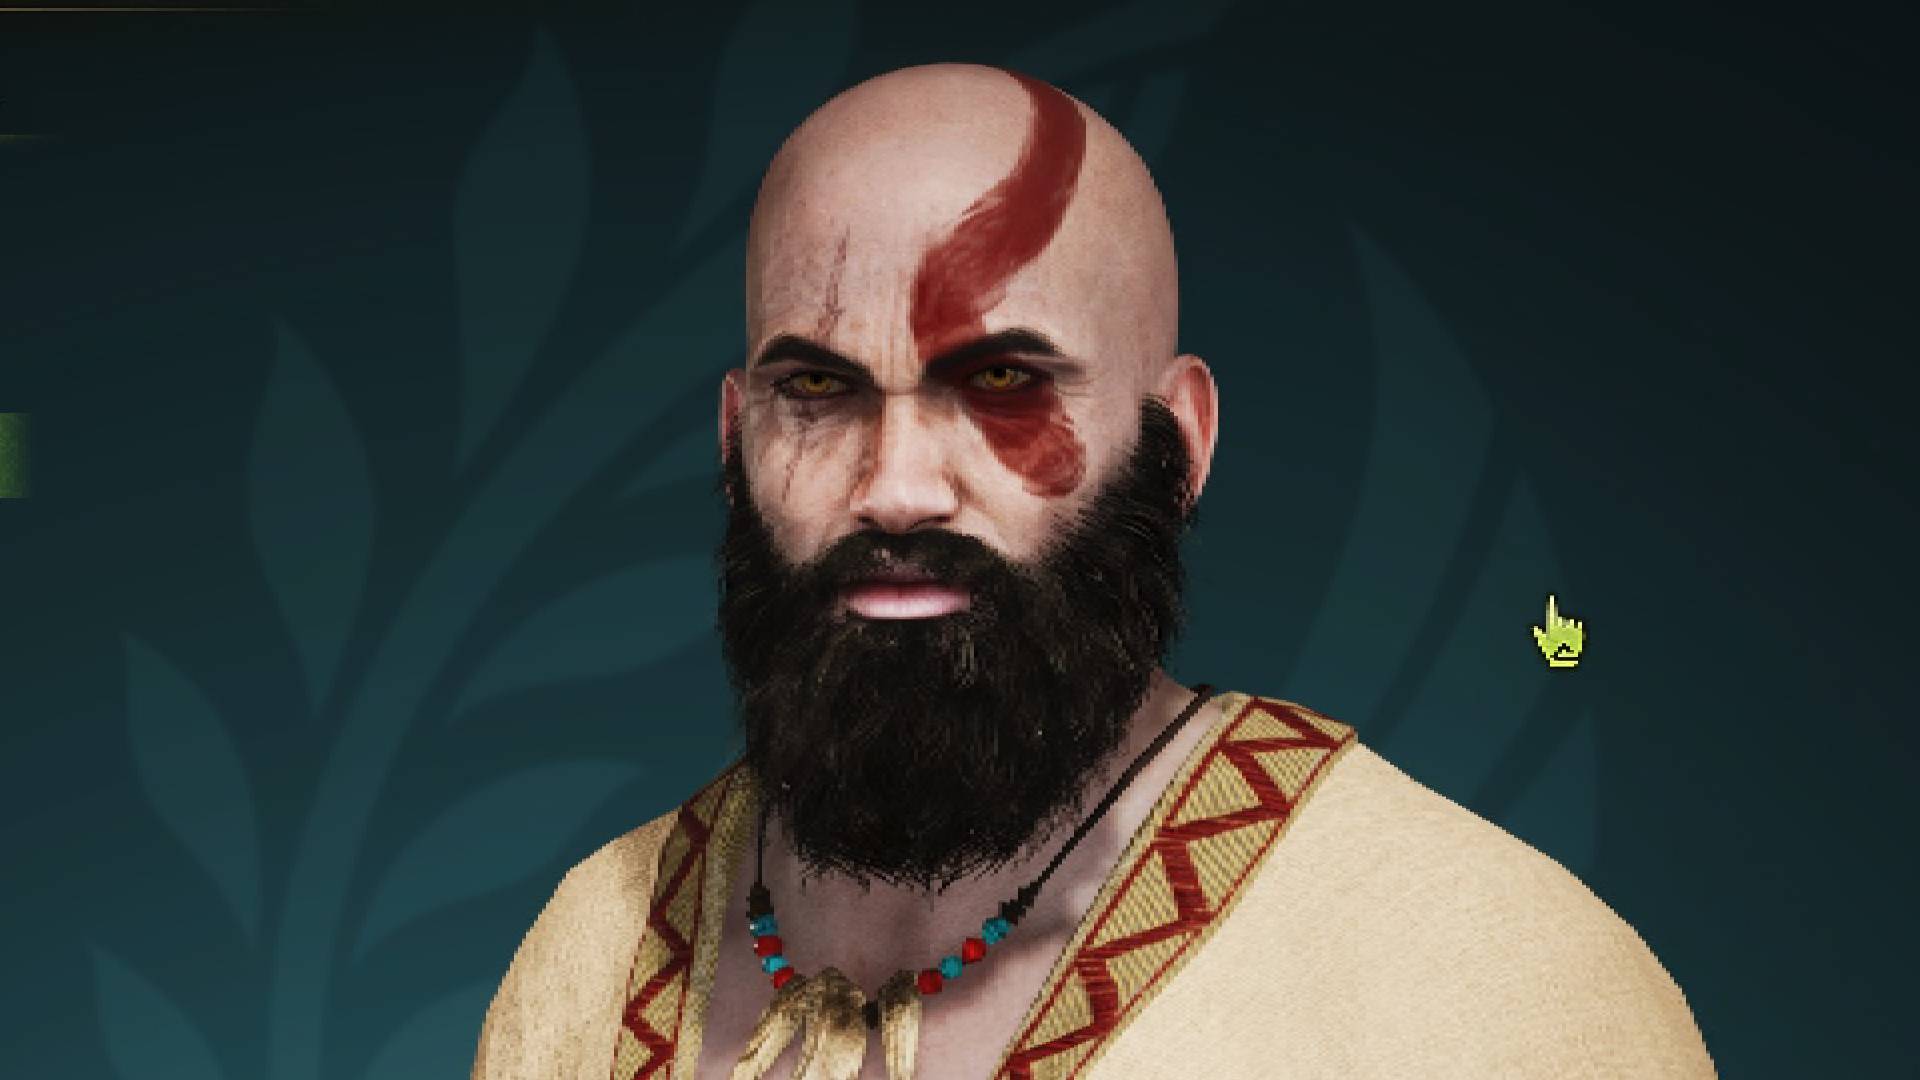
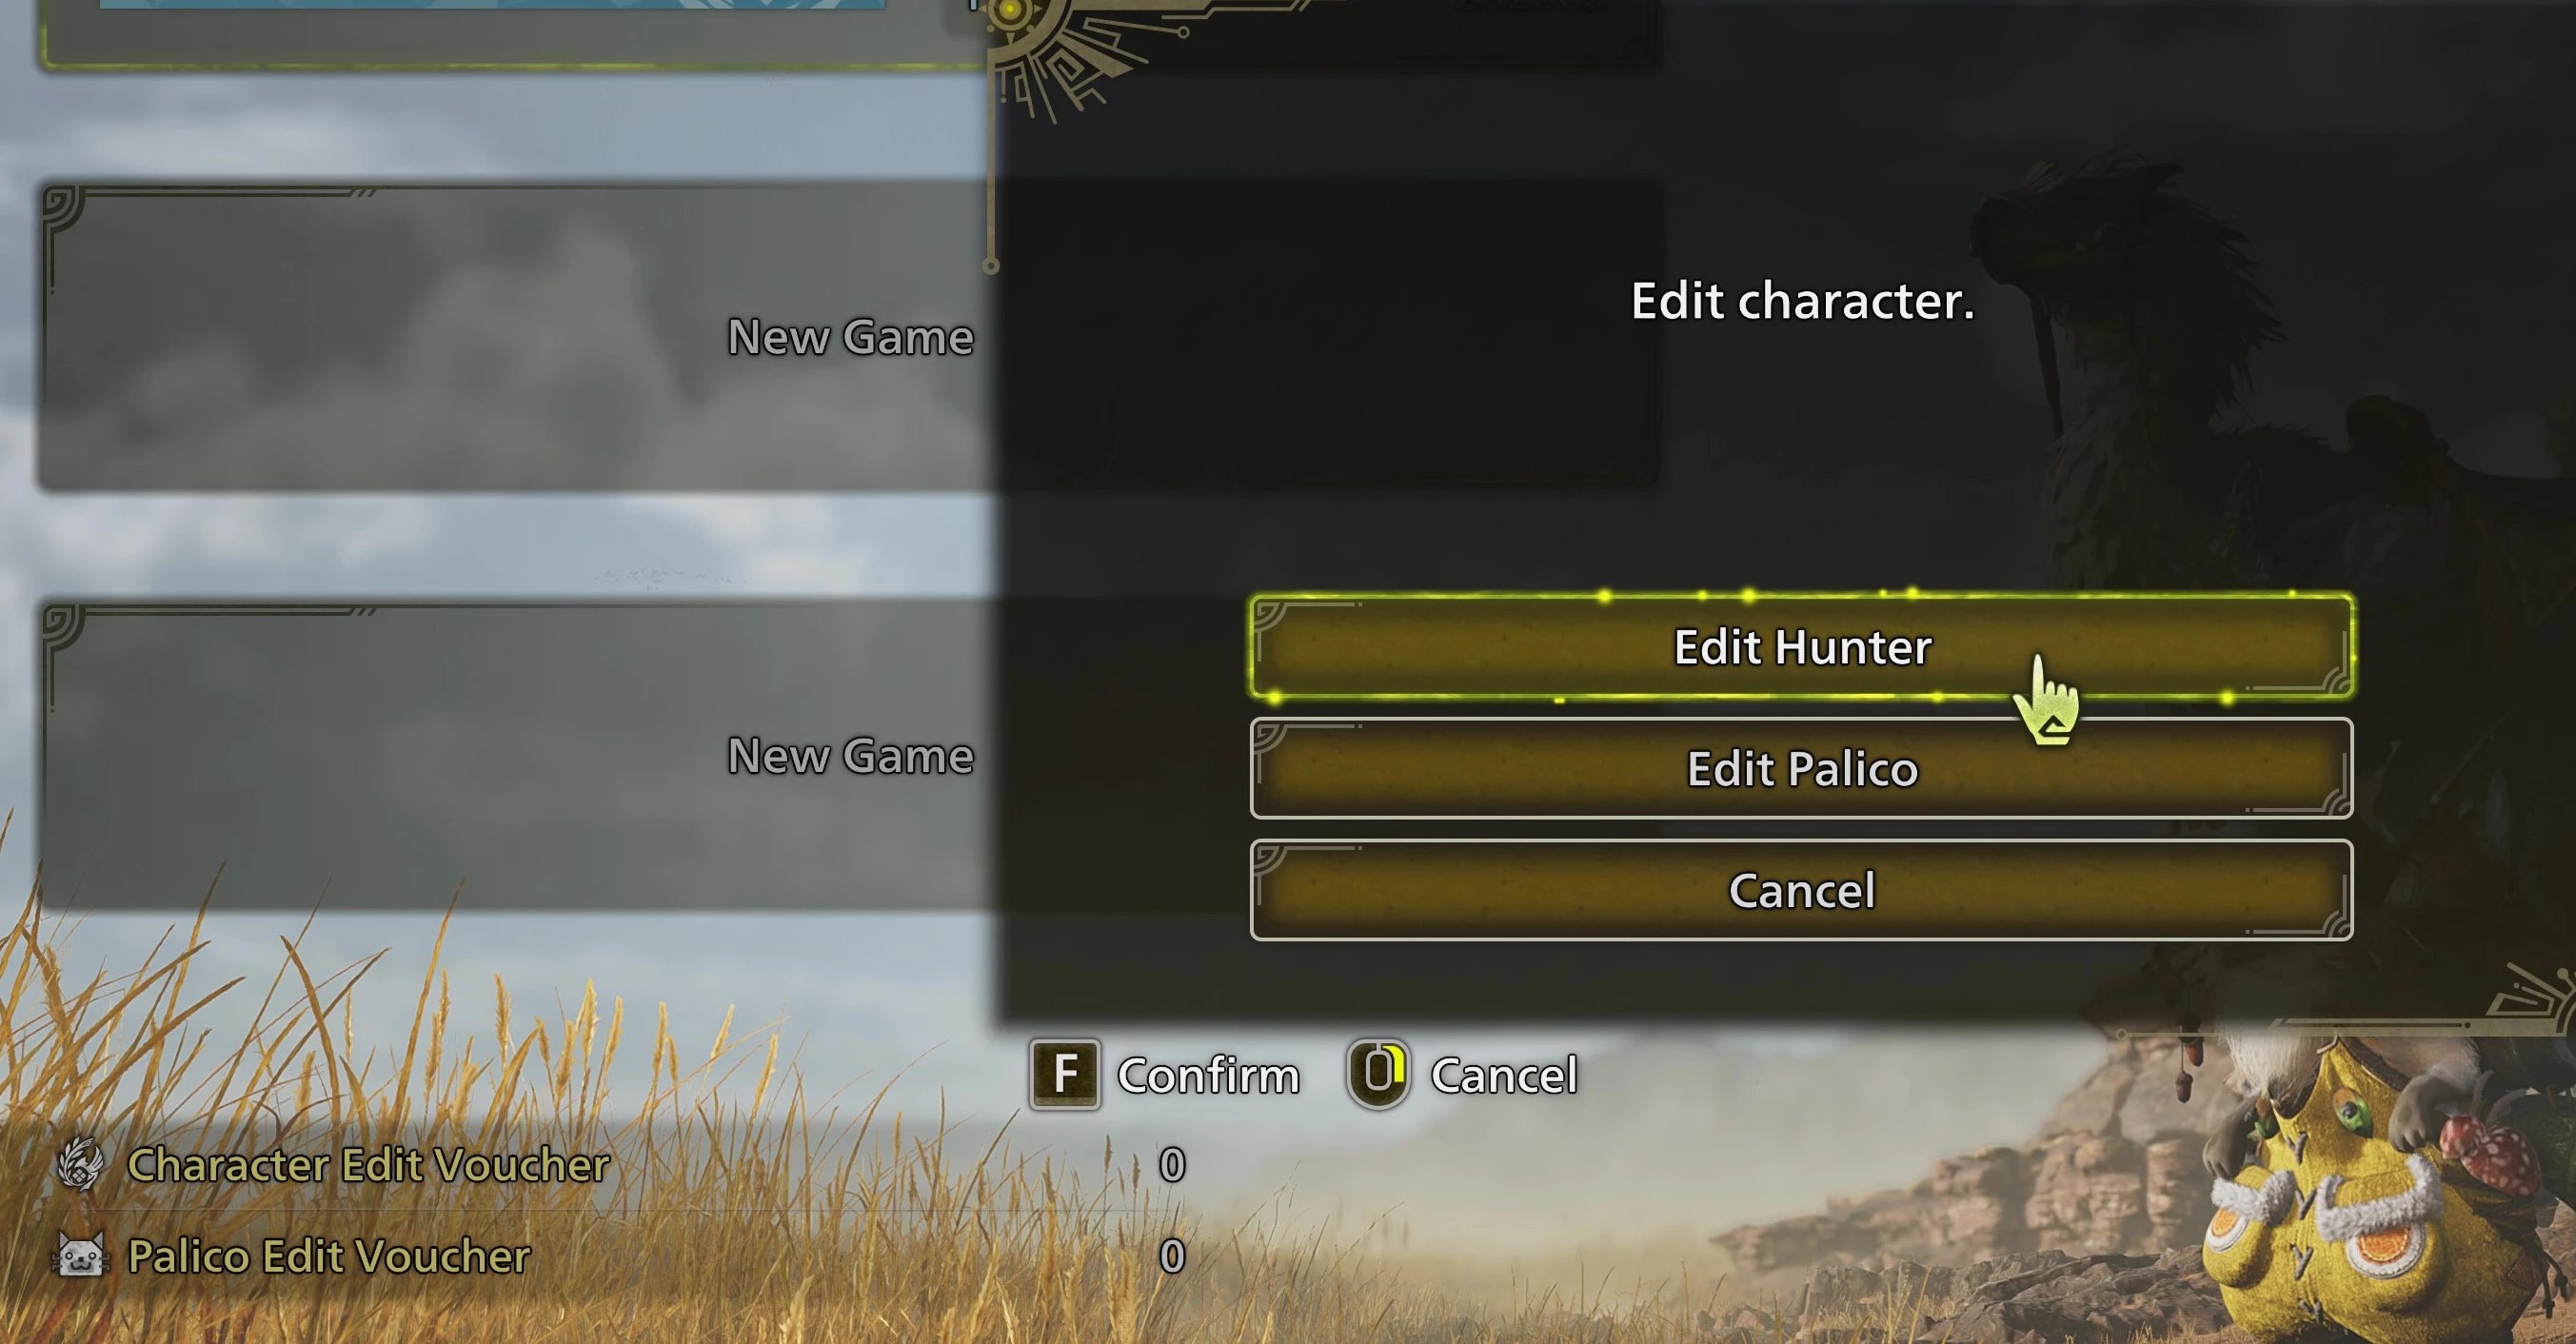
Unlimited Character and Palico Edits
- Download Unlimited Character and Palico Edits from Nexusmods
Prerequesites:
- REFramework
To install, extract the “UnlimitedCharacterEdits.lua” file into the “reframework > autorun” folder.
Just like previous Monster Hunter games, Capcom sells $7 character customization vouchers for altering your hunter’s or palico’s face. However, resourceful modders have already found ways to bypass this payment. After installation, you can access the character editing screen directly from the main menu. Even if the screen shows no vouchers remaining, the edit option should still be available (press X on your controller or G on your keyboard).
To check if the mod is active, simply open the REFramework menu using the ‘Insert’ key, then expand the “ScriptRunner” option.
Persistent Buff Glow Removal
- Download Persistent Buff Glow Removal from Nexusmods
Prerequesites:
- REFramework
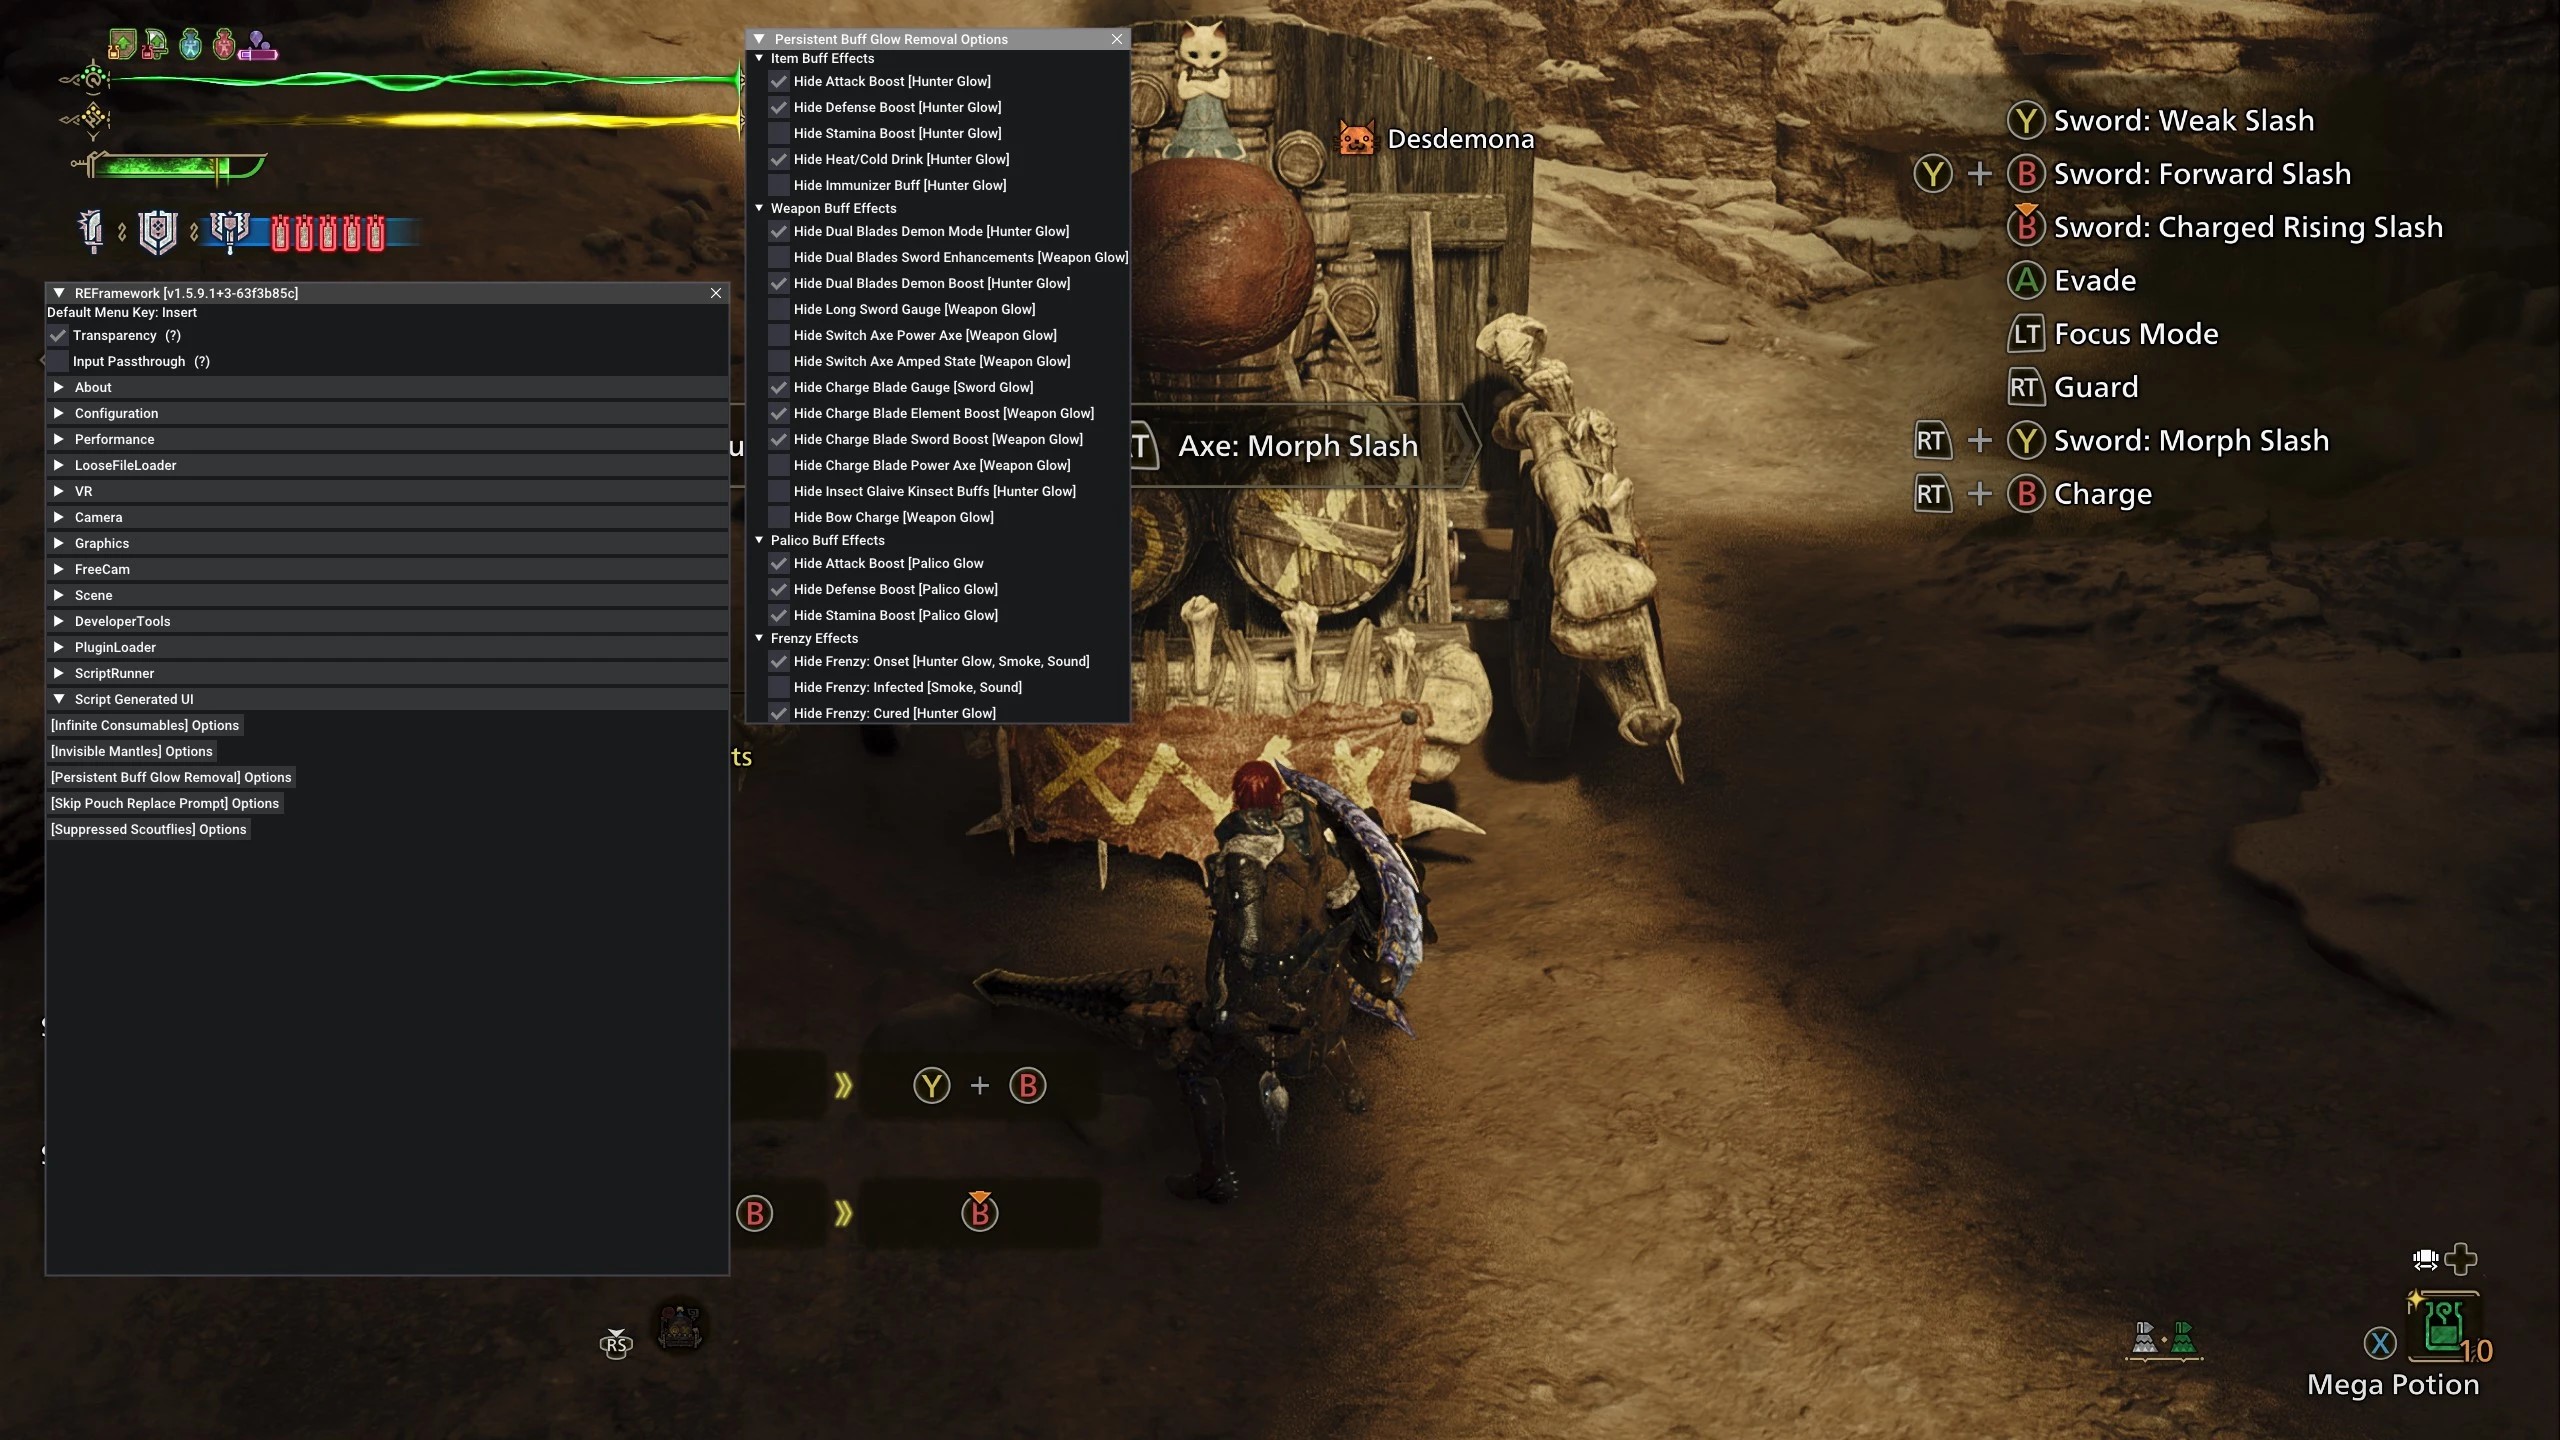
To set up, unzip the mod files into the “reframework/autorun” directory. For customization, run Wilds and press ‘Insert’ key to open the REFreamwork interface, then navigate to “Script Generated UI” section where you can switch several settings.
This mod is perfect if the radiant effects from your decorations spoil your screen captures or if you find it irritating to traverse with your hunter emitting light as if in a multi-colored dance party, this mod is designed specifically for you.
Custom Hunters
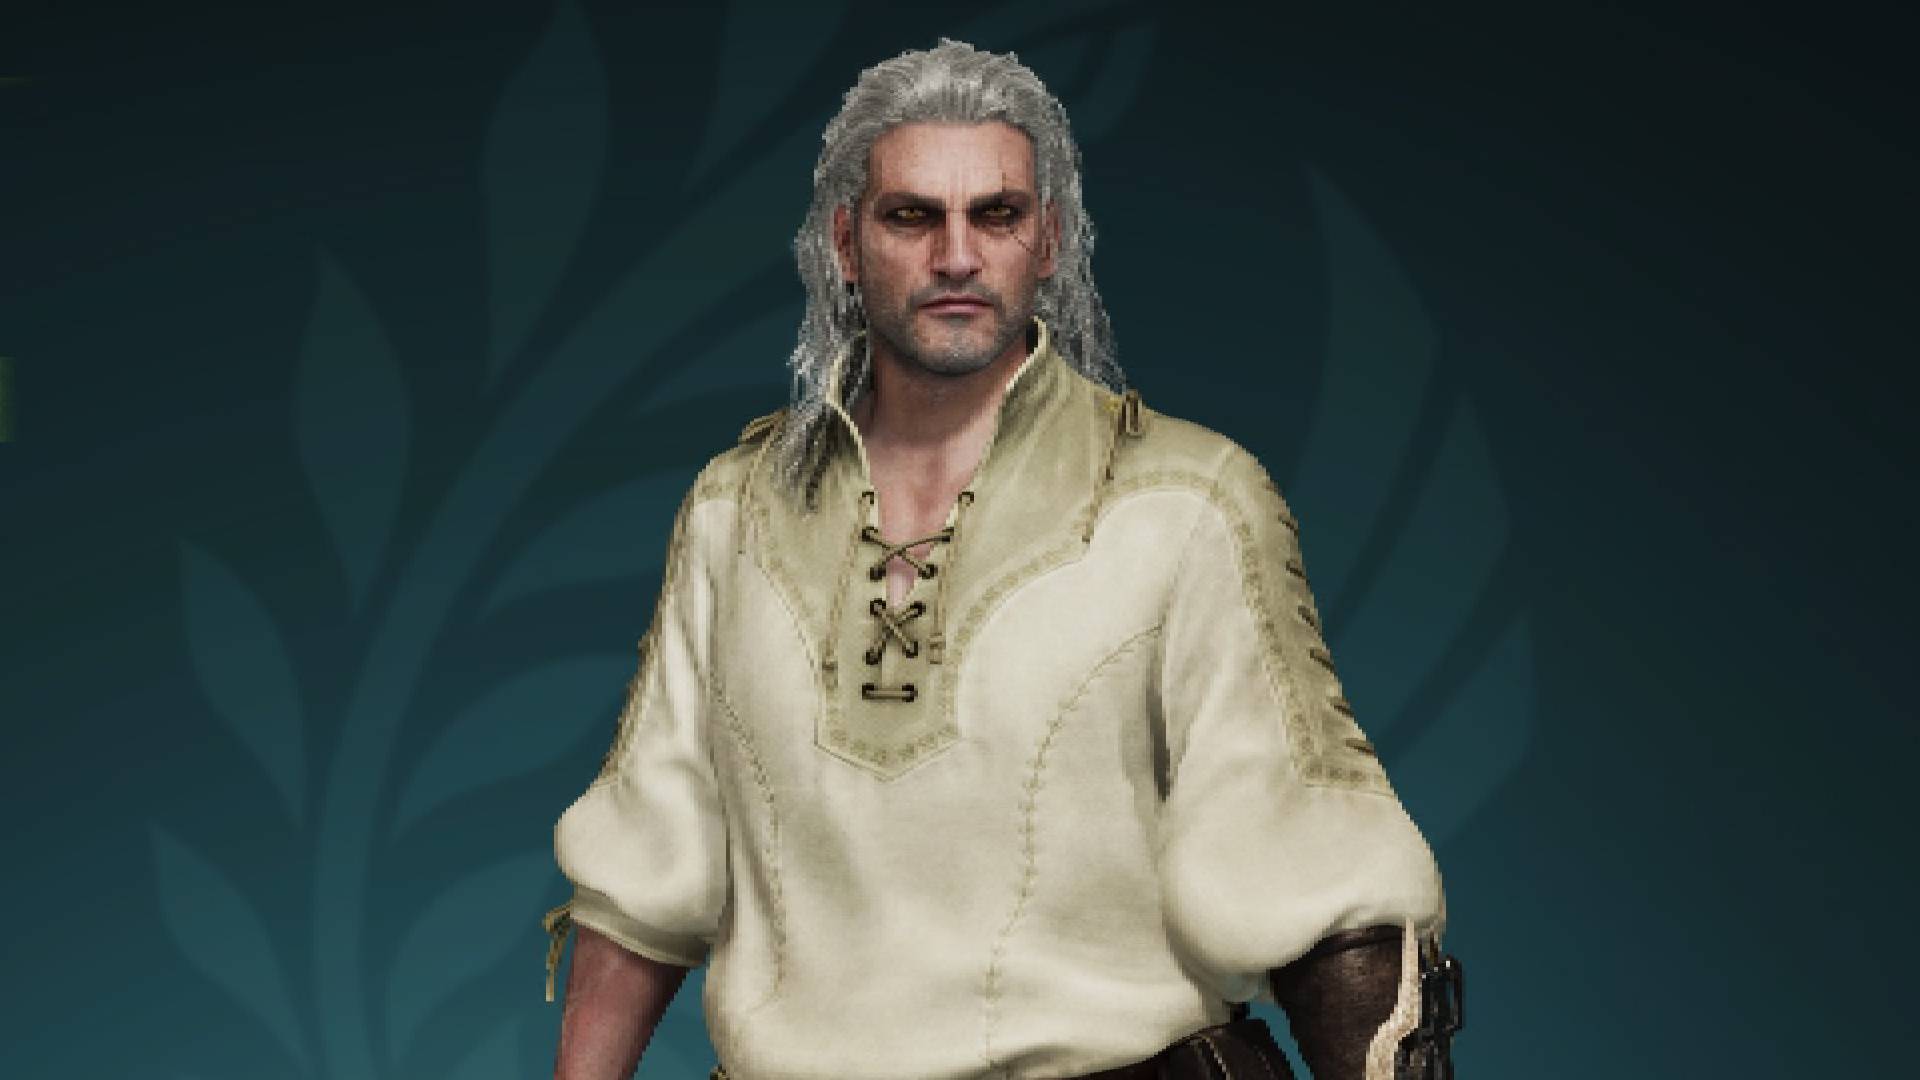
Sure thing! While it’s not exactly traditional modding, why don’t you take a look at our collection of exceptional Monster Hunter Wilds character codes? With these, you can easily incorporate other players’ impressive hunter designs into your own game.
More Monster Hunter Wilds on PC Gamer

- Monster Hunter Wilds artian weapons
- Monster Hunter Wilds secret armor
- Monster Hunter Wilds layered armor
- Monster Hunter Wilds roadmap

- Monster Hunter Wilds: Sandstar
- Monster Hunter Wilds Gillopod
- Monster Hunter Wilds: Gravid Bowfin
- Monster Hunter Wilds: Tracktail lizard
- Monster Hunter Wilds: Rime beetle
- Monster Hunter Wilds Dapperwing
- Monster Hunter Wilds Goldenfish
- Monster Hunter Wilds: Grand Escunite
- Monster Hunter Wilds: Fucium ore
- Monster Hunter Wilds: Gracium
Read More
- 50 Ankle Break & Score Sound ID Codes for Basketball Zero
- Who Is Harley Wallace? The Heartbreaking Truth Behind Bring Her Back’s Dedication
- 50 Goal Sound ID Codes for Blue Lock Rivals
- Mirren Star Legends Tier List [Global Release] (May 2025)
- League of Legends MSI 2025: Full schedule, qualified teams & more
- 100 Most-Watched TV Series of 2024-25 Across Streaming, Broadcast and Cable: ‘Squid Game’ Leads This Season’s Rankers
- 28 Years Later Fans Go Wild Over Giant Zombie Dongs But The Director’s Comments Will Shock Them
- Pacers vs. Thunder Game 7 Results According to NBA 2K25
- Pacers vs. Thunder Game 1 Results According to NBA 2K25
- Basketball Zero Boombox & Music ID Codes – Roblox
2025-03-13 22:48