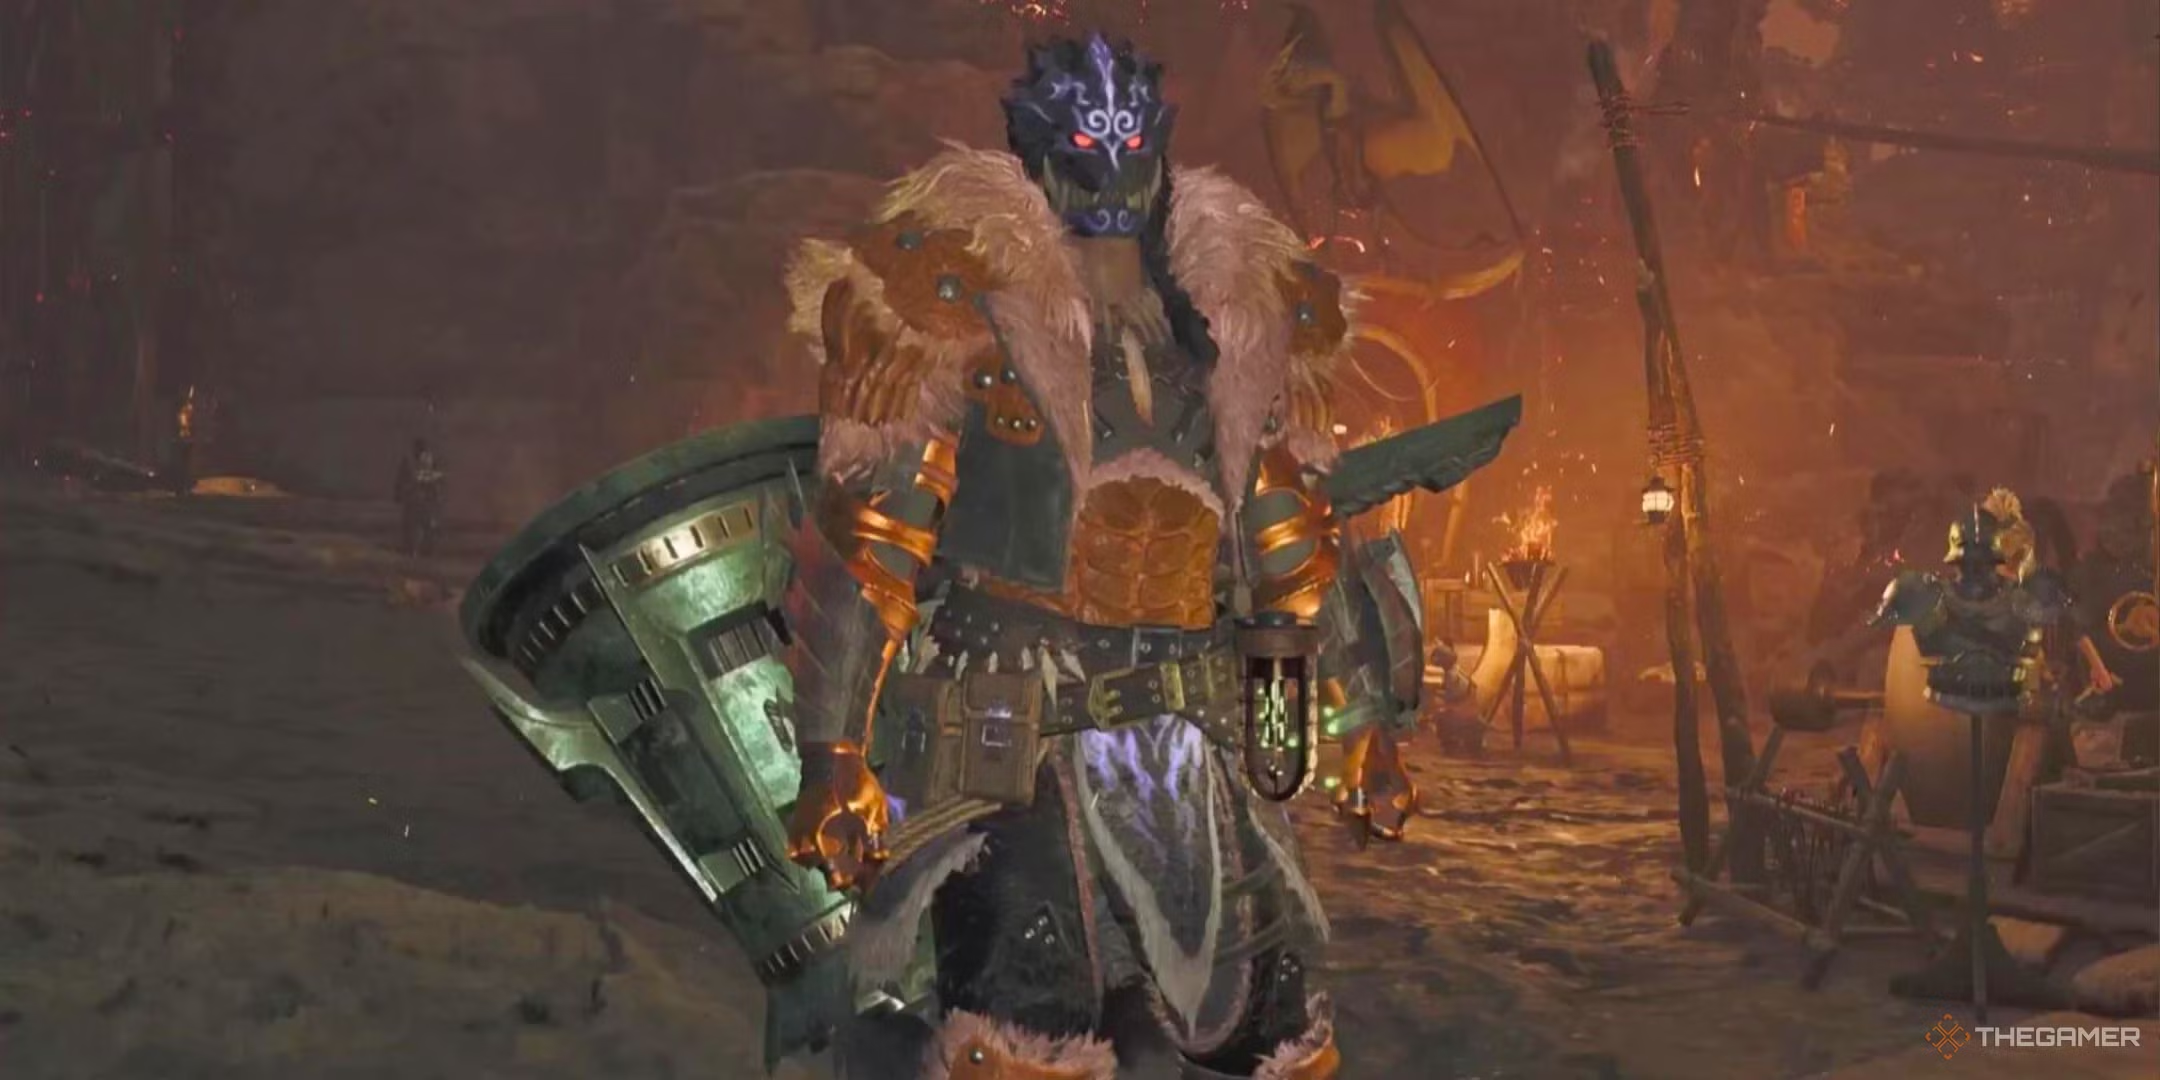
Advancing through the High Rank (HR) in Monster Hunter World can be an incredibly rewarding journey, and Monster Hunter Wilds is no exception. Once you reach HR, a fresh landscape of opportunities and mechanics unfolds, making it thrilling to experiment with various character builds.
A Hammer construction will primarily focus on inflicting maximum damage with each strike. It’s a moderately swift weapon, but its powerful blows can deal significant damage, for sure. Our objective will be to maximize that damage while also addressing some of the Hammer’s vulnerabilities.
The construction and concepts surrounding Monster Hunter Wilds are still evolving, which means that the guide you’re about to read won’t necessarily offer the optimal Hammer build. Instead, it serves as a solid starting point for you to adapt the strategies presented in this build to suit your own playstyle. You can then further refine and enhance the build for future hunts according to your preferences.
Hammer Build Overview
In the game, the Hammer is generally slower at delivering powerful blows, which means it lags behind in terms of causing multiple status effects. While it can indeed inflict these effects, it’s less efficient at doing so compared to several other available weapons.
Hammer Status Effects And Stun
It’s fortunate that the Hammer has an inherent feature akin to a status effect – it’s called “stun”. When you strike a creature with blunt force, the stun level on the monster gradually increases (even though this gauge is not visible). Once the stun level reaches its peak, the monster will become temporarily incapacitated.
This immobilizing effect resembles both paralysis and sleep, rendering the monster incapable of attacking or defending itself. Consequently, this provides an opportunity for numerous attacks without worrying about retaliation or self-inflicted harm.
Due to the inborn status effect of the Hammer, we have two possible strategies: enhance it further by adding another status effect such as paralysis or blast, or alternatively, disregard additional status effects and concentrate solely on increasing its damage output and critical hit chances.
In this construction, we’re opting for method number two and won’t prioritize adding a status effect to the hammer. However, it doesn’t mean you should skip it in your own setup, as this specific build won’t heavily rely on one.
Hammer Build Guide

In our Hammer construction, we’ll be employing distinct armor and embellishments that deliver specific ability enhancements. In most builds, you can interchange some equipment pieces without issue, as the important factor is ensuring the Equipment Skills align.
To achieve this build, you’ll need four essential items of equipment to unlock the Bonus Skill set. The fifth item, the chestpiece, isn’t as vital and can be adjusted or swapped out as desired for experimentation purposes.
| Slot | Item | Effect | Decorations |
|---|---|---|---|
| Weapon | Artian Hammer | Affinity Boost Focus | Critical Jewel | Critical Jewel | Critical Jewel |
| Head | Guardian Ebony Helm B | Burst II | Ebony Odagaron’s Power II | Evasion Jewel |
| Chest | Udra Miremail A | Burst I | Resentment I | Destroyer Jewel | Destroyer Jewel |
| Arms | Guardian Ebony Braces B | Burst I | Divine Blessing I | Ebony Odagaron’s Power II | Evasion Jewel | Jumping Jewel |
| Waist | Guardian Ebony Coil B | Burst I | Ebony Odagaron’s Power II | Jumping Jewel | Evasion Jewel |
| Legs | Guardian Ebony Greaves B | Divine Blessing I | Earplugs I | Ebony Odagaron’s Power II | Destroyer Jewel | Refresh Jewel |
| Talisman | Counterattack Charm | Adrenaline Rush I |
Armor Skill Effects
As for our armor, we’re going to get the following effects from this:
- Burst V, which provides a significant stat increase after landing multiple hits on a monster.
- Burst Boost II, which provides a longer window where Burst will stay active. This is extremely important for the Hammer, which hits a bit slower than many other weapons utilizing Burst.
- Resentment I, which provides a small damage bonus while attacking with a red portion of health that’s recovering.
- Divine Blessing II, which provides a chance of a 30 percent damage reduction on incoming damage
- Earplugs I, which provides protection from the roar effects of weak monsters.
The primary impact we’ll experience is largely due to Burst, which will remain active for the majority of the time thanks to its Burst Boost feature that is exclusive to this armor collection.
As a gamer, I’m all about keeping the heat on those monsters! Here’s the secret: never let up the pressure. To make it easier for me, they’ve thoughtfully added some strategic decorations to our game build. Let me walk you through them next.
Decoration Skill Effects
The effectiveness of the decorative elements we offer will depend on the level of decorations you choose to use in each slot. As you advance in HR, you’ll unlock more advanced decorations, and this equipment comes equipped with slots for both level 1 and level 2 decorations.
Our decoration boosts are going to include:
- Evasion Jewels, which will lengthen our window of invulnerability while dodging.
- Jumping Jewels, which will increase the distance we move when we dodge.
- Destroyer Jewels, which will increase the damage we do to monster parts and increase the damage we do when hitting wounds with a Focus Strike.
- A Refresh Jewel, which will increase our stamina recovery.
- Critical Jewels, which will increase the damage that our critical attacks do.
The primary intention behind these decorations is to enhance our agility against monsters’ attacks, thus minimizing the harm we sustain. Consequently, we’ll spend fewer moments on healing and instead, maintain a longer duration of the Burst state by continuously attacking the monster.
Moving further away when avoiding an attack allows us to adjust our position more efficiently during combat, requiring less evasive maneuvers overall. This gives us an opportunity to strategically place ourselves for striking a monster directly in the head, a vital spot for inducing stuns.
The enhancement in critical attack damage from jewels will prove significant too, given our selection in constructing the Hammer, since it plays a crucial role.
Hammer Choice
When constructing your Artian Hammer, the specific effect you select isn’t crucial; however, it’s essential to prioritize choosing Affinity Boost over Attack Boost. While Sleep and Paralysis might be the most suitable effects, the key focus should be on selecting Affinity Boost for optimal performance.
In this scenario, attacking a monster will boost the probability of landing a crucial blow, and each time we successfully land such a blow, we’ll accumulate additional damage using the Critical Jewels we’ve equipped.
How To Play This Hammer Build
This Hammer construction primarily focuses on maintaining consistent pressure against your adversary. It equips you with numerous evasion techniques, which will become even more effective as you gain experience fighting each specific monster. This build truly excels when wielded by a seasoned player, but may not offer significant aid to an inexperienced hunter.
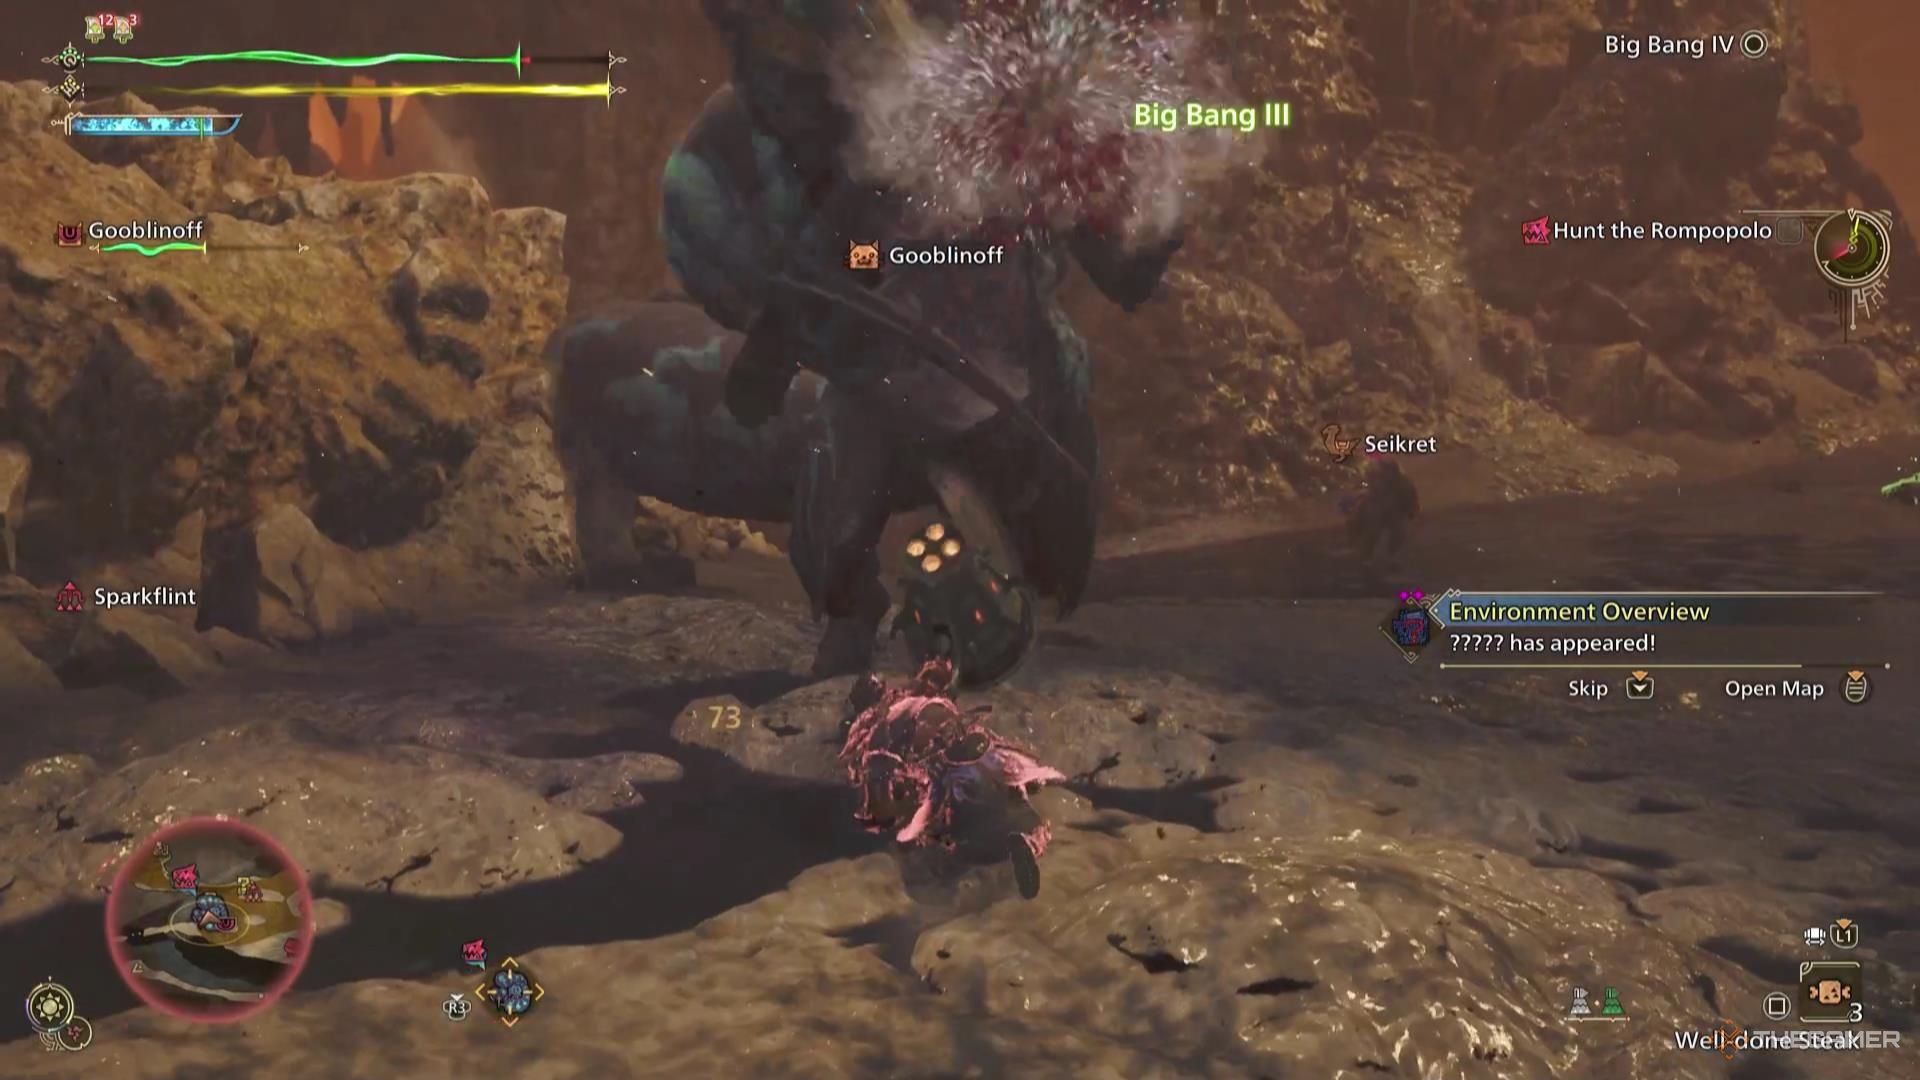
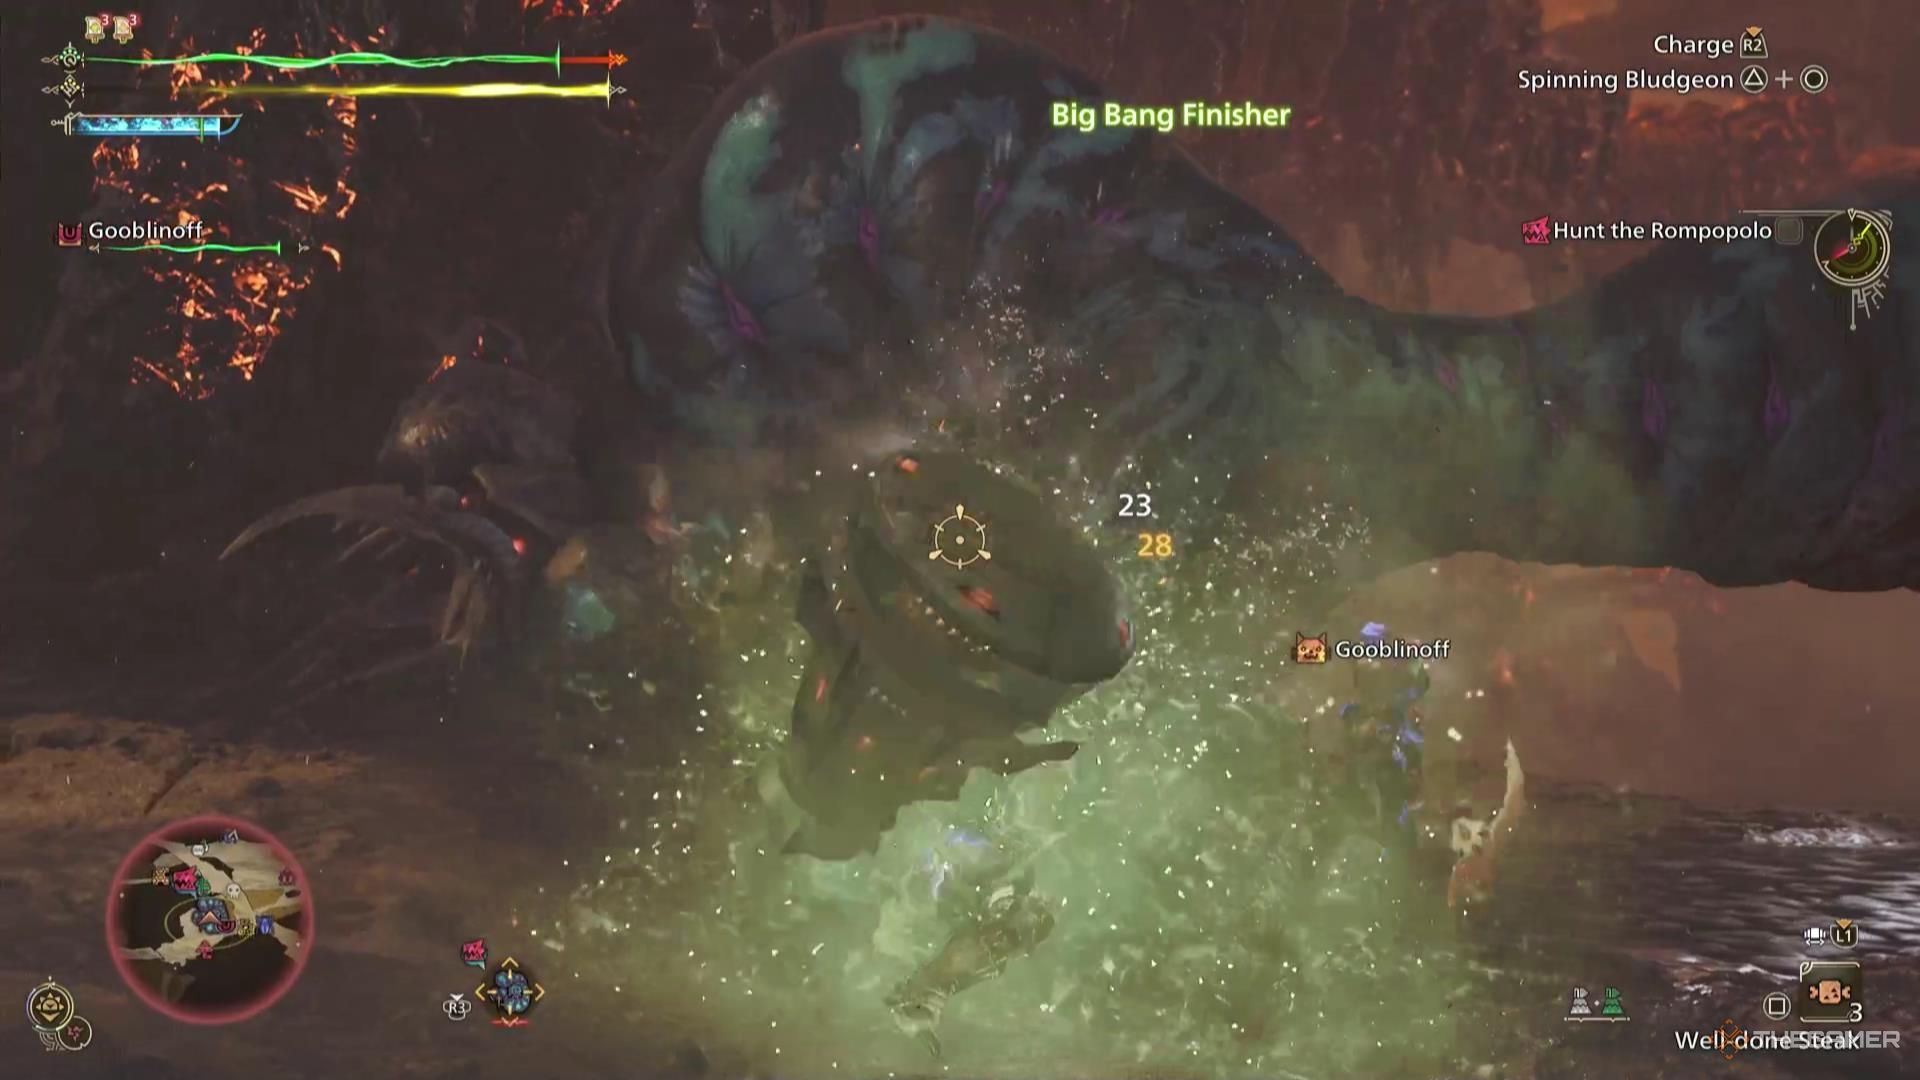
Regarding its attack style, the Hammer offers a lot of flexibility. It allows for frequent use of the Big Bang combo, and these attacks are fast enough to effectively maintain the Burst’s functionality.
Constantly aim for the monster’s head to cause stuns more frequently, and once a stun occurs, unleash all the damage you can manage.
Our Partbreaker ability will make it simpler than usual to dismantle monstrous parts, and also facilitate easier exploitation of wounds. With the Resentment skill, there’s an automatic, minor damage boost that activates immediately after taking damage, which means you can retaliate against the monster if your rhythm gets disrupted.
In summary, we can effectively limit the level of offensiveness of a formidable opponent, especially in the long run, through strategic use of stuns and targeting vulnerabilities such as wounds.
It’s often beneficial for your Palico to carry a weapon causing Paralysis or Sleep. This works well with your stunning ability, allowing you to inflict damage without interference on several occasions.
Read More
- 50 Ankle Break & Score Sound ID Codes for Basketball Zero
- Who Is Harley Wallace? The Heartbreaking Truth Behind Bring Her Back’s Dedication
- 50 Goal Sound ID Codes for Blue Lock Rivals
- Mirren Star Legends Tier List [Global Release] (May 2025)
- League of Legends MSI 2025: Full schedule, qualified teams & more
- 28 Years Later Fans Go Wild Over Giant Zombie Dongs But The Director’s Comments Will Shock Them
- 100 Most-Watched TV Series of 2024-25 Across Streaming, Broadcast and Cable: ‘Squid Game’ Leads This Season’s Rankers
- Pacers vs. Thunder Game 7 Results According to NBA 2K25
- Basketball Zero Boombox & Music ID Codes – Roblox
- Pacers vs. Thunder Game 1 Results According to NBA 2K25
2025-03-12 12:39