In the game Avowed, a key mission is called “An Untimely End.” It starts after finishing “Message From Afar” and reaching Paradis. Upon arrival, your character gets hit by an unidentified arrow, causing unconsciousness. Upon waking up, you find yourself in a spiritual realm where The Voice reveals that you’ve passed away. Yet, The Voice proposes to resurrect you on condition that you fulfill a request first.
Upon waking up, I discover myself standing beside Kai and Liviana. After a heartfelt conversation with them, Liviana proposes an intriguing idea: reaching out to the Watcher could potentially aid in addressing my current predicament. This marks the beginning of the An Untimely End quest.
Report To The Ambassador
Initially, your mission presents you with two tasks to accomplish: you may choose to head straight for the Watcher or pay a visit to the Ambassador first. The sequence isn’t crucial, but talking to the Ambassador initially will grant you an additional ally.
The Ambassador is situated within the Aedyran Embassy, which lies to the northwest of Liviana’s Clinic on your map. To get there, leave Liviana’s Clinic, then turn left at the stairs, enter the Administration District, and continue straight west until you reach a small gate guarded by two soldiers. Once inside, you will encounter both the Ambassador and Garryck again.
Your upcoming action involves heading to the Grinning Balarok tavern, as it’s likely that you’ll find Marius there, a skilled tracker who could assist Kai in locating the assassin. This step follows your conversation with the Ambassador, during which he hinted at accepting your plea for justice by tracking down the perpetrator, should you discuss the incident with him.
Recruit Marius
To reach your destination swiftly, make your way back to Liviana’s Clinic and locate the set of stairs on your right. Further ahead, you’ll notice a dragon-shaped marker where the path forks. Choose the stairway on your left and descend; upon reaching the bottom, enter the building bearing that sign – this is Grinning Balarok.
Upon entering, you’ll make the acquaintance of Marius, a new ally who will be formally part of your team. The goal of your journey will shift to examining the crime scene, which is a reference to going back to the location where the attack occurred.
Investigate The Scene Of The Crime
Make your way towards the main entrance situated in the south of the Administration District. Once there, open up the Command Menu and choose Marius’ Hunter’s Sense ability. Employ it immediately on the bloodstain located near the gate. This blood appears to be yours, and following Kai’s examination, you’ll have to ascend the roof of the Aedyran Embassy.
Position yourself at the western side of the embassy’s southern entrance and ascend the ivy-covered balcony. Utilize the wooden platforms to navigate to the rooftop, then continue using the wooden structures to scale the towering structure on the rooftop.
On the balcony of the tower, there’s a backpack holding a distinctive item known as Blackwing Gloves, enhancing your chances for critical hits.
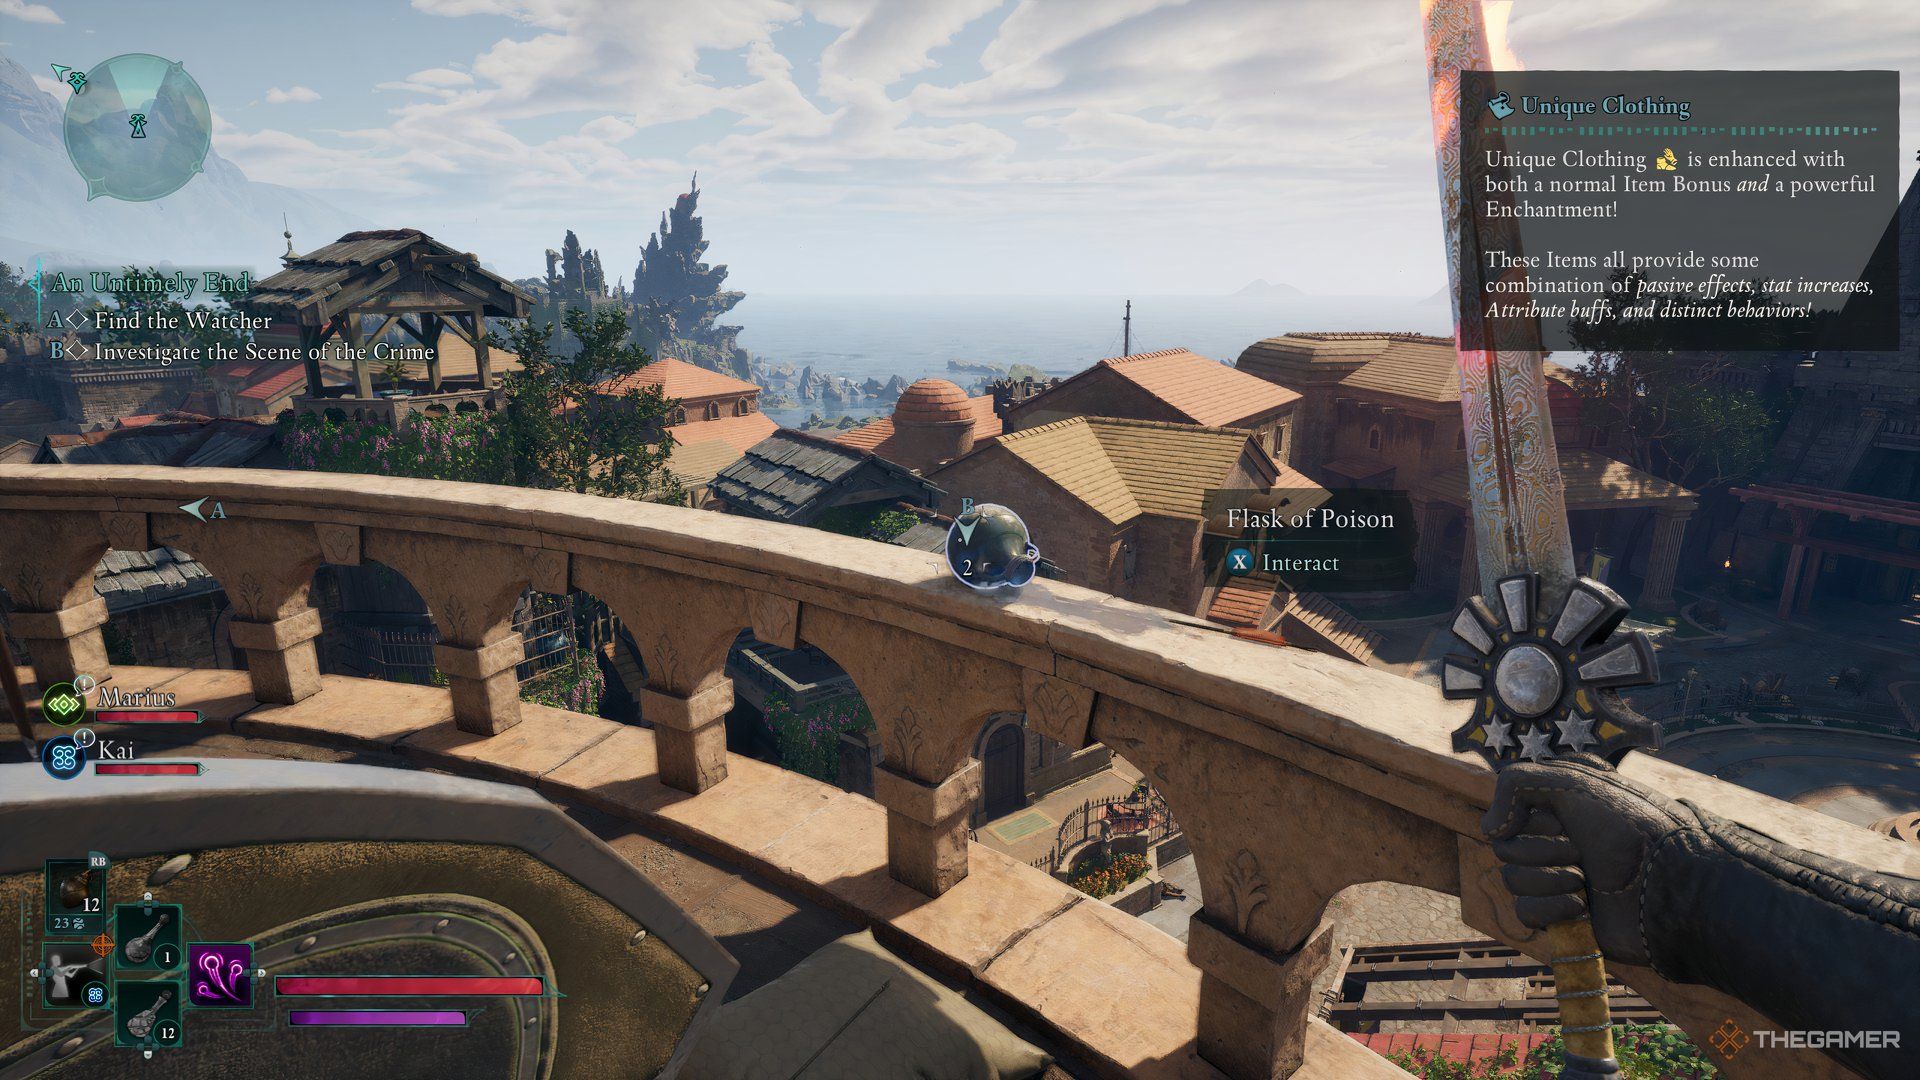
Additionally, you’ll spot a flask, which appears to contain poison, on the balcony and it requires your interaction. As you take in the scenic view, you realize it provides an ideal spot for a surprise attack. Upon further inspection by Marius, he proposes seeking additional details at the Apothecary’s Shop by engaging in conversation with the Apothecarist.
Speak With The Apothecarist
As an enthusiastic traveler, I’d recommend embarking on a journey towards the heart of southeastern Paradis. Begin at the Eastern Paradis Gate Beacon, then head northward, climbing the stairway, to arrive at the vibrant Pearl District. Stick to the main road and continue your ascent via the northern stairs, and before you know it, you’ll be exploring this captivating district!
Upon reaching the area adorned in red with an East Asian ambiance, take a left to discover the Apothecary’s Shop. Unfortunately, you’ll stumble upon a predicament: Wetenu and his gang are intimidating the Apothecarist. Regardless of what words you choose, they will attack.
If your gear seems insufficient, think about enhancing it prior to our upcoming encounter, because we’re facing Thalla the Taskmaster, a formidable foe in our next battle.
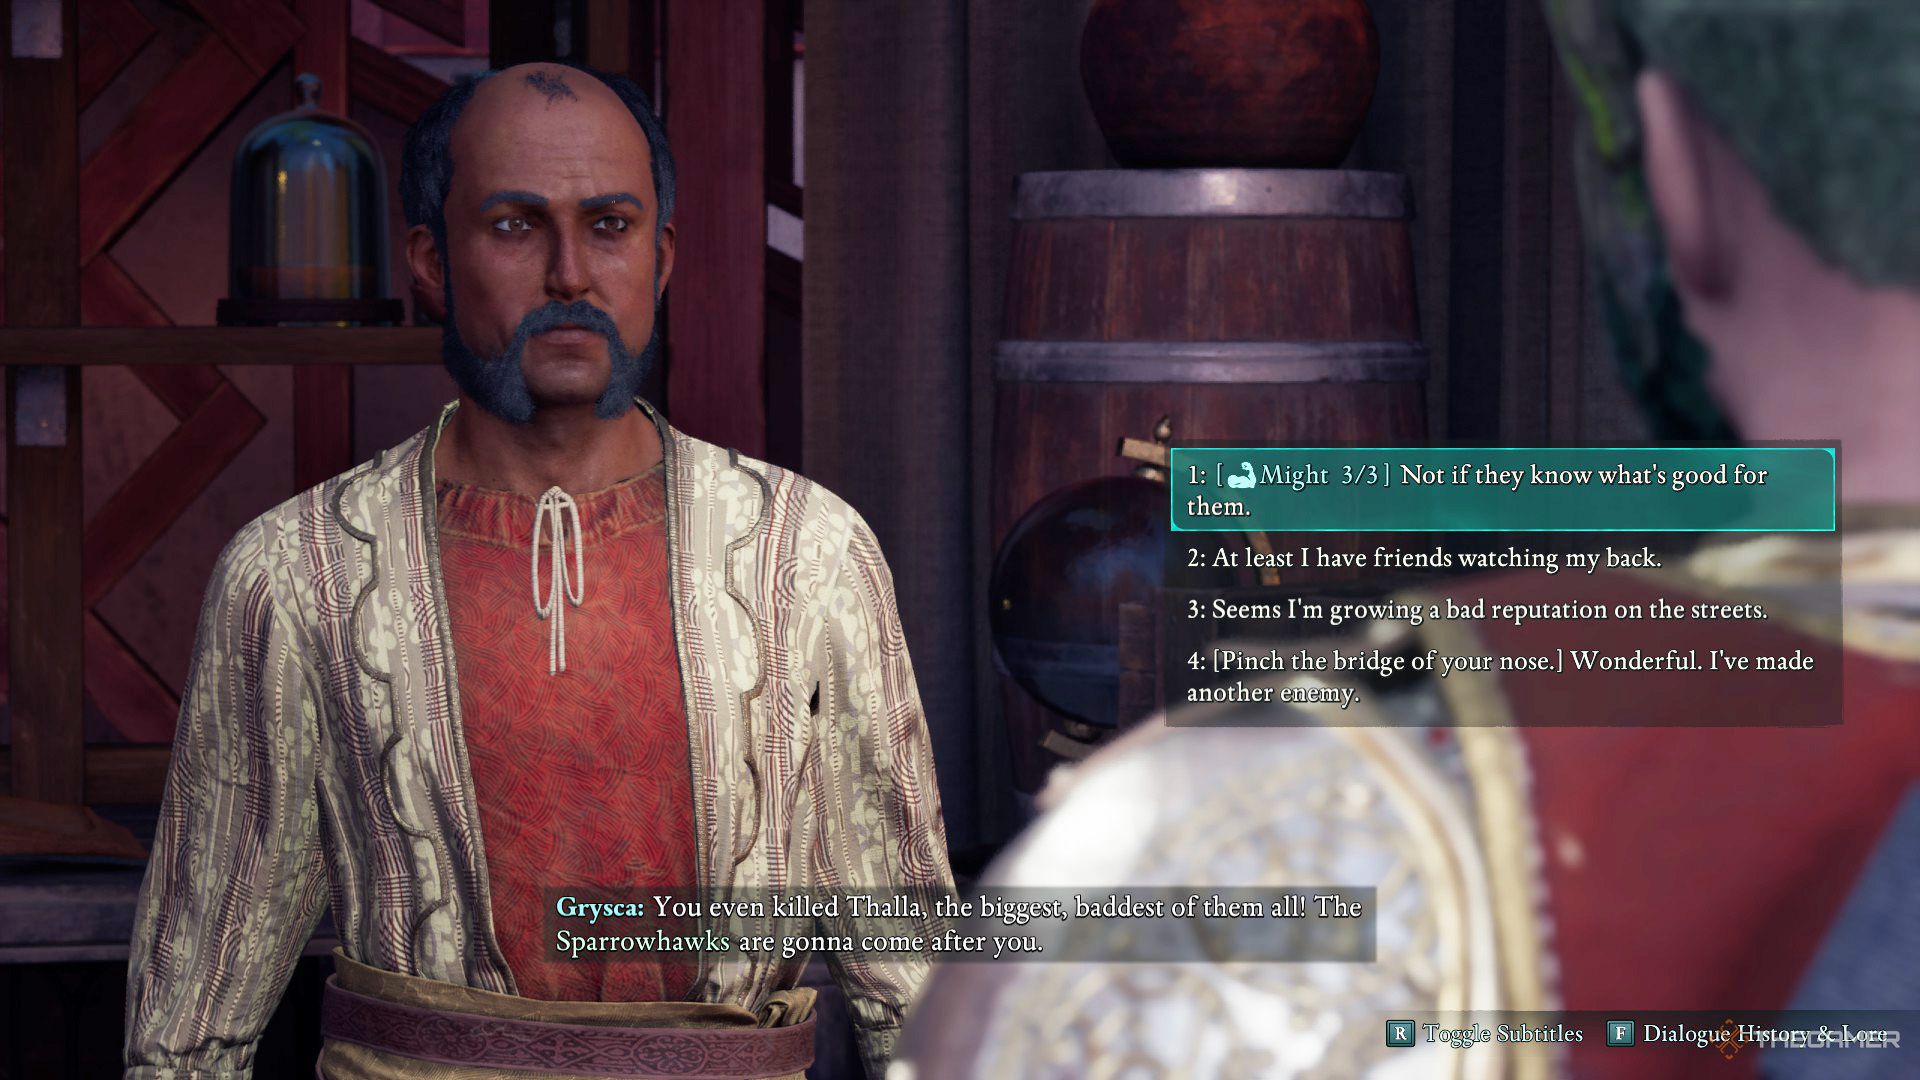
Following the victory over Wetenu and his troops, including Thalla the Taskmaster, engage in a discussion with Apothecarist Grysca. This talk may provide additional insights about your assassin, but it won’t be conclusive. At this juncture, you should explore one of two locations for more comprehensive details:
- Temple of Ondra
- Claviger’s Estate
Given that a trip to the Temple is inevitable, it would be wiser to make a stop at Claviger’s Estate prior to that.
If you intend to walk out of the Pearl District, remember to brace yourself as Sparrowhawks, enraged by Thalla’s loss, may not allow your departure without a fight.
Search Around The Claviger’s Estate
It’s suggested to pay a visit to Claviger’s Estate initially, as it offers a chance to gather prized treasures and effortlessly secure the Cistern Key.
Or, for a more conversational style:
Visiting Claviger’s place first is a smart move because you can score some valuable swag and pick up the Cistern Key with minimal fuss.
Head towards the Administration District Beacon with caution as some rebels reside there who may be aggressive. Watch out, as Paradis is growing more perilous by the day! To reach Paradis Hightown, ascend the stairs near the Beacon, unlock the northern gate and continue your journey.
Starting from High Market Beacon, proceed along the northwest road. At the end of this street, switch directions and move eastward. Continue on this course until you reach the end of the path, then climb the staircase that leads north to get to Claviger Eamund’s Estate.
Explore The Estate
In the central area, if you gaze towards the north from the fountain, you’ll spot a slim alleyway hidden there. It runs behind the courtyard. That’s where you’ll come across a chest and what appears to be a Paradisan Ladder.
Make your way back to the fountain and then unlock the grand western entrance. Inside, a band of ruffians are lying in wait for a confrontation. Once you’ve handled them, take a right on the upper level and step into a room resembling a kitchen. Hidden behind boxes and barrels in this space, another treasure chest can be found.
The staircase on your right ascends to the second floor, however, there’s nothing particularly interesting beyond books since that door is locked here. You can either use a lockpick or find the Key to Claviger’s Estate to unlock it. Conserve the lockpick, as you will soon be able to enter this location without needing one.
On the opposite end of this floor, you’ll find another set of stairs that exits the compound. Ascend the ladder and carry on to discover an armory within the tower. Once you’ve done so, face away from the armory and proceed towards the balcony straight ahead.
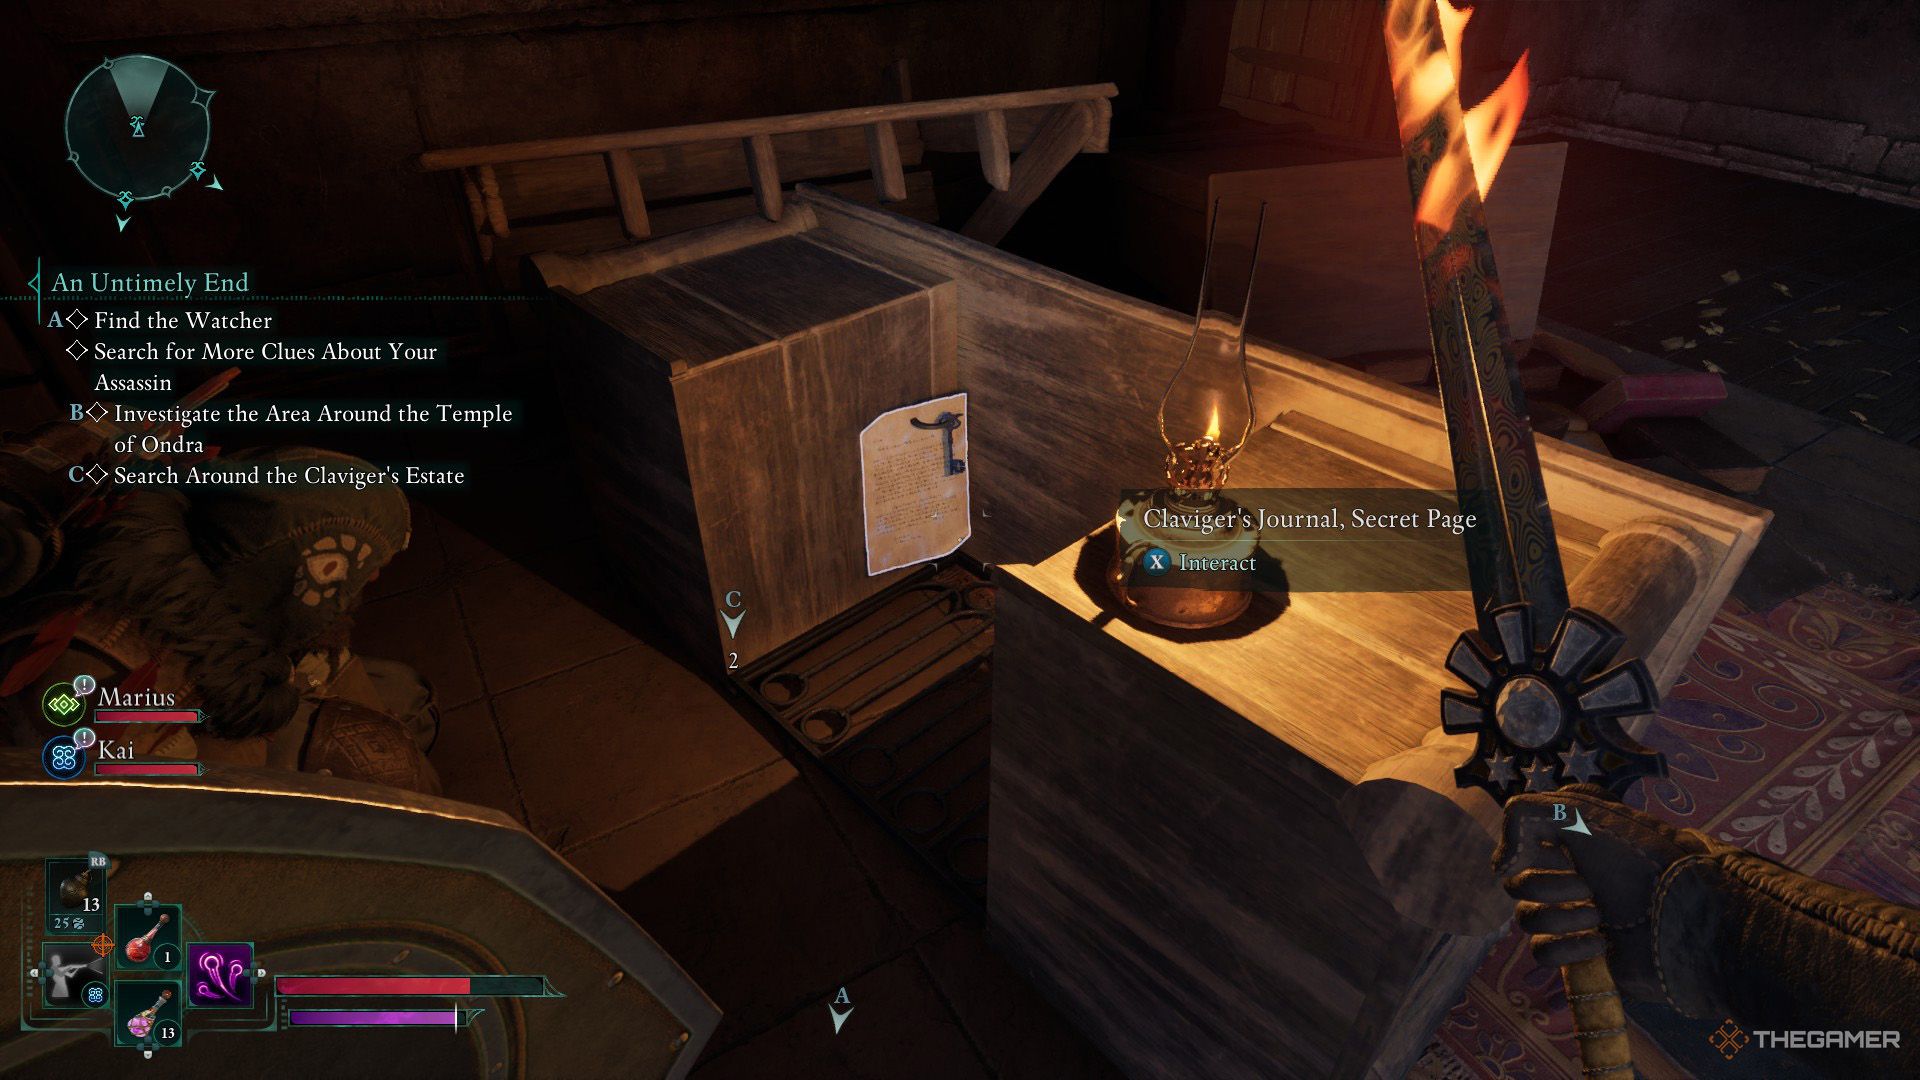
Within the vicinity of the entrance, you’ll come across Claviger’s Estate Key – a tool that may no longer be necessary for you now, given your extended stay here. Eventually, Kai will stumble upon a hidden page in Claviger’s Journal. This revelation will adjust your upcoming task: navigating to the Temple of Ondra.
Should you ascend to the higher level of the room where you discovered the secret journal entry, you’ll come across a chest that holds an exclusive amulet known as the White Key Cameo.
Enter The Cistern Beneath The Temple Of Ondra
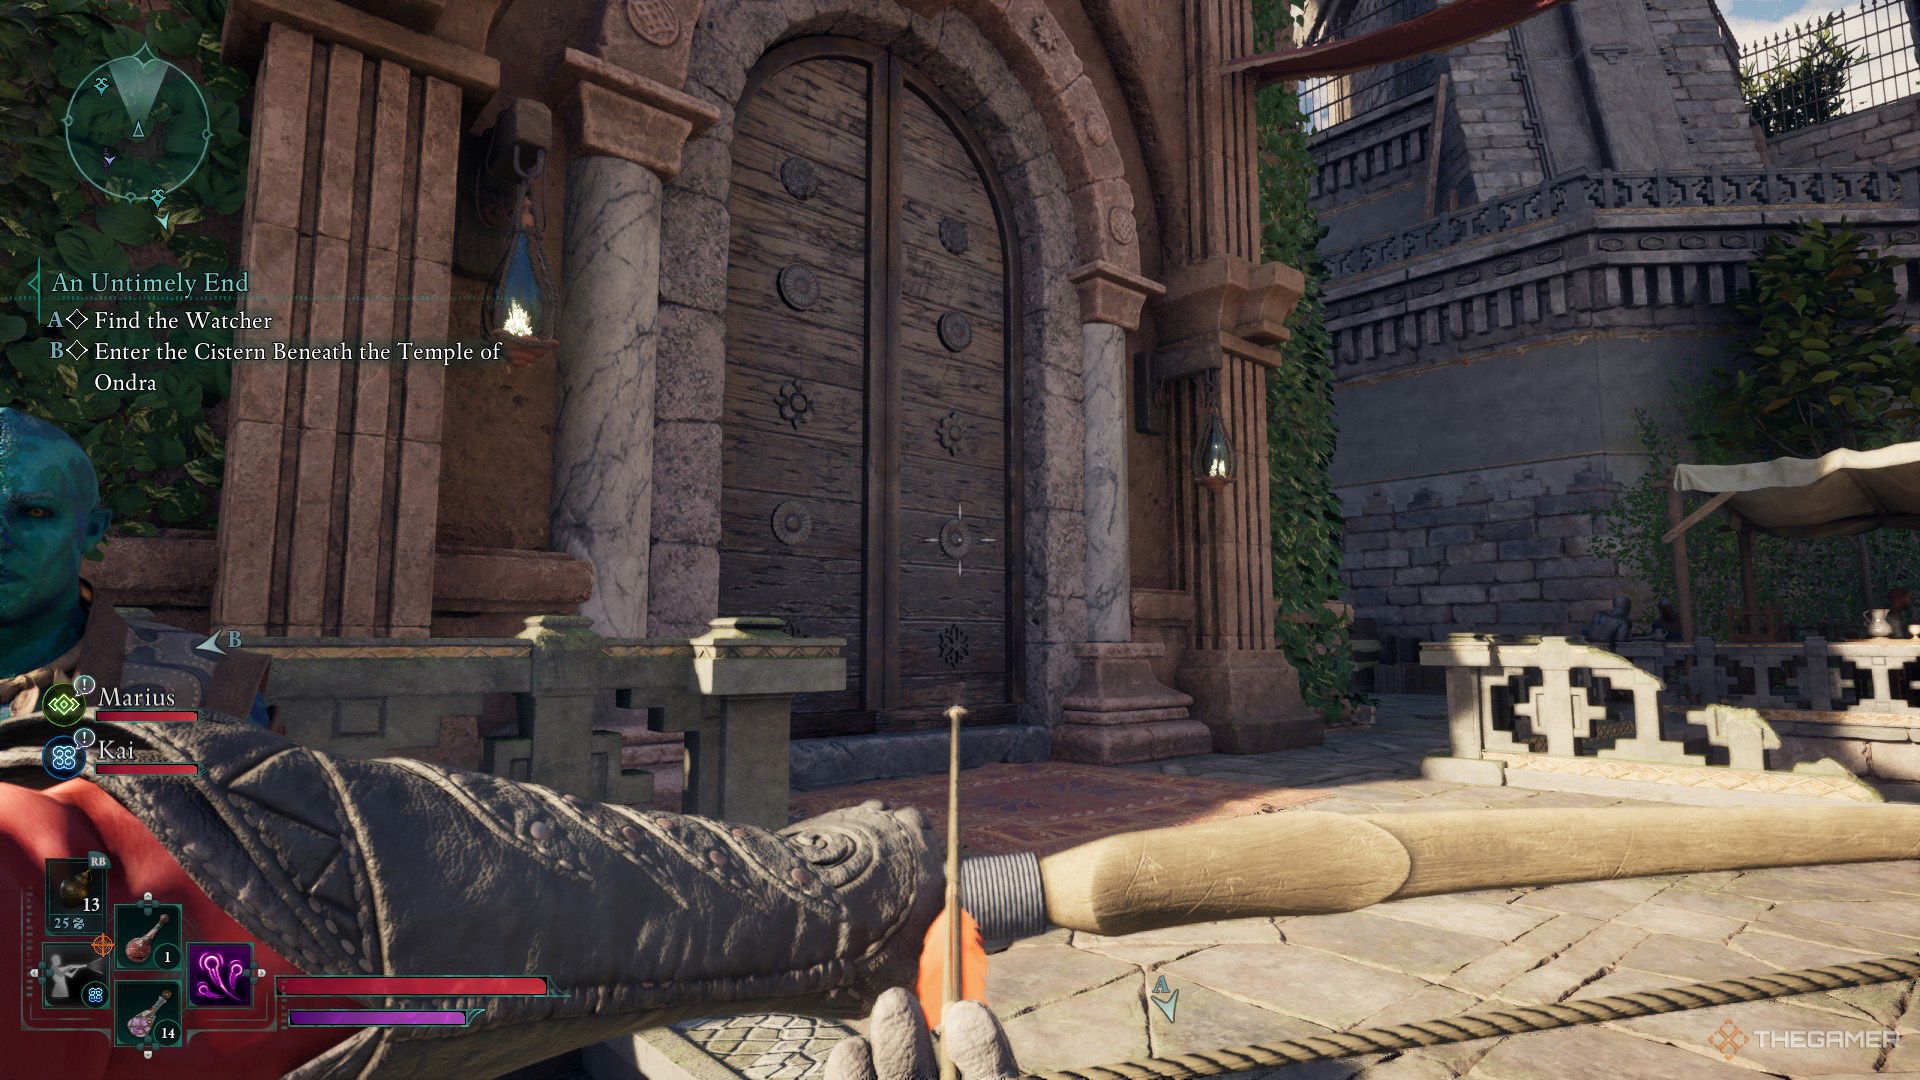
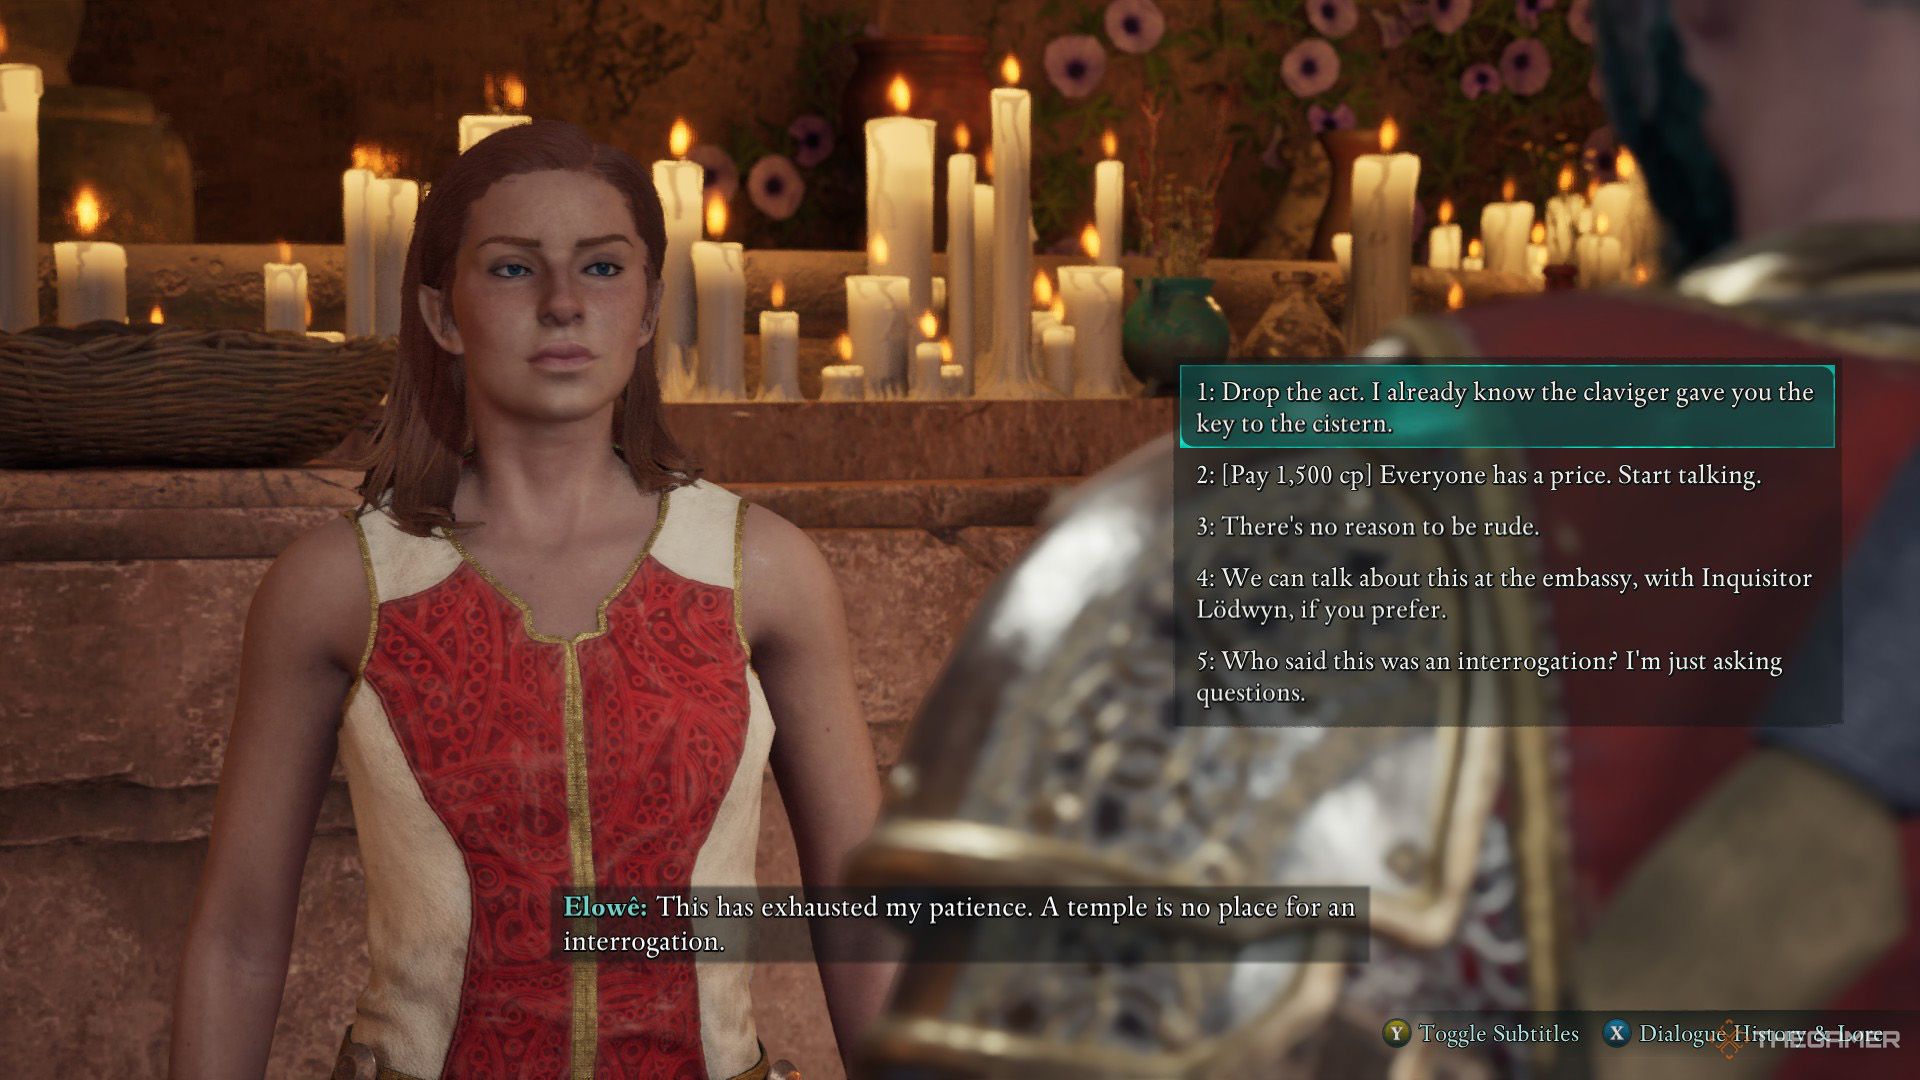
The Temple of Ondra lies to your east beyond the structure where you currently stand. Approach the prominent central statue and turn towards your left. Walk past the street merchants, climb the stone steps, and find the large wooden door ahead. Once inside, you’ll encounter Elowe. If you don’t possess the Cistern Key yet, there are multiple methods to acquire it from her:
1. Purchase it directly from Elowe.
2. Complete a quest or task assigned by Elowe in order to earn the Cistern Key as a reward.
3. Trade an item that Elowe values for the Cistern Key.
- Use the clues found in Claviger’s Estate to persuade her.
- If your Resolve is five, you can intimidate her.
- Bribe her with 1,500 coins to make her talk.
- If you’ve completed the “A Lady Never Tells” or “The Escape Plan” quests, you can mention that you’re here to help, and she’ll be convinced.
- If you have a Ranger background and four Strength, you can recruit him as a spy, which will be useful later.
- You can let her escape.
- You can kill her, reclaim the bribe money, and obtain the Cistern Key (if you haven’t already).
Track Down Your Killer
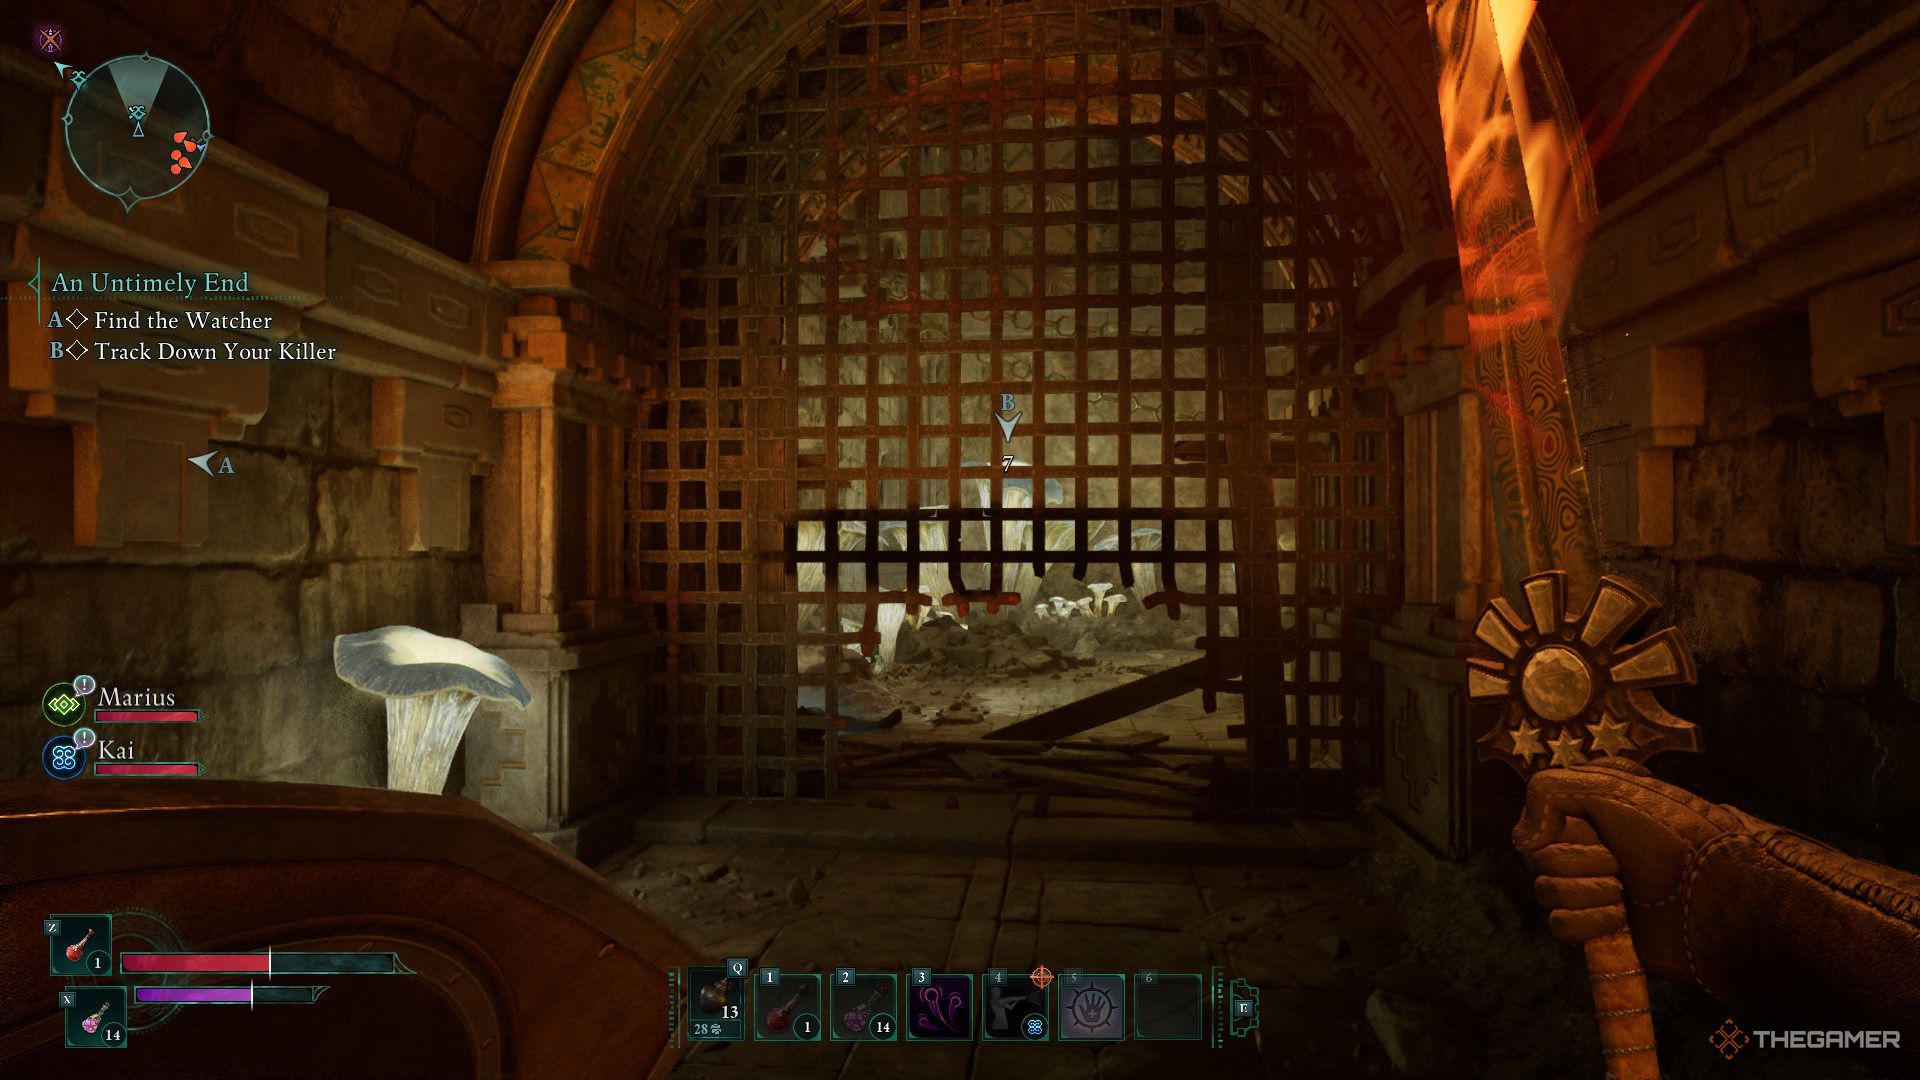
With the help of the Cistern Key, open the door on your left within the Temple, then go down the staircase and find the door that takes you to the Cistern. Once descended, you’ll arrive at a damp, sewer-like area—turn towards your left from here. There, you will meet some rebels, but they are not exactly welcoming.
Once you’ve handled the obstacles, smash the wooden barriers obstructing the ventilated corridor and lower yourself to pass through. In the chamber you enter, there are sensitive floor tiles that set off wall-mounted dart guns when walked upon.
Stand beside the decayed spider-like body in the chamber, it’s a safe spot where darts can’t reach you. After that, diagonal across the room to find and activate the switch on the wall, disarming the traps. Proceed forward, clear away the cobwebs; expect spiders to ambush you in the next room.
After taking them out, I’d torch the cobwebs clogging the nook’s hole cornerwise, then move onward. Be warned, there could be more arachnids lurking around here—tread carefully when dealing with them.
Before proceeding through the locked gate, make sure to inspect the opposite side of the room for a fragile wall. Knock it down if you find one to reveal a Paradisan Ladder. Moreover, there’s a treasure chest hidden behind some spider webs that requires a lockpick to open.
Head back to the room where the spider battle occurred and navigate through the grilled entrance. Given that the floor is submerged, you’ll need to ascend to the other side. You can either activate the Eye of Rymrgand on the wall or cast an ice spell on the water to generate a platform and make your way across.
Ascend the rock overhead and locate the Lower Cistern Key near a deceased body, which is situated beside the frozen section of the expansive chamber housing a deep pool of water. If you possess an ice spell or the Eye of Rymrgand, utilize them to solidify the water first.
Continue scaling the rocks, creep through the stone passageway, and insert the newly found key into the door in front of you. The room ahead is rectangular with a water-filled center—employ the Eyes of Rymrgand hanging on the wall to solidify the water and traverse. After that, shatter the circular iron gratings on the walls using the ice and proceed forward.
Leap off the brightly lit platform to reach the torches below and employ the Lower Cistern Key to unlock the heavy doors ahead. This will lead you into a treacherous hallway filled with falling blades. To navigate safely, pull the lever near the archway to deactivate the traps, then continue through the door where you’ll encounter more insurgents.
1st, get rid of the healer, afterwards attend to the rest. Inside here, there’s a lockable box situated at a lower level and another one on an elevated wooden platform. Unlock these chests and proceed through the next door into a spacious room, where more rebels are gathered.
As a passionate adventurer, I traverse up the stairway and follow the wooden walkways that lead me to a grand, columned area. There, two more rebels stand their ground. After settling matters with them, remember to ransack the chest in this vicinity. Continuing on the wooden walkway path will guide you towards a corridor. I ascend another set of stairs, push open a wooden door, and there I am, face-to-face with my assassin, Ygwulf.
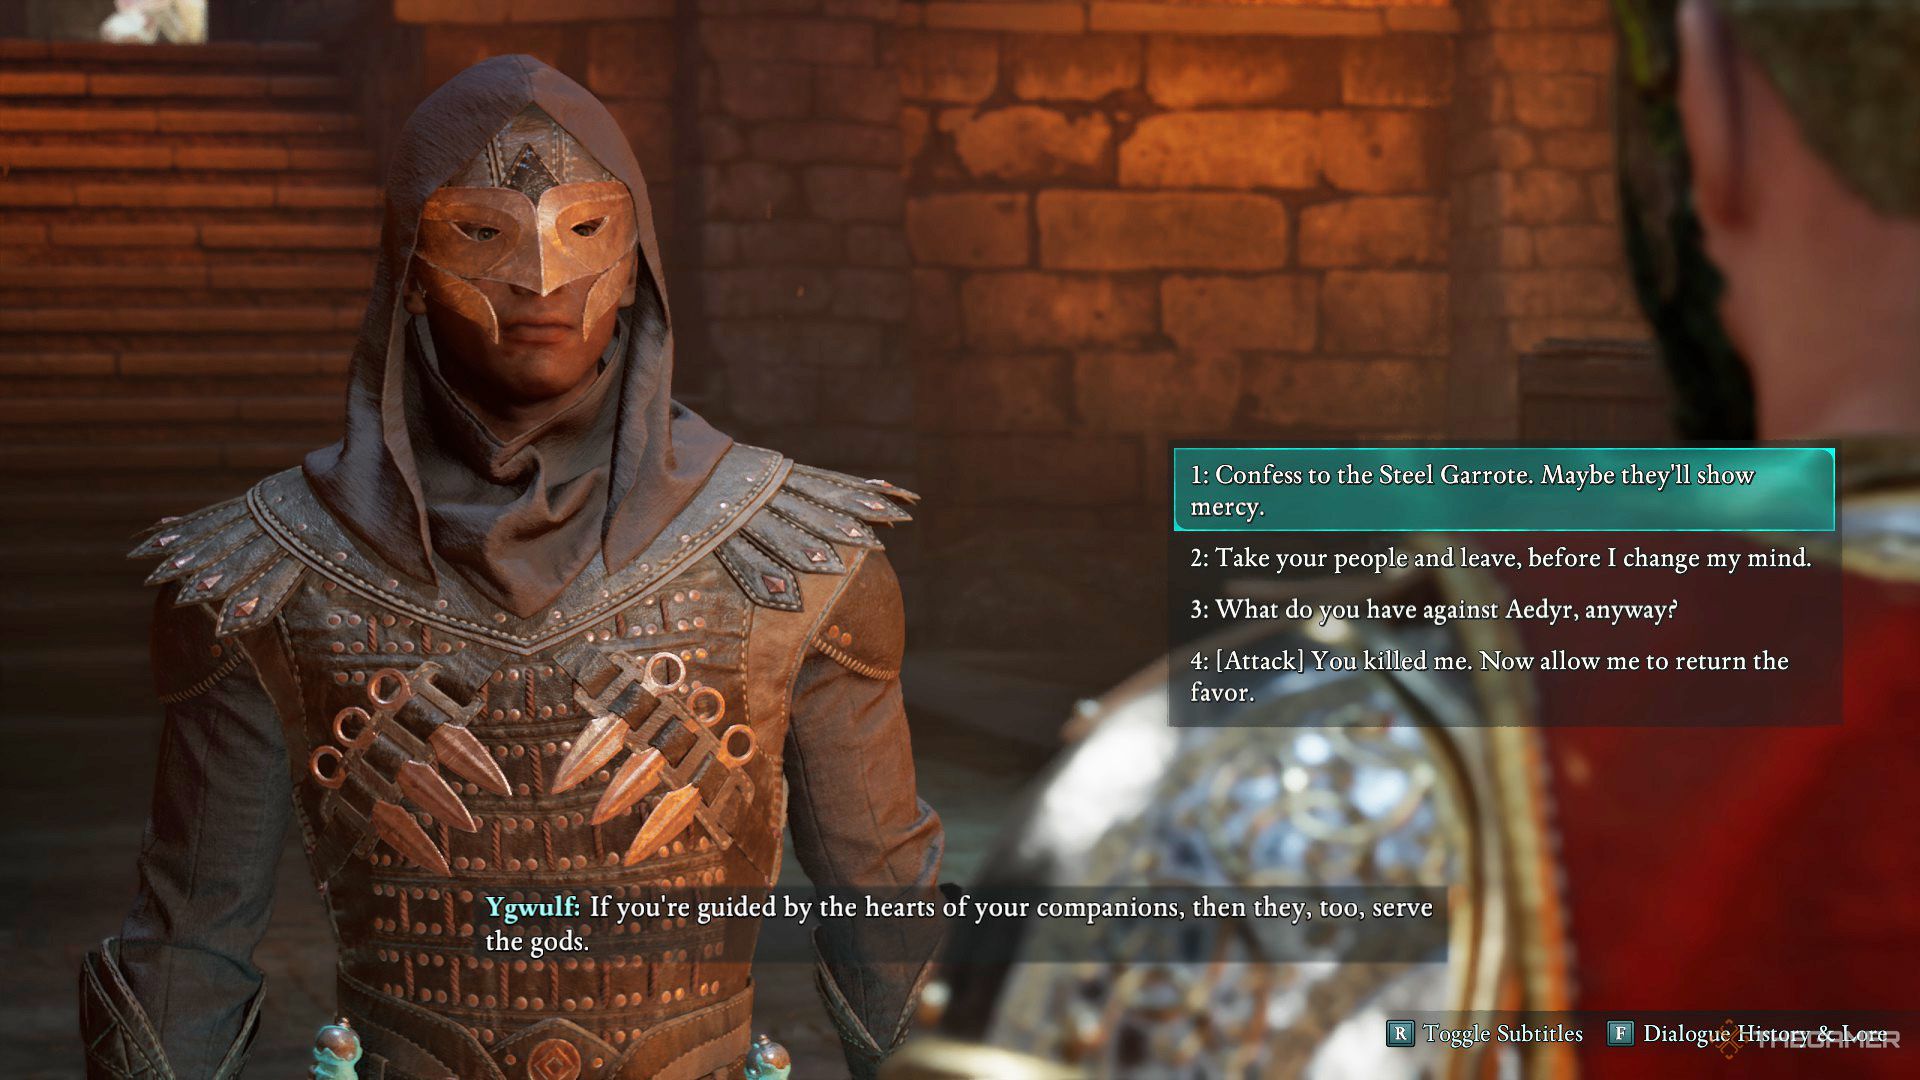
Spare Ygwulf
This option has two variations:
- If you turn him in to the Steel Garrote and their Inquisitor, they will favor you, but the rebels will remain hostile.
- If you let him escape, the Aedyrans and the Inquisitor will not react well. However, he will reward you with 625 gold coins and Adra, and the rebels will react differently in future encounters.
Kill Ygwulf
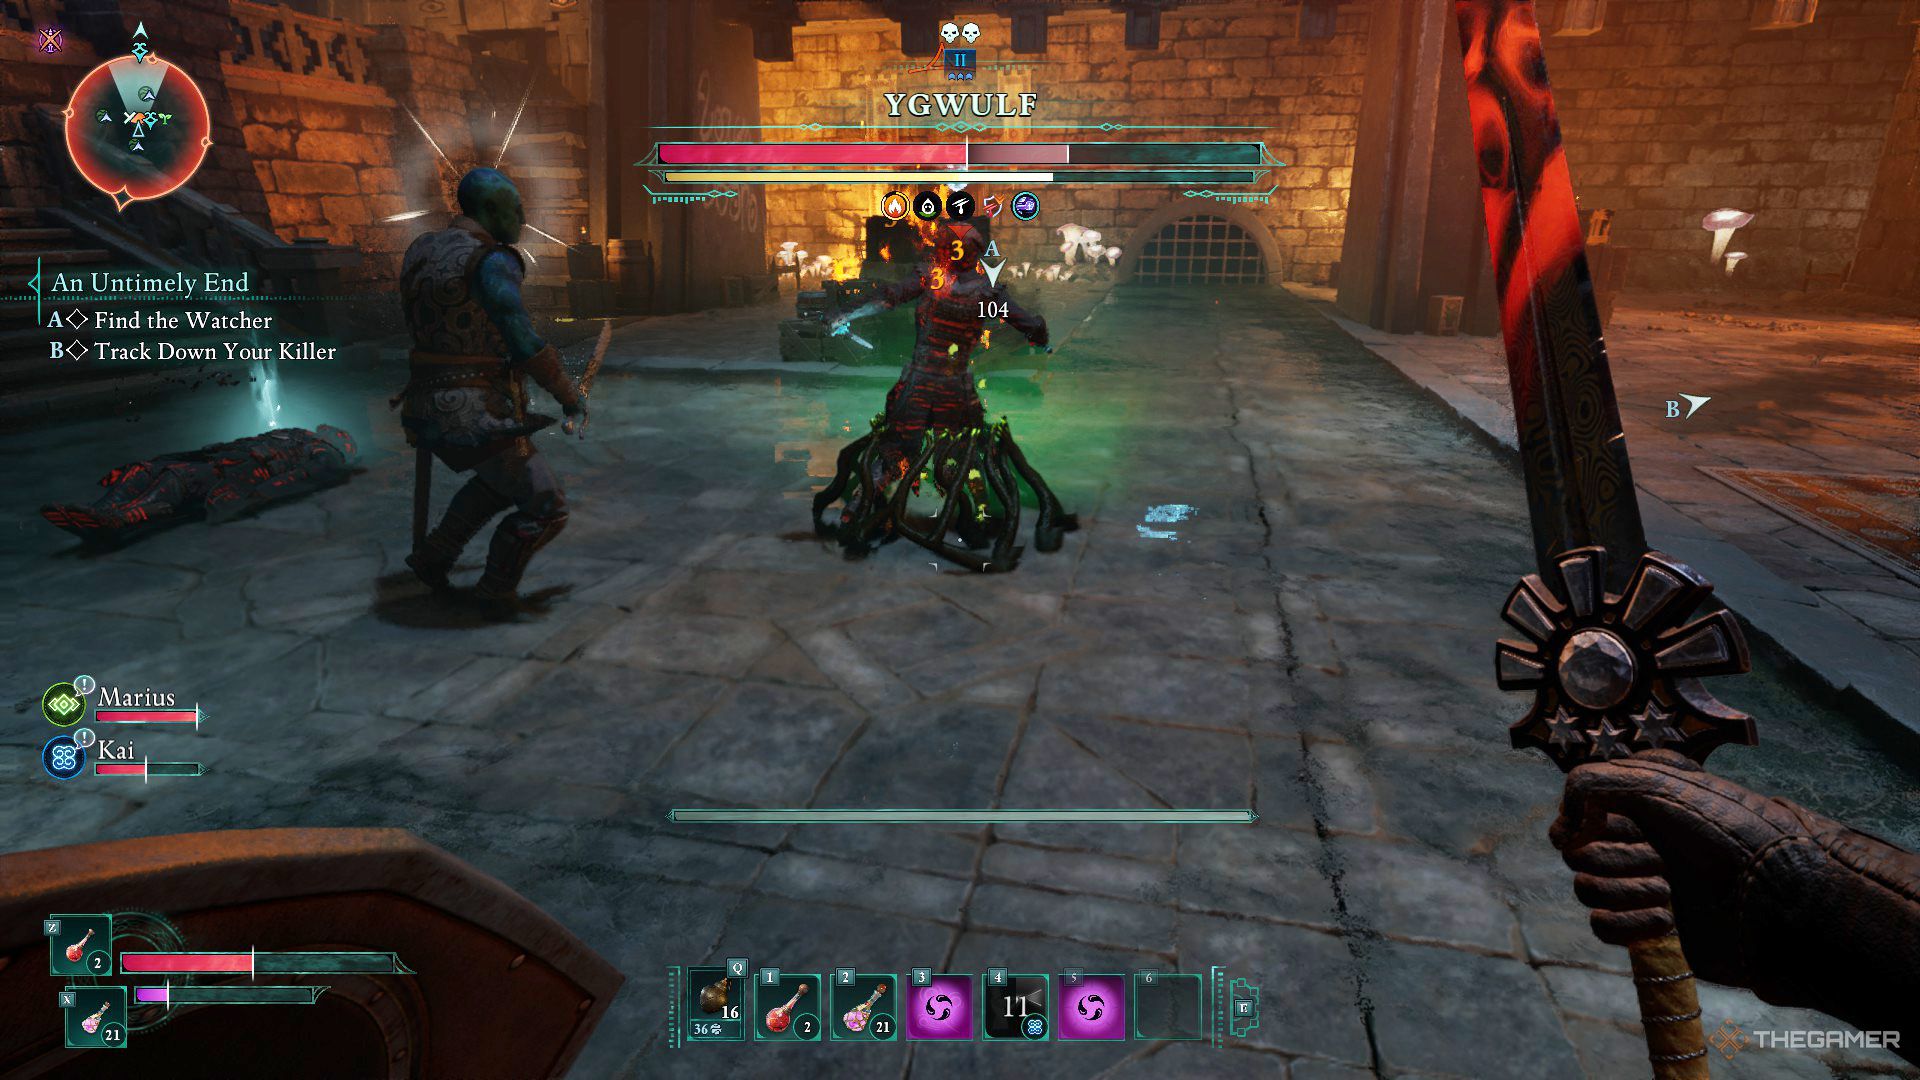
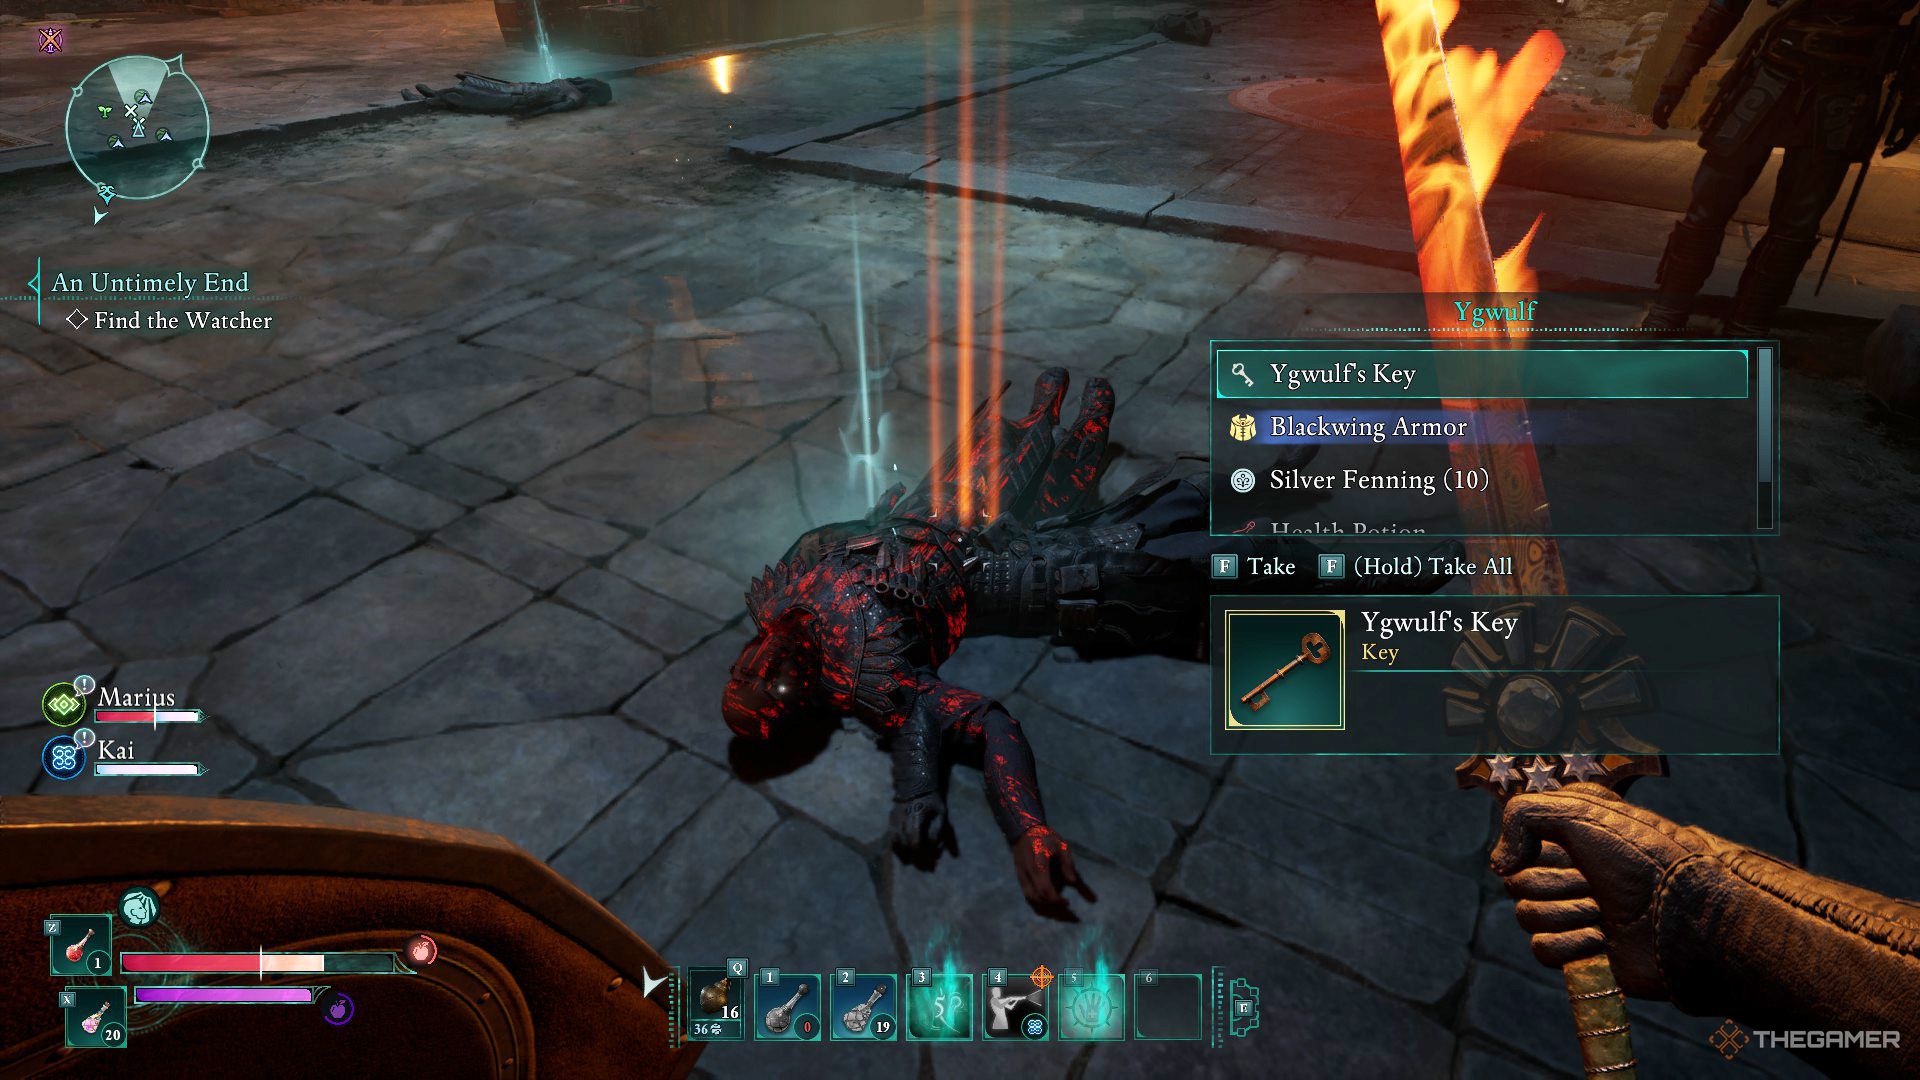
Should you opt to eliminate him, Ygwulf, you’ll be able to obtain the Blackwing Armor from his remains. However, this action could lead to unfavorable relations with the Paradisan Rebels, and they may pose a threat to you in the future. Alternatively, if you elect to engage him in combat, both Ygwulf and the other rebels present will join forces against you, and this confrontation won’t be an easy one.
His knack for becoming invisible and attacking swiftly will undoubtedly make the battle tough, so it would be wise to prioritize taking out the other insurgents initially. Inflicting poison, bleeding, or burn damages can hasten the conclusion of the fight. Moreover, leveraging Marius’s command menu ability to entangle him will make the confrontation less challenging.
When his health drops to halfway, be prepared for additional enemies to appear in the room; prioritize eliminating them before focusing on anything else. Additionally, when his health becomes critically low, he’ll utilize a healing potion to restore himself completely.
No matter if you defeat or spare Ygwulf, you’ll acquire Ygwulf’s Key as a result. Following the battle, search for an lockable chest atop the stairs in that room. Once the combat concludes, your sole task left is locating The Watcher. Utilize Ygwulf’s key to open the door and exit the sewer system.
Find The Watcher
As a gamer, I’d say: “To locate the Watcher, make your way towards the most northeastern point of Dawnshore. If you’ve stumbled upon The Rise Party Camp earlier, continue northeast from there. You’ll eventually spot a broken bridge. To cross the frozen lake on the other side, I suggest using an ice spell or the Eye of Rymrgand to freeze it first.
As a curious visitor, I came across an oddly agitated resident seated near the residence. He handed me a small coin and requested me to fling it into the tranquil lake hidden behind the Watcher’s house for good fortune. I could either follow his instructions or gather coins from the lake myself, but keep in mind, this won’t make me rich – just beware of crushing other people’s hopes in the process.

The next step is to make your way back to the Ambassador. He’ll let you know that he’s dispatching you to Fior mes Iverno, a place where the animancers might have solutions for the Dreamscourge. Following your long-awaited encounter with Inquisitor Lodwyn, your main mission will conclude, and it will be time for you to depart from Dawnshore.
Read More
- Who Is Harley Wallace? The Heartbreaking Truth Behind Bring Her Back’s Dedication
- 50 Ankle Break & Score Sound ID Codes for Basketball Zero
- Basketball Zero Boombox & Music ID Codes – Roblox
- 50 Goal Sound ID Codes for Blue Lock Rivals
- Lost Sword Tier List & Reroll Guide [RELEASE]
- Gaming’s Hilarious Roast of “Fake News” and Propaganda
- Revisiting Peter Jackson’s Epic Monster Masterpiece: King Kong’s Lasting Impact on Cinema
- Summer Games Done Quick 2025: How To Watch SGDQ And Schedule
- The best Easter eggs in Jurassic World Rebirth, including callbacks to Jurassic Park
- 100 Most-Watched TV Series of 2024-25 Across Streaming, Broadcast and Cable: ‘Squid Game’ Leads This Season’s Rankers
2025-03-20 07:36