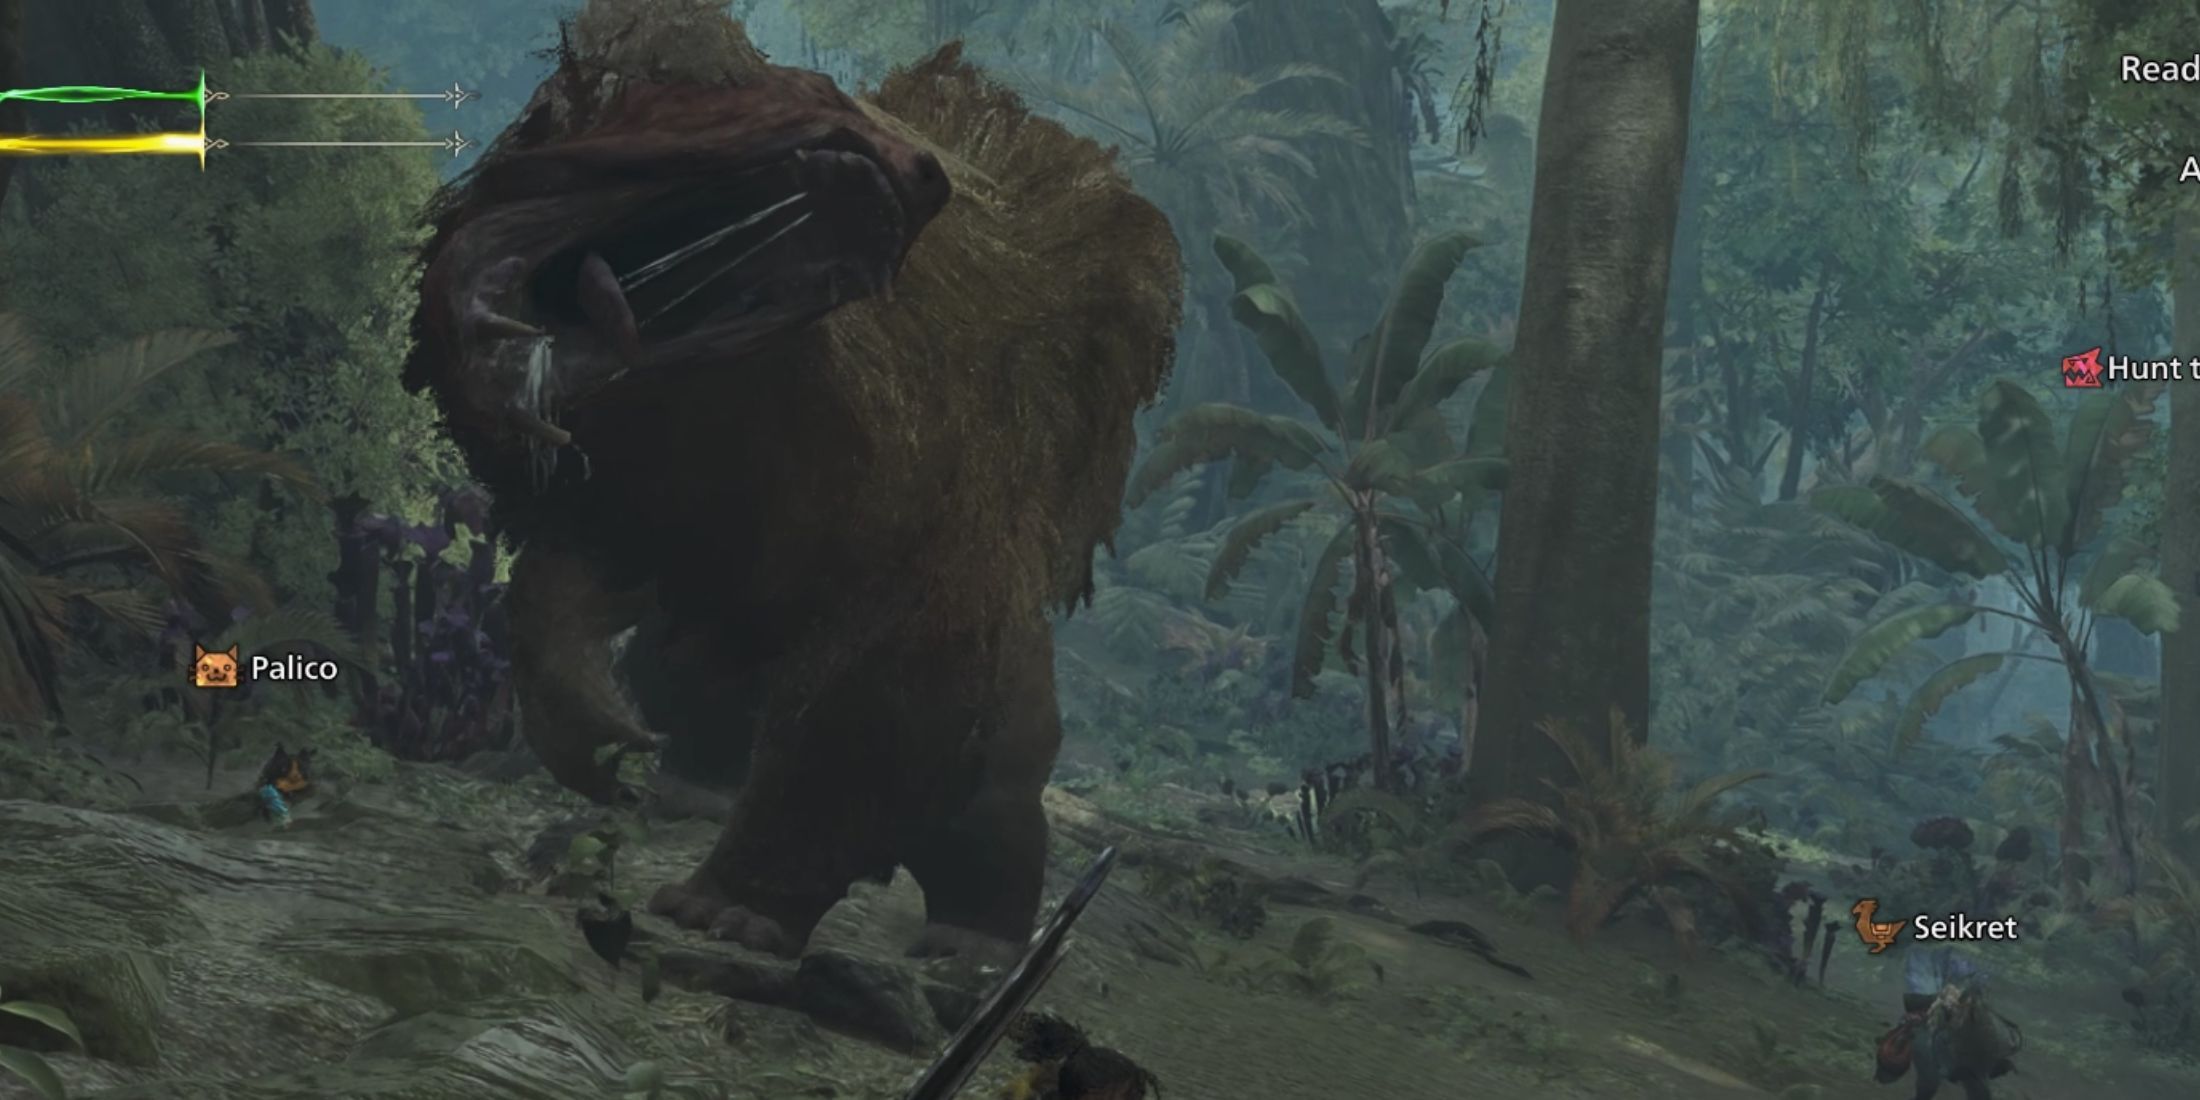
In the game Monster Hunter Wilds, Doshaguma is one of the Fanged Beasts that can be quite difficult for players in the beginning stages. You’ll initially come across it during the story mission “Pinnacle of the Pack.” This mission requires you to battle the Alpha Doshaguma, and the fight takes place in a dynamic environment known as Windward Plains. At some point during the battle, another monster called a Balahara enters the fray and sets up a quicksand trap that aims to bring down the towering Doshaguma.
Once you wrap up the main storyline, I recommend chatting with Alma, your trusted handler, to embark on some extra missions targeting the elusive Doshaguma. These battles will grant you valuable Monster Parts from the beast, which can be used to boost various weapons and armor sets in Monster Hunter Wilds. Here, I’ll share a host of useful tips and strategies for taking down the Doshaguma solo!
Monster Hunter Wilds Doshaguma Attack Patterns

In the game ‘Monster Hunter Wilds’, understanding a monster’s attack routine is crucial for defeating it. Monsters have specific movements they use to attack players, and Doshaguma’s attacks are clearly signaled beforehand, enabling players to skillfully dodge them and ultimately triumph over the creature as they stay vigilant and attentive.
Here are all of Doshaguma’s attacks in Monster Hunter Wilds:
Ground Slam
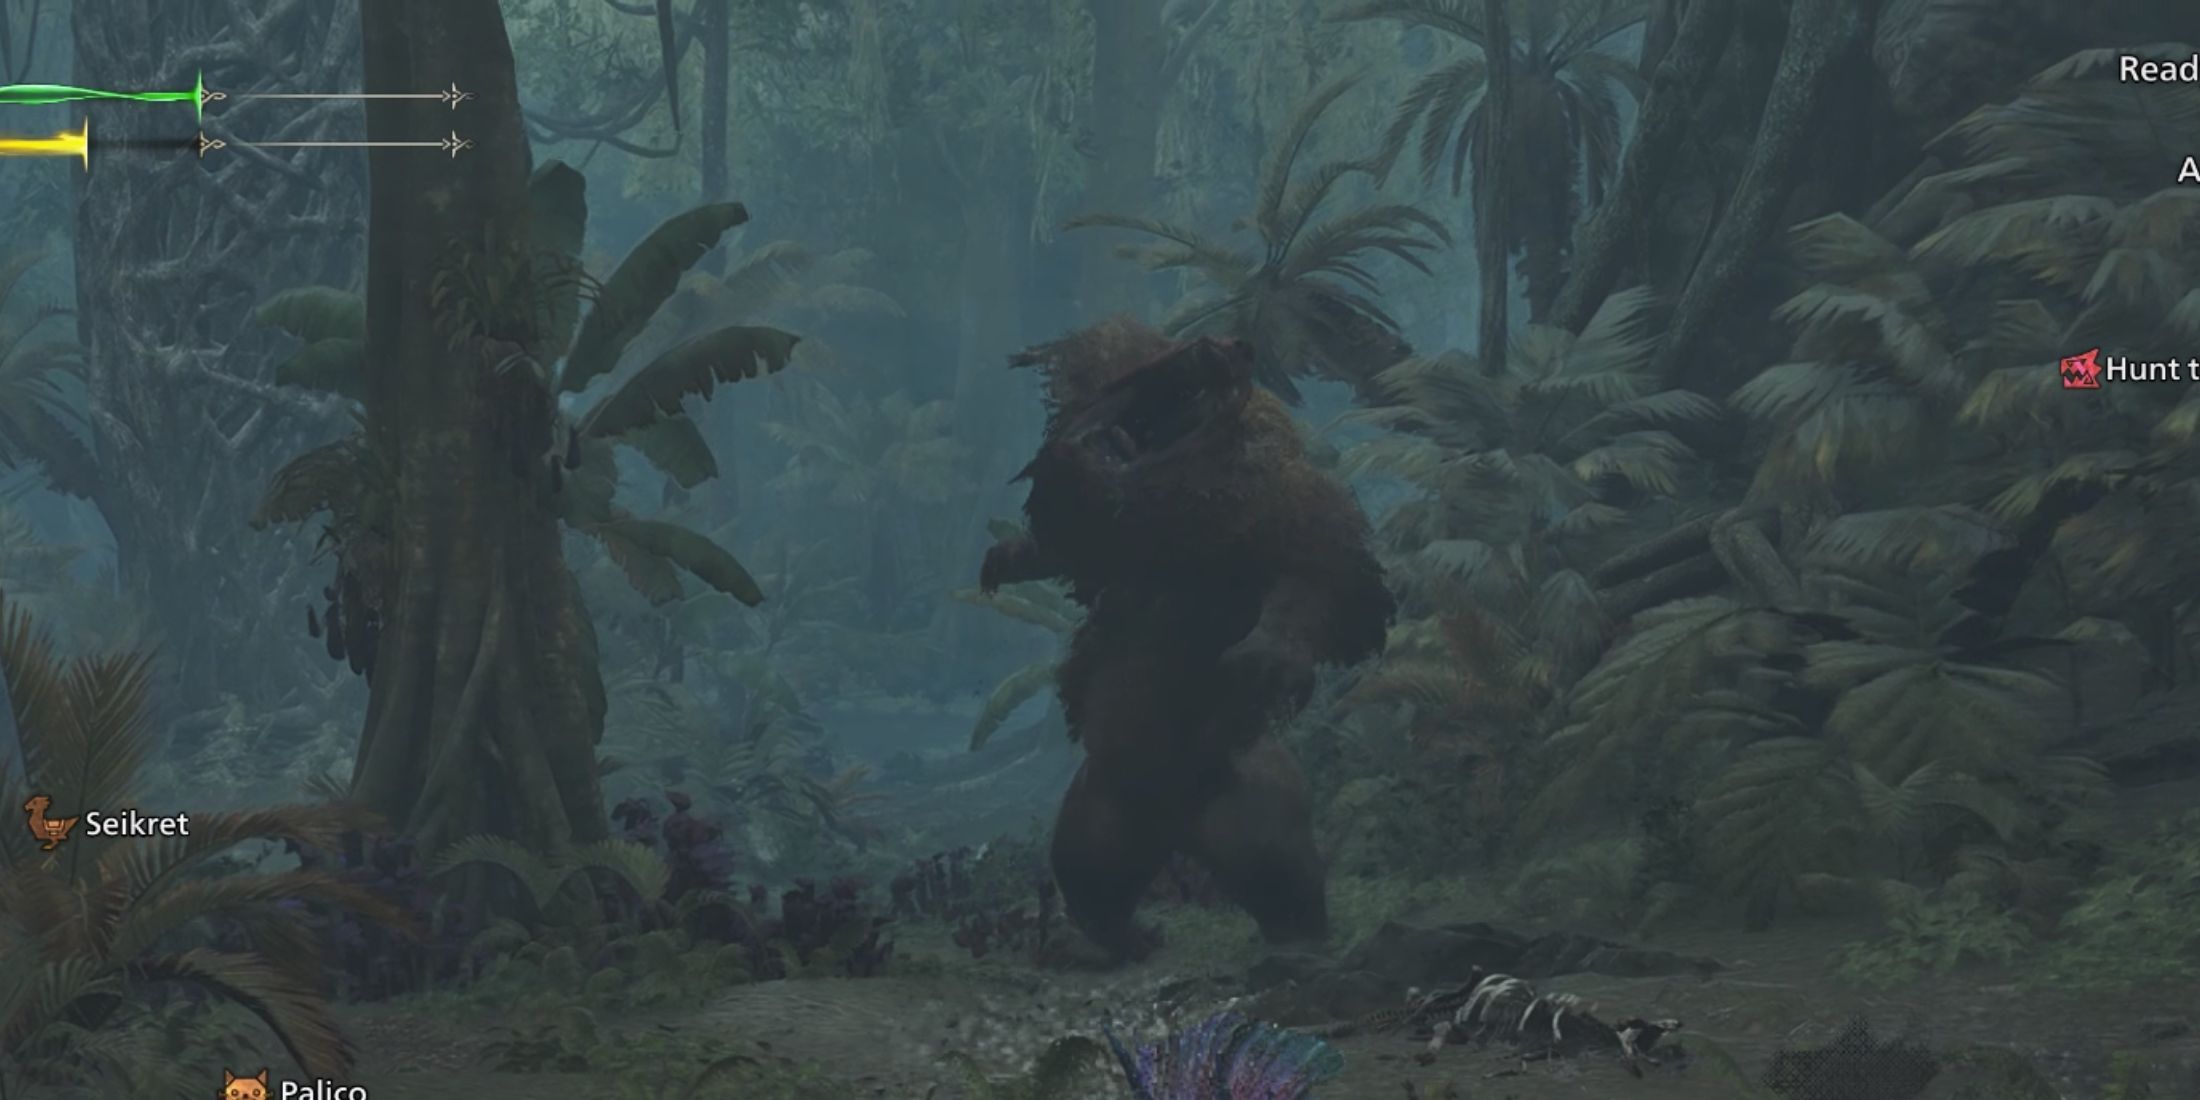
As a gamer, I find myself on high alert when the Doshaguma rears up and pauses, poised to strike. It charges forward, slamming both its arms into the ground – but wisely, I dart aside or step back to avoid the impact. If it decides to use just one arm for the attack, I can defend myself with a Power Clash. To stay safe, dodging sideways or backward is my best bet to get out of harm’s way.
Occasionally, when the monster prepares to execute its Ground Slam move, you might notice a vulnerable spot on its underside. If you act swiftly, you can capitalize on this opportunity by performing a Precision Strike, dealing significant damage and potentially causing it harm in that weak area.
Arm Slam and Throw
As a dedicated fan, here’s my take on it: I’m sharing details about an impressive combo move by Doshaguma, a formidable foe. The sequence kicks off with a powerful Ground Slam. Post this slam, the creature burrows its arms underground and hurls stones at the hunter, inflicting damage. This attack boasts a vast area of effect, but it’s predictable. To dodge potential harm, I’d suggest positioning yourself behind Doshaguma. However, attempting to dodge roll backwards could lead to getting hit instead.
Shoulder Bash
As a fervent admirer, I’d say: When the Doshaguma thumps its head onto the ground, it moves ahead, smashing any pursuer in its wake. To dodge the beast effectively, I find it best to weave diagonally, keeping myself clear of its destructive path.
Bite Attack
As the Doshaguma unleashes its jaws, quickly dart sideways to evade its attack and prevent getting hurt.
Circular Sweep
In its current location, the Dosahguma sweeps its arms around and spins fully. Given the wide reach of this action, it would be prudent to move towards safety.
Claw Attack
During the battle, the Doshaguma might swipe at you with either its left or right arm. You can block this attack with a Power Clash or dodge and move behind the monster by rolling.
In addition to its main abilities, the Doshaguma possesses a minor roar and tremor attack. These attacks, when used, can momentarily freeze the player in place. To protect against the deafening roar, one should equip the Earplugs skill. For those who wish to withstand the tremor, Tremor Resistance is the skill to have on hand.
Monster Hunter Wilds Doshaguma Weaknesses
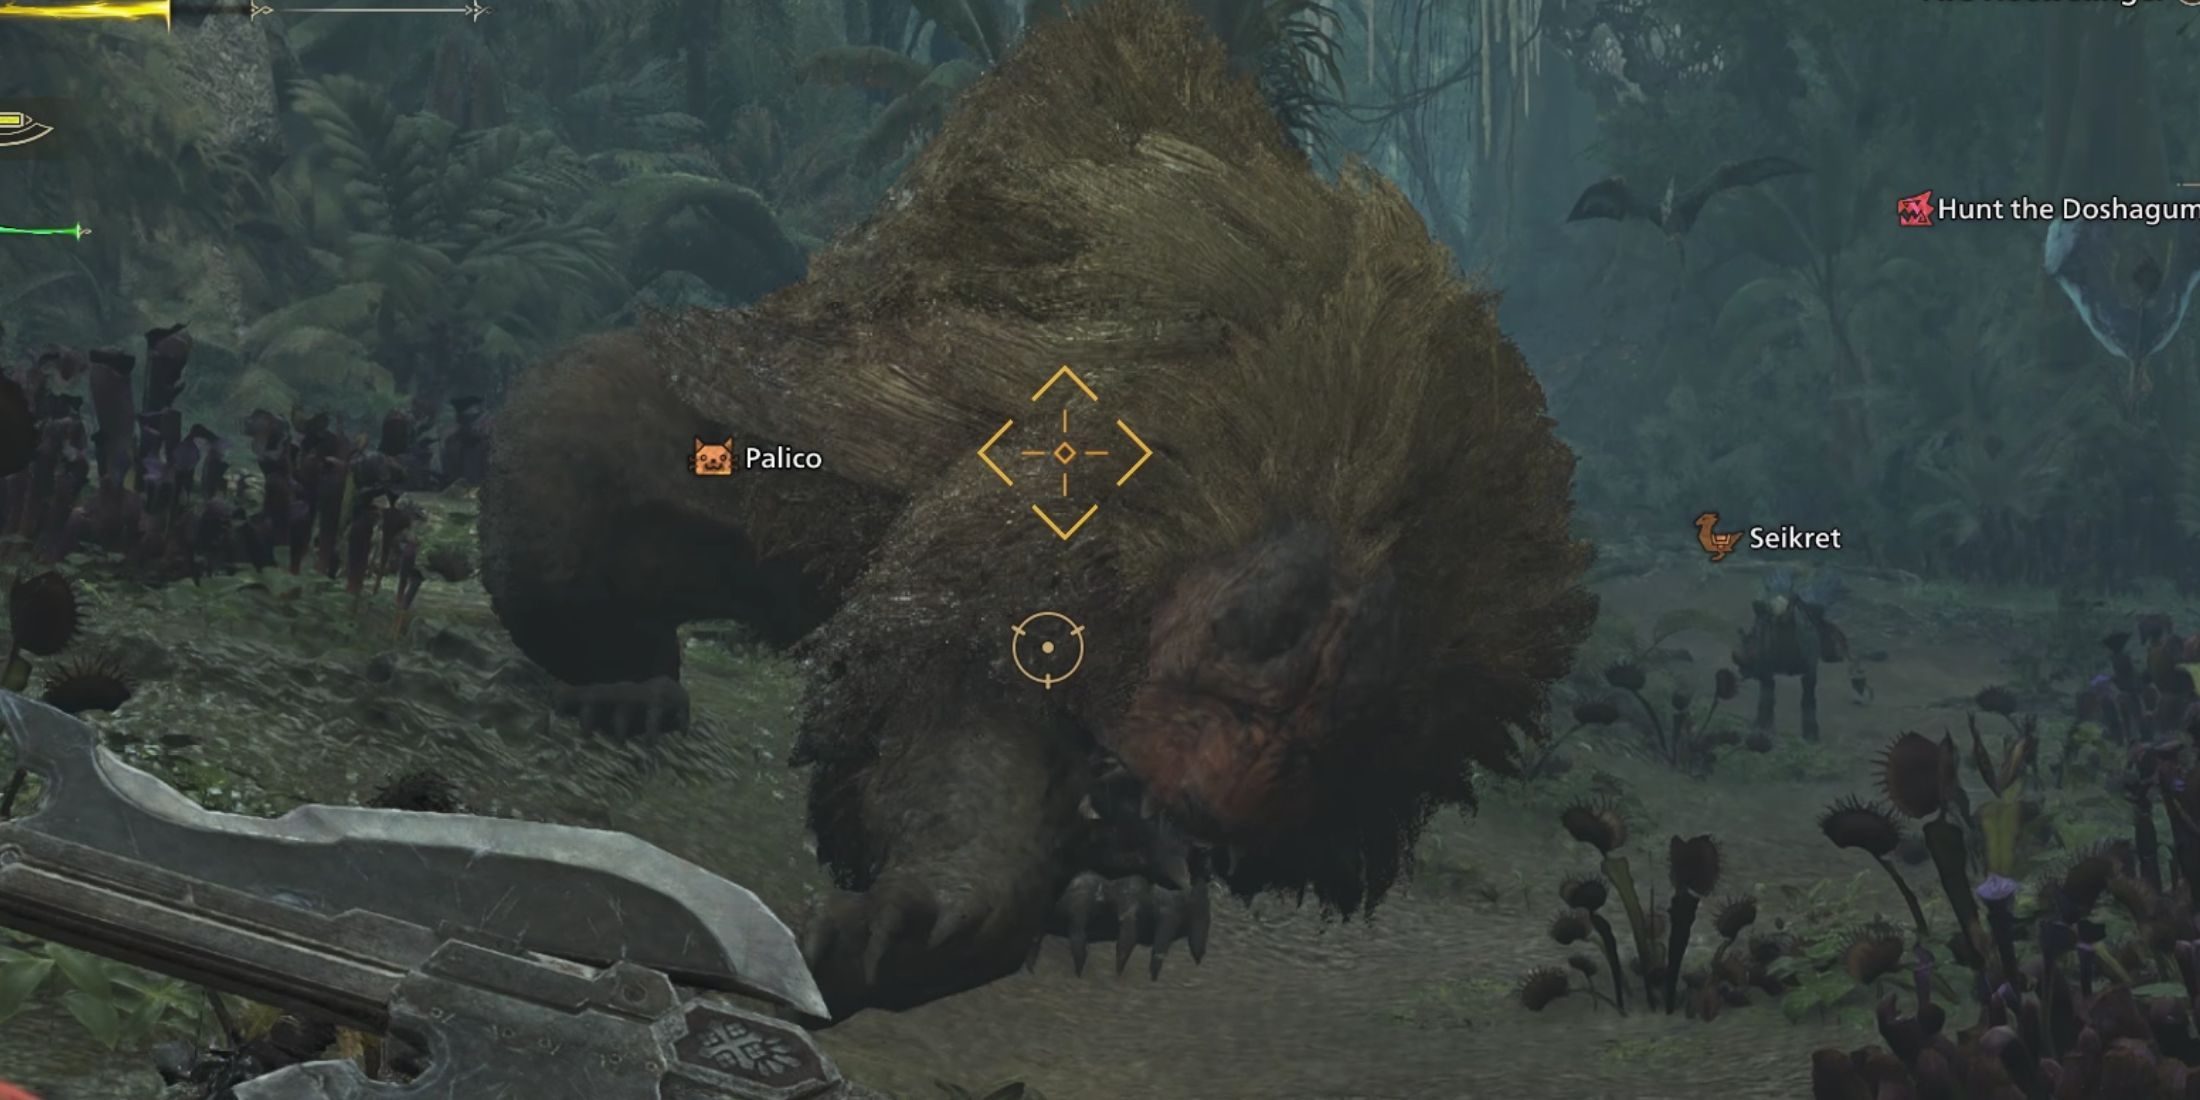
Initially, Doshaguma might appear daunting to beginners in Monster Hunter Wilds, but just as with any other creature in the game, it too has vulnerabilities that you can leverage for a tactical advantage during combat.
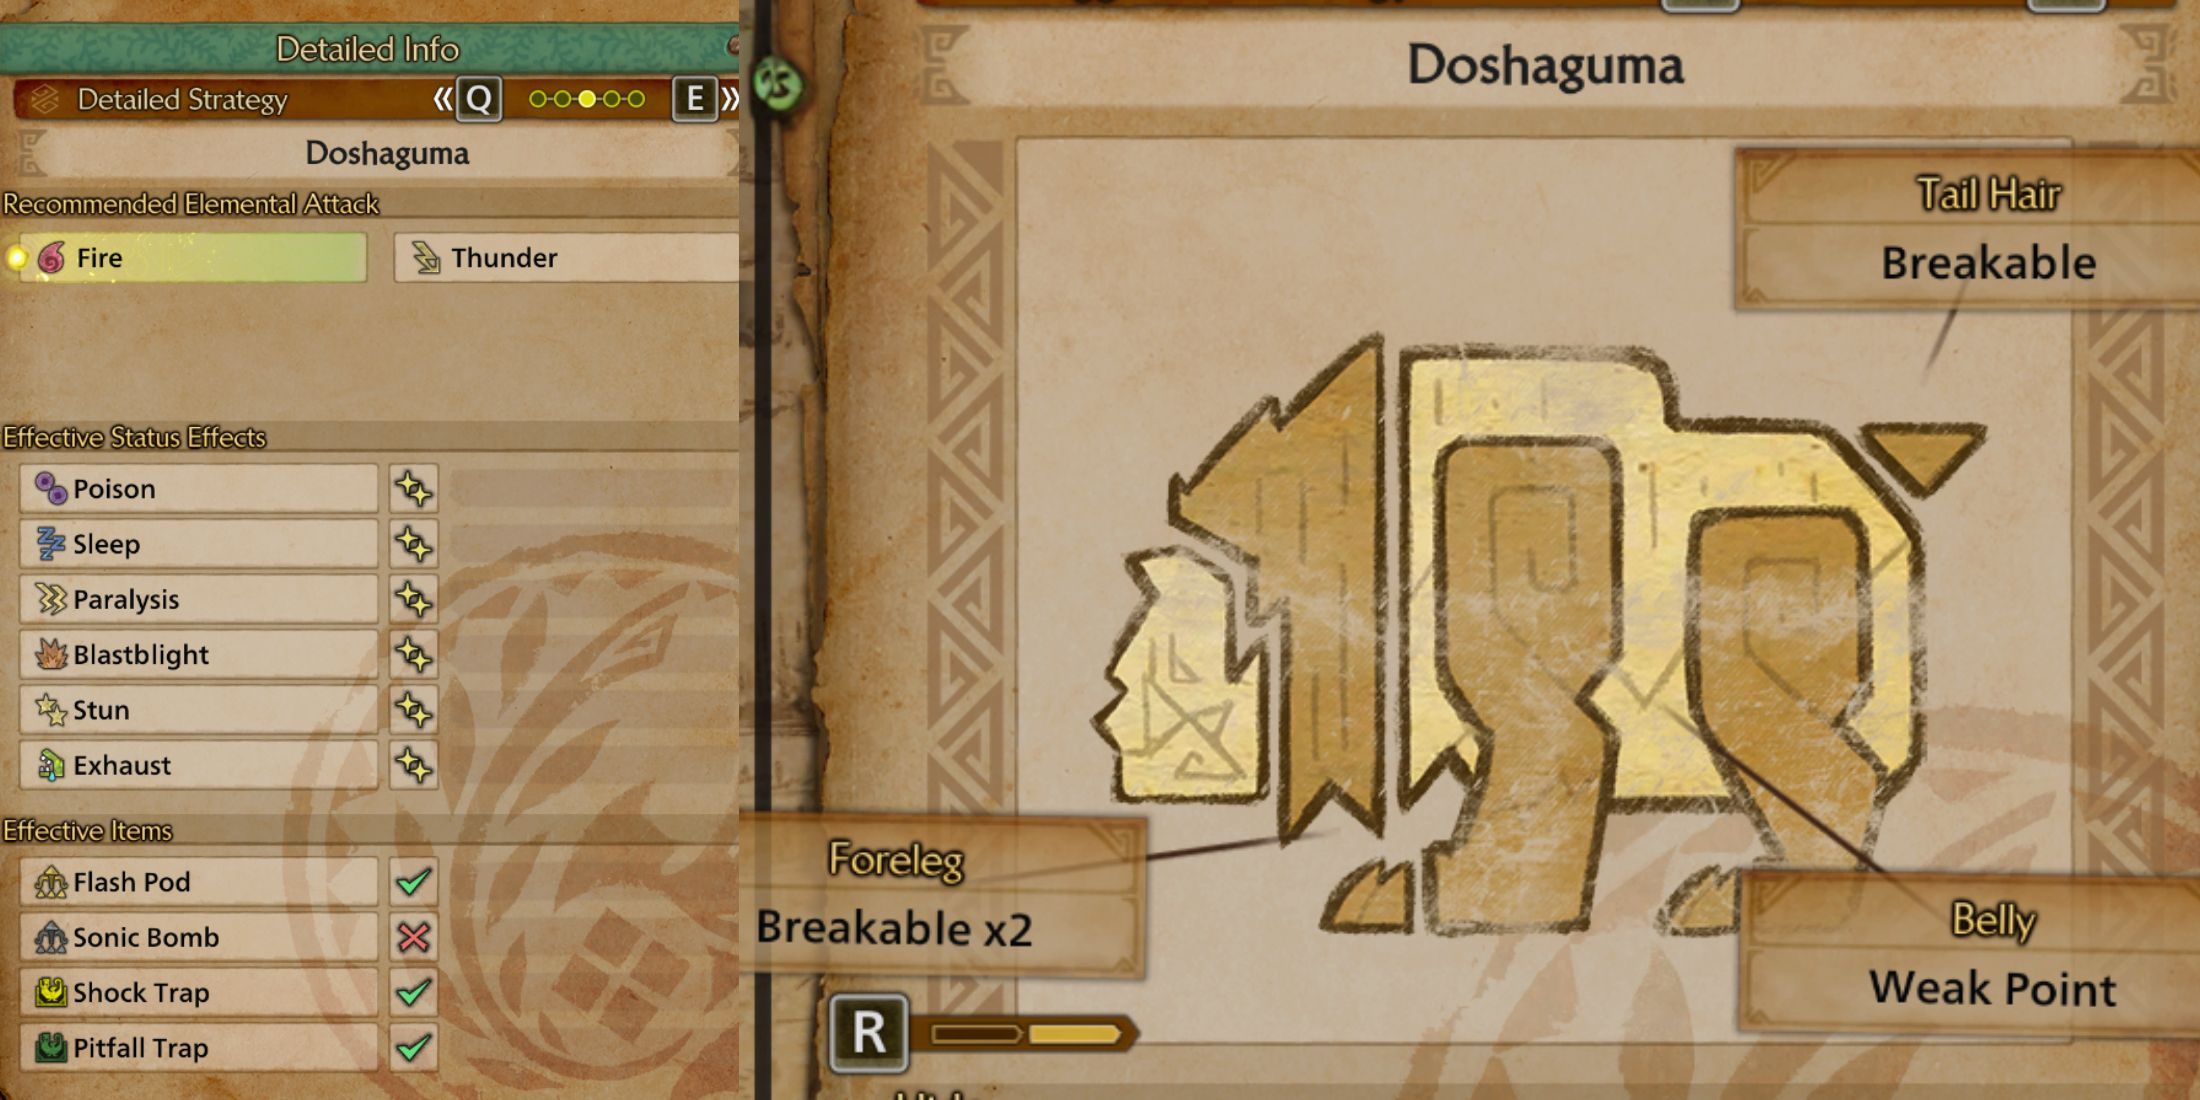
Doshaguma’s main vulnerability lies in its head, which sustains the most damage from both blunt and slicing weapons. Additionally, its belly becomes exposed during a Ground Slam, offering an opportunity for a Focus Attack. However, its tail hair is breakable, but it’s not the ideal target as it has the least impact on damage.
Elemental Weaknesses:
- Fire and Thunder are the most effective elements against Doshaguma.
- Effective status effects include Poison, Sleep, Blastblight, Stun, and Exhaustion.
Best Traps to Use:
- Flash Pod: Disorients the monster, creating an opening for attacks.
- Shock & Pitfall Trap: Immobilizes Doshaguma, making it easier to land big hits.
As an eco-enthusiast, I’ve found that innovative tools such as the Vine Trap or Flashflies can be your allies in combating the elusive Doshaguma. These environmental traps not only contribute to conservation but also aid in keeping our ecosystem balanced and pest-free.
How to Beat Doshaguma in Monster Hunter Wilds
In the thrilling realm of Monster Hunter Wilds, conquering the formidable Doshaguma isn’t just about brute strength; it’s about strategy and understanding its moveset. At first glance, this beast might seem daunting, but its attacks aren’t lightning-fast. This gives you ample opportunity to dodge, provided you avoid overextending yourself.
It’s tempting to launch a barrage of attacks whenever an opening appears, but the key to defeating the Doshaguma lies in patience. Instead, take things slow and retreat after delivering a few well-timed blows. This approach not only reduces the risk of taking unnecessary damage but also keeps you in a position to react quickly when the monster strikes back.
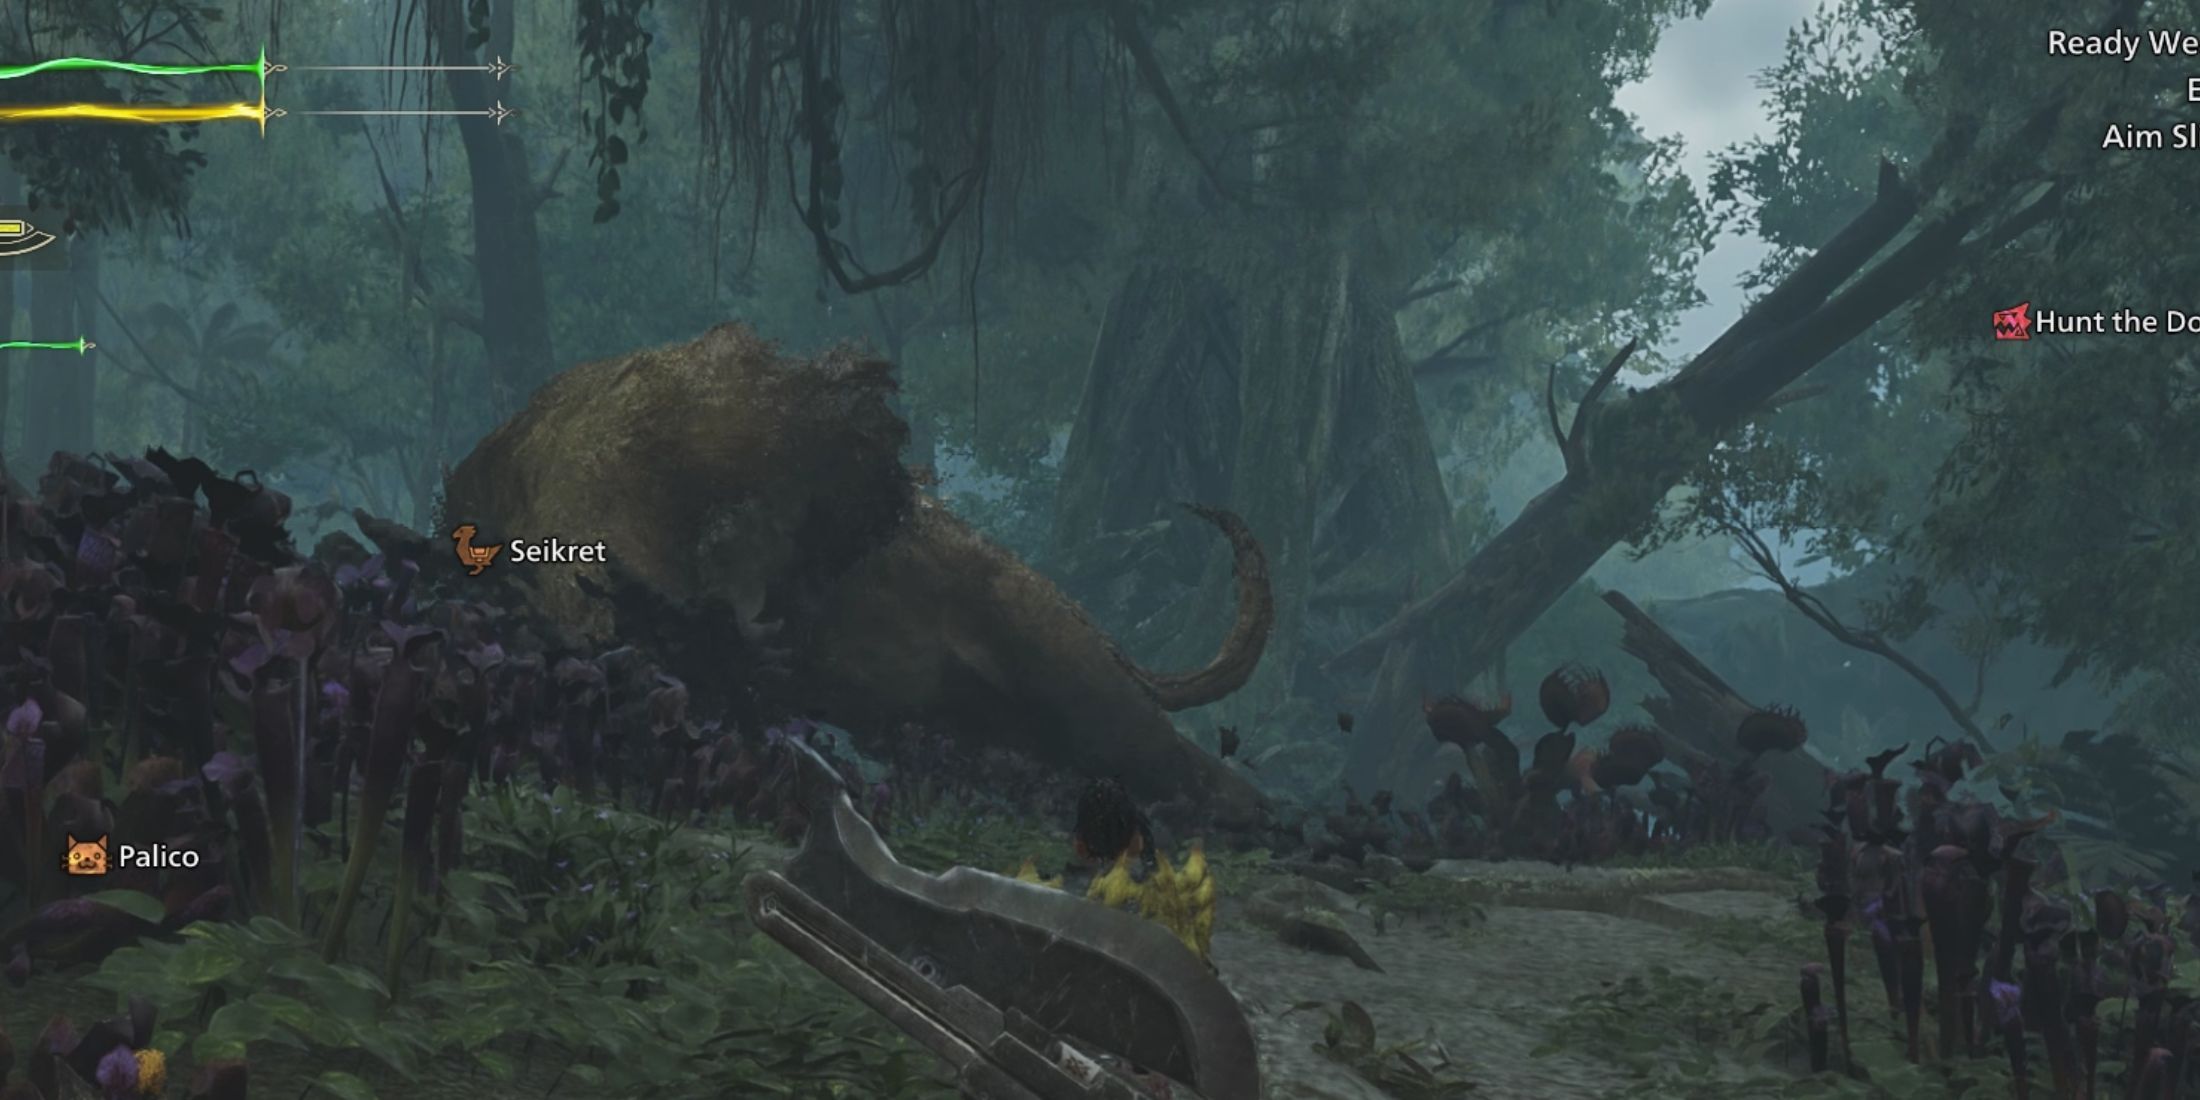
A more effective spot to target the beast is its head. This area inflicts the greatest amount of damage during an attack, and it offers the opportunity for Focus Attacks by causing wounds. Nevertheless, aiming for its head can make it tricky to dodge its counterattacks since you’re primarily focused on striking that area.
Rather than concentrating on other parts of it, direct your attention towards its forelegs and hind legs instead. Over time, these areas could become wounded, enabling you to inflict significant harm and possibly knock the monster off balance. Following this, take advantage of the situation by unleashing your most powerful strikes, aiming to inflict maximum damage.
You can also mount the Doshaguma if you can jump on it from above to create wounds on its back.
Doshaguma Drops in Monster Hunter Wilds
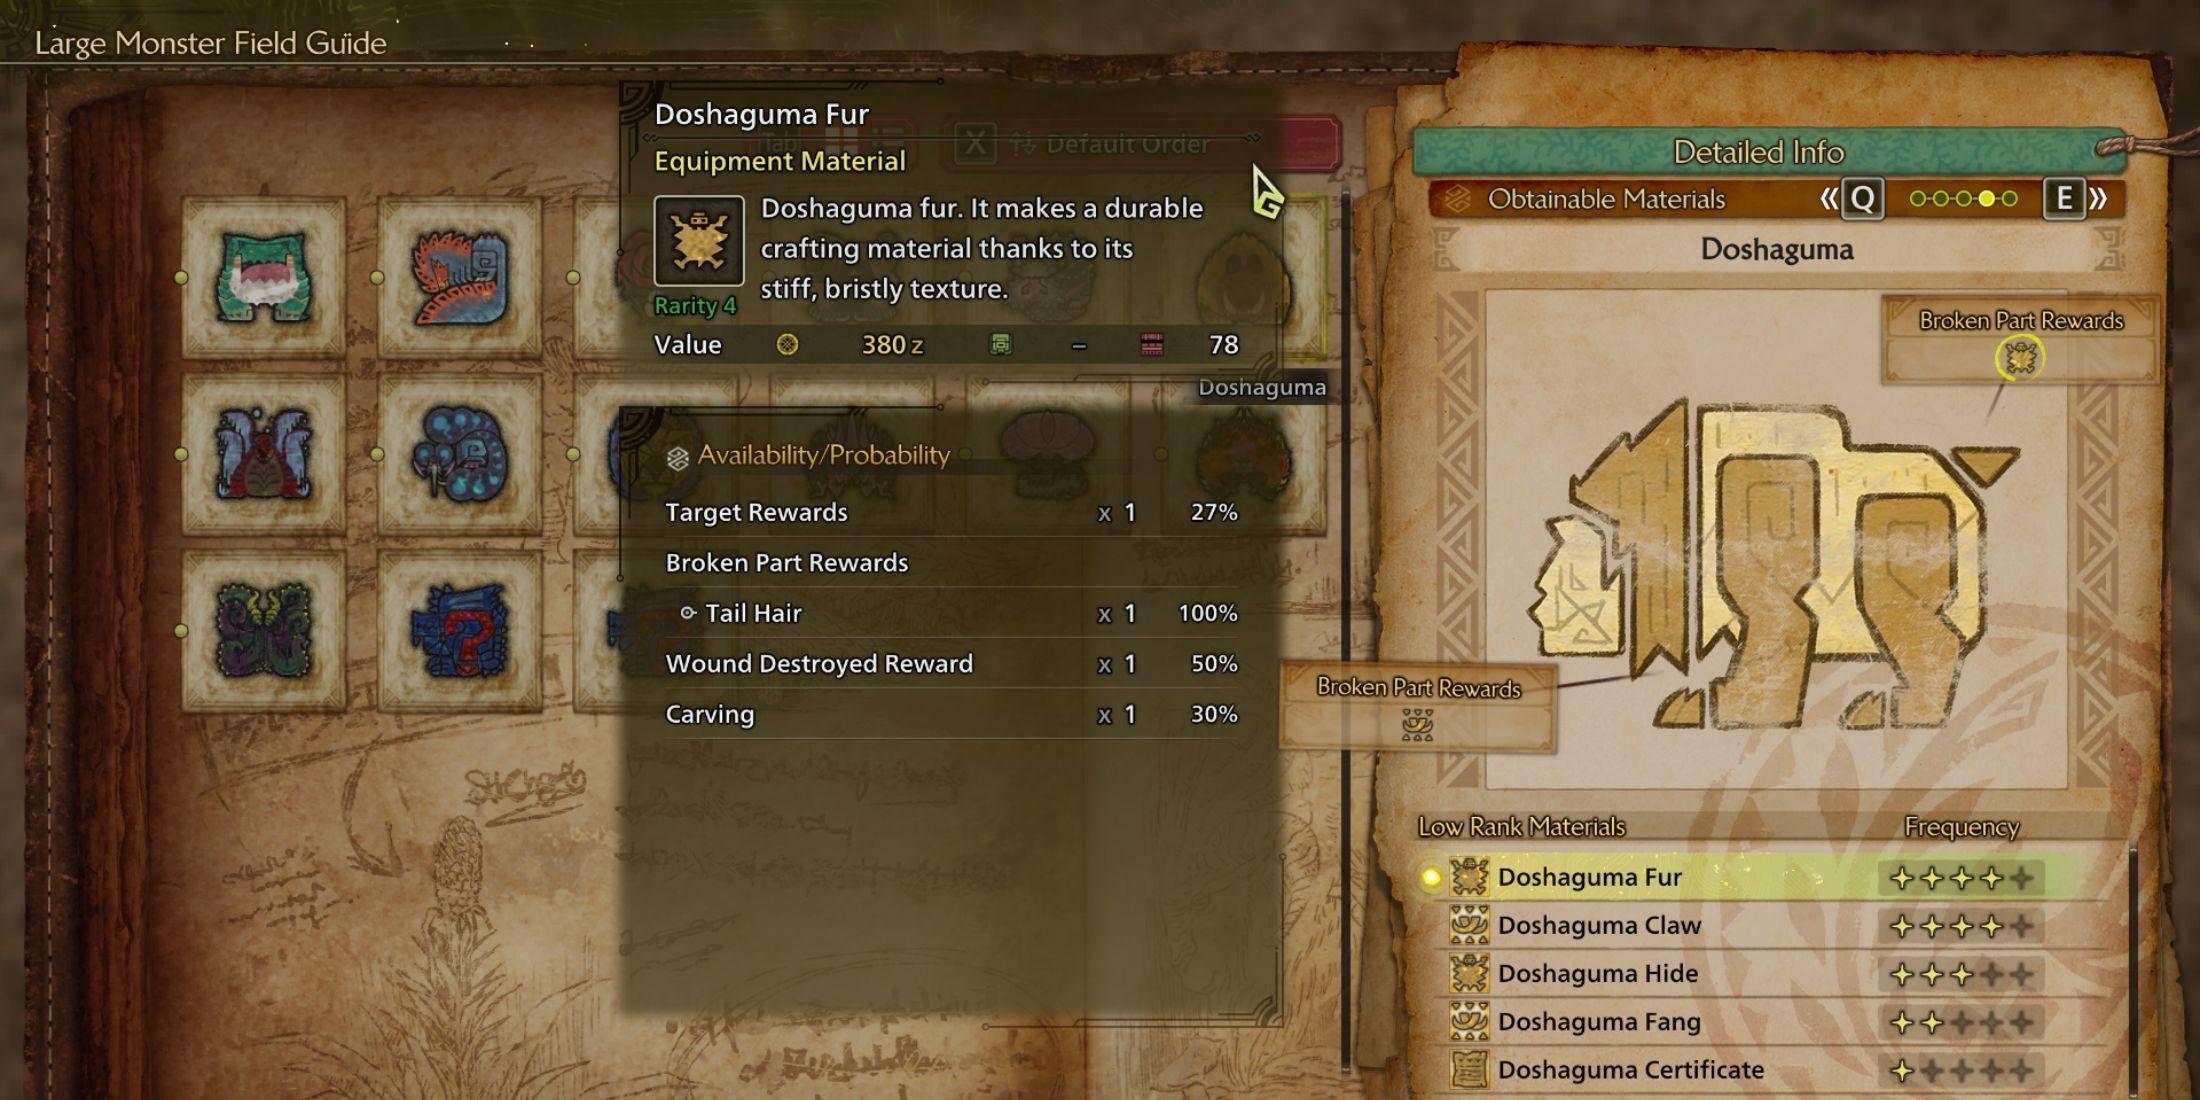
In “Monster Hunter World”, players earn monster components by vanquishing monsters, which they can then utilize to boost their weapon and armor capabilities. The prizes for defeating a Doshaguma differ based on whether you’re in the Low Rank or High Rank. The table below presents a comprehensive rundown of the rewards obtainable.
OR
In “Monster Hunter World”, players receive monster pieces by overcoming monsters, which they can subsequently employ to boost their weapons and armor. The rewards for defeating a Doshaguma change contingent upon whether you are in the Low Rank or High Rank. The table below offers an overview of the rewards you can secure.
Low Rank Doshaguma Drops
| Material | Frequency | Target Rewards | Break Part Rewards | Carves | Wound Destroyed |
|---|---|---|---|---|---|
| 4 Stars | 27% | 100% (Tail Hair) | 30% | 50% | |
| 4 Stars | 15% | 100% (Left and Right Arms) | 15% | – | |
| 3 Stars | 27% | – | 35% | 50% | |
| 2 Stars | 20% | – | 20% | – | |
| 1 Star | 11% | – | – | – |
High Rank Doshaguma Drops
| Materials | Frequency | Target Rewards | Break Part Rewards | Carves | Wound Destroyed |
|---|---|---|---|---|---|
| 4 Stars | 27% | 100% (Tail Hair) | 27% | 50% | |
| 4 Stars | 15% | 100% (Left and Right Arms) | 15% | – | |
| 3 Stars | 27% | – | 33% | 50% | |
| 2 Stars | 20% | – | 20% | – | |
| 1 Star | 8% | – | – | – | |
| 1 Star | 3% | – | 5% | – |
Using a Lucky Voucher before you start the battle can help you get more rewards per kill.

In the thrilling world of Monster Hunter Wilds, I’ve come across one formidable foe known as the Doshaguma. Mastering its attack routines and discovering its vulnerabilities has been key to my success in future encounters with this beast.
Read More
- Who Is Harley Wallace? The Heartbreaking Truth Behind Bring Her Back’s Dedication
- Basketball Zero Boombox & Music ID Codes – Roblox
- 50 Ankle Break & Score Sound ID Codes for Basketball Zero
- TikToker goes viral with world’s “most expensive” 24k gold Labubu
- 100 Most-Watched TV Series of 2024-25 Across Streaming, Broadcast and Cable: ‘Squid Game’ Leads This Season’s Rankers
- Revisiting Peter Jackson’s Epic Monster Masterpiece: King Kong’s Lasting Impact on Cinema
- 50 Goal Sound ID Codes for Blue Lock Rivals
- League of Legends MSI 2025: Full schedule, qualified teams & more
- KFC launches “Kentucky Fried Comeback” with free chicken and new menu item
- All Songs in Superman’s Soundtrack Listed
2025-03-05 09:26