Certain intricate riddles may slow down your advancement, but don’t worry! Our guide for Karma: The Dark World will help you navigate through. For those eager to conquer all puzzles, gather all collectibles, and unlock every achievement, continue reading.
This guide is still being developed. We plan to include all the overlooked puzzles, treasures, and accomplishments as quickly as we can!
Karma The Dark World Act One Too Far Away Walkthrough
Upon waking up in an unfamiliar hospital room, with no recollection of your identity, the path to regaining your memories leads you through the room where you currently reside. In this walkthrough, Memo collectibles are emphasized in bold red text, while Rule Follower collectibles are accentuated in bold green text.
To earn the collectibles achievement, make sure to retrieve the Handwritten Notes Memo from the table.


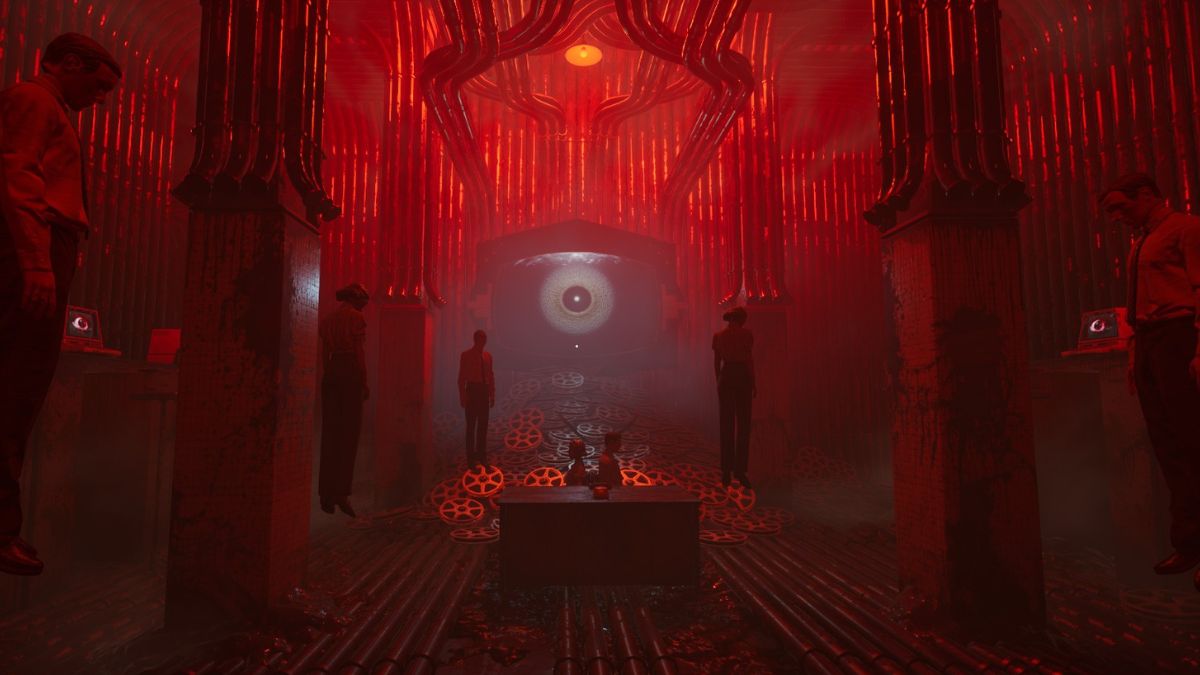
Following your passage through the Calibration Spaces, you’ll find yourself in the Nurturing Room, filled with what appears to be bodies being cultivated or grown. Overlook any eeriness and retrieve the Memo on Experimentation Records from one of the machines located on the right-hand side.


Before taking a seat in the Transition room, grab the Puzzle Box located on your right side. Continue the sequence following the pattern visible on it. This puzzle primarily involves recognizing patterns and determining the next step. To unlock the box, press the Green Button. Solving this puzzle will earn you Dr. Jürgen W. Waltz’s Rule Follower badge.
Once you take a seat in the chair, you will have an opportunity to explore the Blackwater Space and relive some of Daniel’s past experiences.
Karma The Dark World Act Two Part One Whirl Pool Walkthrough
Once Fred has talked on for far too long, it’s now the right moment to delve into an investigation concerning Sean Mehndez (not the musician). The following items are up for grabs as you proceed into the next area.


- Pick up the Research Institute Notice (Reception) Memo from the board to the left of the door.
- Grab the Transfer Letter Memo from the table inside the Receptionist office.
- In the mail room, look for a post capsule on the left side. Turn it around, open it and pick up the Transfer Capsule Mail 01 Memo.
- Across from it is another capsule with a Transfer Capsule Mail 02 Memo.
- Interact with the Pneumatic Tube Device to get the Mission Brief Memo.


On the left side of one of the pipes, there’s a puzzle called a “Puzzle Box”. To solve this puzzle, you must correctly align the pattern on the dice and the folded dice. In this instance, the correct solution is pressing the blue button. Solving it will reward you with the achievement titled “Engineer – Wilhelm Puschel Rule Follower“.


Following that, you’ll engage with a device we call a ‘Telescreen’. Currently, these devices primarily capture instances of employee disobedience in visual form. However, future versions of the Telescreen will offer puzzle-solving capabilities, so it might be worth keeping an eye on them for potential assistance.


Head up the stairs now for a fun surprise – you might find a few additional trinkets along the way. Don’t forget to glance over your shoulder, even if the wall warns against it. It’s an enjoyable bonus!
- Pick up the Shift Schedule Memo from the staircase banister.
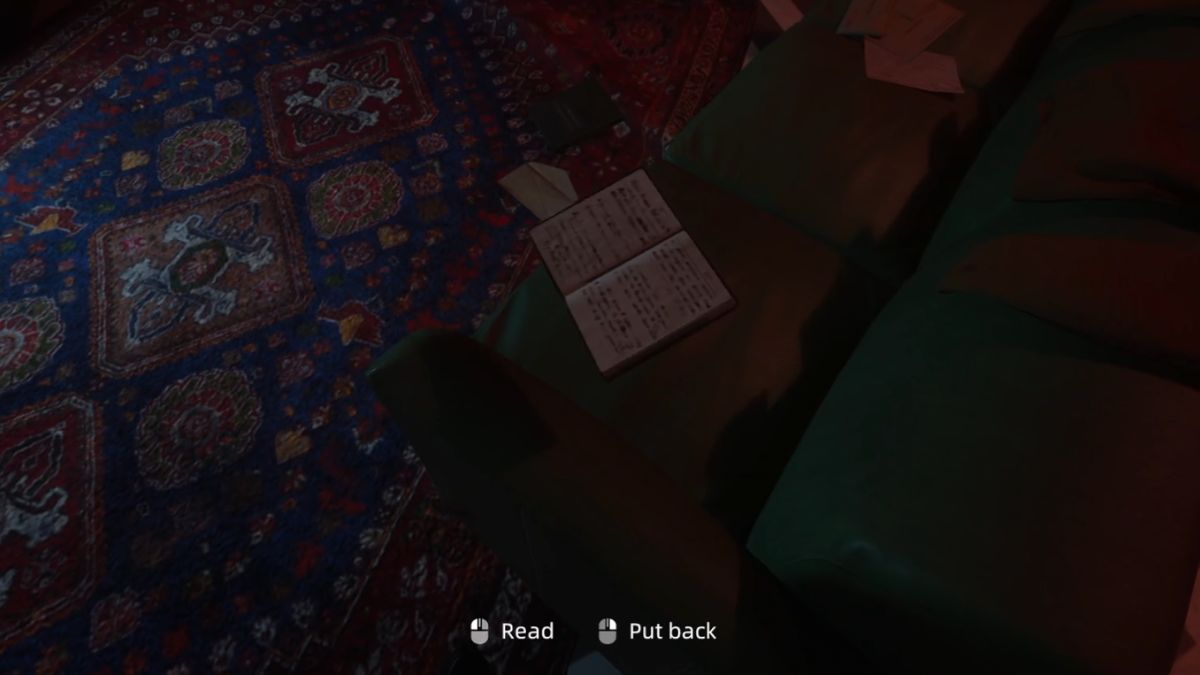
- Go up to the desk and grab Becker’s Diary Memo.
- Take the Research Institute Notice (Storage Room) Memo stuck to the wall next to the door.
How to open the Storage Room


To make advancements, you’ll need to access the Storage Room situated within the Research Institute. The keycard for this purpose can be found in a nearby drawer; however, you require the correct password to unlock it.
- Becker’s Diary Memo from the desk tells you the painting of the clock was the password, but it is missing.
- Use the Telescreen to see different angles of the clock which is set at 08:15.
- The drawer password is 0815 and you’ll get the Storage Room ID Card.
- Inside, pick up the lipstick from the desk to the right.
- Grab the Purchase Order Memo from the shelf.

For the moment, don’t attempt to open the box; instead, focus on the vent to your left and make your way through it. Upon exiting, move the obstacle that was obstructing the door to gain an unobstructed path leading back into the hallway. Presently, you find yourself in Clerk Hall, and you’ll need a fuse to reactivate the power.
- Go to the desk on the left and pick up Barbara’s Diary Memo which tells you she has the key to the red box in the Storage Room.
- Open the middle drawer and grab the Fuse storage box key which you can go and open now.
- Put the fuse into the fuse box to turn on the lights.
- Go back to Barbara’s desk so that you can pick up the Candy Maker Roswitha Mokrosch Rule Follower. The box is empty, but if you unlock it with the password 7742, you can unlock the drawer to the right and get it.
How to Open Sean’s Desk
It’s now your task to search the room thoroughly for evidence that confirms Sean’s wrongdoing. First, you’ll have to open the desk located in the farthest left corner of the room, but remember there are some other tasks you must accomplish beforehand.


- Head down the right path and pick up the Research Institute Notice (Clerical Office) memo from the blackboard on the right.
- Keep going down the right path until you reach the last desk.
- Inside the drawer is a lipstick box. Look at the lipstick in your inventory and memorize the order of the symbols: club, diamond, heart, spade.
- On the poster above the desk, you’ll find the poster with numerical values attached to these symbols: 6843. Use this password to unlock the drawer.
- Pick up Emily’s Diary Memo, which tells you Sean changed the password to his desk to today’s date, which is April 30. So the password is 0430.
Following the clues from his drawer, proceed along the hallway; however, be prepared to encounter the red-hued rooms ahead.
How to Escape the Red Rooms
In this series of interconnected, recurring chambers, you’ll find visualizations of Sean’s loved ones’ memories. Your objective is twofold: escape these rooms and gather all the hidden treasures within them.


- There is a puzzle box on the armchair to the right. The next pattern in the sequence is red. You’ll get the Legendary Roam Agent Cooper Rule Follower.
- Go down the left path and pick up Diary of Sean’s Daughter 01 memo as well as the Wish Card Memo from the counter outside the room.
- Look at the TV and an elevator door will open to the right, so go inside.
- Pick up the Portable Recorder hanging in the middle of the room, then take the Dasein 012 memo tape from the desk to the right.
You haven’t quite reached the end of this journey (ordeal) just now. Step through the next doorway, and you’ll enter a new phase or part.
![]()
- Make sure to pick up the blinking light.
- Grab the Dasein 013 memo tape from the room with the gurneys.
- Keep going until you can grab the Dasein 014 memo tape from the desk again.
- Interact with the TV and jump down a hole.
- In the big room, pick up the Transfer Letter (Sean) memo.
After obtaining it, proceed through either door to enter Sean’s second recollection. As the family disintegrates, gather items as you go.
This version maintains the original meaning but uses simpler and more conversational language.


- Pick up the Bill memo from the table on the right.
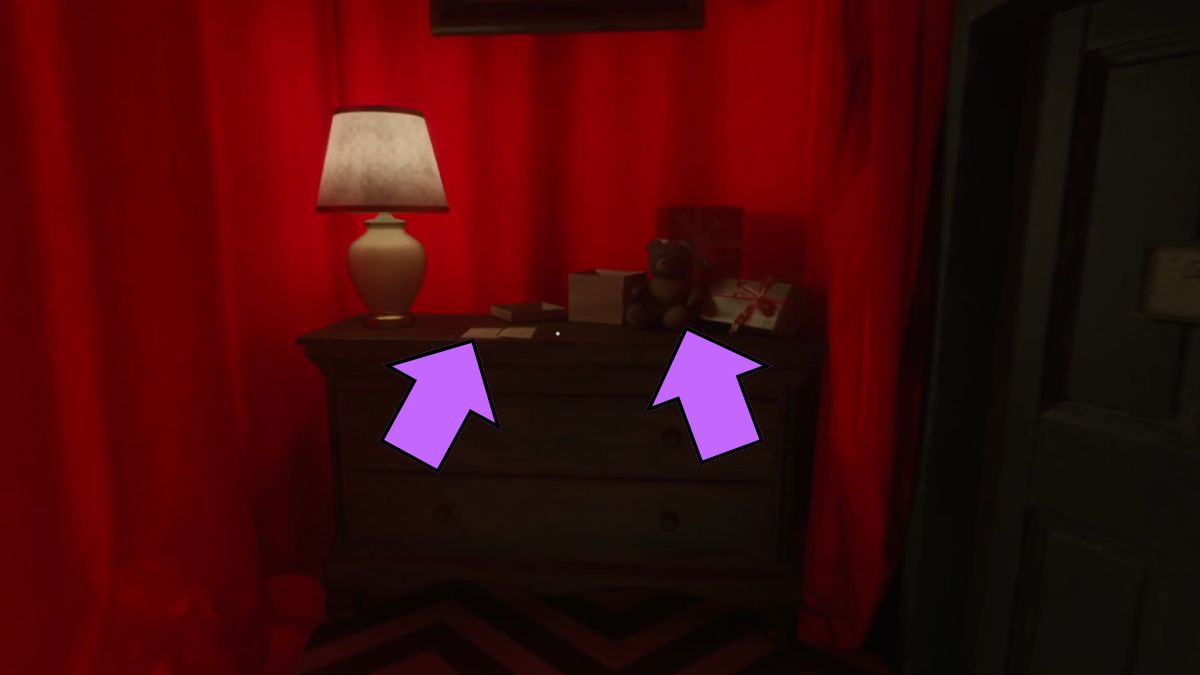
- Go down the hallway to the right and pick up Diary of Sean’s Daughter 02 memo as well as the Father teddy bear.
- Repeat the sections until you’re in the third memory.
- Grab the Suspicious Letter to Sean memo on the table, then grab the Mother teddy bear from the chair to the right.
- On the couch, you can grab the Diary of Sean’s Daughter 03 memo.
- Place the Mother and Father teddy bear into the box, then take the Daughter teddy bear from Sean’s daughter who isn’t behaving creepily at all.
As a captivated observer, I must inform you that the striped, monochrome chambers you find yourself in are not your immediate escape routes. There’s still a plethora of items to gather, clues to decipher, and mysteries to unravel before you can break free from this intriguing investigation.


- Grab the Notice of Arrears memo from the dining table.
- Go into the room of Sean’s daughter to pick up another Diary of Sean’s Daughter 04.
- Back at the mail room, send out the evidence and you can now leave the Research Institute.
Read More
- Who Is Harley Wallace? The Heartbreaking Truth Behind Bring Her Back’s Dedication
- Basketball Zero Boombox & Music ID Codes – Roblox
- 50 Ankle Break & Score Sound ID Codes for Basketball Zero
- 50 Goal Sound ID Codes for Blue Lock Rivals
- LINK PREDICTION. LINK cryptocurrency
- Ultimate AI Limit Beginner’s Guide [Best Stats, Gear, Weapons & More]
- TikToker goes viral with world’s “most expensive” 24k gold Labubu
- 100 Most-Watched TV Series of 2024-25 Across Streaming, Broadcast and Cable: ‘Squid Game’ Leads This Season’s Rankers
- League of Legends MSI 2025: Full schedule, qualified teams & more
- All Songs in Superman’s Soundtrack Listed
2025-04-07 09:52