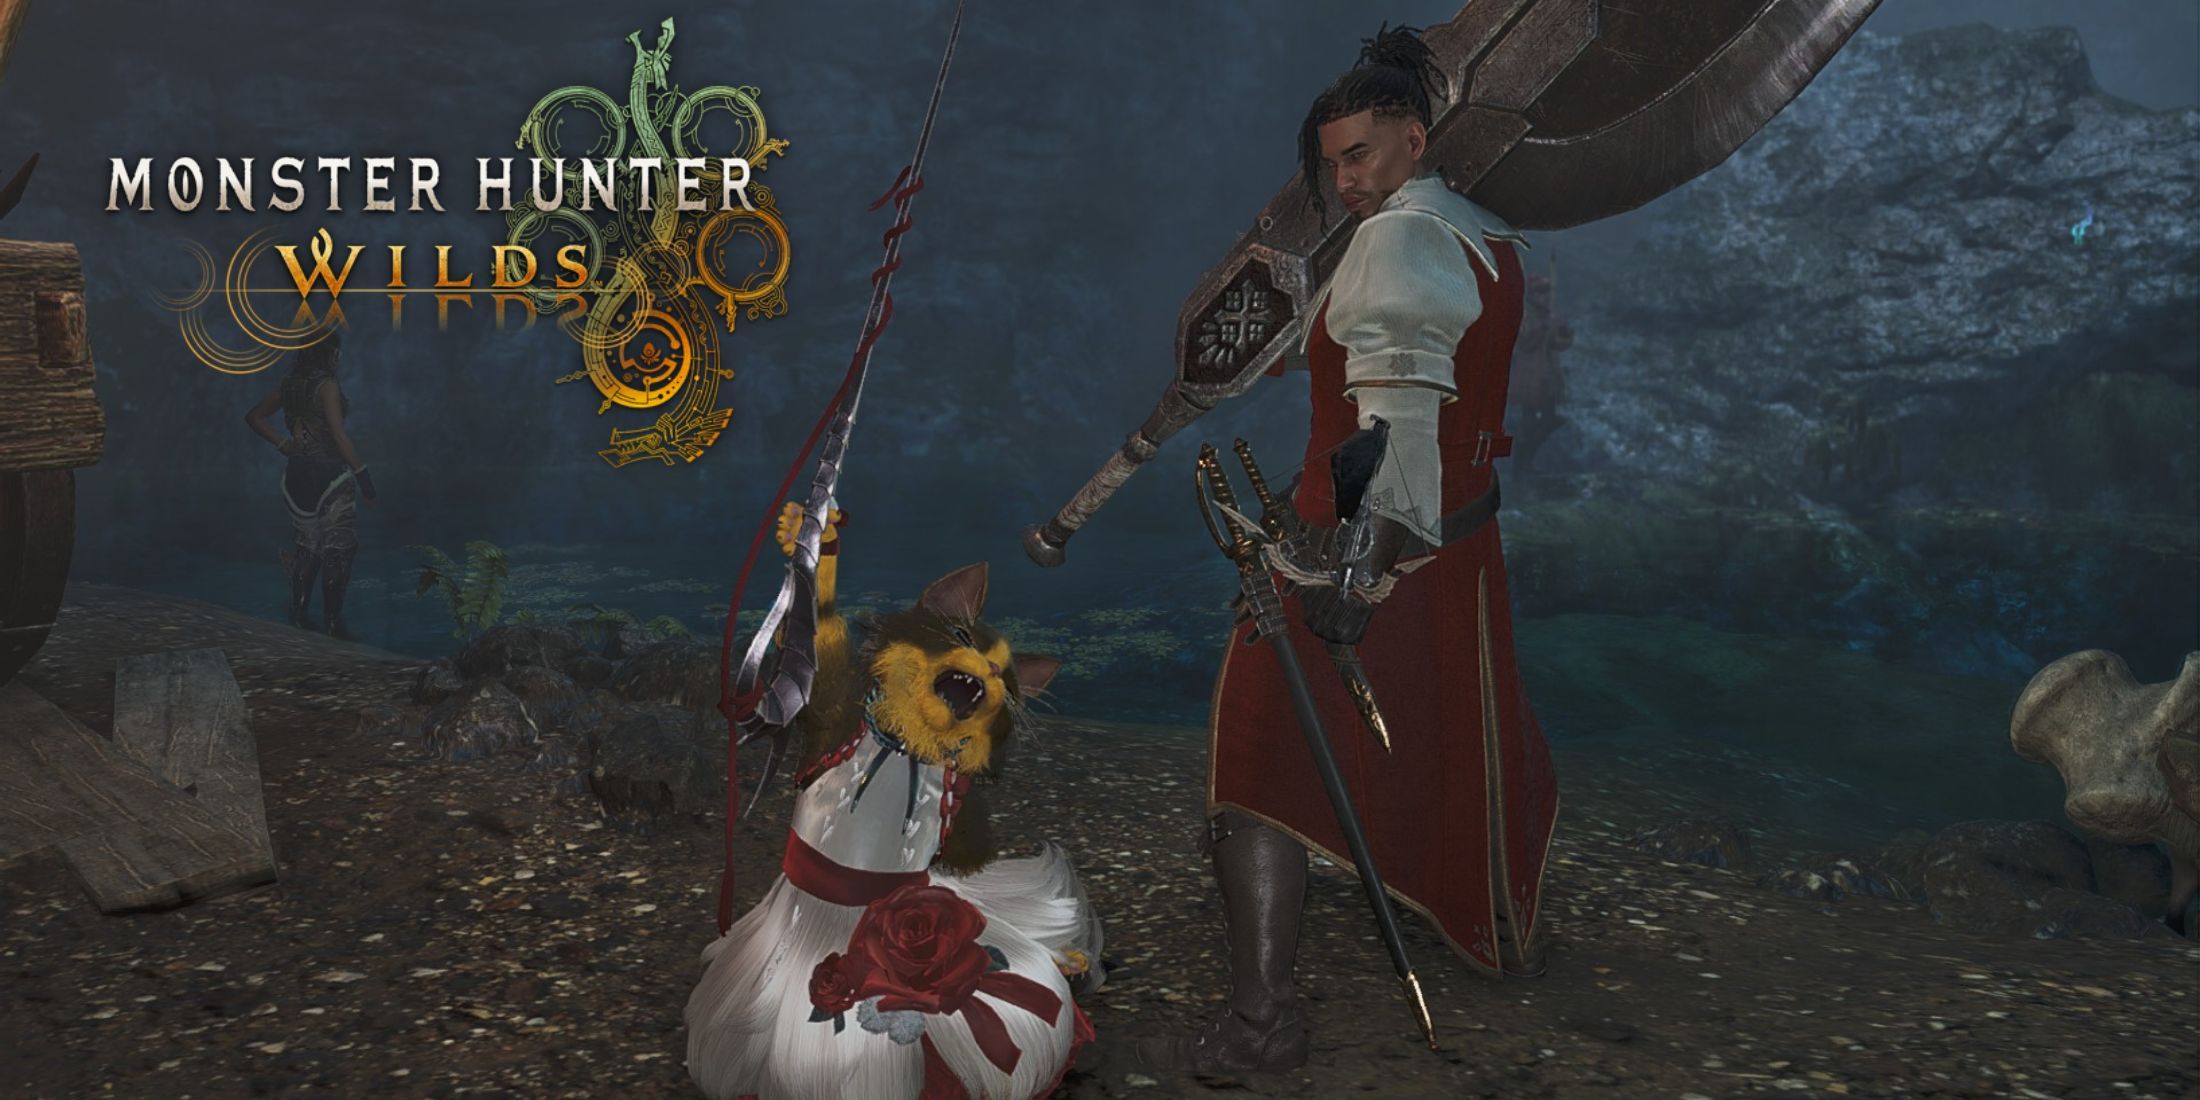
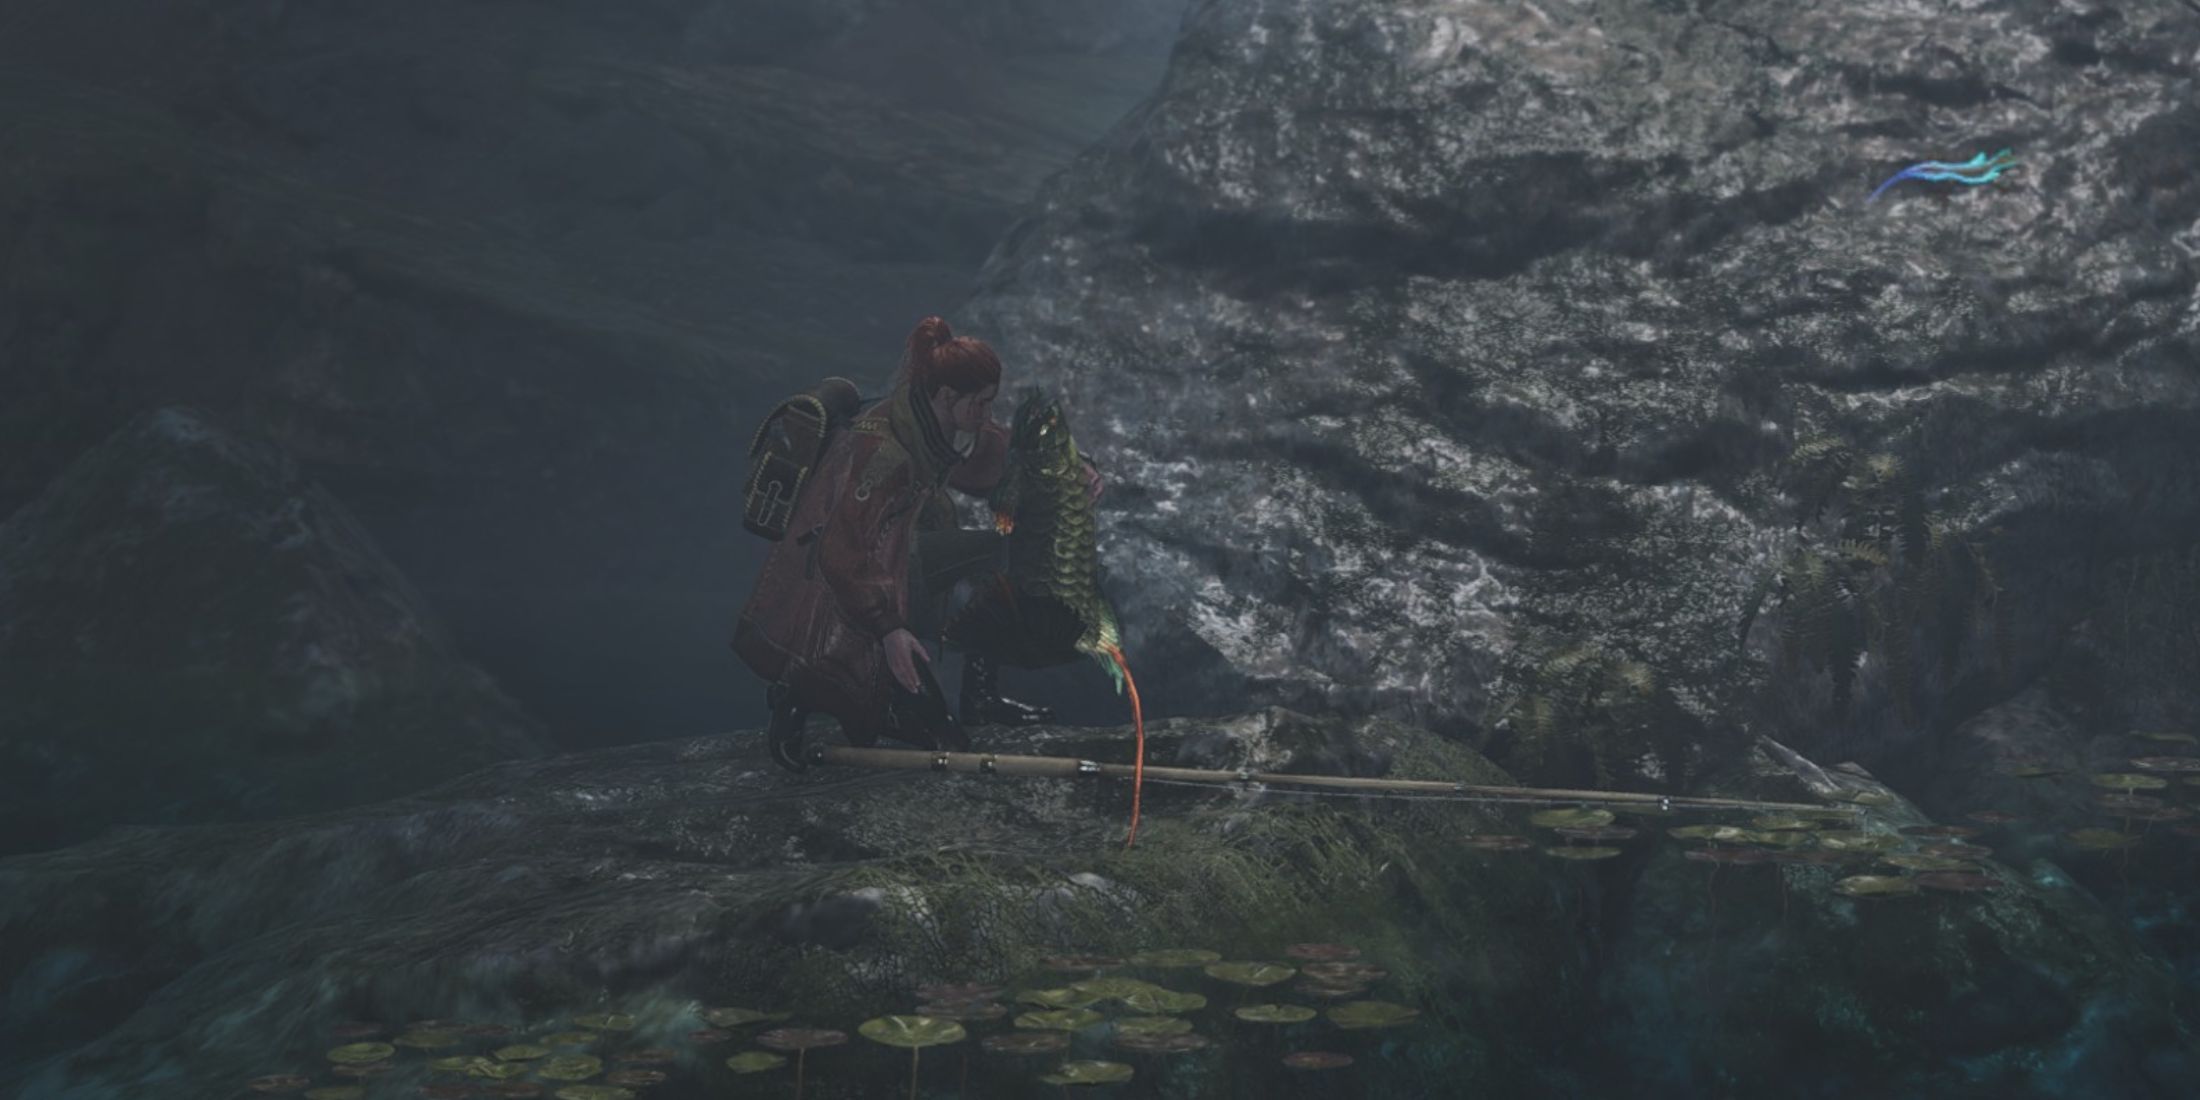
The recently released Monster Hunter Wilds, the newest addition to the cherished series, is now available on all platforms and causing a splash! Although the game may struggle with performance on PC, it’s undeniable that turning up the settings reveals a visually striking experience. If your system can manage it, you’ll probably want to save some of those awe-inspiring sights as you journey through the wilderness.
It’s great news that Monster Hunter Wilds includes a handy Photo Mode feature, allowing players to seize those brief, memorable instances. Whether it’s a fresh monster you stumbled upon during your expeditions, an stunning landscape worth preserving, or just some visually appealing scenery, the game equips you with all the necessary tools for capturing these moments. Here follows a guide on how to utilize Photo Mode in Monster Hunter Wilds.
How to Use Photo Mode in Monster Hunter Wilds
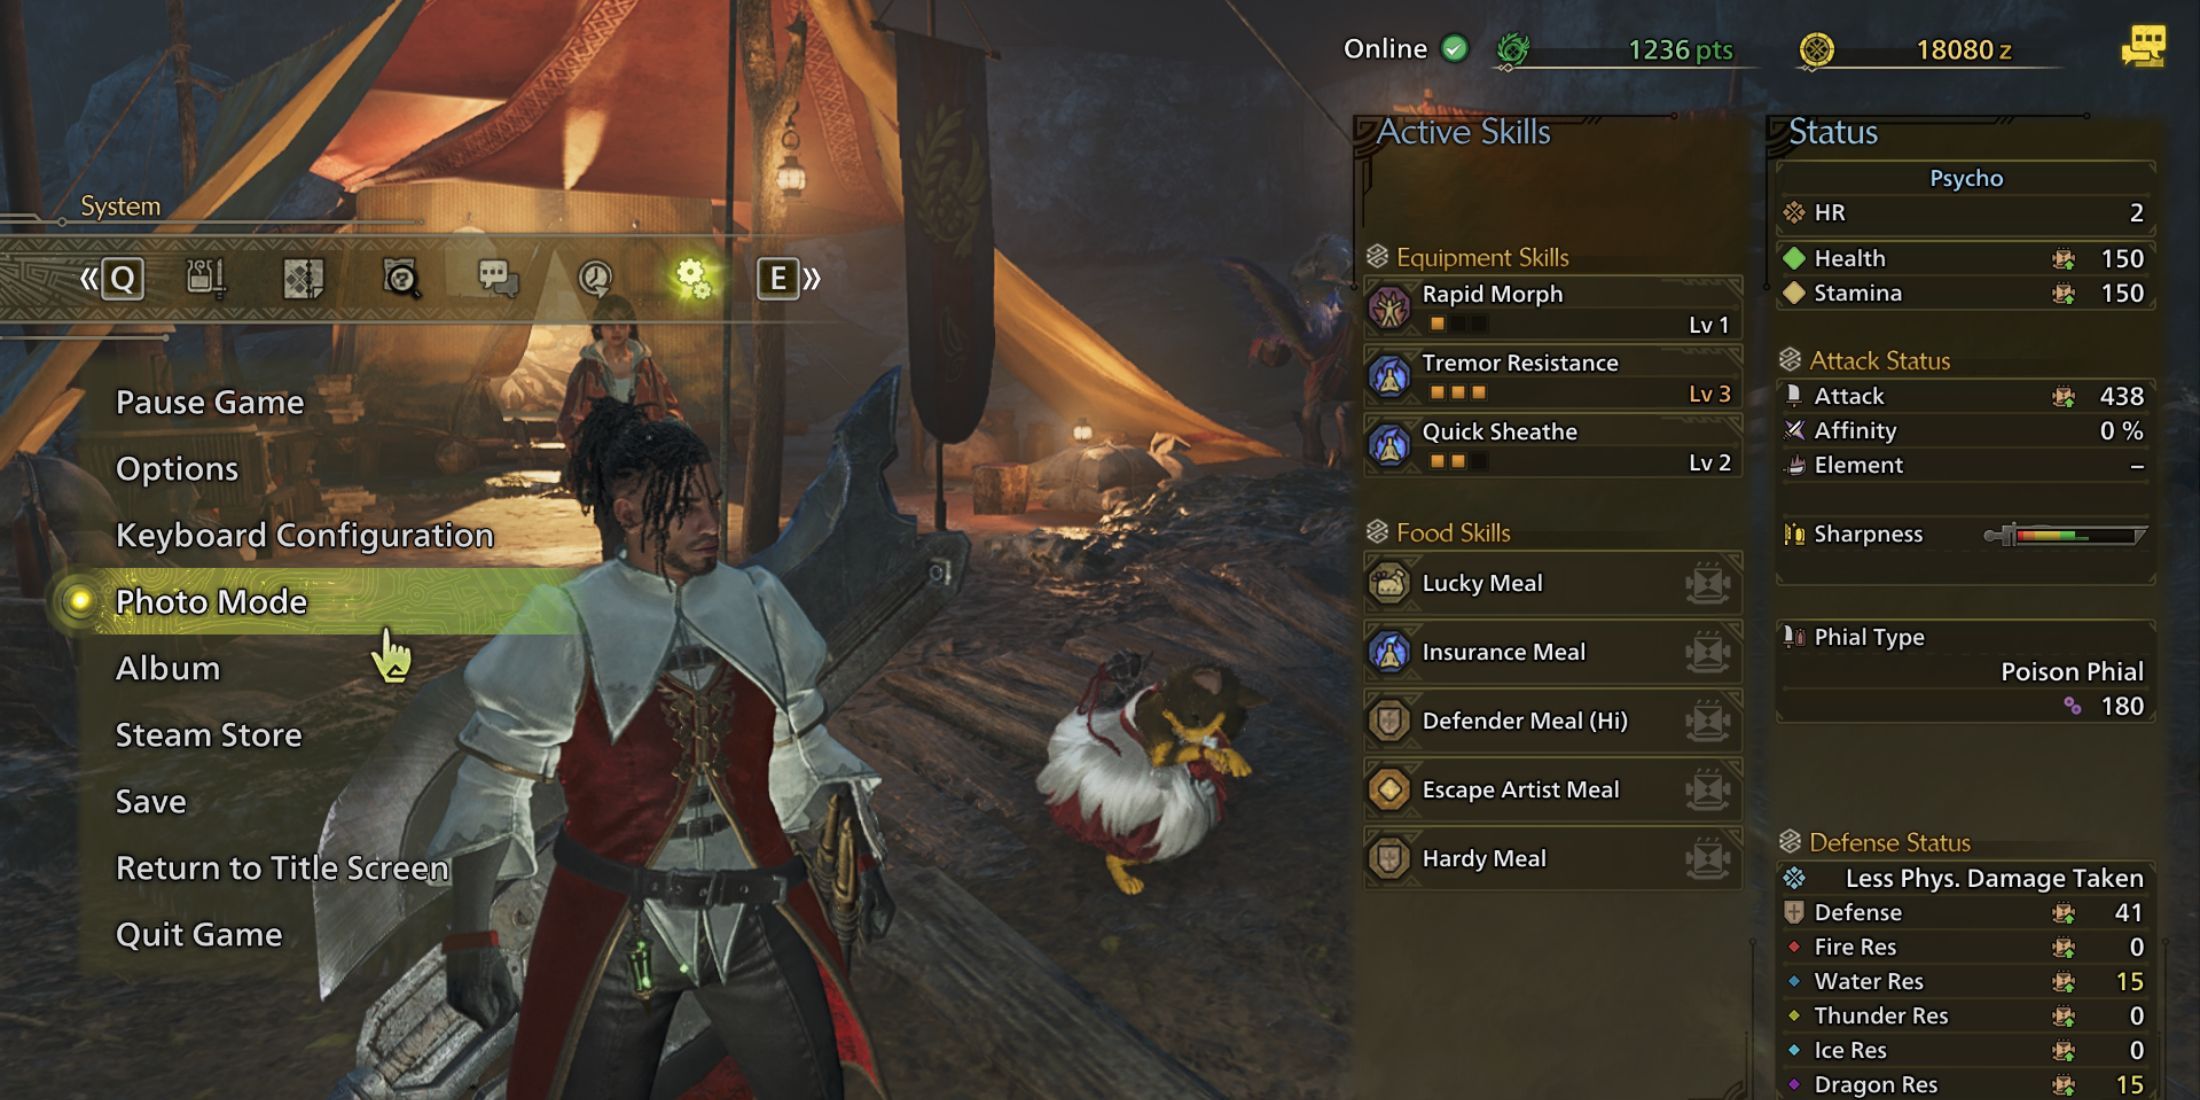
To access the Photo Mode in Monster Hunter Wilds, follow these steps: During gameplay, press the main menu button, navigate to the Options tab, and then select the Photo Mode option. Keep in mind that unlike the Photo Mode in Kingdom Come: Deliverance 2, there’s no quick key assigned to activate it within the game.
Alternatively, you could assign the Photo Mode to your quick-access menu for easier and speedier access during gameplay. This is particularly handy for players who enjoy taking many photographs.
Keep in mind that switching to Photo Mode doesn’t stop the game by default. Therefore, capturing a photo while engaged in combat with a monster might not be advisable. Fortunately, you can easily pause the game, access the Sub-Menu (R on PC or Y/Triangle on consoles), and then activate the Photo Mode from that menu.
You can’t move the camera frame when the game is paused.
Photo Mode Controls in Monster Hunter Wilds
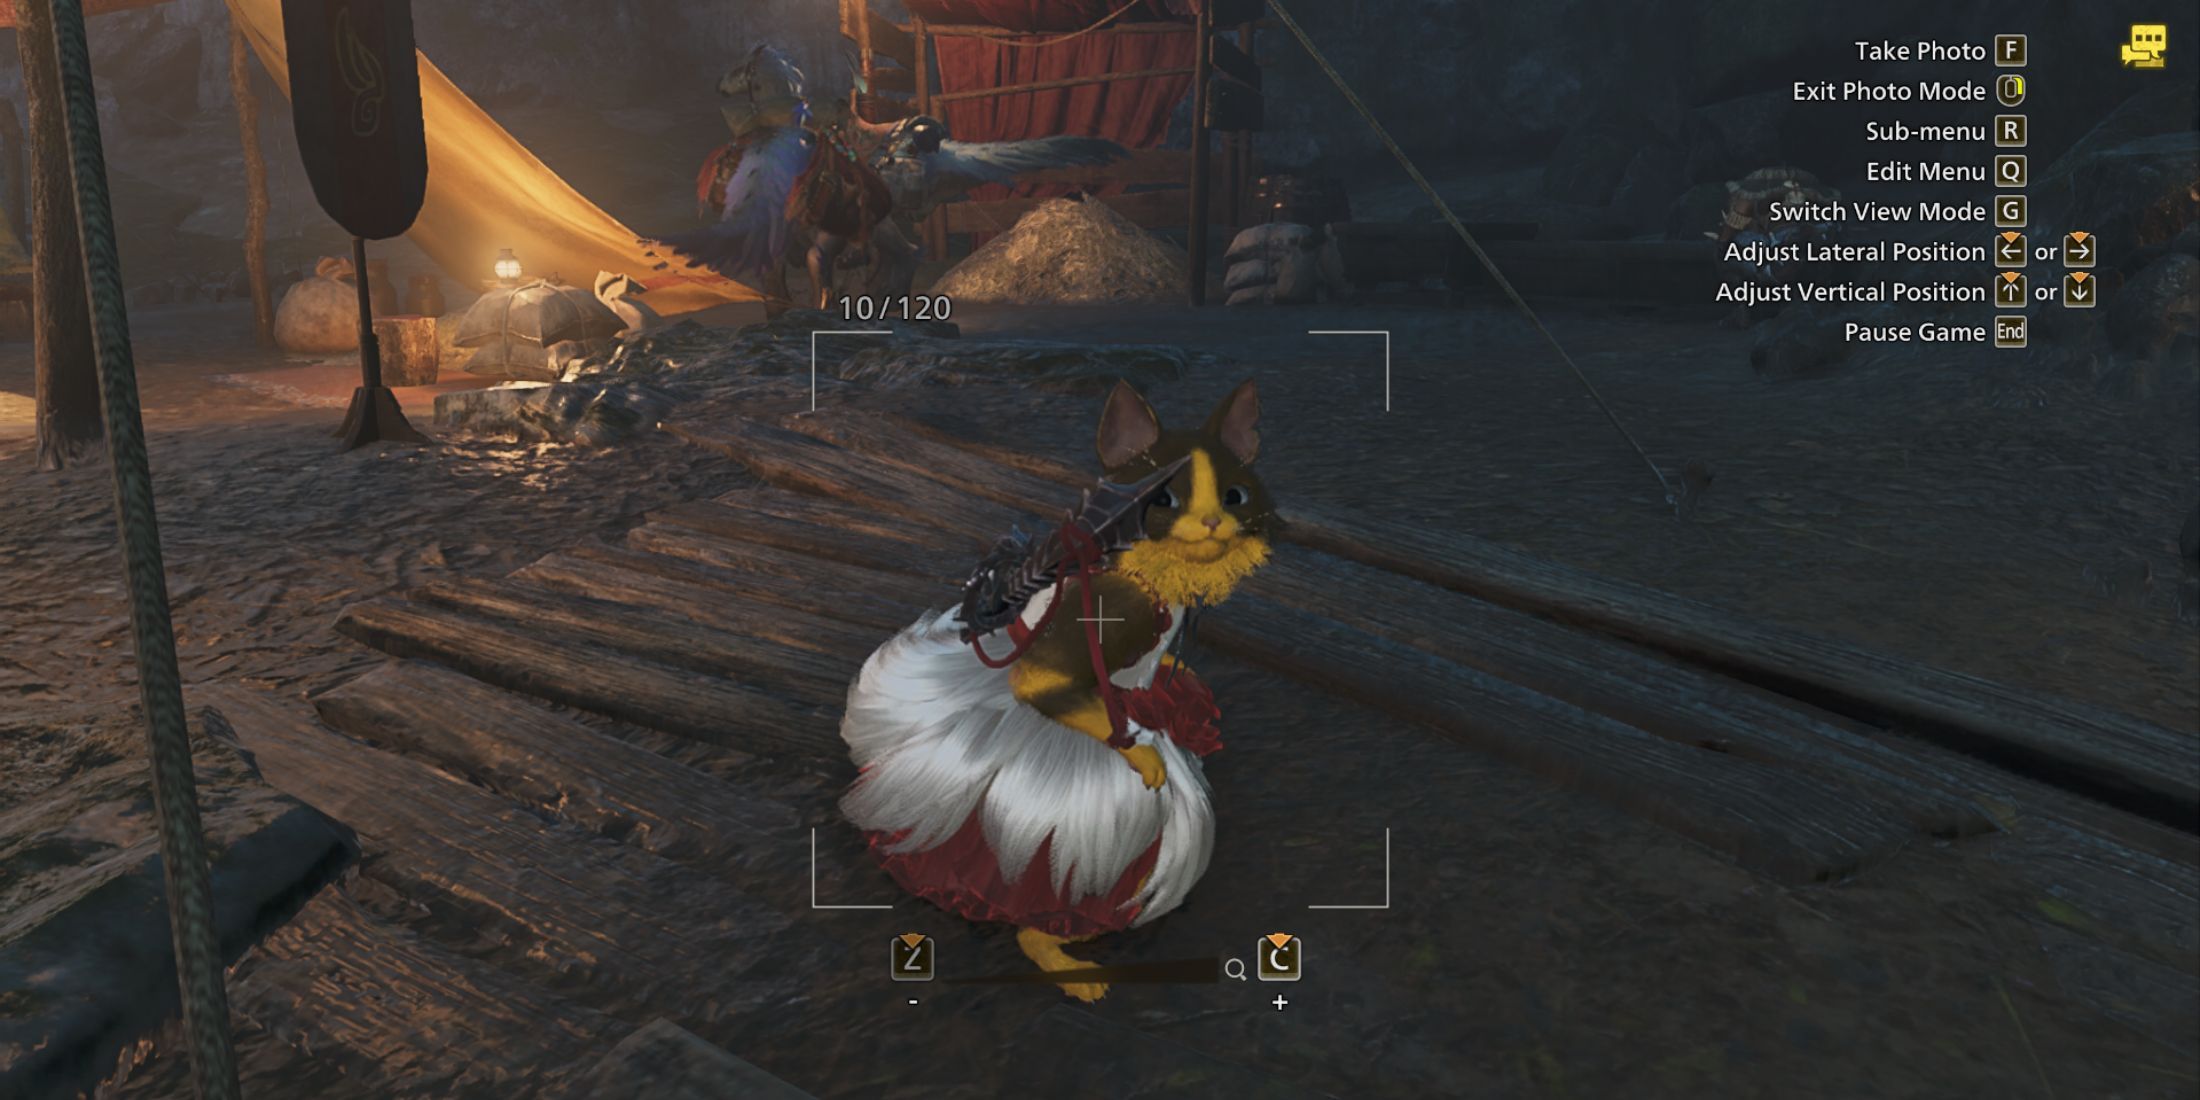
In the game Monster Hunter Wilds, the controls for the Photo mode are quite simple to grasp. Here’s a comprehensive guide to help you understand them better:
The photo taking functions in Monster Hunter Wilds are easy to get a hang of. The table below offers a full breakdown:
| PC Controls | Console Controls | Photo Mode Functions |
|---|---|---|
| W, A, S, D | Left Analog Stick | Move the frame. |
| F | A/X | Snaps the photo. |
| RMB | B/Circle | Exit out of Photo Mode. |
| C/Z | LT/RT L2/R2 | Control the camera zoom. |
| R | Y/Triangle | Opens the Sub-Menu where you can choose between Set a timer, Hide UI, or Album. |
| Q | LB/L1 | Opens the Edit Menu to access additional camera options. |
| G | X/Square | Switches between Free Cam and FPS Camera mode. |
| Directional Keys | Directional Buttons | Moves the Camera Frame horizontally or vertically. |
| Left Shift | LS/L3 | Switch between Player Control and Camera Control in Free Cam Mode. |
| End | RS/R3 | Pauses the game in Photo Mode. |
You can only pause the game in Online Single Player or Offline Mode.
How to Edit Menu Camera Options in Monster Hunter Wilds
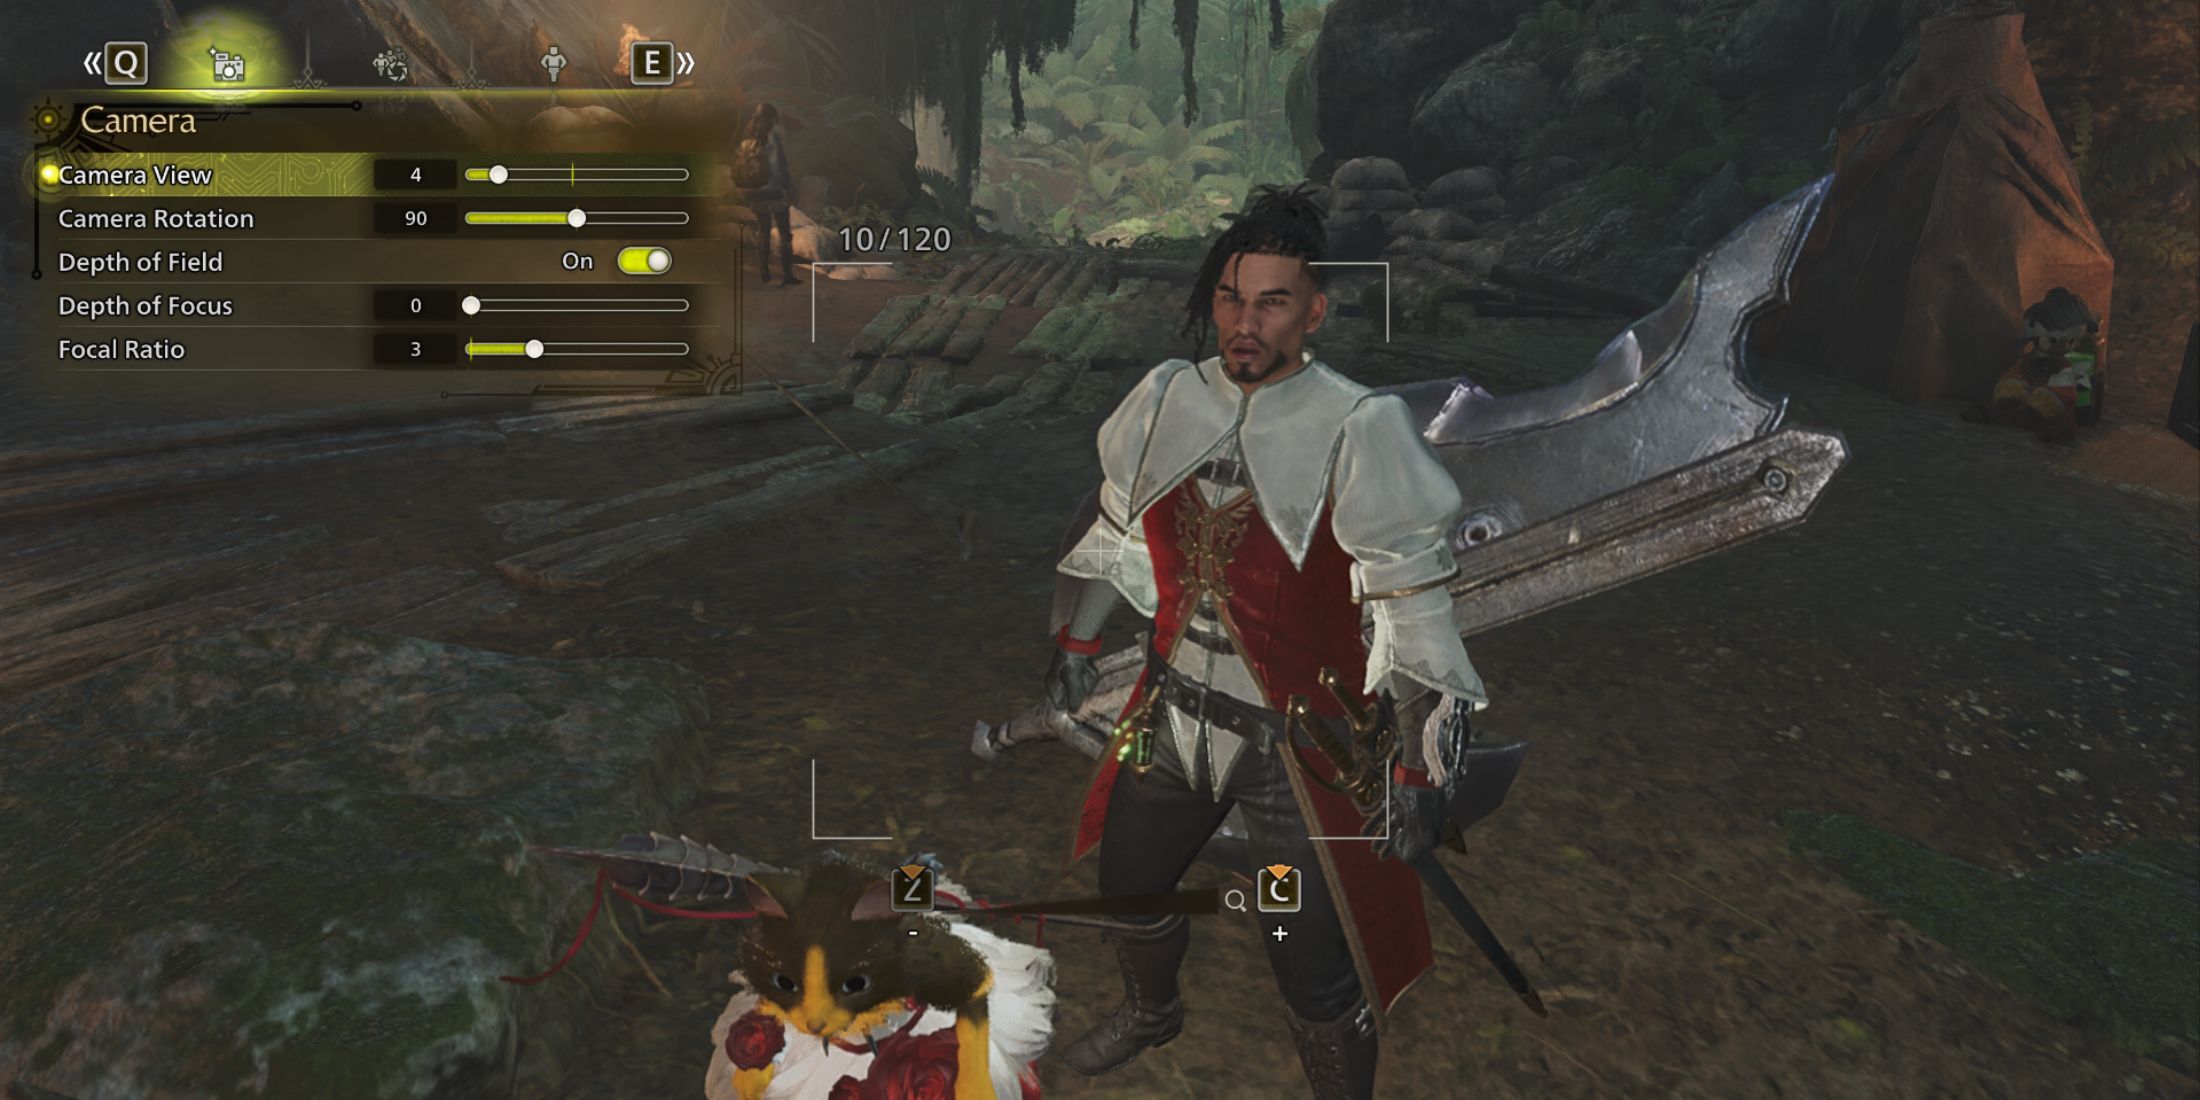
Accessing the Edit Menu within Photo Mode provides you with additional camera and character functionalities for better manipulation.
- Camera View: Adjust the Zoom level of the frame.
- Camera Rotation: Adjusts the rotation of the frame.
- Depth of Field On/Off: Activates additional depth controls.
- Depth of Focus: Adjusts the Depth of Focus. Available when Depth of Field is turned on.
- Focal Ratio: Adjust the Focal Ratio. Available when Depth of Field is turned on.
Navigating through various tabs within the Edit Menu provides you with multiple choices for Pose and Gesture selection. Keep in mind that this feature is accessible exclusively while the game isn’t paused and you’re utilizing the Free Camera mode.
You can’t move the camera positioning using directional inputs when the Edit Menu is open.
Where Are Monster Hunter Wilds Photos Saved?
Once you’ve captured a photo within Monster Hunter Wilds, you’ll be able to locate it in your in-game Photo Collection. You can easily navigate to this collection directly from the Photo Mode by pressing the Sub-Menu button when engaged in Photo Mode and then choosing the ‘Go to Album’ option. Another way to access your photos is by clicking the menu button, navigating to Options, and selecting ‘Albums’. Here you will find all the pictures you’ve taken during gameplay.
If you’re enjoying Monster Hunter Worlds via Steam, know that your captured screenshots are conveniently stored within your Steam Library’s folder. To locate these snapshots, simply navigate to the specified directory below:
- Drive:\SteamLibrary\steamapps\common\MonsterHunterWilds\ScreenShots.
On consoles, screenshots are stored in the default locations for each system.
In the Photo Mode of Monster Hunter Wilds, there aren’t many filters or special effects to play with, but the ones that are provided can help capture some truly breathtaking shots as you traverse through the game. Remember though, try not to search for the ideal moment during an actual monster battle.
Read More
- 50 Ankle Break & Score Sound ID Codes for Basketball Zero
- Who Is Harley Wallace? The Heartbreaking Truth Behind Bring Her Back’s Dedication
- Mirren Star Legends Tier List [Global Release] (May 2025)
- 50 Goal Sound ID Codes for Blue Lock Rivals
- KPop Demon Hunters: Real Ages Revealed?!
- Elden Ring Nightreign Enhanced Boss Arrives in Surprise Update
- 100 Most-Watched TV Series of 2024-25 Across Streaming, Broadcast and Cable: ‘Squid Game’ Leads This Season’s Rankers
- Death Stranding 2 Review – Tied Up
- How to Cheat in PEAK
- How to play Delta Force Black Hawk Down campaign solo. Single player Explained
2025-03-02 06:35