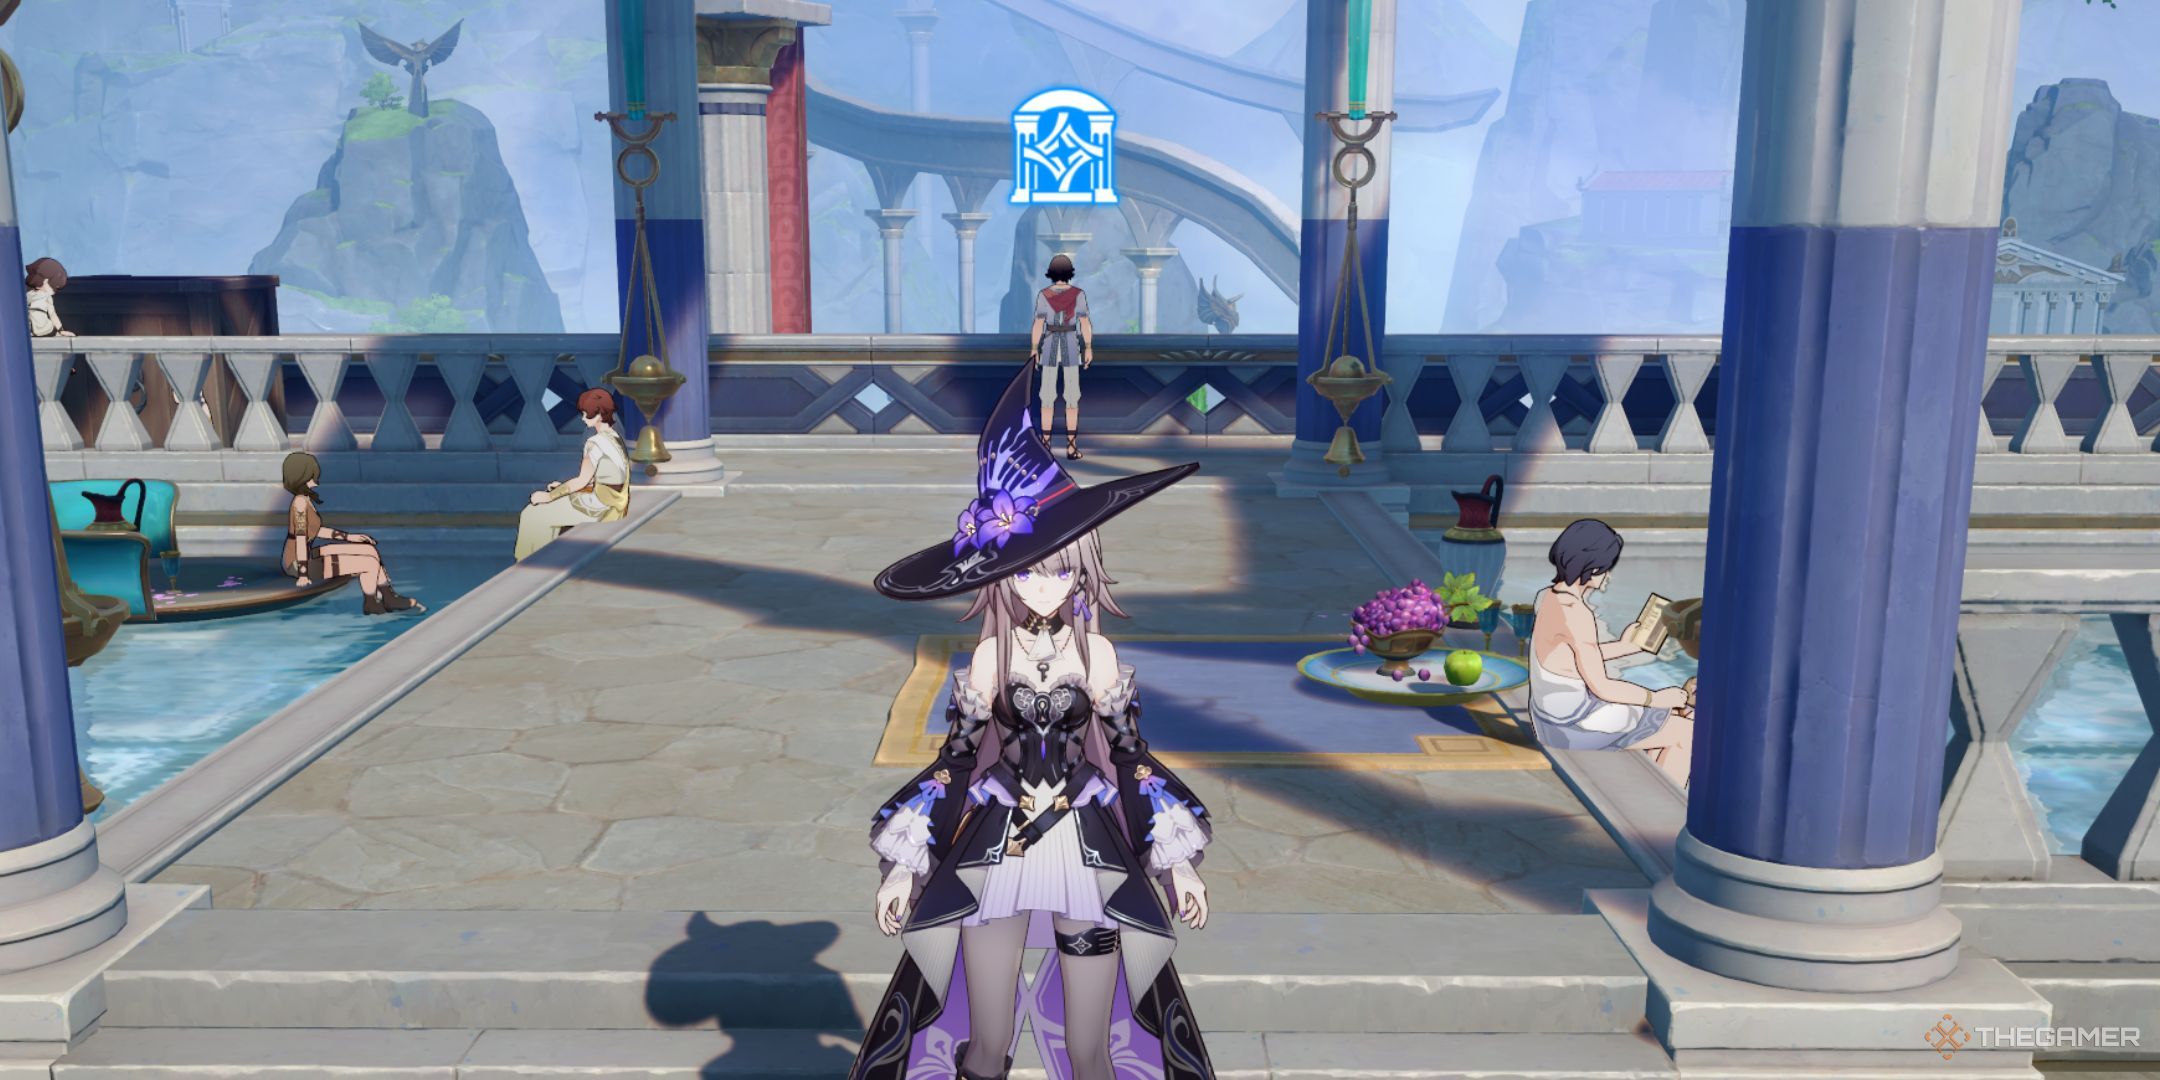
In the game Honkai: Star Rail, whenever a fresh area is introduced, you’ll often encounter unique puzzles that are exclusive to this region. For instance, in Amphoreus, some frequently encountered puzzles include Prophecy Tablets, Golden Scapegoat, Hand of Zagreus, and Oronyx’s Miracle.
No Thanks, Keep Reading
Nevertheless, there’s limited space on the map to display these puzzles from HoYoverse. To address this issue, they’ve organized an event called Hypogeum Enigma where you can test out the challenging levels of these puzzles. Here are all the solutions you’ll require for the event.
Hypogeum Enigma Prophecy Tablet Solutions
In Prophecy Tablet puzzles, your goal is to arrange different shapes such that only the portion illuminated on the screen appears yellow. If a shape overlaps with another, they will negate or cancel each other.
| Room | Solution |
|---|---|
| 1 | This is a fairly simple one. Place the square in the middle of the shape and then place both the triangles on the top and bottom part of the square. |
| 2 | To clear the second stage, place the two bigger triangles in the middle in such a way that they cancel out the bottom part of each other. Now, you can place the smaller triangles on the sides and fill the rest of the shape. |
| 3 | Start by placing the bigger triangles in the same way as the second room and then you can place the smaller ones in the top and bottom middle part. |
| 4 | Place the biggest rhombus in the middle of the structure so it covers the entire final shape. Now, place each small rhombus on the left and right edge of the bigger one respectively while being fully on top of the bigger shape. |
| 5 |
This is the trickiest puzzle here. Start by placing the rhombus on the right edge of the shape so that it covers the triangle on the right. Now, place the two big triangles in the middle in the same way as the second room. Finally, you can place the left-facing triangle on the left side and the right-facing one beside it. |
| 6 | Once again, start by covering the whole final shape with the big rhombus. Now, put two rhombuses on the top and bottom edge of the bigger one while being fully on top of it. You can then place the last one in the middle. |
Hypogeum Enigma Golden Scapegoat Solutions
To solve the Golden Scapegoat riddles, you must adhere to a particular sequence of actions. After several moves, your shadow will mimic these actions. If you encounter your shadow or trip and fall during the game, you’ll be disqualified. The goal is to light the brazier for victory. Here are all the instructions you need to follow:
– This version maintains the original meaning but aims to make it more engaging and easier to understand by using simpler language and a more conversational tone.
| Room | Solution |
|---|---|
| 1 | Right – Right – Right – Right – Right – Right – Right – Left |
| 2 | Right – Right – Right – Left – Left – all the way right |
| 3 | Left – Left – Left – Left – Right – Up – all the way right |
| 4 | Left – Left – Right – Right – Right – Right – Left – Left – Right – Left – Left – Left |
| 5 | Right – Left – Left – Right – Right – Right – Right – Right – Left – Right – Left – Right – all the way left |
| 6 | Right – Right – Down – Left – Left – Left – Left – Right – Right – Right – Up – Right – Down – Left – Left |
Hypogeum Enigma Hand Of Zagreus Solutions

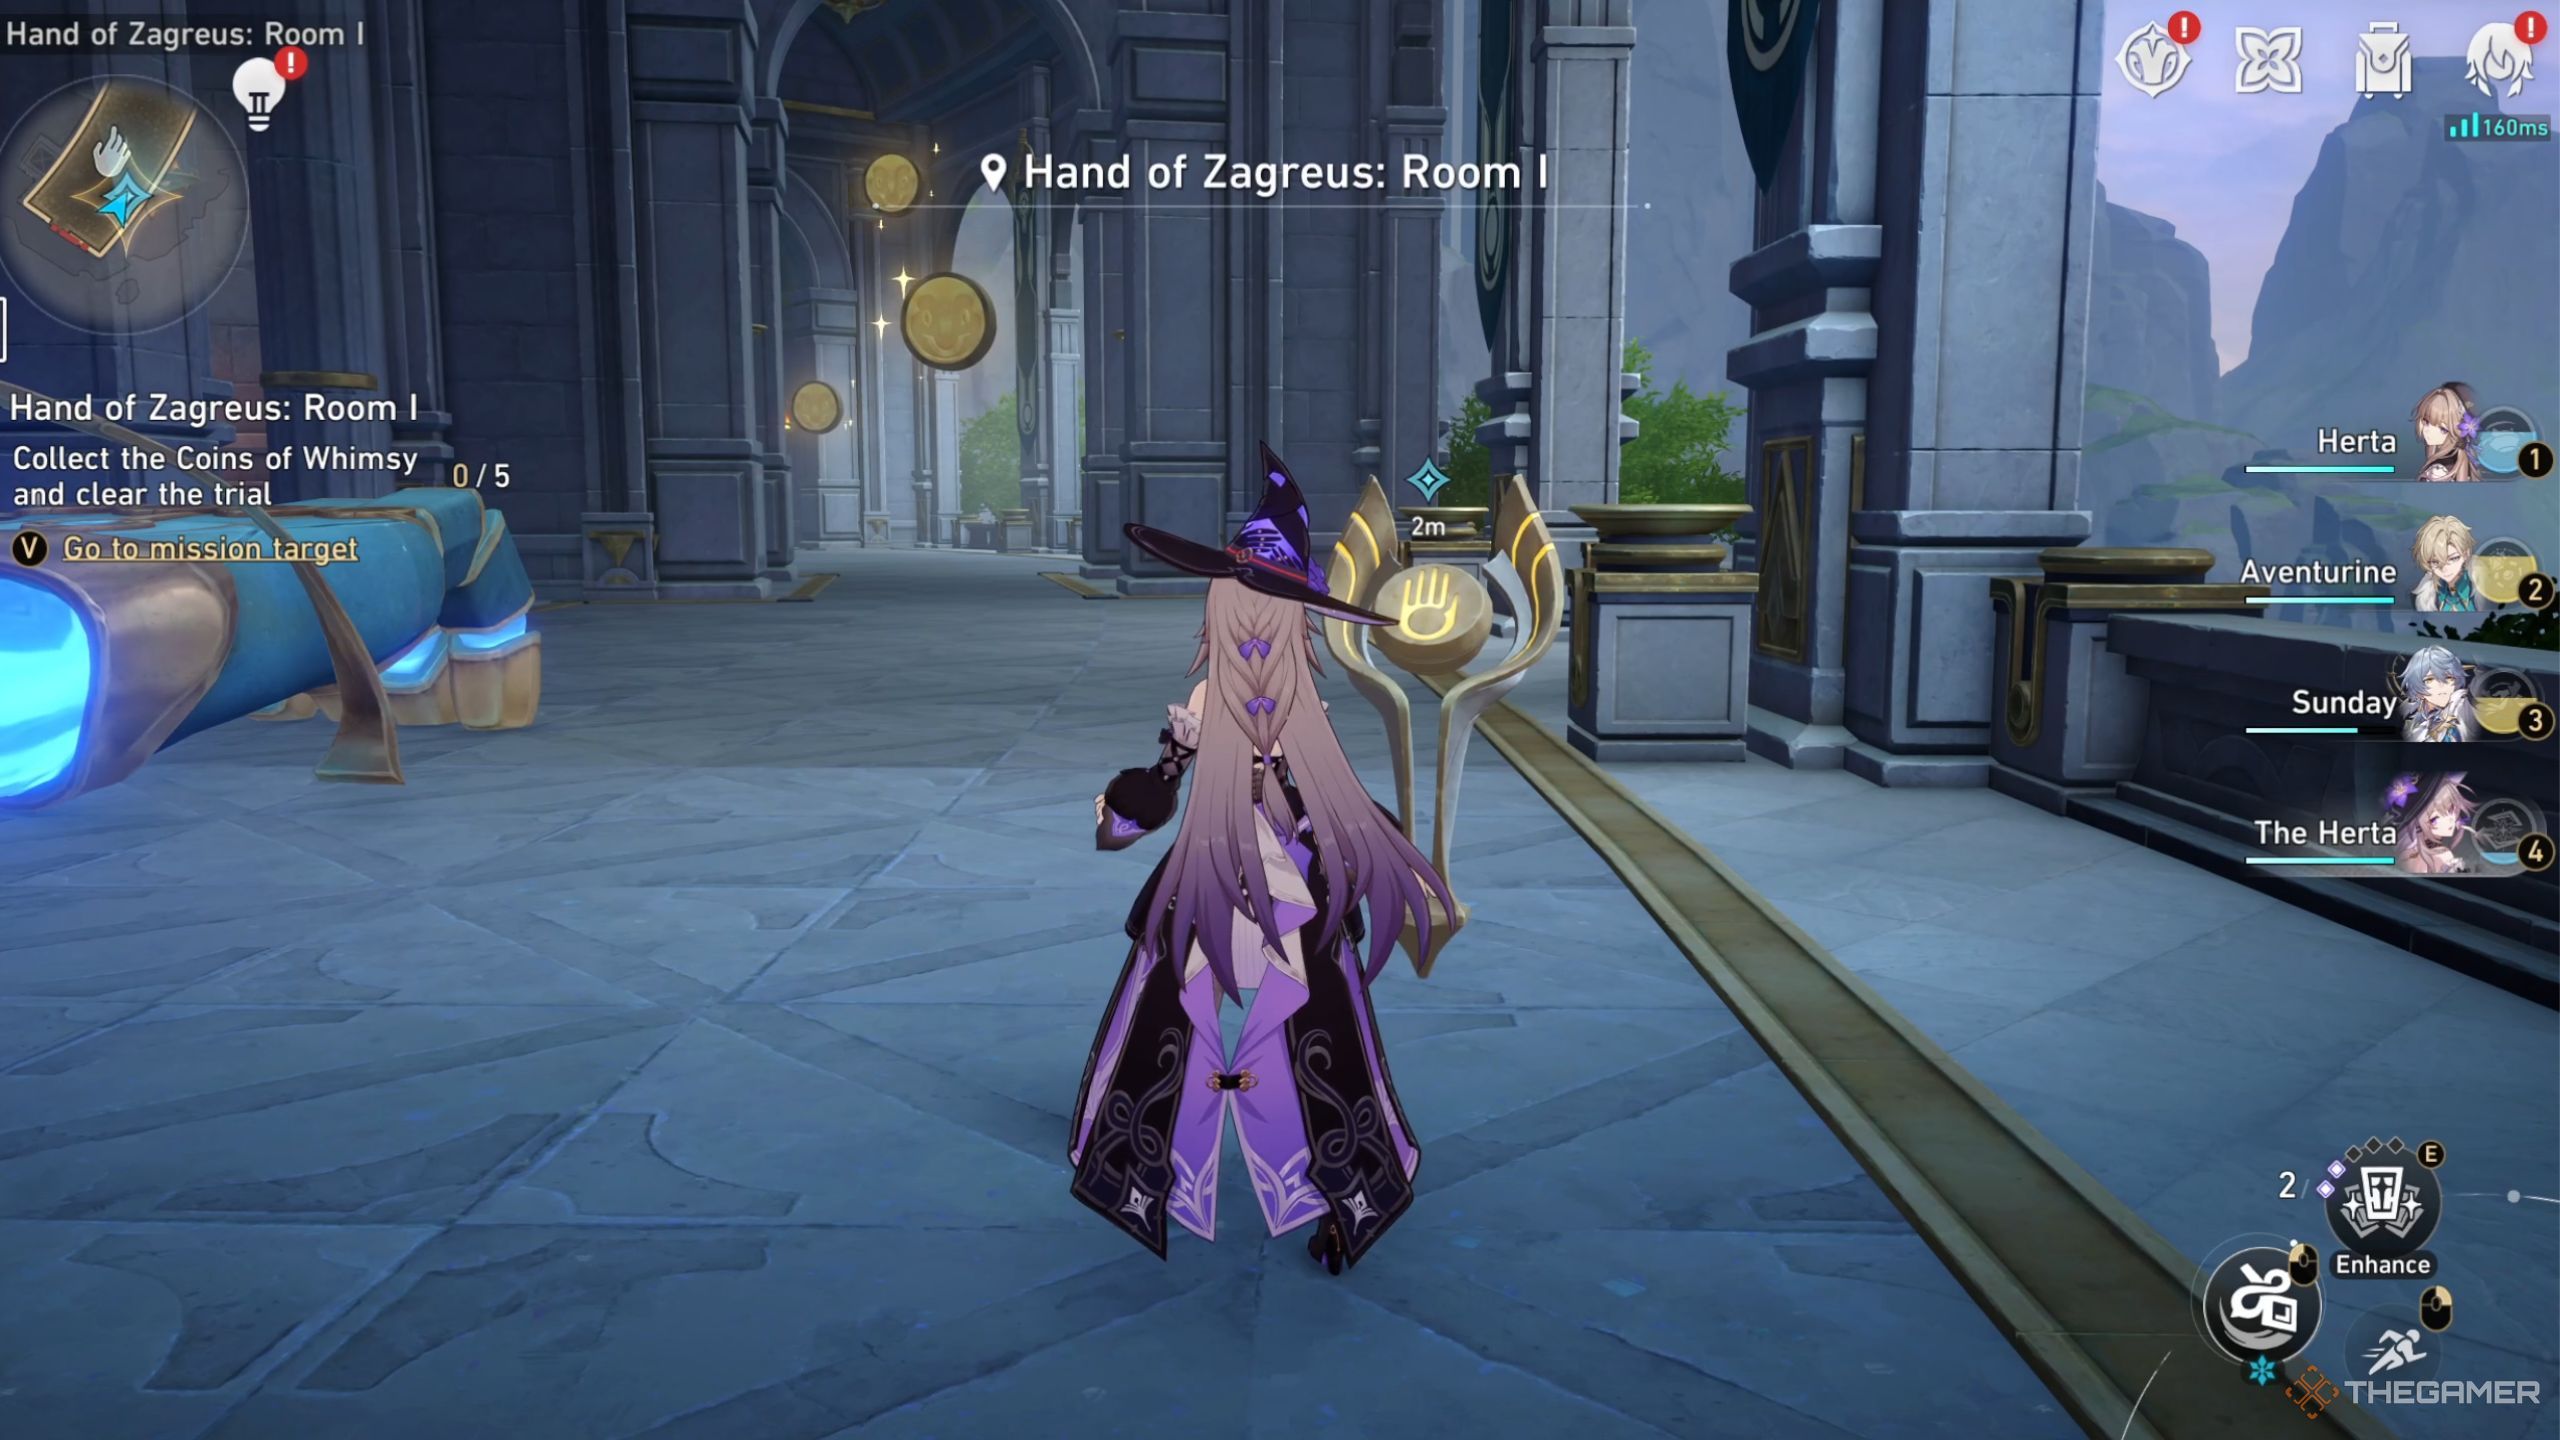
Among the various mini-games found within Hypogeum Enigma, the Hand of Zagreus is unique as it doesn’t involve solving puzzles. Instead, players navigate the hand by interacting with the level-specific mechanisms and aim to collect a specific amount of coins. In levels two and three, the required coin count is less than the total coins available in that particular area.
To proceed to the next stage, swiftly insert your hand into the central box, shattering it. This action will cause the coins inside to disperse. Once you have collected enough scattered coins, you can move on to the following level.
Hypogeum Enigma Oronyx’s Prayer Solutions
In the concluding mini-game of this event, one of the fundamental abilities that the Trailblazer acquires in Amphoreus is featured. Using this ability, you can alter time to either repair something damaged or shift the current era. Here are the strategies for navigating through each room:
1. Room A: Time Dilation – Slow down the flow of time to avoid obstacles and solve puzzles at a leisurely pace.
2. Room B: Time Reversal – Rewind time to undo mistakes or reset situations that aren’t going as planned.
3. Room C: Time Acceleration – Speed up the passage of time to bypass slow-moving obstacles or quickly reach distant locations.
4. Room D: Era Shift – Travel back or forward in time to access different eras and interact with objects or characters from various periods.
| Room | Solution |
|---|---|
| 1 | The first room is fairly straightforward. You first have to interact with two books and then use your ability to fix the bridge at the end. |
| 2 | For the second one, use the book to change the era and interact with the miracle orb in the middle to turn it on. After that, use the book again and take the path on the right to get to the chest. |
| 3 | Star by using the book first in the third room and then turn on the miracle orb nearby. Change the direction of the orb’s light to the crates on the left and then you can get the chest. |
| 4 |
To get the first chest in the final room, simply interact with the book in the middle and you can go through the doors on your right. For the second chest, you have to activate the orb near the book and point it on the path forward. Then, point the direction of the orb in front to the right side and switch the first orb’s direction to the chest at the top. After getting the second chest, keep going in that direction and turn the third miracle orb on. Now, switch the first miracle orb to the left and the second one to the right, and you’ll be able to get the last chest. |
Read More
- INJ PREDICTION. INJ cryptocurrency
- SPELL PREDICTION. SPELL cryptocurrency
- How To Travel Between Maps In Kingdom Come: Deliverance 2
- LDO PREDICTION. LDO cryptocurrency
- The Hilarious Truth Behind FIFA’s ‘Fake’ Pack Luck: Zwe’s Epic Journey
- How to Craft Reforged Radzig Kobyla’s Sword in Kingdom Come: Deliverance 2
- How to find the Medicine Book and cure Thomas in Kingdom Come: Deliverance 2
- Destiny 2: Countdown to Episode Heresy’s End & Community Reactions
- Deep Rock Galactic: Painful Missions That Will Test Your Skills
- When will Sonic the Hedgehog 3 be on Paramount Plus?
2025-01-23 17:08