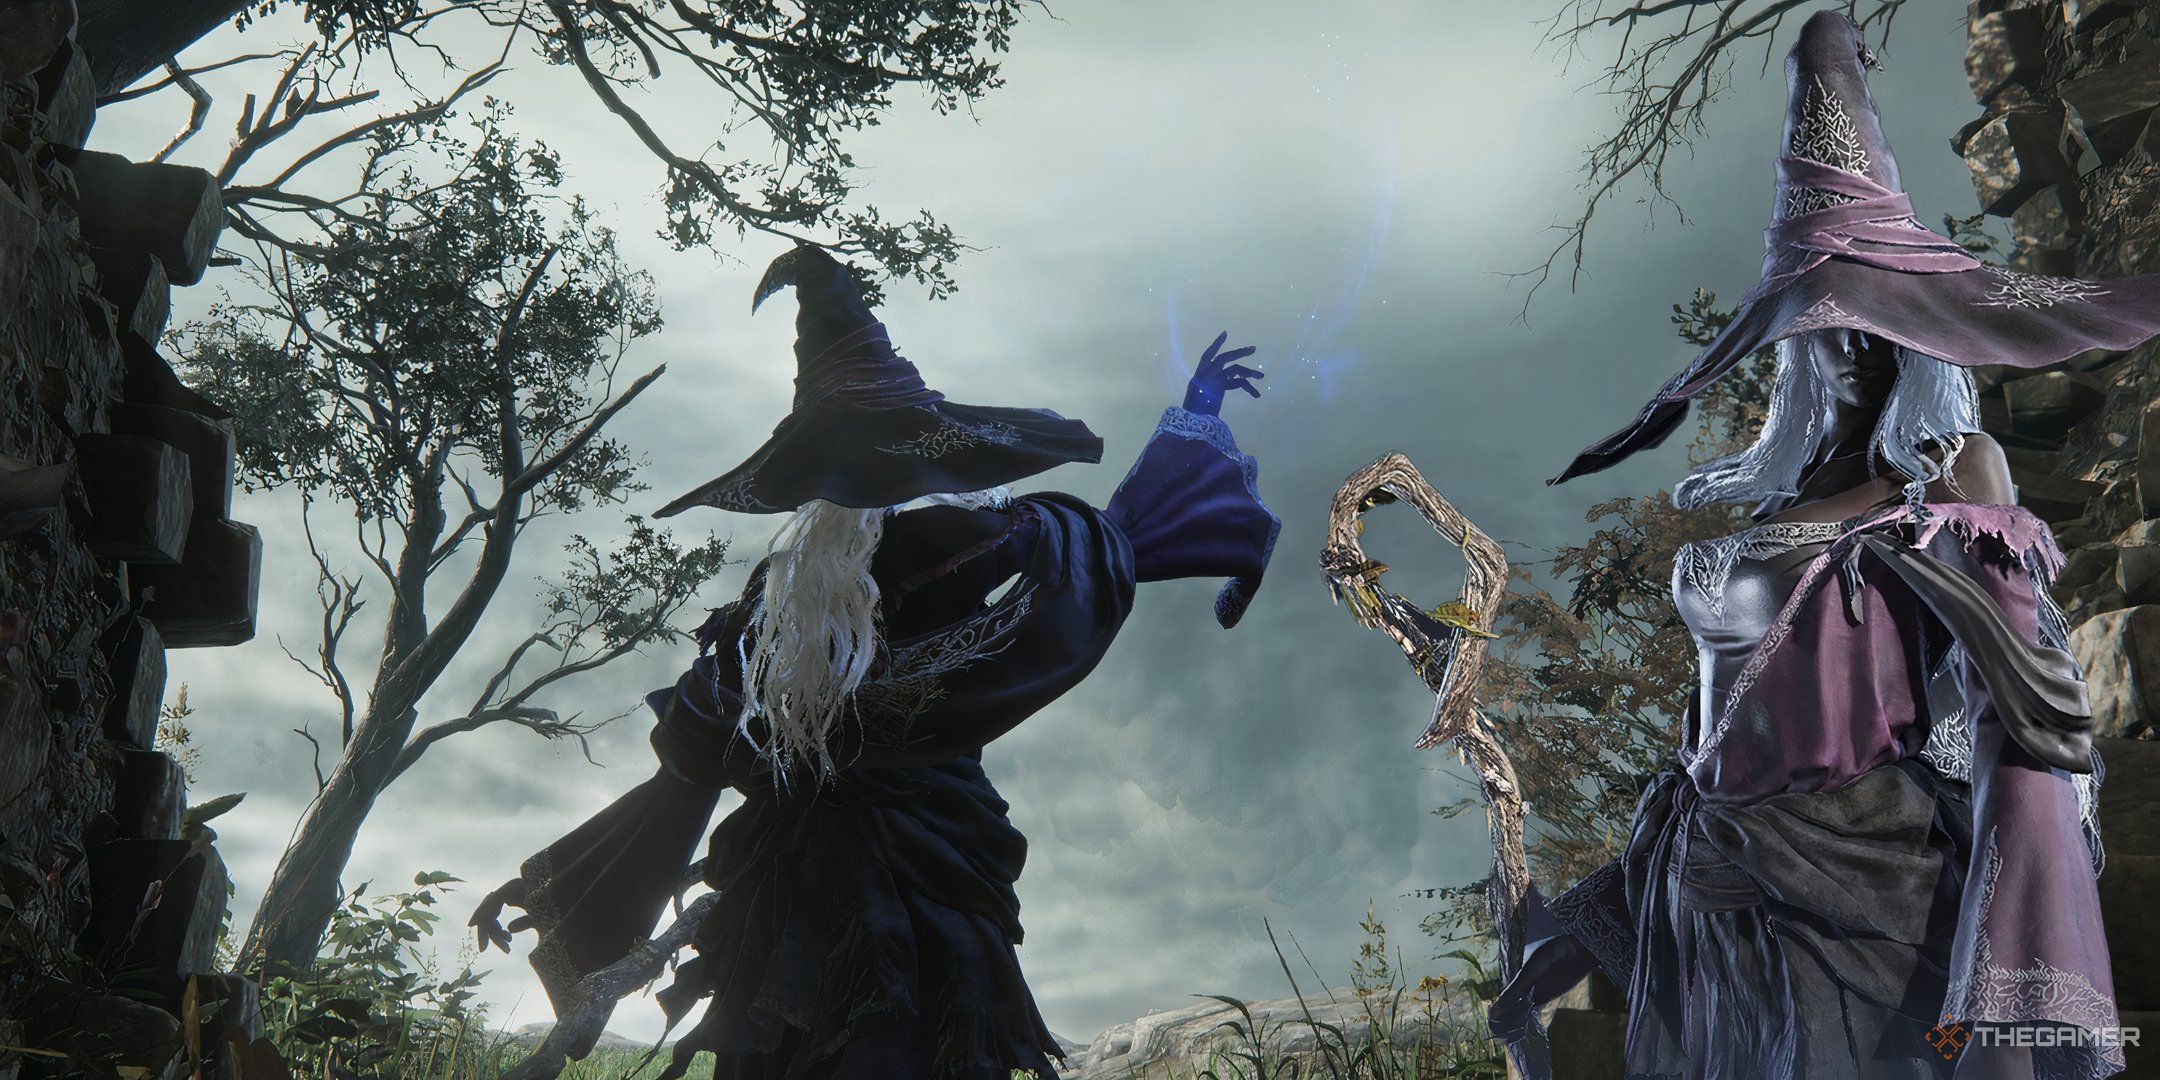
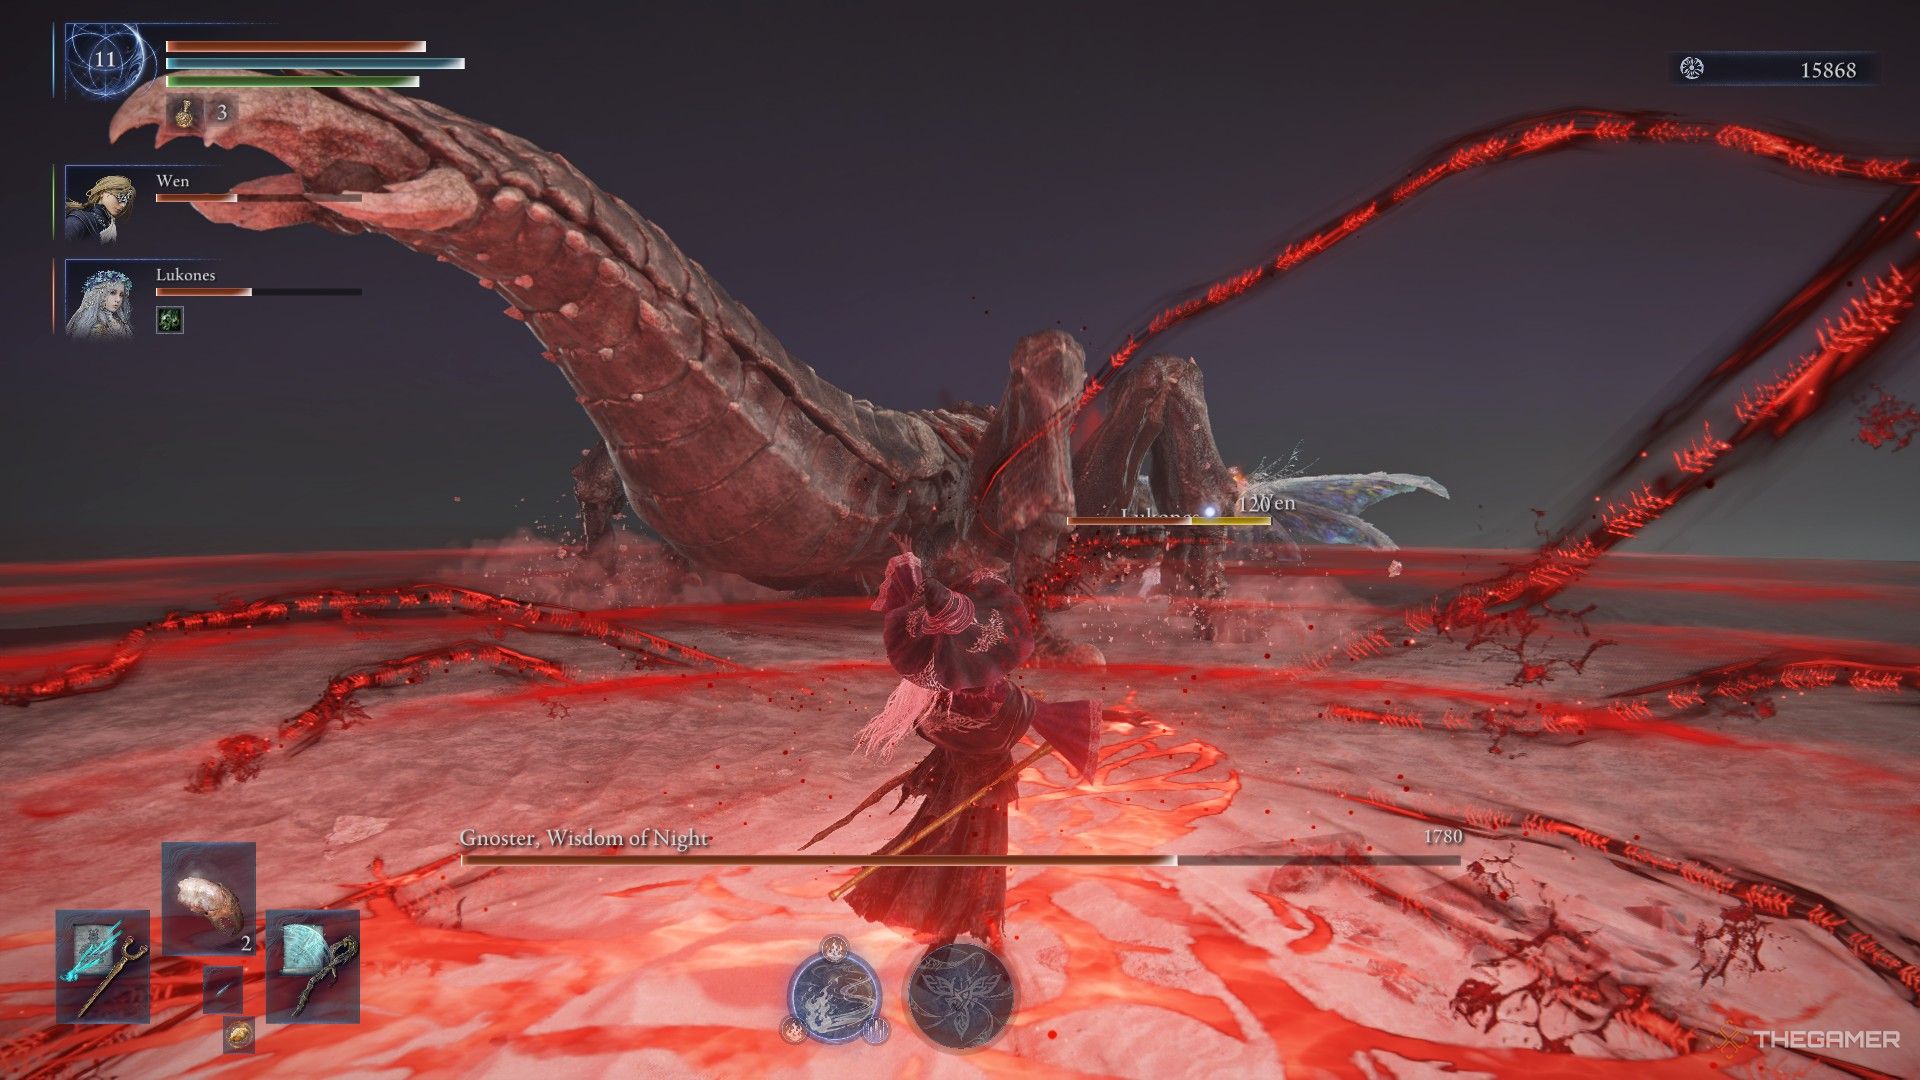
Asserting victory over the night, the Elden Ring Nightreign is no walk in the park; it necessitates – above all – a well-balanced and coordinated team. Of all characters, the reserved Recluse needs this balance and unity within the team most. The composition of your team and their selected weaponry will significantly influence the effectiveness of your team’s resident witch.
To increase your chances of surviving in the rain, it’s essential that you thoroughly grasp the intricacies of Recluse before embarking on your journey from the round table. Her cunning concoctions and mixes are the key to avoiding an unintended casting of a warming stone when you intended to cast a lightning nuke instead.
Overview
HP | D |
FP | A |
Str | D |
Dex | C |
Int | S |
Faith | S |
Arcane | C |
As a witch, her attributes conform to the typical image. She’s more of a “high-impact, low durability” character, with weak defenses but impressive magical abilities. Additionally, she exhibits a decent level of proficiency in Dexterity, providing room for some creative and unconventional skill combinations.
Unlike other Nightfarers, Recluse doesn’t have the same fixation on weapons. Instead, her strength lies in her distinctive abilities. Choosing her comes with a high skill demand for players, as her complex features necessitate memorization, strategic planning, and precise timing. Yet, skilled players can excel even during unfortunate runs or setbacks.
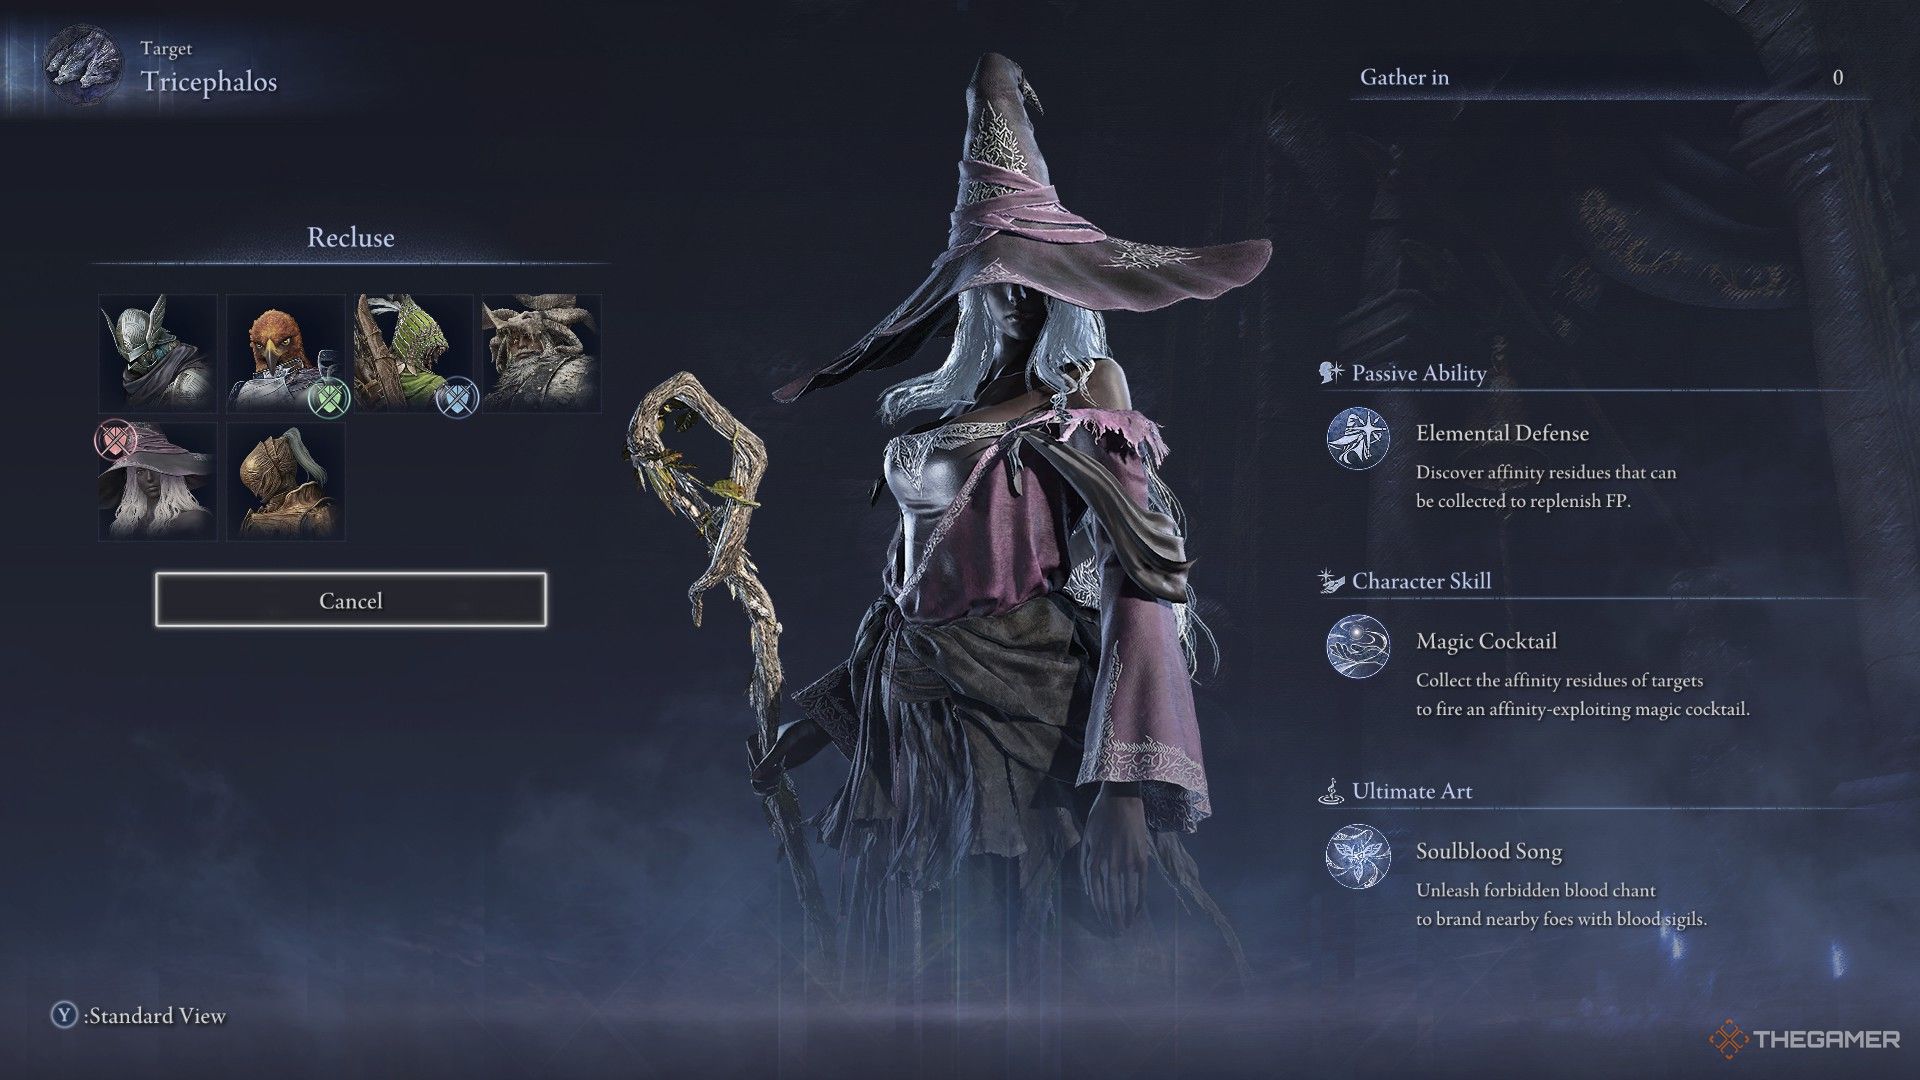
Recluse Traits
The characteristics of Recluse are remarkably harmonious, enabling her to function as an exceptionally adaptable entity in the field. Yet, due to their distinctive and cunning qualities, utilizing her traits might pose a challenge for beginners and demand a significant learning curve to fully comprehend. However, mastering Recluse will be worthwhile and rewarding with time.

Like the rest of the Nightfarers, she has three traits:
- Passive Ability: Elemental Defence
- Character Skill: Magic Cocktail
- Ultimate Art: Soulblood Song
If you want to use Recluse, we highly suggest studying the following sections very carefully.
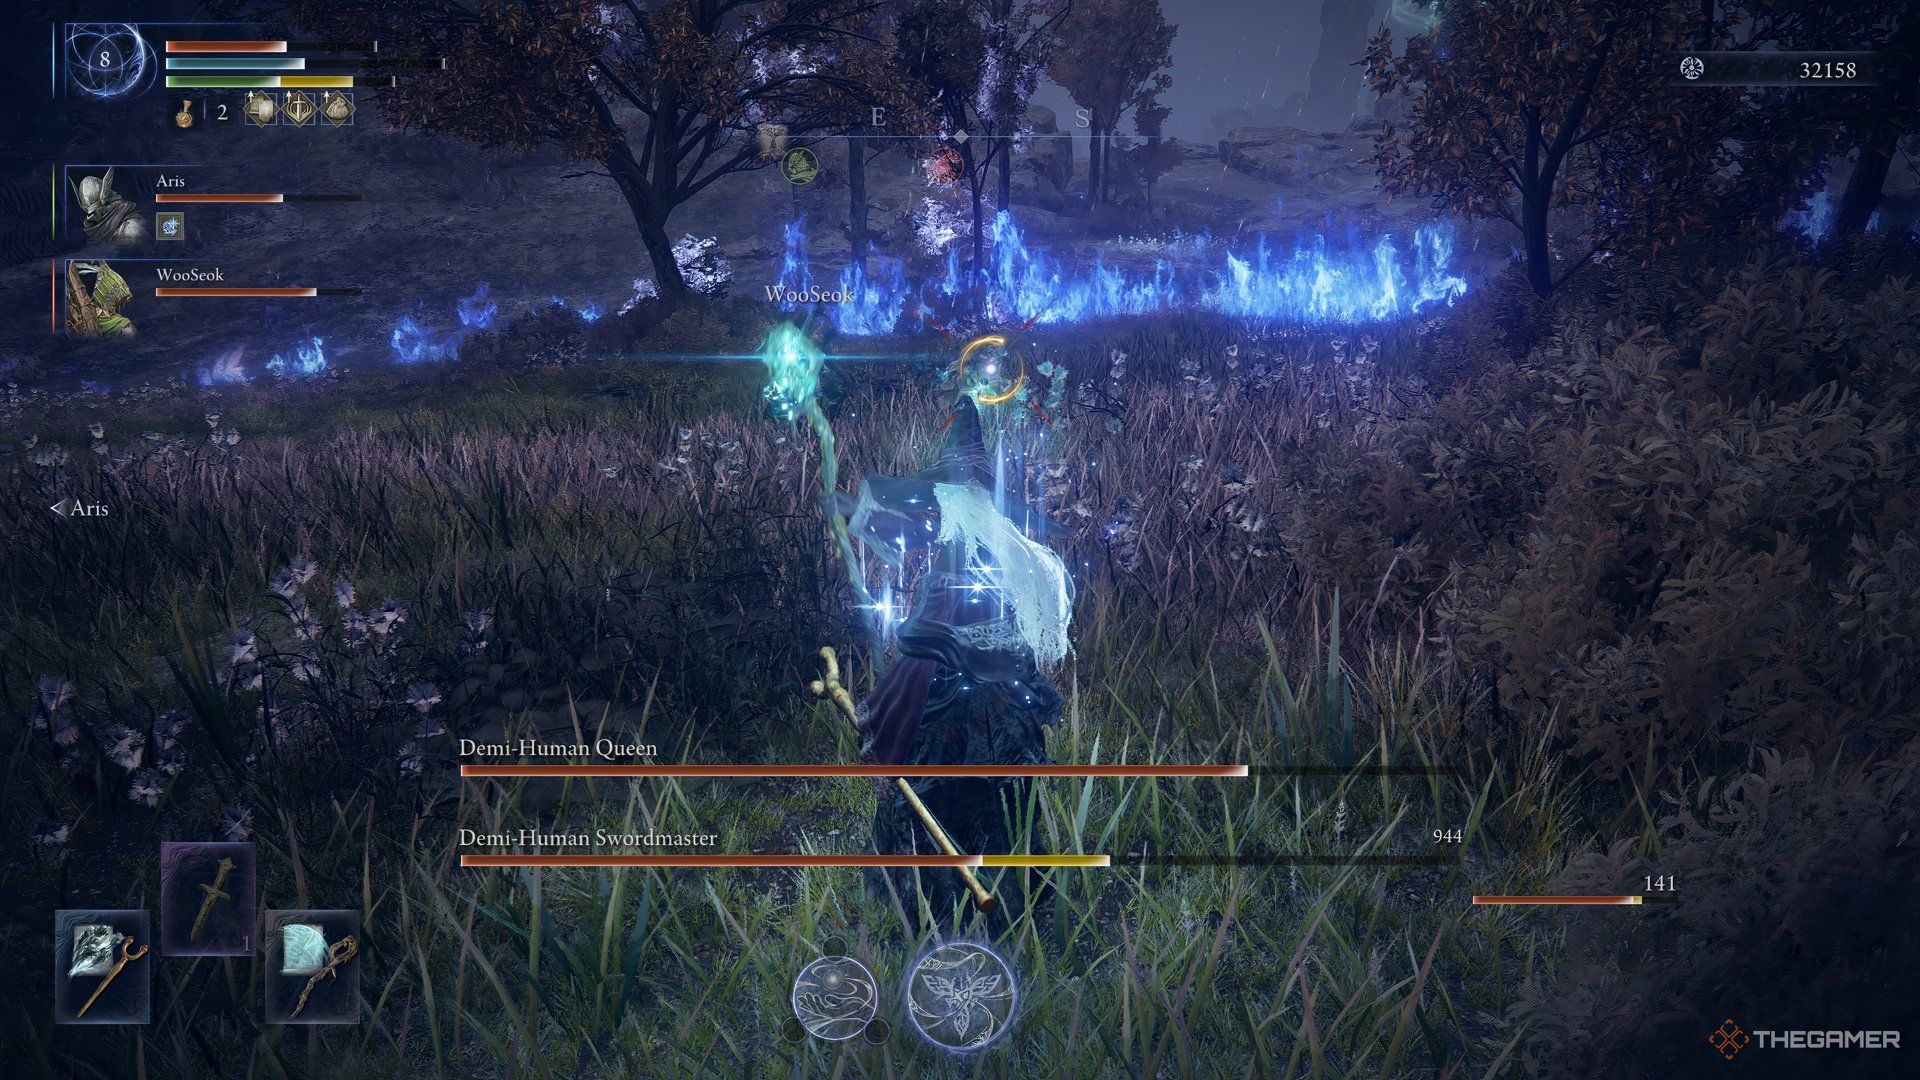
How To Use Recluse’s Character Skill: Magic Cocktail
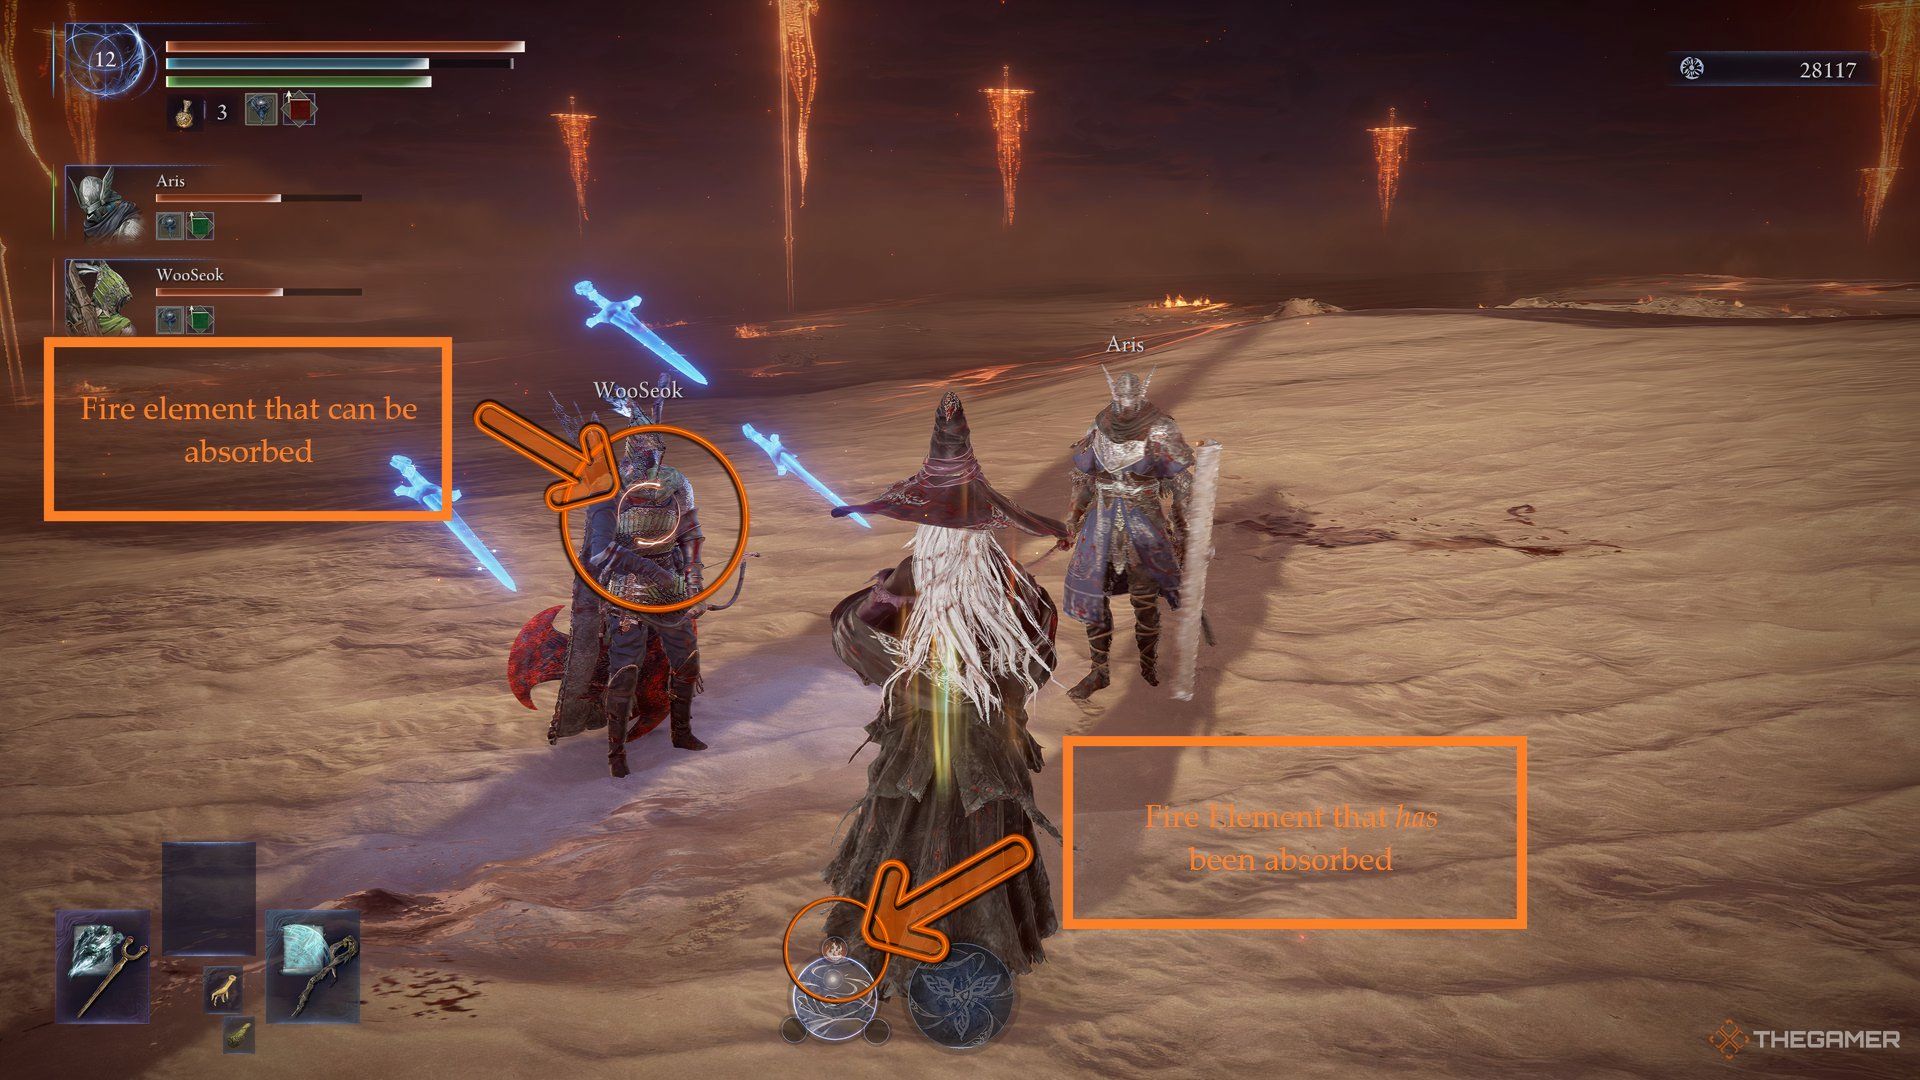
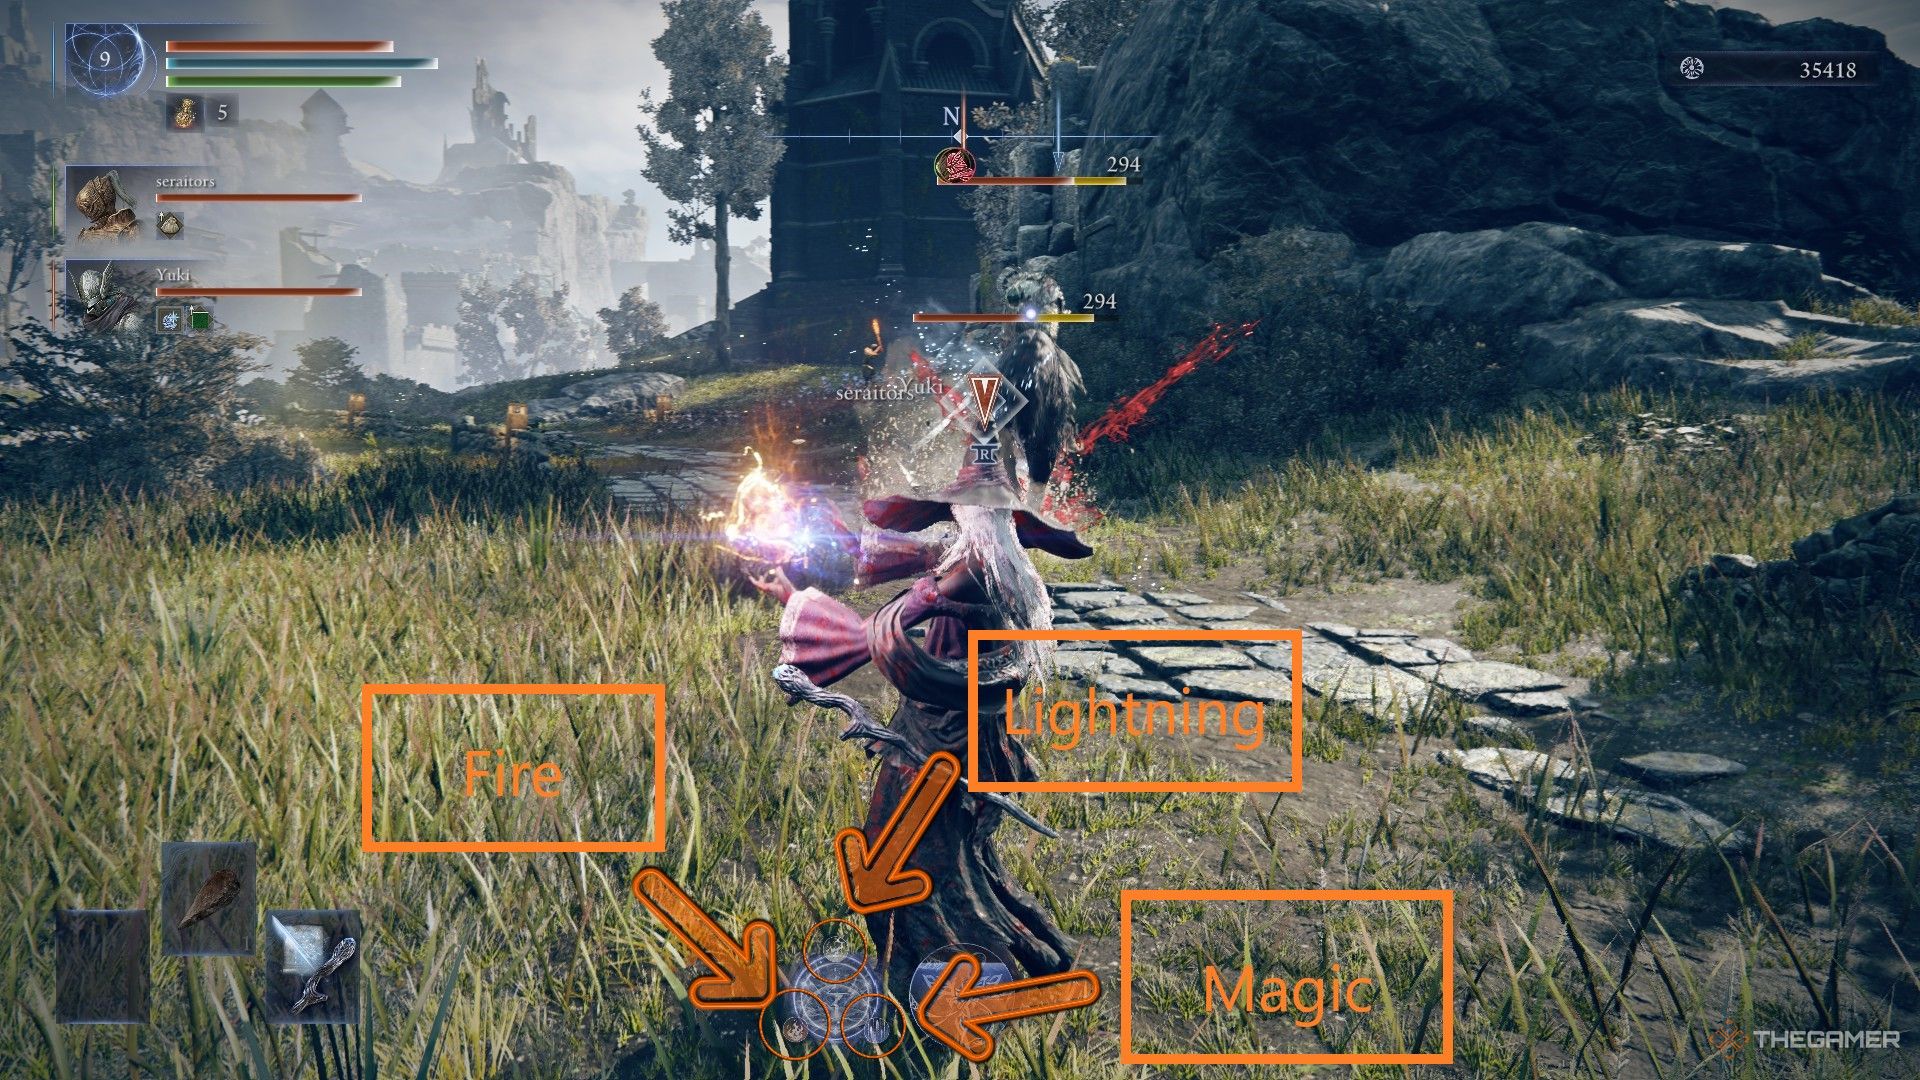
A Recluse’s Passive ability and Character Skills are closely connected; using one inevitably involves the use of the other. With her Elemental Defense passive, she can view colored circles around nearby enemies, indicating the type of damage they’ve recently taken.
- Fire is red.
- Magic is blue.
- Lightning is pale yellow with lightning bolts wrapped around the icon.
- Holy is a static and bold yellow.
You are allowed to take in these components a maximum of thrice, in any mix you prefer (for example, three Magic, twice Magic and once Fire, just once of each, and so on).
Taking in Affinity Resources (elements) not only boosts your character’s skills, but they will also help restore a portion of your Focus Points.
Building up Recluse’s Character Skill: Magic Cocktail can be the trickiest aspect of using her toolkit, as each mix produces a unique outcome. Initially, it may seem challenging to remember all the various combinations, so before we overwhelm you with an extensive chart, let’s simplify it:
– As a beginner, focus on learning and mastering just a few combinations at a time.
– Gradually build your understanding by experimenting with different mixtures.
– Over time, you’ll find that the combinations become second nature.
- Magic is for damage over time and stagger.
- Lightning is for intense and immediate damage.
- Holy is for buffing yourself and allies.
- Fire causes a big BOOM! (Area attack damage)
Absolutely, there can be subtleties in combinations, but if you’re seeking a straightforward starting point as a beginner with Recluse, this structure isn’t a poor choice to grasp its basics.
For those seeking detailed information, here’s a breakdown of each combination created by Recluse, outlining their effects and advantages. The table below is organized according to these concepts:
- Simple Cocktails: Cocktails that only have one affinity.
- Duo Cocktails: Cocktails that have two affinities.
- All-But Cocktails: Cocktails that have three affinities.
| Simple Cocktails | ||||
|---|---|---|---|---|
| Absorbed Elements | Effect | Best Uses | ||
| Magic | Creates magic blades that, over a course of time, deal repeated magic damage, staggering most enemies. | Although not usually very heavy-hitting in damage, it is spectacular for interruptions and staggering. Great for creating openings for teammates or escaping melee foes. | ||
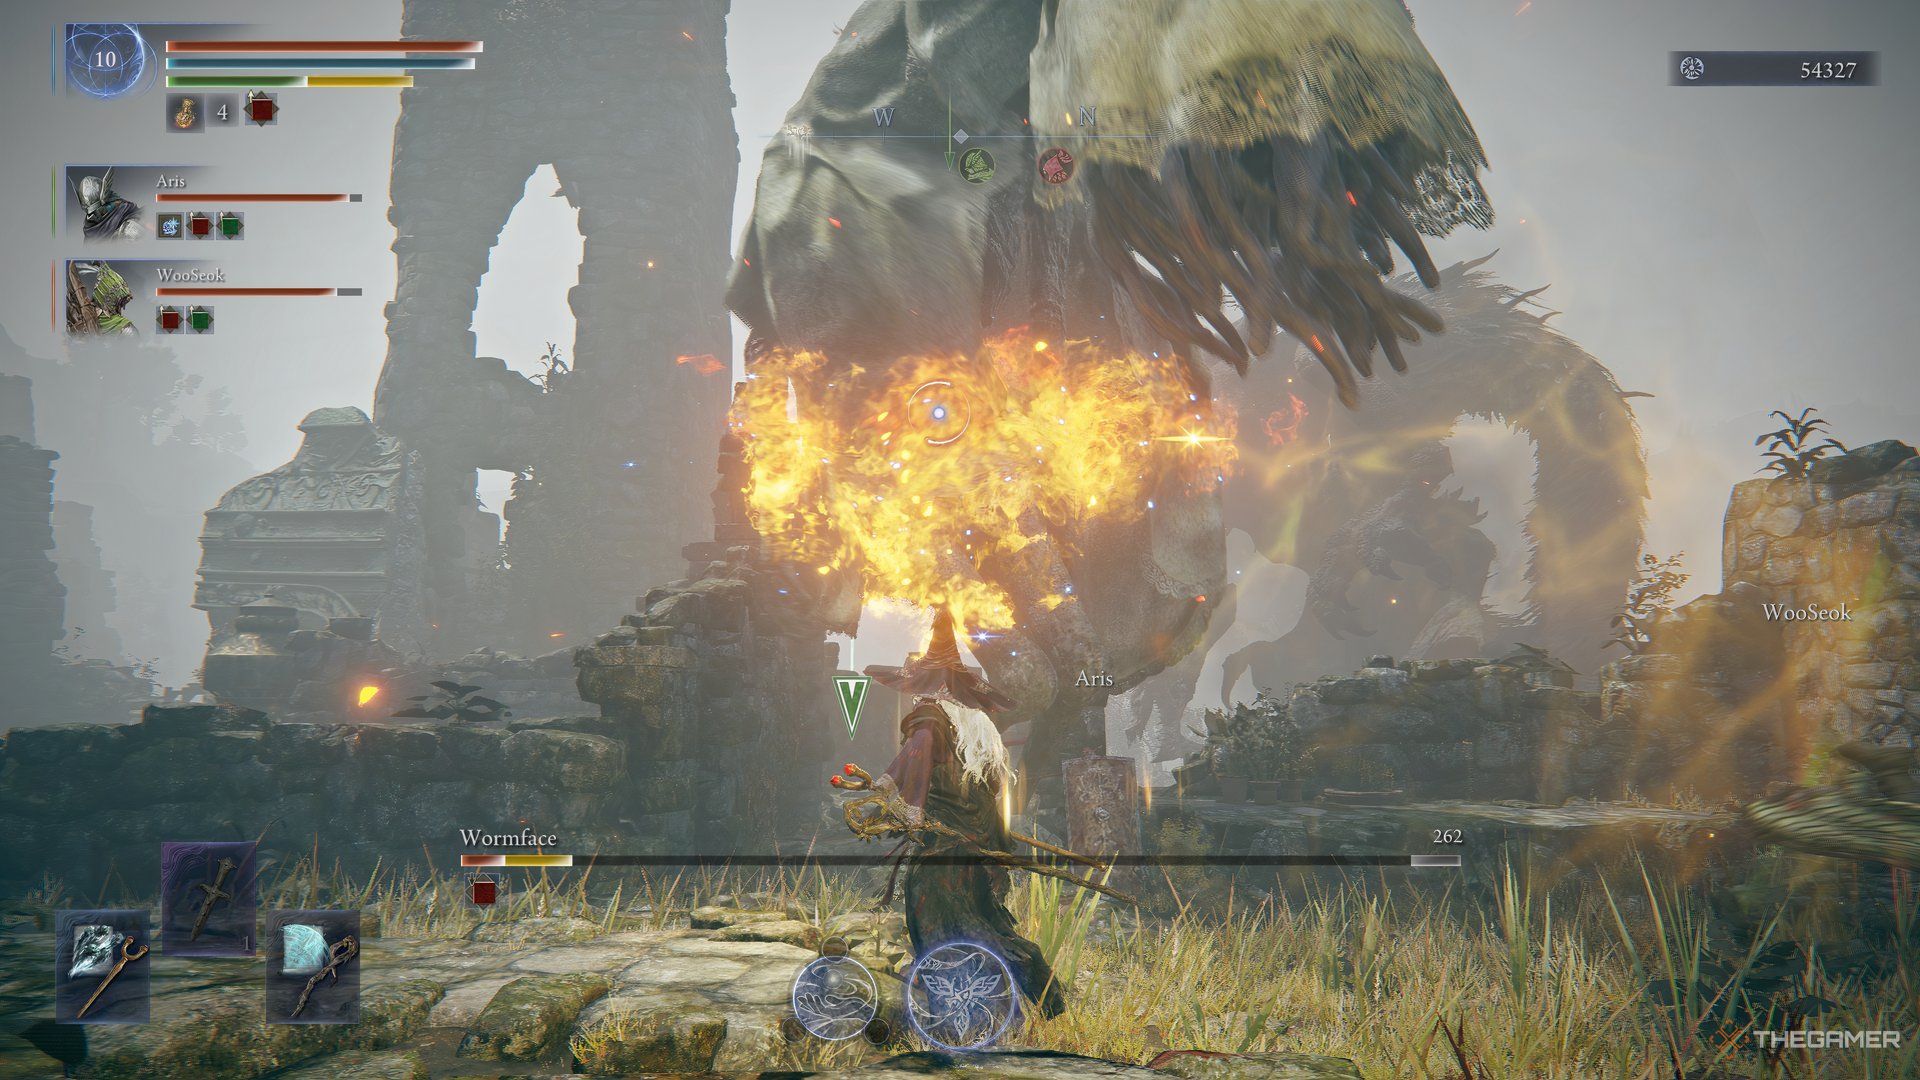
| Fire | Creates a burst of fire directly ahead of you that then creates a fiery area around it, much like the fire on the ground during the Elden Ring Fire Giant fight. | Great for clearing out mobs, zoning smaller enemies, and drawing aggression away from allies. | ||
| Lightning | Gives you the ability to teleport farther with lightning effects, moving around like Bloodhound Step from Elden Ring. | Great for boosting evasion and creating more mobility for the normally slow Recluse. | ||
| Holy | Gain 30 seconds of increased Poise for yourself and all nearby allies. | This is a great support option for teammates like Wylder, Executioner, Guardian, and Raider, who can tank hits but might get staggered out of attacking animations. | ||
| Duo Cocktails | ||||
| Magic | Fire | Creates a fire wisp that tracks the enemy. It deals two bursts of Fire and Magic damage before it explodes. | Great synergy with the Recluse’s Ultimate Ability for high and fast damage. It draws a ton of aggression, bringing attention away from allies who might need a break. Can explode early with contact on the ground or items, creating opportunities for damage bursts when used smartly. | |
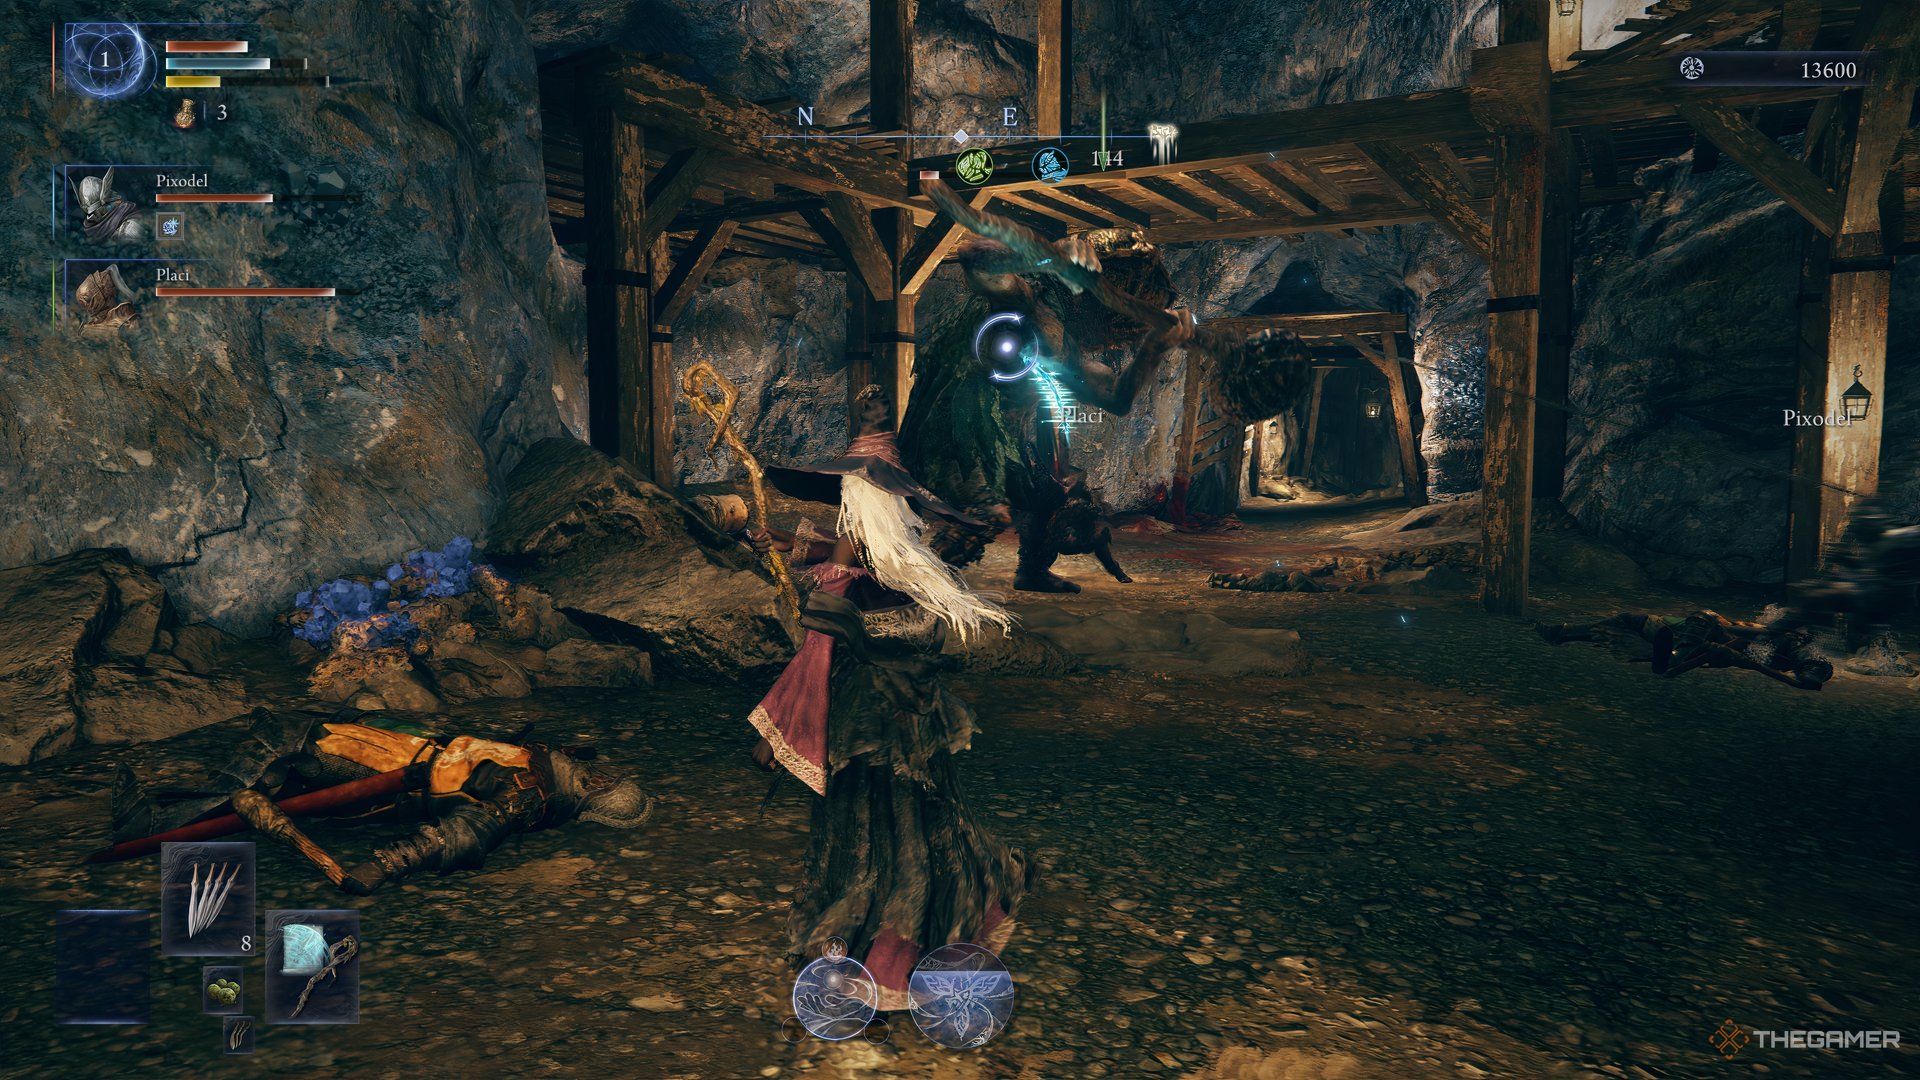
| Magic | Lightning | Recluse creates a magic lightning blade and performs an unsheathing attack maneuver. It deals impact damage and then creates a slashing attack projectile (like the Moonveil Katana) that travels a short distance forward. | This combination is one of the highest-damage attacks in Recluse’s toolkit. It is excellent for bosses with large health pools. | |
| Magic | Holy | A shower of starlight falls over a large area. You and all allies within can use spells and skills without consuming any FP for eight seconds. | This has a huge area of effect and can easily reach all teammates on a use. This is a great skill to have, especially for a Recluse or a team with more than one Recluse, as this will make all spells in her repertoire cost nothing. | |
| Fire | Lightning | Like Blinkbolt from the Shadow of the Erdtree DLC in Elden Ring, the user dashes forward cloaked in lightning and then, on impact, explodes in a small area with a lightning burst finale. | Deals tremendous poise damage while also netting high static damage numbers as well. This is excellent for saving teammates from catastrophic attacks, knocking bosses out of animations to save your allies. | |
| Fire | Holy | Releases a golden wisp into the air that increases your team’s Maximum Health. Those who walk into it for the first time are slightly healed. | This is a great support option, especially for boss encounters. It is essentially a strange warming stone, helping preserve your flasks for a fight. | |
| Lightning | Holy | Gain 15 seconds of Auto-Parry. Enemies that strike you during this time are all parried. | Creates huge opportunities for Critical Hit damage. Great synergy with melee Recluse builds or teams that feature both Recluse and Duchess. | |
| All-But Cocktails | ||||
| All But Magic | Create a lightning stake ahead of you that embeds itself into the ground with a lightning burst. After eight seconds, it explodes over an area to deal tremendous damage (a combination of Placidusax and the Divine Beast’s attacks). | One of the highest-damage attacks on the board, but it suffers a little against agile enemies that can move out of range quickly. This is best for large and slow bosses and those with a team that can keep enemies stationed in one spot. | ||
| Fire | Lightning | Holy | ||
| All But Fire | Recluse becomes a giant ice crystal as a massive area Ice Storm forms around her for 10 seconds, dealing damage over time and accumulating Frostbite. While in the ice crystal, Recluse is immune to all damage. | Perhaps the very best combination in Recluse’s toolkit. It deals damage on top of Frostbite damage, potentially stacking with the Shattered Earth benefits from the Frost Dragons. Additionally, Recluse can become entirely immune to damage, allowing her to escape otherwise deadly encounters. This is best used for major bosses, such as Nightlords, with large health pools and deadly attacks. | ||
| Magic | Lightning | Holy | ||
| All But Lightning | This unleashes a fire-breath attack that bursts from Recluse in a cone shape. This attack can be used while walking, dealing several instances of large damage to foes within. | This is excellent for difficult field enemies that also have mobs as well as bosses that can be difficult to hit with lock-on (like the Ancient Dragons). It can clear out groups while also dealing noteworthy damage to bosses. Extremely versatile. | ||
| Magic | Fire | Holy | ||
| All But Holy | Energy is gathered into a singular gravity well that pulls enemies slightly in toward the center and then erupts for massive magic and poise damage. | Great for interrupting most enemies and small-bodied bosses. It also helps slow down most enemies and will stagger most, potentially saving allies from unwelcome damage. | ||
| Magic | Fire | Lightning | ||
Ultimate Art
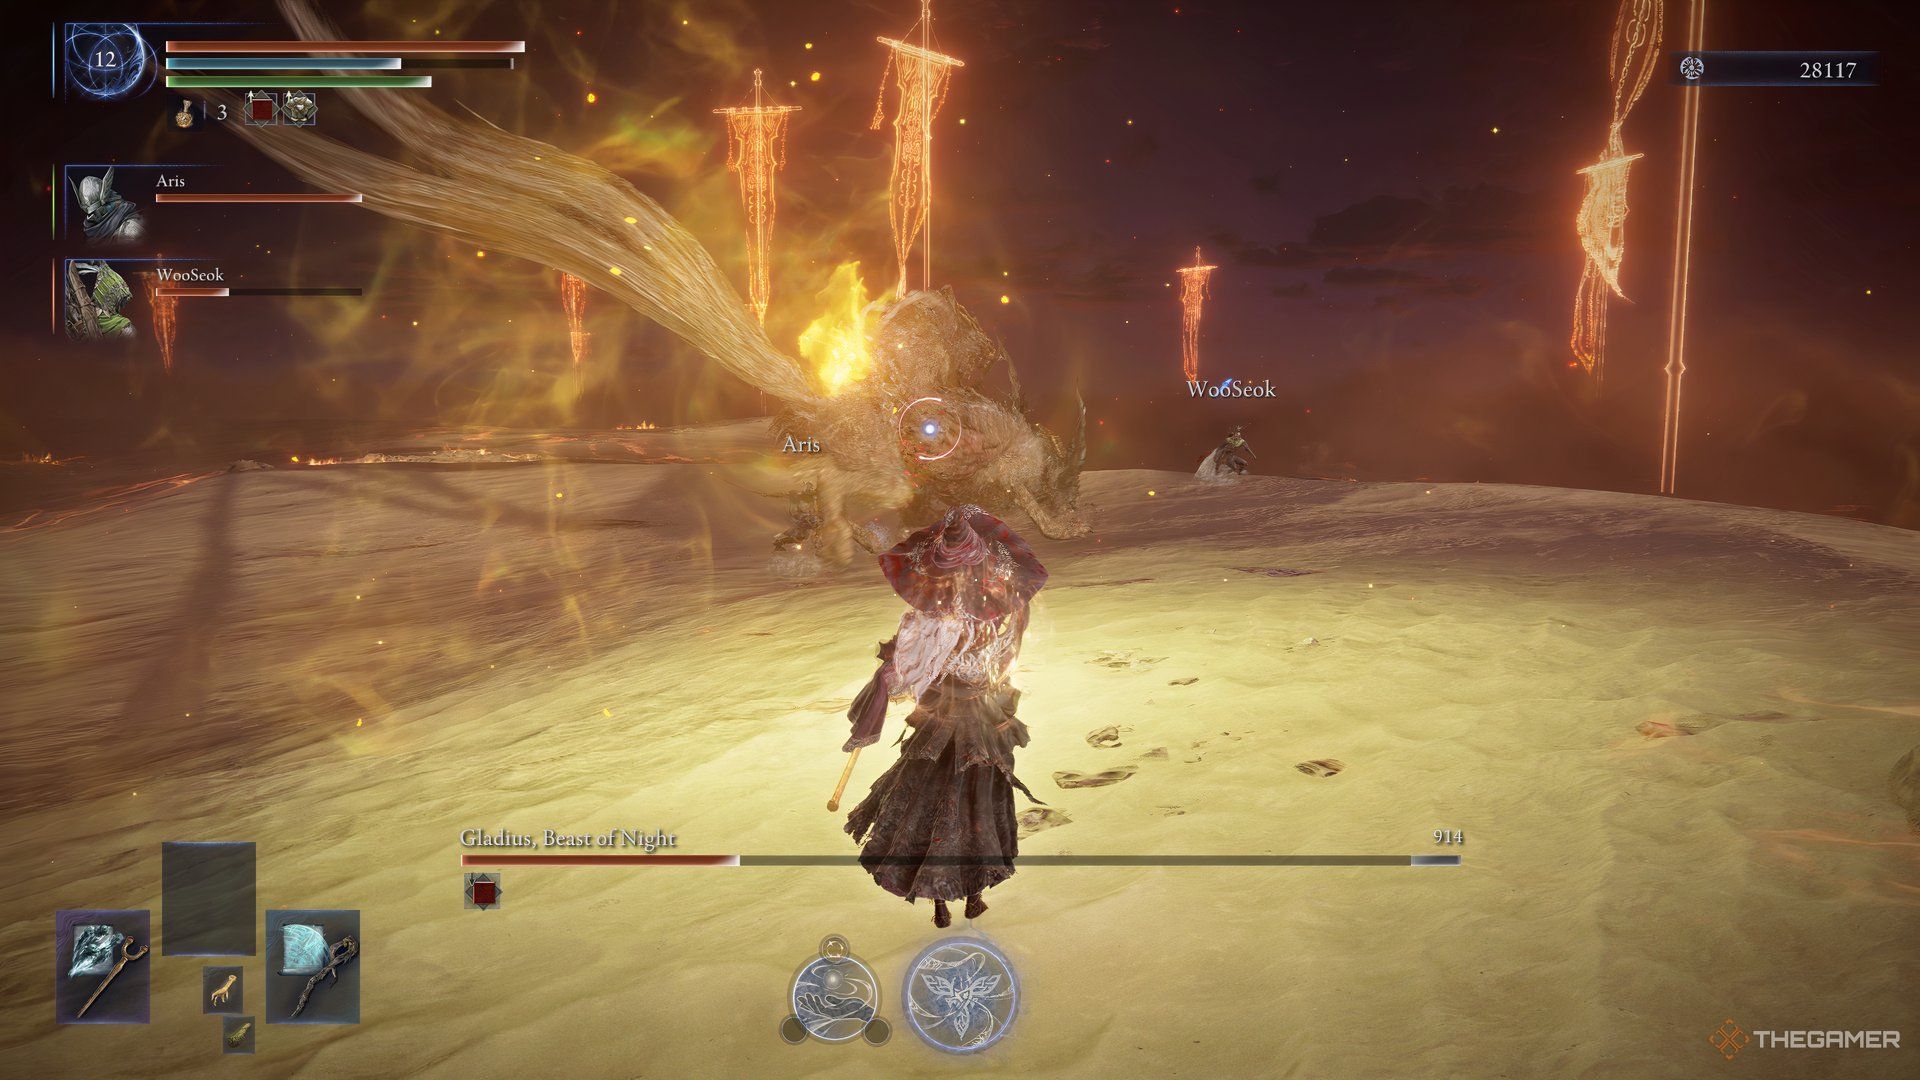
In simpler terms, Soulblood Song by Recluse might not catch your eye as much as other Nightfarers’ abilities, but it truly shines during battles. When activated, this Ultimate Art marks all nearby enemies. Striking a marked foe with either a Recluse or an ally will cause them to regain both health (HP) and power points (FP). This makes Soulblood Song one of the most effective supporting Ultimate Arts in our collection.
This art is best used in two scenarios:
- Your teammates are low on health during a boss fight and potentially low on flasks.
- When a Recluse is the one who has unwanted aggression against a boss or a large enemy.
In this case, Soulblood Song stands out uniquely due to her lengthy animation providing her with immunity. Yet, the adversary persists in its assault on Recluse, oblivious and unhindered. This situation creates a significant opportunity for teammates to strike an enemy that is otherwise preoccupied, as it can’t retaliate during this distraction.
Best Weapons To Use With Recluse
As a magician, the best approach for utilizing Recluse effectively is by using staffs and seals, which capitalize on her high ranks in Intelligence and Faith. While any staff can suffice, an ideal Recluse build often features a staff or seal in each hand, offering variety in damage elements.
Through a process I’d call blending your special damage types, you gain the freedom to customize and manage your drink concoctions, reducing dependence on others for this task.
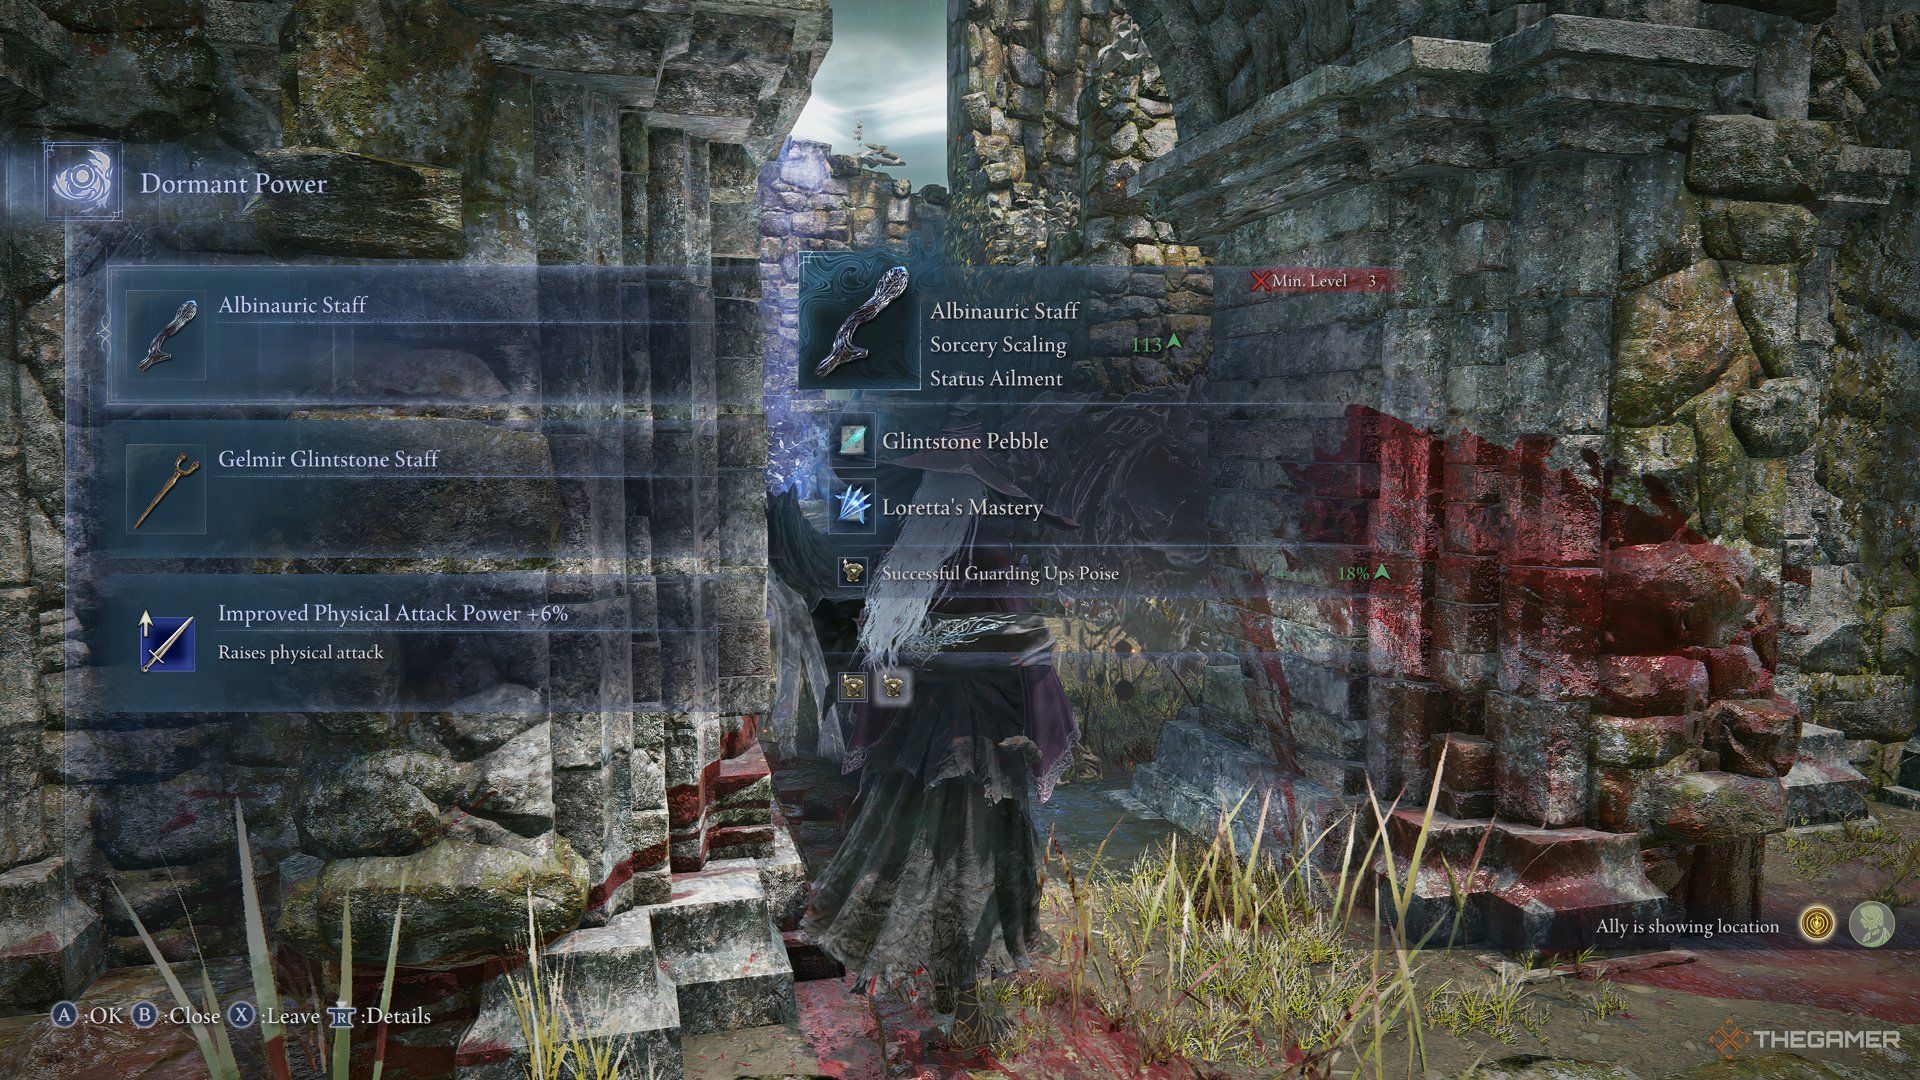
You’ll likely discover useful artifacts like staffs and seals near the main Haight castle, but their hard-to-reach location might mean you won’t find an appropriate weapon until your second day. Fear not, though; Recluse can still excel without a new weapon for the first day.
Not only do the magic towers offer some delightful boosts, but you’ll also discover numerous staffs in the ruins. Additionally, a merchant typically stocks one seal near Fort Haight.
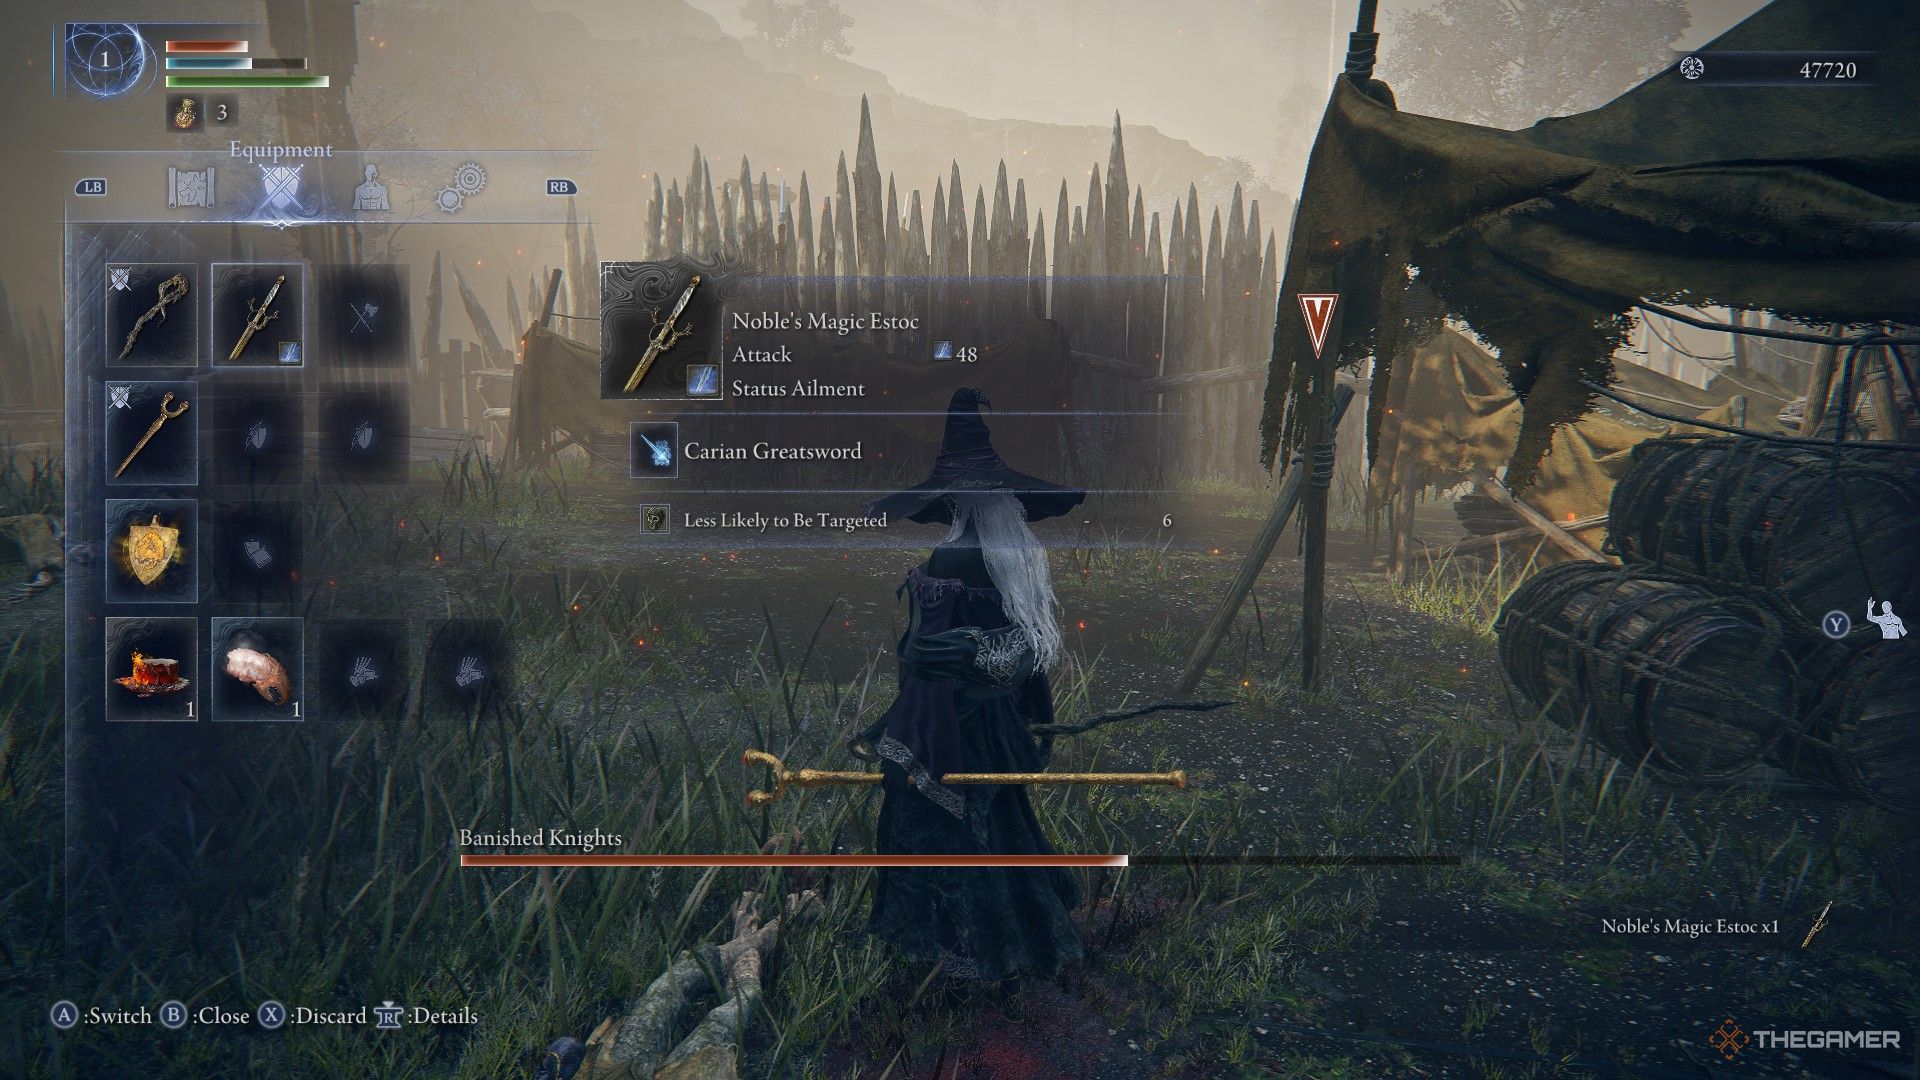
Meanwhile, focus on aiding your teammates in collecting their firearms. Additionally, grab any newly found weapons that possess desirable characteristics such as:
This way, it’s clearer and easier to understand the action involved (collecting weapons) and the additional task (picking up new weapons with specific traits).
- Raise outgoing damage when wielding a weapon in each hand.
- Less likely to be targeted.
- Increase charged incantation damage.
- Improved Magic attack power.
- Reduced Spell FP cost.
On the first day, you should focus on gathering Passive skills and leveling up. On the second day, consider visiting Fort Haight to obtain the staff of your choice, unless there’s something else captivating on your map that aligns with your Nightlord’s affinity for hunting.
Read More
- 50 Ankle Break & Score Sound ID Codes for Basketball Zero
- Who Is Harley Wallace? The Heartbreaking Truth Behind Bring Her Back’s Dedication
- 50 Goal Sound ID Codes for Blue Lock Rivals
- Mirren Star Legends Tier List [Global Release] (May 2025)
- How to play Delta Force Black Hawk Down campaign solo. Single player Explained
- Elden Ring Nightreign Enhanced Boss Arrives in Surprise Update
- KPop Demon Hunters: Real Ages Revealed?!
- Here’s Why Your Nintendo Switch 2 Display Looks So Blurry
- 100 Most-Watched TV Series of 2024-25 Across Streaming, Broadcast and Cable: ‘Squid Game’ Leads This Season’s Rankers
- Jeremy Allen White Could Break 6-Year Oscars Streak With Bruce Springsteen Role
2025-05-31 04:35