As you embark on your journey with the game called Avowed, you find yourself stepping into The Living Lands, taking on the role of a divine figure tasked with halting a devastating plague within the empire. Yet, what seems initially straightforward proves to be more challenging than expected as you gradually unravel the enigmatic mysteries hidden in every location you explore.
In your journey, you’ll encounter Shatterscarp as the third significant area. It is within this region where you’ll come across the main quest titled “Face Your Fears”. This quest doesn’t necessitate a crucial decision but demands that you figure out several puzzles to meet Archmage Ryngrim.
How To Unlock Face Your Fears Quest
During your adventure, you’ll likely come across the main quest known as Face Your Fears. To unlock this mission, you should initially travel to the Shatterscarp region, which becomes accessible after observing the destiny of Fior Mes Iverno within the Emerald Stairs.
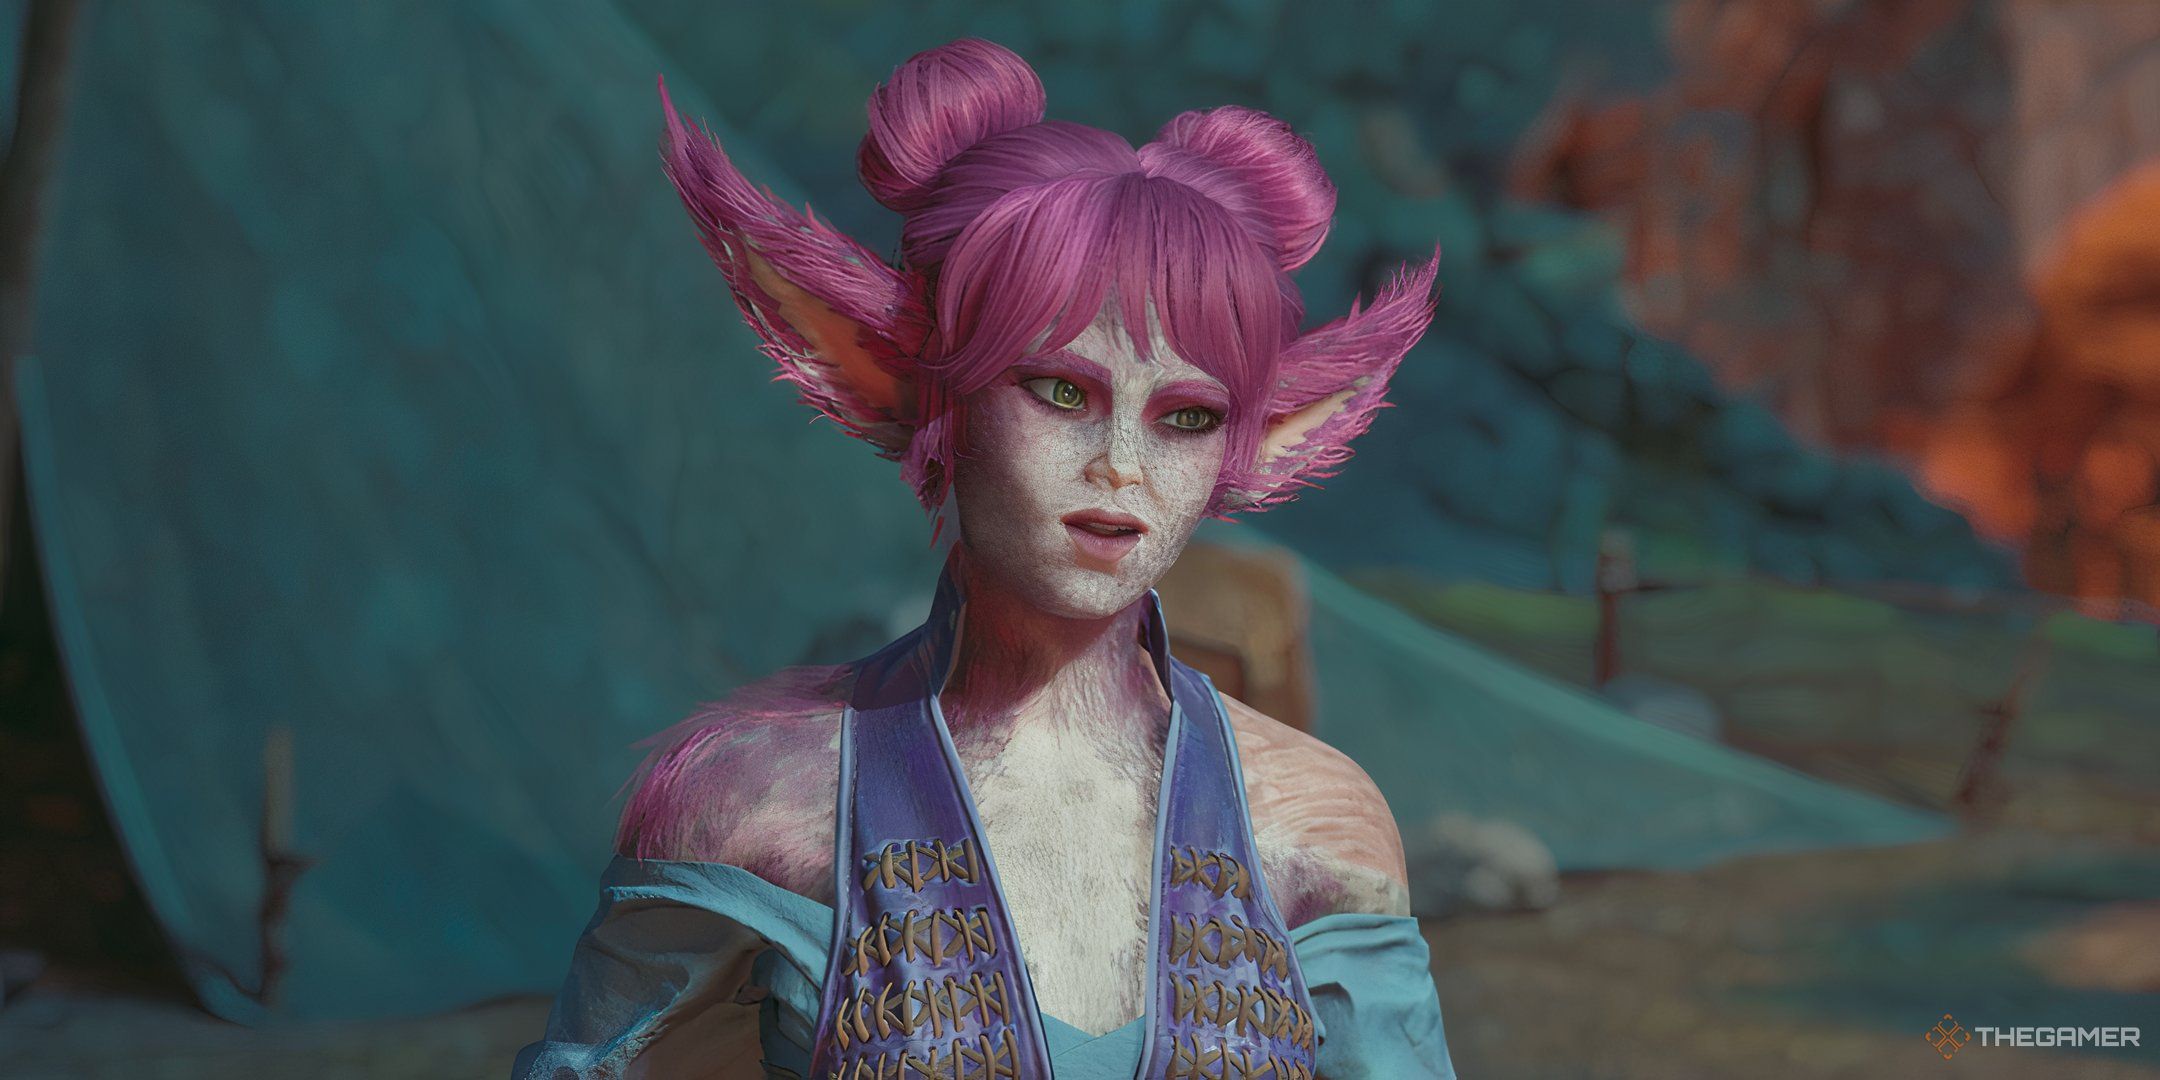
Upon arriving in this region, navigate towards the Thirdborn city situated on the south side. There, have a conversation with the mayor of the city and immediately afterwards, you will encounter Yatzli for recruitment. After recruiting Yatzli, your objective becomes seeking an audience with Ryngrim at her Domain, which is the focus of this quest.
How To Find Ryngrim’s Domain
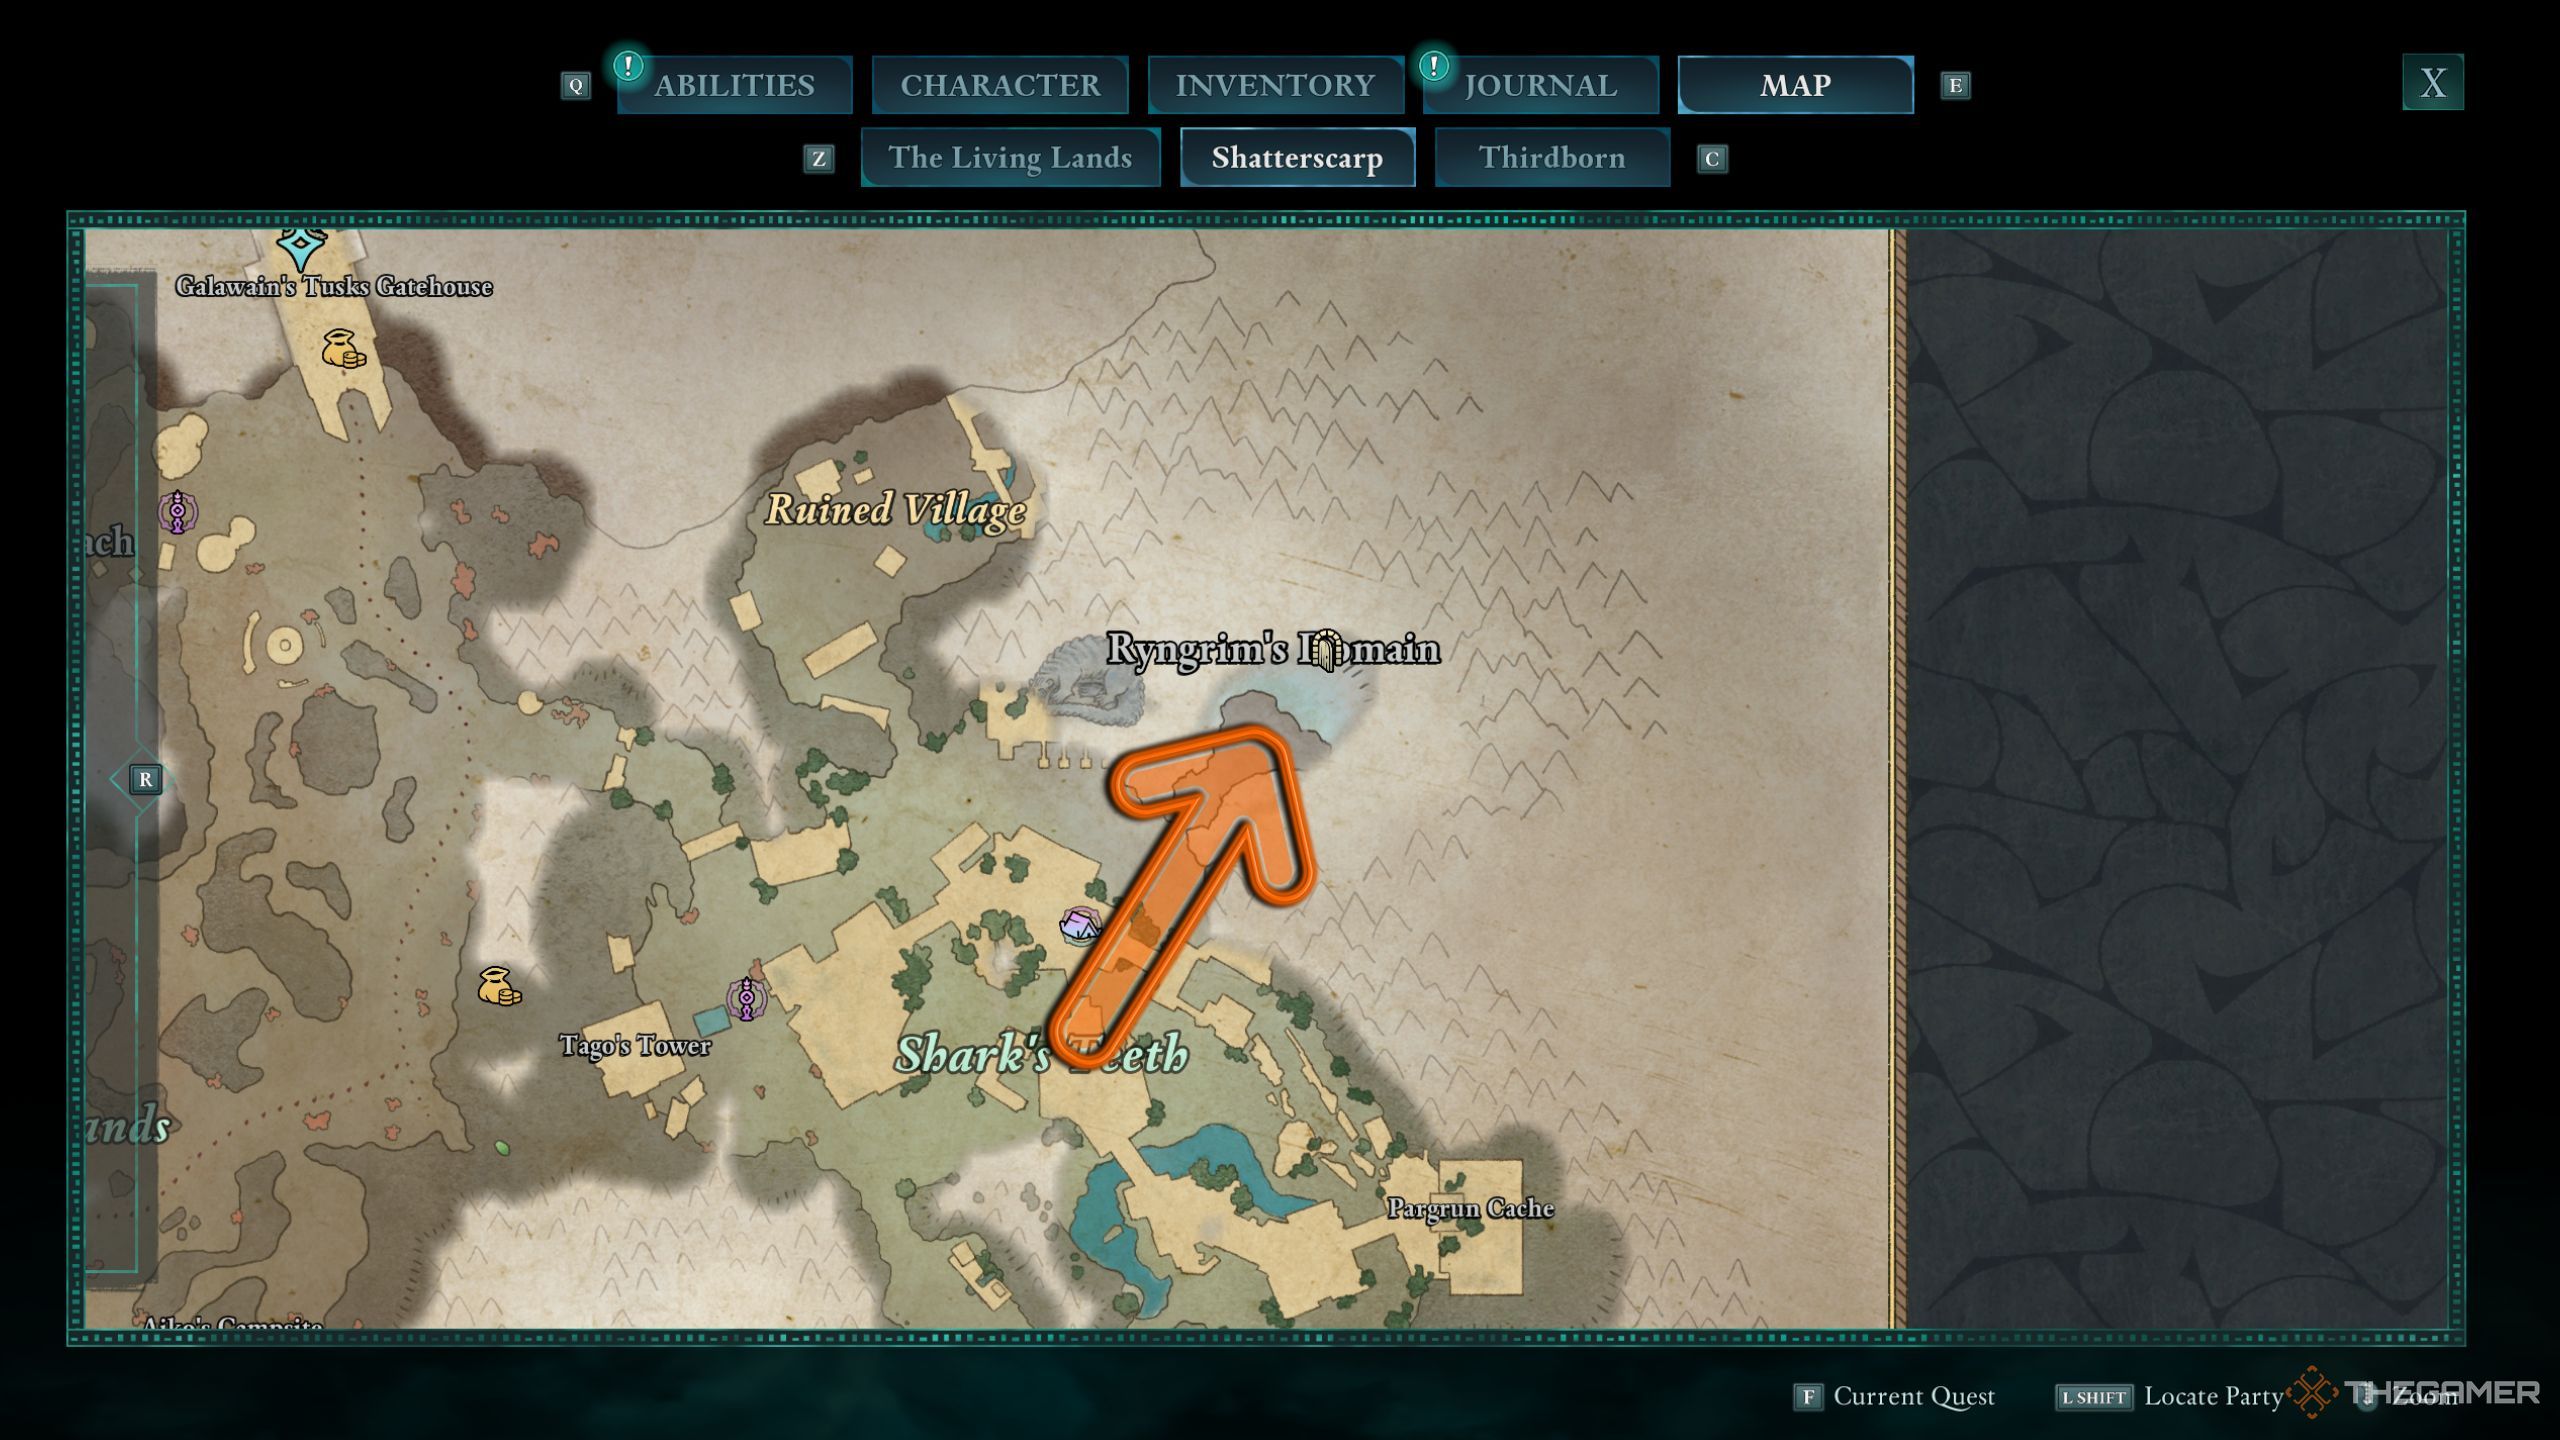
The beginning of the Face Your Fears mission involves locating Ryngrim’s Domain, which is conveniently marked by large areas of ice within the Shark’s Teeth region. This icy expanse makes it easy to spot her domain on the northeastern side of Shark’s Teeth.
Upon entering, start by following the path to your left which leads to Tago’s Tower. Continue straight ahead from there until you reach it. You’ll discover that the entrance to her domain is protected by some of her skeletal guards. Overcome these adversaries and step into the domain for the core of the quest.
How To Beat Ryngrim’s Domain
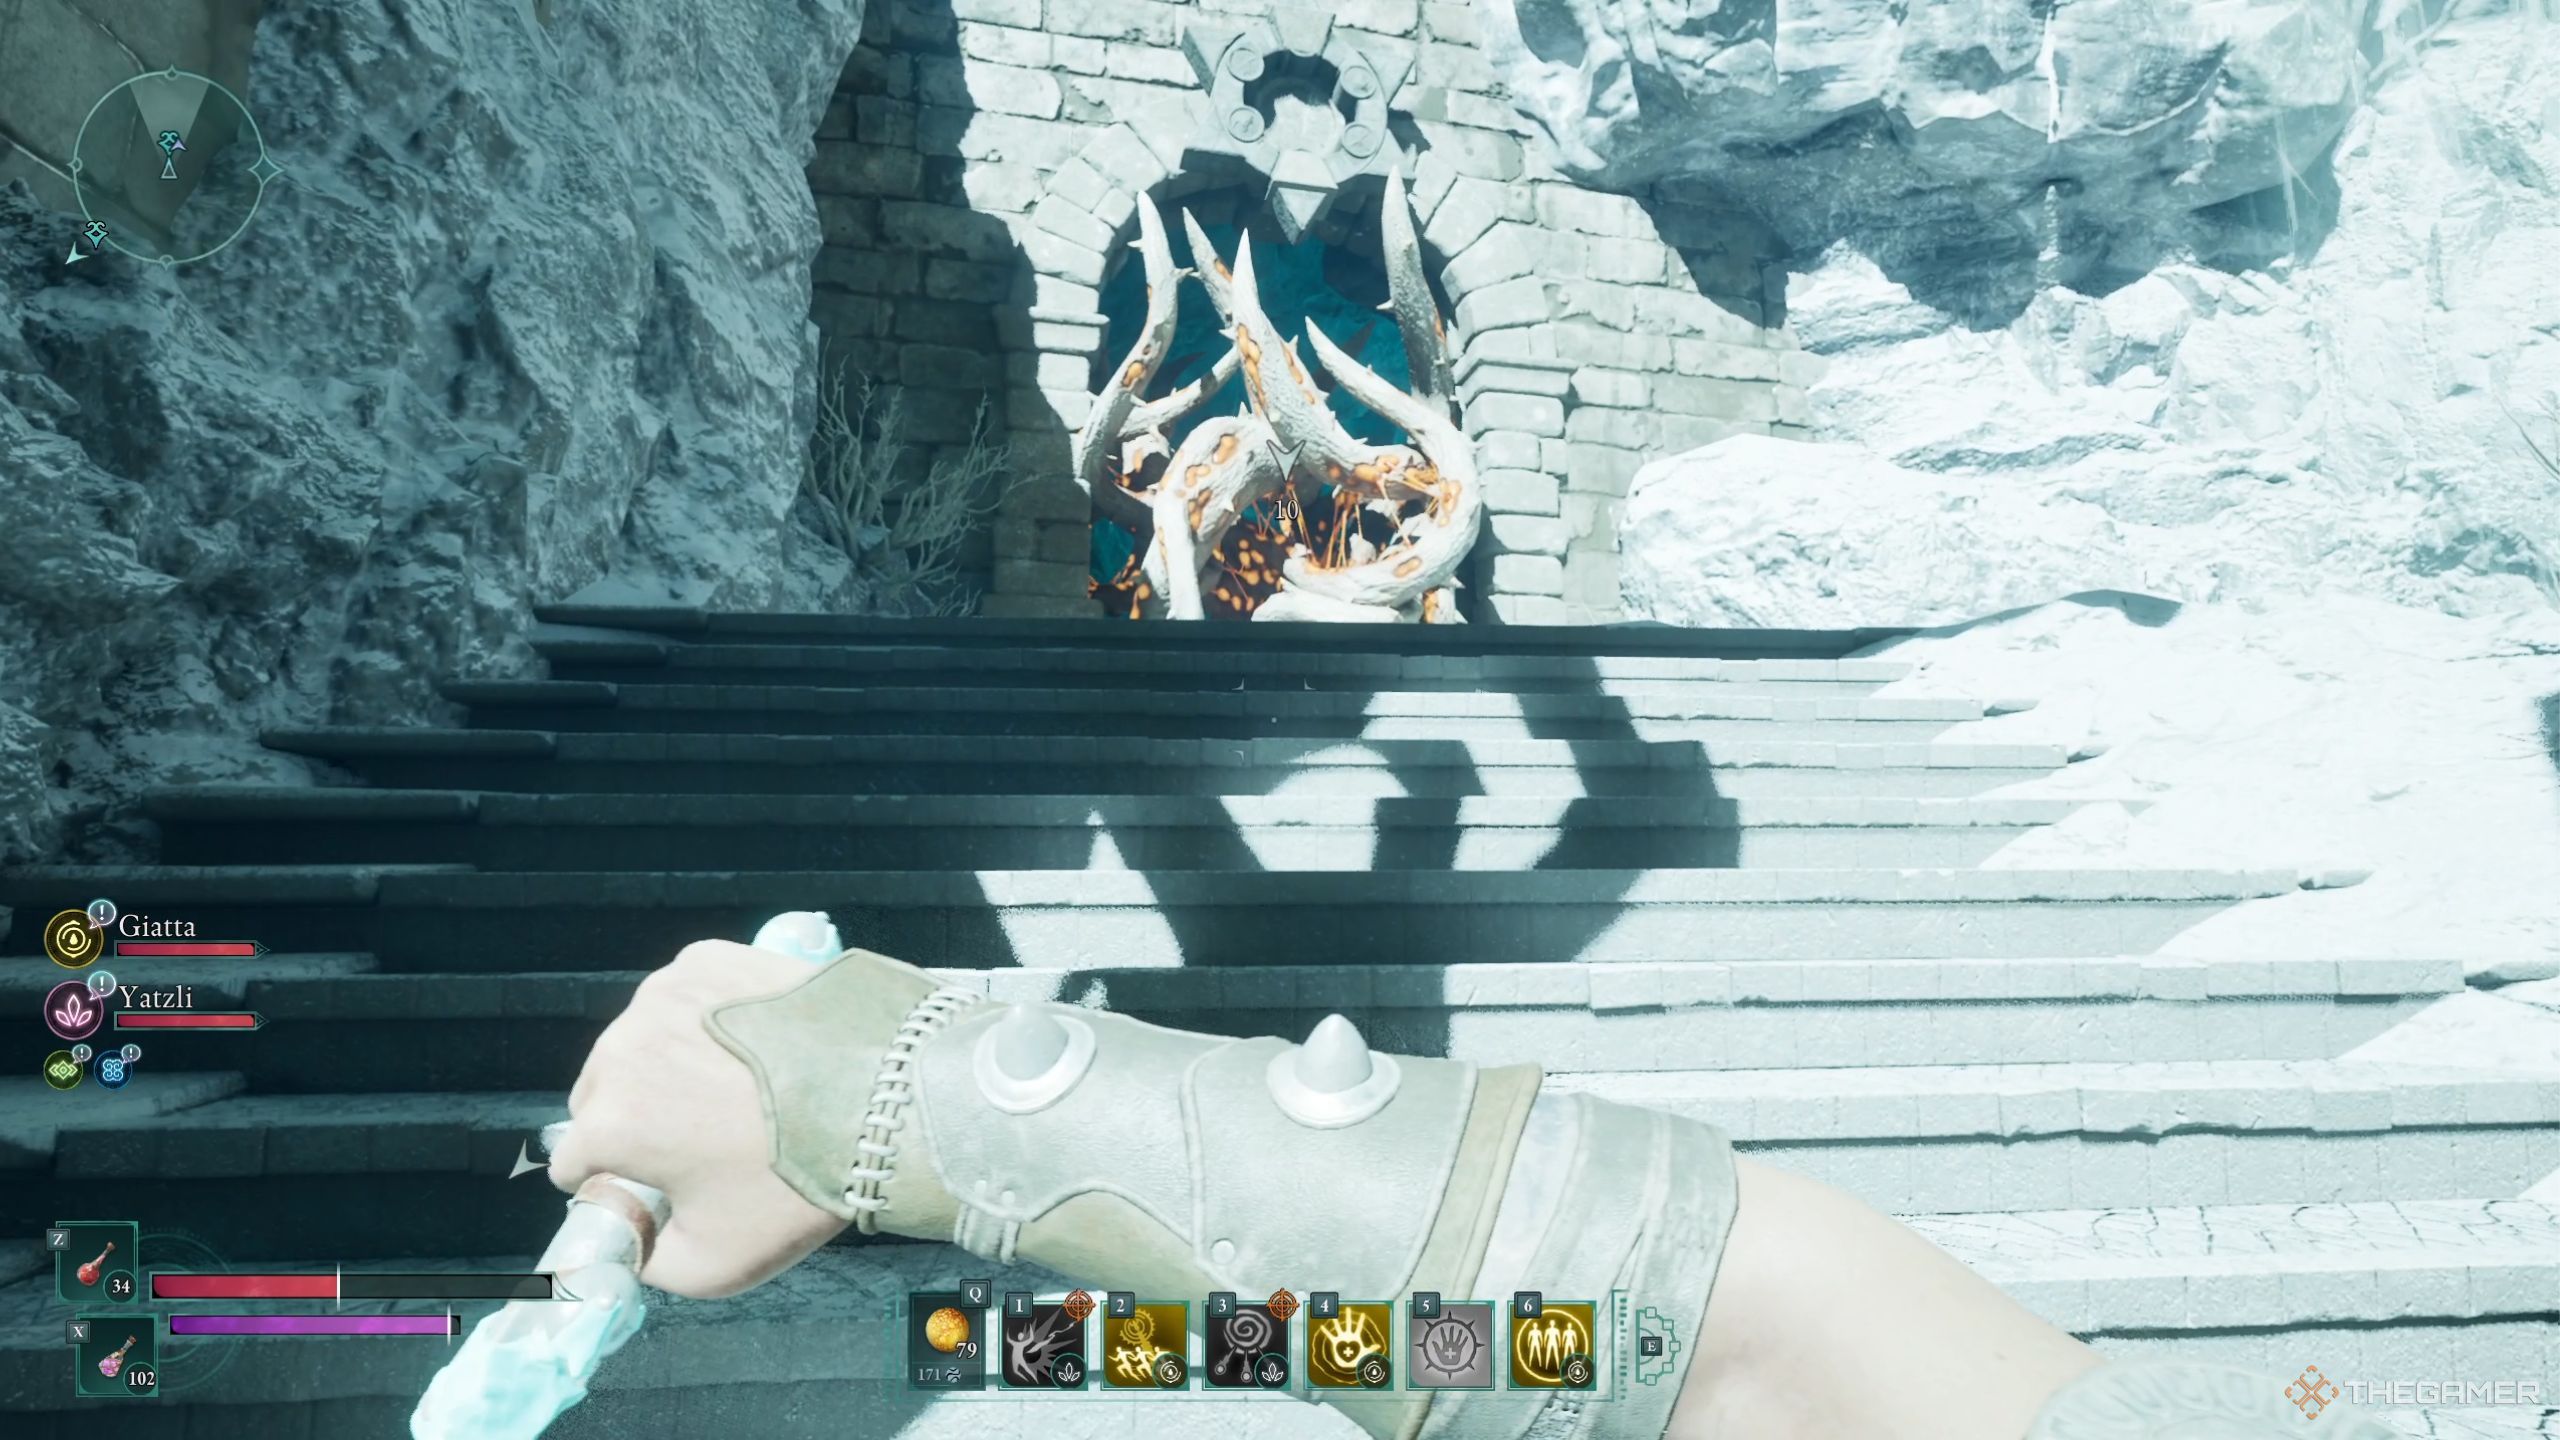
Once you’ve stepped into the icy expanse, proceed a little ways and then take the path that lies to your left. This path will eventually lead into a larger area where a storm obscures your view, but it’s crucial that you continue moving towards the marker, keeping to the left side. This journey should help you discover the Strangely-Marked Xaurip Spear along the way.
Reaching the tail end of the storm, you’ll discover a cave entrance. Continue navigating the deceptions within this cave to arrive at the central area where you’ll initially encounter several foes and subsequently engage with a statue situated in the center. You’ll then be tasked with locating three items to fully activate the statue.
Heart Of The Statue Location
To ascend and reach the heart, proceed up the stairs on your left, which are situated where the statue is pointing. On your right, you’ll discover a wall suitable for burning; further beyond it lies a slide that will guide you deeper into the cave. Following the straightforward path in this cavern will lead you to the heart’s location.
As you journey towards your destination, you’ll encounter numerous types of opponents, so it’s crucial to be well-prepared. At a certain stage, you’ll need to utilize Yatzli’s power to shatter an illusion and then leap through the minuscule opening to reach the core.
Head Of The Statue Location
To locate the second item, head up the stairs that align with the direction the statue is facing, then find and break through the wall that can be set alight. Proceed forward for a while, and subsequently follow the path on your left which lies lower. Break the false barrier at the end and you’ll gain access to some water.
In these waters, choose the right opening for a golden treasure chest and the upper left one to advance further. The route towards the head is clear from here, but you’ll need to conquer some formidable foes. At the end, interact with the NPC and inform him that you’re claiming the head, then you may take it.
Hand Of The Statue Location
As a fan, I’d like to guide you: The route for the final artifact lies on the right, hidden behind the statue. It’s the easiest one to acquire because all you need to do is stick to the main trail and take down a few adversaries along the way.
Upon collecting all three items, you’ll find yourself in Ryngrim’s chamber, prepared for a prolonged fight against numerous tough adversaries. Overcome them, and she’ll provide you with the tools necessary to dispel the illusions on the Naku Kubel quest and Face Your Fears will be resolved.
Read More
- Who Is Harley Wallace? The Heartbreaking Truth Behind Bring Her Back’s Dedication
- Basketball Zero Boombox & Music ID Codes – Roblox
- 50 Ankle Break & Score Sound ID Codes for Basketball Zero
- TikToker goes viral with world’s “most expensive” 24k gold Labubu
- 100 Most-Watched TV Series of 2024-25 Across Streaming, Broadcast and Cable: ‘Squid Game’ Leads This Season’s Rankers
- Revisiting Peter Jackson’s Epic Monster Masterpiece: King Kong’s Lasting Impact on Cinema
- 50 Goal Sound ID Codes for Blue Lock Rivals
- League of Legends MSI 2025: Full schedule, qualified teams & more
- KFC launches “Kentucky Fried Comeback” with free chicken and new menu item
- How to watch the South Park Donald Trump PSA free online
2025-02-25 17:04