
The world of Helldivers has become significantly tougher now. Enemy Striders, those irritating tripodal opponents, have been armed with strategy disruptors. This new feature is causing chaos in our capability to summon crucial reinforcements. This significant game modification has thrown a spanner in the works of our reliable strategies, compelling us to innovate and progress. This guide aims to arm you with the necessary knowledge and tactics to tackle these disruptors, regain your strategic edge, and carry on your battle for democracy.
Key Takeaways
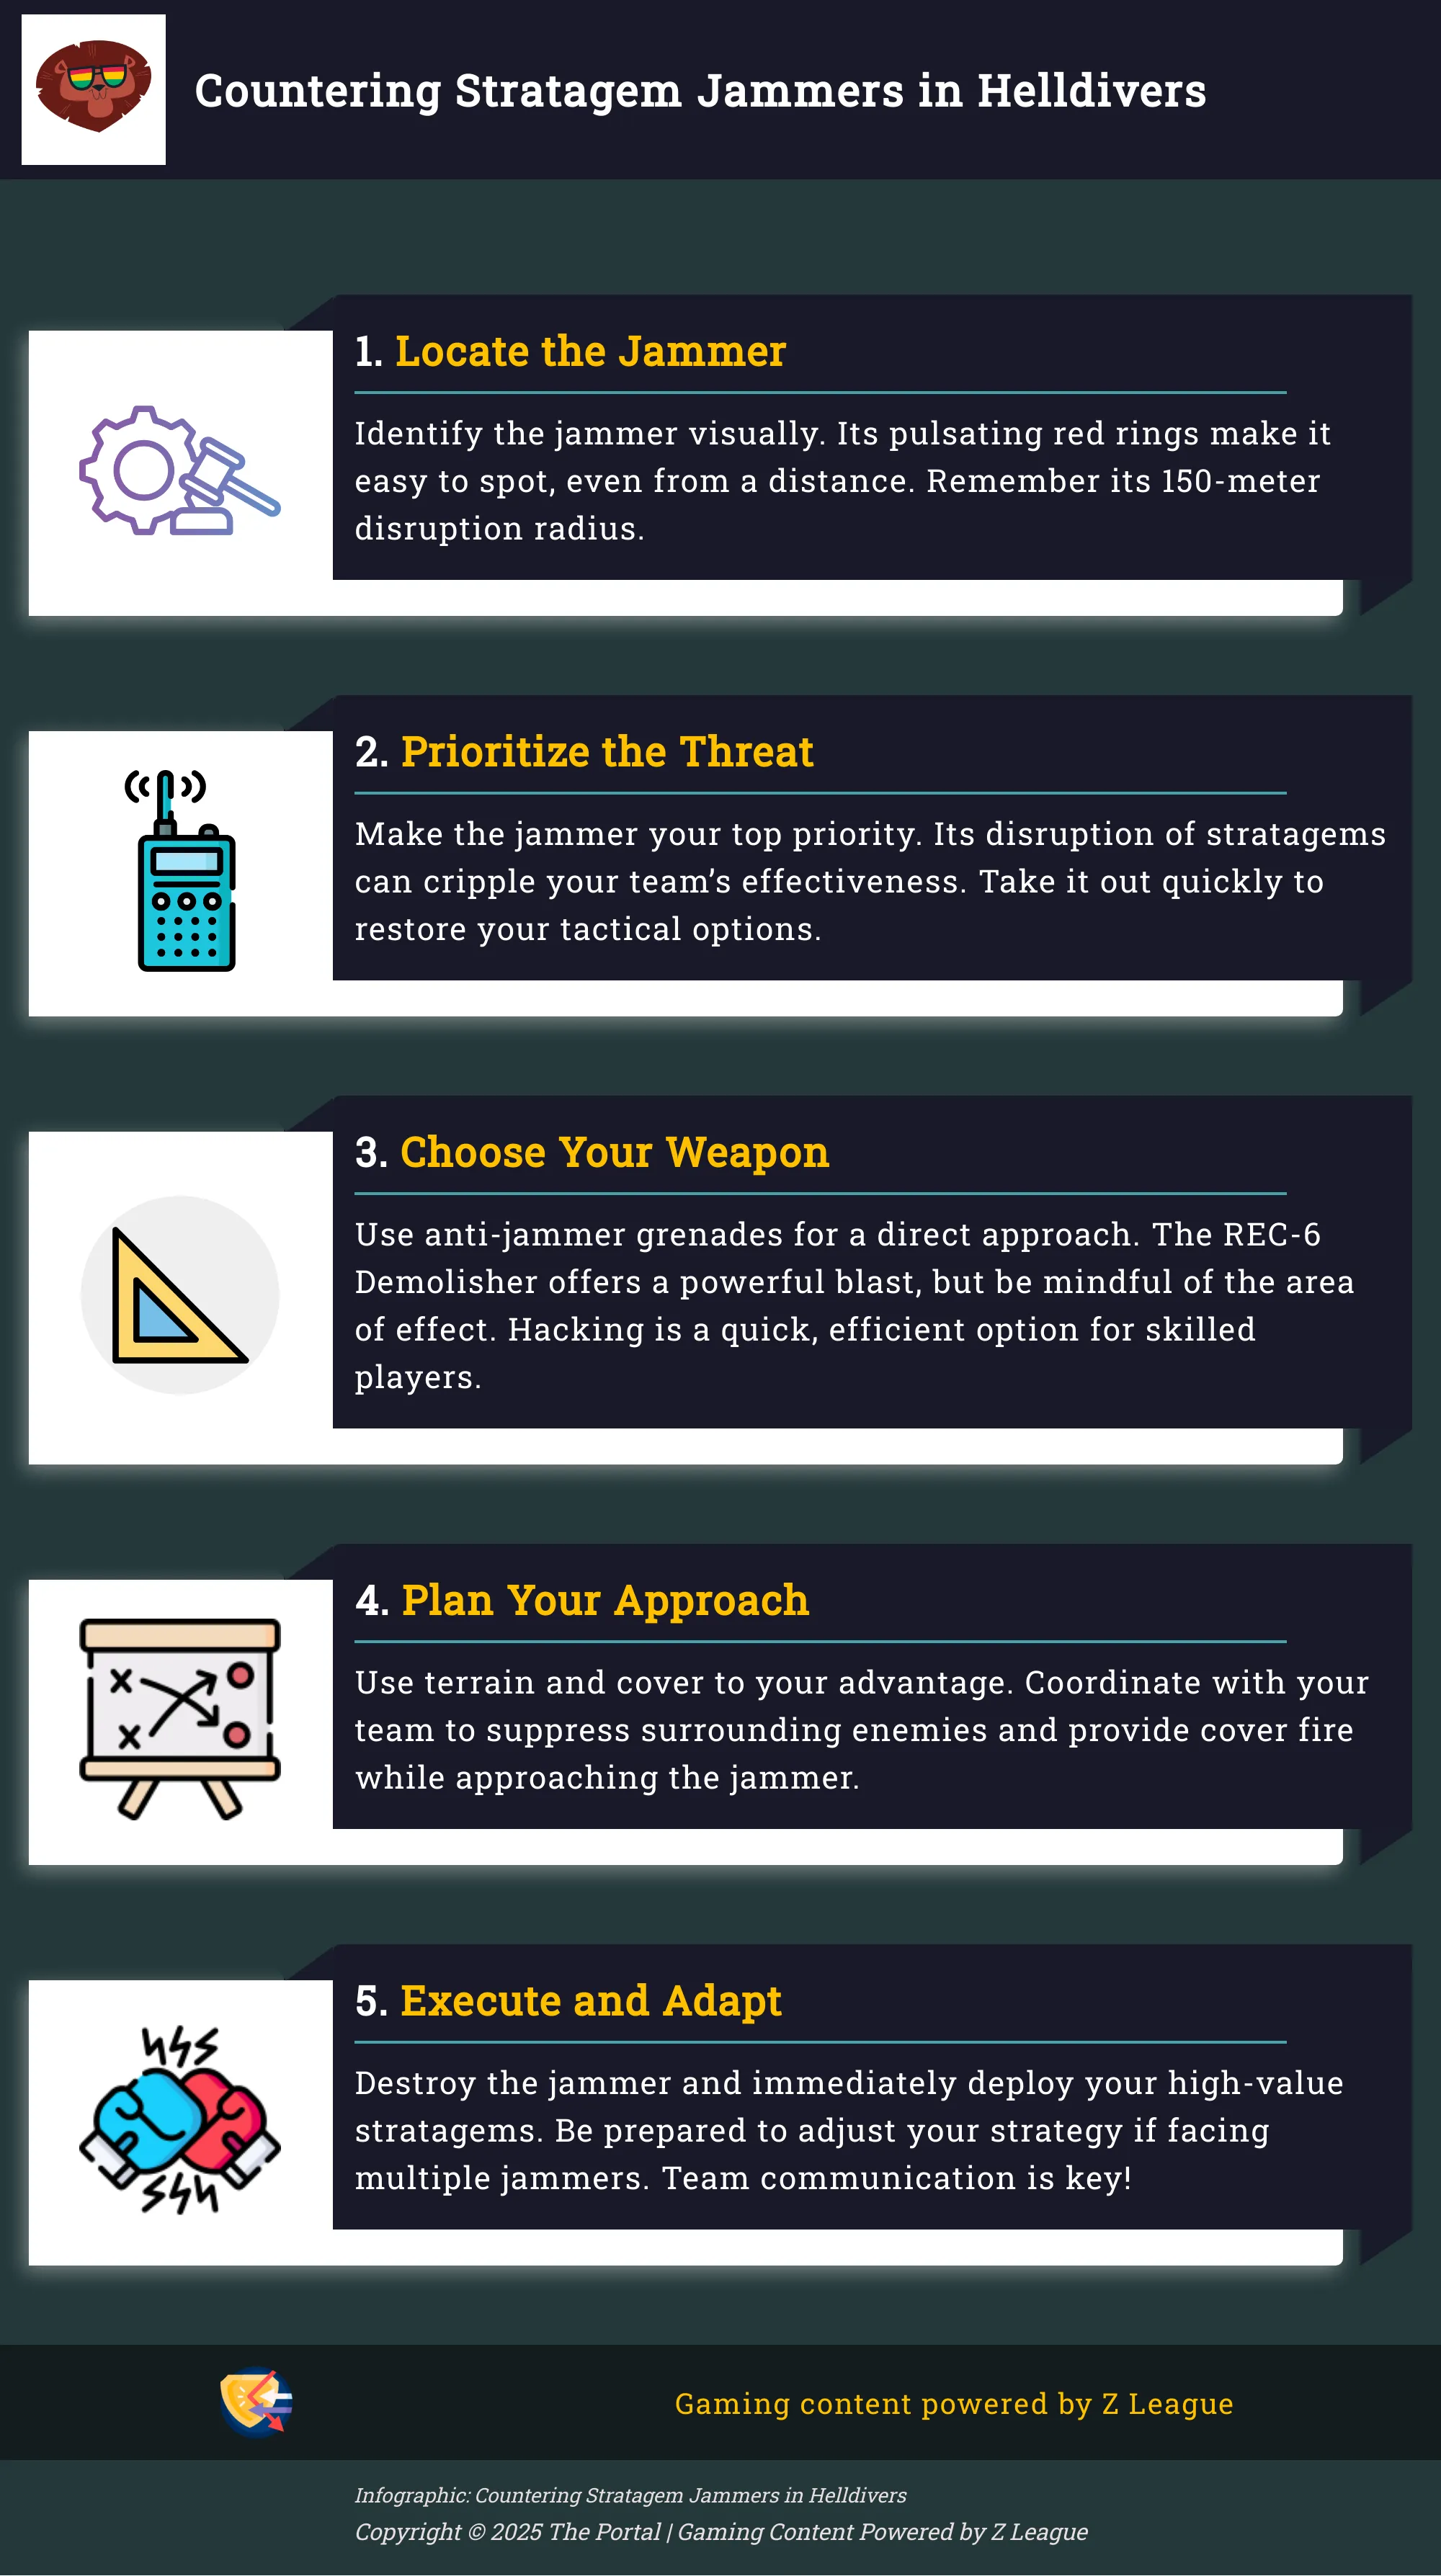
- Neutralize Jammers First: Make these devices your top priority. Their disruption of stratagems can cripple your team’s effectiveness. Take them out quickly to restore your tactical options.
- Master New Combat Strategies: Relying solely on stratagems won’t cut it anymore. Sharpen your direct combat skills, improve team coordination, and learn to use the environment to your advantage.
- Communicate Effectively: With stratagems limited, teamwork becomes even more critical. Establish clear roles, share vital information, and use in-game communication tools to stay synchronized.
What Are Striders and Their New Threat?
Strider Evolution in Helldivers
In the game Helldivers, those bothersome tripodal enemies known as Striders have always been a hassle due to their long-range attacks and swift movement, constantly posing a threat on the battlefield. However, they’ve recently become even more troublesome thanks to an update that has given them stratagem jammers. These mechanical adversaries have transformed from mere nuisances into strategic challenges. As one Reddit user explained, “Striders now carry stratagem jammers,” signifying a major shift in gameplay mechanics. This change compels players to reconsider their strategies and approach Striders with greater caution. Gone are the days when a swift airstrike could clear a path; these enhanced Striders call for heightened tactical vigilance.
Stratagem Jammers: A Game Changer
The introduction of Stratagem Jammers has significantly altered the strategic environment in the game Helldivers. According to the Helldivers Wiki, these jammers emit a disruptive signal that prevents the use of stratagems within a 150-meter vicinity. This includes vital support options like airstrikes, vehicle drops, and mission-specific stratagems. Now, these jammers pose a significant threat due to players’ heavy reliance on these tools for successful missions. For instance, during intense firefights, if you desperately need a resupply drop, a nearby strider might intercept your call, leaving you vulnerable. This new gameplay aspect introduces tension and necessitates quick tactical adjustments from the players. It’s even more challenging when missions include multiple jammers with overlapping effect zones, creating “dead zones” where calling for support is impossible, making the missions significantly harder and demanding meticulous team coordination. Overlapping jammer ranges can also prevent players from using a NUX-223 Hellbomb on a disabled jammer, adding another layer of complexity to the gameplay.
How Stratagem Jammers Work
In the world of Helldivers, Strider units have introduced a fresh challenge – Stratagem Jammers. These gadgets interfere with communication, making it impossible to utilize essential support strategies. To stay alive and ensure mission victory, it’s vital to grasp how these jammers operate.
How Jammers Disrupt Tactics
The Stratagem Interference Device broadcasts a potent wave that disables the activation of tactical options within its range. Essential items such as the SH-20 Barrier Generator, EXO-48 Obsidian Battle Suit, and stratagems tailored to objectives are all affected by this disruption. This chaos in strategy prompts Helldivers to modify their tactics, favoring frontline combat methods instead. The device’s continuous spinning and glowing red bands make it easily recognizable, even from afar, enabling teams to devise a strategy. Recognizing its appearance is the initial step in addressing this emerging danger. For more information on the Stratagem Interference Device, consult the Helldivers Wiki.
The 150-Meter Radius: A Strategic Challenge
The influence of the Stratagem Jammer spans over a considerable 150-meter area, making it quite challenging, particularly in missions involving multiple jammers. When these areas of control overlap, vast portions of the map become unreachable for calling in vital backup. For instance, attempting to drop a NUX-223 Hellbomb on an incapacitated jammer might be futile if another jammer is nearby obstructing the transmission. This interlocking effect underscores the importance of strategic planning and coordination to efficiently neutralize these threats. Gaining insight into the range of these jammers is vital for devising counter-strategies. The Helldivers Wiki offers a detailed explanation of the Stratagem Jammer’s functioning and its effects on gameplay.
Adapt Your Gameplay
As a dedicated Helldiver, I’ve noticed an increase in the challenge presented by the cunning Stratagem Jammers. These disrupters have a knack for messing with my well-thought-out strategies, compelling me to think quickly and adapt in the heat of battle. Here are some tactics to help you navigate these unexpected obstacles:
1. Communicate effectively with your teammates to coordinate responses and adjust plans on the fly.
2. Be prepared for the Jammers by anticipating their deployment and having contingency plans ready.
3. Utilize cover and positioning to minimize exposure during crucial moments when the Jammer is active.
4. Prioritize taking out the Jammer as soon as possible, since it can disrupt your team’s offensive efforts.
5. Stay alert and adaptable, always be ready for the unpredictable twists that the Stratagem Jammers might throw your way!
Prioritize Jammer Neutralization
Make sure to prioritize disabling Stratagem Jammers first. They have the power to disrupt all Stratagems within a 150-meter vicinity, significantly limiting your offensive and defensive strategies – particularly during objective capture missions. Swiftly dealing with these jammers revives your tactical opportunities and prevents the opposition from seizing an advantage. For comprehensive information on the extent of their disruption, visit the Helldivers Wiki.
Combat Without Stratagems
Occasionally, you might find yourself in a tough spot where it’s difficult to escape, and quick solutions aren’t available. In such situations, effective communication with your team becomes essential. By synchronizing your actions, identifying each other’s vulnerabilities, and providing mutual support, you can navigate these difficult scenarios more successfully. For some valuable insights on enhancing teamwork, I recommend checking out these Helldivers strategies. Keep in mind that teamwork is crucial for success, especially when things aren’t going according to plan.
Team Coordination in Jammer-Heavy Environments
When encountering several disruptors, a unified plan is crucial. One successful method is to concentrate your attacks on one disruptor first, followed by the swift execution of your most valuable tactics once it’s subdued. This rapid transition could shift the balance. This technique necessitates precise timing and clear communication. A designated disruptor-hunter can be indispensable in such situations. This Reddit thread shares some useful tips from other players on handling disruptors.
Counter Jammers Effectively
It’s time to dive into the details: Dealing effectively with annoying Stratagem Jammers is crucial for thriving in the revised Helldivers environment. Understanding how to counteract them will be vital to your success.
Effective Anti-Jammer Weapons and Tools
An easy alternative is using the Anti-Jammer Grenade. Throw it in the vicinity of the Jammer, and observe as it malfunctions. Keep in mind that the Stratagem Jammer is mechanical, making it susceptible to hacking like any other robot enemy. If you’re proficient in hacking, this could be a swift and productive method to disable the jammer. Additionally, the REC-6 Demolisher can also do the trick. Its forceful blasts can quickly destroy a Jammer, but remember its wide blast radius.
Use Terrain and Cover
Instead of rushing headlong with guns blazing, make clever use of your surroundings. Obstacles and concealment might safeguard you from incoming enemy fire as you concentrate on disabling the Jammer. A possible approach is to suppress the nearby adversaries first, then utilize cover to securely summon a pinpoint air strike aimed directly at the Jammer. This method, while needing coordination, can prove highly effective.
Explosives: High-Risk, High-Reward
For a more forceful strategy, think about deploying heavy artillery. A strategically placed 500kg explosive could annihilate a Jammer, but be mindful that the impact area will be substantial. Ensure your squad has evacuated prior to detonation. This technique carries risk, particularly in confined spaces, but the reward is swift. Do bear in mind, friendly fire is a possibility, so keep your team informed!
Tactical Considerations for Success
To triumph in Helldivers missions, it’s essential to be more vigilant about Stratagem Jammers and their impact on the battlefield. Changing your strategies becomes vital in overcoming these fresh challenges.
Scouting and Situational Awareness
Before launching, examine the mission map carefully to spot possible locations of Jammers indicated by distinctive red pulses. From a distance, these pulsating signals make them recognizable, enabling your team to strategize effectively. Upon landing, prioritize locating active Jammers immediately. The conspicuous Stratagem Jammer, appearing as a spinning tuning-fork structure emitting red rings, can be easily identified even at a distance. Early detection of such Jammers is vital for modifying your tactical plan. Knowing the 150-meter radius in which a Jammer affects signals helps you anticipate regions where Stratagems will be unreachable. This knowledge empowers you to devise alternative paths and tailor your battle strategy accordingly.
Adjust Loadouts for Jammer-Heavy Missions
When facing several Jammers, opt for equipment configurations that prioritize battle readiness. Firearms such as the LAS-12 ‘Tanto’ or the RX-1 Railgun could prove crucial when strategic assistance is scarce. Carrying additional ammunition and devising strategies less dependent on tactics will be vital to your team’s longevity. Keep in mind that strong teamwork becomes increasingly important in these situations. Co-ordinating attacks, providing cover, and sharing resources can tip the balance between success and failure.
Stealth Approaches: When and How
When it comes to Helldivers, their strongpoint is undoubtedly their firepower. Yet, a covert strategy against Jammers can prove surprisingly successful. By utilizing terrain and concealment, you can sneak up close enough to set off explosives without tipping off neighboring adversaries. A strategically placed grenade or carefully detonated hellbomb can swiftly and silently neutralize a Jammer. Remember though, overlapping Jammer zones may make deploying hellbombs tricky; in such instances, a more direct assault might be called for. But always weigh the pros and cons before taking action to avoid unnecessary risks.
Communicate Effectively for Team Coordination
In the game ‘Helldivers’, successfully disabling Stratagem Jammers greatly depends on flawless collaboration among team members. This isn’t just about aiming at enemies; it requires working together as a well-oiled machine. Open and clear communication is crucial, especially when dealing with multiple jammers or complex terrain.
Define Roles and Responsibilities
Before embarking on a mission, it’s crucial to assign tasks. Who will manage the anti-jammer equipment? Who will deliver suppressive fire? Who will identify enemy locations? Clearly defining roles helps everyone understand their duties and work together effectively, similar to any successful team. This way, each player can compensate for the others’ weaknesses and execute intricate tactics, transforming seemingly impossible challenges into triumphs. Designating someone to signal jammer positions and enemy movements can greatly enhance your team’s response time and overall performance. This pre-mission planning can be a game-changer when the action begins.
Use Visual Signals and Quick Communication
As a dedicated Helldivers player, I’ve learned to make the most of the game’s minimalist communication system. Utilize quick commands and directional signals to mark threats, signal movements, and synchronize attacks effectively. In the thick of combat, visual cues are essential for swift communication. Consider these tools as a compacted form of more intricate conversation strategies, ensuring our discussions remain concise and pertinent. This expedient communication empowers us to react promptly to the dynamic battlefield, especially when a teammate is in distress or a fresh wave of enemies emerges. A tactically placed signal can frequently convey more than a barrage of shouted orders. For further insights into advanced Helldivers tactics, don’t hesitate to check out our comprehensive guide.
Regular Check-ins and Status Updates
Ensure that the turmoil of combat doesn’t hinder you from keeping in touch with your squad. Regularly exchanging brief updates such as ammunition levels, health status, and current targets helps maintain a shared understanding among all members. Clear communication is essential for effective leadership within a team, and even when no specific leaders are assigned in Helldivers, this concept remains relevant. Short messages like “Running low on ammo” or “Backup required” can prevent catastrophic situations and keep the mission moving forward smoothly. These check-ins promote unity among team members and ensure everyone is aligned, boosting productivity and coordination even during an alien attack. A simple “Reloading” can prevent friendly fire mishaps, while a heads up about approaching reinforcements allows your team to prepare and respond accordingly. For more insights on team dynamics, explore this article on enhancing communication within teams.
Avoid These Common Mistakes
Overcoming Stratagem Jammers effectively in Helldivers 2 necessitates grasping the common blunders and learning how to evade them. Making these mistakes can significantly hamper your mission outcome and team performance. Here are some crucial oversights to steer clear of:
1. Failing to identify Jammer locations promptly, leading to wasted resources and potential exposure.
2. Relying excessively on a single strategy, making you predictable and easier to counter by the Jammers.
3. Neglecting to adapt your approach when the enemy alters their tactics or introduces new Jammer types.
4. Ignoring the importance of team coordination, resulting in confusion and reduced overall performance.
5. Underestimating the power of Stratagem Jammers, leading to inadequate preparation and improper countermeasures.
Underestimating Jammer Impact
Overlooking a Jammer’s effective range could be a costly error. These devices, despite their compact size, boast a surprisingly expansive influence on the battlefield. The Helldivers Wiki underscores their “massive reach,” highlighting how they can quickly disrupt your tactical communications. Don’t let their diminutive appearance deceive you; prioritize neutralizing them to preserve your strategic edge.
Ignoring Overlapping Jammers
As a gamer, I’ve learned the hard way that having too many jammers nearby can lead to a real headache. These jammers create areas of interference that overlap, amplifying their disruptive effects. This can make it impossible to summon crucial items like the Hellbomb when we need them most. It’s not uncommon for players to notice that overlapping jammers can render our strategic moves ineffective. Therefore, it’s essential to always keep an eye out for multiple jammers and work with your team to eliminate them effectively. Neglecting to do so can swiftly turn a manageable situation into a struggle for survival.
Ineffective Tool Selection
Choosing the appropriate tools is vital when confronting Stratagem Jammers, as not all weapons will cause significant damage. However, certain ones, such as the potent Eagle 500kg bomb, have shown great effectiveness in swiftly neutralizing them. When deciding on your equipment, opt for weapons that efficiently annihilate Jammers while minimizing ammunition usage and ensuring team safety.
Impact on Stratagems and Mission Success
As a Helldiver, I’ve learned that Stratagem Jammers pose a significant threat to my gameplay by preventing me from using tactics within a 150m vicinity. These jammers can disrupt all Stratagems, including those crucial for mission success, making them high-priority targets. The broad signal they emit can significantly restrict my team’s ability to request backup or utilize essential tactical resources, directly impacting our chances of victory. Often, the success of objectives relies heavily on strategic use of these Stratagems, and losing access to them can quickly shift the balance of the battle. Therefore, it’s crucial for every Helldiver to master the art of counteracting Jammers to ensure mission success.
Most Affected Stratagems and Alternatives
When encountering simultaneous and intertwining Jammer signals, certain Tactics may prove largely ineffective. The NUX-223 Hellbomb, a potent area-of-effect munition, serves as an illustrative case. Losing the ability to utilize such a vital asset necessitates players to improvise swiftly. Consider transitioning to high-damage weapons or finding ways to target the Jammers directly through their surrounding environment. In some instances, skillfully deploying a grenade or making use of the terrain for cover can yield better results than depending on disabled Tactics. For further tactics, take a look at this Steam Community discussion.
Adapt Mission Strategies
To successfully carry out your mission when dealing with Stratagem Jammers, it’s essential to have adaptable strategies in place. It’s wise to take out the Jammers first, before proceeding with critical maneuvers. A swift preemptive strike using a 500kg Eagle bomb can help clear a path for crucial support. Keeping an open line of communication and working together are key factors in this operation. Make sure your teammates are aware of concurrent jamming signals to keep the mission moving forward and prevent falling into a vulnerable spot. Be prepared to brainstorm alternative plans and be ready to alter tactics as needed. The Helldivers Wiki provides further insights on Stratagem Jammers and their impact.
Master the New Helldivers Meta
Introducing Stratagem Jammers brings about an increased tactical complexity for Helldivers, necessitating a change in perspective towards flexibility and careful planning. To excel at this level, one must prioritize being adaptable and making thoughtful decisions.
Develop Skills for Challenging Environments
Due to Stratagem Jammers, it’s crucial to stay alert and adaptable, capable of performing efficiently even without vital backup. Mastering combat moves and engaging enemies independently of stratagems is key to surviving within the 150-meter range of disruption. This involves sharpening your aim, learning close-quarter tactics, and improving your instincts for when to push forward or retreat. Essentially, it’s a call to revert to fundamental combat techniques, making you rely more on core skills rather than aerial assistance. Regularly sparring against enemies without using stratagems will help build the confidence needed to navigate these difficult situations. You might want to design custom scenarios or focus on specific enemy types to perfect your strategy.
Balance Risk and Reward
Making the right moment and approach to employ a Stratagem Jammer is an important tactical move. The possible gain of regaining access to strategies should be balanced against the associated risks. Direct attacks can be expensive, more so when dealing with numerous jammers. Take into account your available resources. Is it wise to use a precious Eagle 500kg bomb to take out a jammer, or are there other options? A well-timed flanking move with your team might provide a safer alternative. At times, focusing on the main objective and navigating around the jammer’s influence could be the most strategic approach. Mastering the ability to evaluate such situations effectively is crucial for success in the new meta. Sharing thoughts and ideas with other players on platforms like Reddit can offer helpful suggestions and alternative strategies for handling multiple jammers and intricate situations.
Community Reactions and Future Challenges
Player Feedback and Ongoing Discussions
The updates in the game “Helldivers” have generated much debate, notably concerning the unexpected tweak to the 500’s efficacy against Stratagem Jammers. Players had grown accustomed to using the 500 to destroy these jammers even after they were disabled, but this change has necessitated a strategic overhaul. Long-time players are having to reconsider their tactics, as evidenced in recent articles discussing the “Helldivers” updates. These modifications have certainly stirred things up, and the community is vigorously deliberating on the consequences. One player expressed, “The recent adjustments in ‘Helldivers’ caught us off guard.” Another issue is the game’s lasting appeal, particularly in the OCA and Asian regions, where some players report idle random lobbies. This brings up significant questions about preserving an active player base as the game advances, with one player remarking, “Random lobbies in ‘Helldivers 1’ have been dormant in the OCA and Asia for roughly eight years.
Prepare for Evolving Gameplay
Acclimating to these alterations involves grasping the functioning of Stratagem Jammers. These gadgets block Stratagems within a 150-meter vicinity, making them critical targets for elimination. The Helldivers Wiki explains how these jammers disrupt strategies by stating, “Their wide jamming signal and the essential role of Stratagems in Helldiver gameplay make them high-priority threats.” It’s also important to note that multiple Jammers can show up during a single mission, with their signals potentially overlapping and creating zones where crucial support items, like the NUX-223 Hellbomb, cannot be summoned on disabled Jammers. The wiki further mentions multiple jammers, stating, “In certain situations, there may be more than one Stratagem Jammer in a mission.” This adds an extra level of intricacy, necessitating players to be even more strategic in their playstyle. As the game progresses, remaining informed and adaptable will be crucial for achieving success.
Frequently Asked Questions
What’s making Striders more hazardous now? It’s because they’re armed with strategy jammers that inhibit essential backup options such as airstrikes and vehicle drops within a 150-meter area. This significantly increases their menace level, forcing players to revise their tactics.
What is the function of stratagem jammers in simpler terms? Essentially, they broadcast an interference signal which disables the deployment of strategies within their coverage zone. This renders crucial assistance options unusable, effectively converting these areas into zones where summoning reinforcements or setting up vital equipment becomes unfeasible.
To defeat stratagem jammers, consider using anti-jammer grenades or the REC-6 Demolisher to destroy them. Additionally, employ terrain and cover to protect yourself while you approach these devices. If possible, take a clear shot at them with explosives such as a 500kg bomb, but be cautious of the blast radius. Lastly, if hacking is an option, it may also prove effective in disabling the jammers without causing destruction.
As a gamer, when facing missions with multiple jammers, it’s crucial to strategize effectively. Assign roles among your teammates – one for taking down the jammers, another for providing cover fire, and yet another for scouting enemy positions and relaying intel. Keep communication swift and clear, and use visual cues if possible. If you foresee a mission with numerous jammers, opt for loadouts that prioritize direct combat capabilities.
What’s the general response from the community towards these modifications? The alterations, specifically those concerning the 500kg bomb’s impact on disabled jammers, have sparked a great deal of debate. Players are adjusting to the new gameplay style and exchanging tactics. Additionally, there are continuous talks about the game’s sustainability and keeping an engaged player community, especially in specific areas.
Read More
- 50 Ankle Break & Score Sound ID Codes for Basketball Zero
- Who Is Harley Wallace? The Heartbreaking Truth Behind Bring Her Back’s Dedication
- 50 Goal Sound ID Codes for Blue Lock Rivals
- Mirren Star Legends Tier List [Global Release] (May 2025)
- League of Legends MSI 2025: Full schedule, qualified teams & more
- 100 Most-Watched TV Series of 2024-25 Across Streaming, Broadcast and Cable: ‘Squid Game’ Leads This Season’s Rankers
- 28 Years Later Fans Go Wild Over Giant Zombie Dongs But The Director’s Comments Will Shock Them
- Pacers vs. Thunder Game 7 Results According to NBA 2K25
- Pacers vs. Thunder Game 1 Results According to NBA 2K25
- Basketball Zero Boombox & Music ID Codes – Roblox
2025-03-21 16:35