
Are you fed up with close calls and slow responses in Marvel Rivals? It might not be about practicing more, but rather adjusting your controller settings. These often neglected tweaks can have a considerable effect on your gameplay, transforming your experience from annoying to exhilarating. This guide delves into the fascinating realm of Marvel Rivals controller customization, providing practical suggestions and expert insights to help you fine-tune your setup. We’ll cover aspects like sensitivity, aim assist, button mapping, and HUD optimization, equipping you to master your game and reach your peak performance.
Key Takeaways
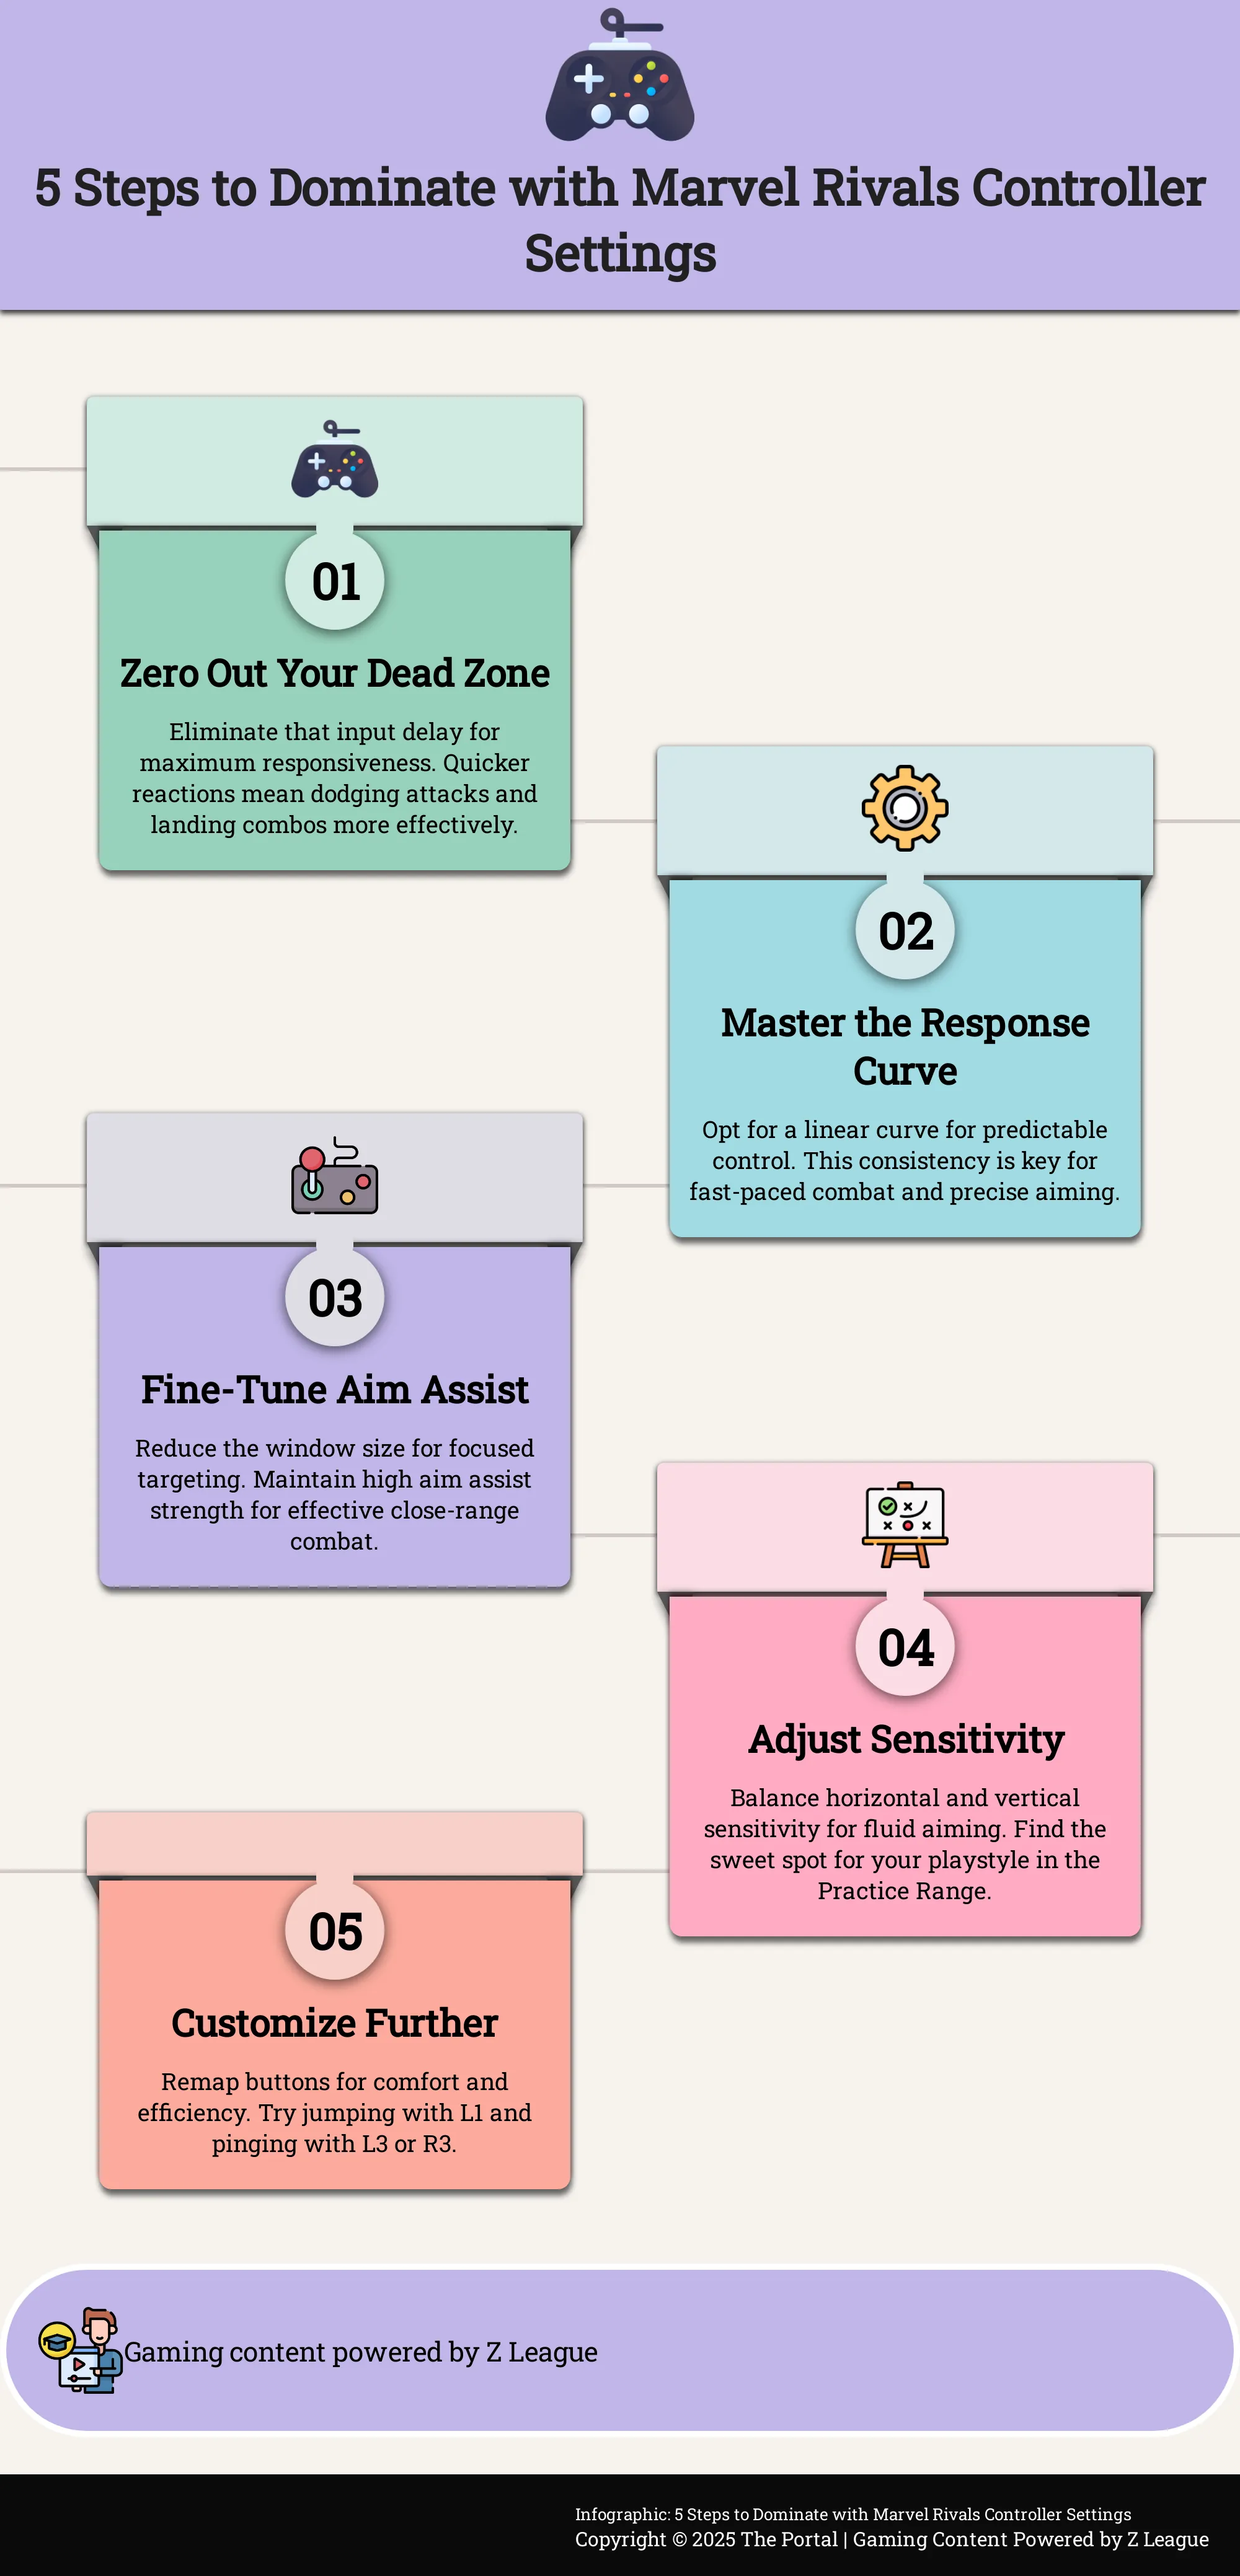
- Control the chaos with customized settings: Fine-tuning your Max Input Dead Zone, response curve, aim assist, and sensitivity drastically improves accuracy and reaction time in Marvel Rivals. Experiment to find what truly elevates your gameplay.
- Practice makes perfect, but adaptation is key: Test your settings in the Practice Range and real matches to build muscle memory. Don’t hesitate to tweak based on your in-game performance. Regular practice is good, but adapting to the feel of your new settings is crucial.
- Connect and conquer: Sharing your settings with the Marvel Rivals community and staying updated on game changes provides valuable insights and helps you adapt to the evolving game. Learning from others and staying informed are essential for continuous improvement.
What are Controller Settings in Marvel Rivals?
In Marvel Rivals, customizing your controller settings is vital for outshining opponents. These are the adjustable options that allow you to tailor everything from sensitivity and aim assist to button layouts, all aimed at fitting your unique playing style perfectly. Picture it as fine-tuning a high-performance car – getting everything just right can greatly improve your performance. As SCUF puts it, honing these settings can considerably boost both your gameplay efficiency and overall gaming experience. To see their suggestions for Marvel Rivals controller settings, visit their website. With this level of customization, you can control how swiftly your character responds to your instructions, fine-tune your aiming, and even reassign your buttons.
Tailoring the ideal configurations isn’t a one-for-all solution; it requires some tinkering. Dexerto advises venturing to the Training Grounds to try out various arrangements and gauge their comfort level. They provide useful advice in their Marvel Rivals controller settings manual. This hands-on exploration will help you uncover what suits you best. Going beyond fundamentals, optimizing graphical options can ward off performance problems such as lag and choppiness. An initial step is ProSettings.net’s guide for Marvel Rivals, which leads you through the steps to fine-tune these settings for top-notch performance. Spending time to grasp and modify your controller settings could revolutionize your gaming experience. It’s the distinction between aimlessly pressing buttons and performing seamless combos, between falling short and landing that decisive knockout blow.
Set Your Max Input Dead Zone to Zero
In essence, excelling at Marvel Rivals goes beyond merely perfecting combos – it’s all about precise control of your character. A frequently overlooked aspect is the Max Input Dead Zone. Today, let’s delve into why this setting plays a pivotal role in competitive gameplay.
What is Max Input Dead Zone?
Consider the Max Input Dead Zone as a small area surrounding the center of your joystick that disregards input. It’s similar to a tiny safety zone. If your joystick is within this zone, the game fails to register any movement. This feature is designed to prevent accidental movements, particularly due to stick drift, but in fast-action games like Marvel Rivals, it might decrease your reactivity.
Why Set it to Zero?
As a dedicated gamer, I’ve found that setting my Max Input Dead Zone to zero offers me unparalleled control over my character’s movements. This removal of the buffer zone ensures that even the slightest tap on my analog stick is recognized in the game. This heightened sensitivity results in faster reflexes and more accurate maneuvers, providing an edge in close-quarter situations. With this setting, I can dart, dodge, and execute special moves with the agility required to outsmart my opponents. In his video tutorial on Marvel Rivals controller configurations, renowned fighting game expert TCaptainX highlights that reducing this value gives you “control from not touching the stick to fully pressing it,” a crucial aspect for precise inputs and combos. While some players might opt for a moderate dead zone (around 2 to 5) to counteract slight stick drift, setting it to zero unleashes my full movement potential!
Master the Response Curve
Linear vs. Non-Linear Settings
linear and non-linear. The linear mode offers a direct correlation between your stick movement and your character’s actions. On the other hand, non-linear settings such as dynamic or dual-zone curves introduce some randomness, making the on-screen response not always proportionate to how you move the stick, thus adding an element of unpredictability.
Advantages of a Linear Response
As a seasoned gamer like myself, switching from other competitive games, I’ve found that a linear response curve is the way to go for most players. It provides a steady and reliable gaming experience, which is crucial for swift reactions and effortlessly transitioning between targets. In his video on perfecting controller settings, TCaptainX elucidates that a linear setting “just makes sense.” With some minor adjustments, it can even replicate the sensation of dynamic curves found in games such as Call of Duty. He advises setting it anywhere between 2 and 5, offering an optimal blend of control and precision. This setup grants you “total command” across the entire spectrum of stick movement. A linear response shines particularly when it comes to tracking. The consistent connection between your stick and your character makes it a breeze to chase opponents and score hits, especially in slower vertical aiming situations. In the high-speed battles of Marvel Rivals, this precision is absolutely priceless.
Fine-Tune Your Aim Assist
In the game Marvel Rivals, Aim Assist plays a vital role, particularly for those using controllers. Mastering it can greatly enhance your gaming experience. Unlike many other games, Aim Assist in Marvel Rivals works with greater complexity. Grasping these intricacies will provide you with a tactical advantage.
Types of Aim Assist
Marvel Rivals offers two kinds of aim assistance: rotational and stationary. Rotational aid assist gently steers your aim towards an opponent as they appear on your screen – imagine it like a slight push towards the correct direction. Stationary aim assist, on the other hand, slows down the movement of your reticle when it’s near an enemy, making it easier for you to stay accurate and maintain focus on the target. YouTuber TCaptainX provides a detailed explanation of these mechanisms in his video about controller settings, offering useful tips for players seeking to enhance their aiming skills.
Customize Your Aim Assist Window Size
The size of the assist window in targeting affects the region around an adversary where aim assistance becomes active. The default setting of 50 is frequently too expansive, particularly during busy team battles. A large window size might make your aim bounce unpredictably among densely packed characters. Reducing this setting to somewhere between 10 and 25 gives you a more focused, accurate aim assistance area. This modification enables you to target specific enemies more efficiently, even in congested scenarios. TCapainX advises trying out different settings within this range to discover what suits your playstyle best.
Find the Right Balance
Striking an ideal equilibrium between aim assist potency and window dimension is crucial. Try maintaining a high level of aim assist, say 100, while lowering the window size substantially. A diminished window, around 5 or 10, coupled with enhanced aim assist power, provides a perfect blend. You’ll retain excellent control, yet still reap the benefits when your reticle is near an opponent. This configuration offers swift target identification without compromising precision. TCaptainX’s recommendations serve as a good foundation; however, don’t hesitate to customize these settings as you grow more proficient.
Adjust Sensitivity Settings for Precision
Mastering the balance between your actions and accuracy is crucial for excelling in Marvel Rivals. This involves discovering the ideal harmony where your motions flow smoothly and your shots are precise.
Horizontal and Vertical Sensitivity
Consider your horizontal and vertical sensitivity as two complementary aspects of a single unit. They collaborate to manage your aim, and striking the ideal equilibrium is essential. A sensible starting point involves setting your vertical sensitivity to approximately 56.5% of your horizontal. This adjustment fosters a more harmonious sensation, particularly during hectic situations when you’re spinning rapidly, much like the intense action in Call of Duty. Experiment until you find what feels most intuitive. You’ll discern a substantial enhancement in your aiming accuracy once you discover the optimal ratio. For further advice on controller settings and their influence on aim, explore this helpful video by TCaptainX.
Adjust ADS Sensitivity
In gaming, when you’re focusing on your target with the help of sights (ADS), accuracy becomes extremely important. Initially, adjust your ADS sensitivity to 1 and then fine-tune it according to your playing style. If you opt for Advanced Look Controls (ALCs), you’ll have more precise control over your ADS settings. Here’s a helpful tip: even if you choose to disable ALCs later, any customized ADS sensitivities you’ve set will still be saved. This means you can perfectly adjust your aim, even without the additional ALC features. Check out this Reddit thread for insights into the controller settings used by professional gamers, which may inspire ideas for your own setup.
Customize Your Controller Further
Going beyond the basic configurations, making a few adjustments can greatly enhance your gameplay experience in Marvel Rivals. Here’s how you might fine-tune your controller settings for optimal performance.
Button Mapping Options
As a gamer, I’ve found that customizing my controller layout with button mapping significantly enhances my gaming experience. For instance, swapping the function of my L1 button to trigger a jump gives me more freedom for aiming and firing. This results in a smoother, agile playstyle that keeps me elusive and harder to hit, as I can maintain an unpredictable movement pattern. According to TCaptainX’s tutorial video, combining shooting with jumps disrupts my opponents’ aim, giving me the upper hand in many situations.
Using ping functions on either L3 or R3 is a handy trick, particularly for those who use a conventional controller grip. This allows you to interact with your team without having to lift your thumb off the analog stick, promoting seamless and continuous gameplay.
Vibration and HUD Settings
Vibration and HUD settings may appear insignificant, but they can subtly influence your attention level. Many gamers like TCaptainX opt for turning off vibration and trigger effects to reduce distractions. In his YouTube guide, he emphasizes that these features don’t offer significant value and could potentially impede your focus during critical situations.
Altering your Head-Up Display (HUD) color is an effortless yet powerful method to boost visibility during gameplay. Using vibrant and contrasting colors helps in quickly identifying vital information amidst the tumult of combat. CaptainX suggests green due to its high visibility, but feel free to experiment to discover what suits you best. A clean HUD can provide a decisive advantage in fast-paced competitions.
Adapt Settings to Your Playstyle
Aggressive vs. Defensive Gameplay
In Marvel Rivals, the way you play greatly influences what controller settings work best for you. Players who are more aggressive tend to perform better when aiming at the center or slightly to the right due to the game’s third-person perspective. This helps increase accuracy during intense fights, as demonstrated in this tutorial video. Reducing delays and lag in your gameplay is also crucial, as it enables swift reactions and precise movements, which are vital for aggressive strategies. Modifying your settings can significantly enhance performance by tackling these technical problems.
Character-Specific Considerations
Every Marvel Rivals character has distinct skills and motion styles that impact your ideal controller configuration. To get the most out of your preferred hero, practice is crucial, especially in the Training Grounds. This guide advises you to try various settings and adjustments to perfect your control scheme. For instance, numerous players prefer assigning jump to L1 on standard controllers, as it enhances smooth movement during shooting, making you a trickier target (demonstrated here). Lastly, while the game includes strong aim assist, fine-tuning its settings can optimize its performance according to your unique playstyle and character.
Practice with Your New Settings
After fine-tuning my controller setup, I like to take a moment to get accustomed to the new feel before diving headfirst into competitive matches. Spending a bit of time practicing will help me grow comfortable with the adjusted responses and ensure I’m at the top of my game!
Training Mode Exercises
Marvel Rivals provides a versatile training ground where you can test and enhance your abilities. This training area allows you to customize settings for targeted practice, such as disabling the timer and enabling agile movement for tracking exercises. A tutorial video by TCaptainX illustrates these modifications. Short spurts of training, like defeating 20-50 bots, can substantially boost your muscle memory and help you adapt to your fresh sensitivity and aim assistance settings.
Real Match Strategies
Building proficiency at a practice range is vital, but applying those skills in real competitive matches is equally important when it comes to Marvel Rivals. Precision is paramount in this game, and reducing distractions such as turning off vibration and trigger effects can help you maintain focus during gameplay. Dexerto and TurboBoost are great resources for learning how to optimize your settings for competitive play. Finding the perfect setup can be a game-changer for any player aiming for improvement. Don’t hesitate to make additional adjustments based on your performance in actual matches, as Esports.gg offers further guidance as you fine-tune your setup.
Troubleshoot Controller Issues
Even when using optimal settings, it’s possible that controller issues may arise. Here’s a guide on detecting and addressing these problems:
1. Check the Controller’s Connection: Make sure your controller is properly connected to your device. If it’s wireless, try moving closer or further away from the receiver to see if the signal strength improves.
If your controller is compatible, updating its firmware may solve any bugs or glitches that could be causing problems.
4. Test the Controller on Another Device: If possible, try using your controller on another device to see if the issue persists. This can help determine whether the problem lies with the controller itself or with the specific device you’re using.
5. Contact Customer Support: If all else fails, reach out to the manufacturer’s customer support for further assistance. They may be able to provide additional troubleshooting steps or even arrange for a replacement if necessary.
Identify Controller Issues
In the thrilling world of Marvel Rivals, having a quick-responding controller is crucial for smooth gameplay. If your character seems to move slowly or unpredictably without any input from you, it could be due to sensitivity problems with your controller. As TCaptainX demonstrates in his YouTube tutorial on controller settings, if your character keeps drifting slightly even when you’re not touching the controller, try reducing the dead zone setting until it stops. Making this adjustment can greatly enhance your gaming experience.
Manage Stick Drift
Experiencing unintended character movement in your Marvel Rivals game, known as stick drift, can significantly affect your gameplay. If you find yourself adjusting the dead zone value to 8, 9, or even 10, it may be wise to consider purchasing a new controller. According to TCaptainX’s controller settings guide, an optimal dead zone range is typically between 2 and 5. Anything beyond that can make precise movements and accurate control quite difficult. For a long-term solution, consider controllers equipped with Hall effect sticks, which utilize magnets instead of physical contacts to prevent stick drift. Such controllers are a valuable investment for dedicated gamers.
Connect with the Community
In Marvel Rivals, a popular competitive game, the community plays an essential role in its success. Interacting with other gamers can greatly enhance your gaming skills and enjoyment. Swapping controller configurations and keeping tabs on game modifications are key aspects of engaging with the Marvel Rivals player base.
Share Your Settings
Exchanging ideas about your control settings with other gamers opens up chances for beneficial advice and mutual learning. With Marvel Rivals boasting a wide variety of characters and complex battle mechanics, figuring out what suits you best is crucial. By disclosing your customized setup—be it your aim assist, sensitivity, or button layout—you can aid others in uncovering fresh strategies and improving their gameplay. Moreover, you might gather some useful tips and techniques from other players too. Online discussion forums, specialized Marvel Rivals communities, and social media groups are excellent venues to share these insights. Think about joining a Discord server or Reddit group dedicated to Marvel Rivals to swap strategies and settings with fellow gamers.
Stay Updated on Game Changes
In simple terms, Marvel Rivals is accessible across various gaming platforms, which means there’s a steady stream of updates and tweaks to game balance. Keeping abreast of these changes is vital if you want to stay ahead in the competition. These updates may affect character skills, map designs, control configurations, and aim assistance features, among other things. To keep yourself informed, check official game forums, follow Marvel Rivals on social media, and visit community sites like ProSettings.net. Adjusting your gameplay style according to these changes will help you stay competitive. Additionally, being aware of the latest graphics adjustments can help prevent technical issues such as stuttering or lag, ensuring a smooth and swift gaming experience, particularly in competitive modes where minor alterations can have significant effects.
Frequently Asked Questions
Why is my aim so inconsistent in Marvel Rivals?
A mismatched targeting objective may be caused by various aspects, such as incorrect sensitivity levels, a dead zone that’s either too expansive or constricted, or an aim assist area not tailored to your gaming style. To discover the perfect fit for you, experiment with distinct settings within the Training Ground. Think about modifying your horizontal and vertical sensitivity ratio, fine-tuning your ADS sensitivity, and optimizing your aim assist window size. Furthermore, verify that your controller isn’t suffering from stick drift, as this could lead to unpredictable targeting.
What’s the best response curve setting for Marvel Rivals?
In most cases, it’s advisable to opt for a linear response curve for gameplay, as it ensures a steady and reliable connection between your movements with the game controller and the actions of your character. This consistency is essential for swift responses and accurate aiming, particularly in high-speed situations where precision matters. Curves that are not linear might introduce some unpredictability, which could be problematic in fast-paced combat scenarios.
What is Max Input Dead Zone and why should I set it to zero?
The Max Input Dead Zone refers to a tiny region surrounding the center of your joystick where input is disregarded. Setting it to zero enhances your responsiveness, making even slight movements of the joystick noticeable in the game. This leads to better control over your character’s actions, facilitating quicker responses and more accurate movements. However, if you encounter stick drift, a small dead zone might be beneficial.
How can I improve my movement and aiming simultaneously?
Try reassigning your jump action to either L1 or L2. This will let you keep your thumb on the right analog stick for better aiming and shooting, resulting in smoother movements and faster response times. Adjusting your sensitivity and aim assist settings appropriately can greatly enhance your overall gaming experience.
Where can I find additional resources for optimizing my Marvel Rivals controller settings?
There are numerous online resources where you can discover useful tips about controller adjustments. For instance, YouTube has a wealth of video guides, especially from content creators like TCaptainX who focus on improving controller performance. Additionally, websites such as Dexerto and ProSettings.net offer articles and discussions on configuring your setup effectively. Furthermore, you can engage with the Marvel Rivals community by participating in forums and social media groups to exchange settings and learn from other players’ experiences.
Read More
- Who Is Harley Wallace? The Heartbreaking Truth Behind Bring Her Back’s Dedication
- Basketball Zero Boombox & Music ID Codes – Roblox
- 50 Ankle Break & Score Sound ID Codes for Basketball Zero
- TikToker goes viral with world’s “most expensive” 24k gold Labubu
- 100 Most-Watched TV Series of 2024-25 Across Streaming, Broadcast and Cable: ‘Squid Game’ Leads This Season’s Rankers
- Revisiting Peter Jackson’s Epic Monster Masterpiece: King Kong’s Lasting Impact on Cinema
- 50 Goal Sound ID Codes for Blue Lock Rivals
- League of Legends MSI 2025: Full schedule, qualified teams & more
- KFC launches “Kentucky Fried Comeback” with free chicken and new menu item
- Gaming’s Hilarious Roast of “Fake News” and Propaganda
2025-04-23 16:16