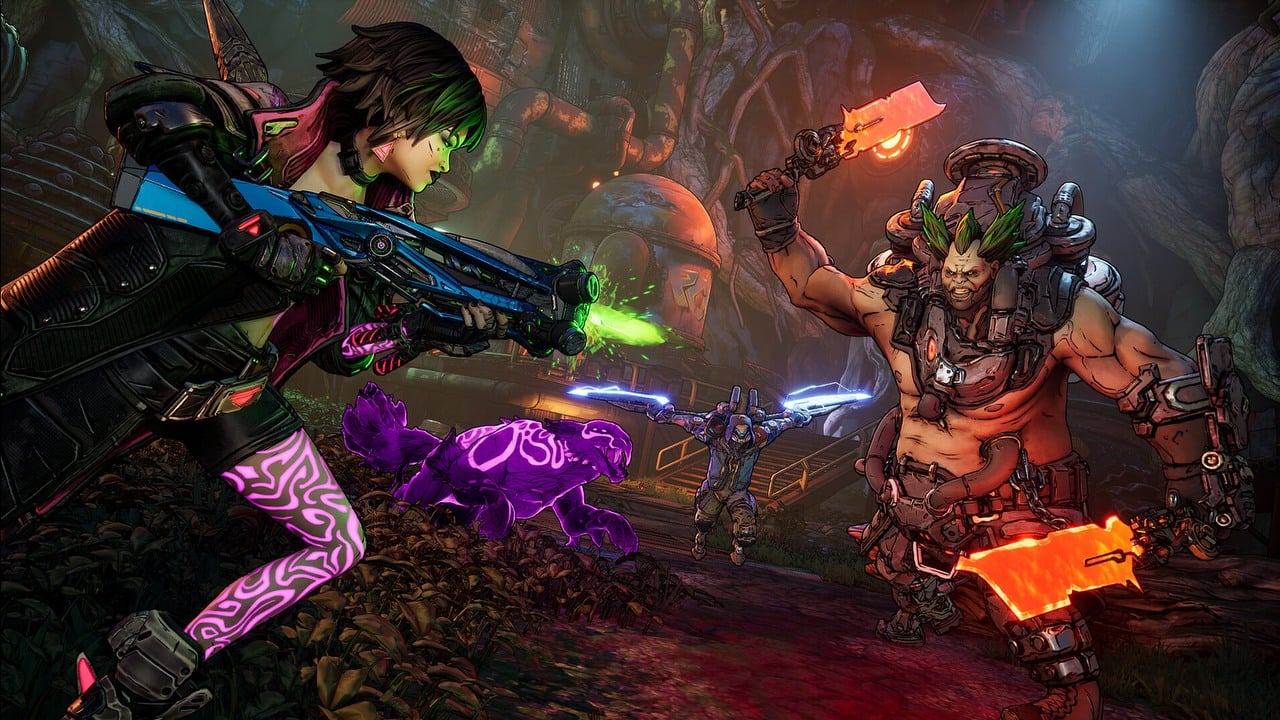
The new addition to the hit looter-shooter series, Borderlands 4, has been released! You can dive back into this quirky world, although in practice, some technical issues have been arising for many players since its launch, much like other contemporary games. For a while after release, some users couldn’t even start the game, and now, several players are grumbling about lengthy and frequent shader compilation processes – a process that slows down their gaming experience.
Compiling shaders in Borderlands 4 can take a lot of time
In many contemporary video games, you’ll find that shader compiling isn’t a novel concept. Typically, this process doesn’t take long, but sometimes, especially with certain game productions, it can stretch beyond anticipated timeframes. A notable example is the PC edition of The Last of Us, where the shader compilation process might unexpectedly prolong its loading times.
In the game Borderlands 4, there’s a shared characteristic with Sony’s popular title, but some players have expressed concerns about a specific issue: shader compilation in Borderlands 4 takes an extended period. Is this normal? To an extent, yes. According to the official Borderlands support page, the initial compilation is expected to take around 10 minutes. If it lasts longer, you should reboot your PC and start from scratch again.
Unfortunately, compiling shaders in Borderlands 4 can take some time, especially when you initially start the game or adjust graphics settings. The duration varies based on your computer’s specifications, so it may be longer for some users. However, subsequent changes should occur more swiftly than during the initial launch. So, remember to exercise a bit of patience and allow Borderlands 4 to complete this process fully before diving into gameplay.
Towards the close, it’s worth noting that Gearbox Software has provided a solution for resolving shader issues as well. If you’re experiencing performance problems and adjusting settings doesn’t seem to help, you might want to give this method a try. For Nvidia users, here are the steps to follow:
1. Open the Nvidia Control Panel.
2. Navigate to “Adjust image settings with preview.”
3. Under “Transformations,” click on “Anisotropic Filtering.”
4. Set it to “Application-controlled optimized quality” or “Off.”
5. Save changes and restart your game for the new settings to take effect.
- Open folder: %LOCALAPPDATA%\NVIDIA\DXCache
- Delete all files that have over 10 mb
- Note: This may also clear shaders in other programs
In the case of AMD, the procedure looks as follows:
- Lunch AMD Adrenalin app
- Open Gaming settings and click on Graphics
- Select the Reset Shader Cache option. You will find this at the bottom of the menu.
- Note: This will wipe shaders for other programs too
Read More
- Lacari banned on Twitch & Kick after accidentally showing explicit files on notepad
- Answer to “A Swiss tradition that bubbles and melts” in Cookie Jam. Let’s solve this riddle!
- YouTuber streams himself 24/7 in total isolation for an entire year
- Ragnarok X Next Generation Class Tier List (January 2026)
- Adolescence’s Co-Creator Is Making A Lord Of The Flies Show. Everything We Know About The Book-To-Screen Adaptation
- Gold Rate Forecast
- 2026 Upcoming Games Release Schedule
- Best Doctor Who Comics (October 2025)
- Will Poulter Gets His Movie
- 15 Lost Disney Movies That Will Never Be Released
2025-09-12 18:06