In the game “Wuchang: Fallen Feathers”, the boss encounters are skillfully designed to provide players with tough, engaging battles that demand strategic understanding and adjustment of character builds. There are six bosses in total within Worship’s Rise, each offering a trophy/achievement upon defeat. Of these six, five are connected to the main storyline and must be conquered to unlock access to the second main region. This guide aims to help you locate all the bosses in Wuchang: Fallen Feathers found within Worship’s Rise.
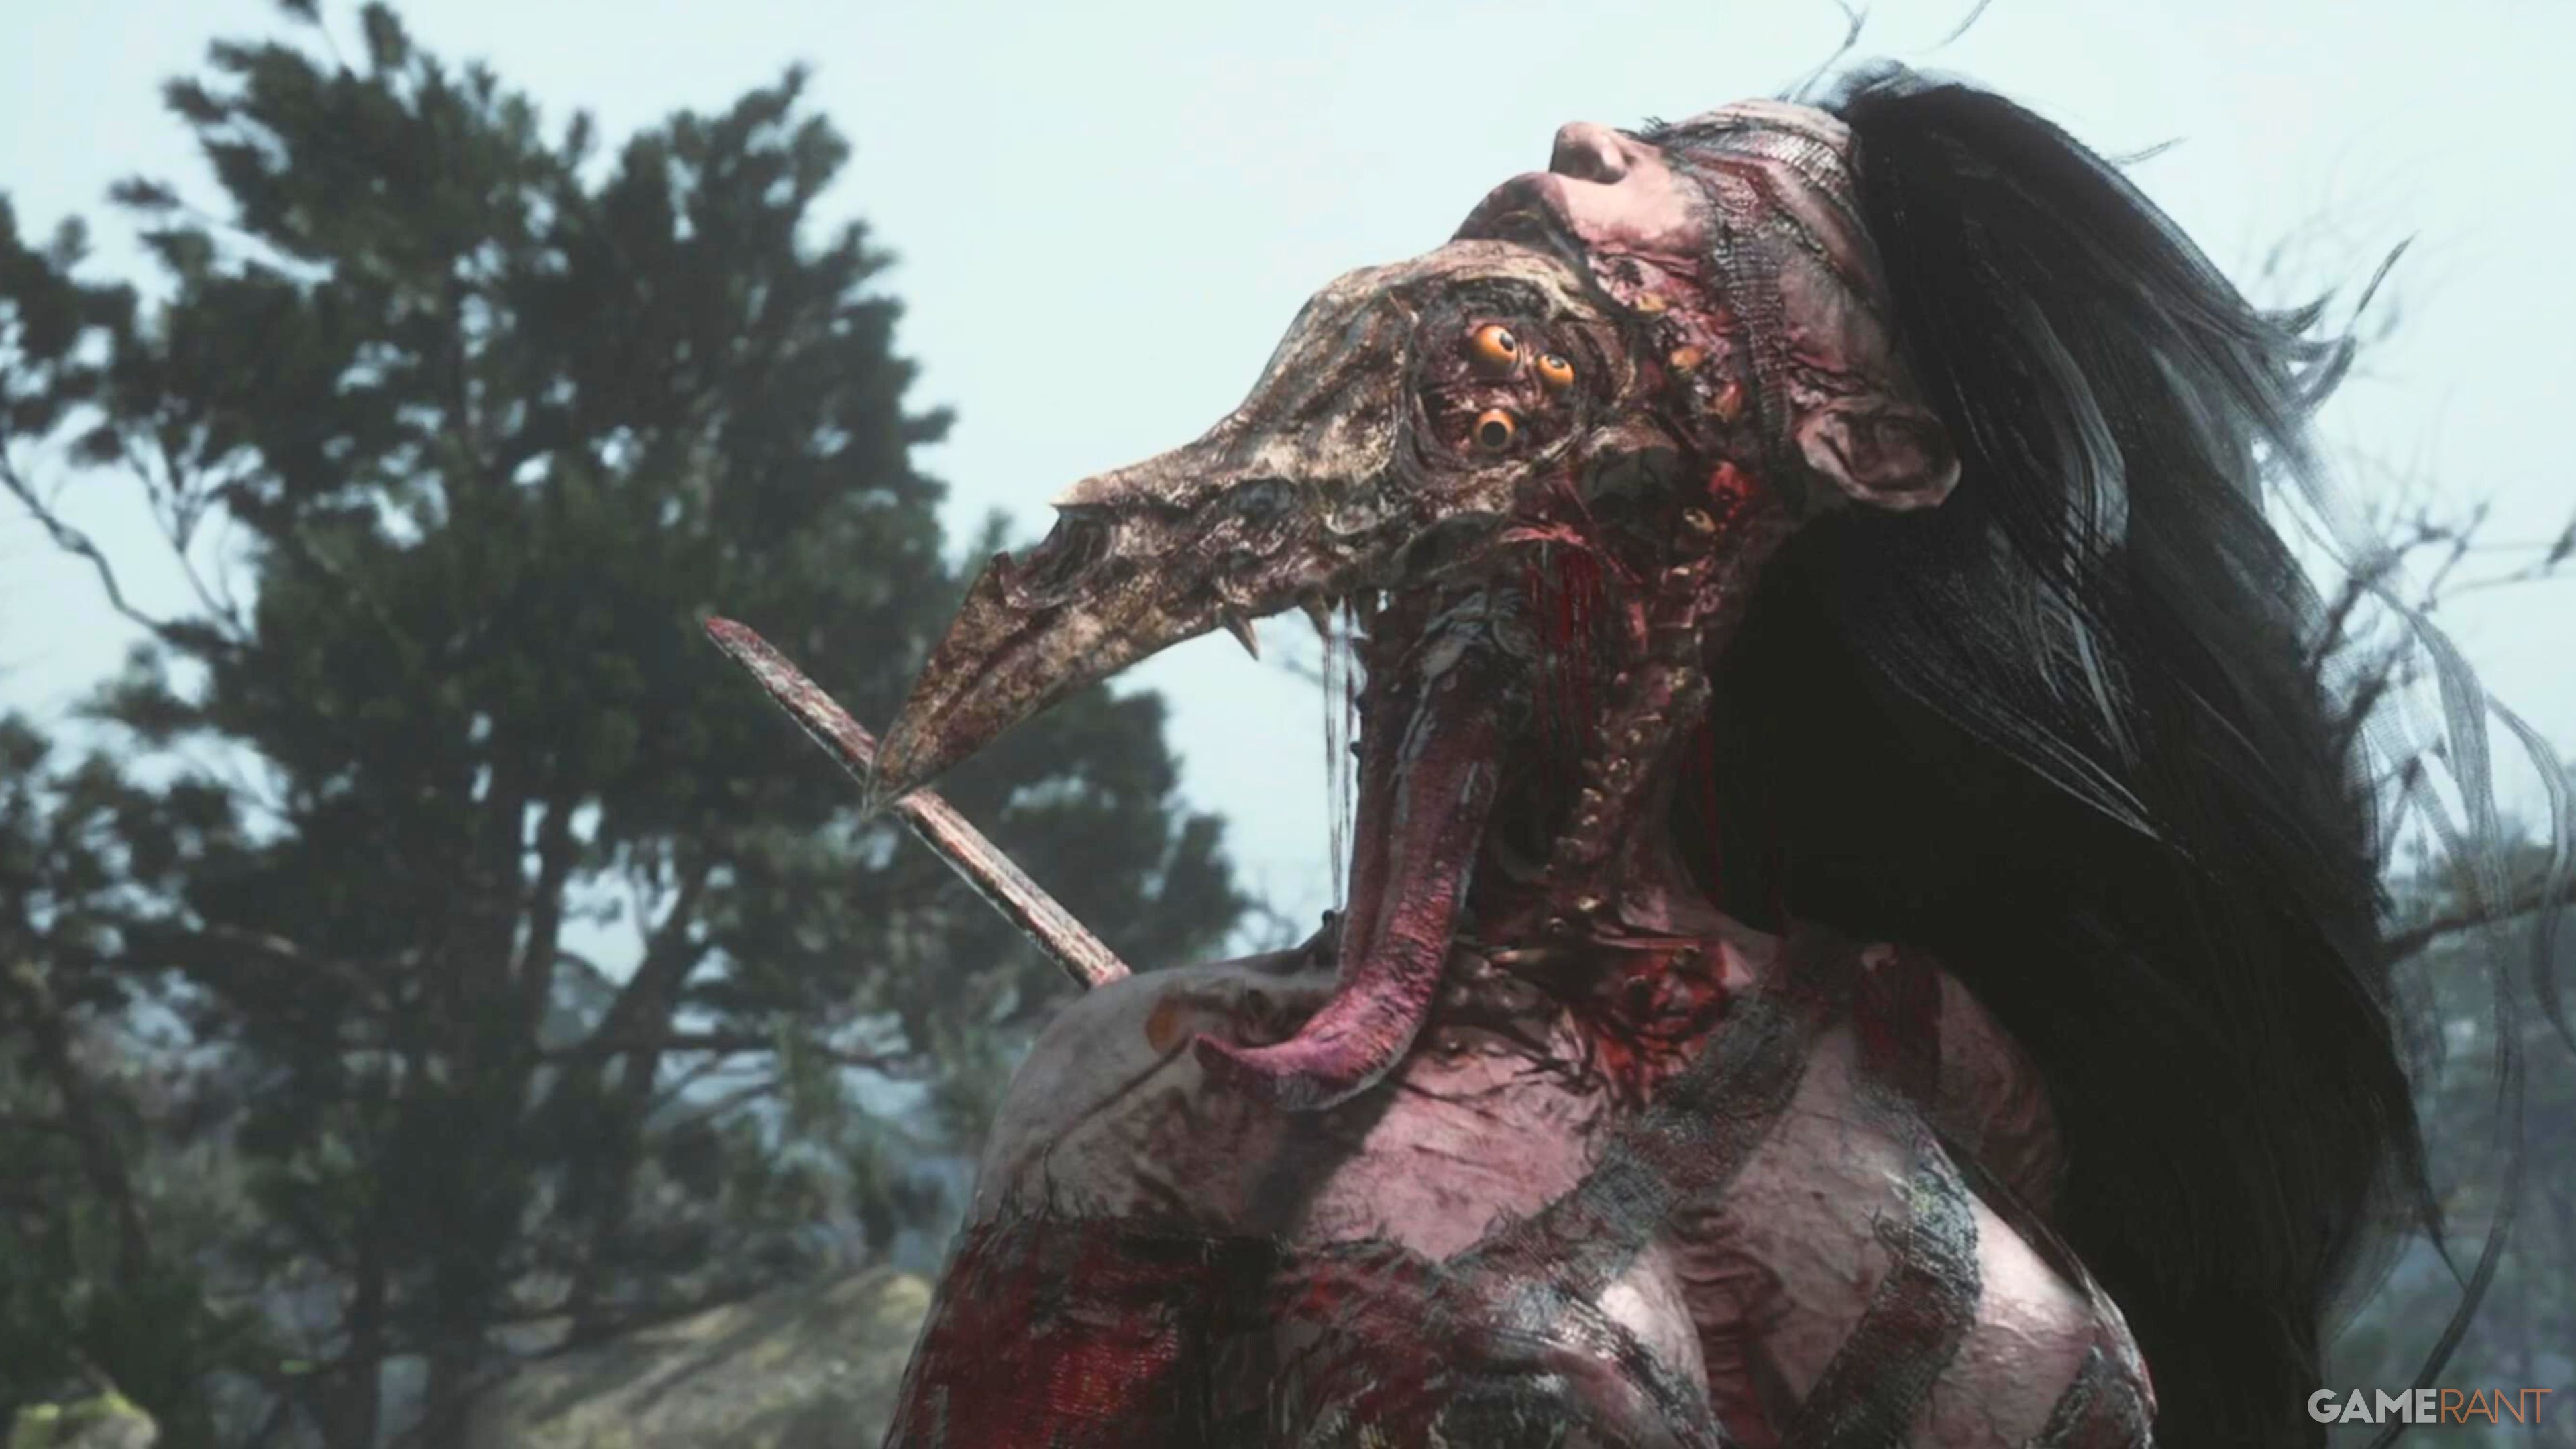
The guide below contains major boss spoilers related to their appearance.
All Worship’s Rise Boss Locations in Wuchang: Fallen Feathers
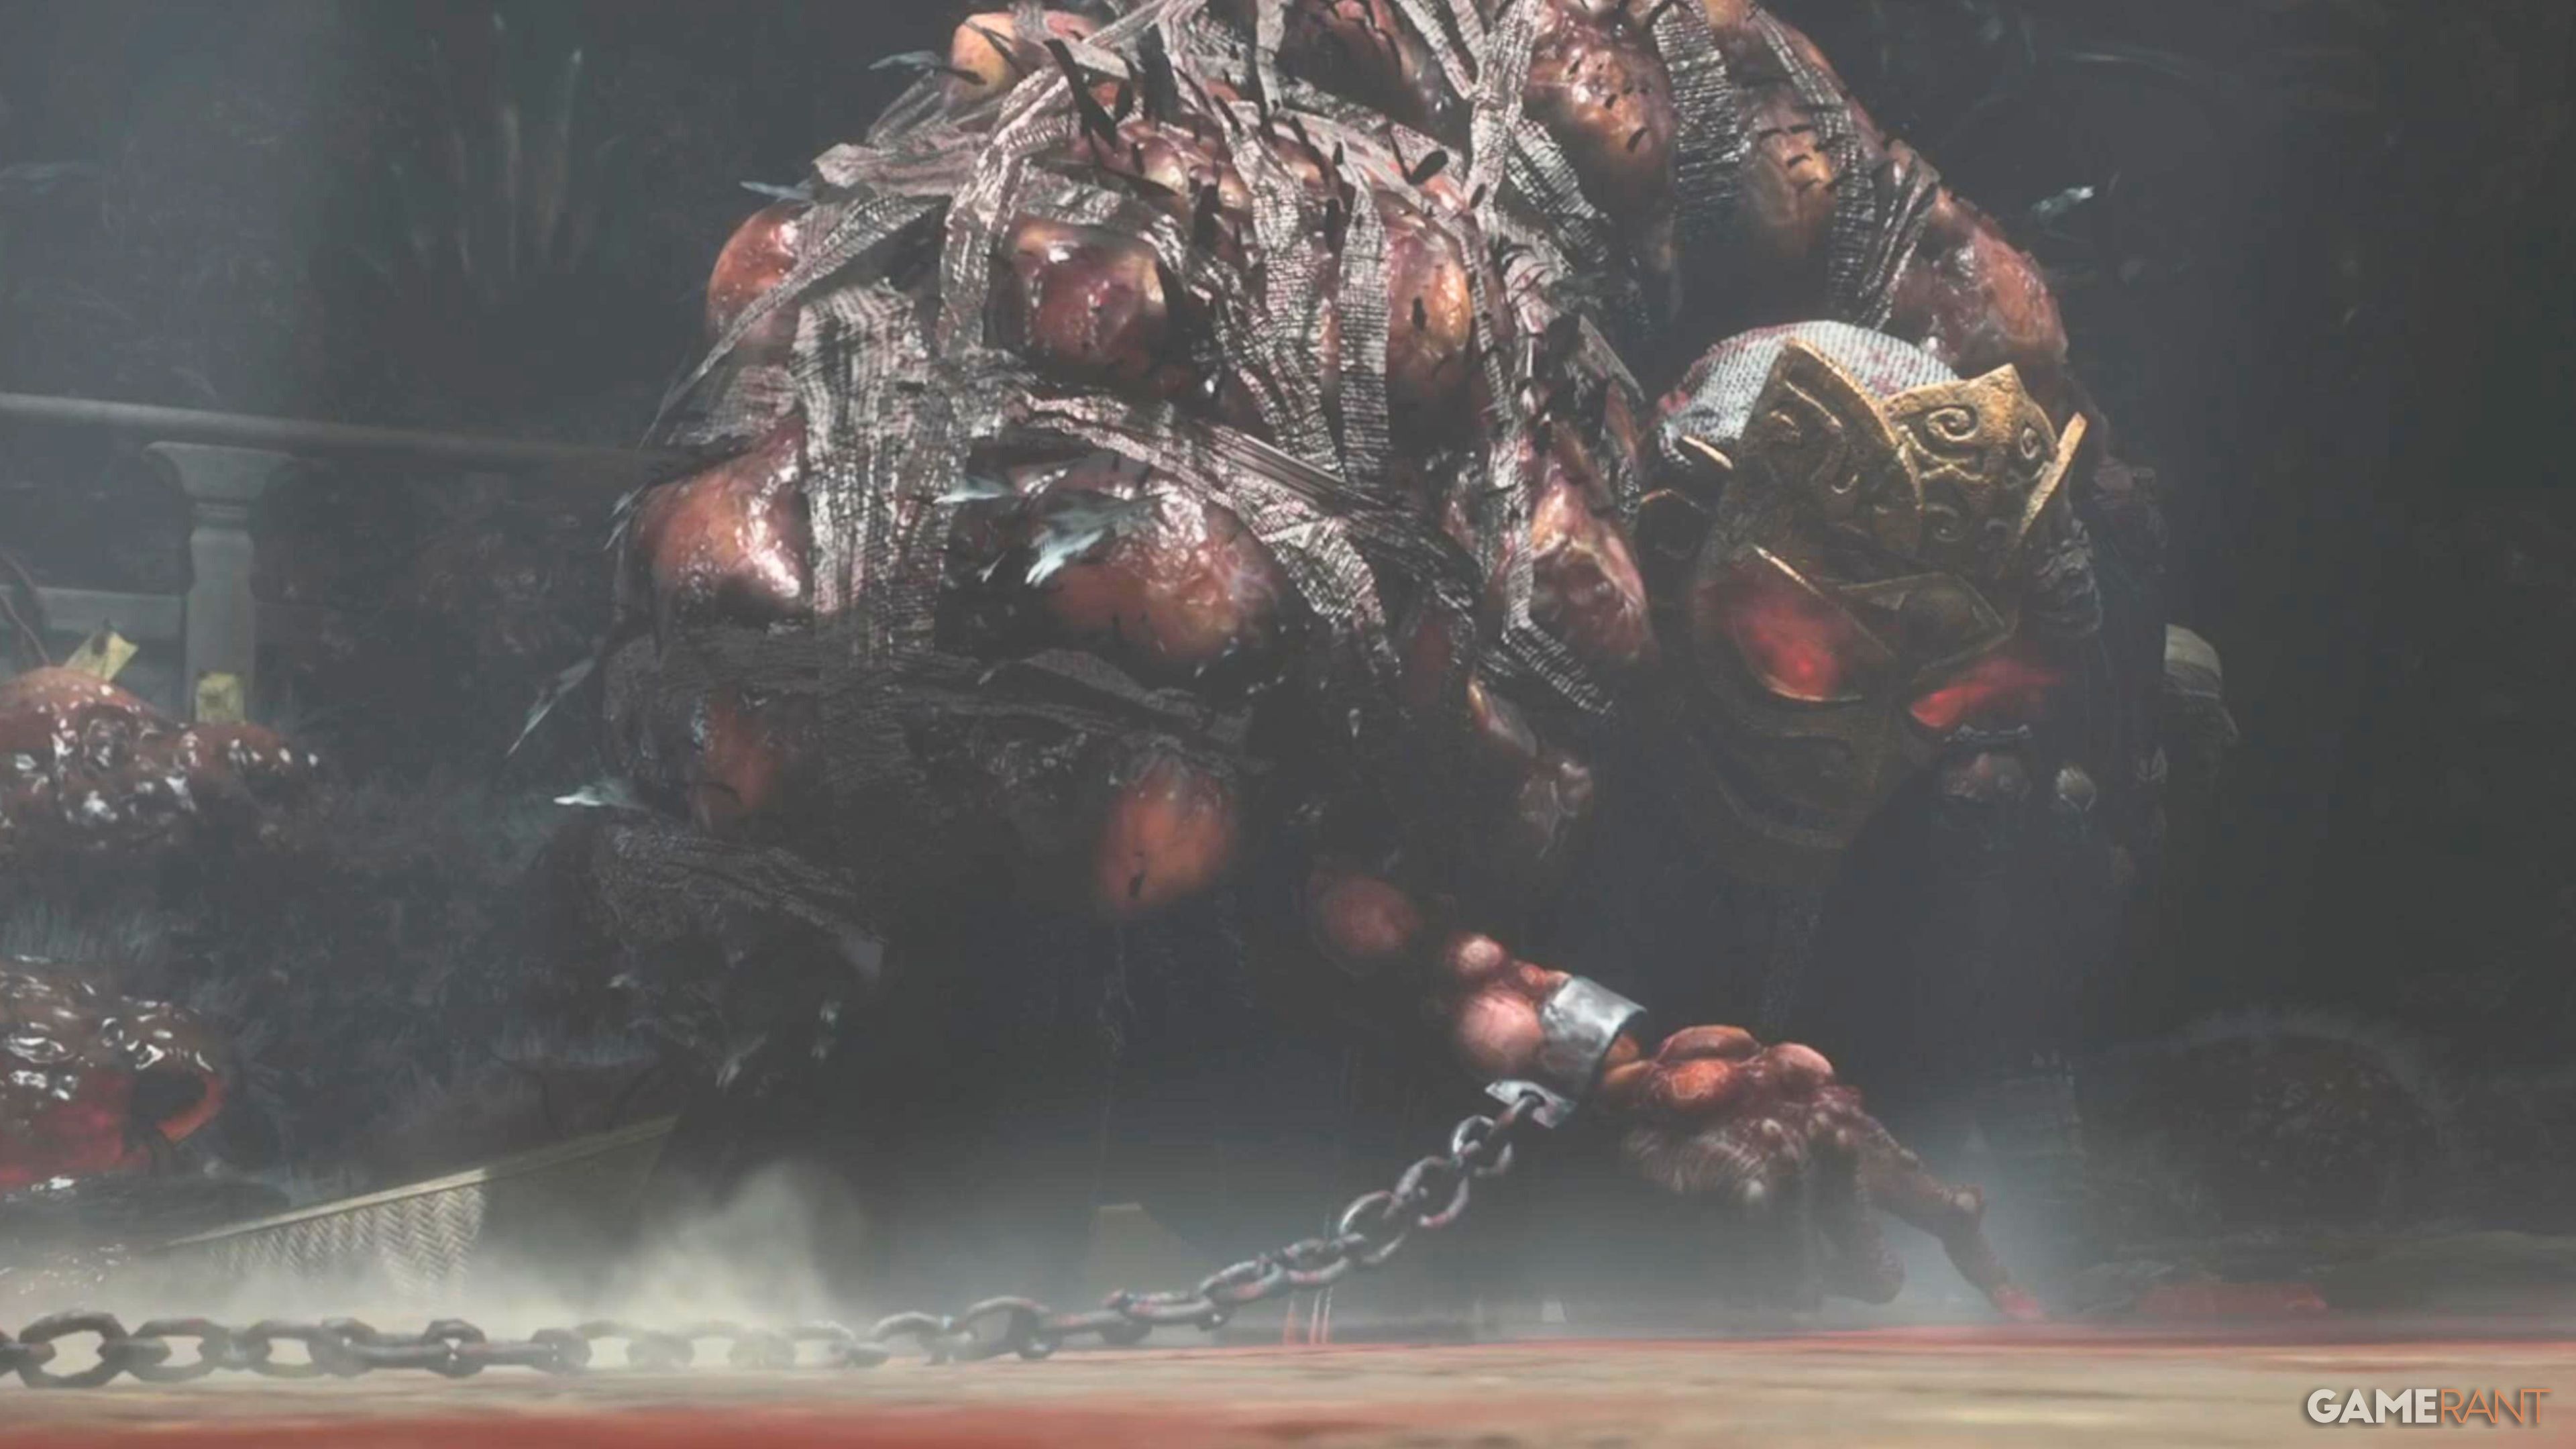
Master Raider – Man-eating Dhutanga

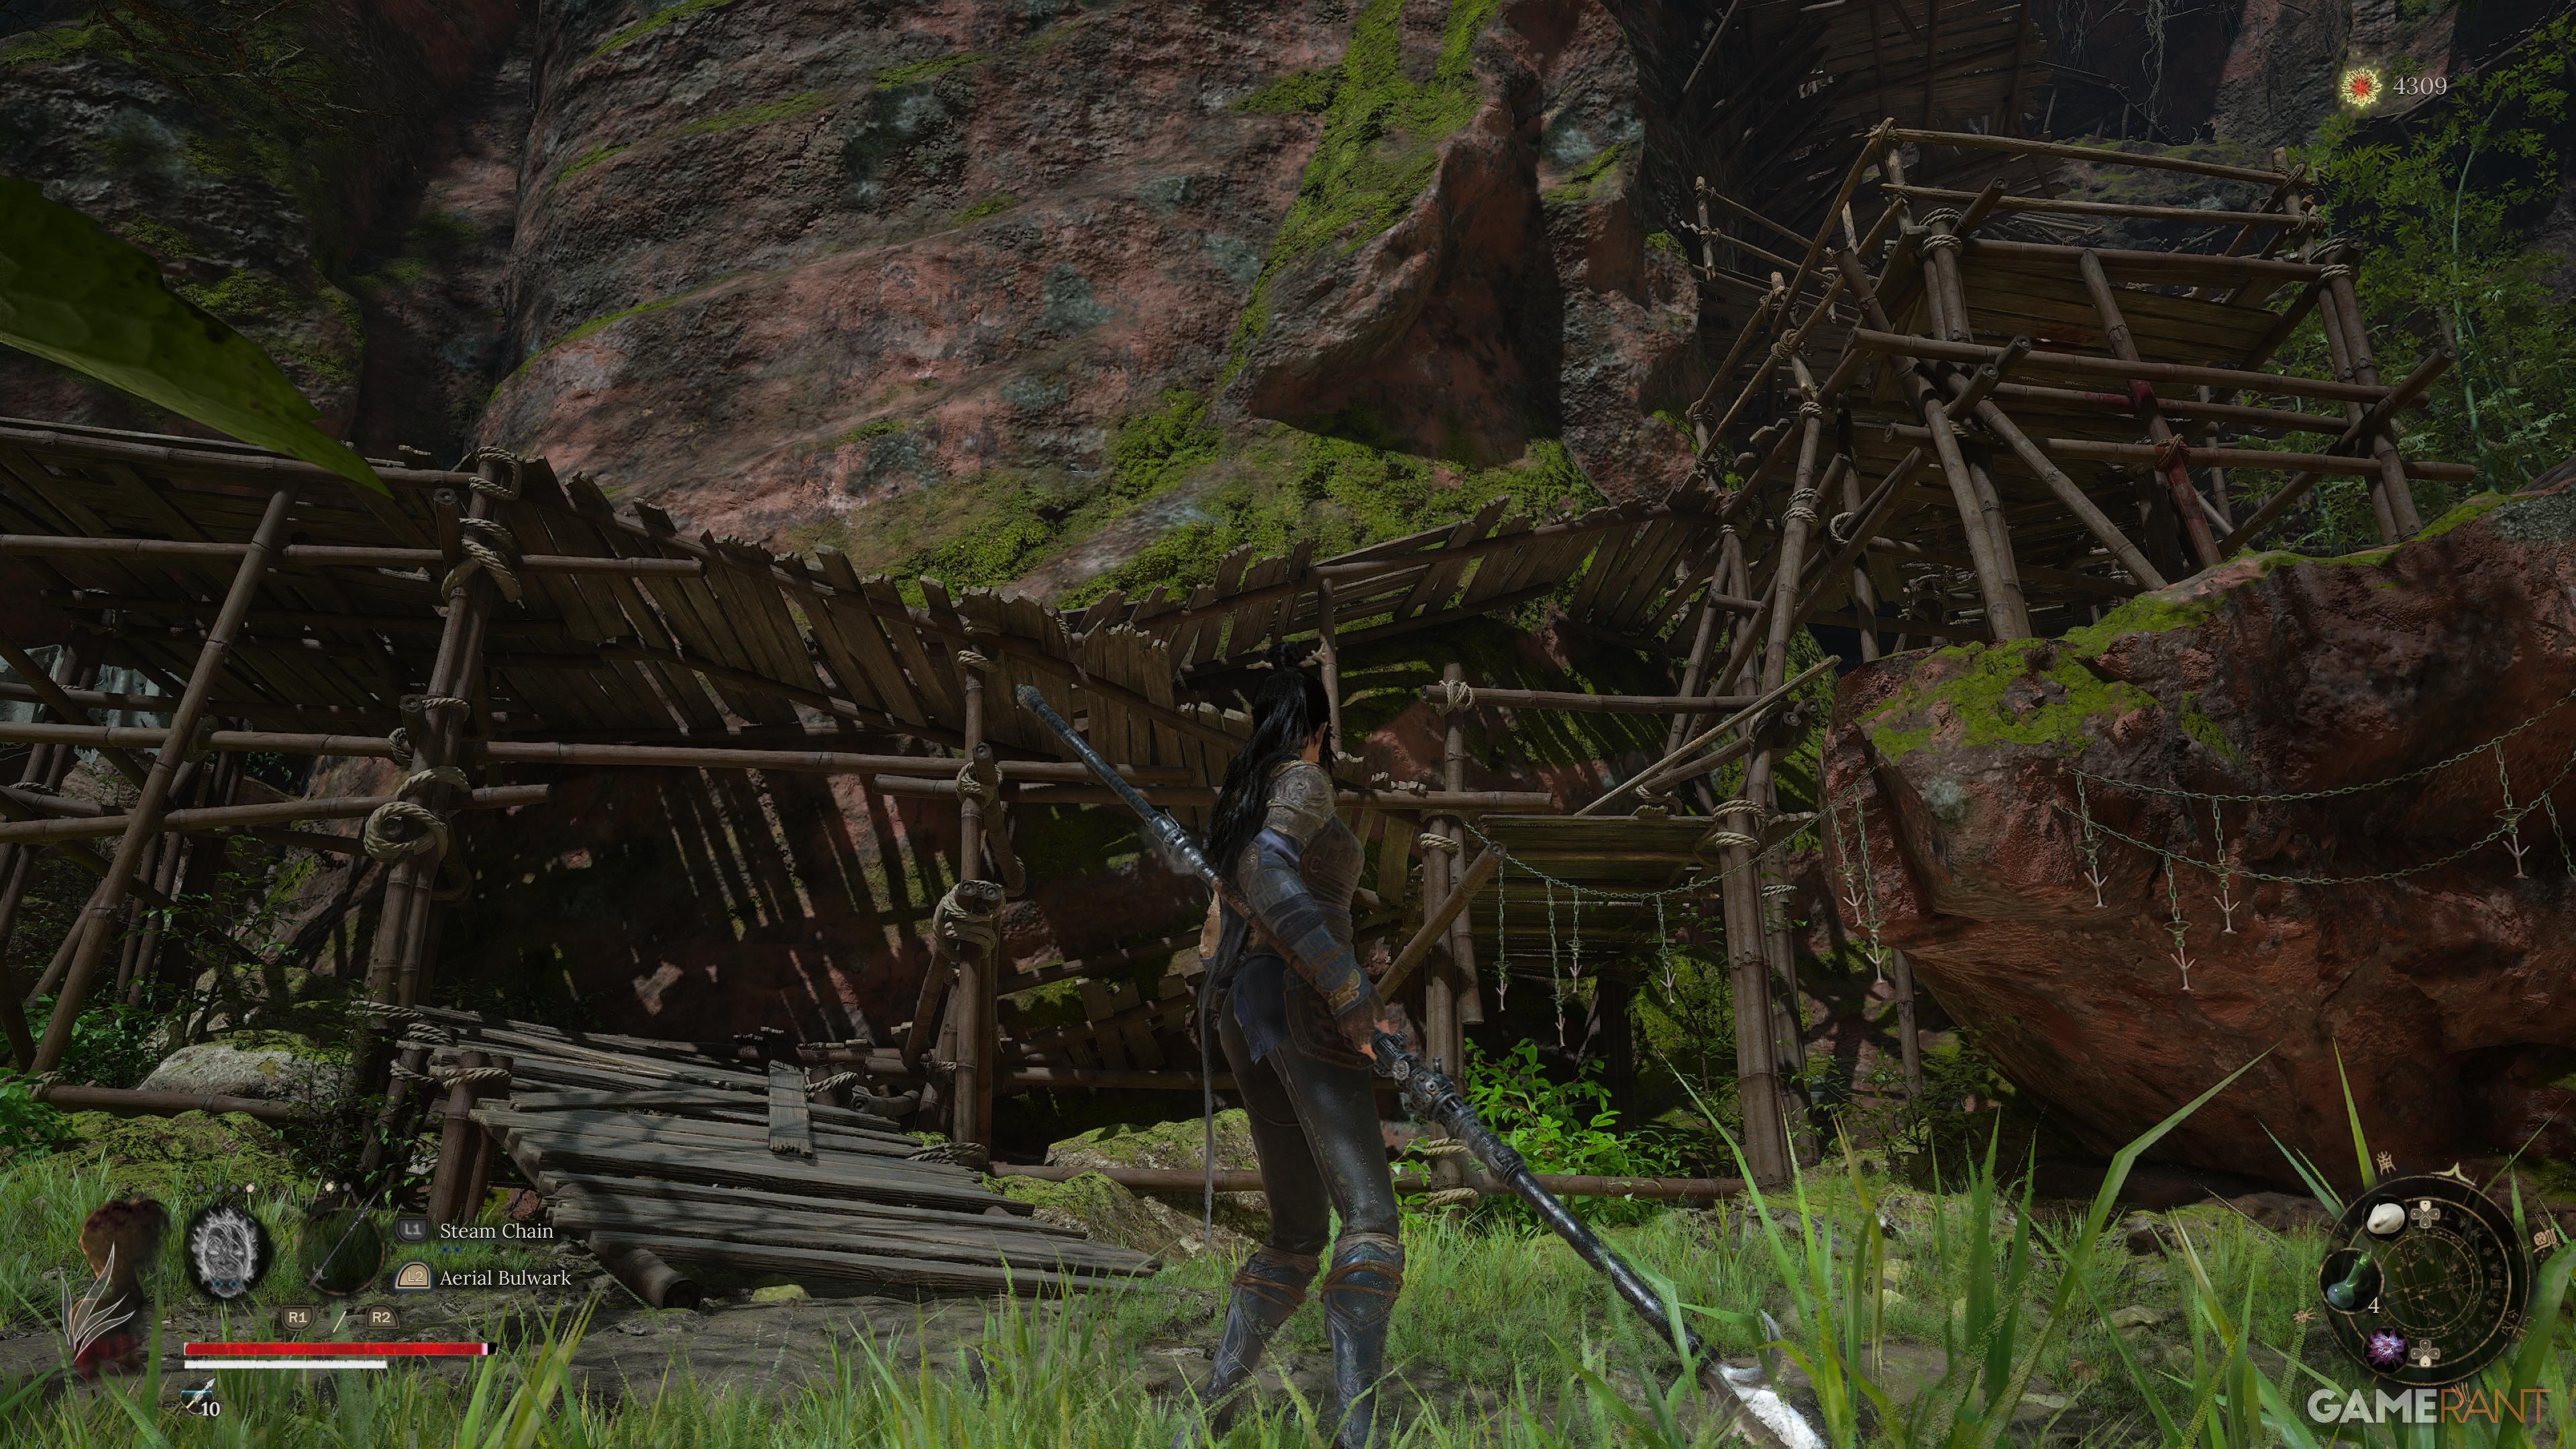
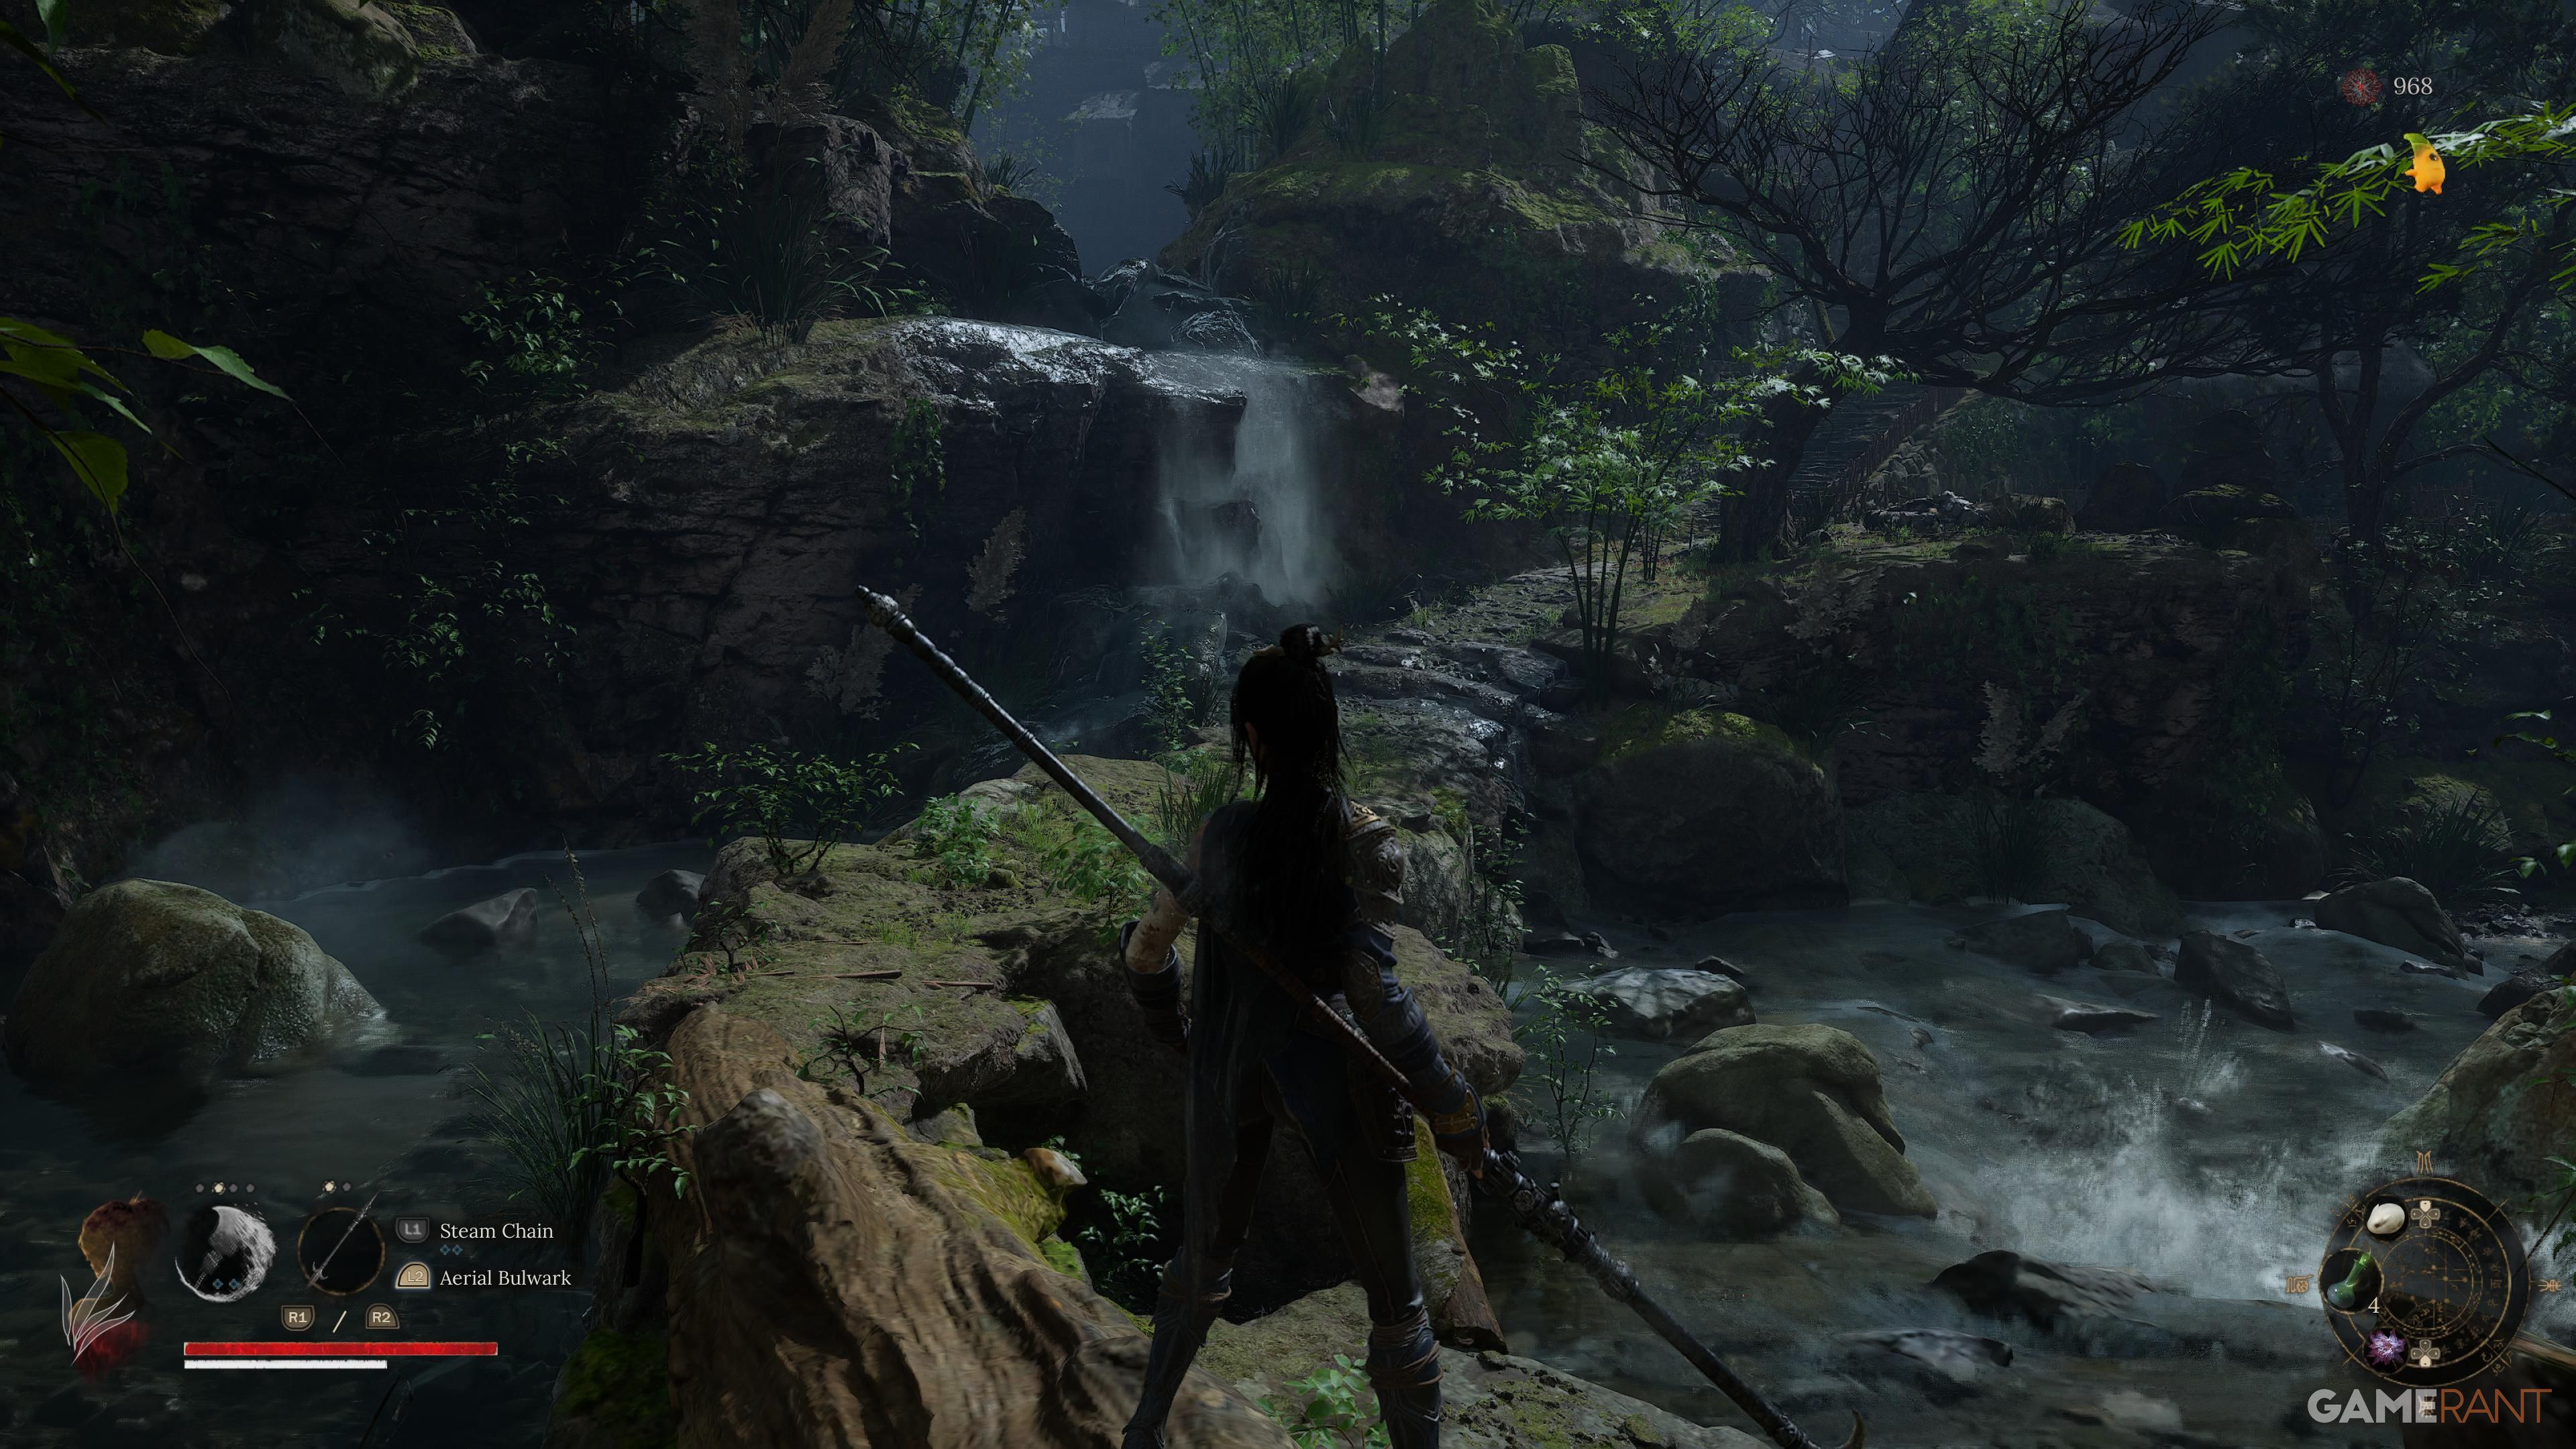
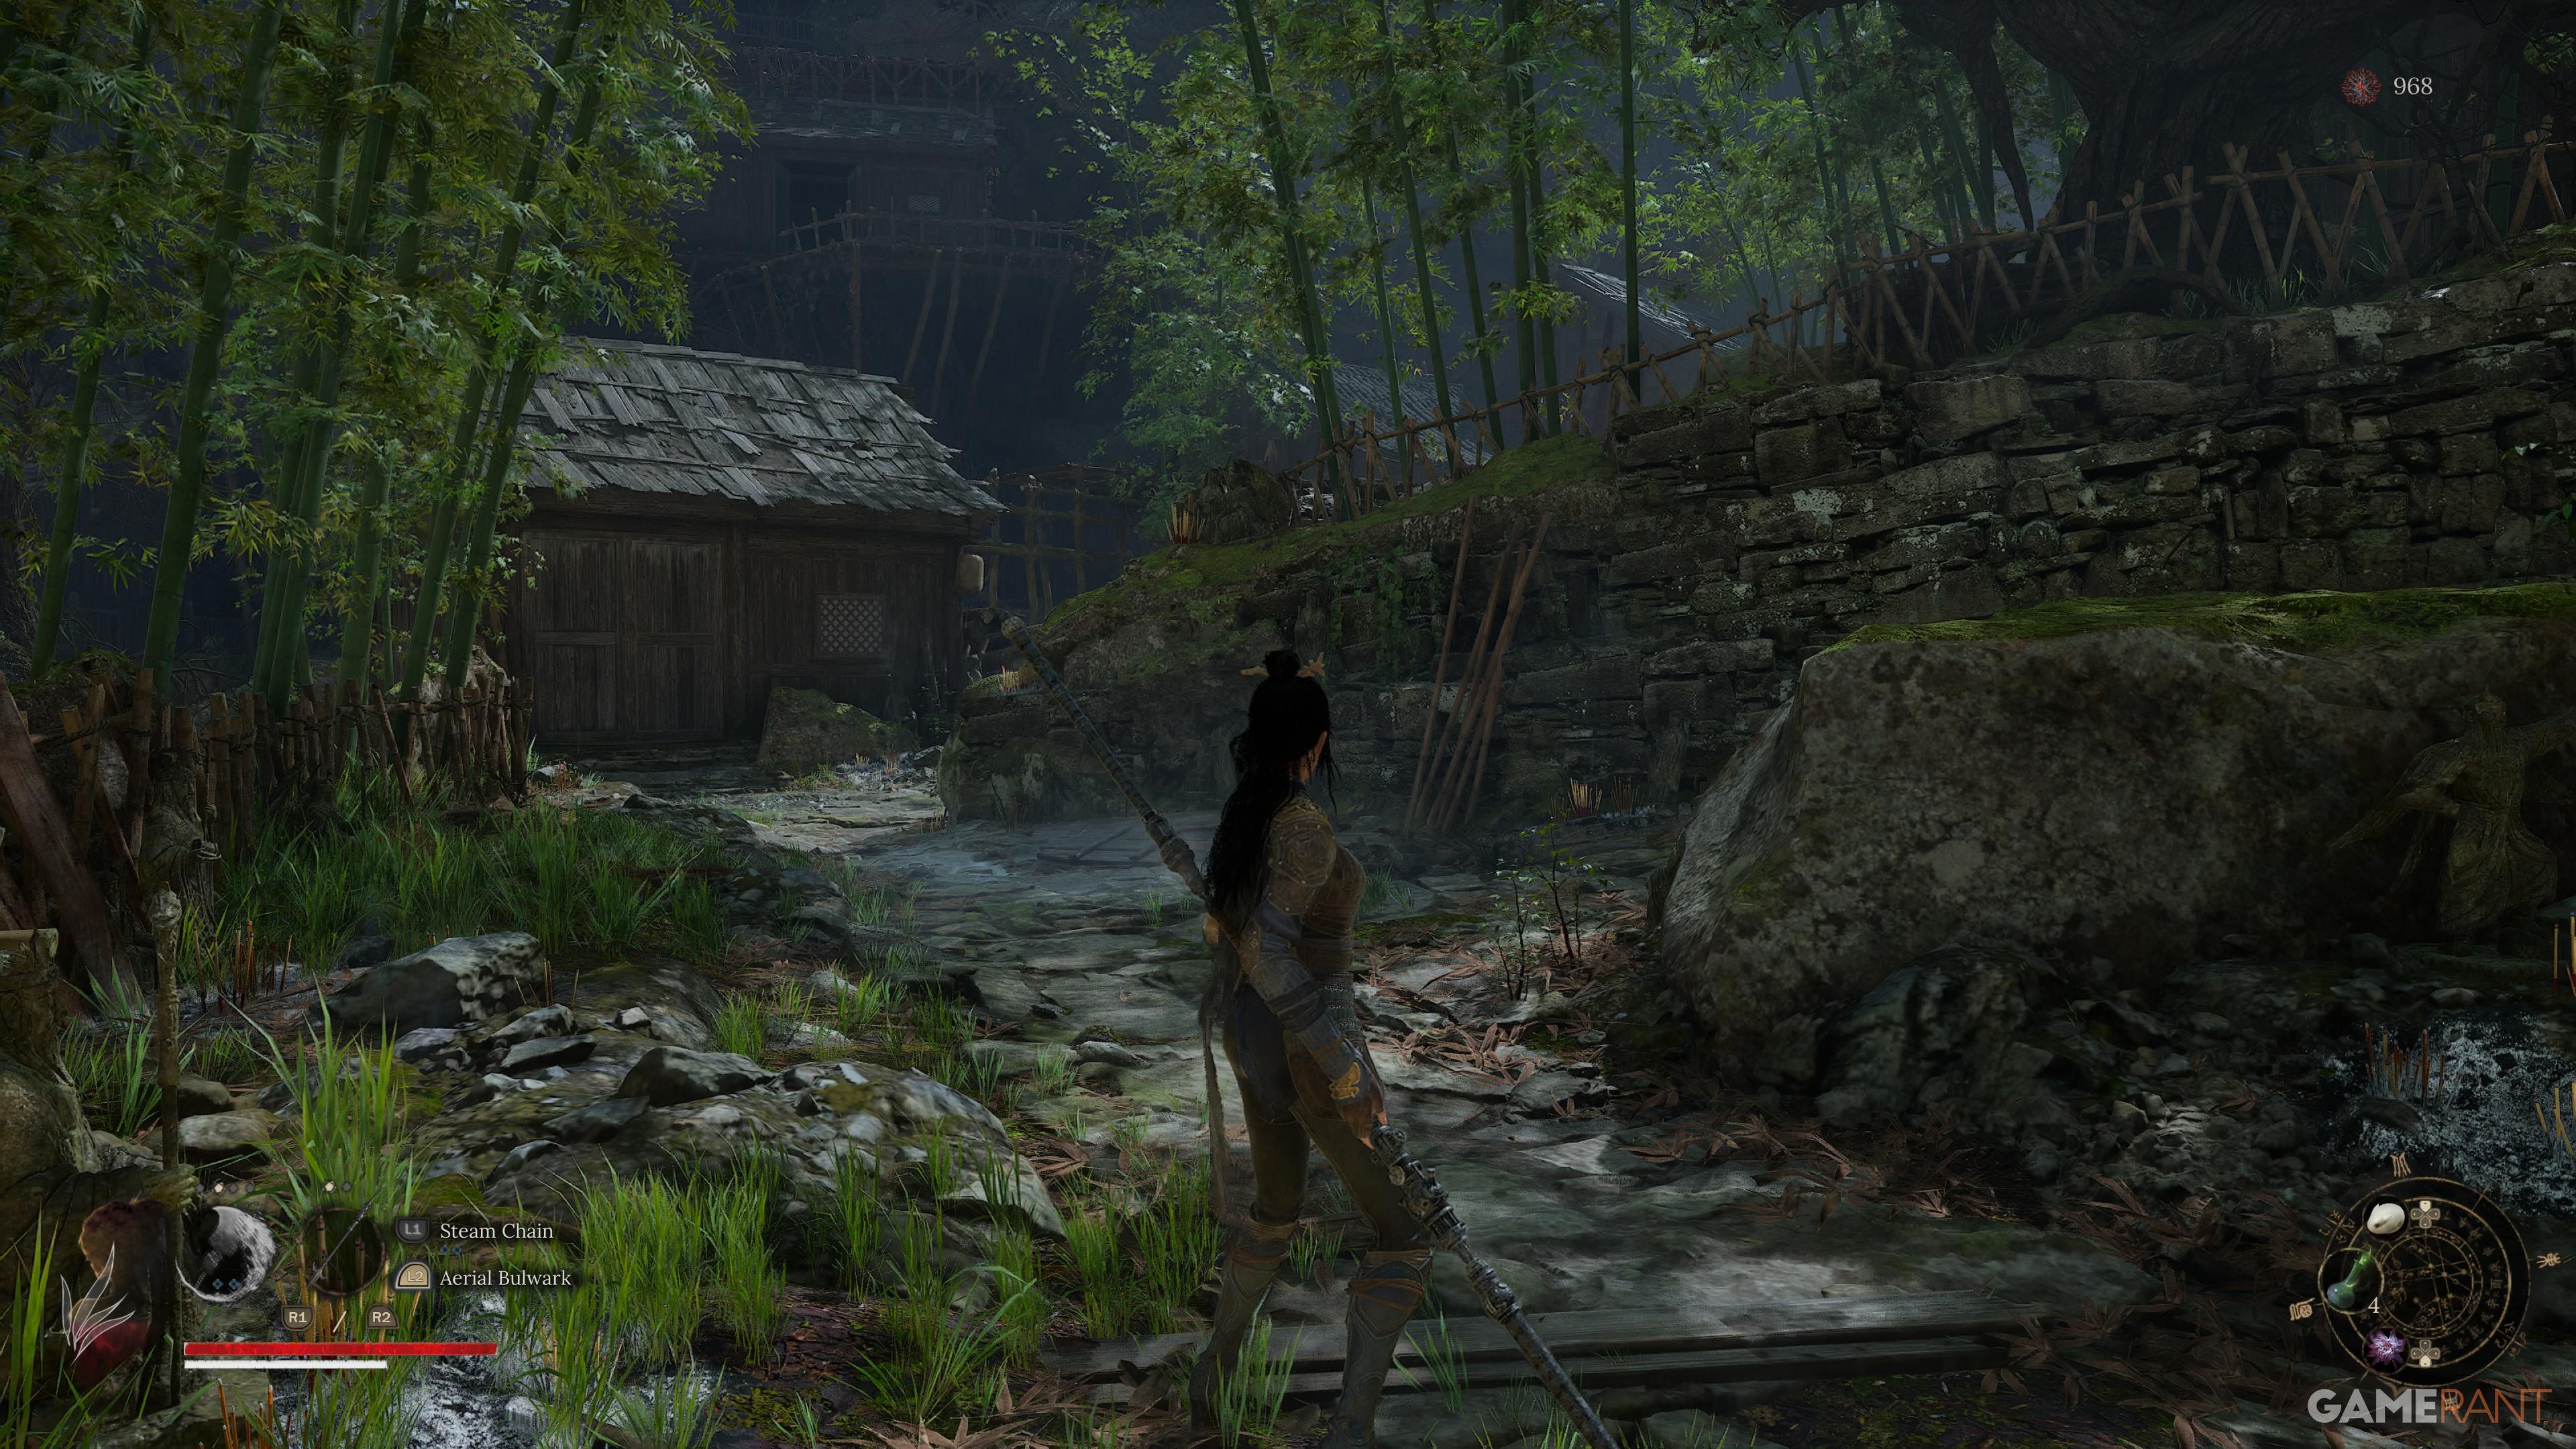
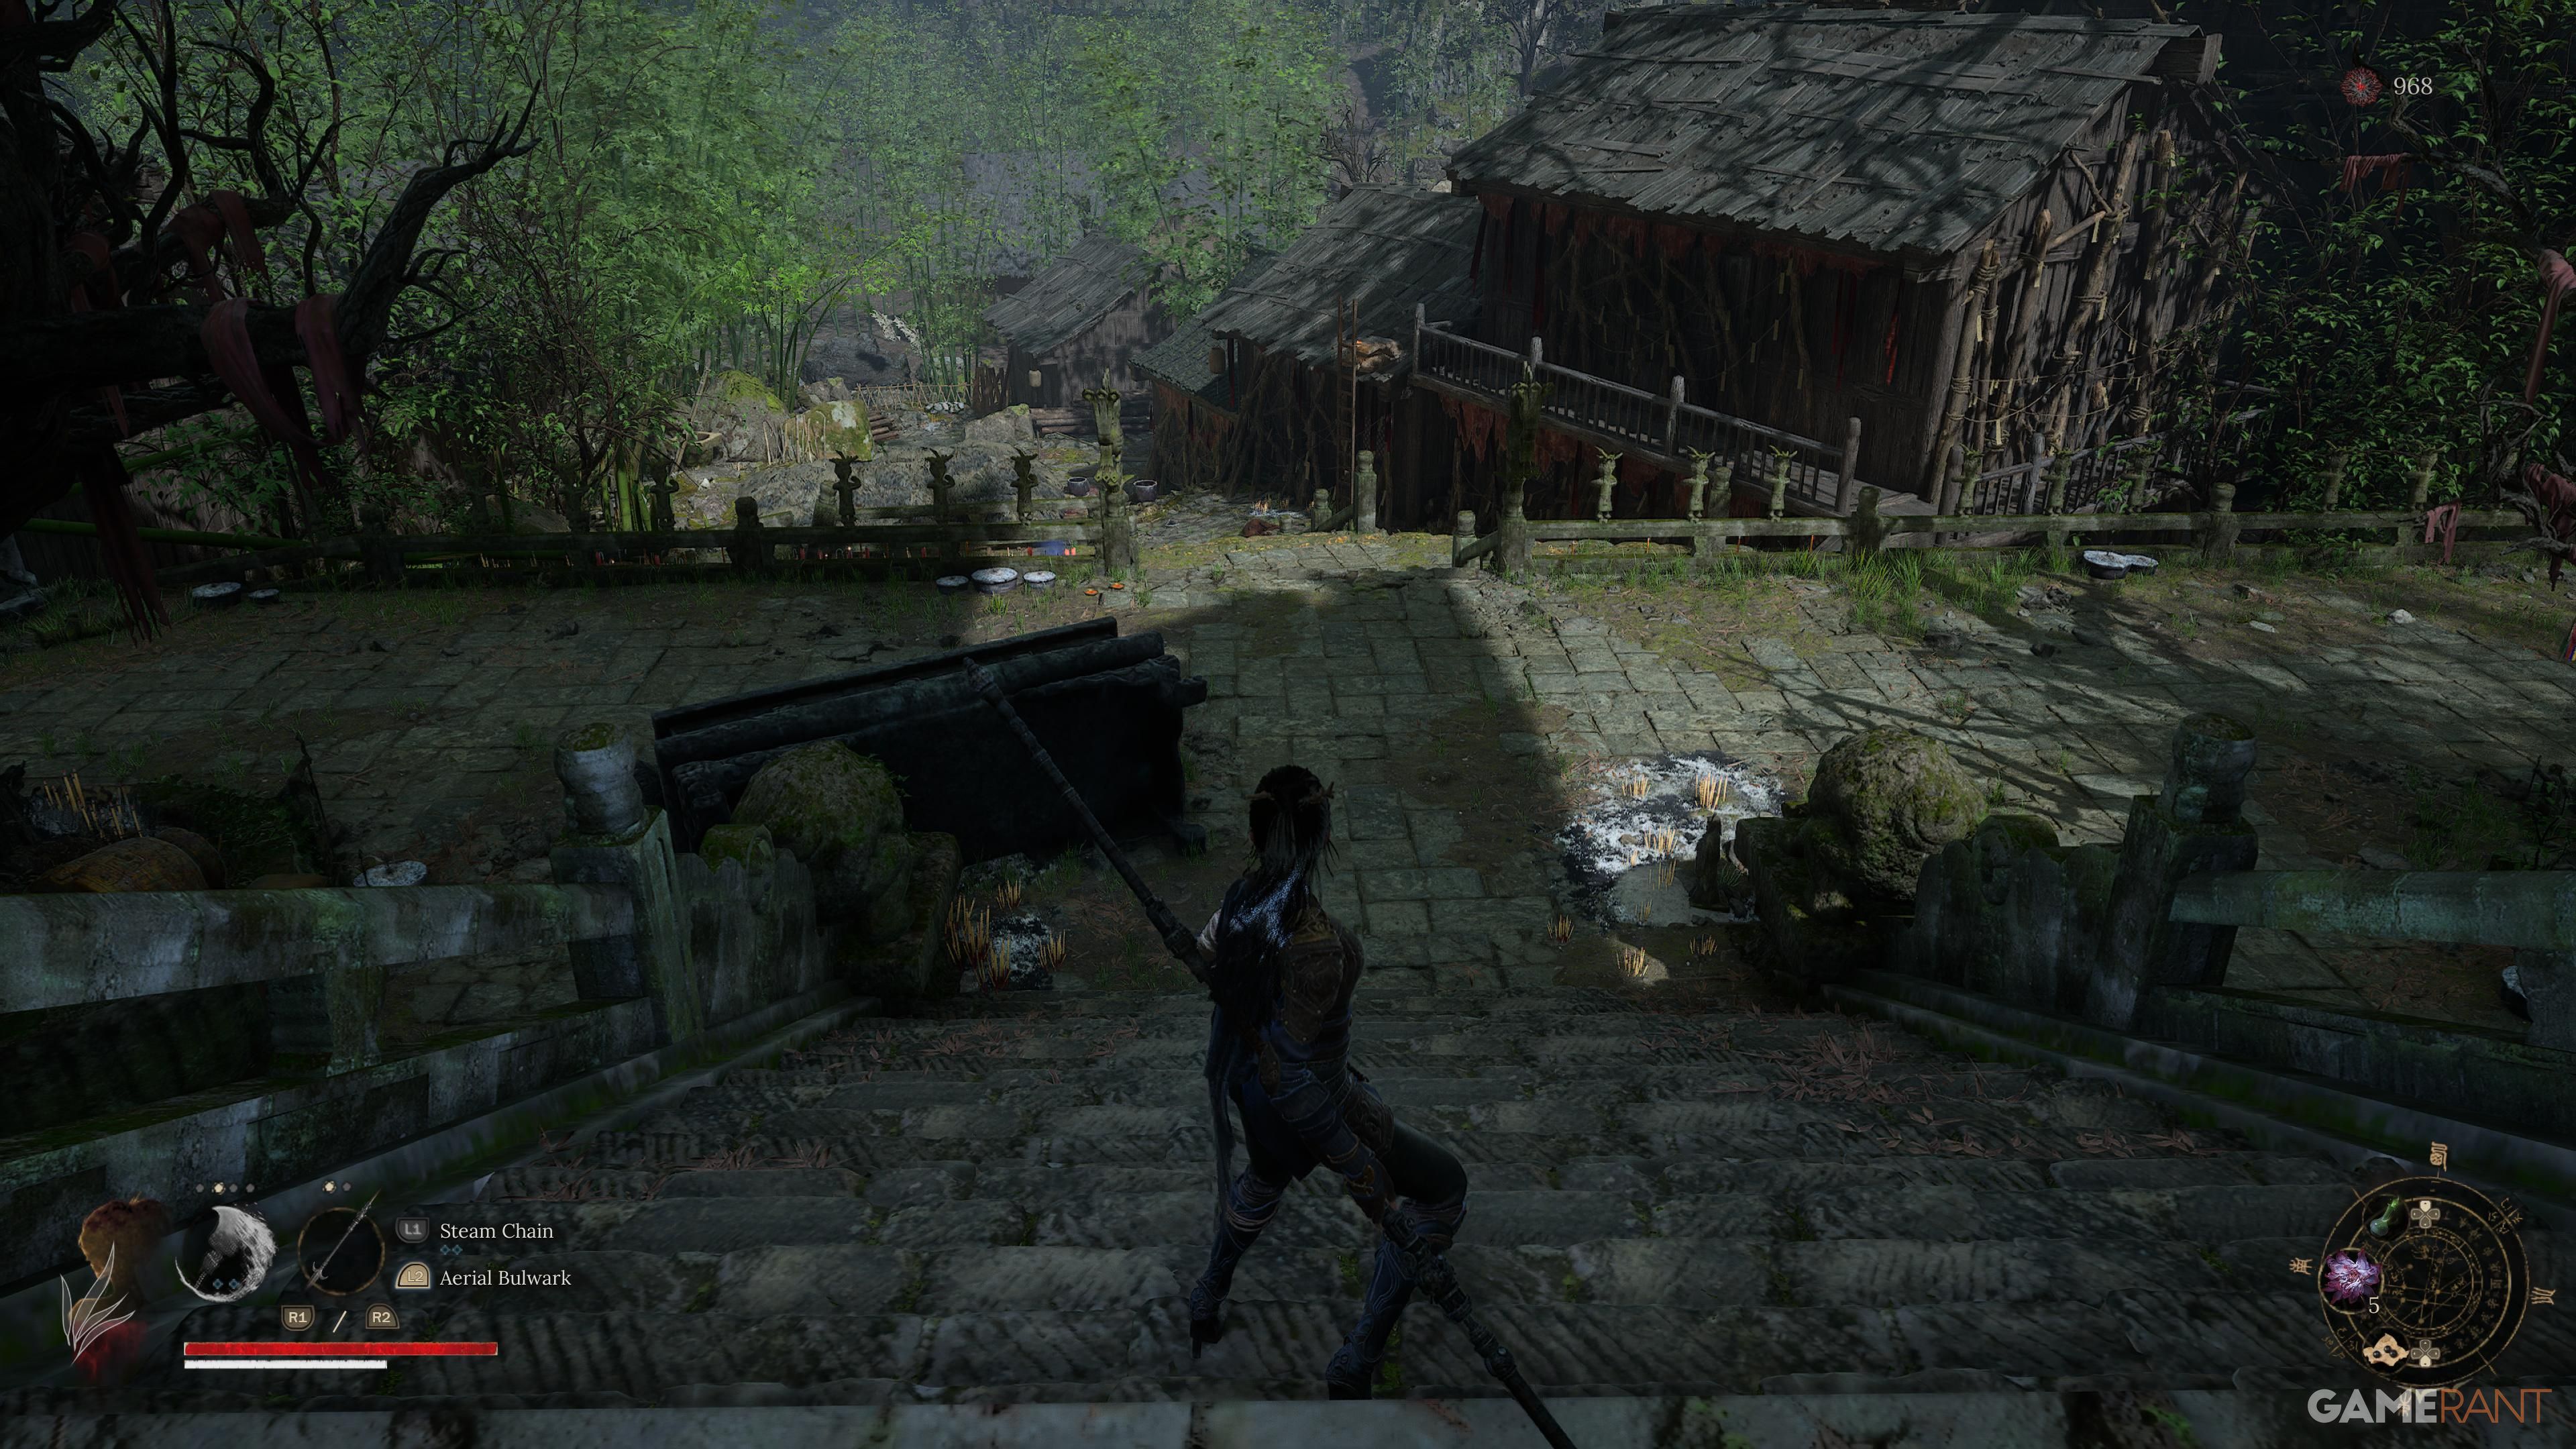
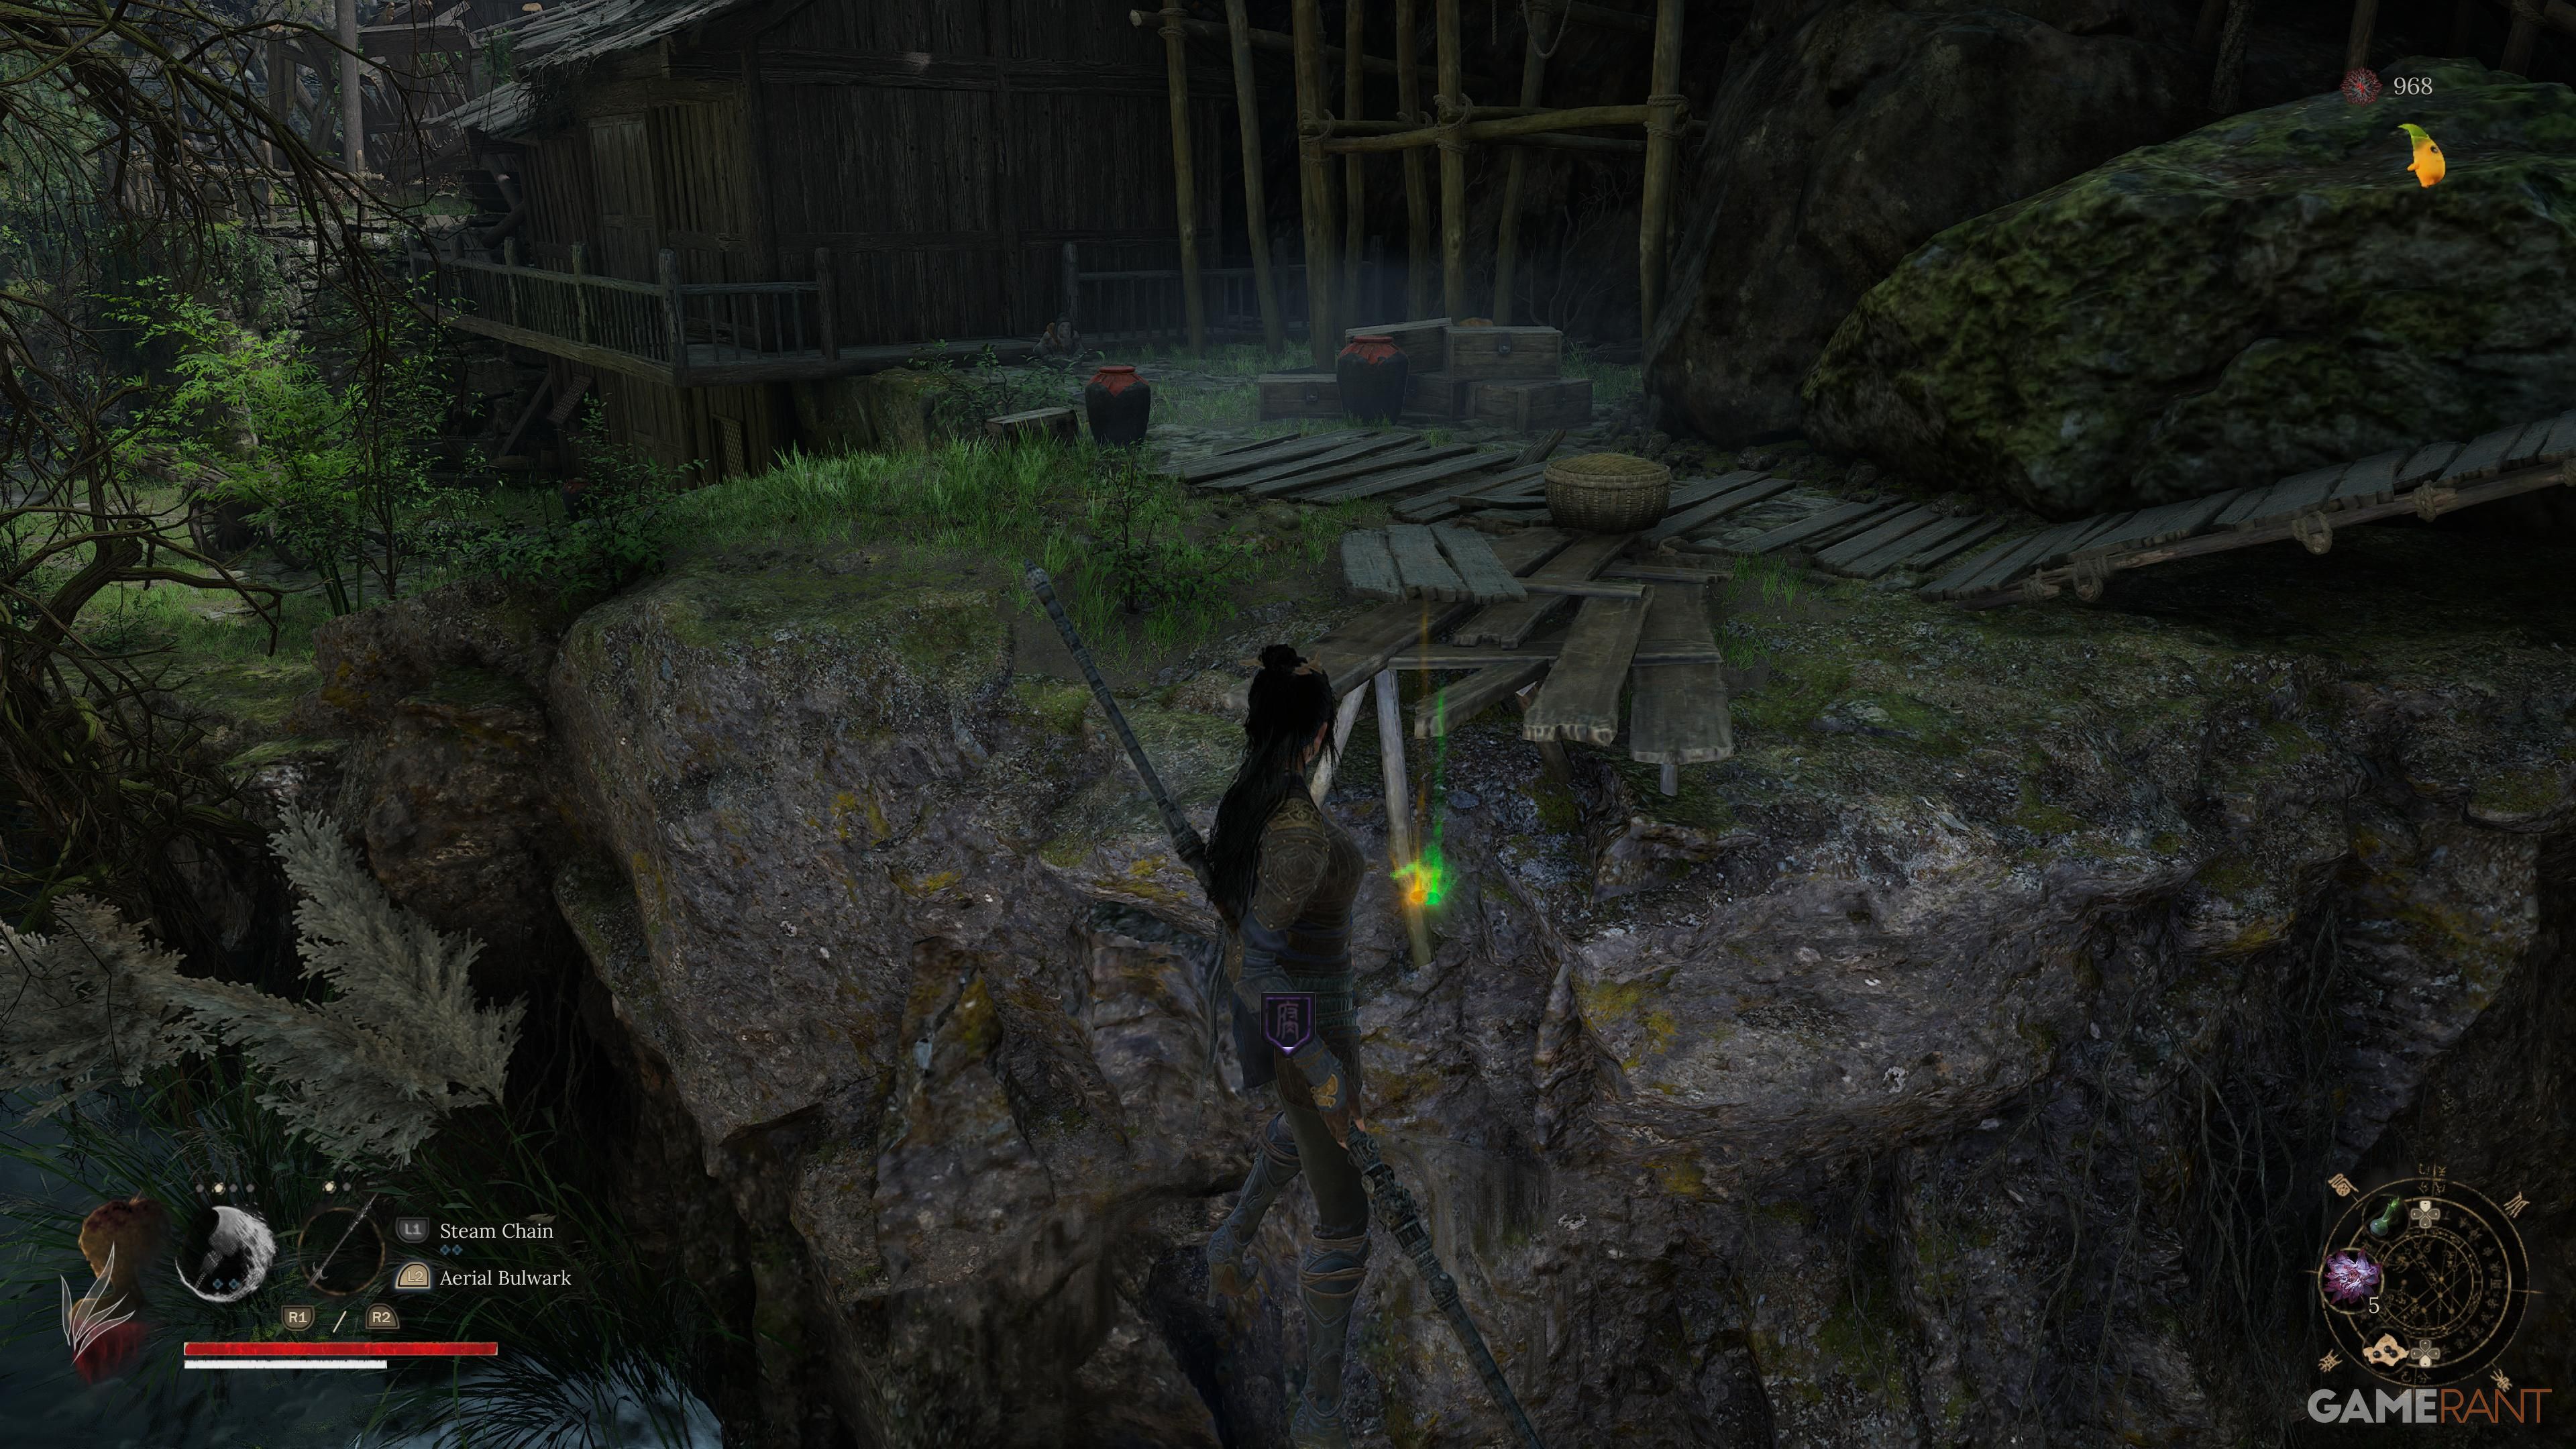
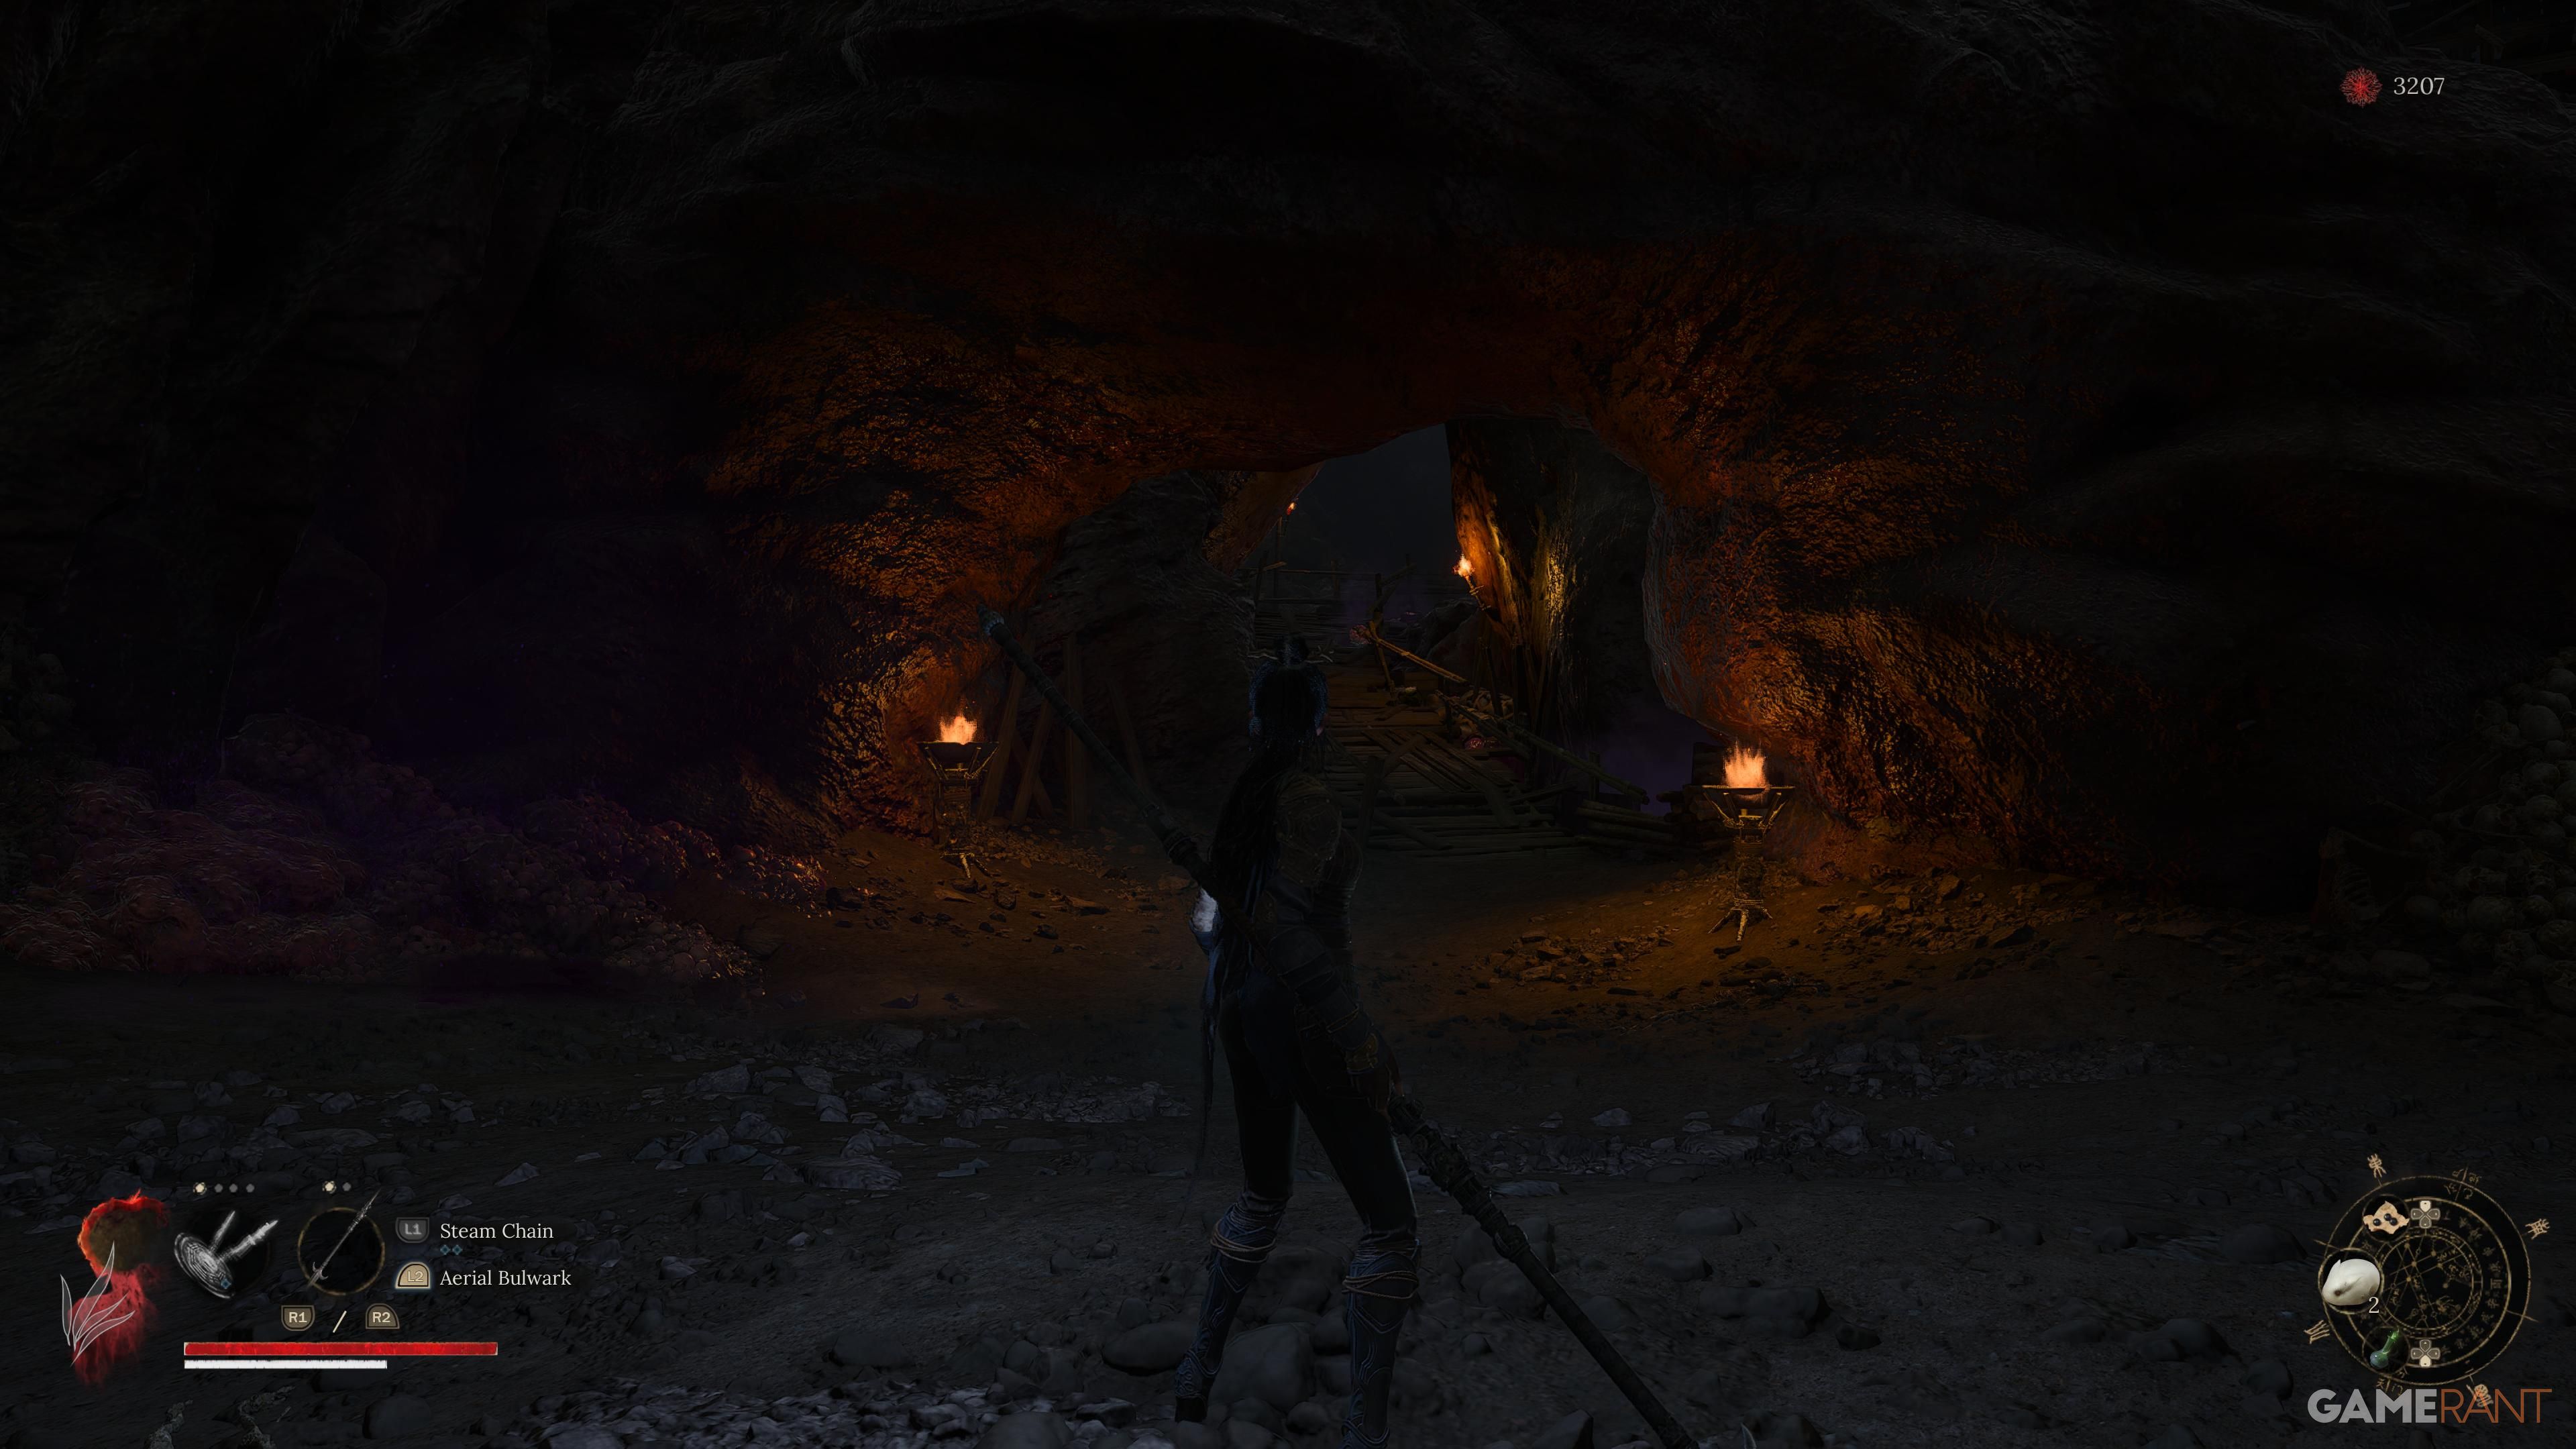
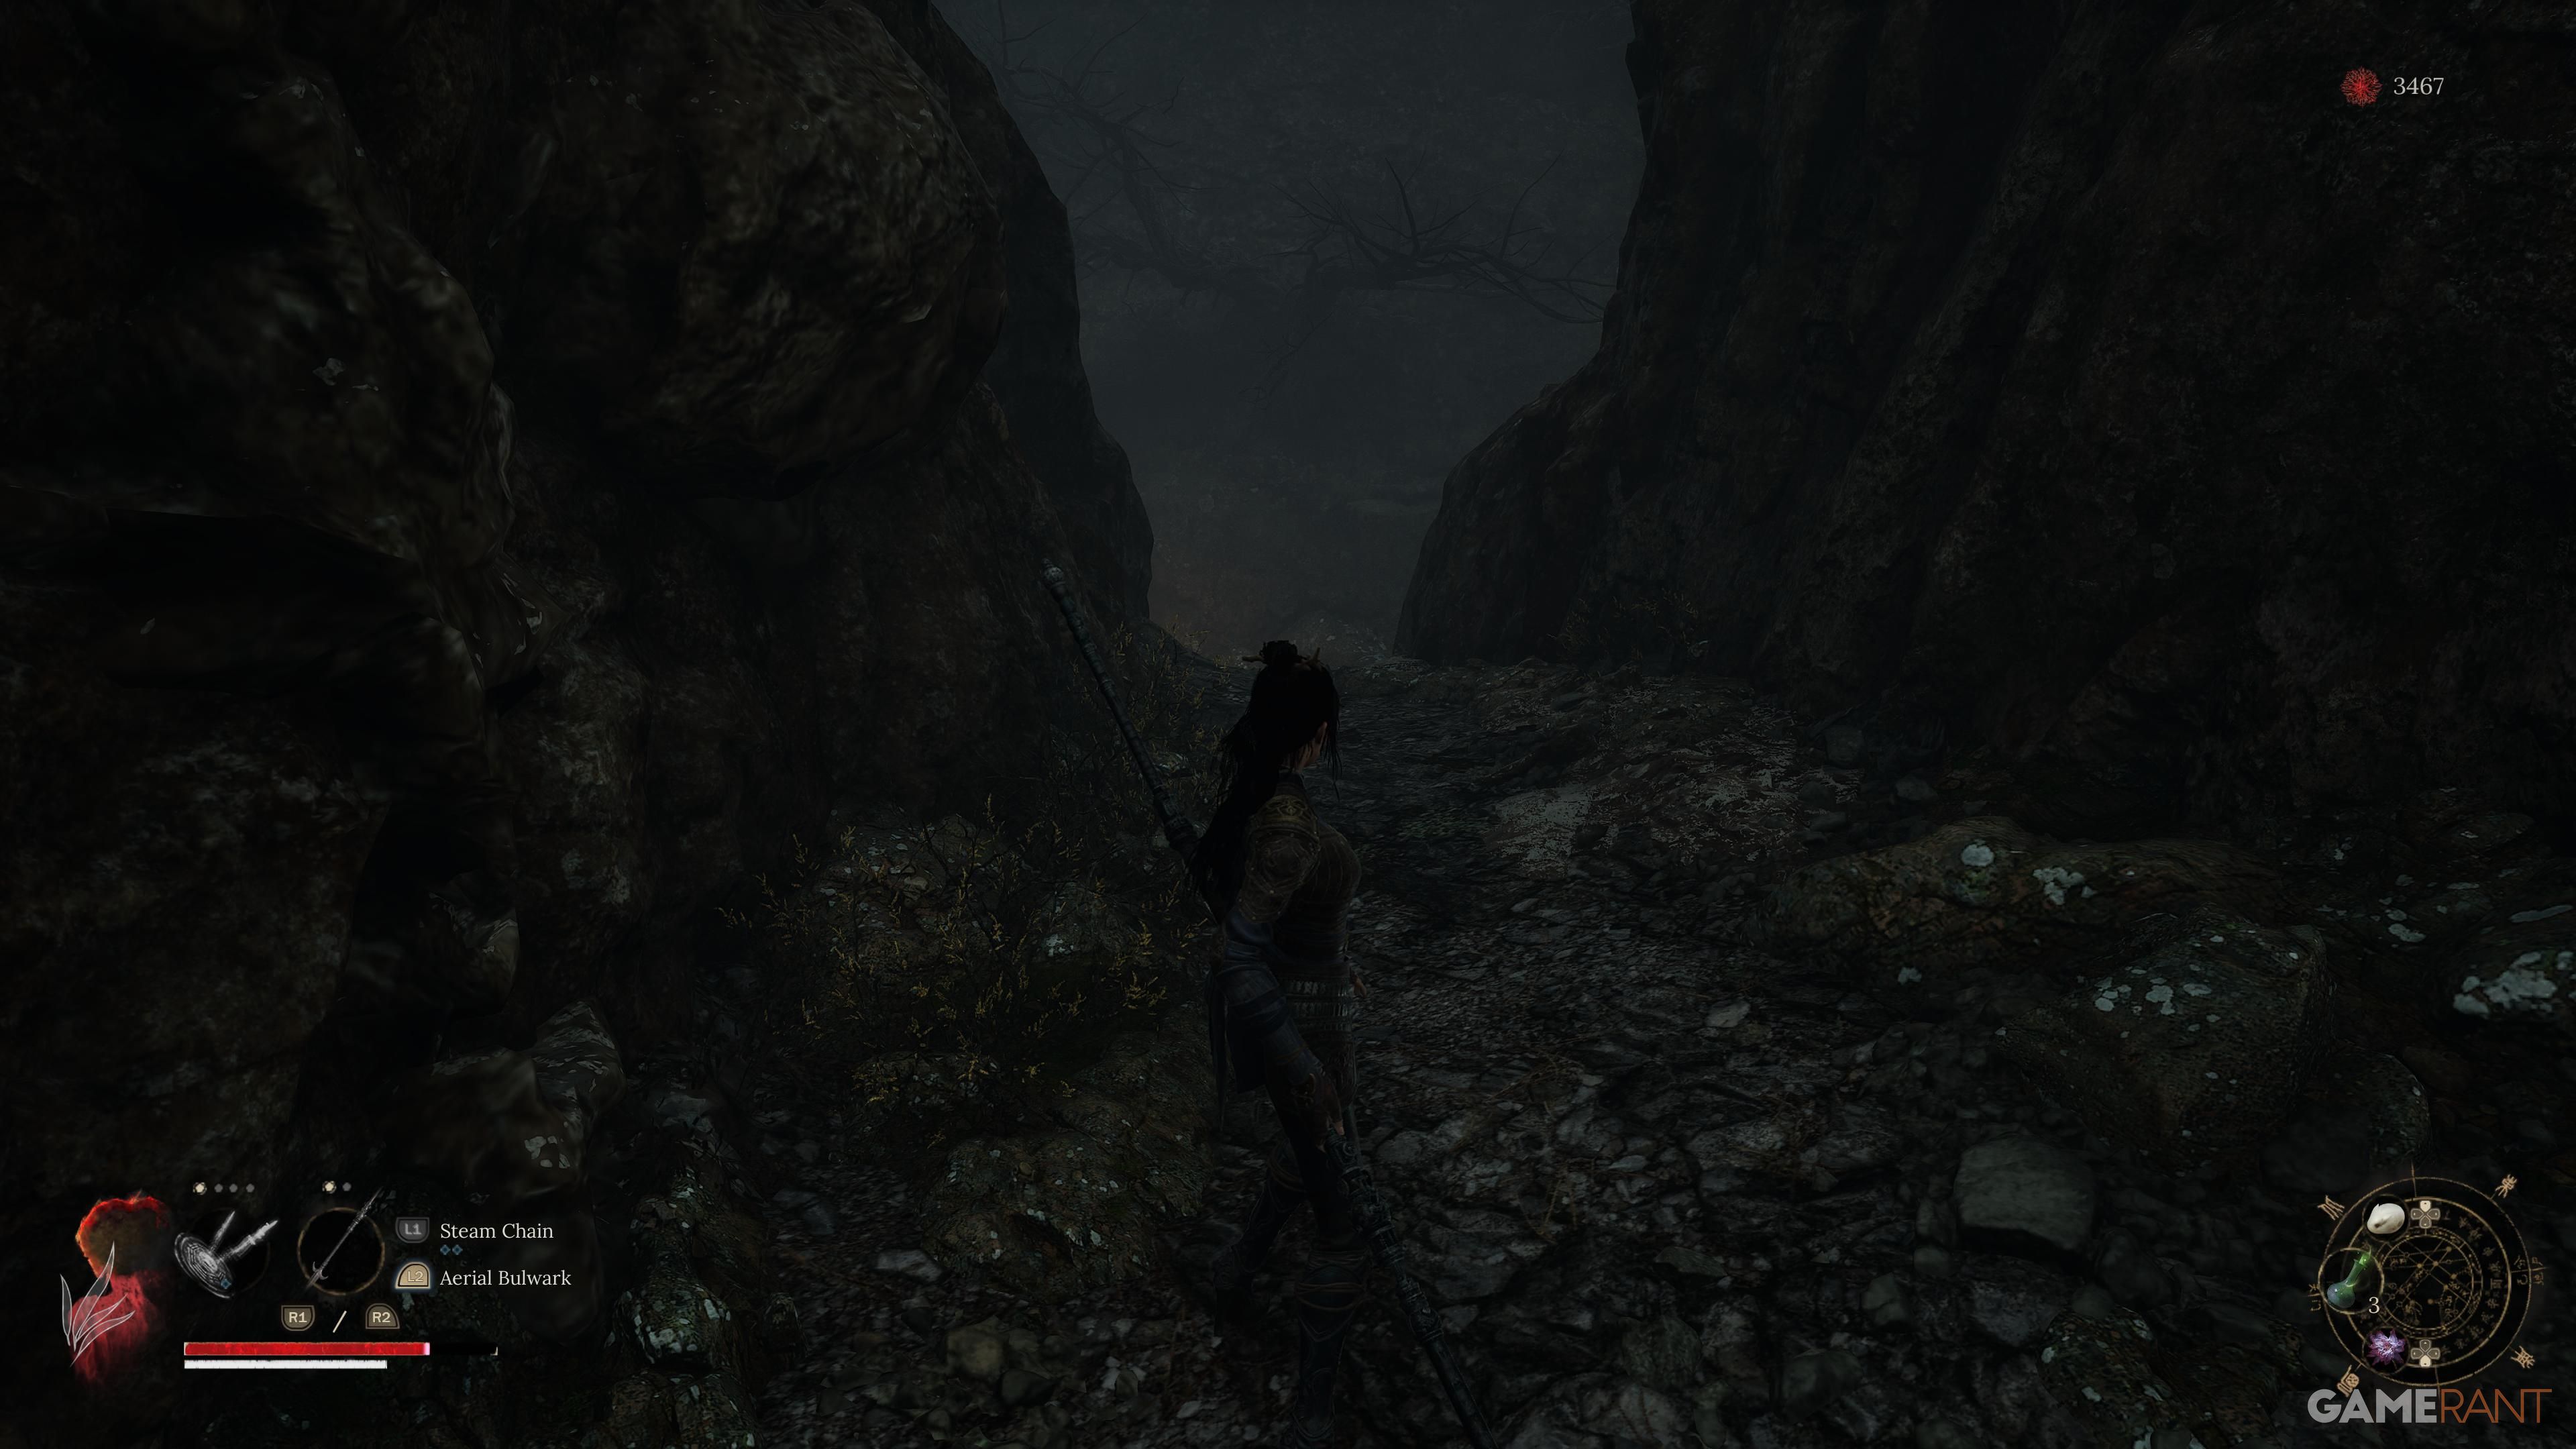
In my gaming adventure, I stumbled upon the first boss quite early. Starting from the Reverant Temple Shrine, I descended the stairs and veered right, passing by a couple of foes guarding a gate. From there, I kept moving right along the path, sticking to the right side all the while. As I climbed higher, I eventually arrived at a platform filled with scaffolding, where I had to navigate my way to the very top to face the boss head-on.
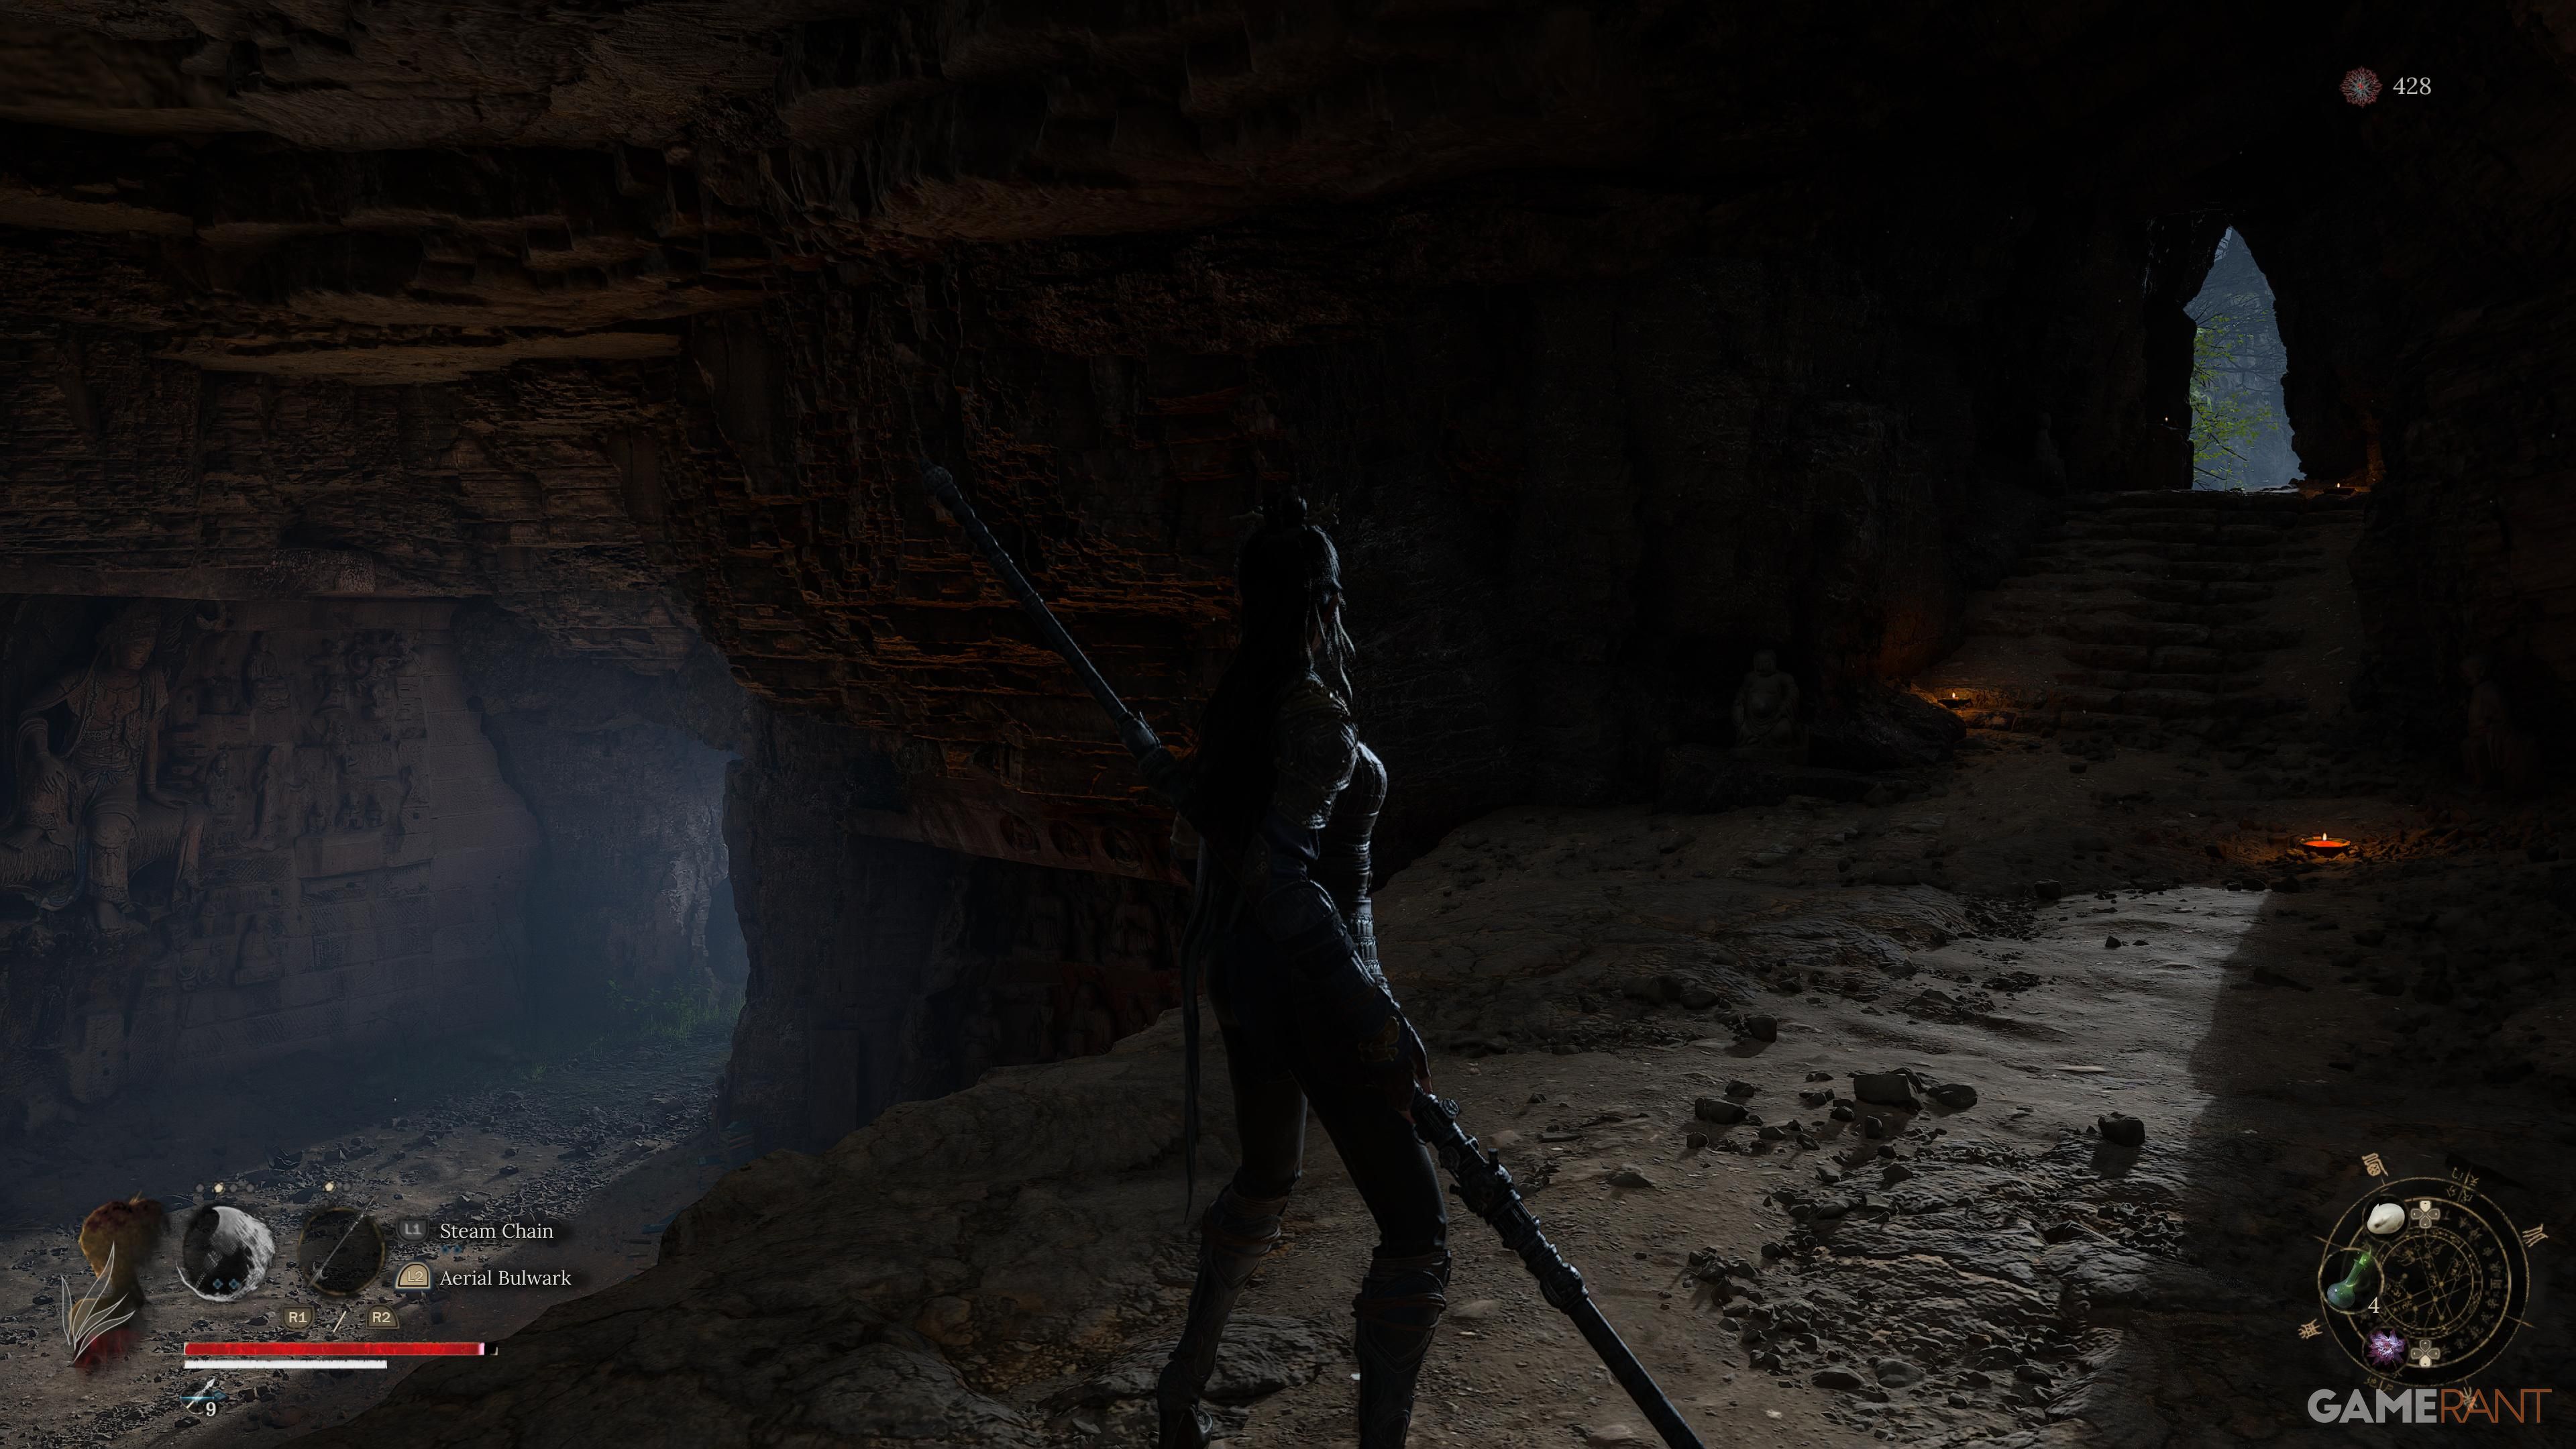
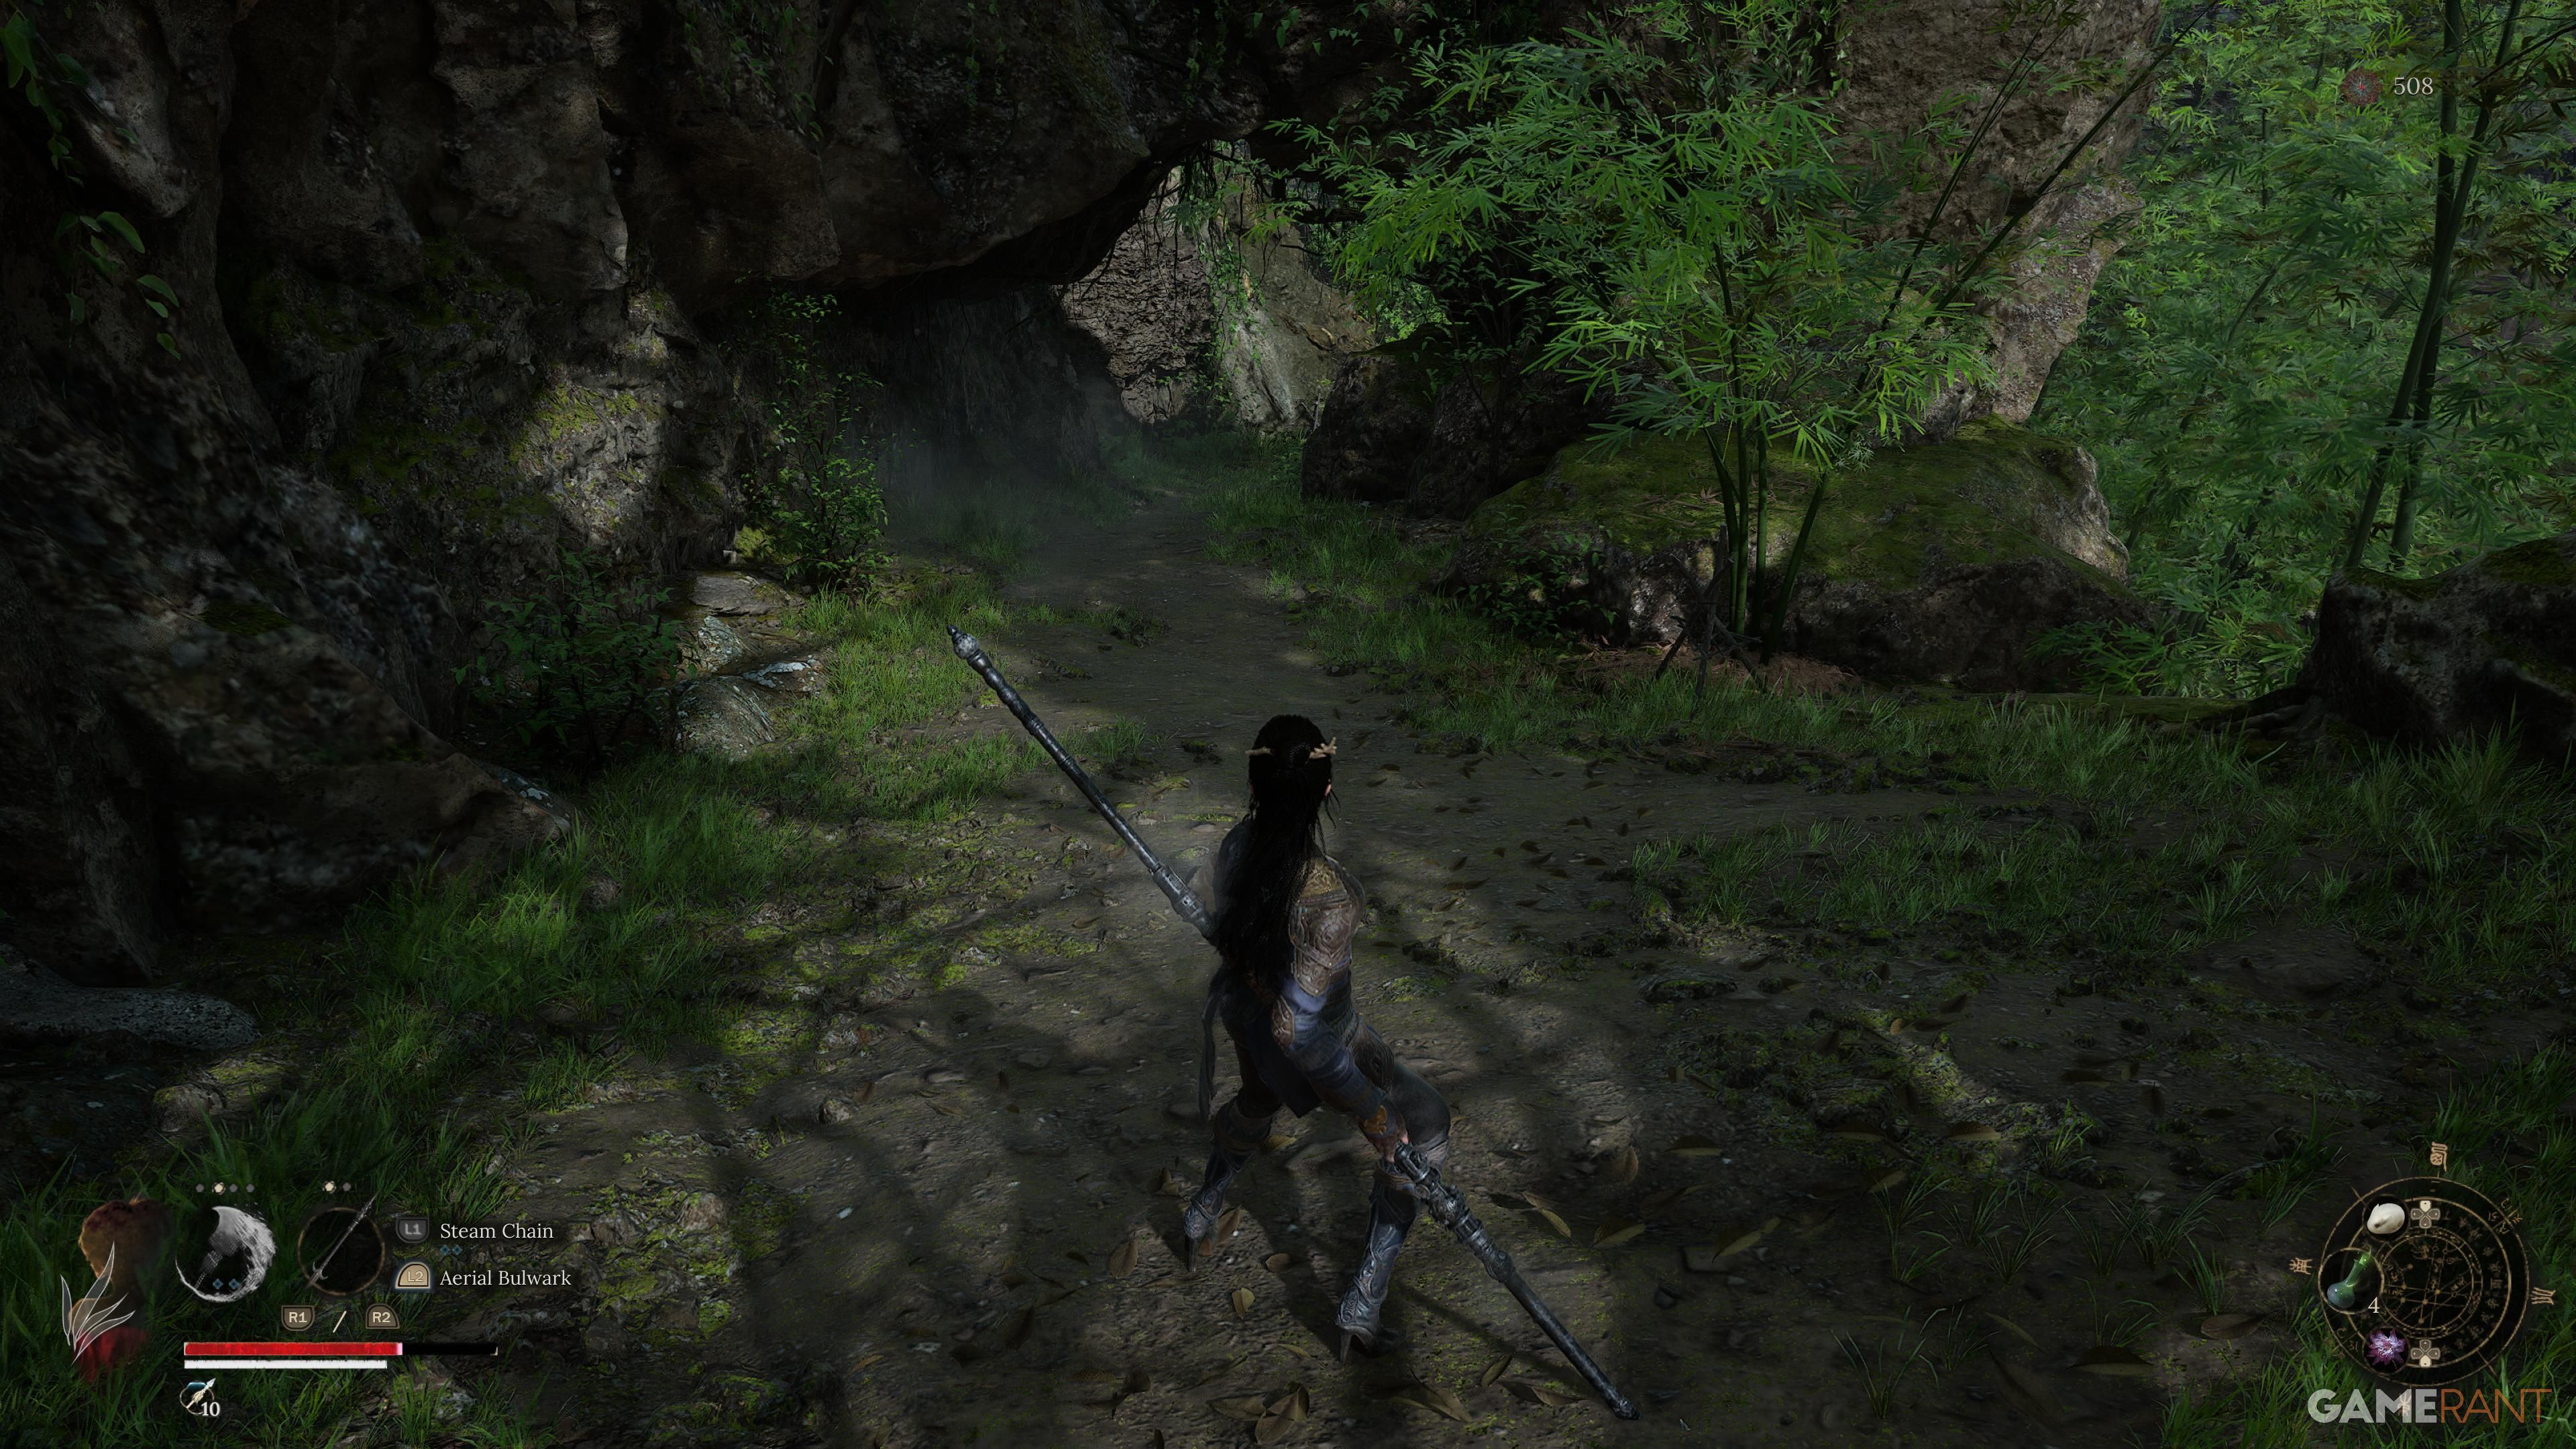
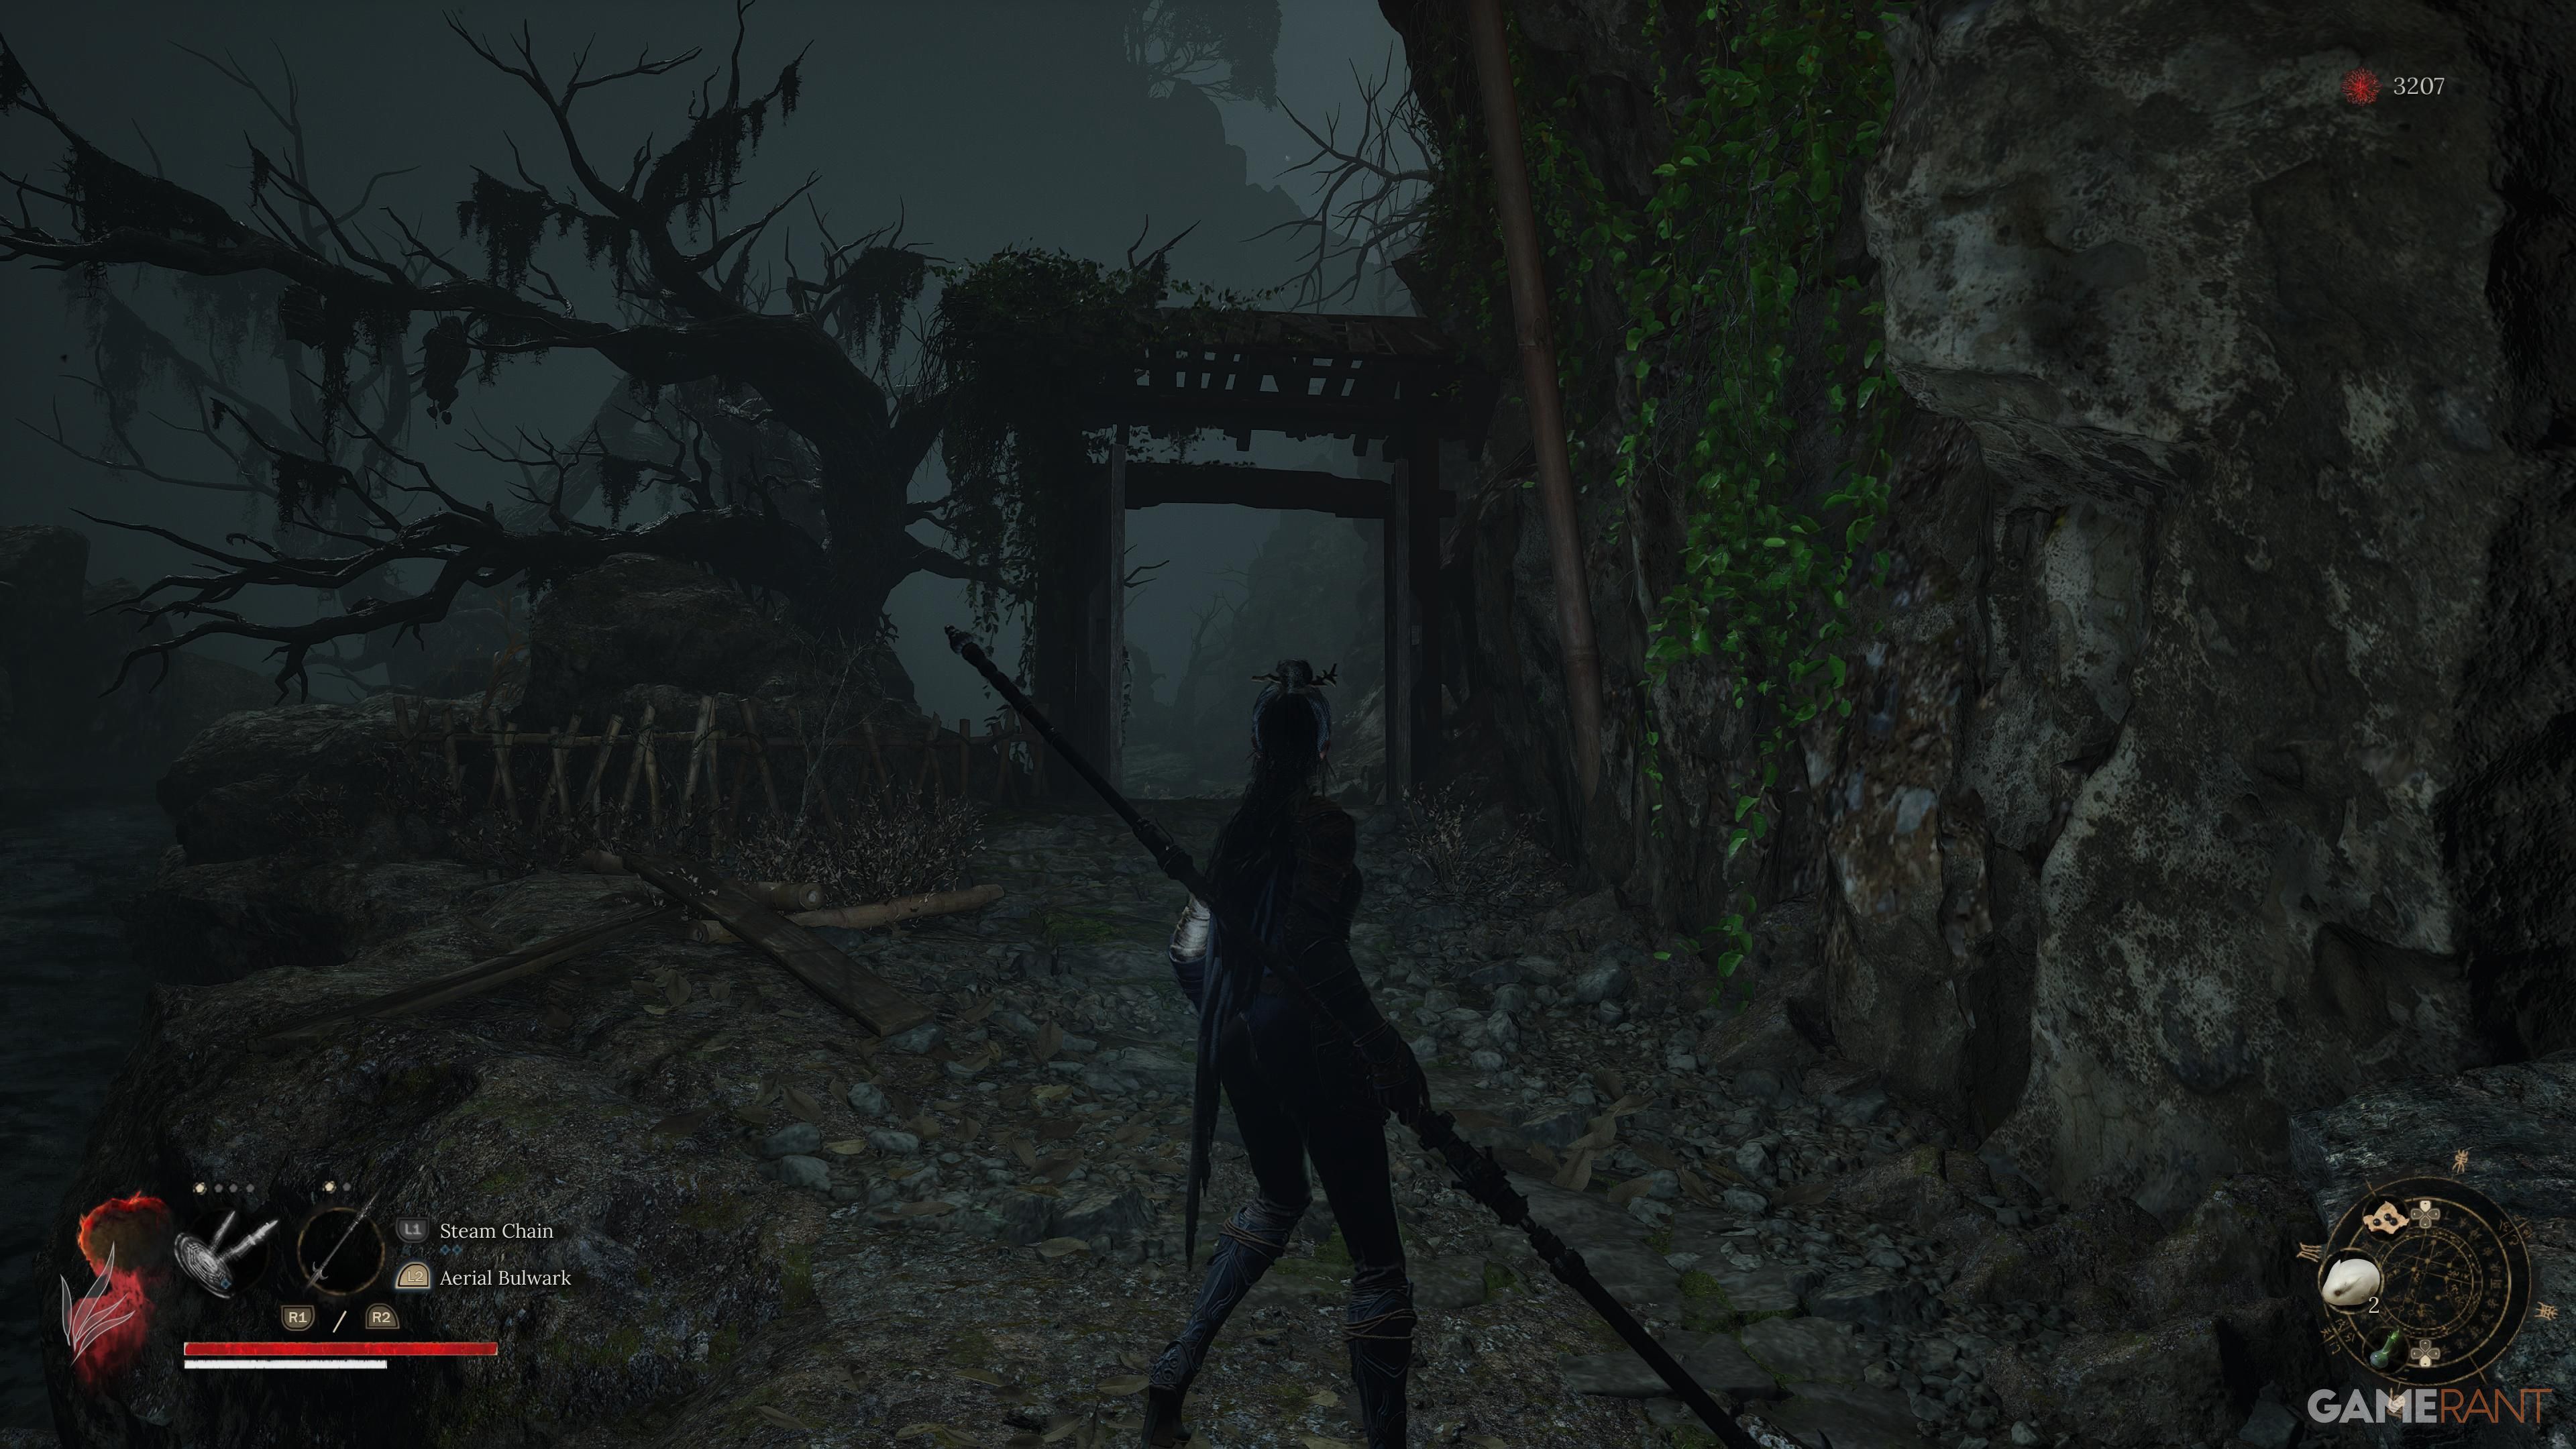
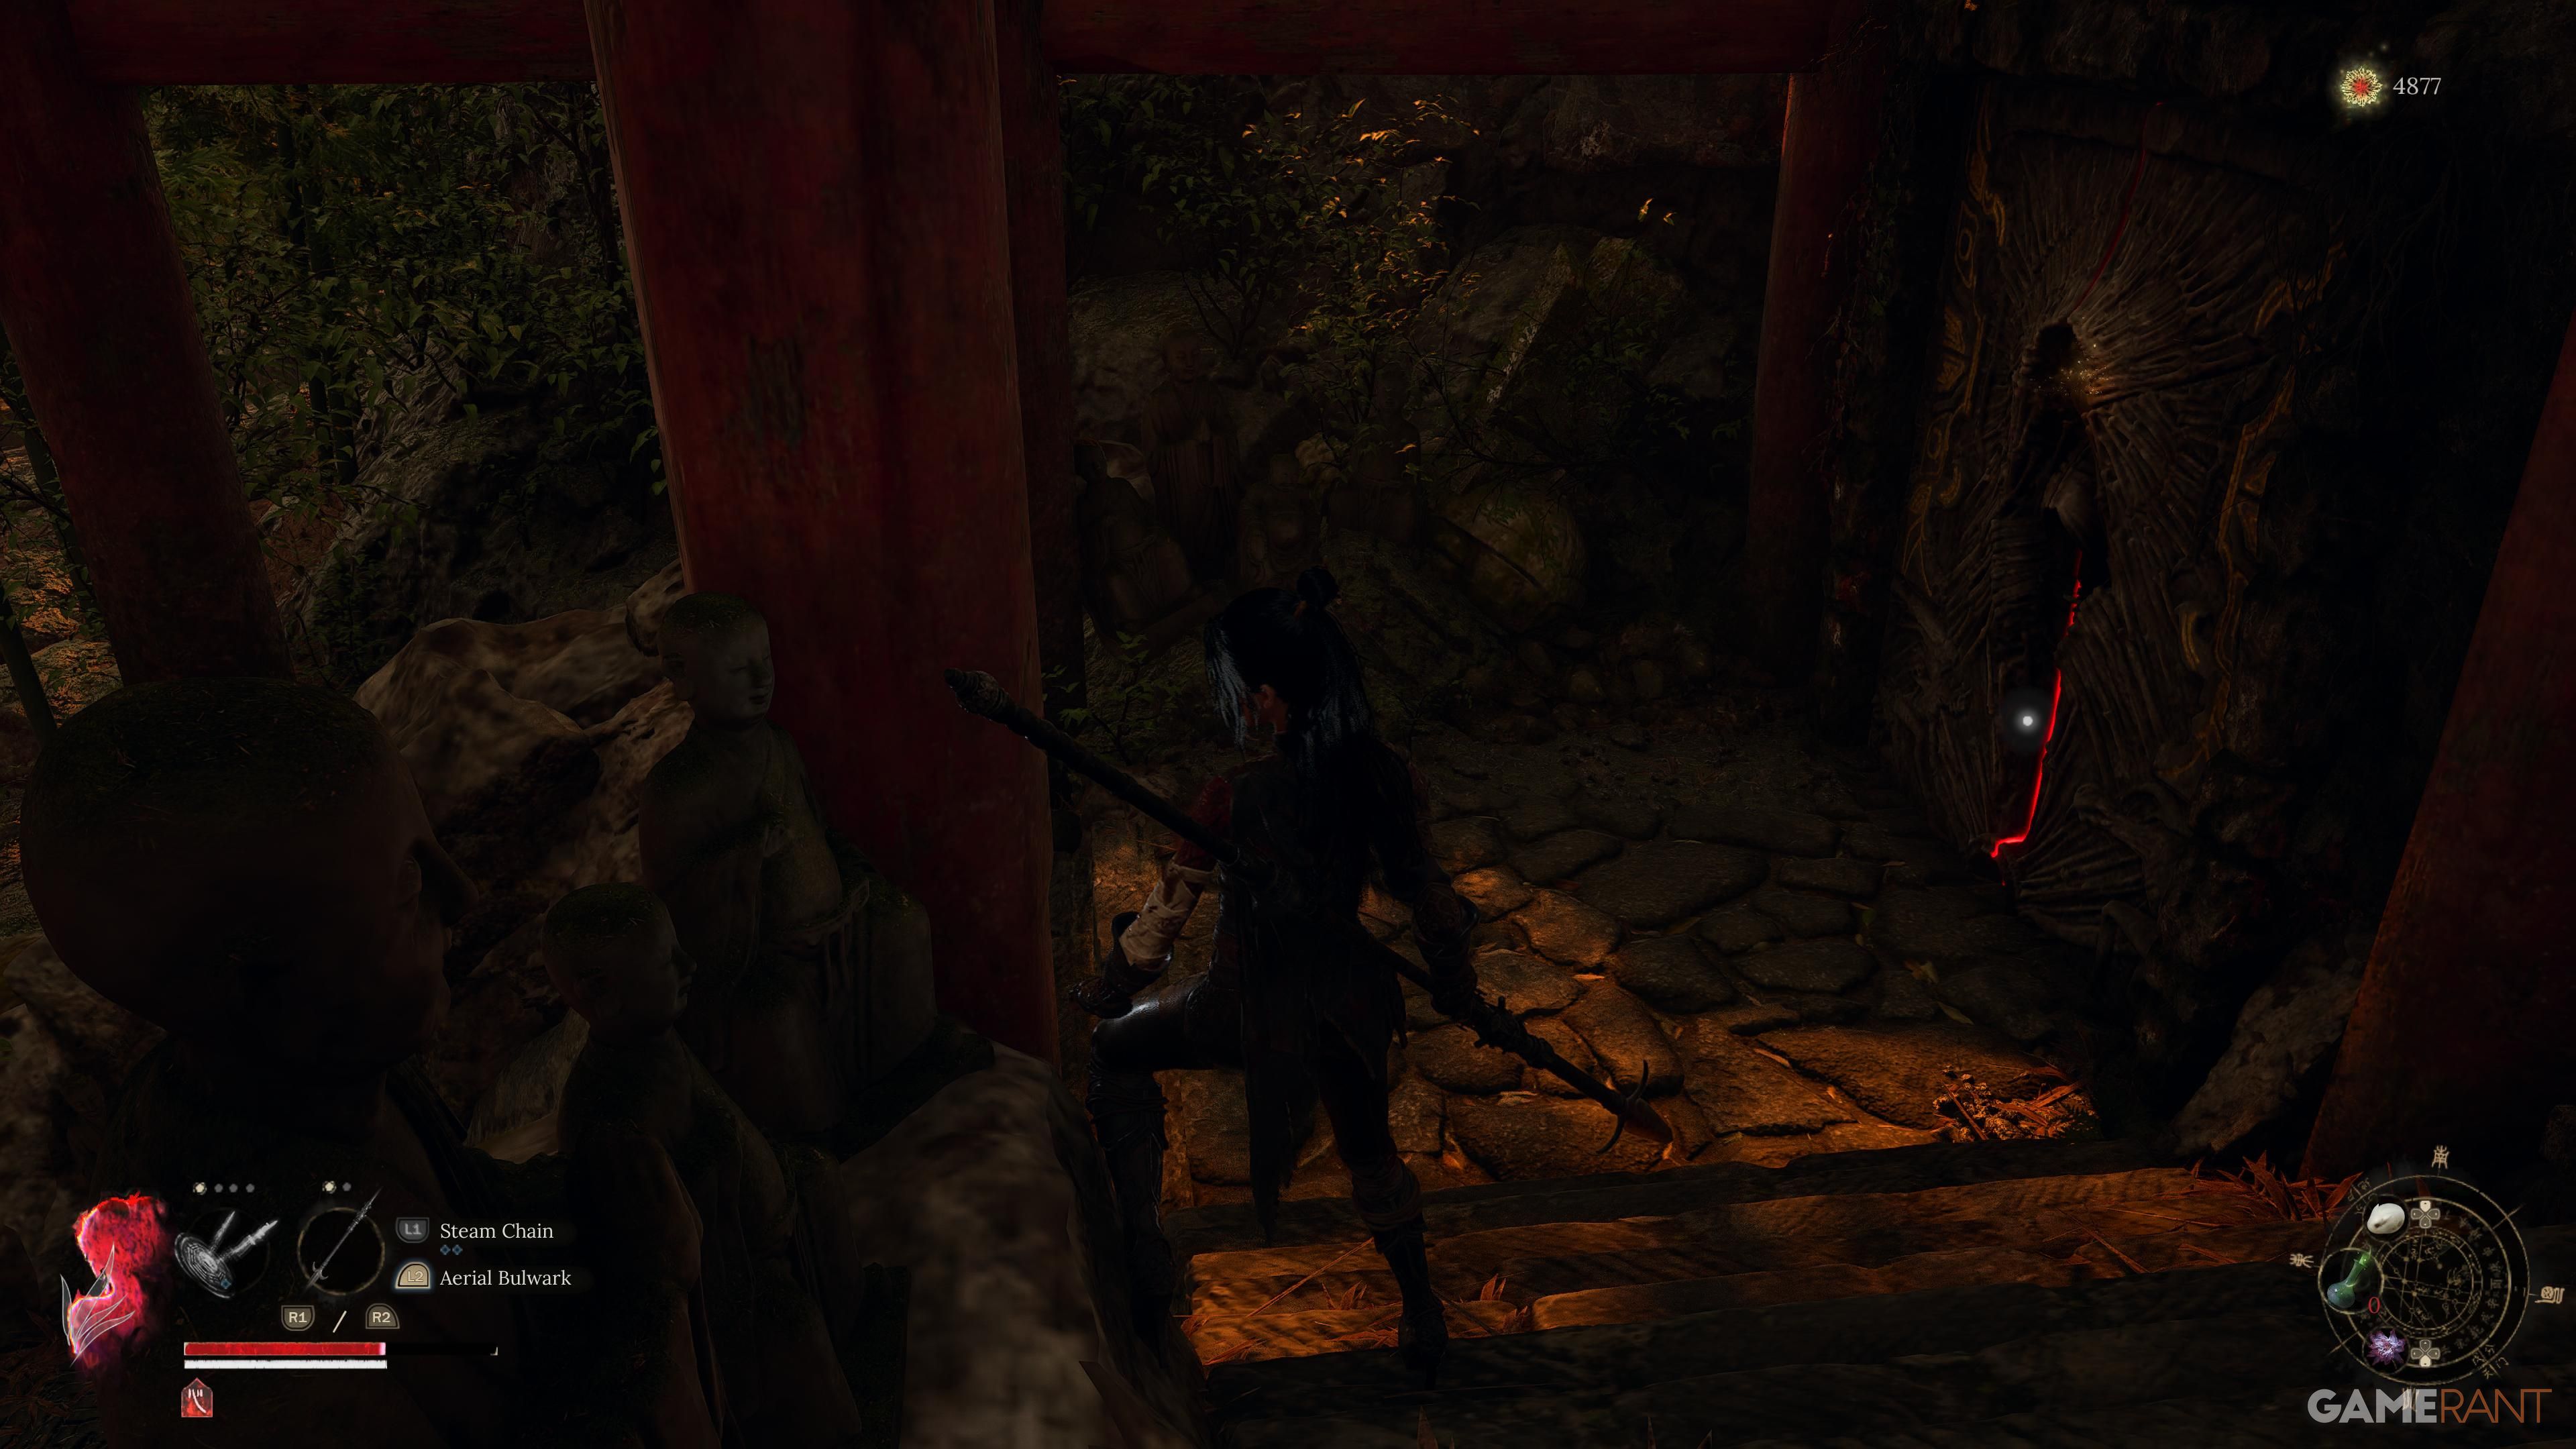
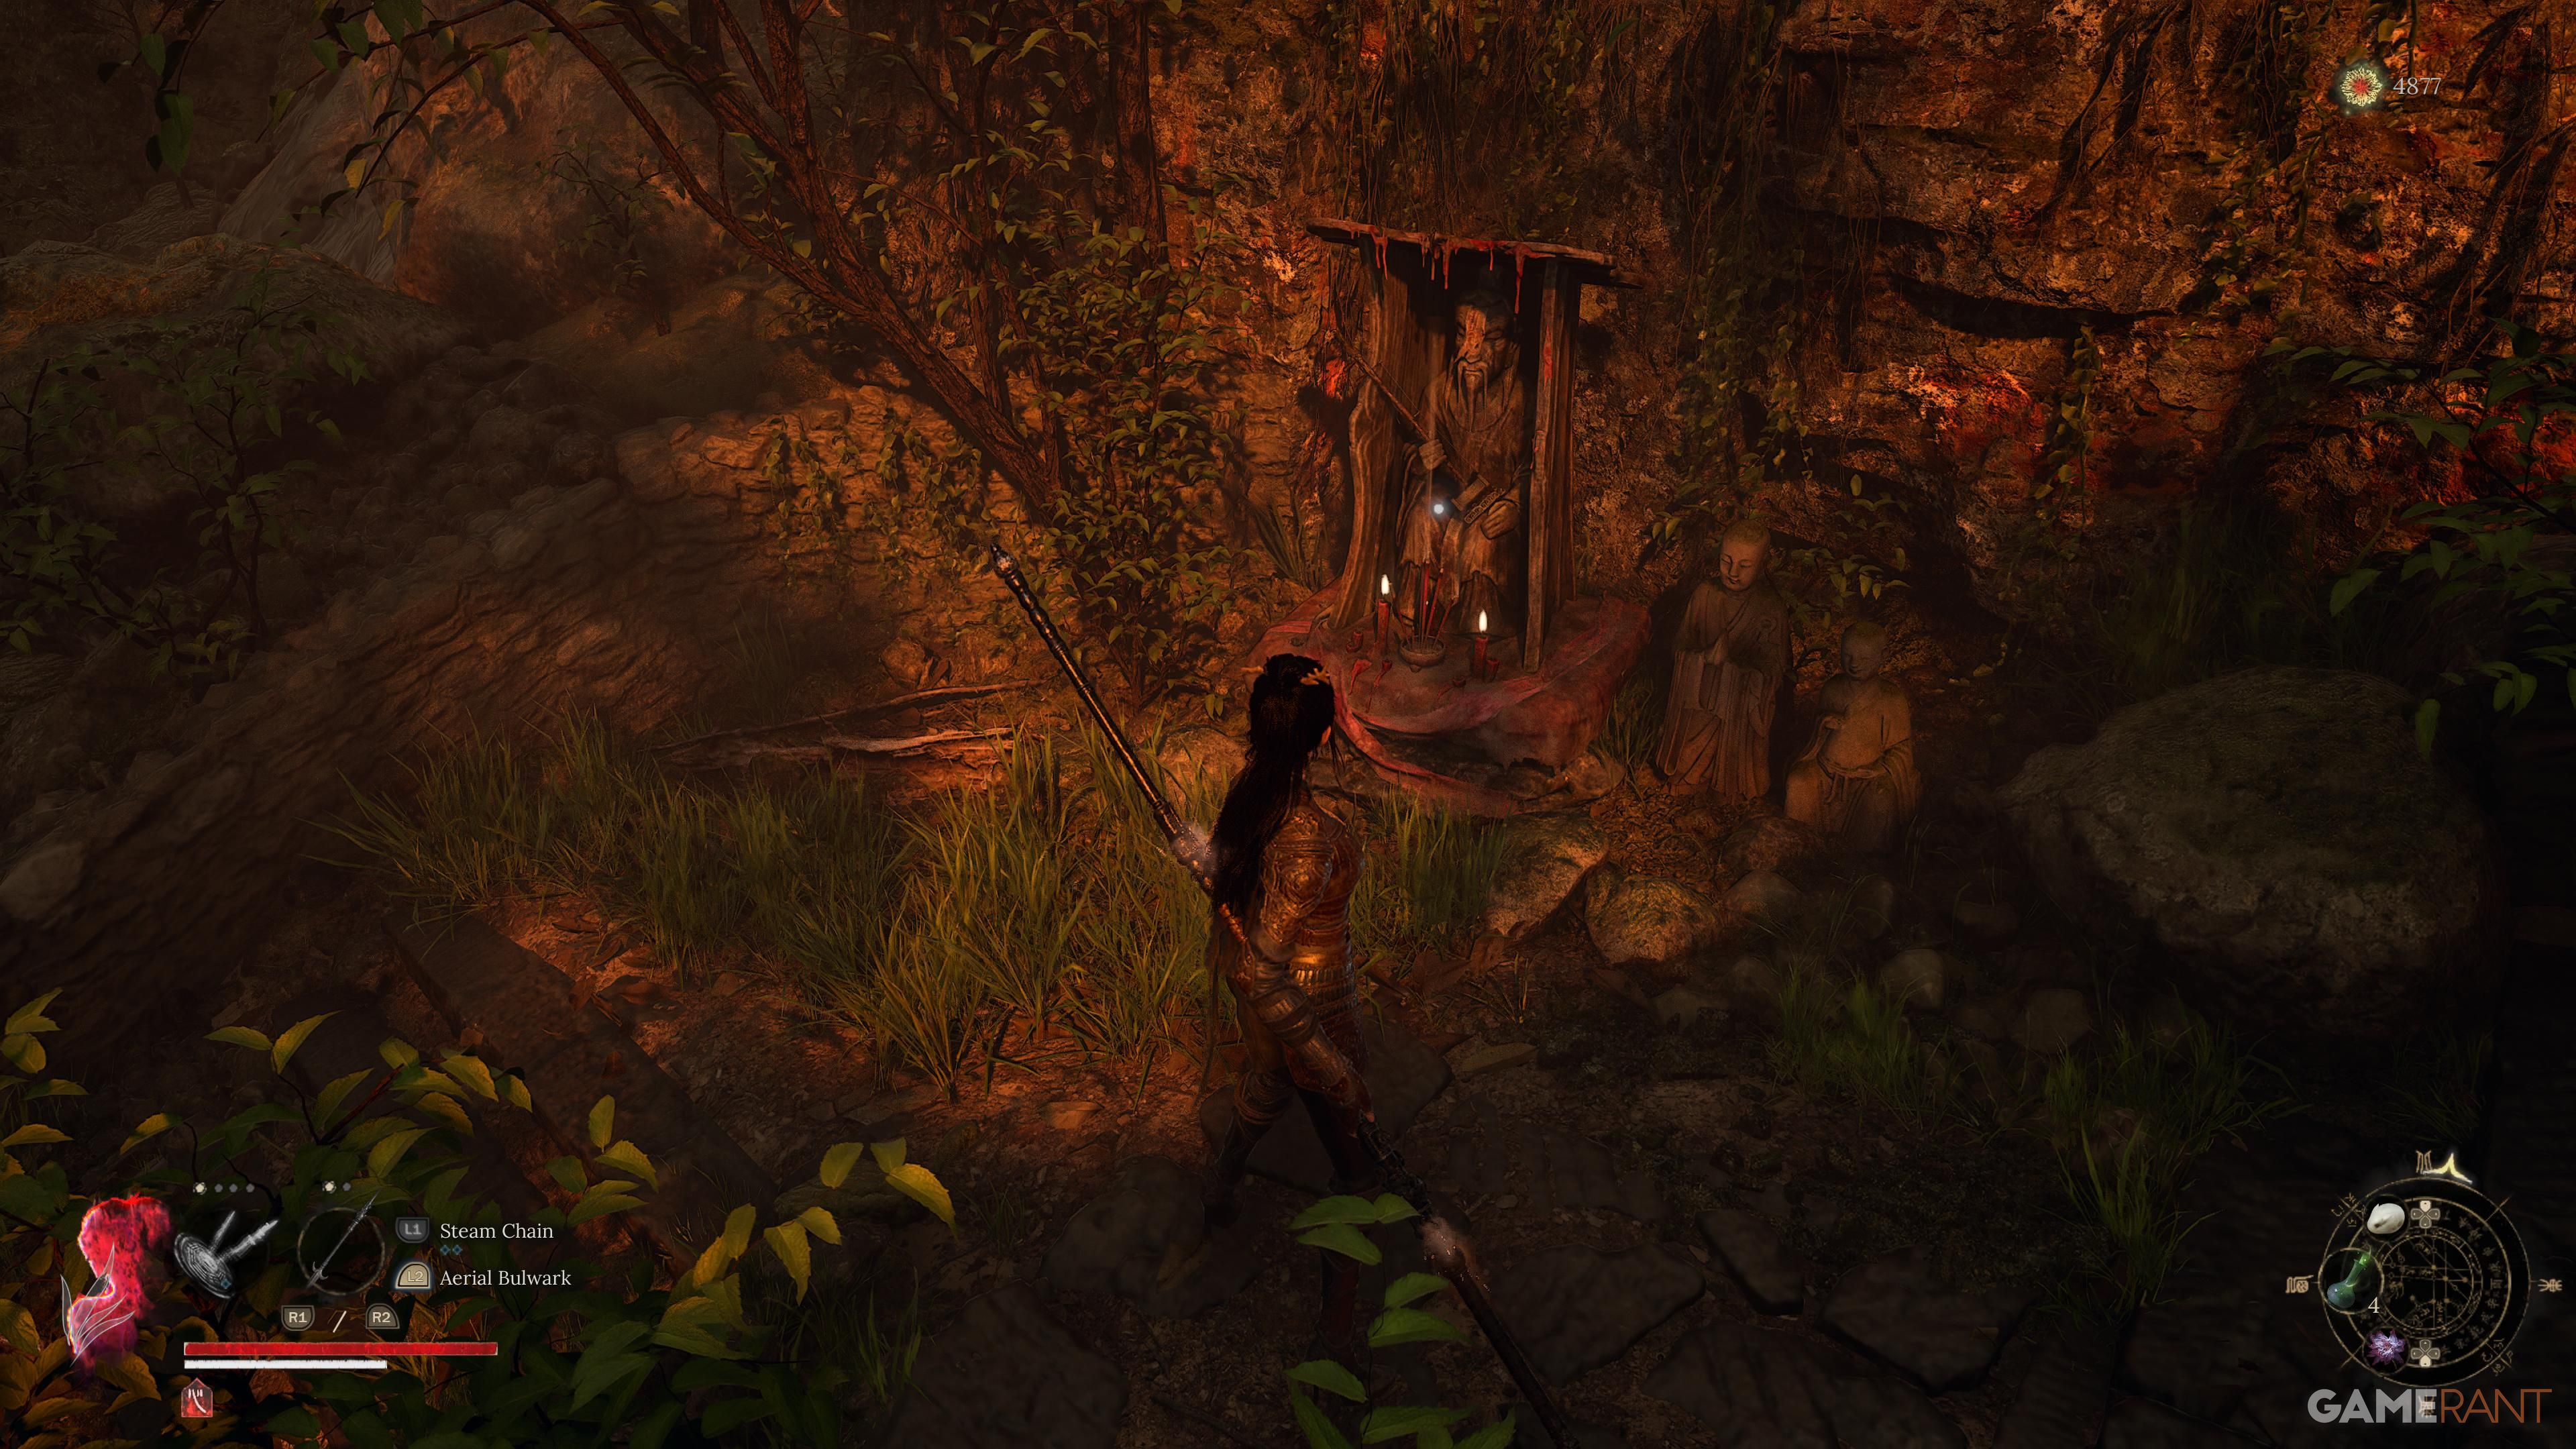
At the peak, you’ll discover the second shrine in the region, known as Buddha Cliffs. After spending some time at this shrine, make your way down using a ladder and enter the cave that follows. Inside the cave, you’ll encounter your first mini-boss, Tang Palace Maid. Overpower her and choose the pathway located above the stairs, taking a right turn immediately upon exiting the cave. Proceed down the hillside and keep going straight until you arrive at a fork in the road. The path on the right houses a few enemies and the Entwined Legend Pendant, but the path on the left is your destination for the upcoming boss battle.
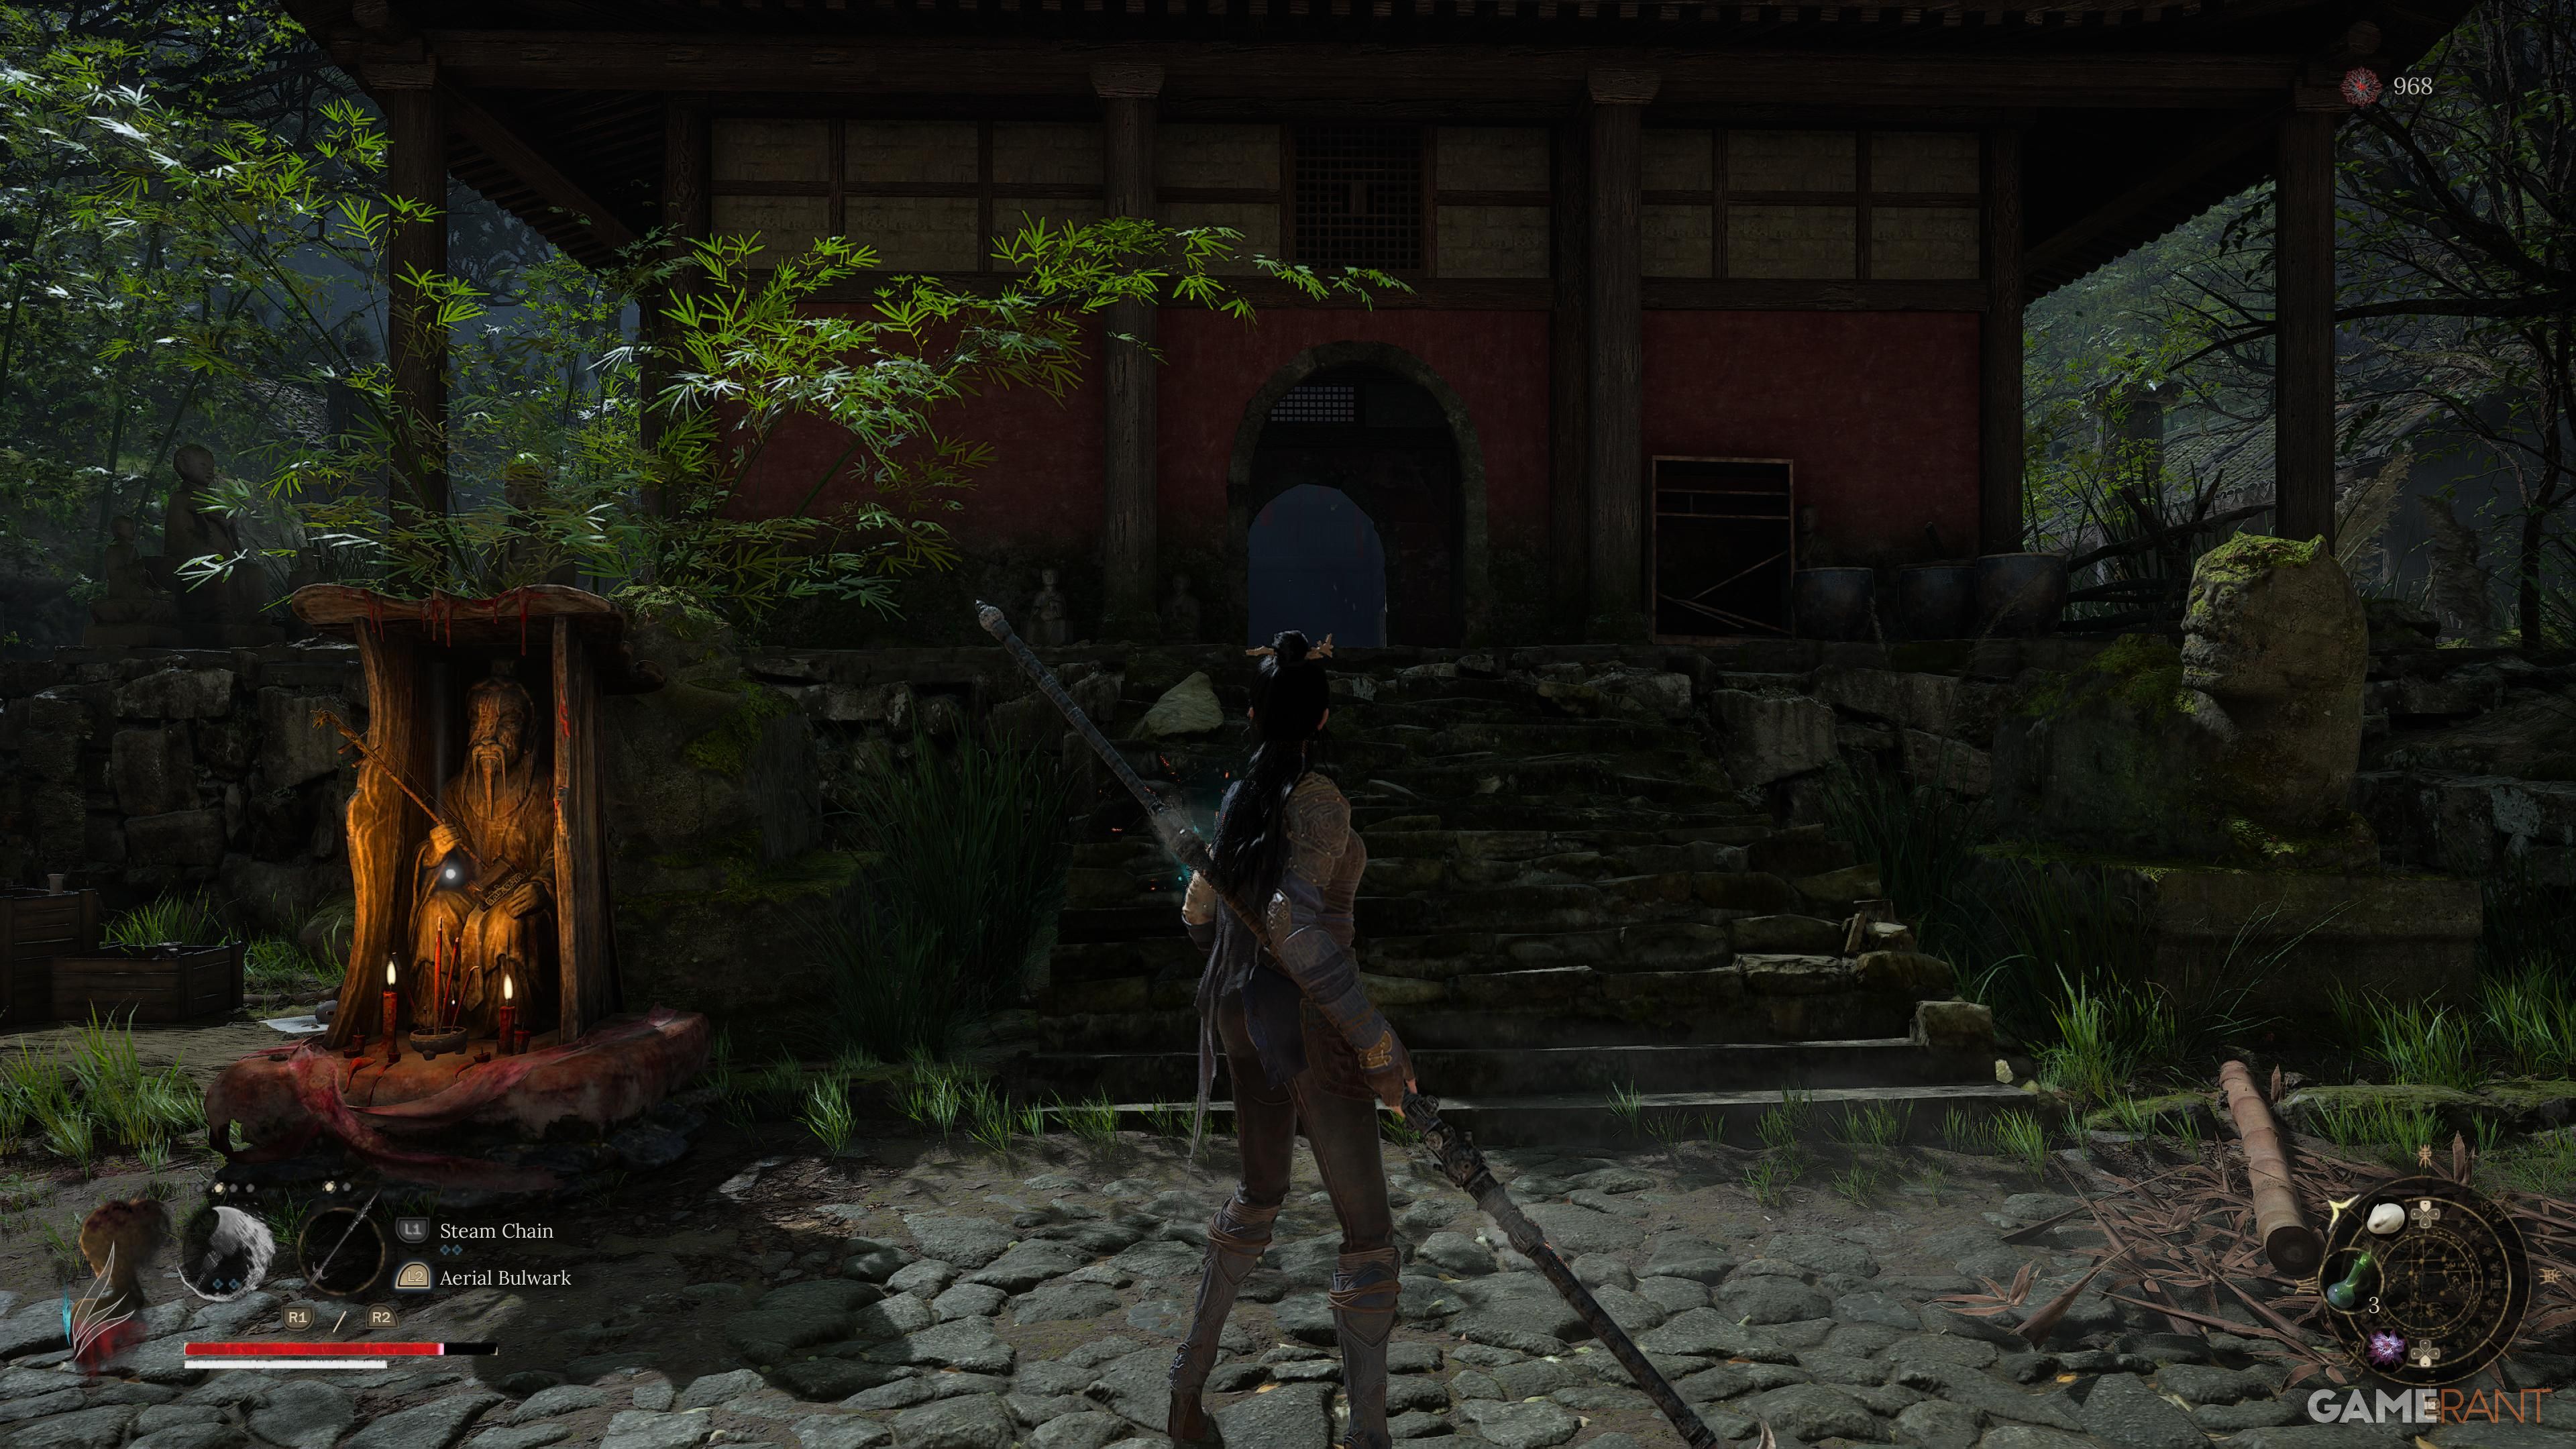
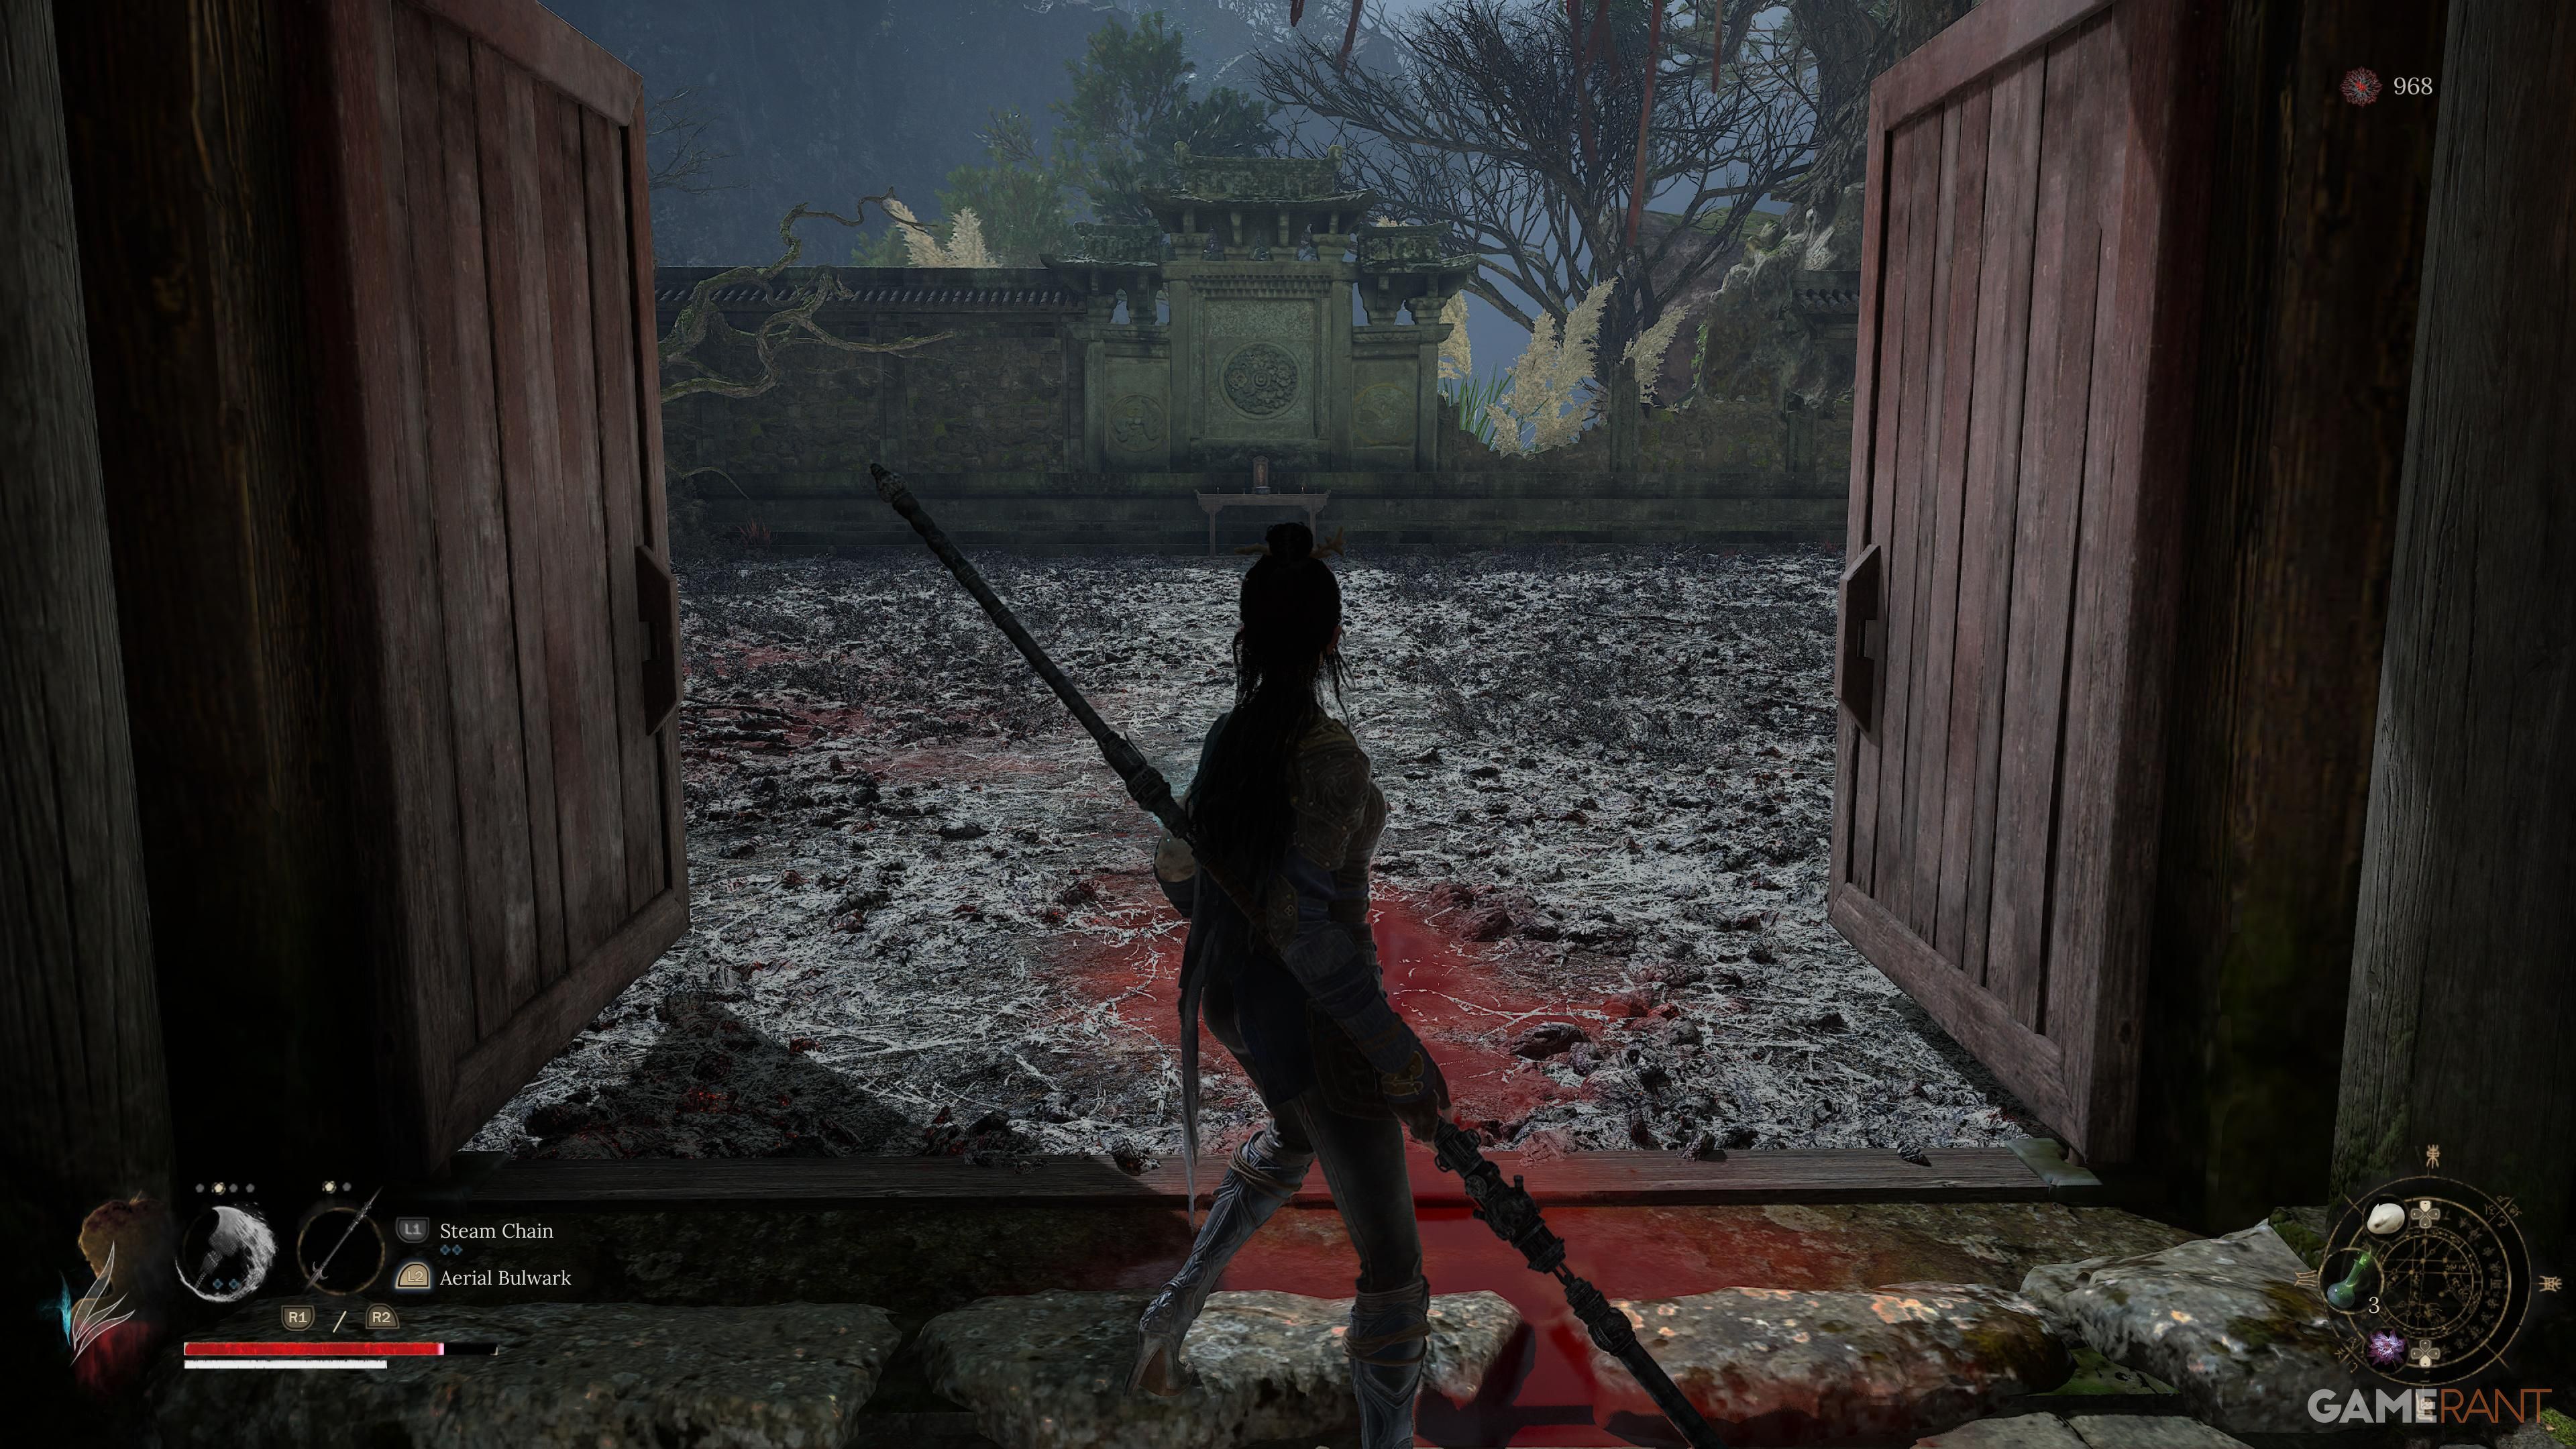
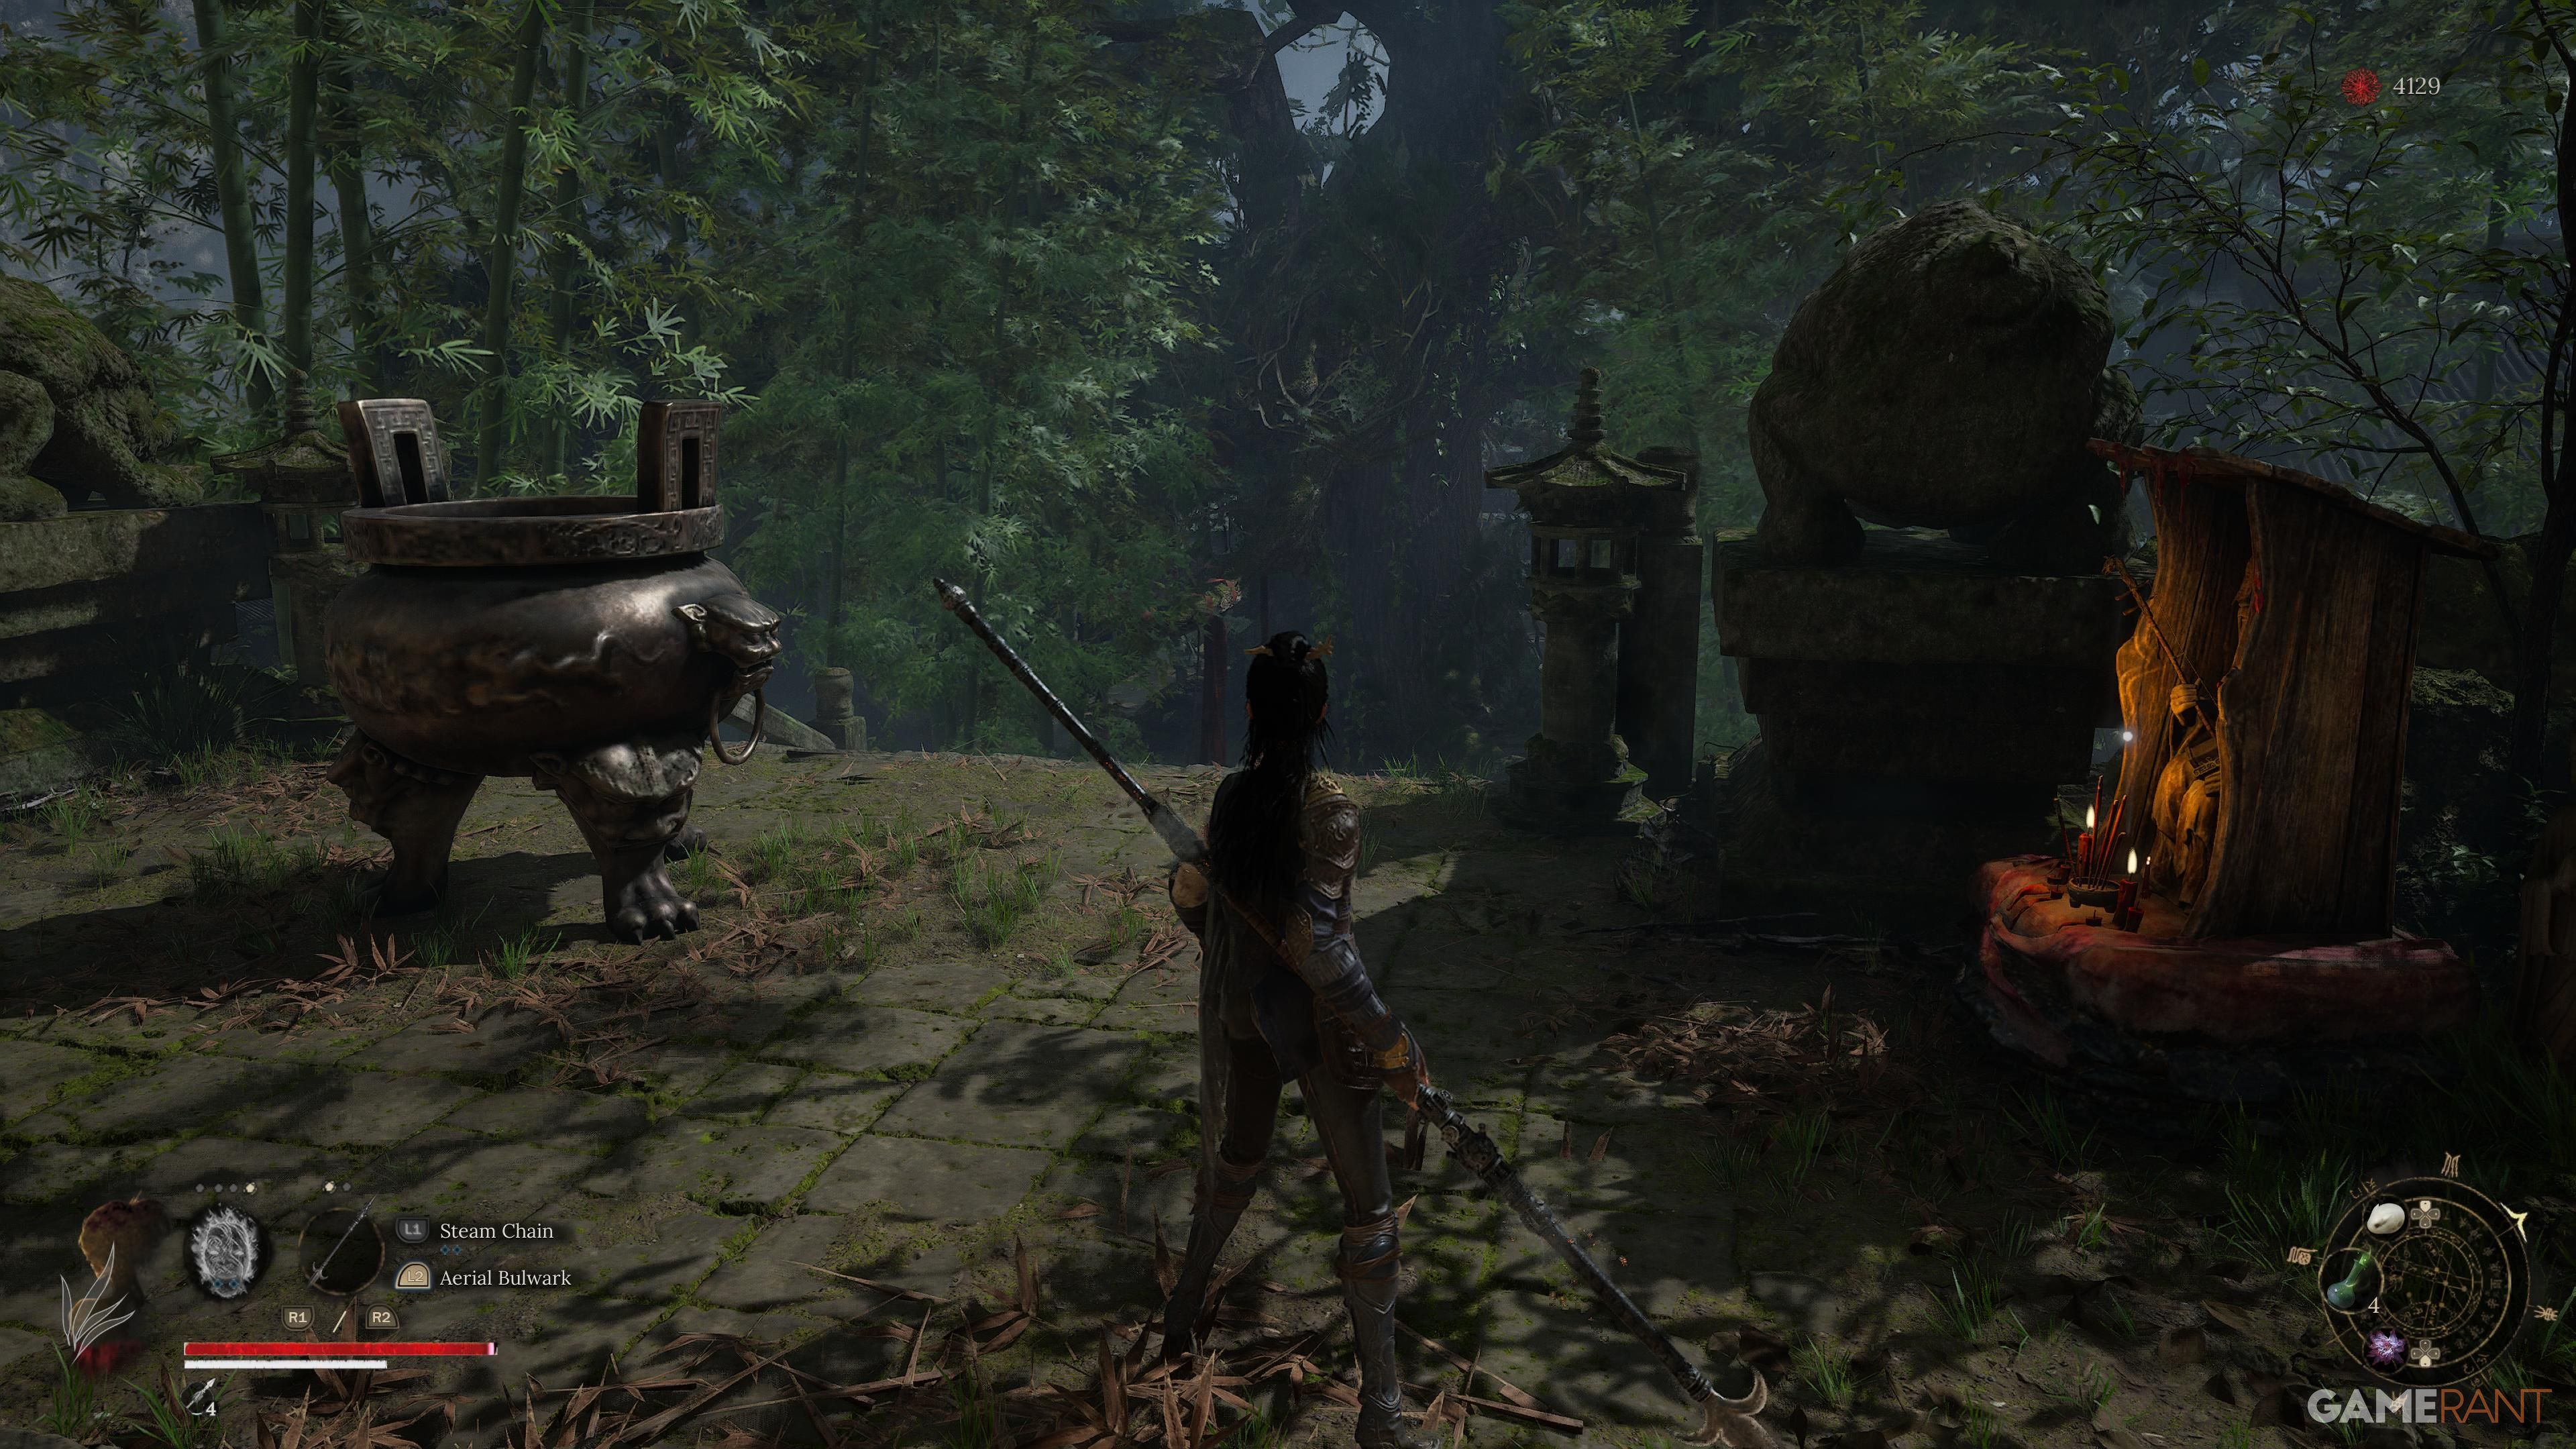
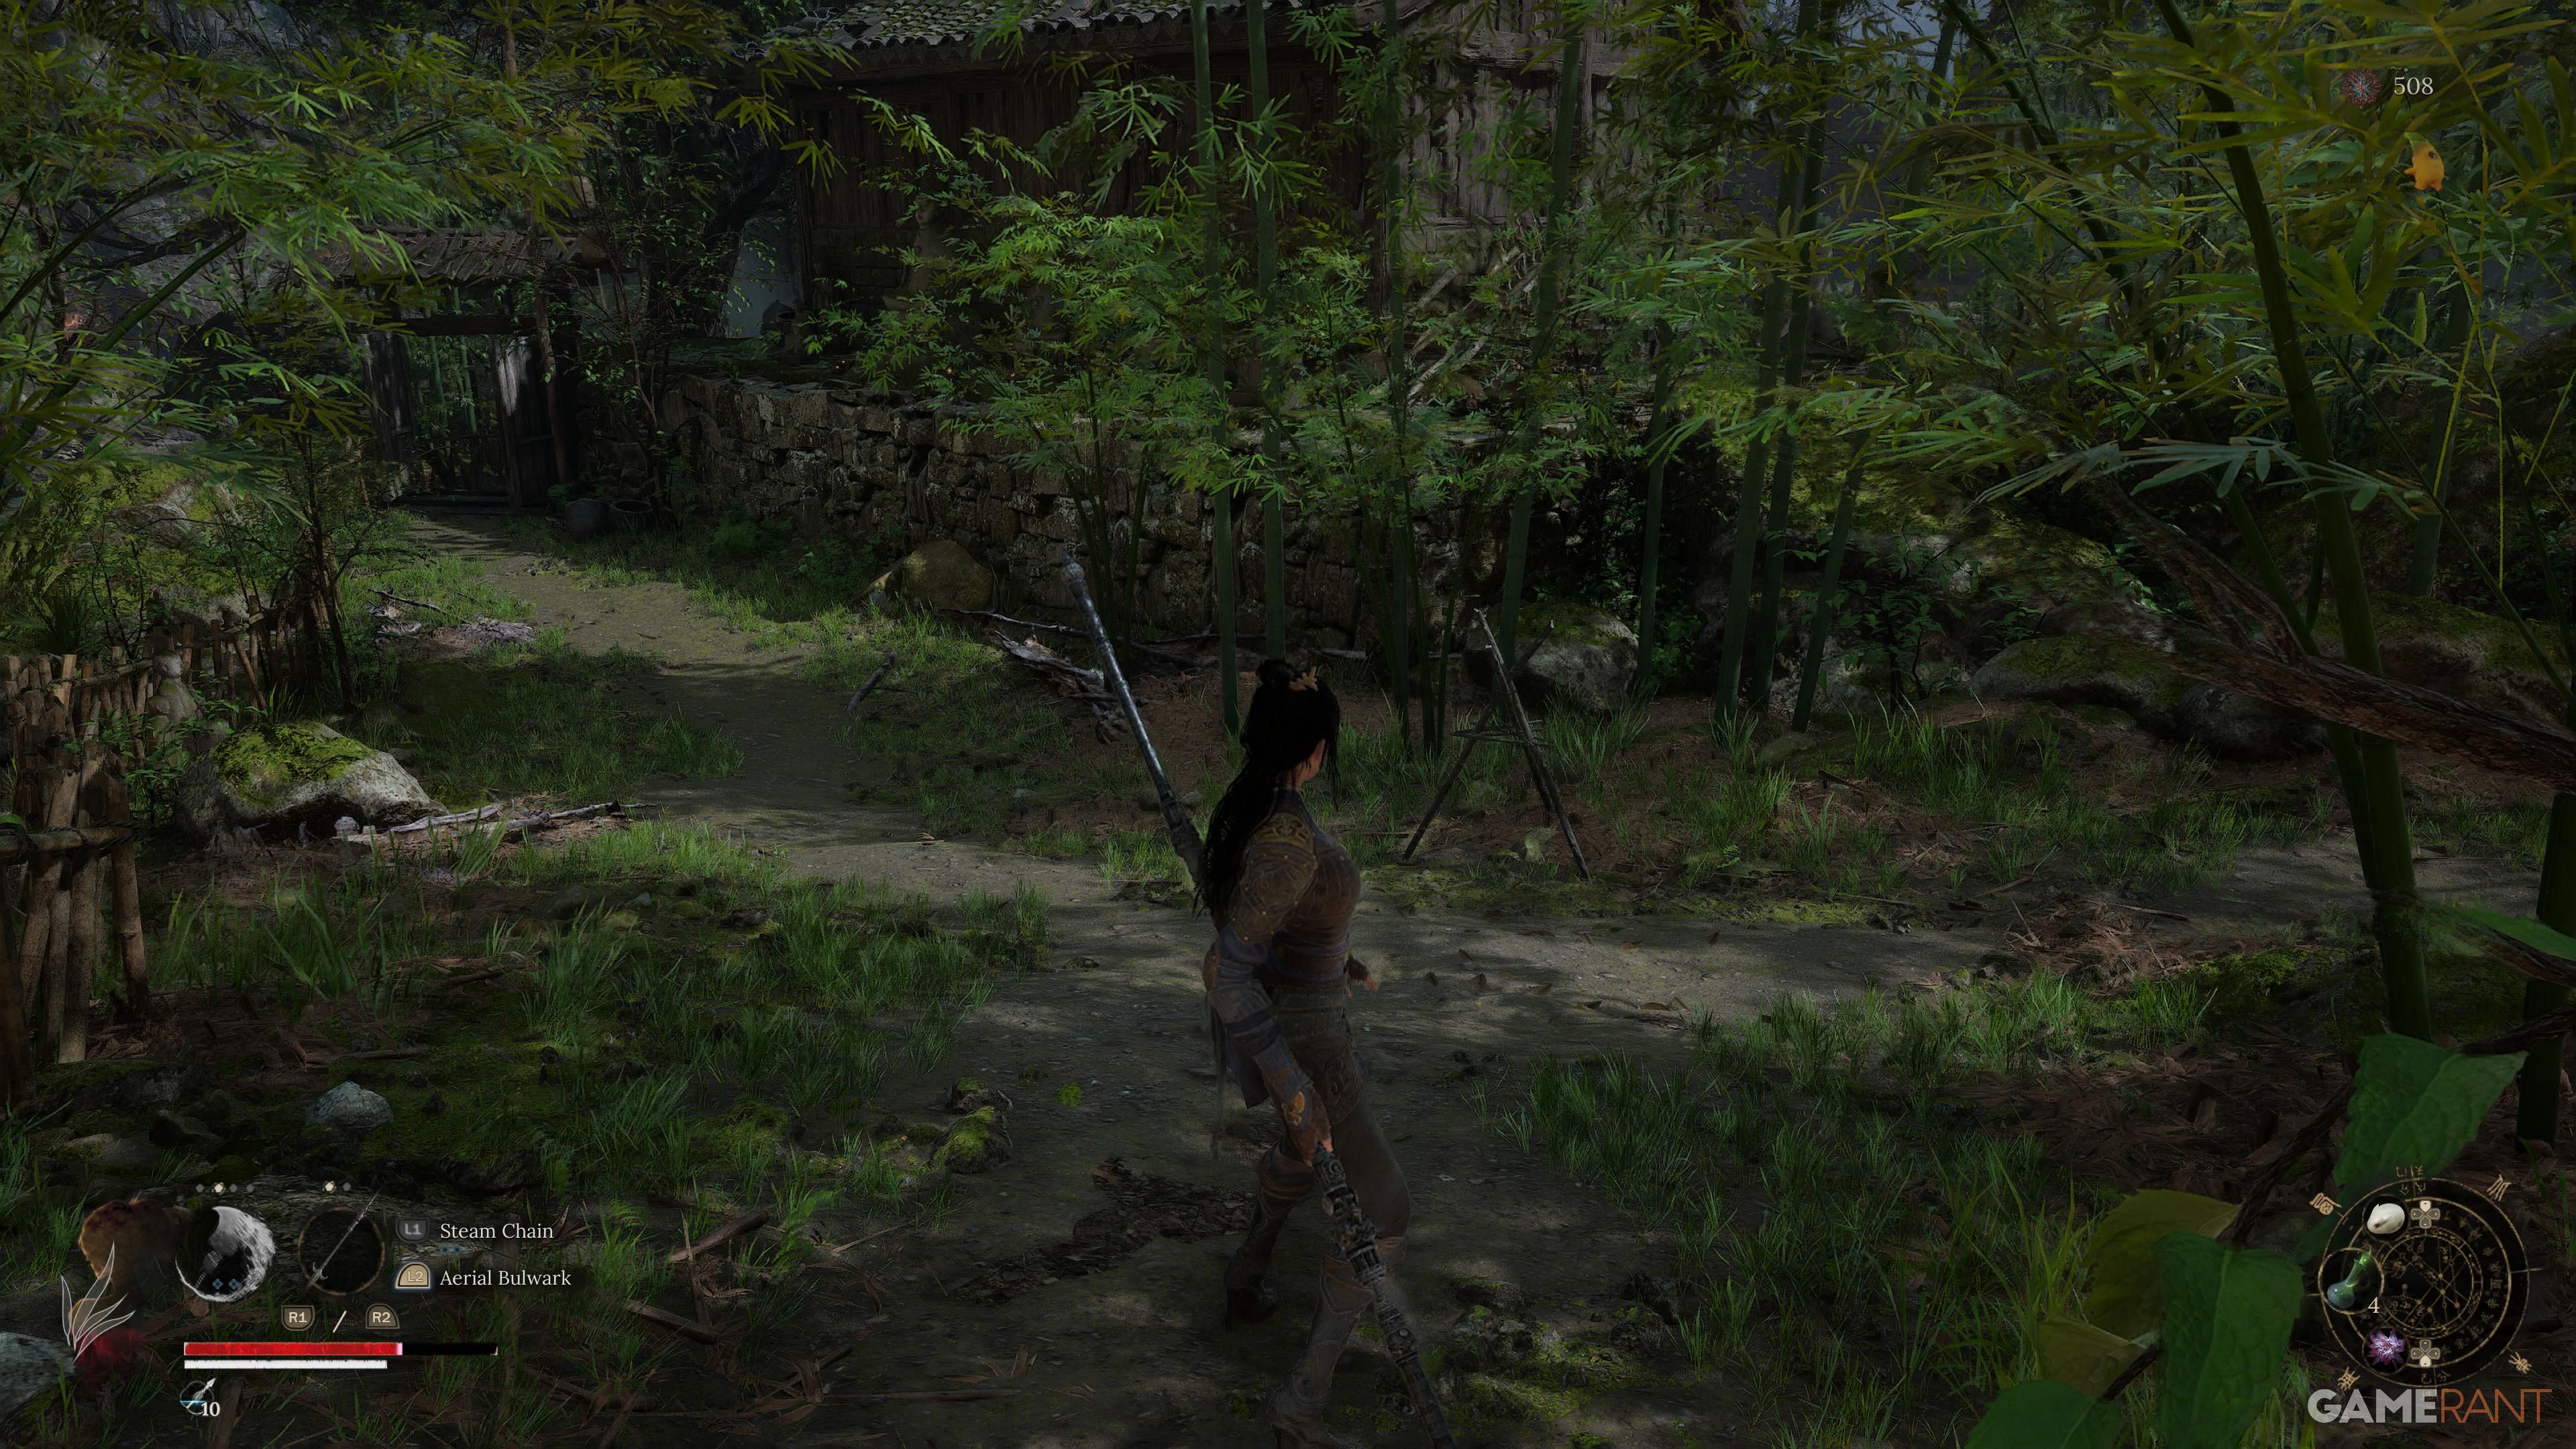
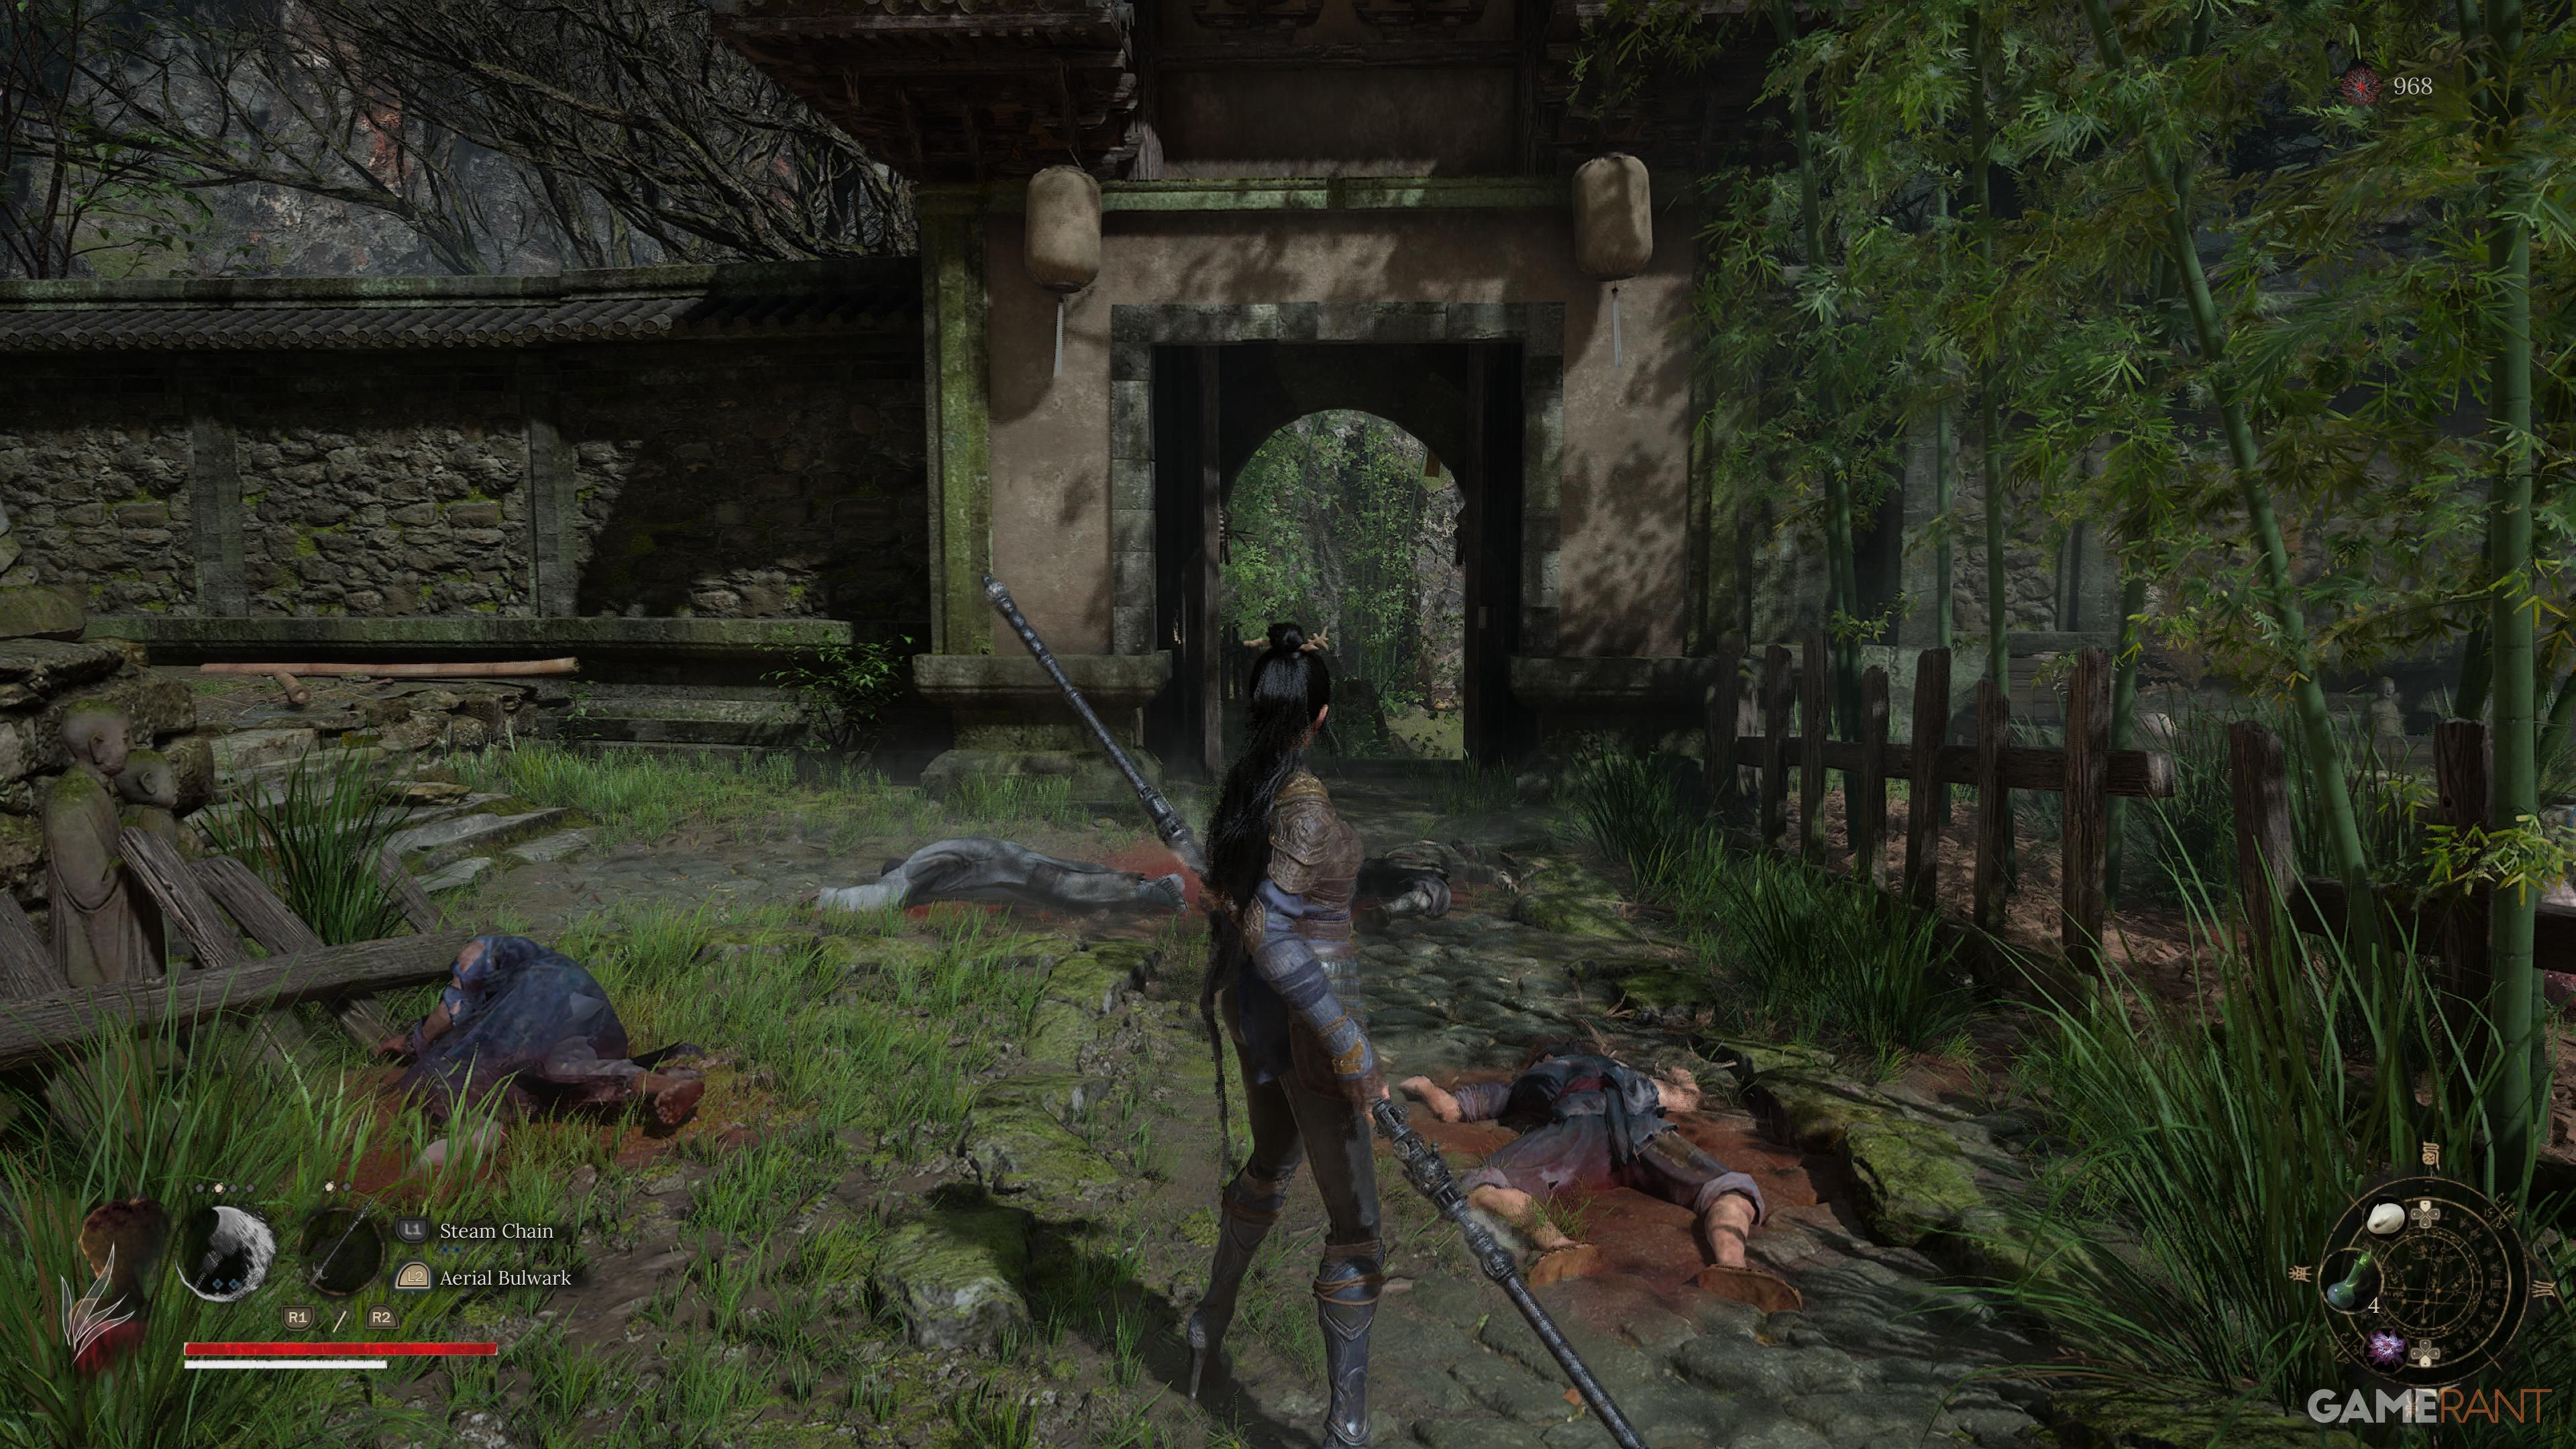
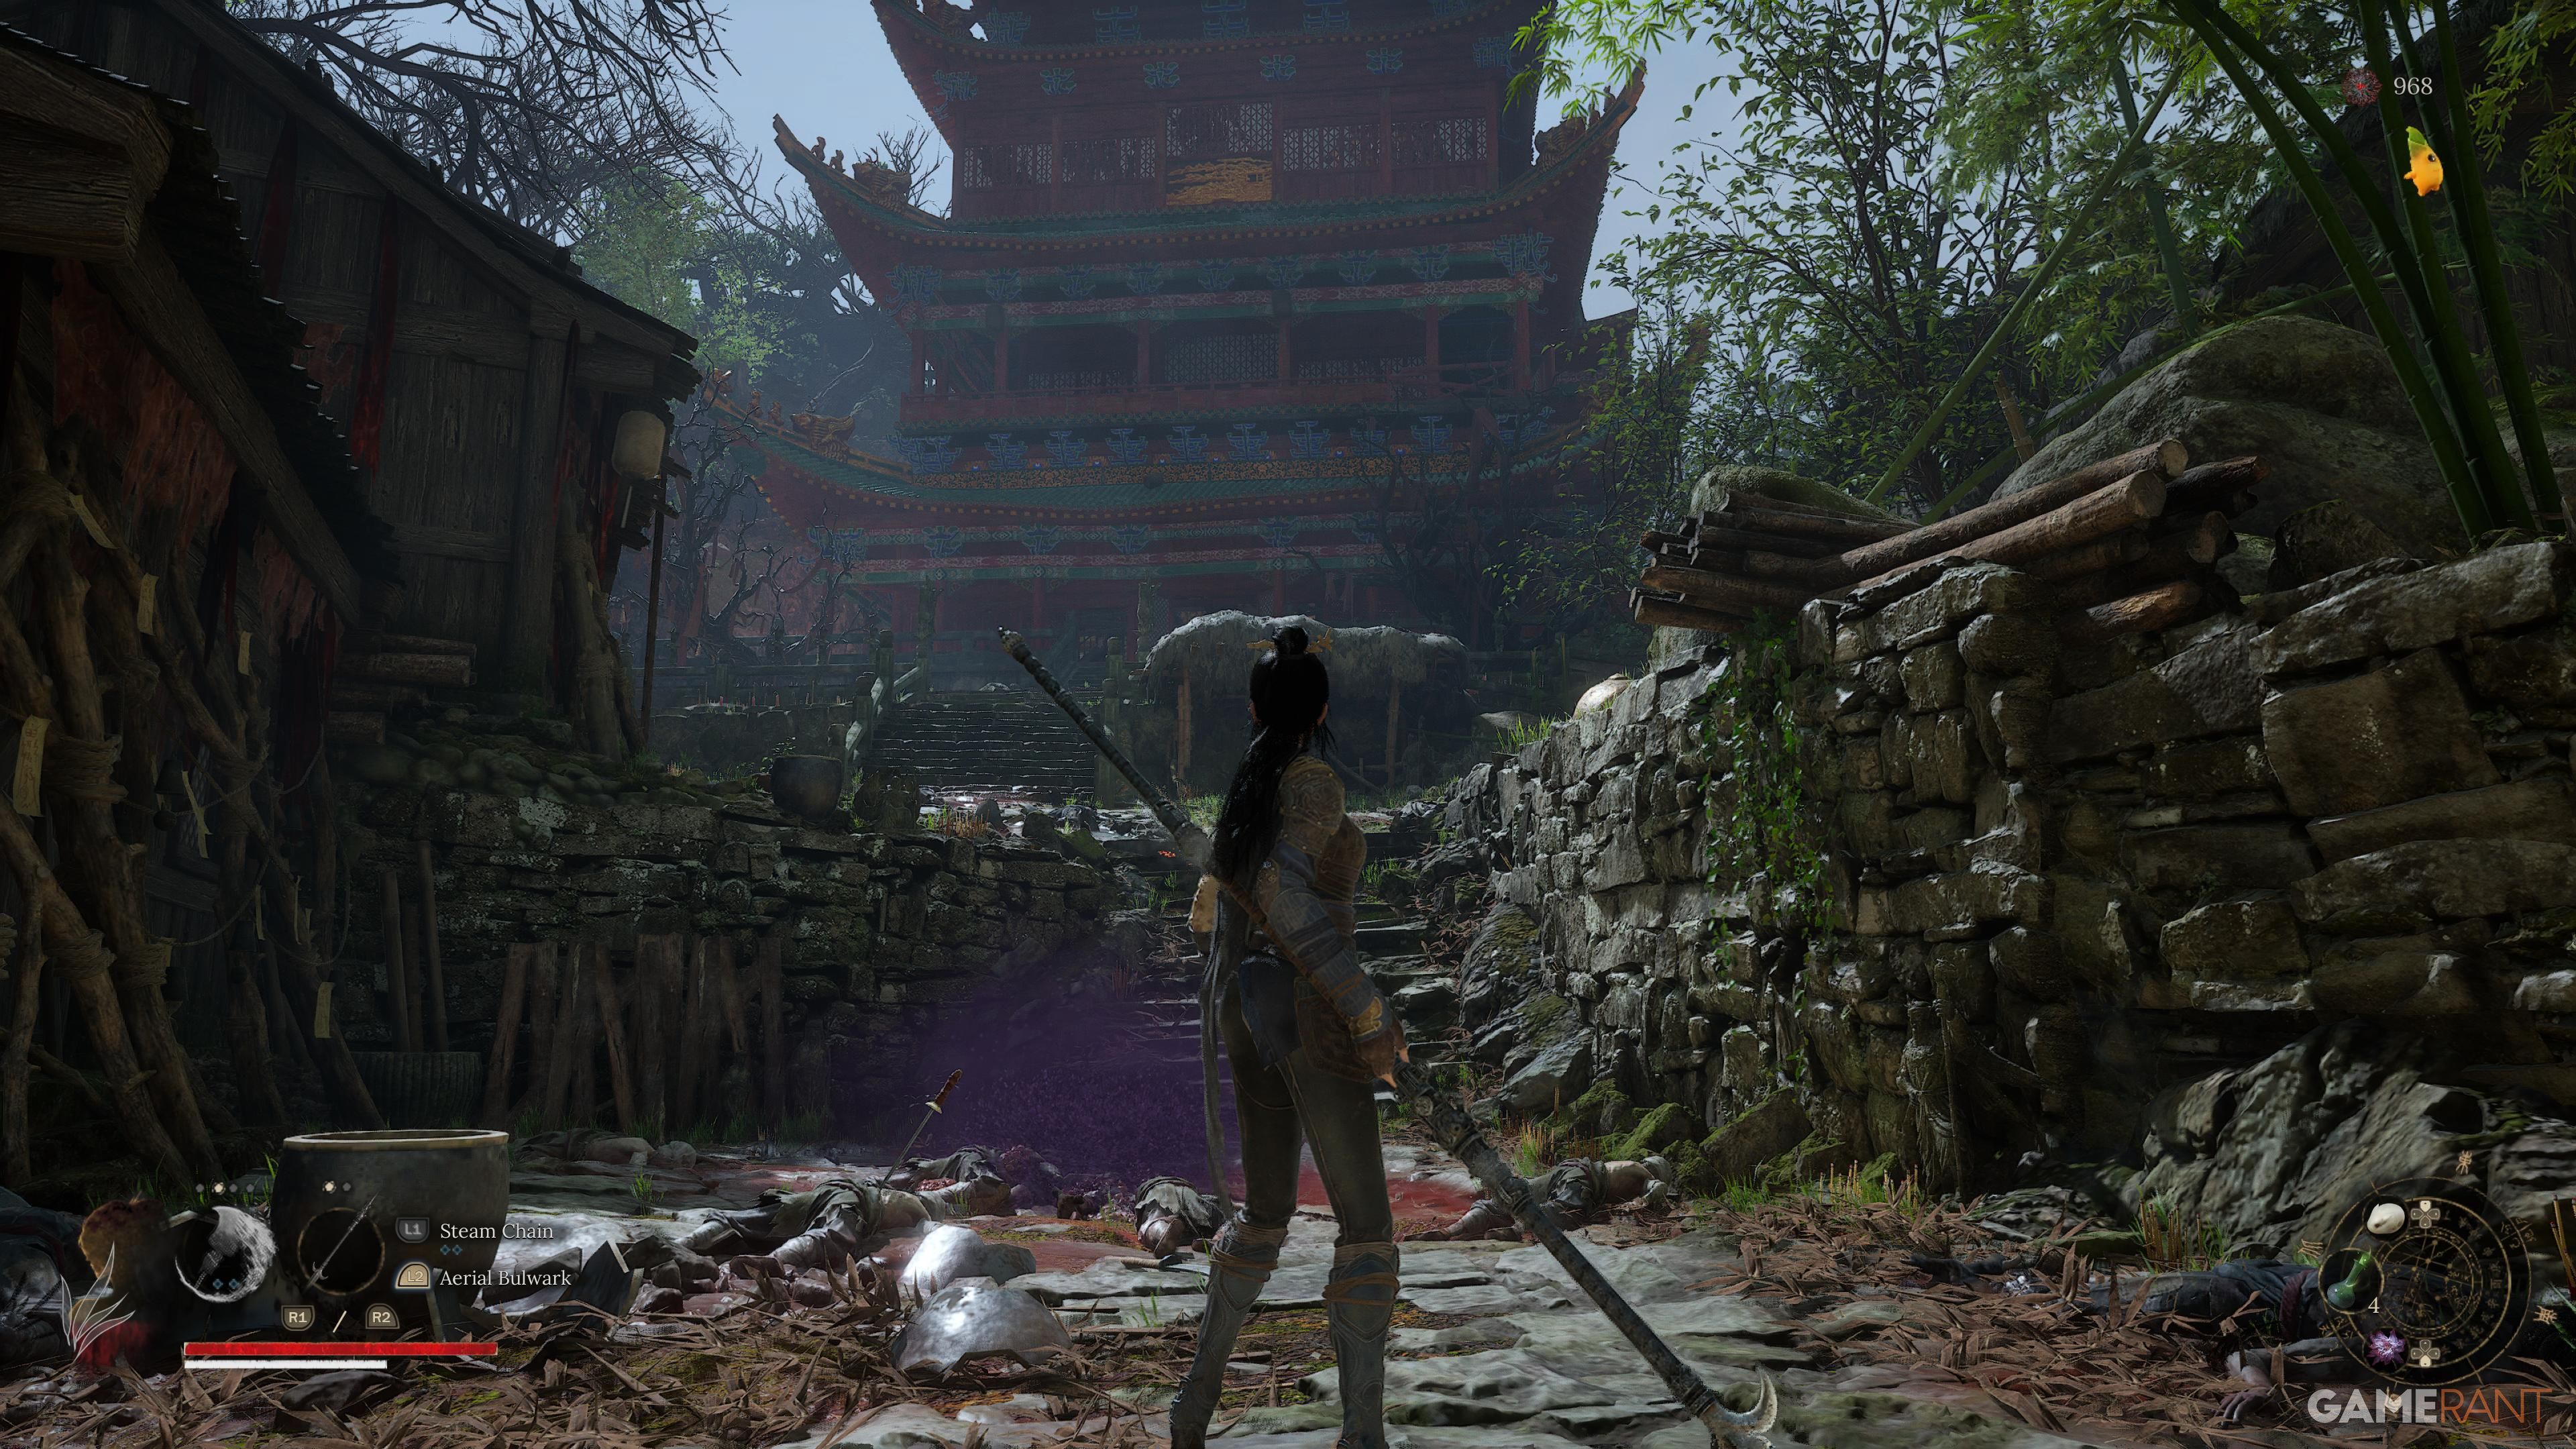
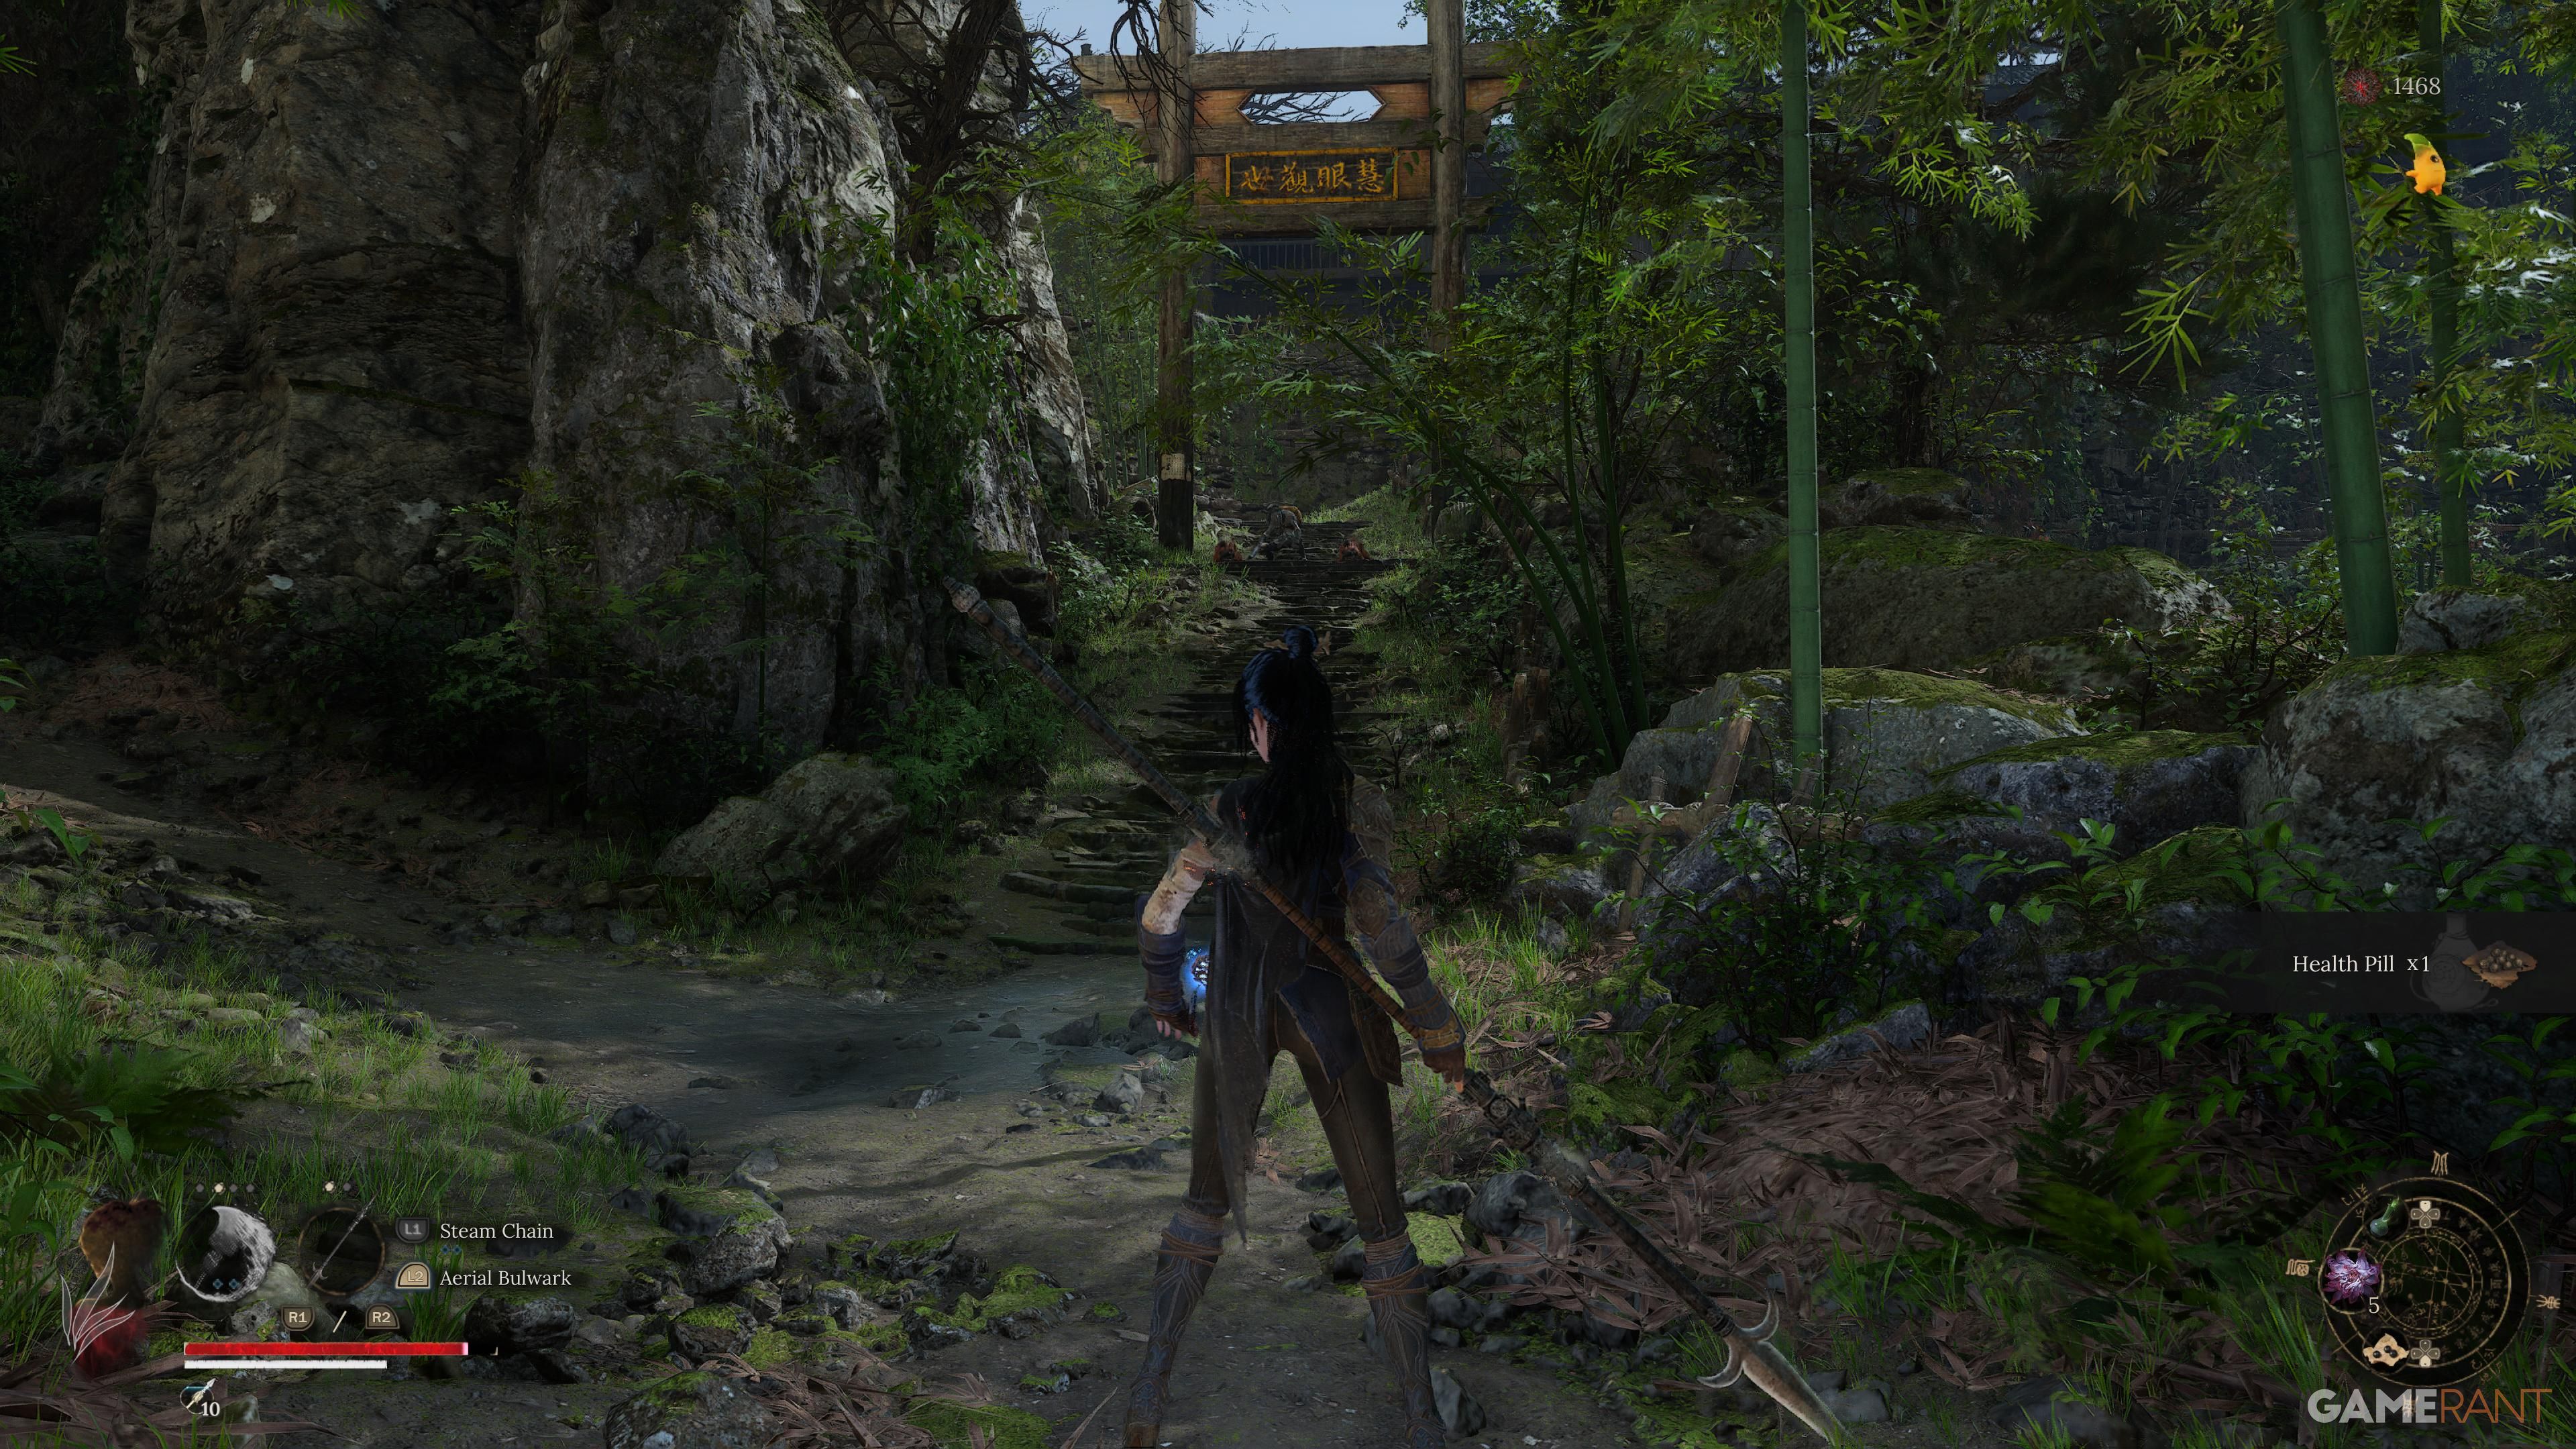
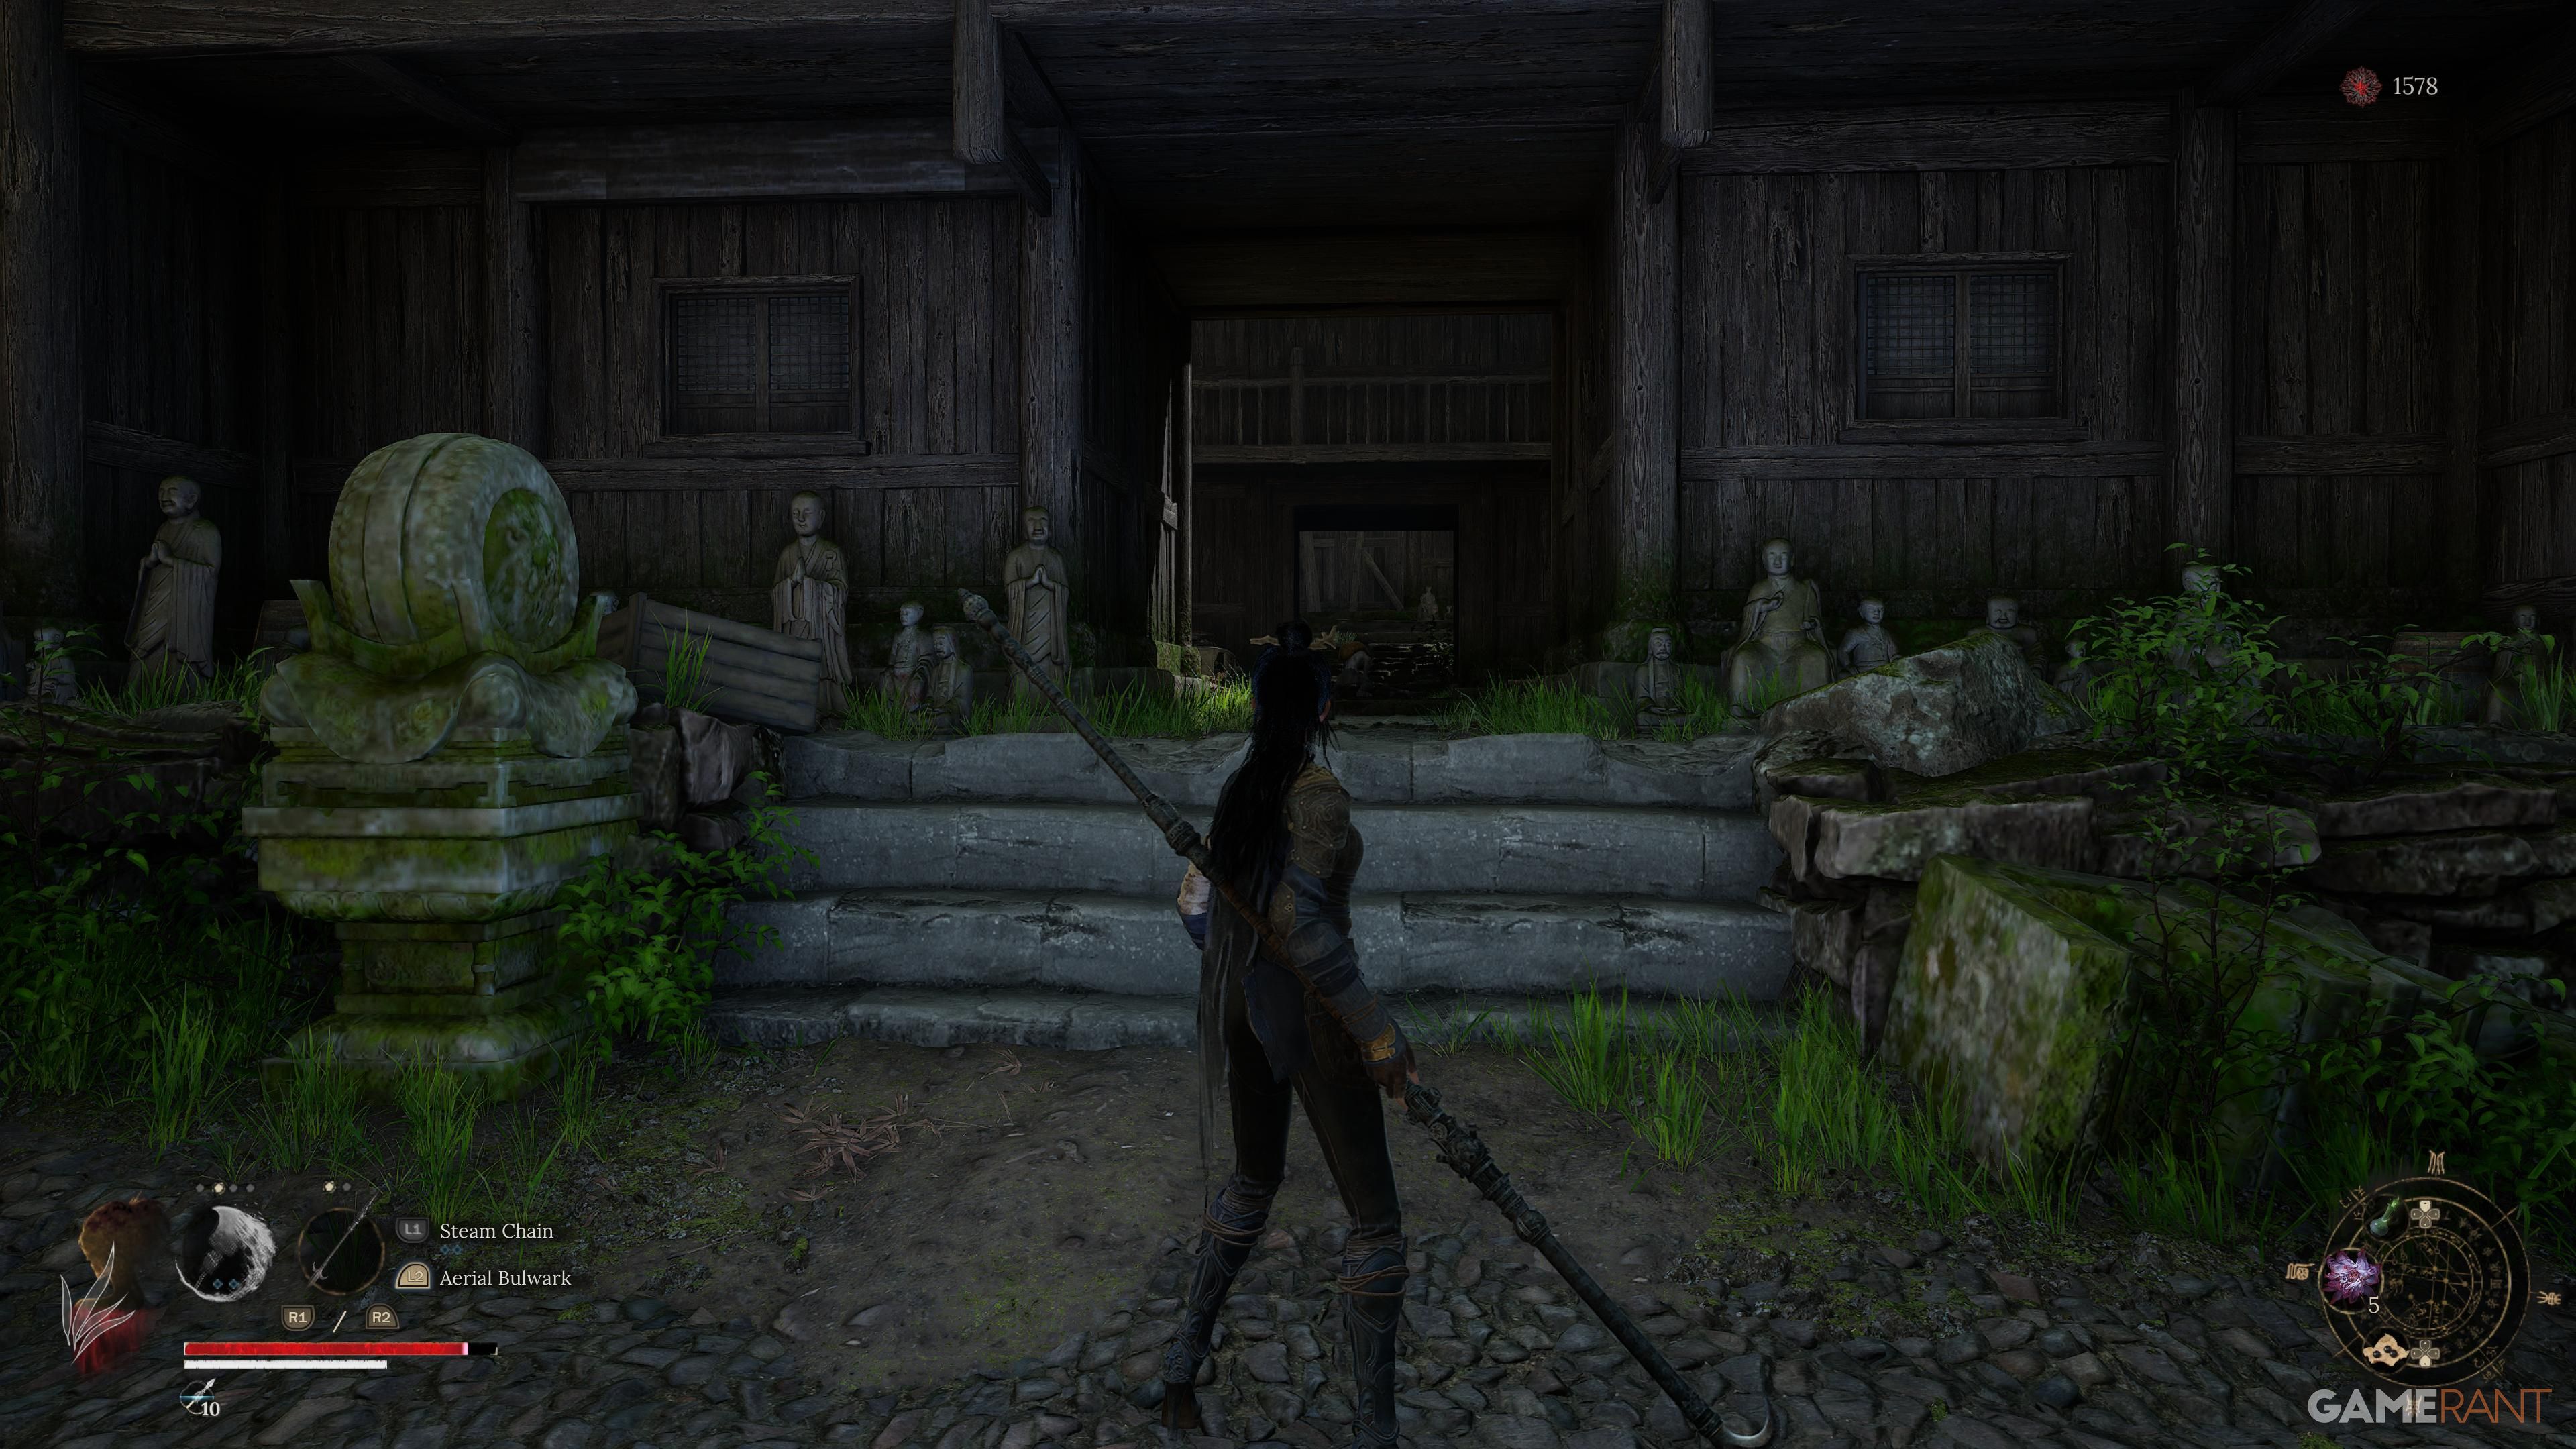
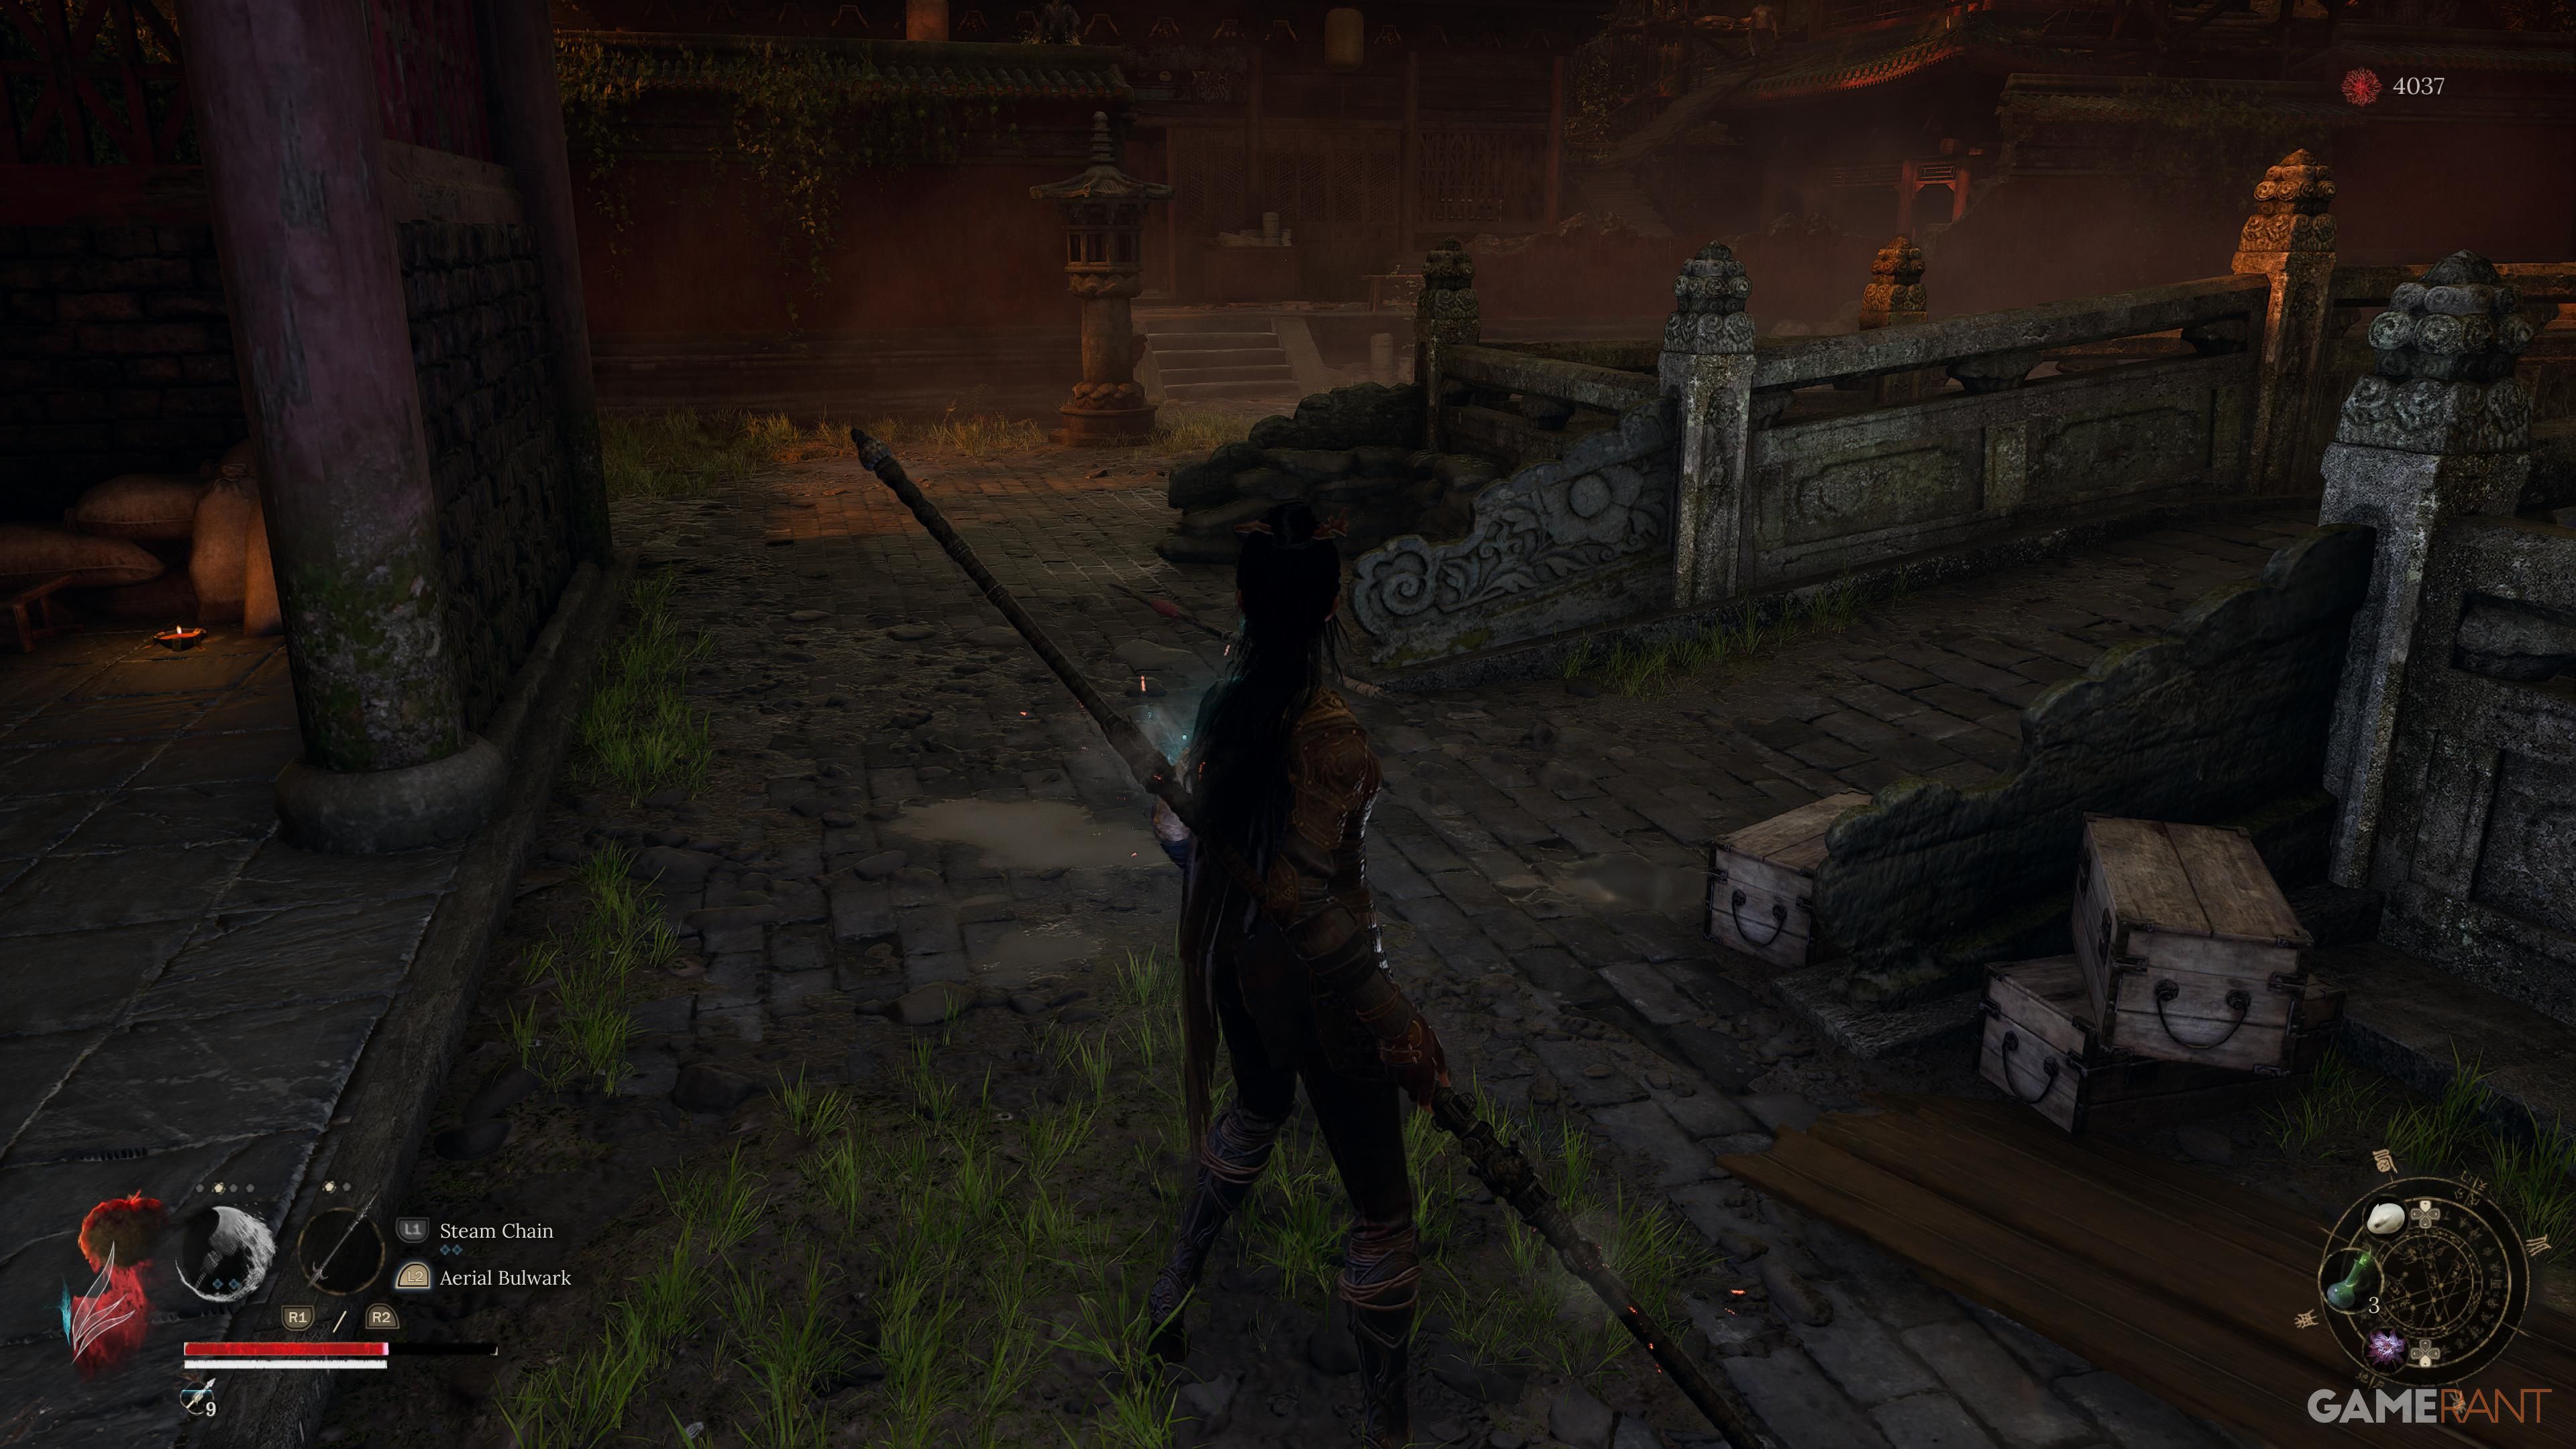
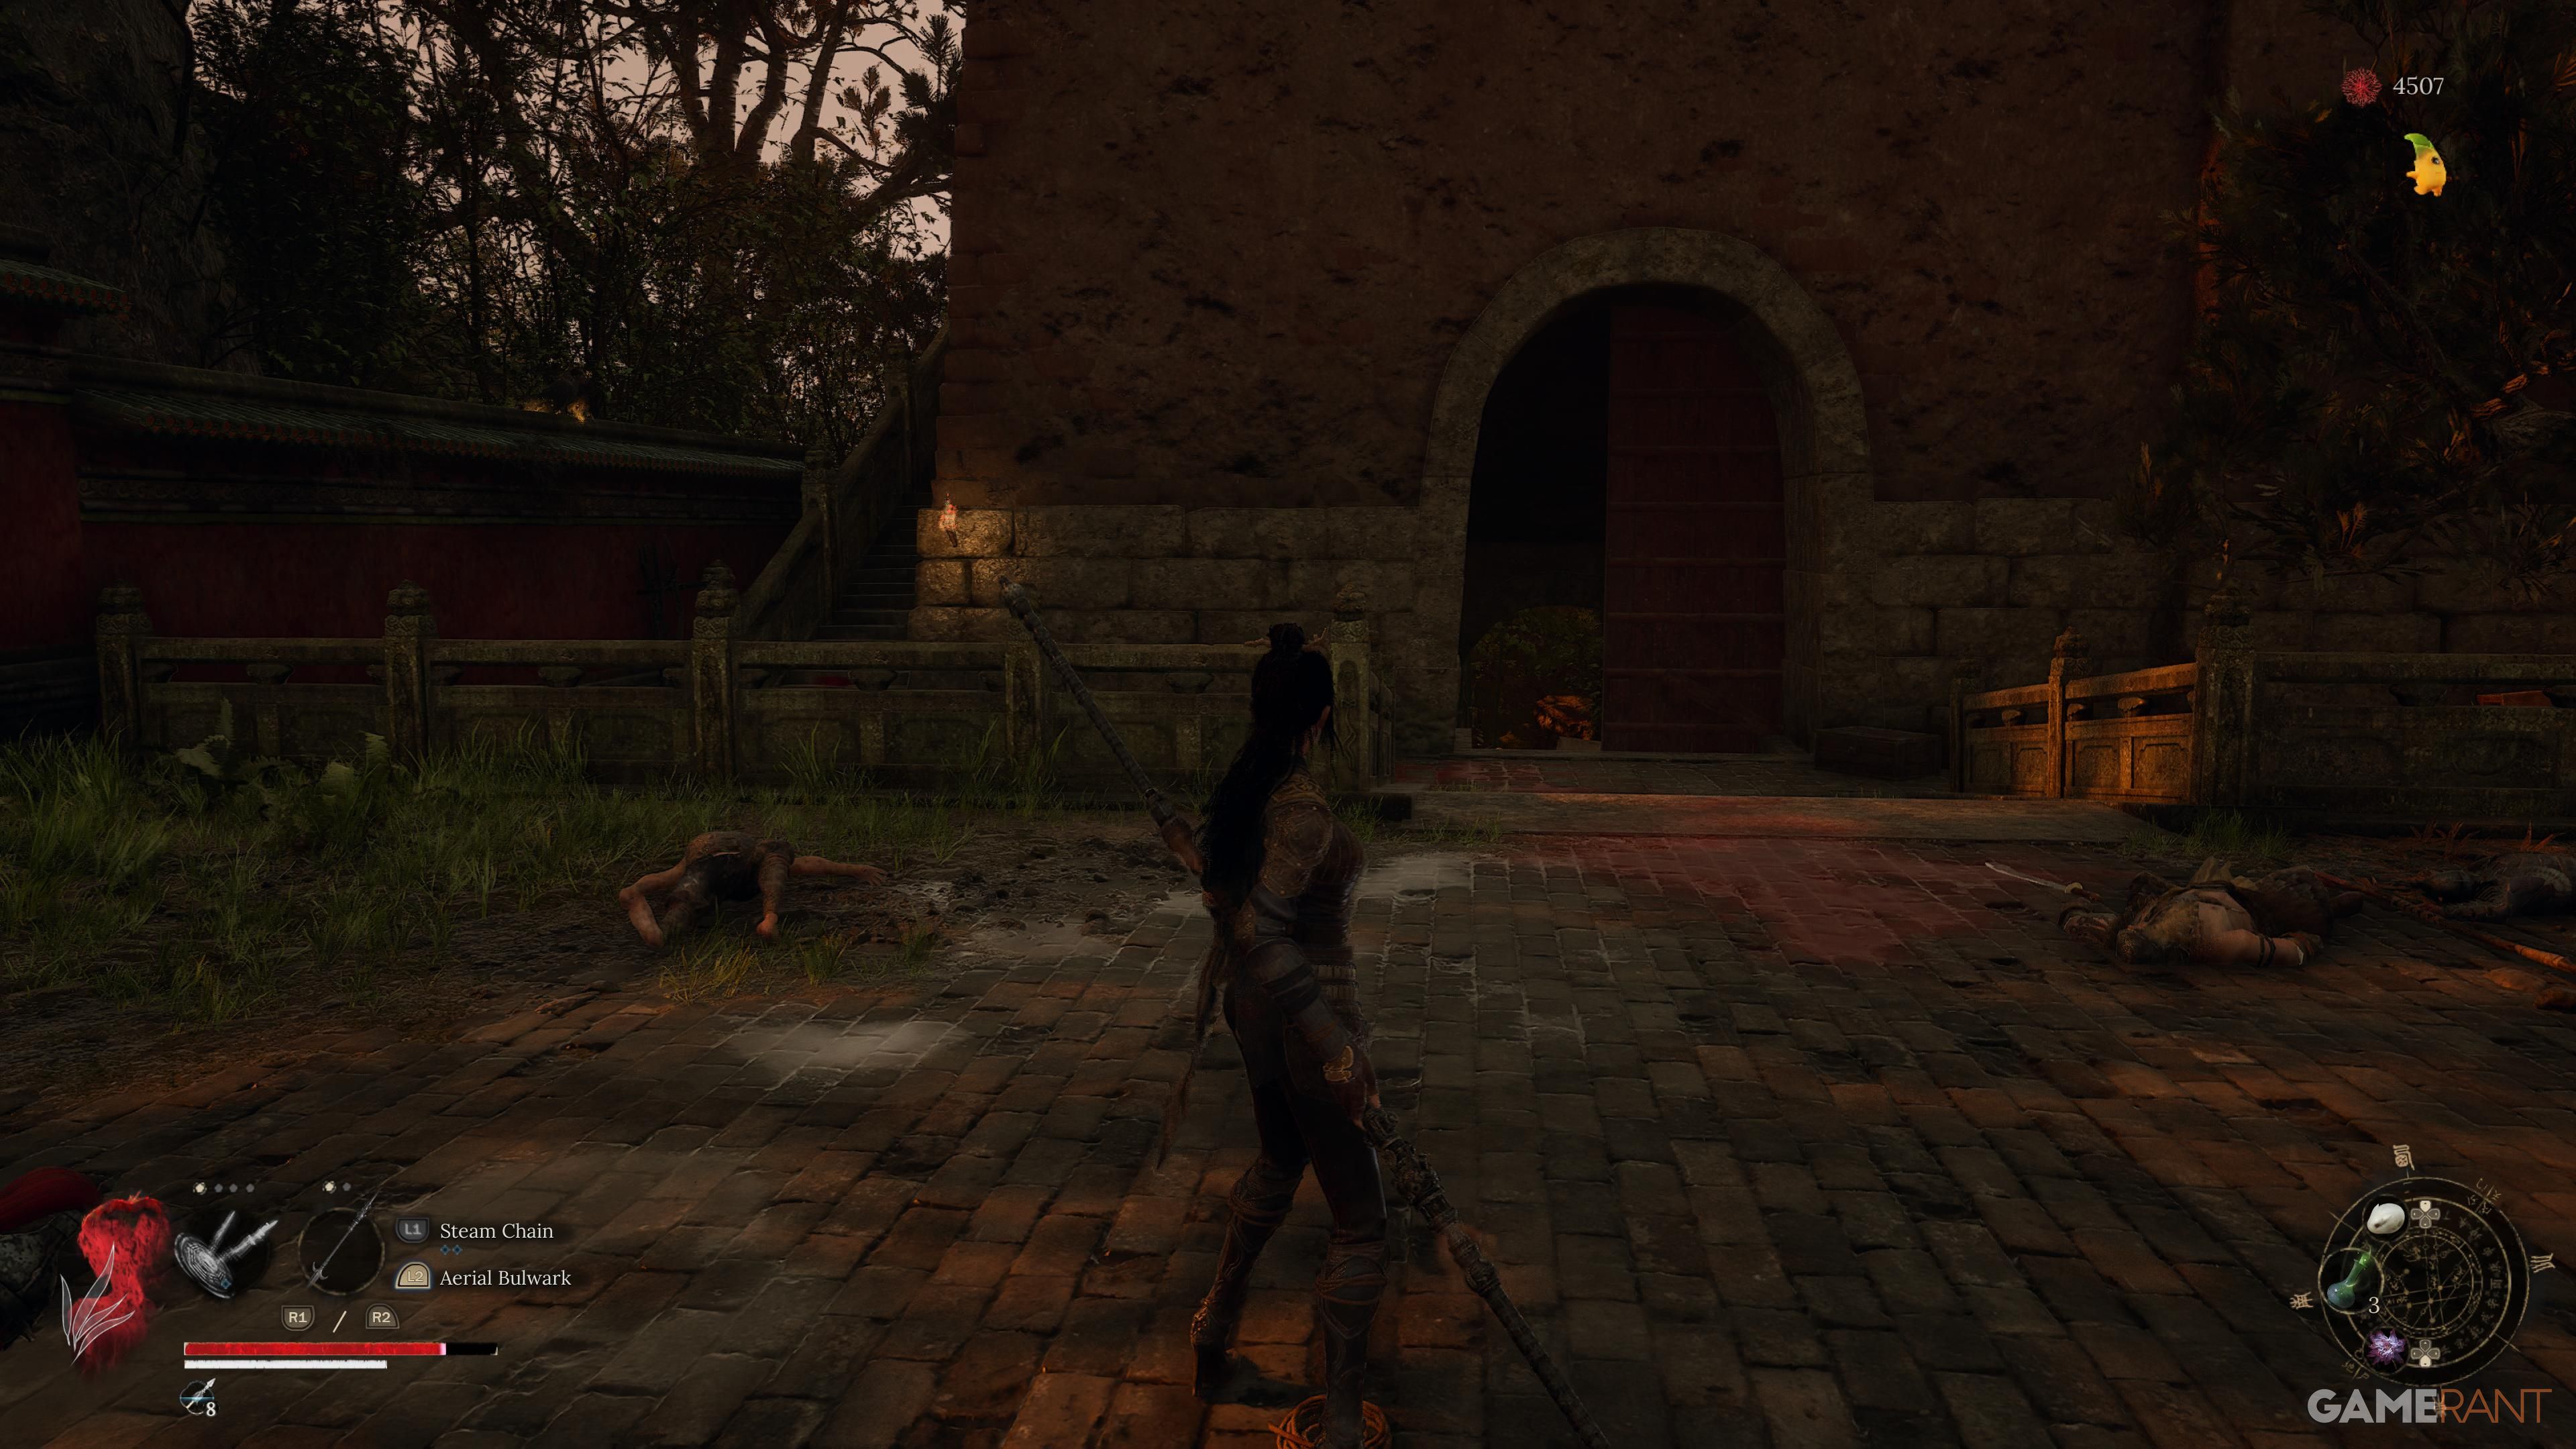
Make your way directly to the third Shrine, known as the Lightzen Temple. This is the final shrine before encountering the first boss, so remember to prepare your equipment and level up prior to advancing. After leaving the shrine, climb the stairs and bypass the two enemies in the courtyard. Continue onward towards the building in front of you, and you should find a gate that leads to the battle with Master Raider – Man-eating Dhutanga.
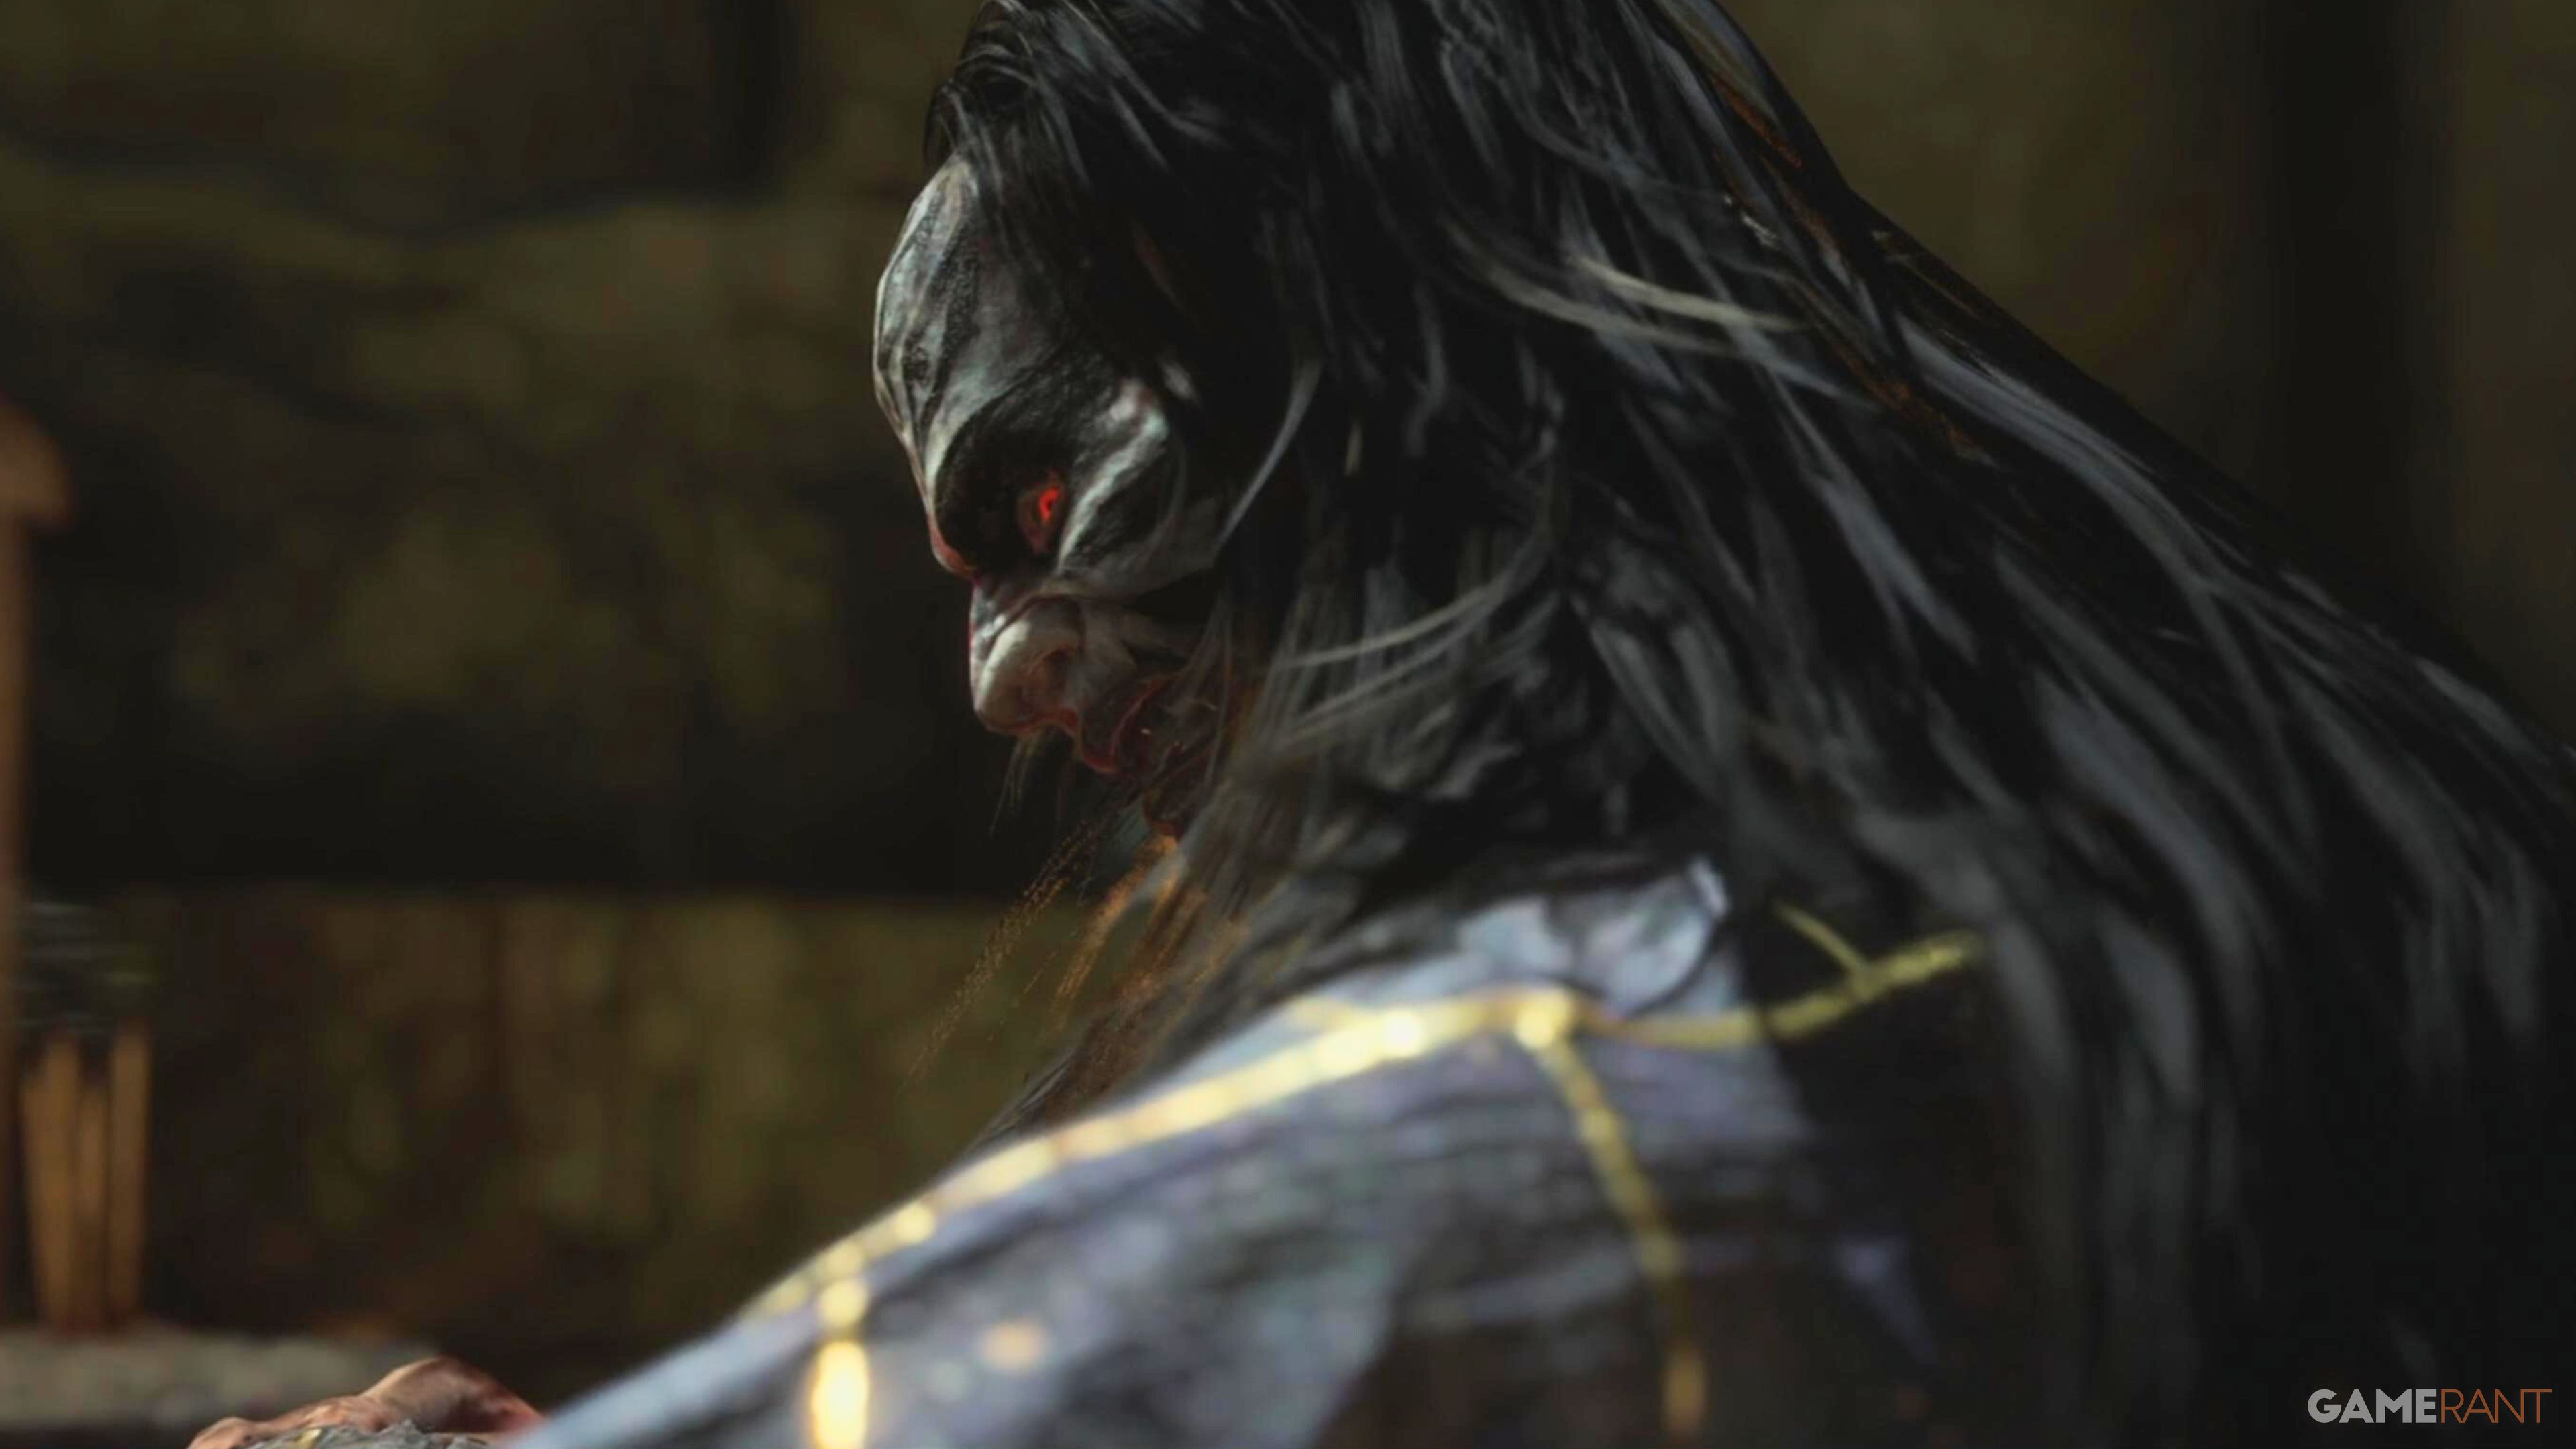
Feathered Priest – Lu Bingzhang
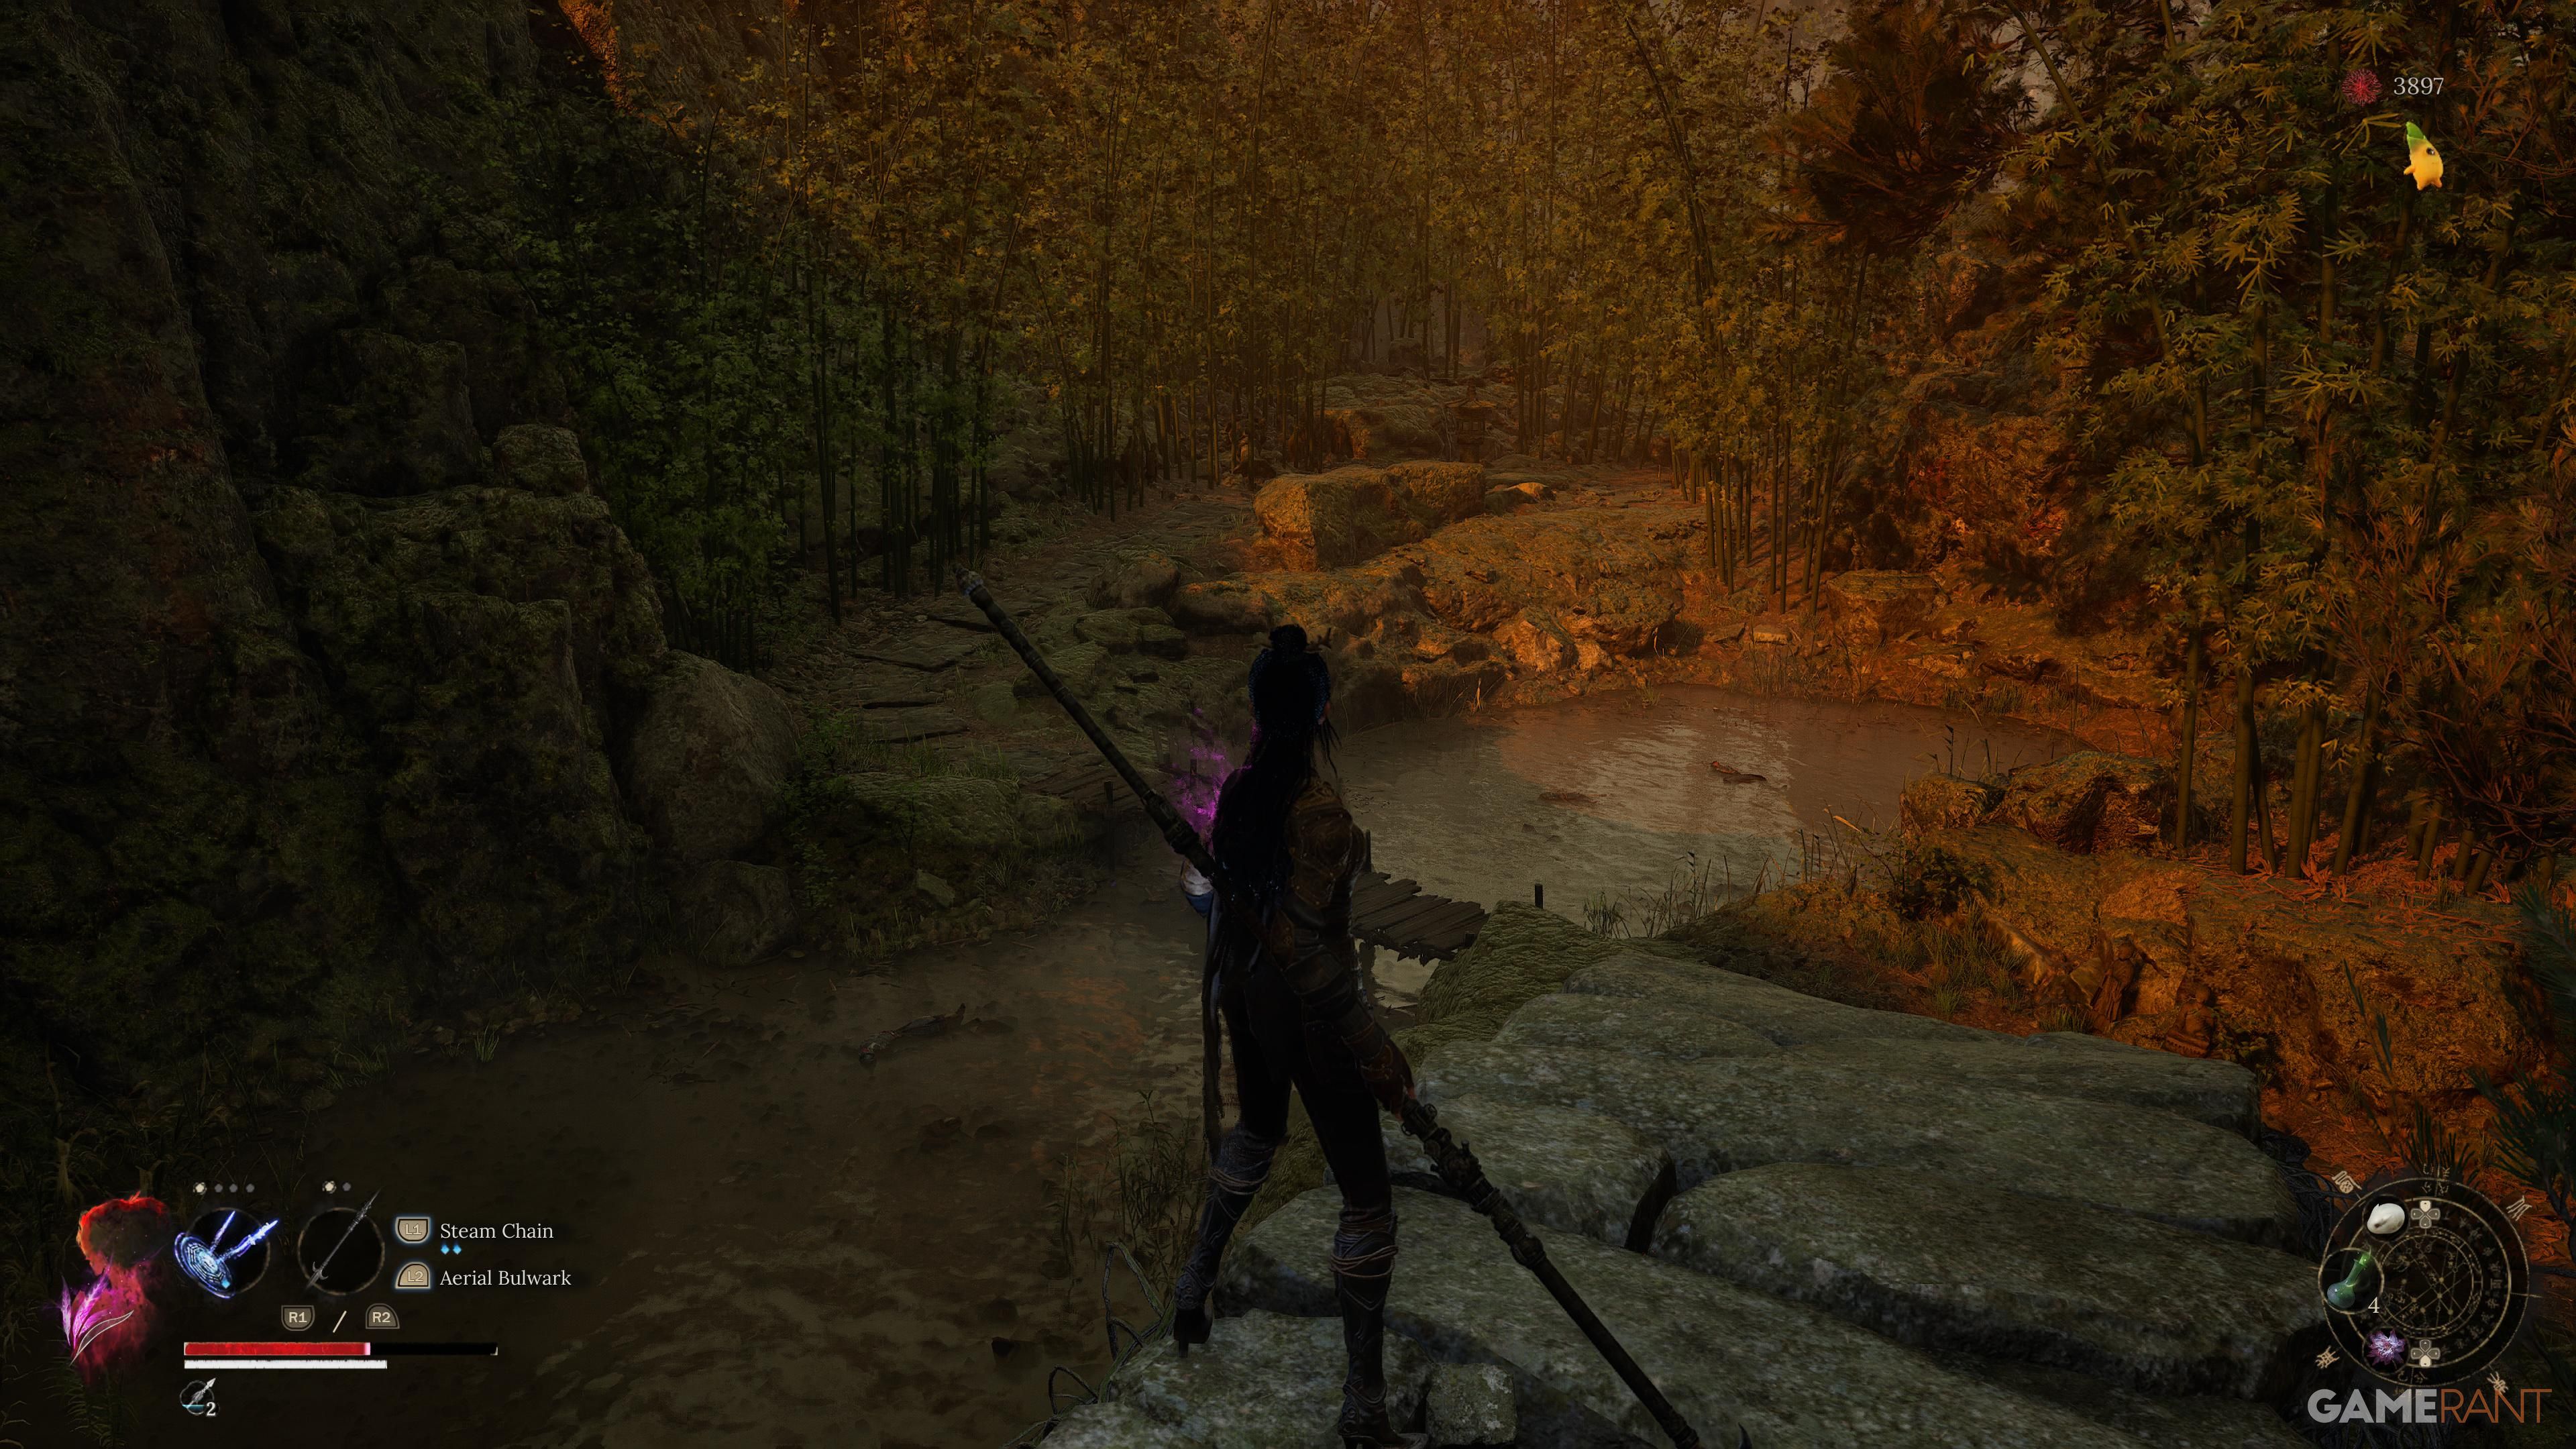
After defeating the first boss, make your way back to the shrine. Instead of going the same way, choose the opposite direction this time to open the door with the Lightzen Key. As you go, turn right and follow the straightforward path heading towards Narrow Stretch. You’ll notice a set of stairs on your left side, while a path leading to the Panda vendor, who trades items for Bamboo Shoots, is situated on your right.
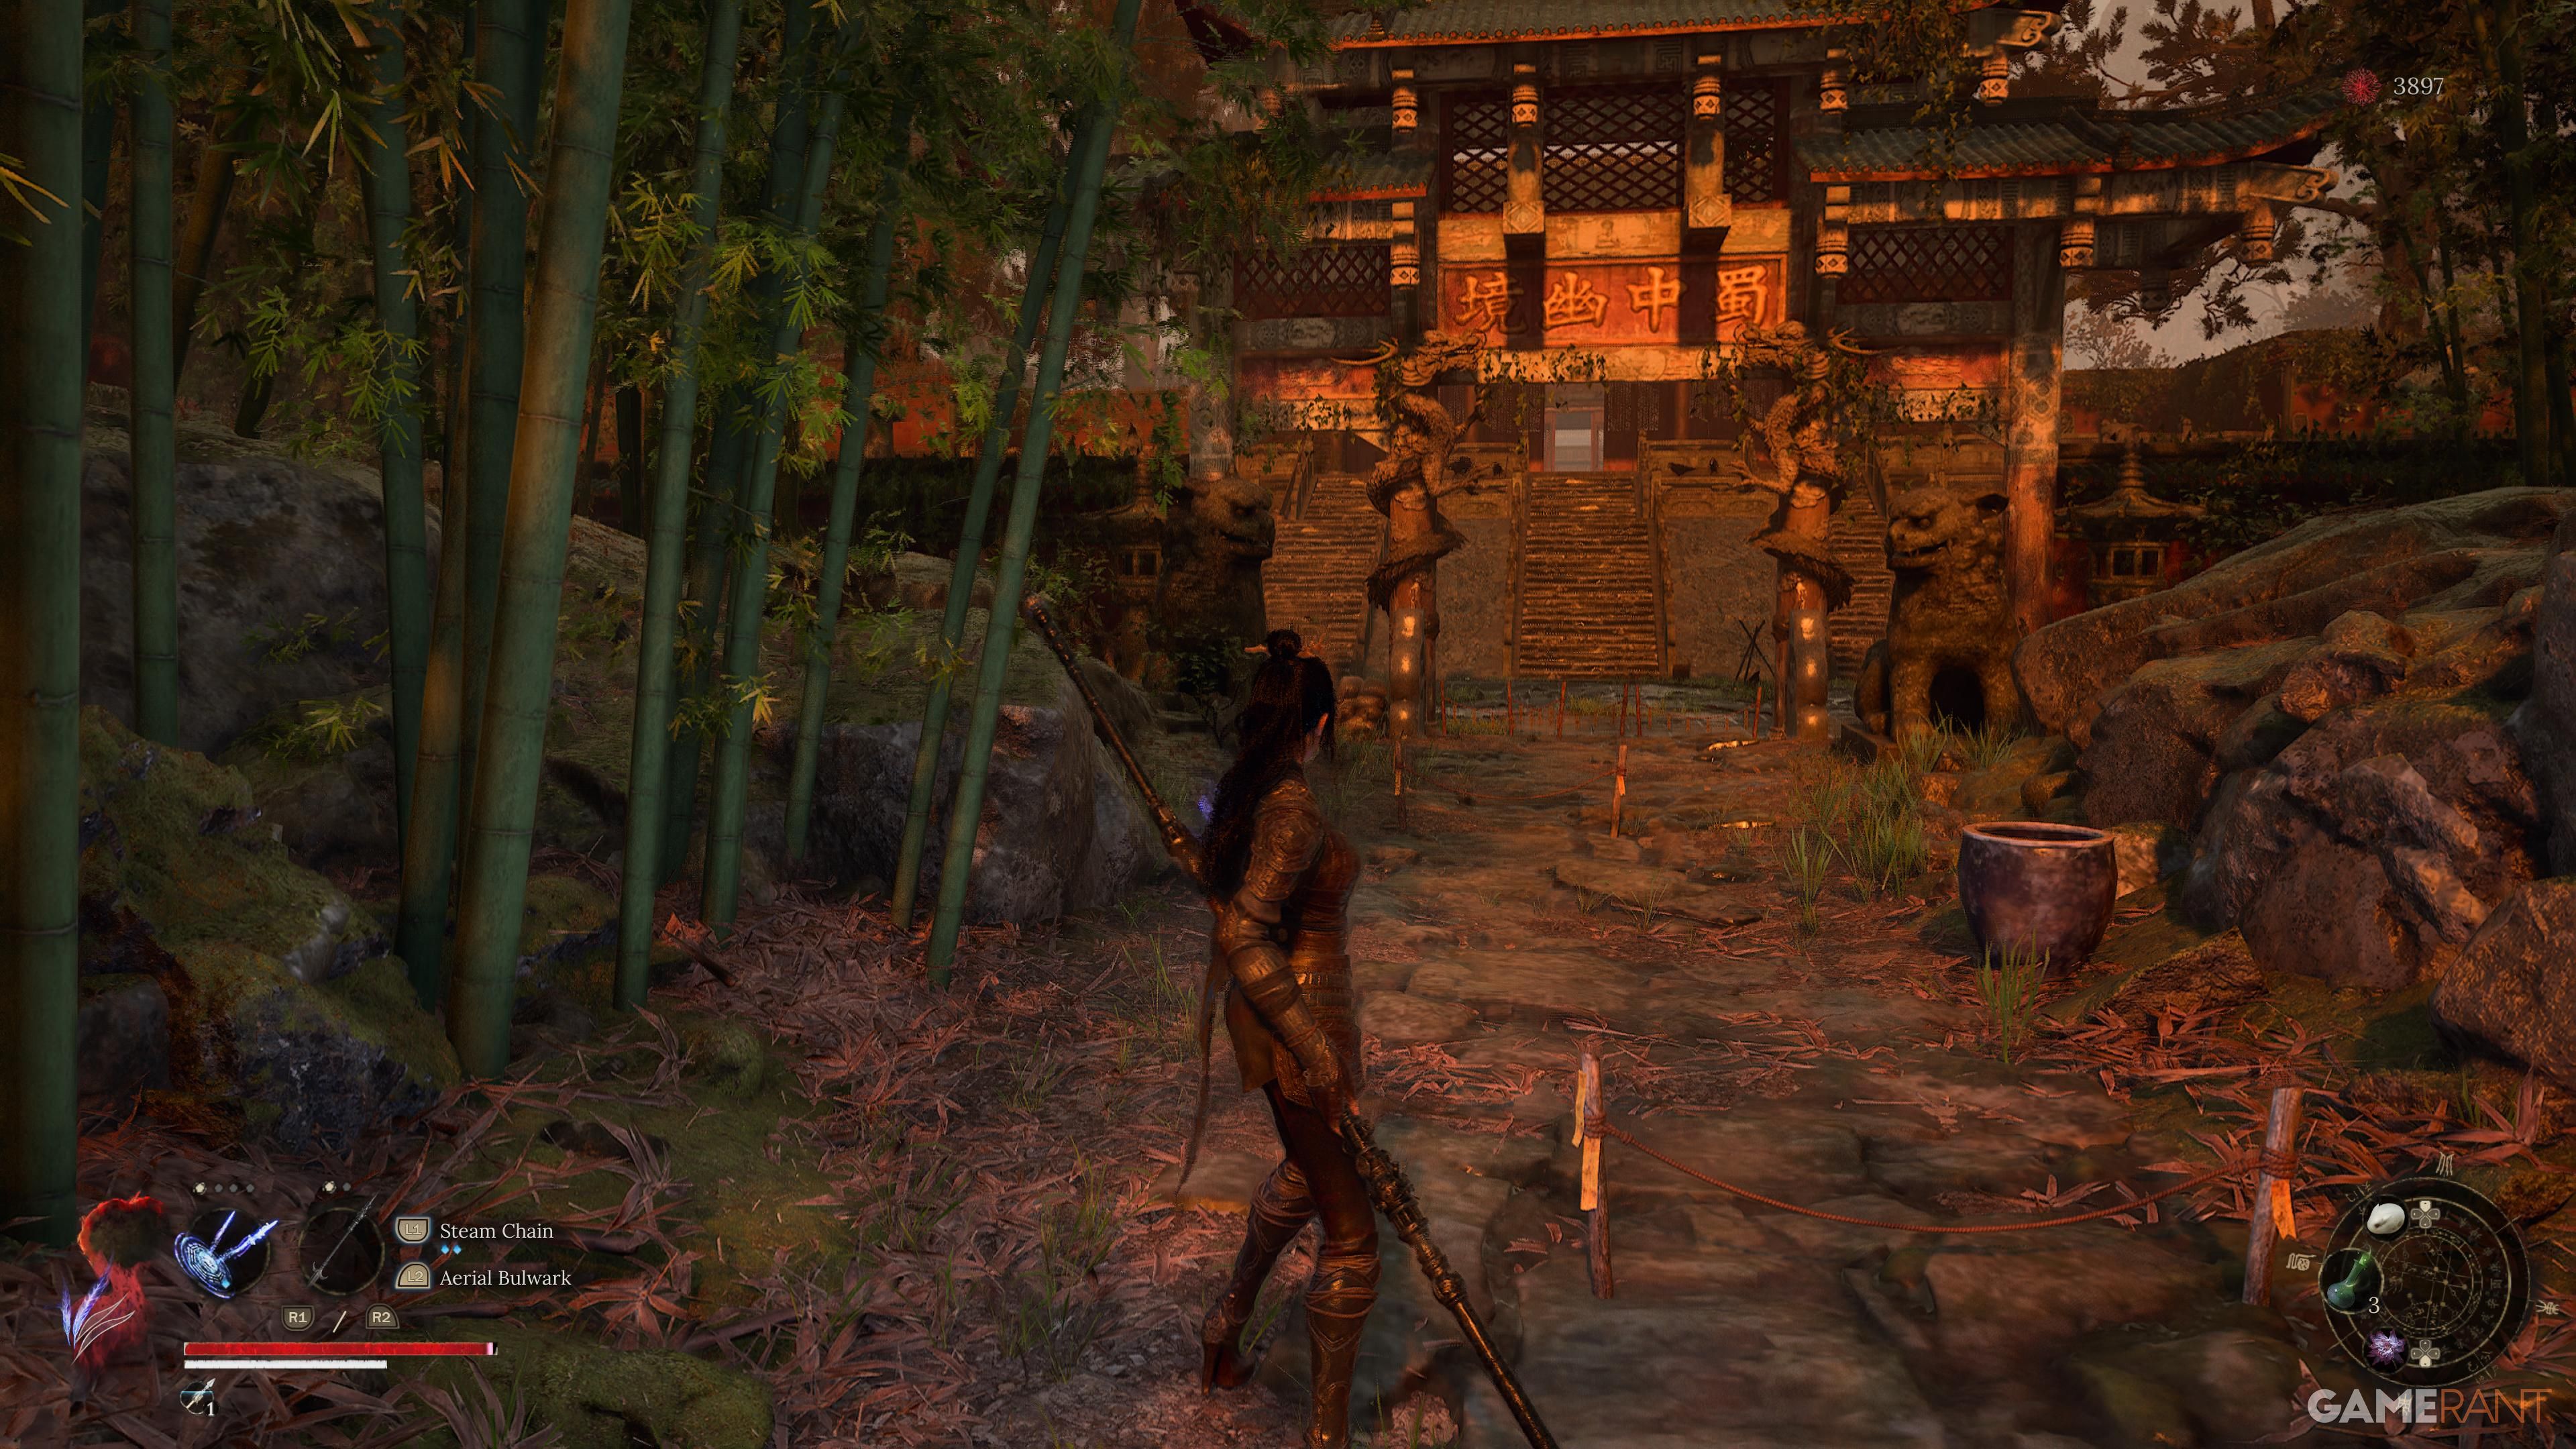
Make your way up the stairs on the left side and continue moving left until you come across a powerful, armored enemy. Defeating him will earn you the Ming Armor, which is beneficial early in the game. If your health is low, it might be wiser to bypass him. Just ahead lies the Shu Sanctum, where you’ll find your next Shrine and several NPCs, making this a crucial location.
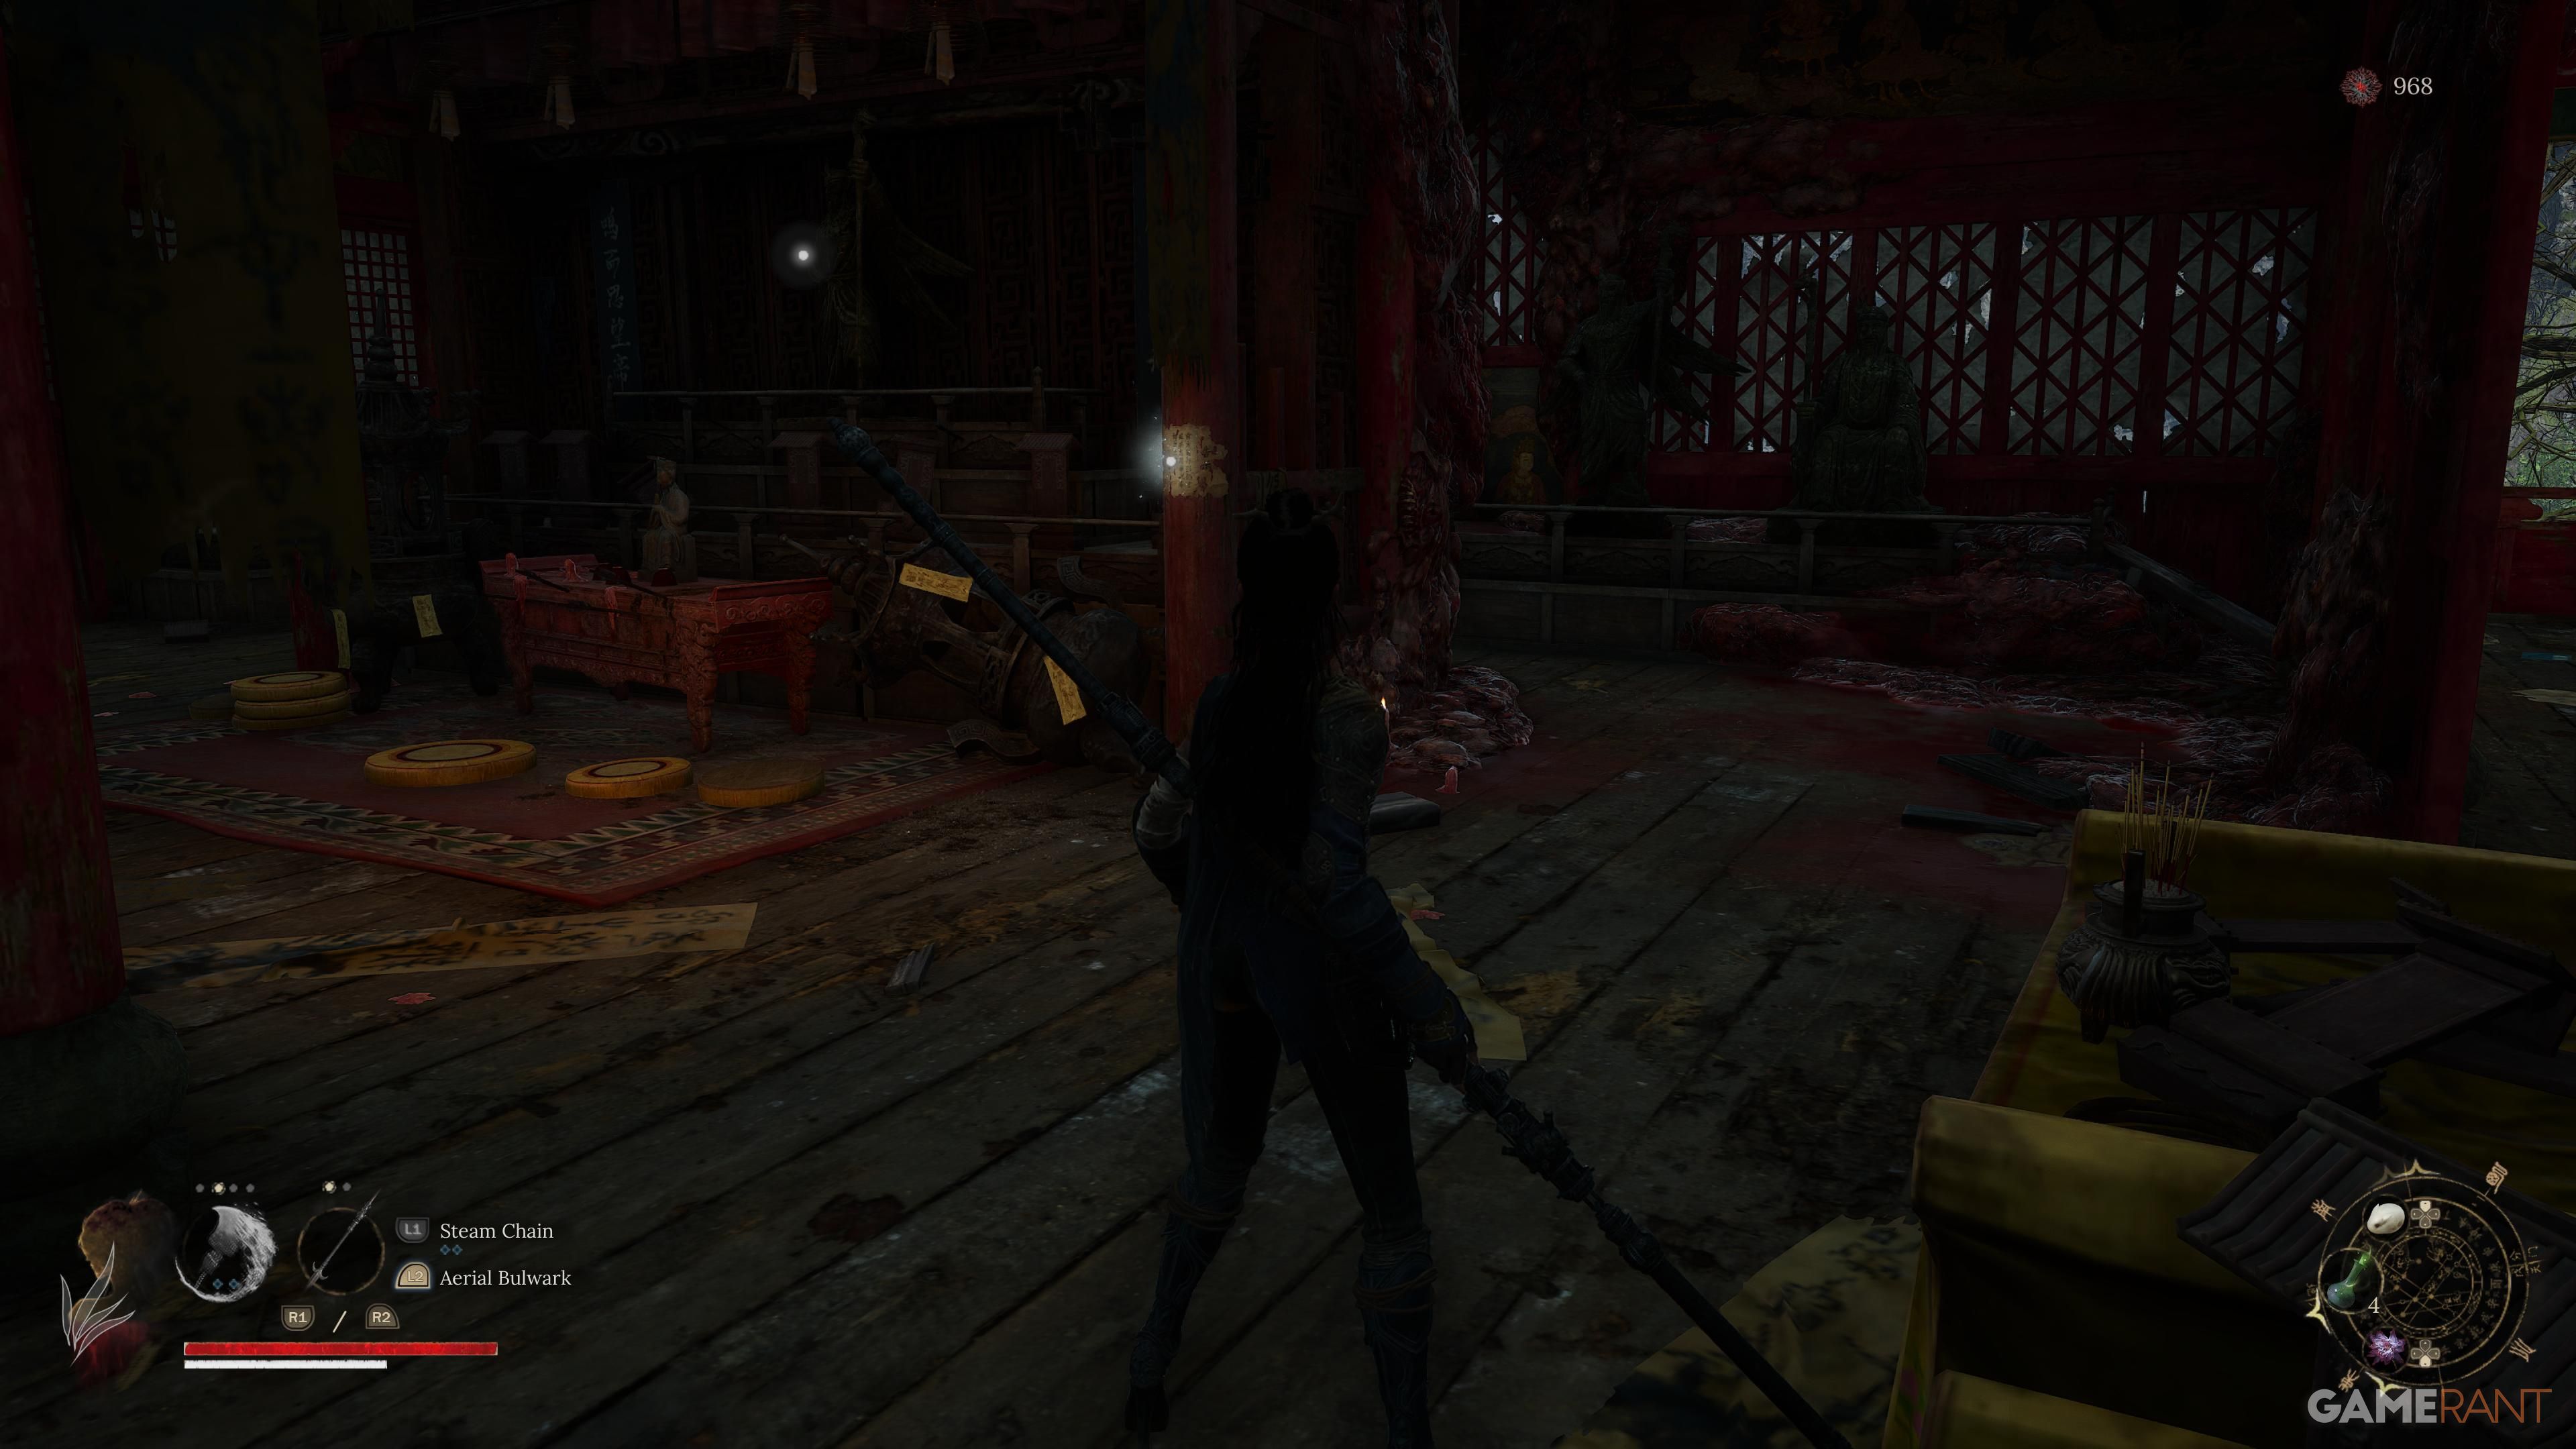
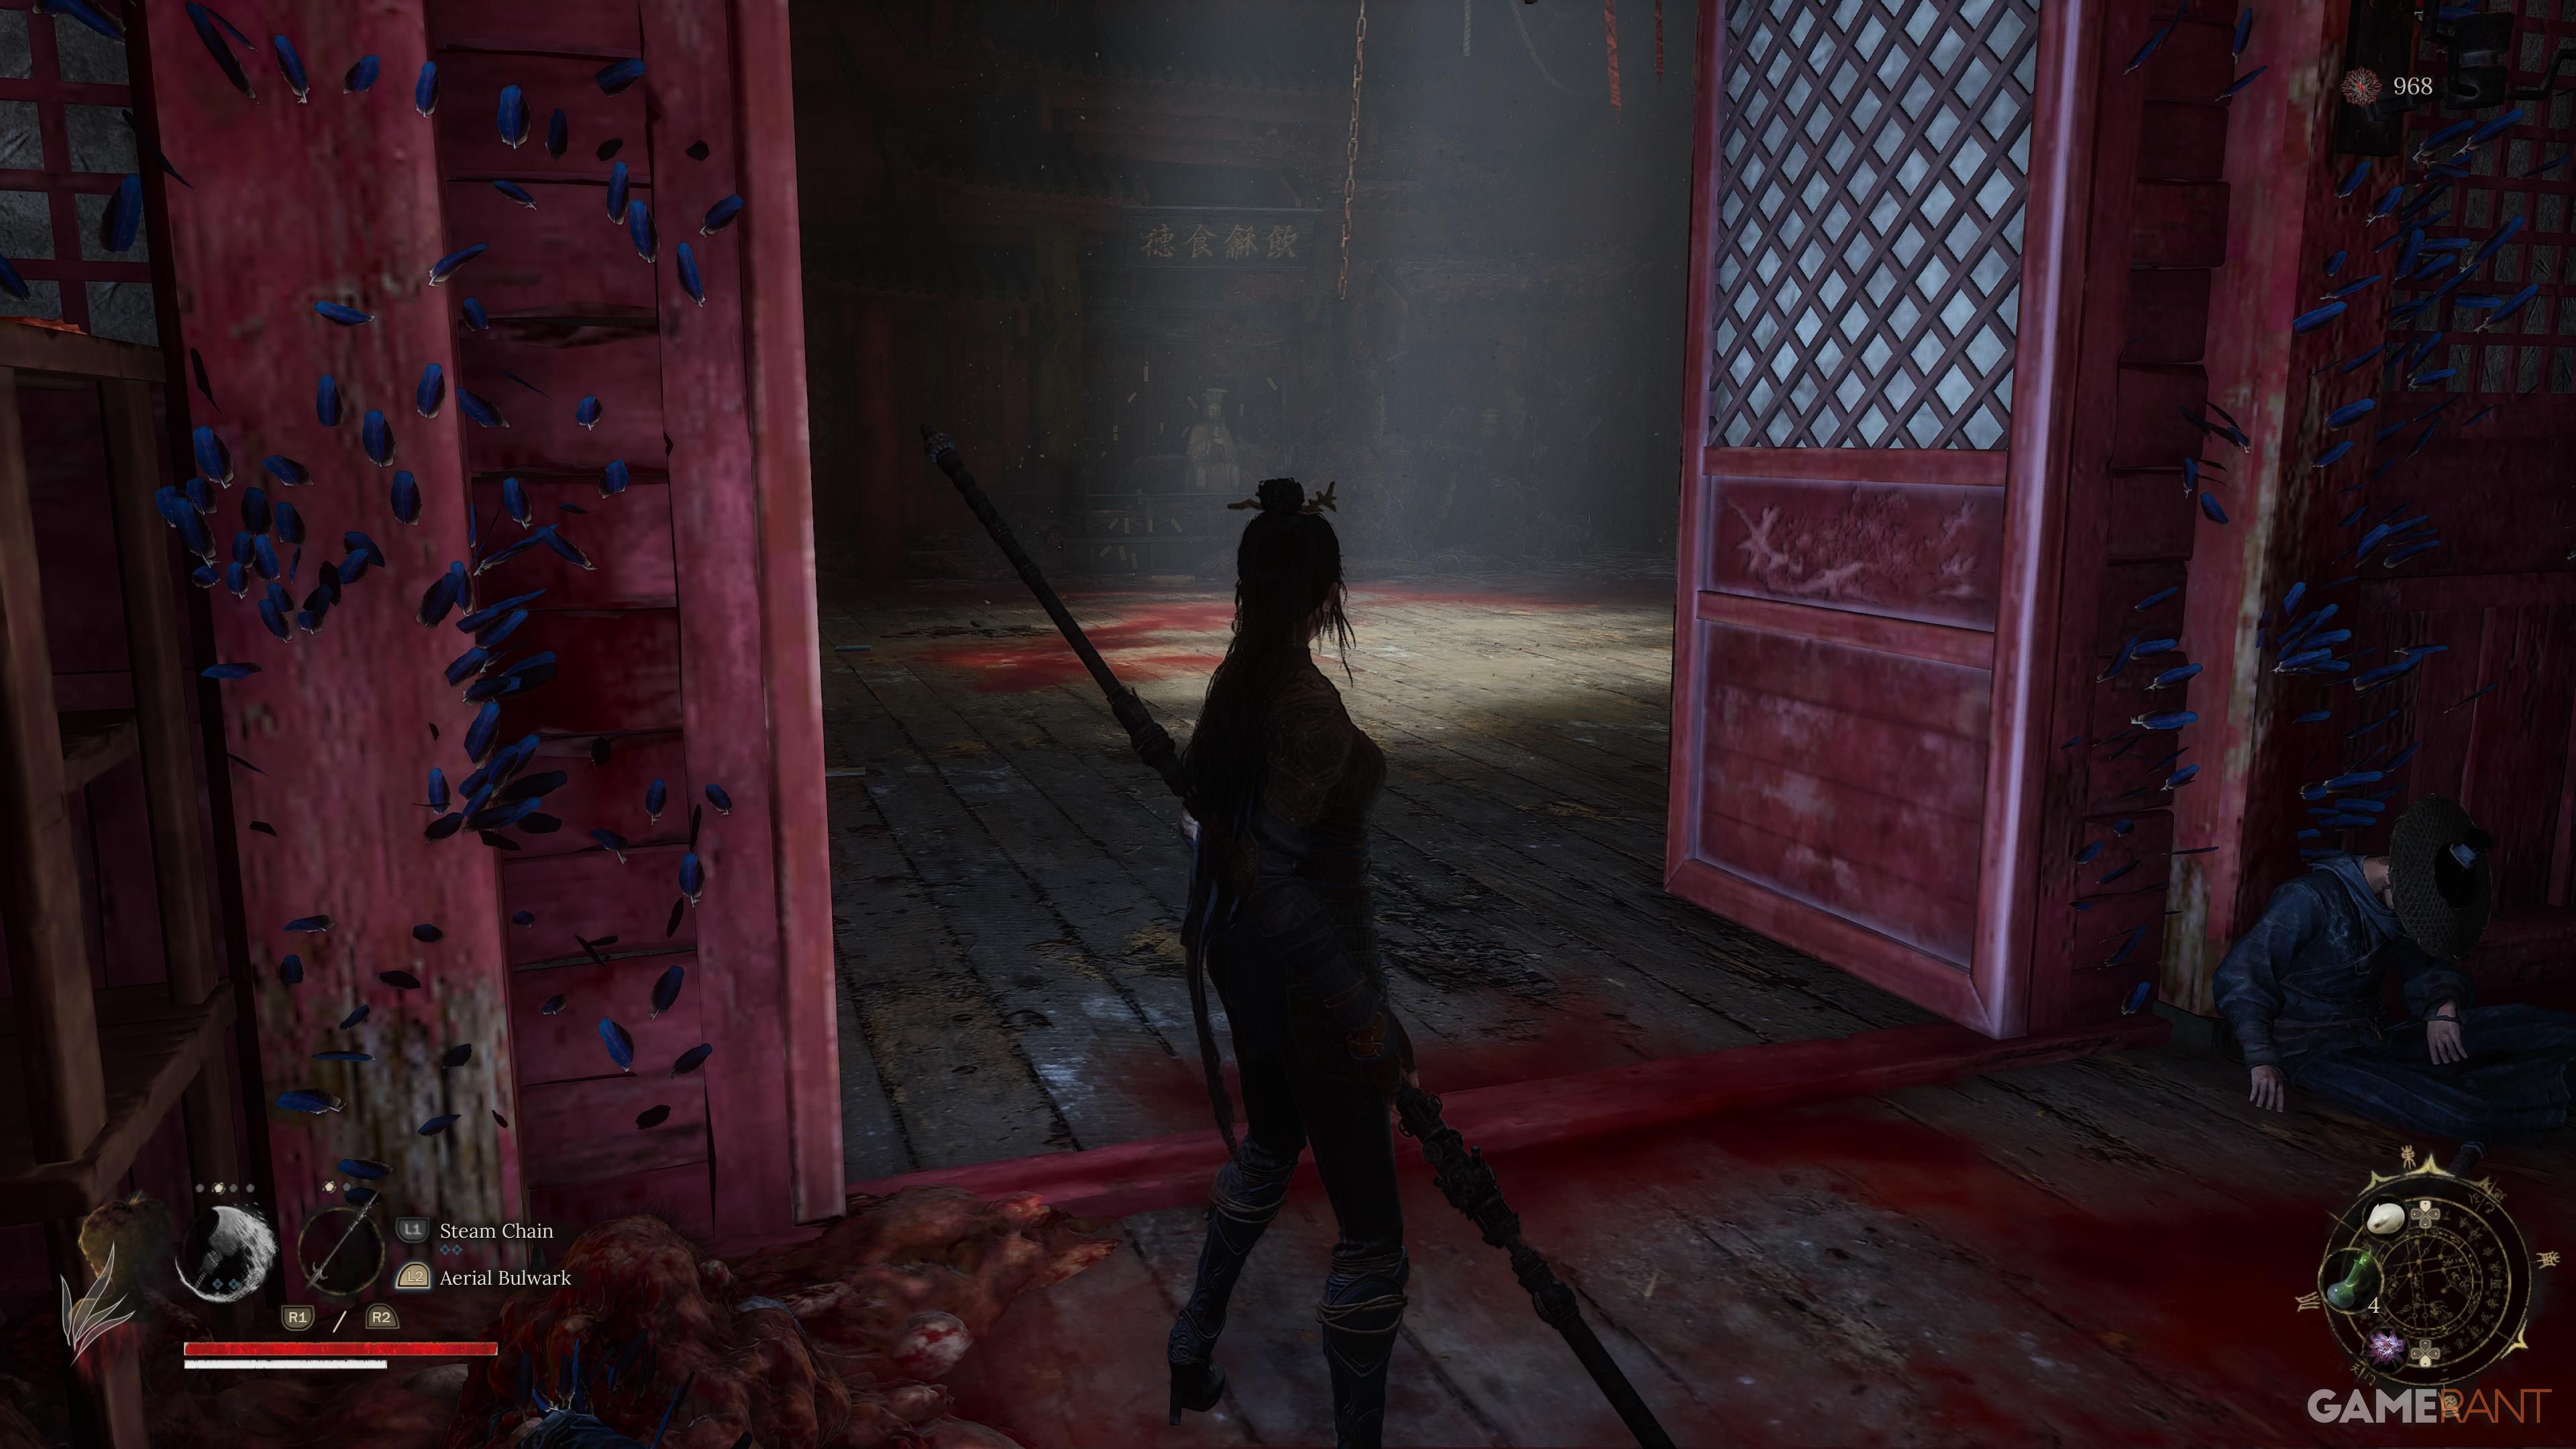
Starting from the shrine, ascend the first set of stairs and follow by climbing another stairway which takes you to the uppermost level. Upon reaching there, you’ll encounter a door that opens into the chamber where the Lu Bingzhang, the Feathered Priest boss resides.
As a gamer, I always ensure my trusty Purple Camellia is readily available on my hotkey setup. This magical item comes handy in battles since the boss tends to unleash attacks that accumulate Corruption. Having it within easy reach ensures I can use it promptly during combat.
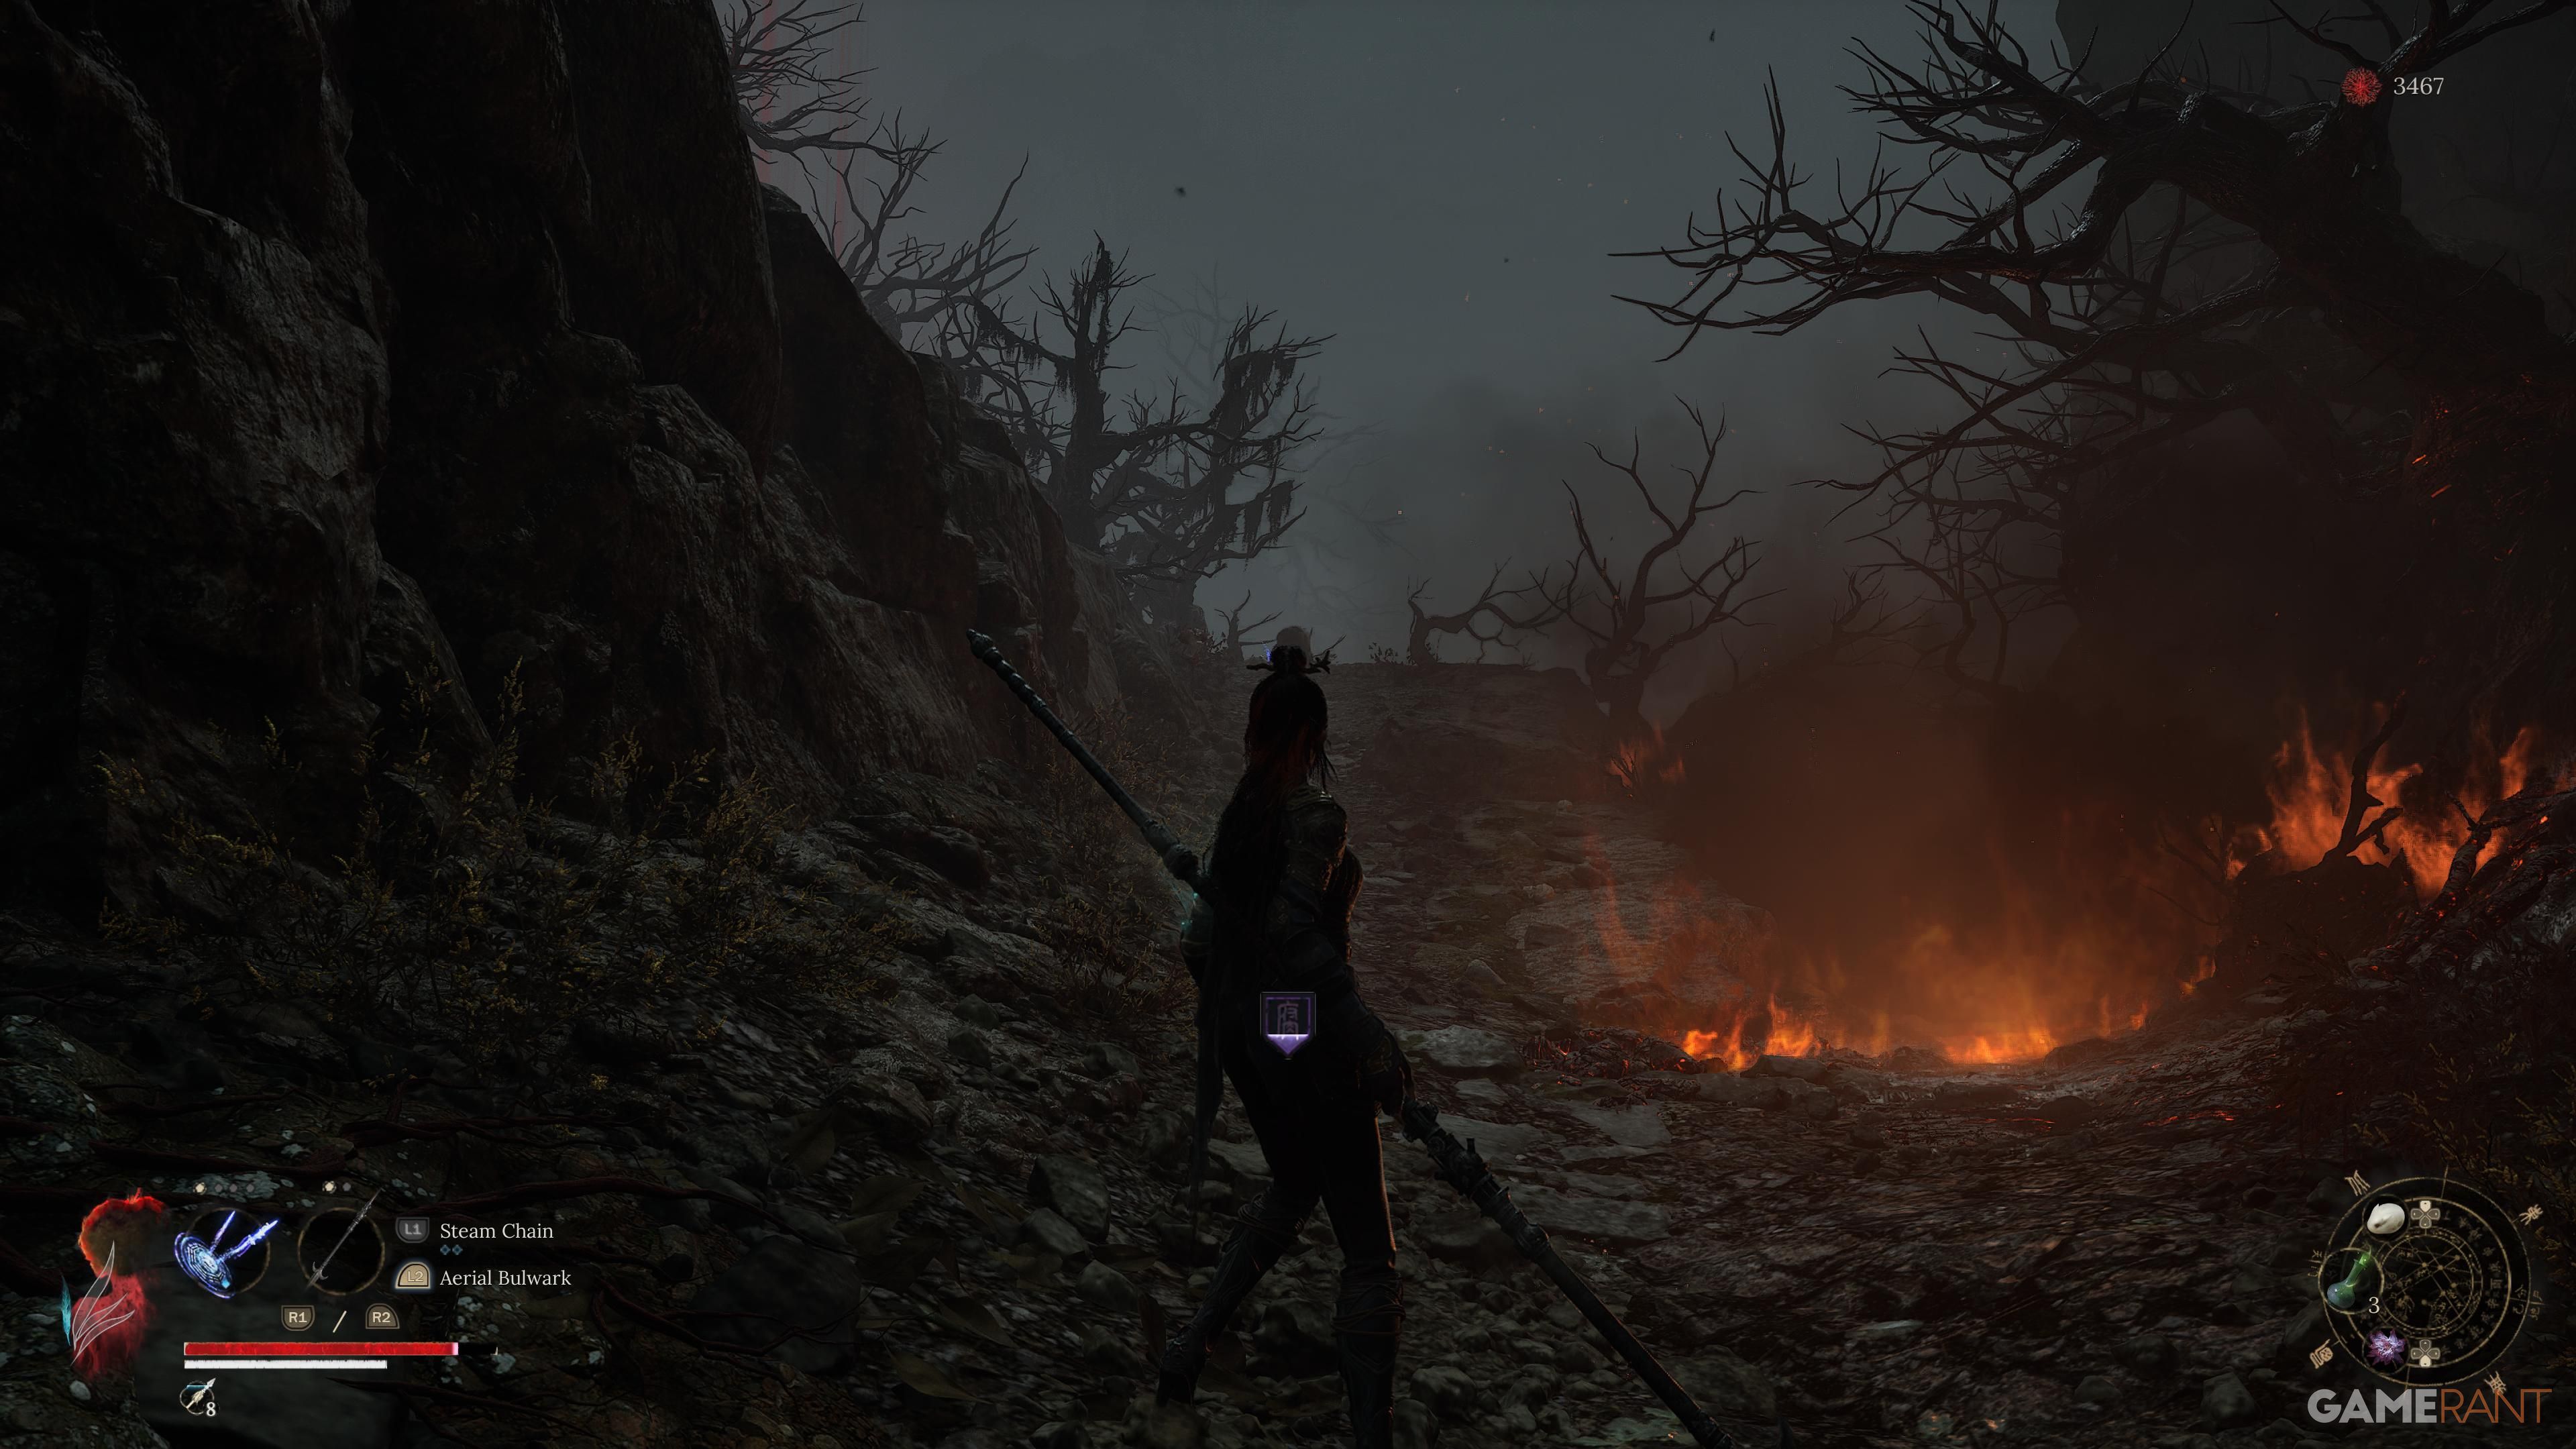
Gluttonous Monstrosity – Lu Hongliu
From the Shu Sanctum Shrine, retrace your steps to where you encountered a stronger opponent who dropped the Ming Armor set, then veer right. Although it might seem there’s a gap, you can cross over easily. Continue descending the stairs and keep moving forward. Eventually, you’ll come across a fork in the path with three directions – choose the one on the right, which has a staircase leading up and two dogs visible. Ascend, pass through the structure, and take a right while dodging the boulder that tumbles down.
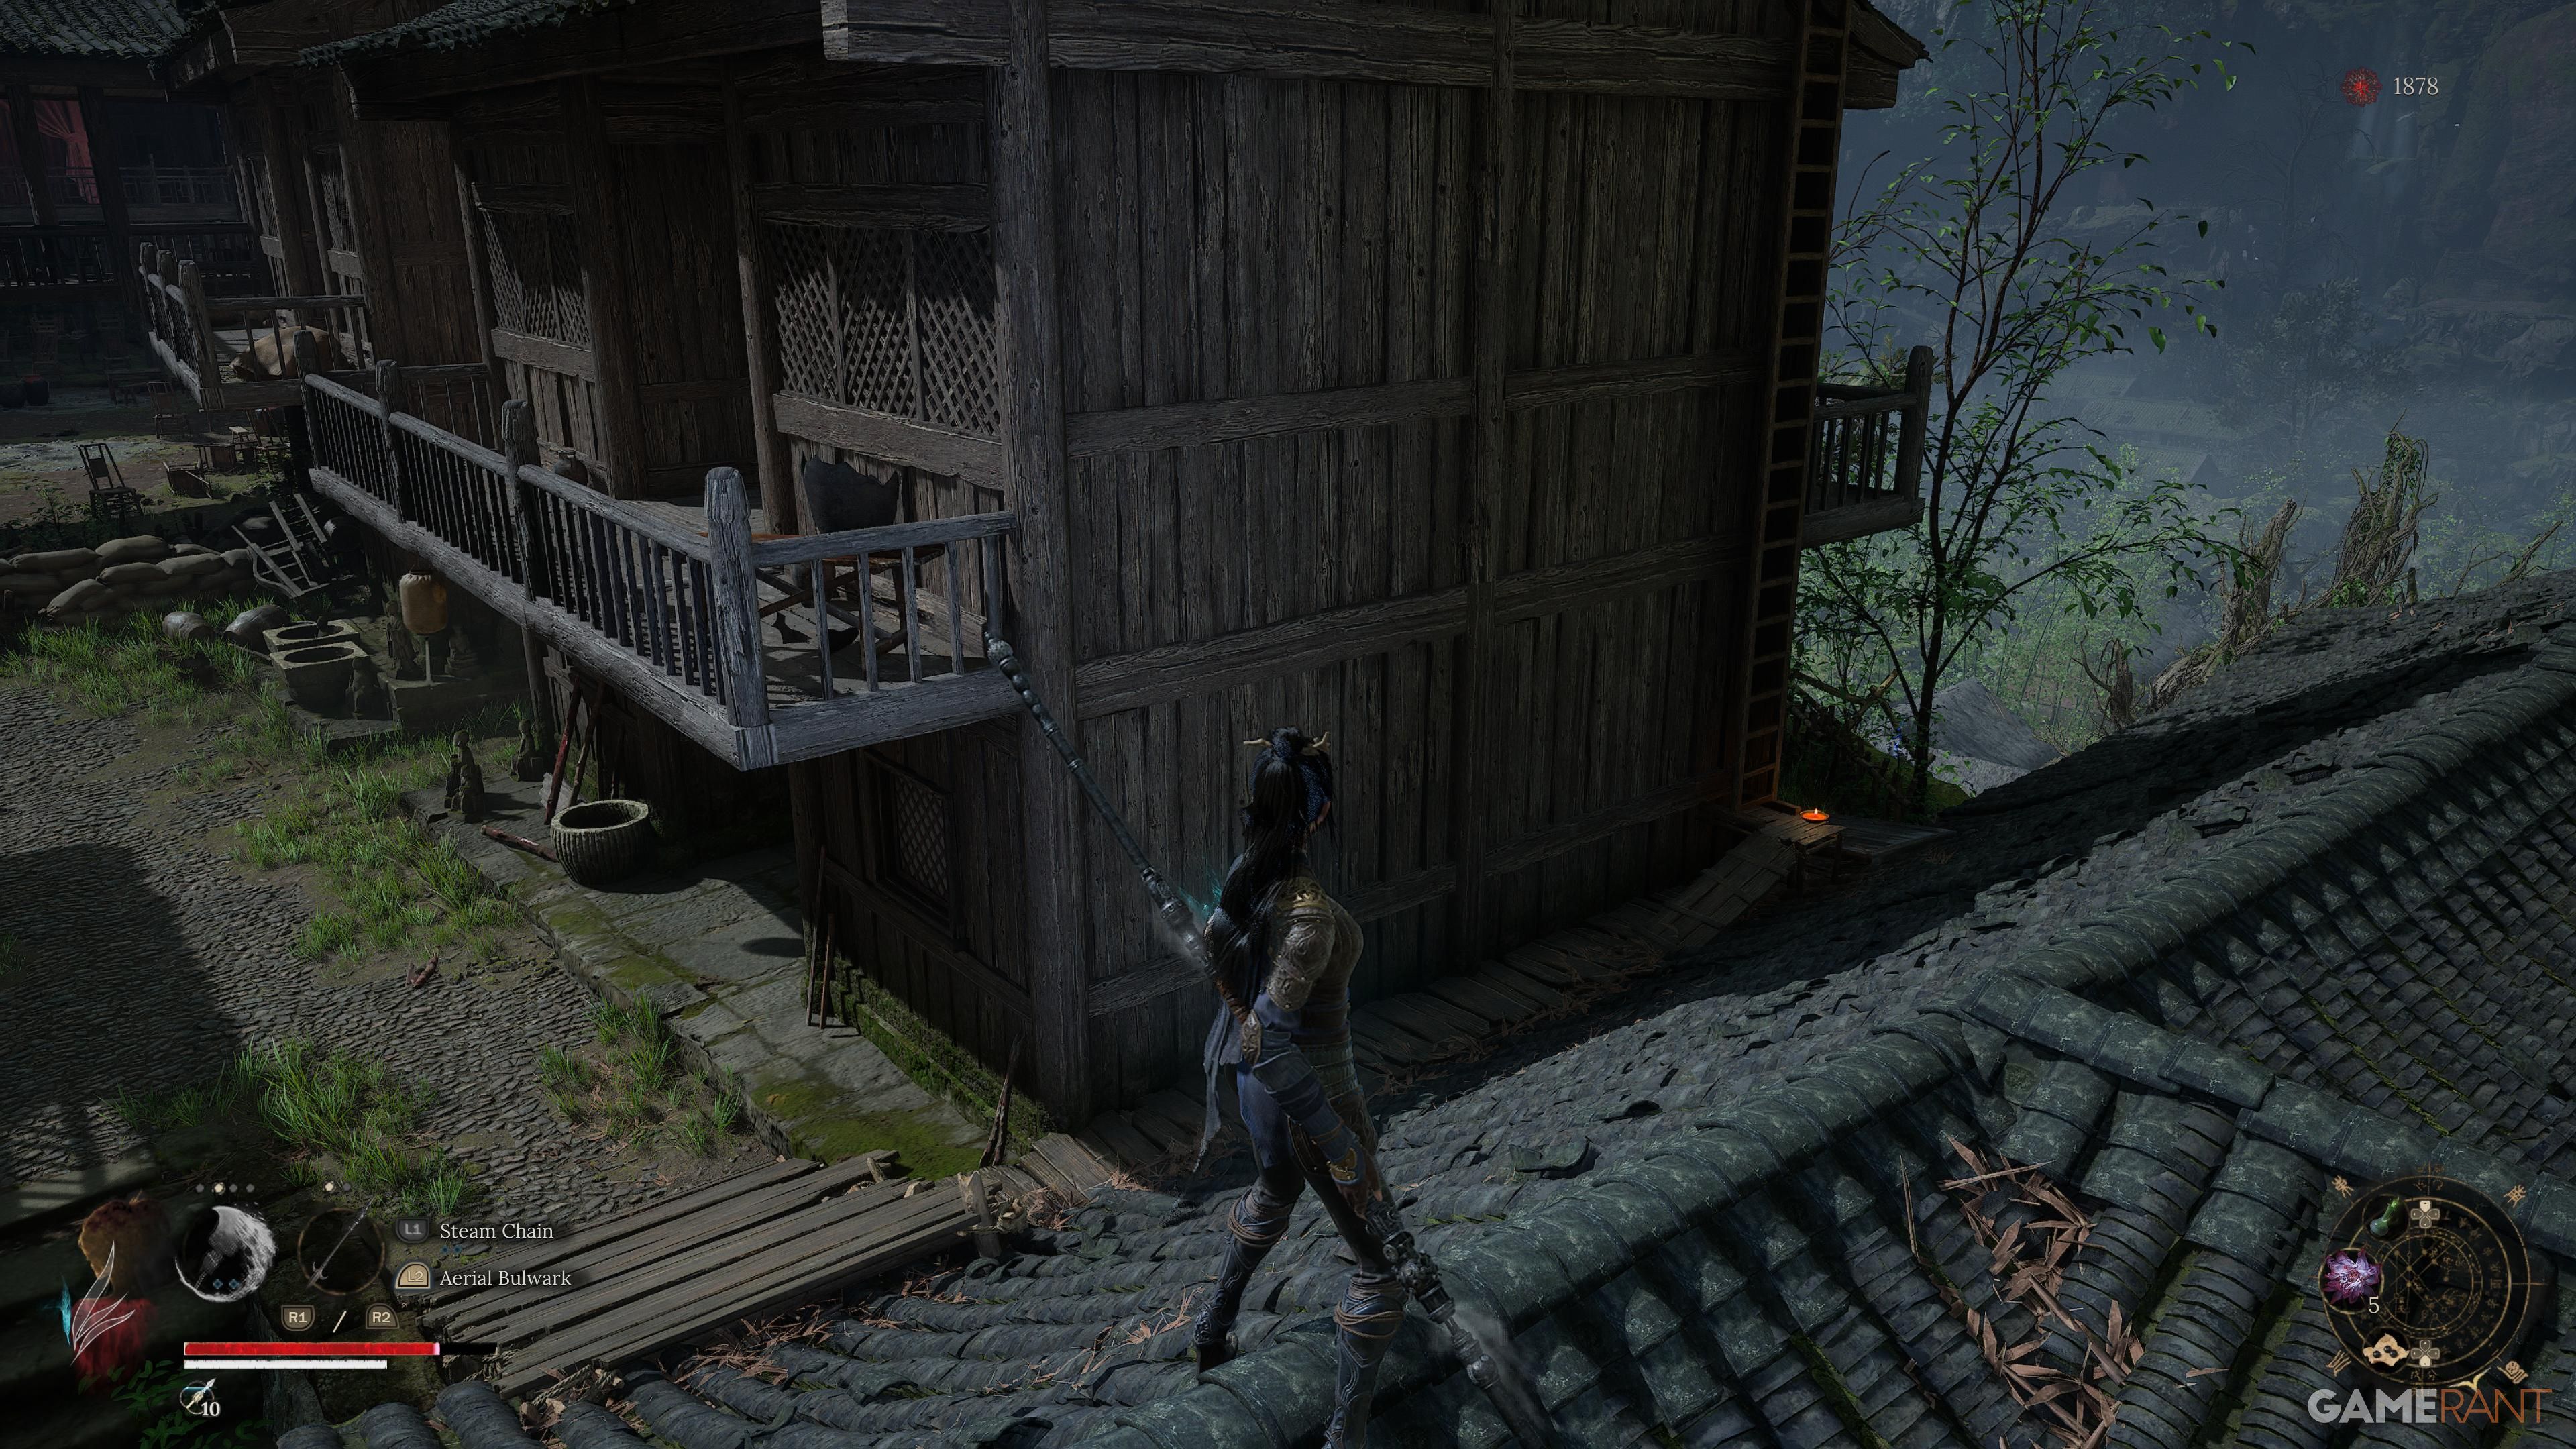
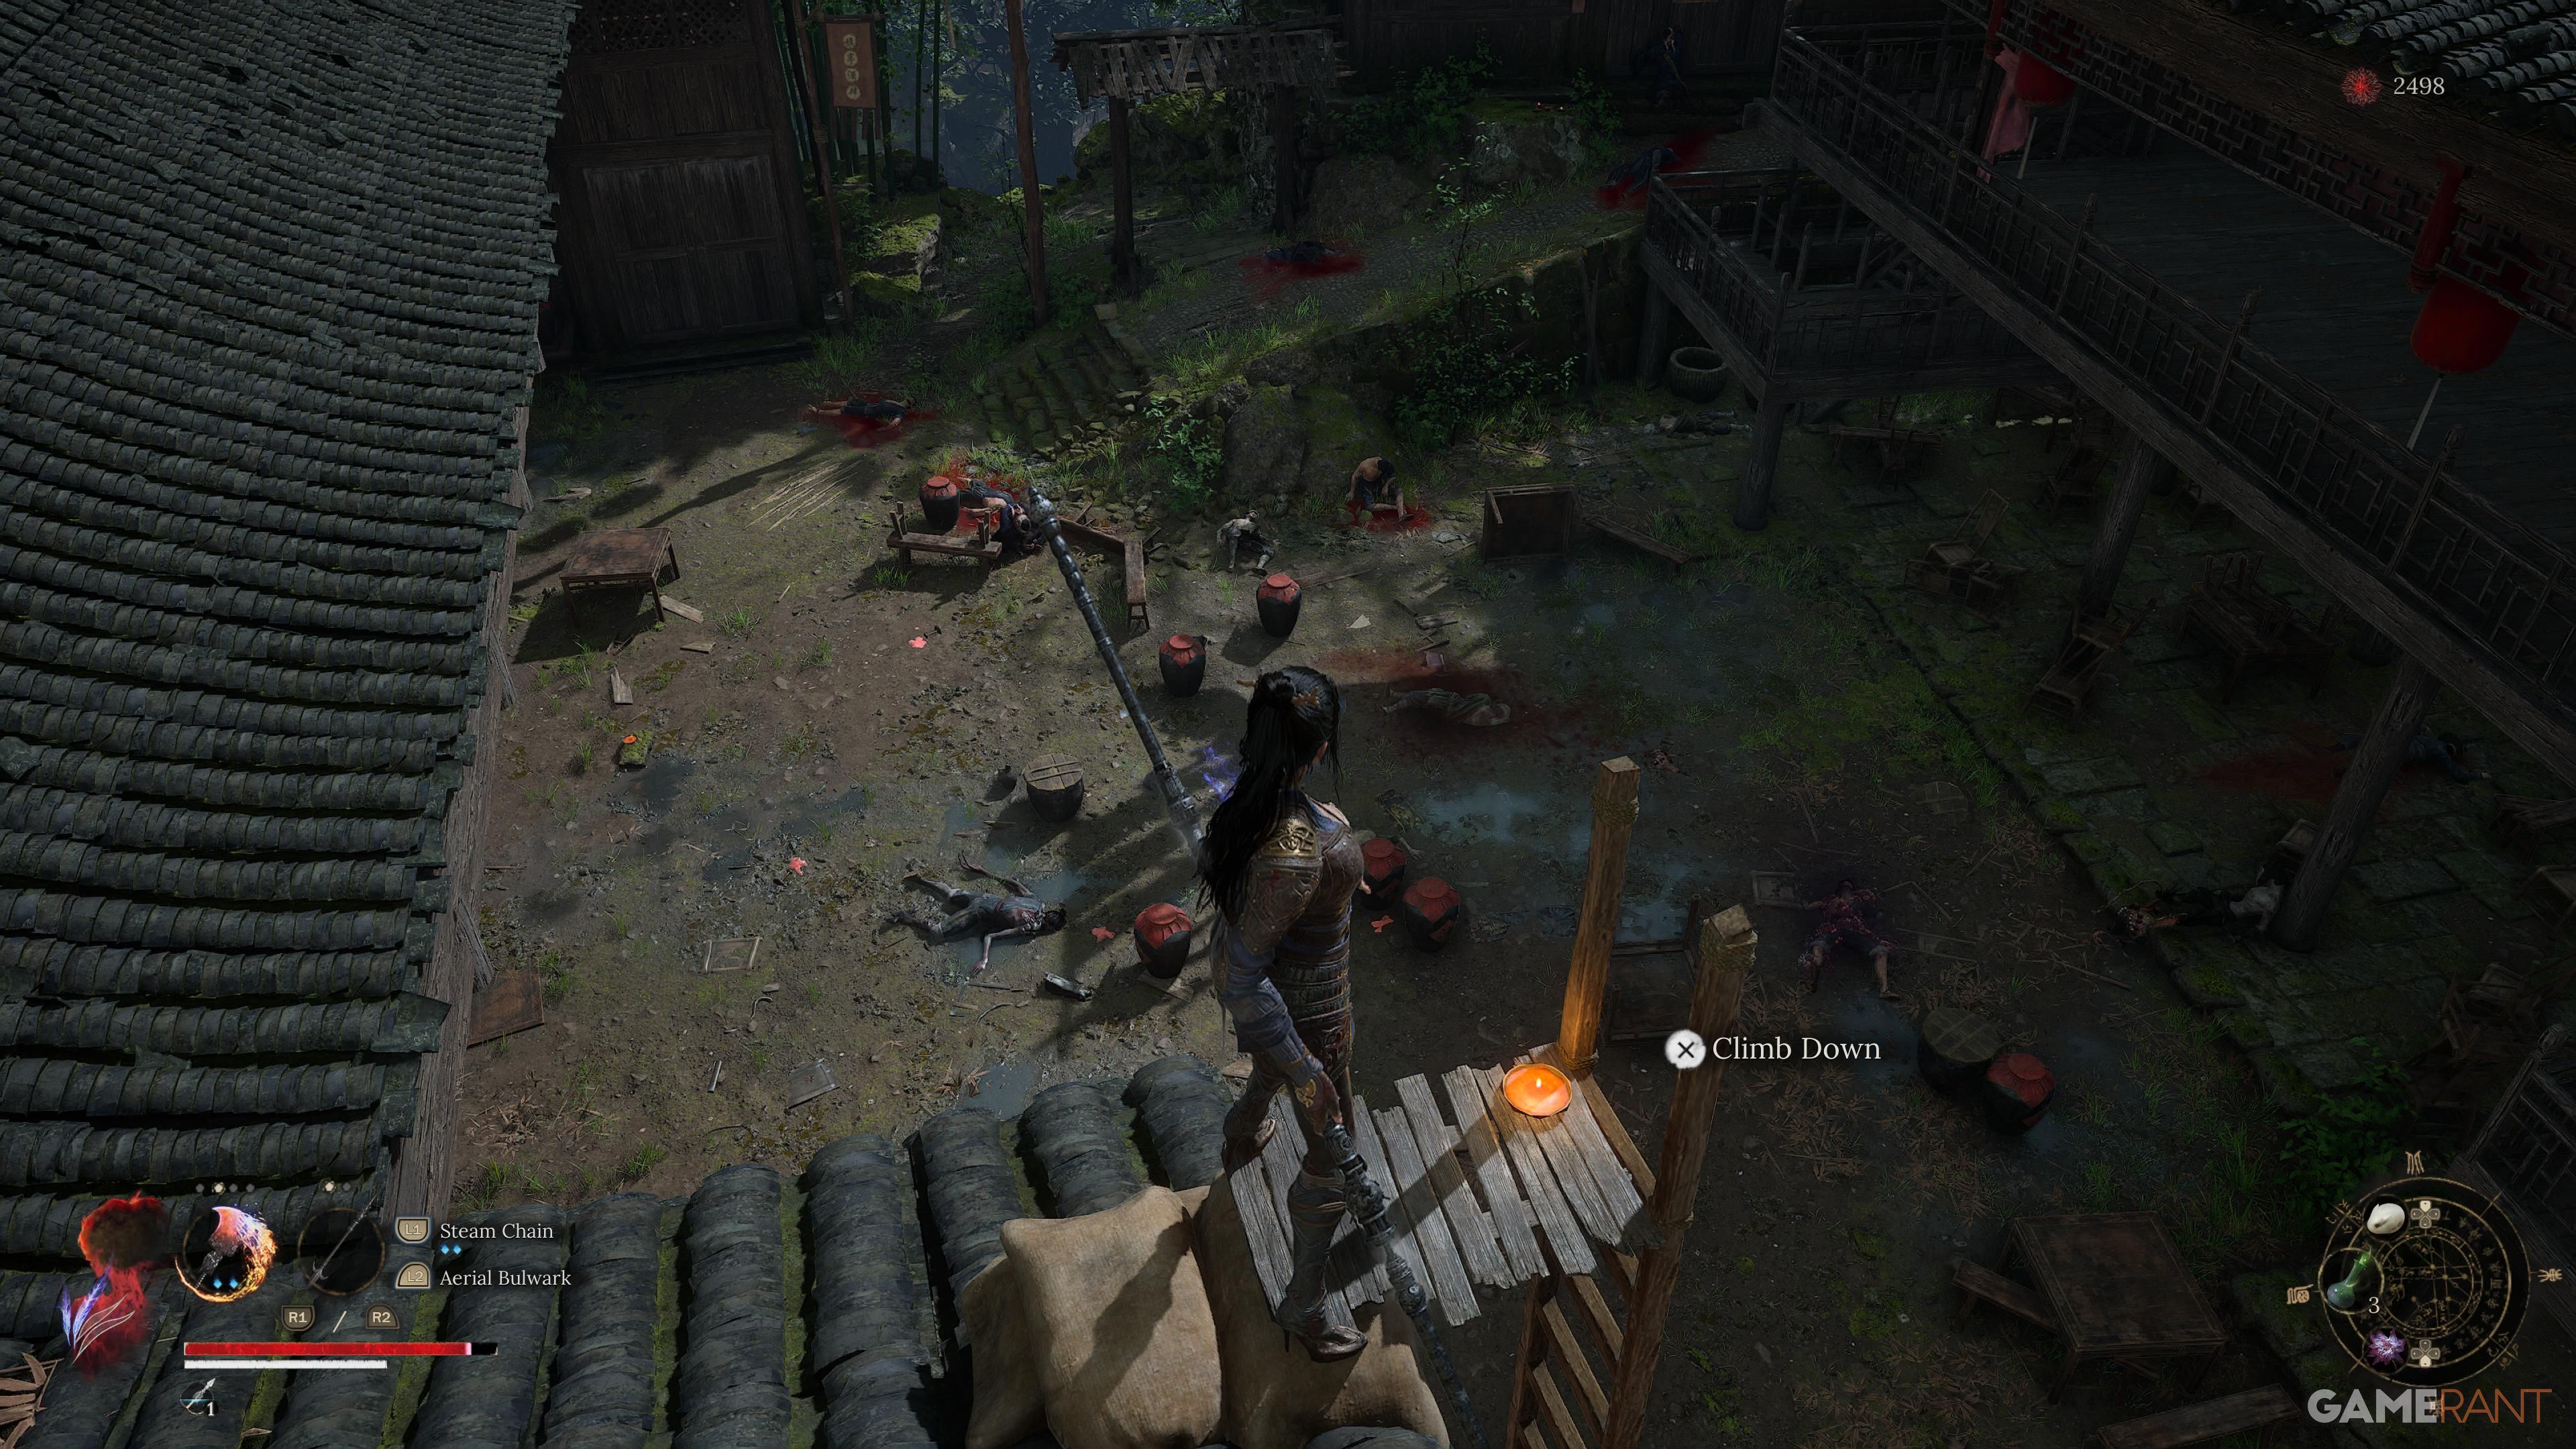
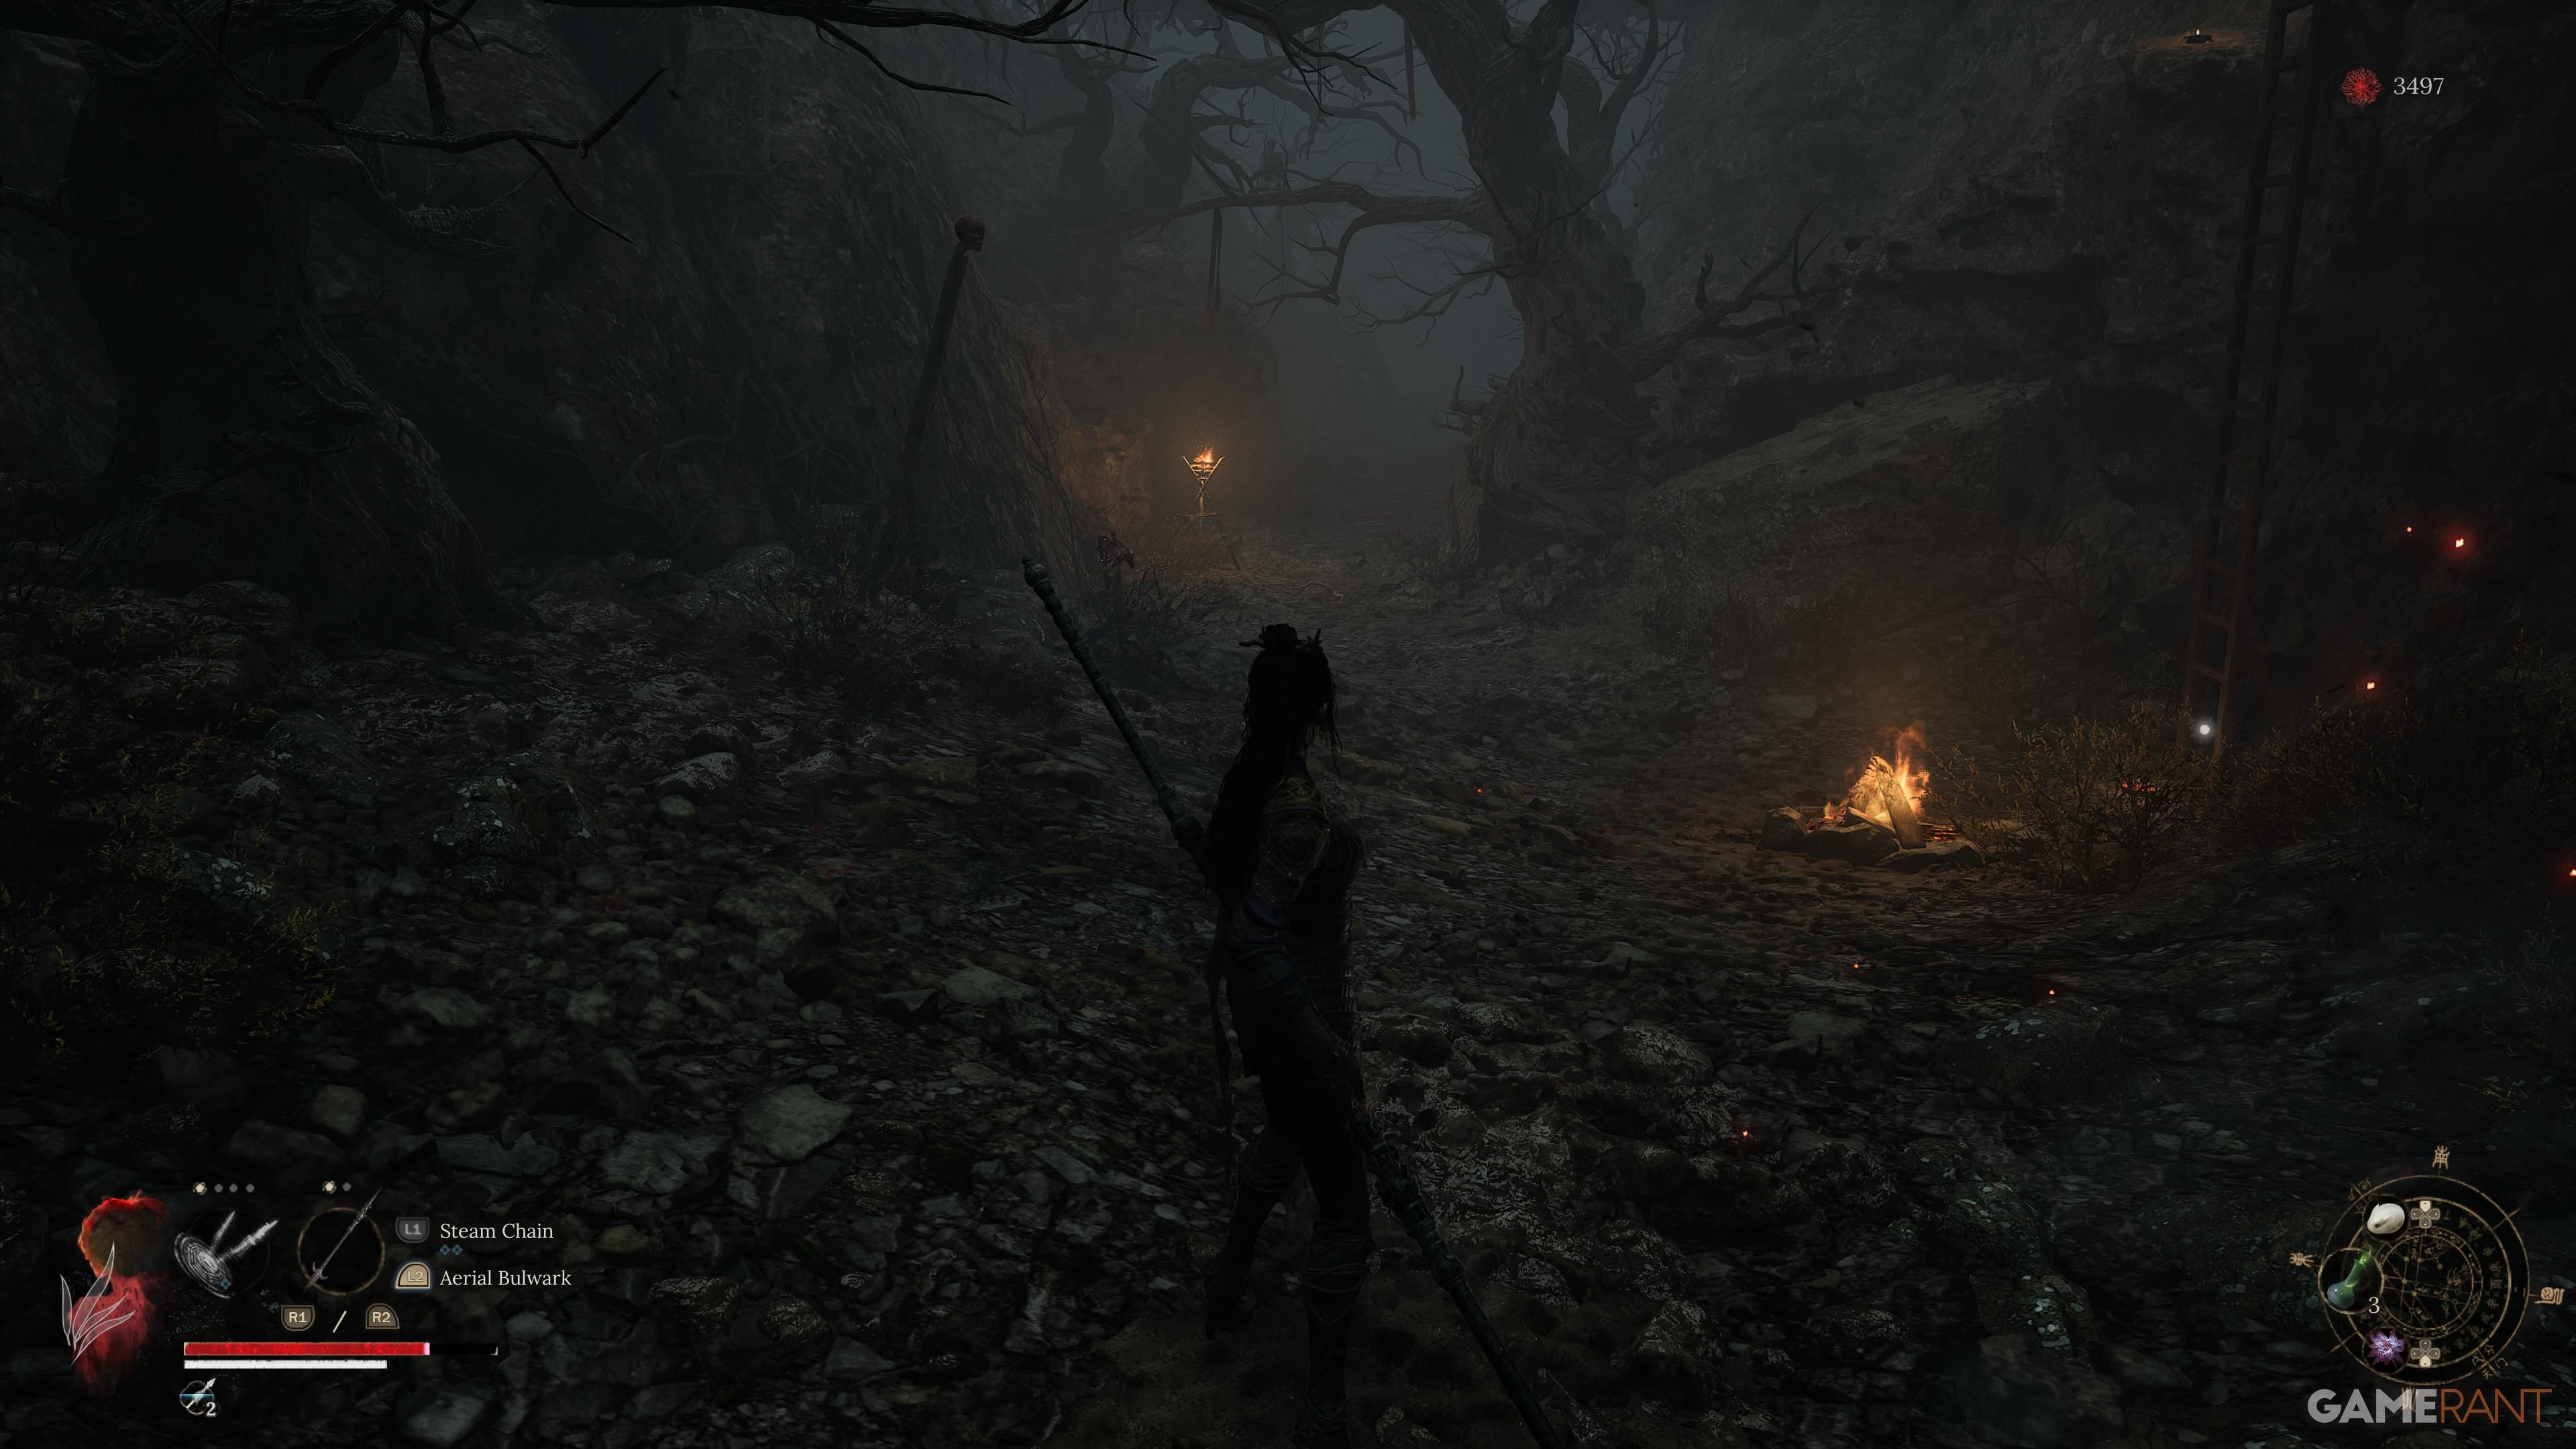
Following your battle with the adversary who rolled the boulder, look to your right to discover a route towards an elevated rooftop where you’ll find a ladder. Ascend, navigate past the enemies, and locate the subsequent ladder on the opposite side. After descending, you’ll encounter the Fire Dancer; vanquish them, then choose either path to proceed upwards and discover a blood trail ascending the stairs.

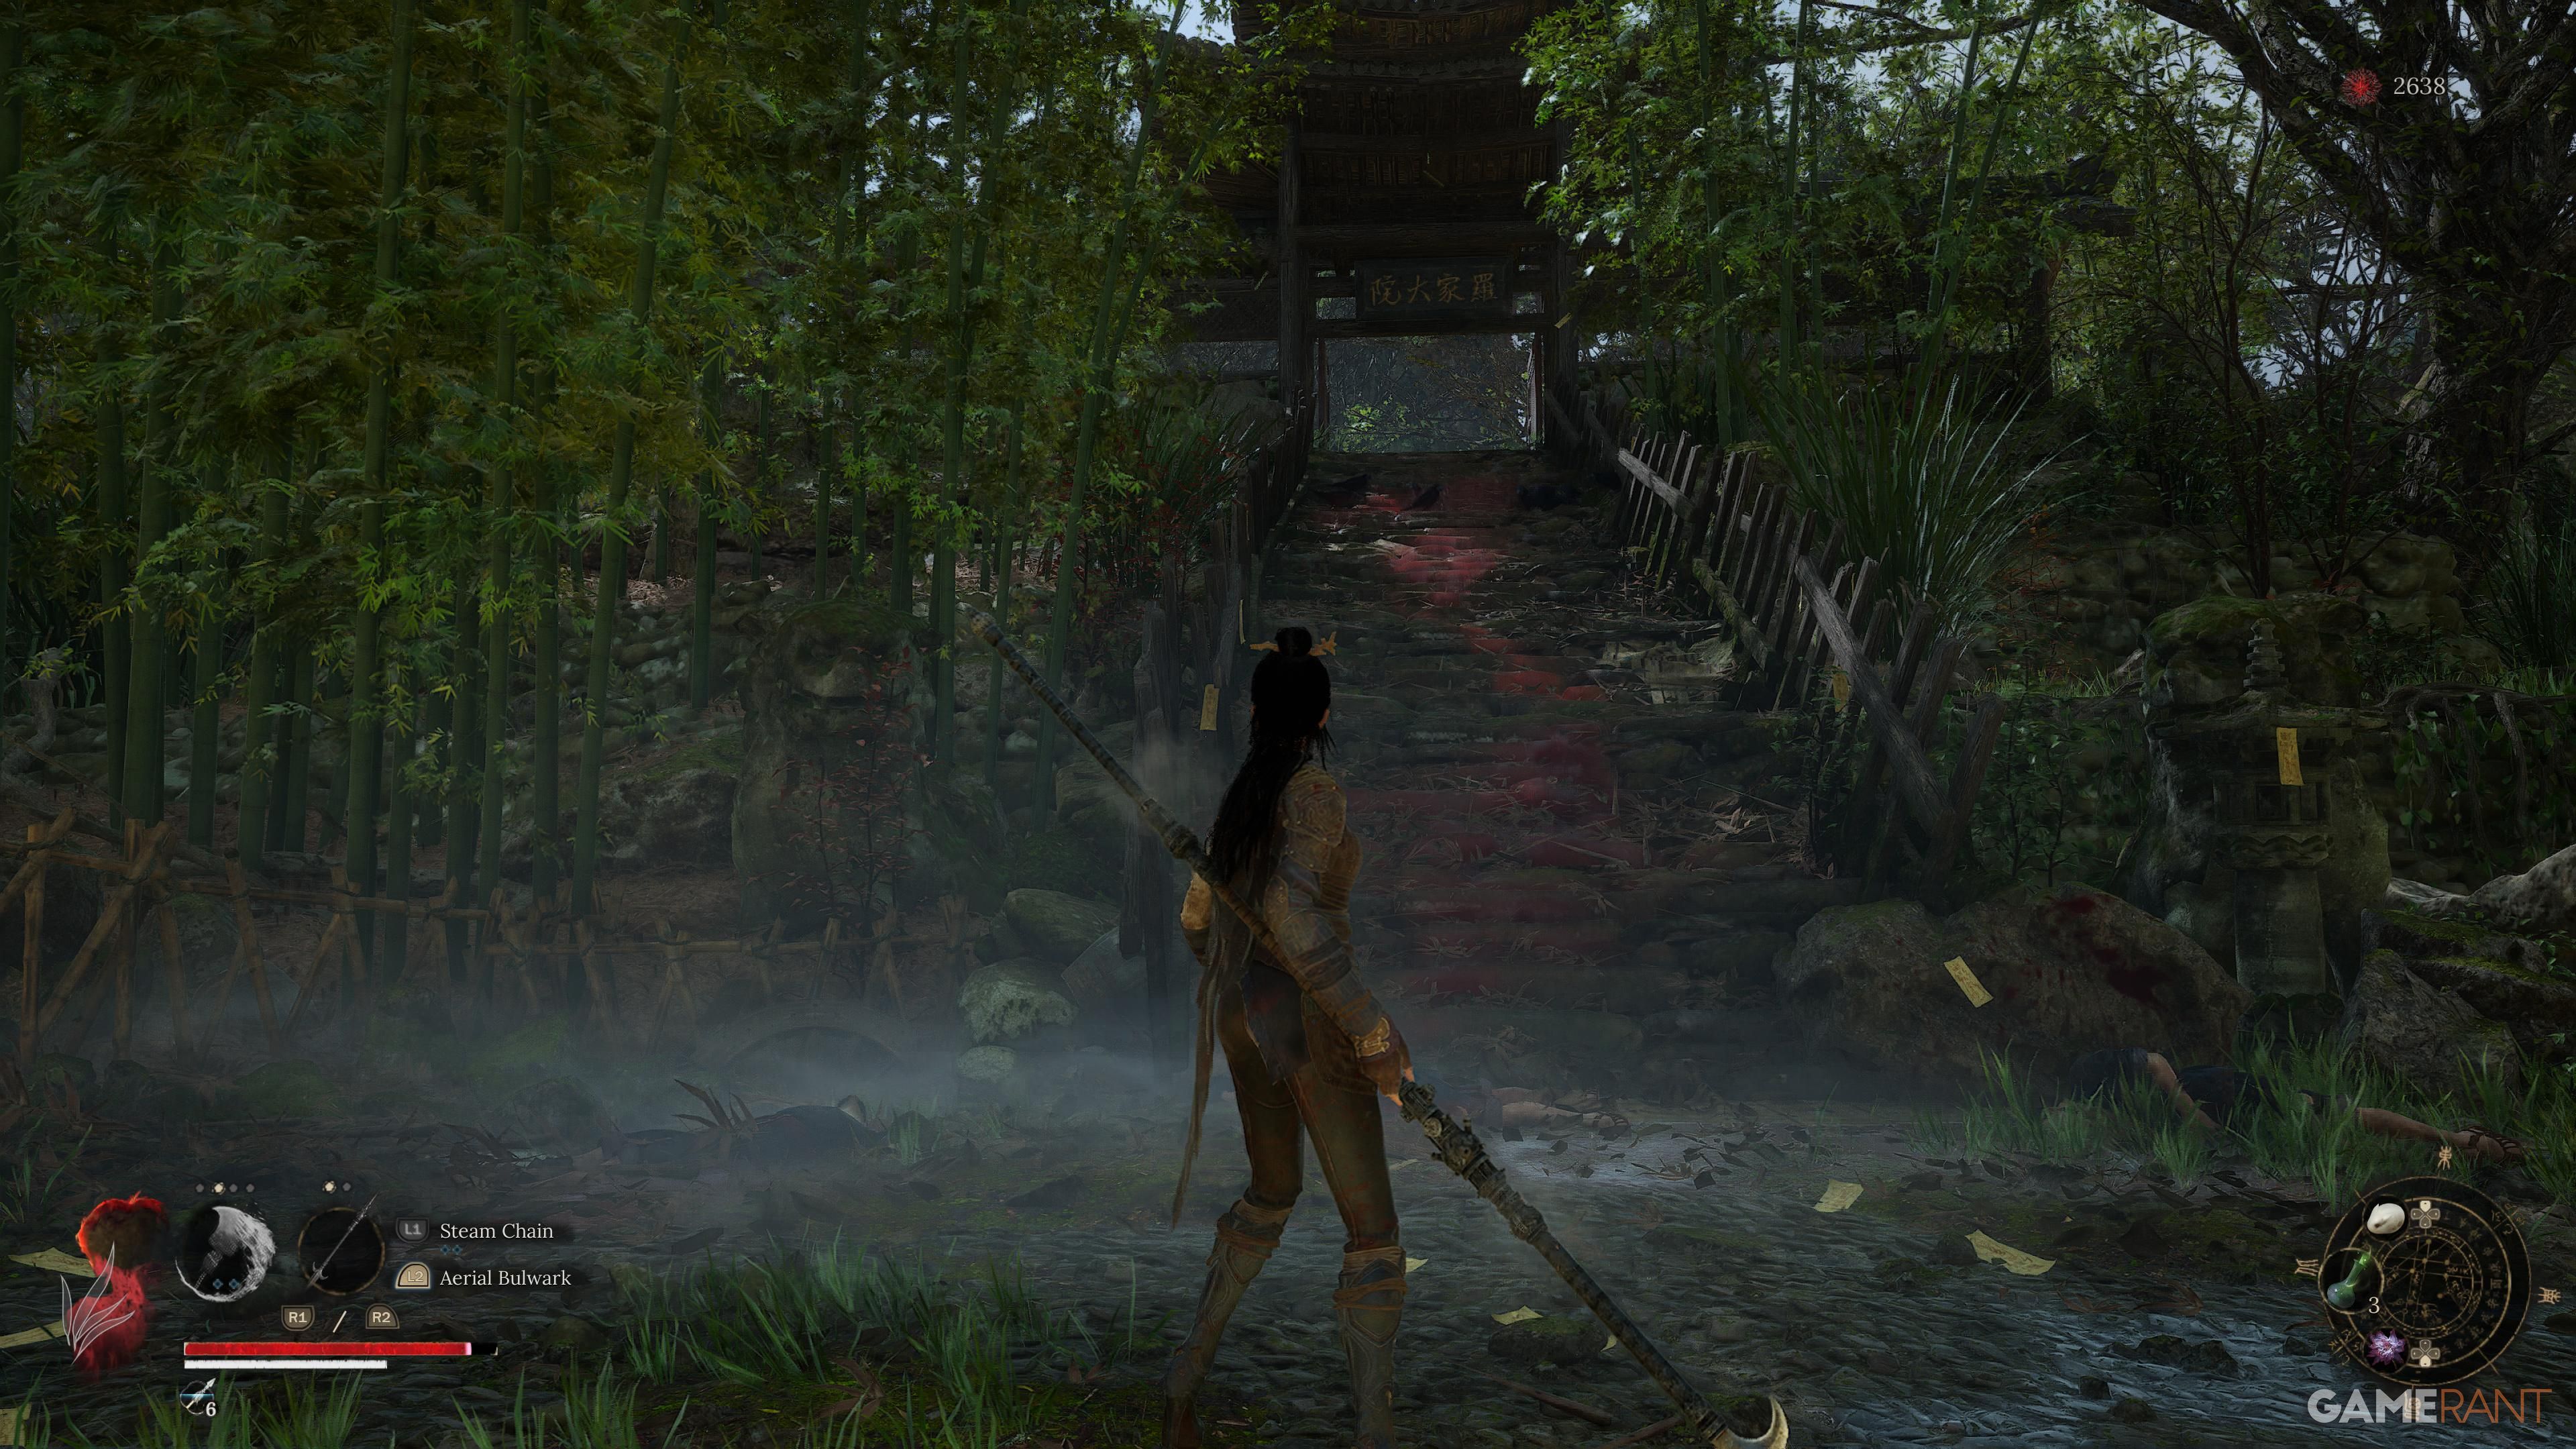
Before ascending the stairs and initiating the boss battle, glance slightly to your right where a hidden path towards a tree can be spotted. Knocking it over will create a convenient shortcut to the ground floor of Shu Sanctum, enabling you to recharge at the Shrine and gather skills before facing off against Lu Hongliu – Gluttonous Monstrosity.
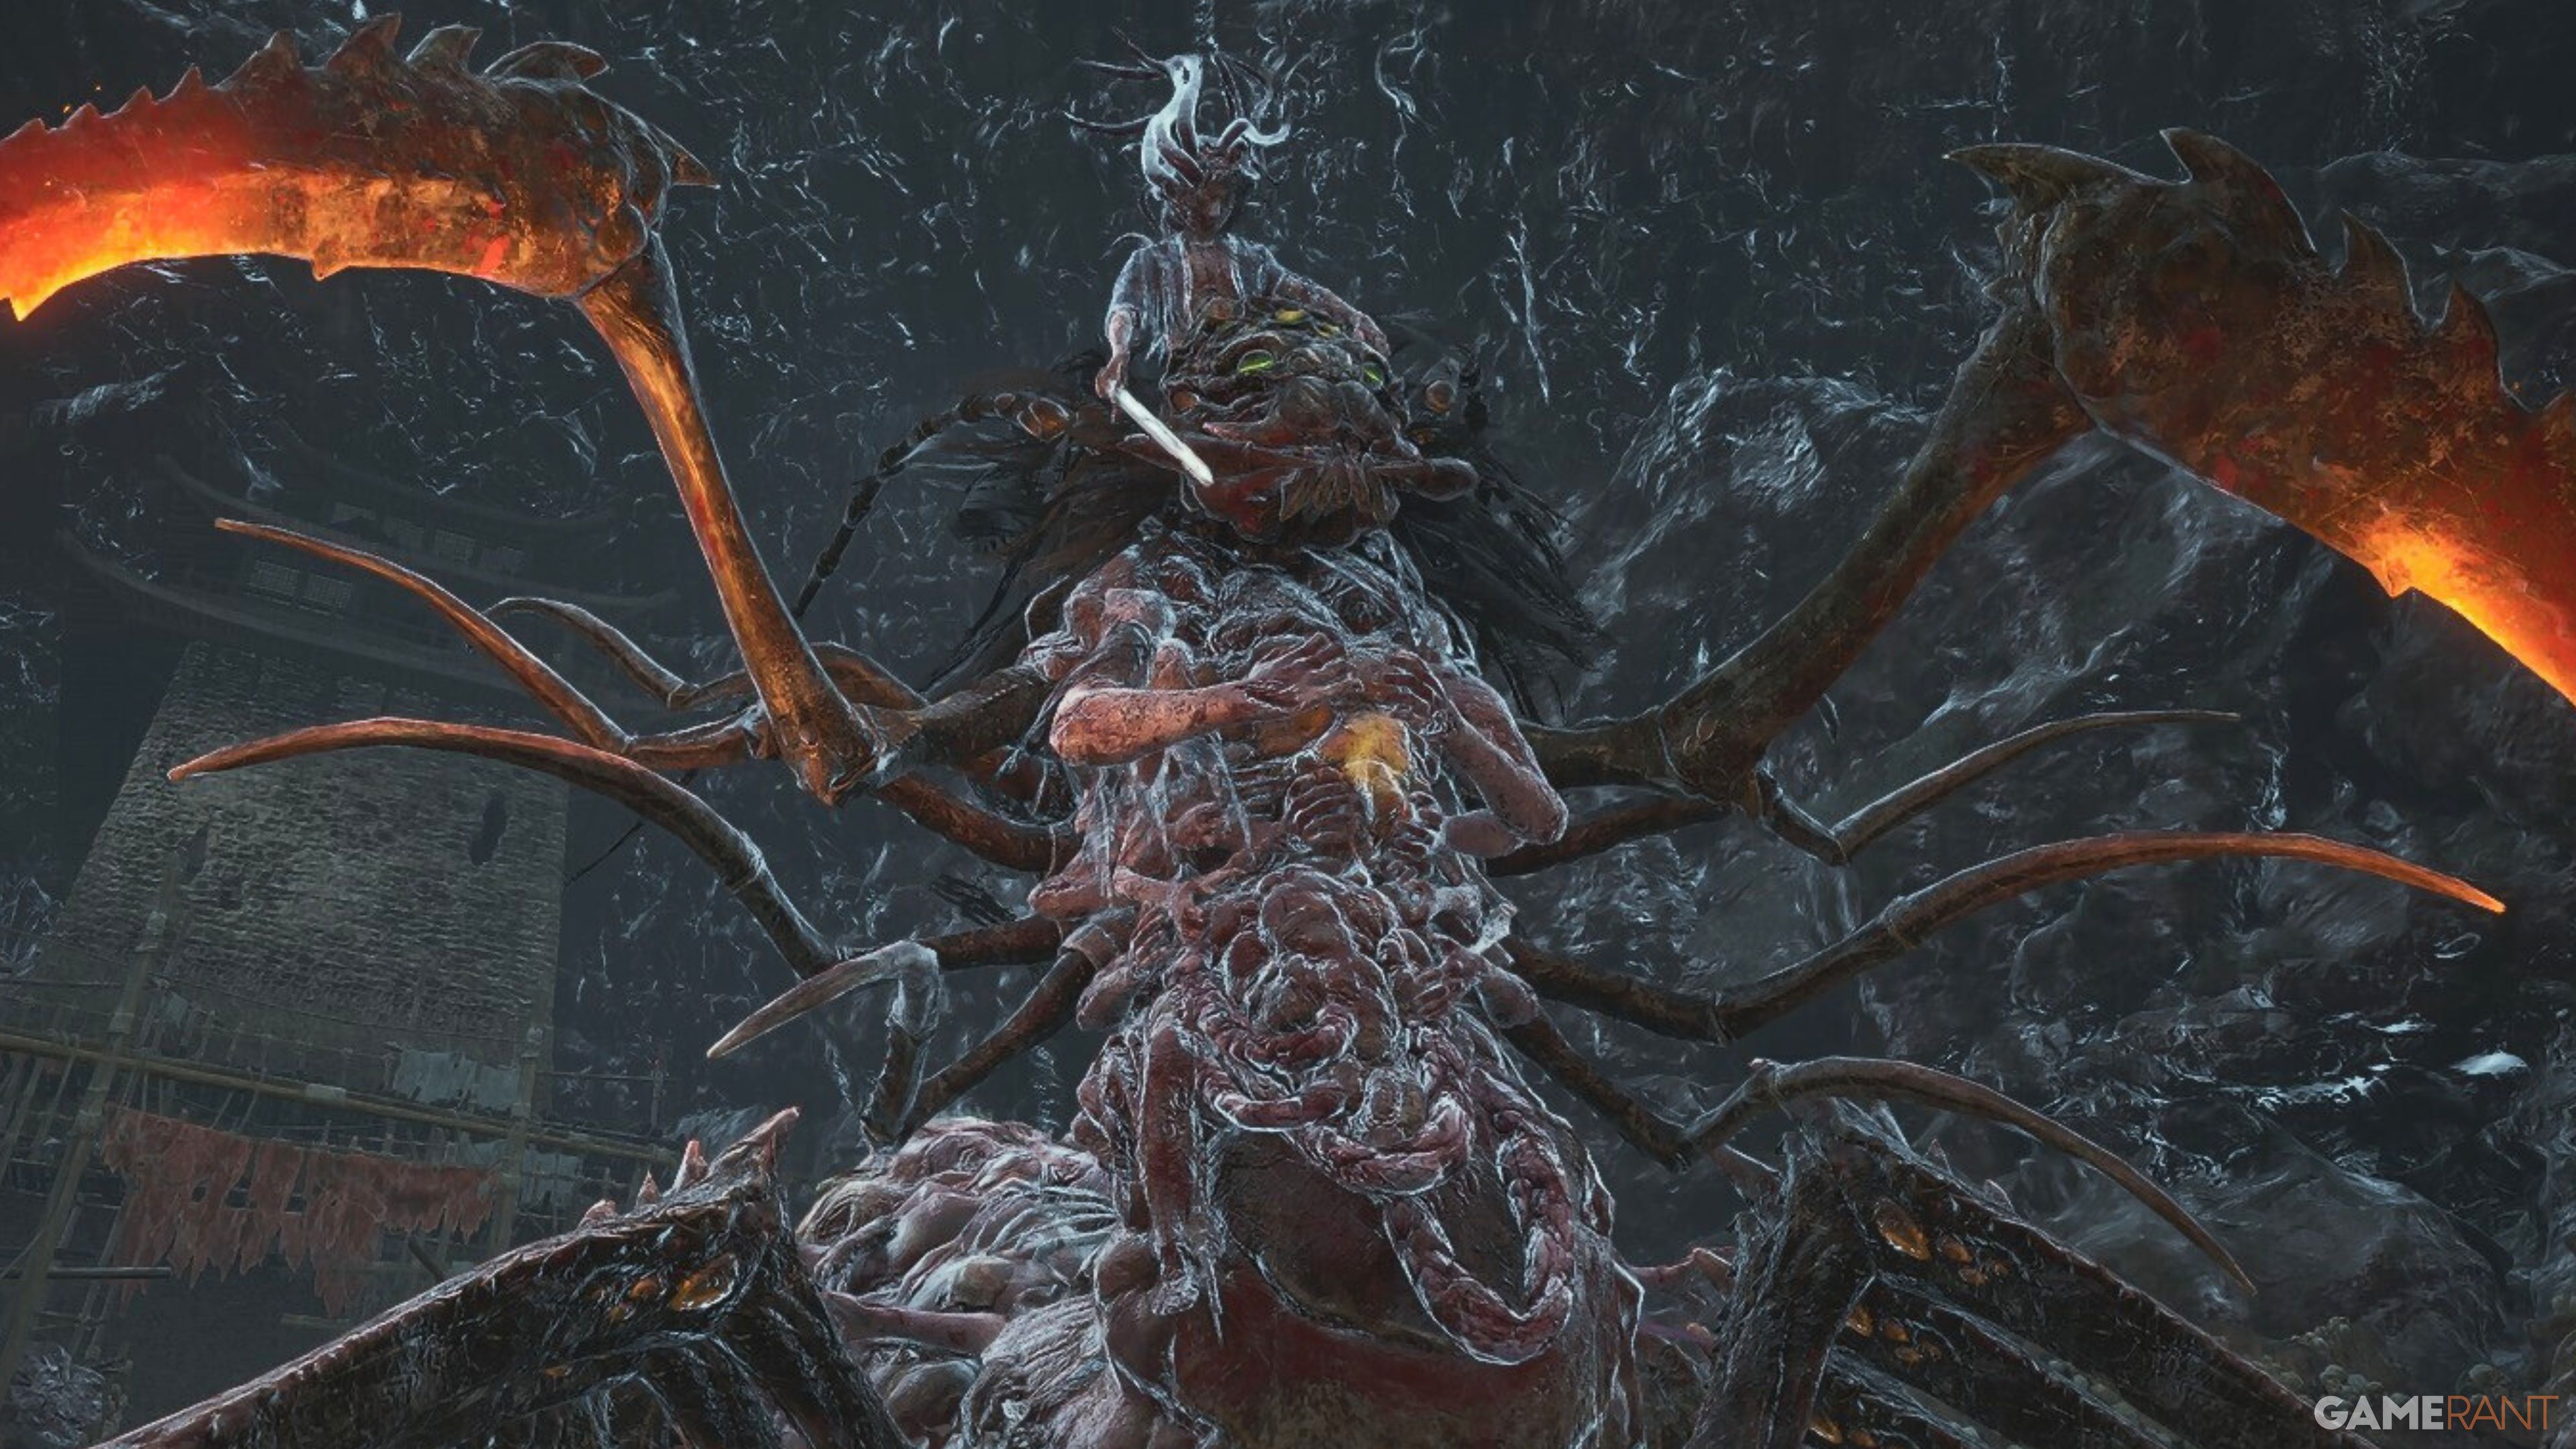
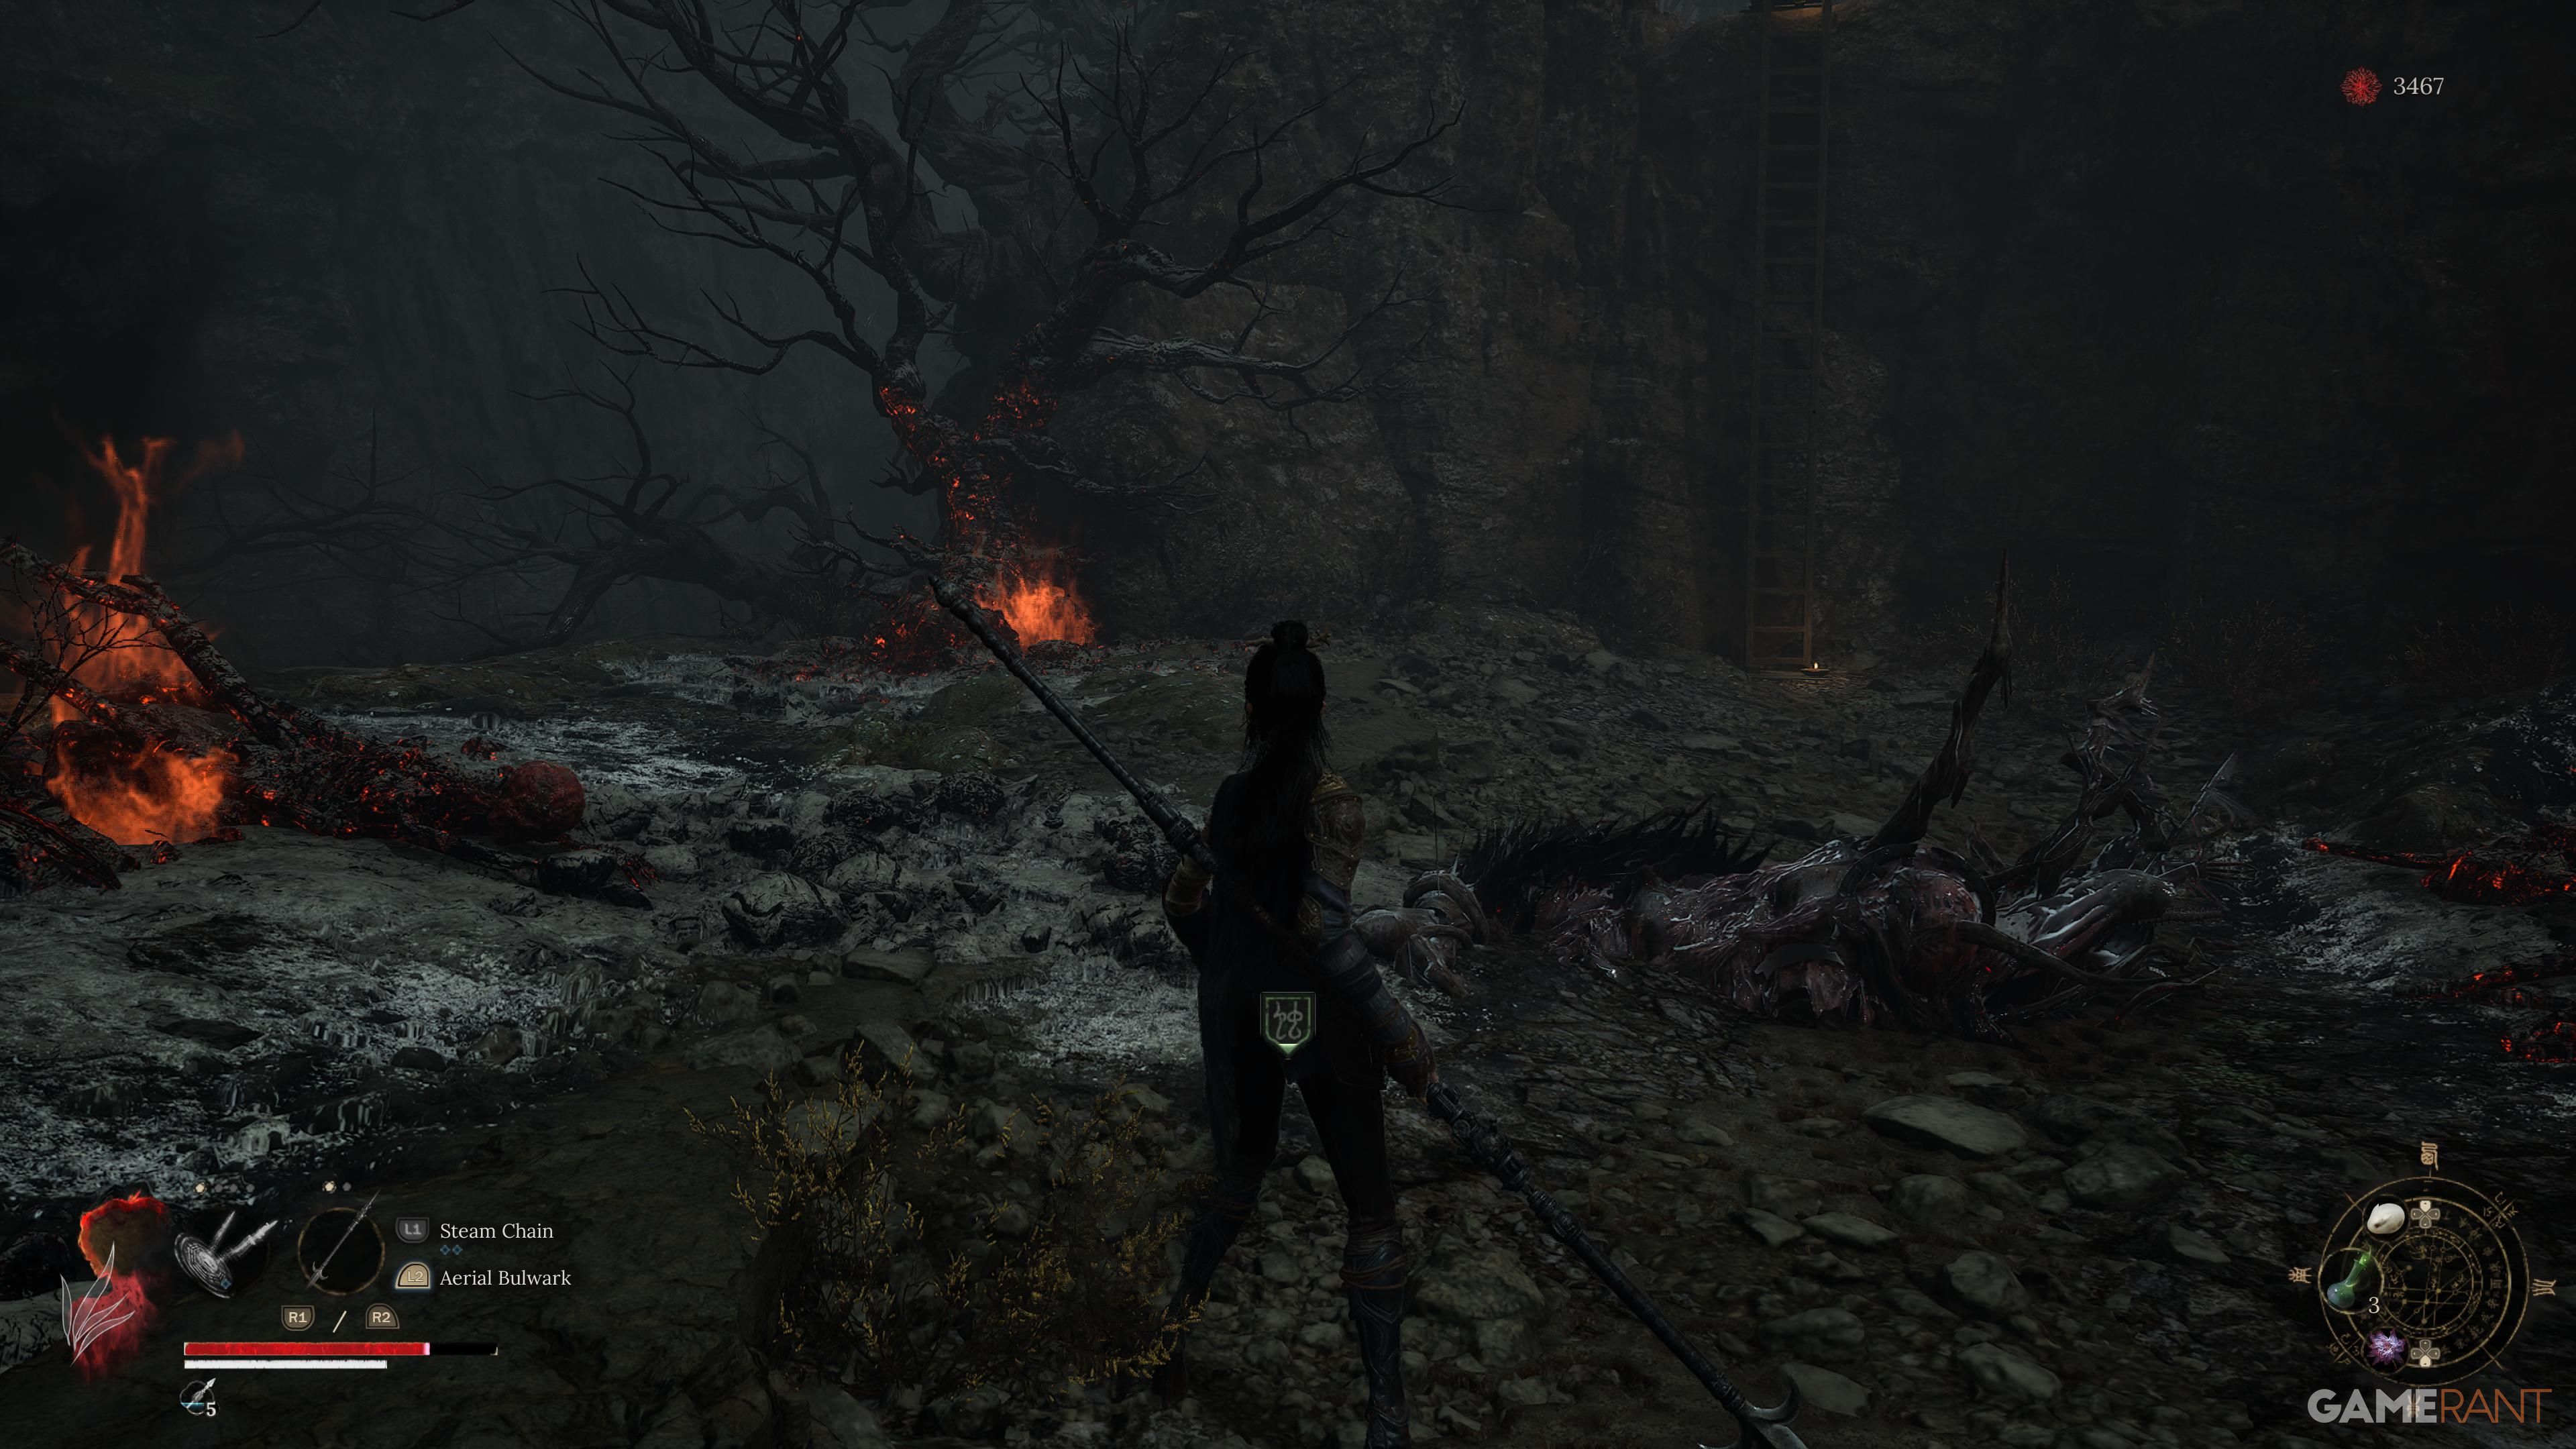
Blightweaver – Giant Centipede
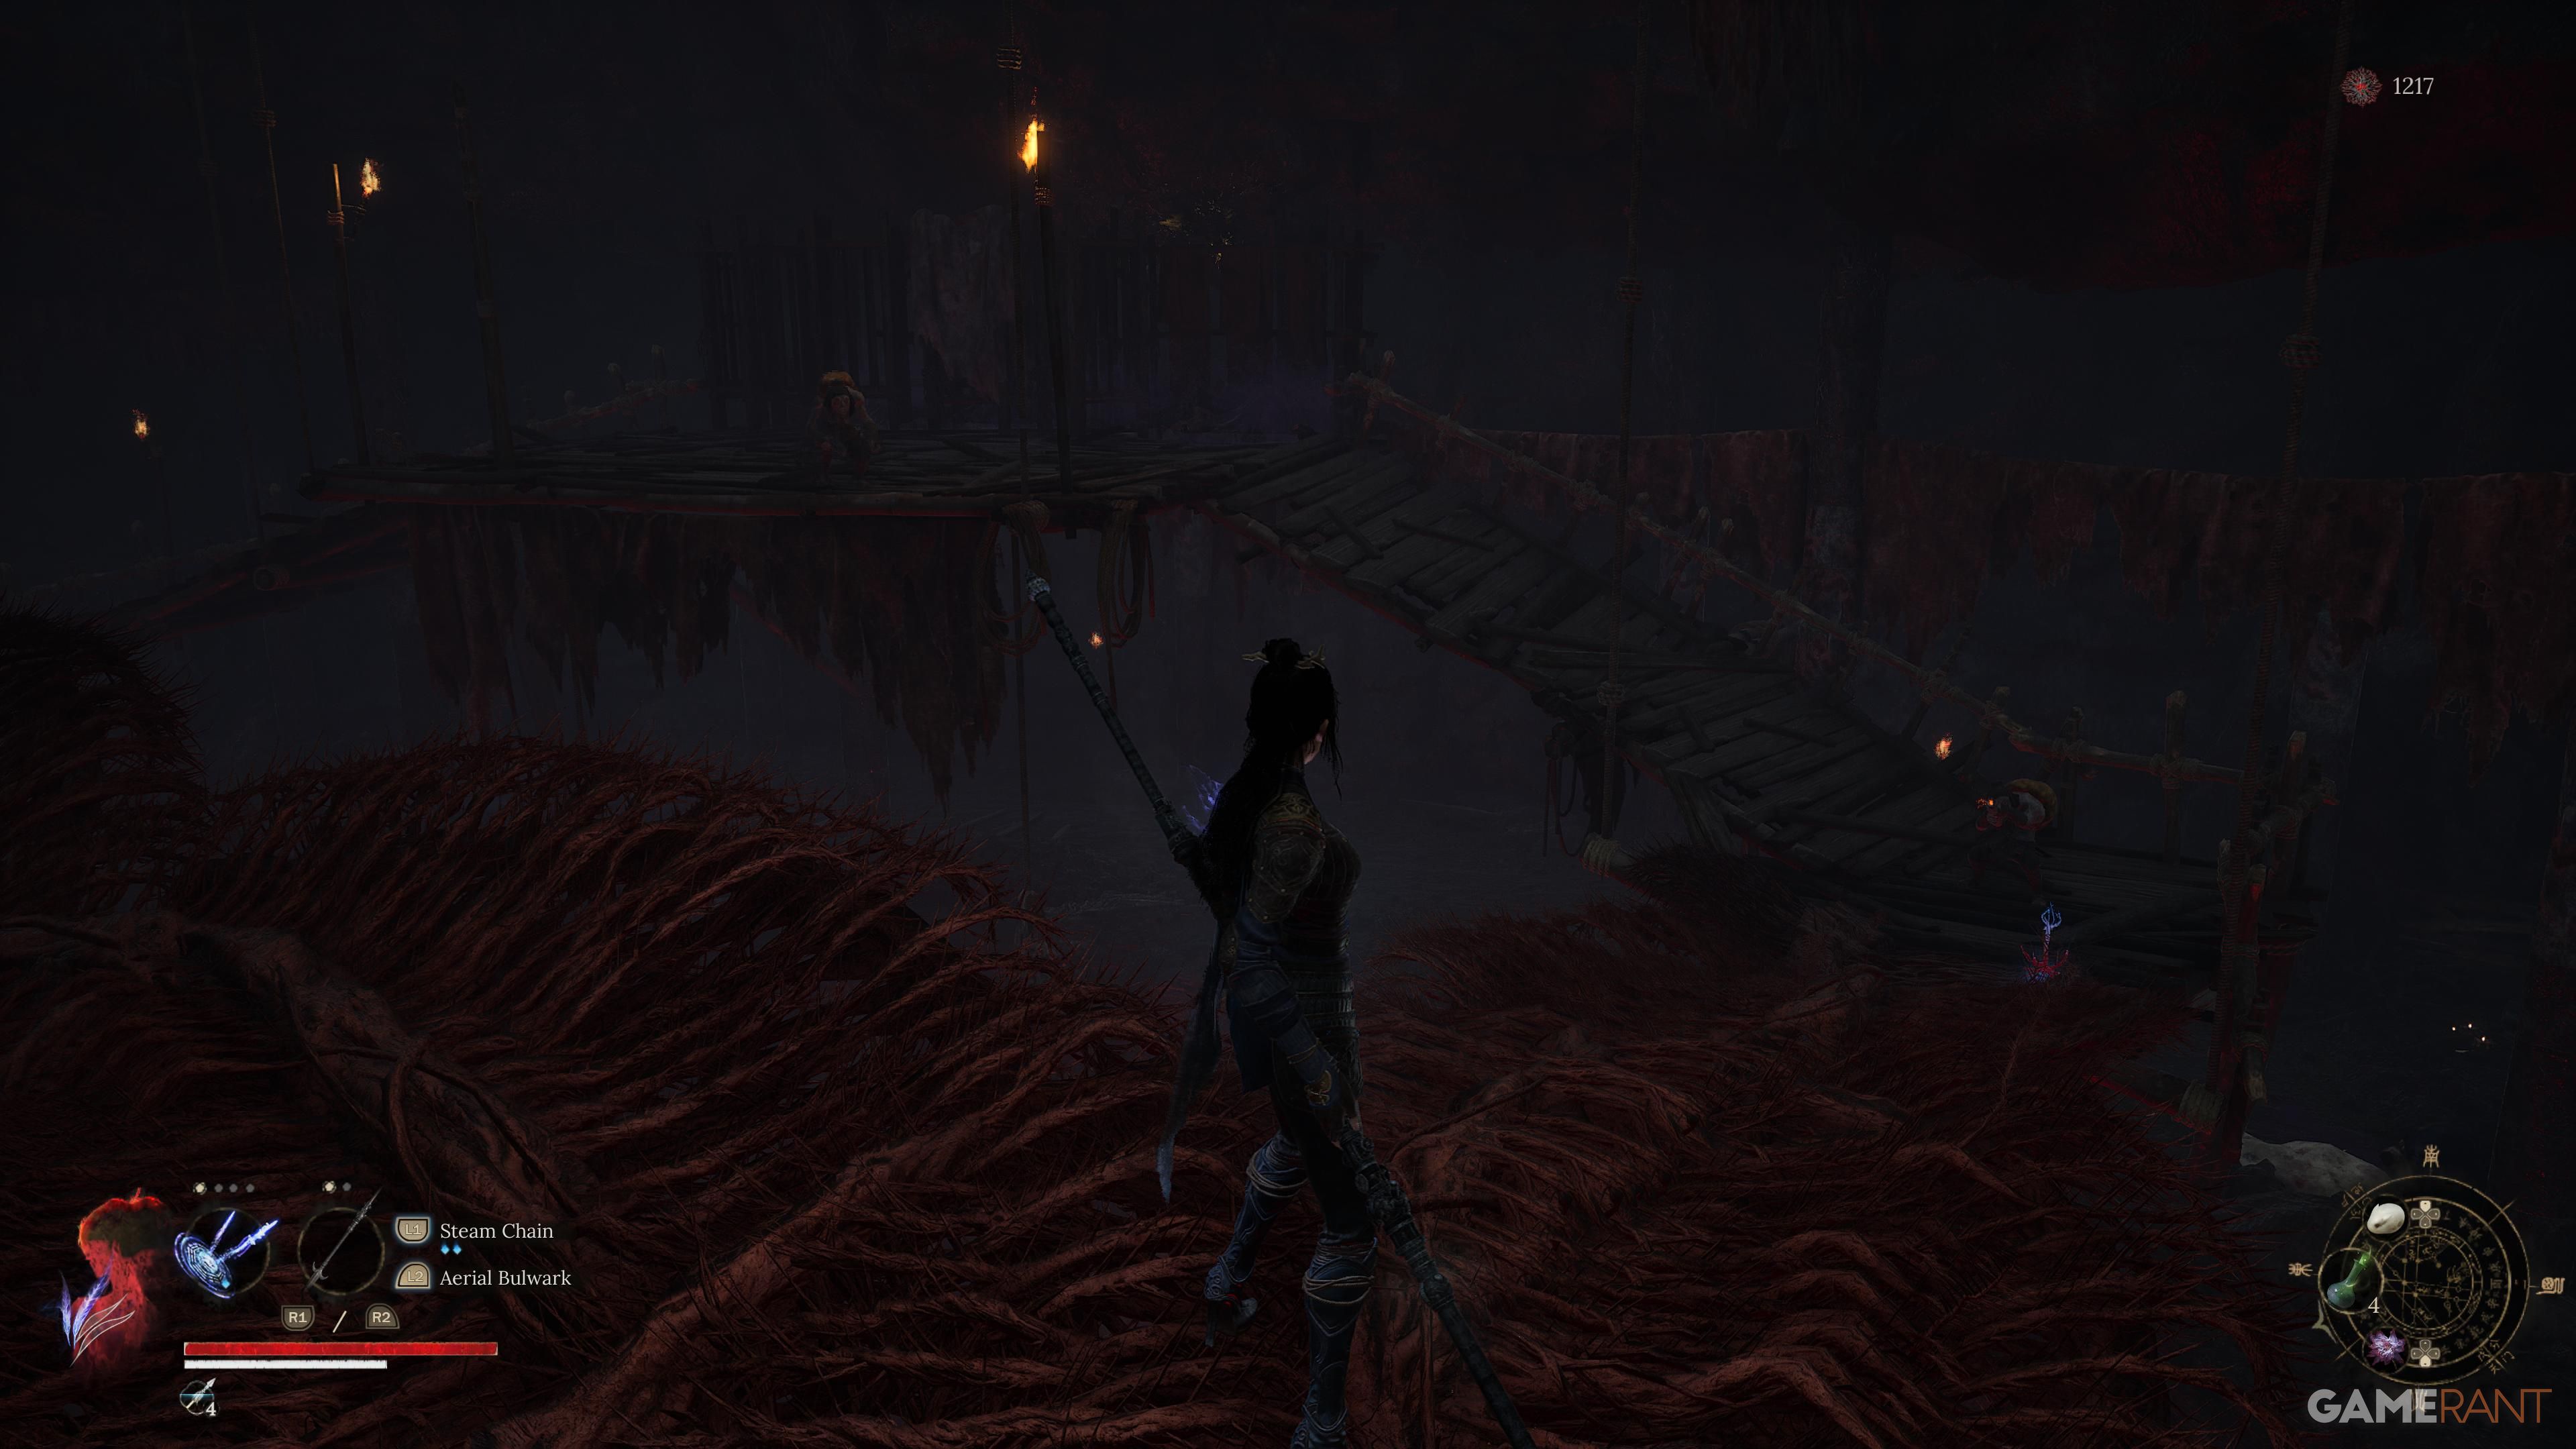
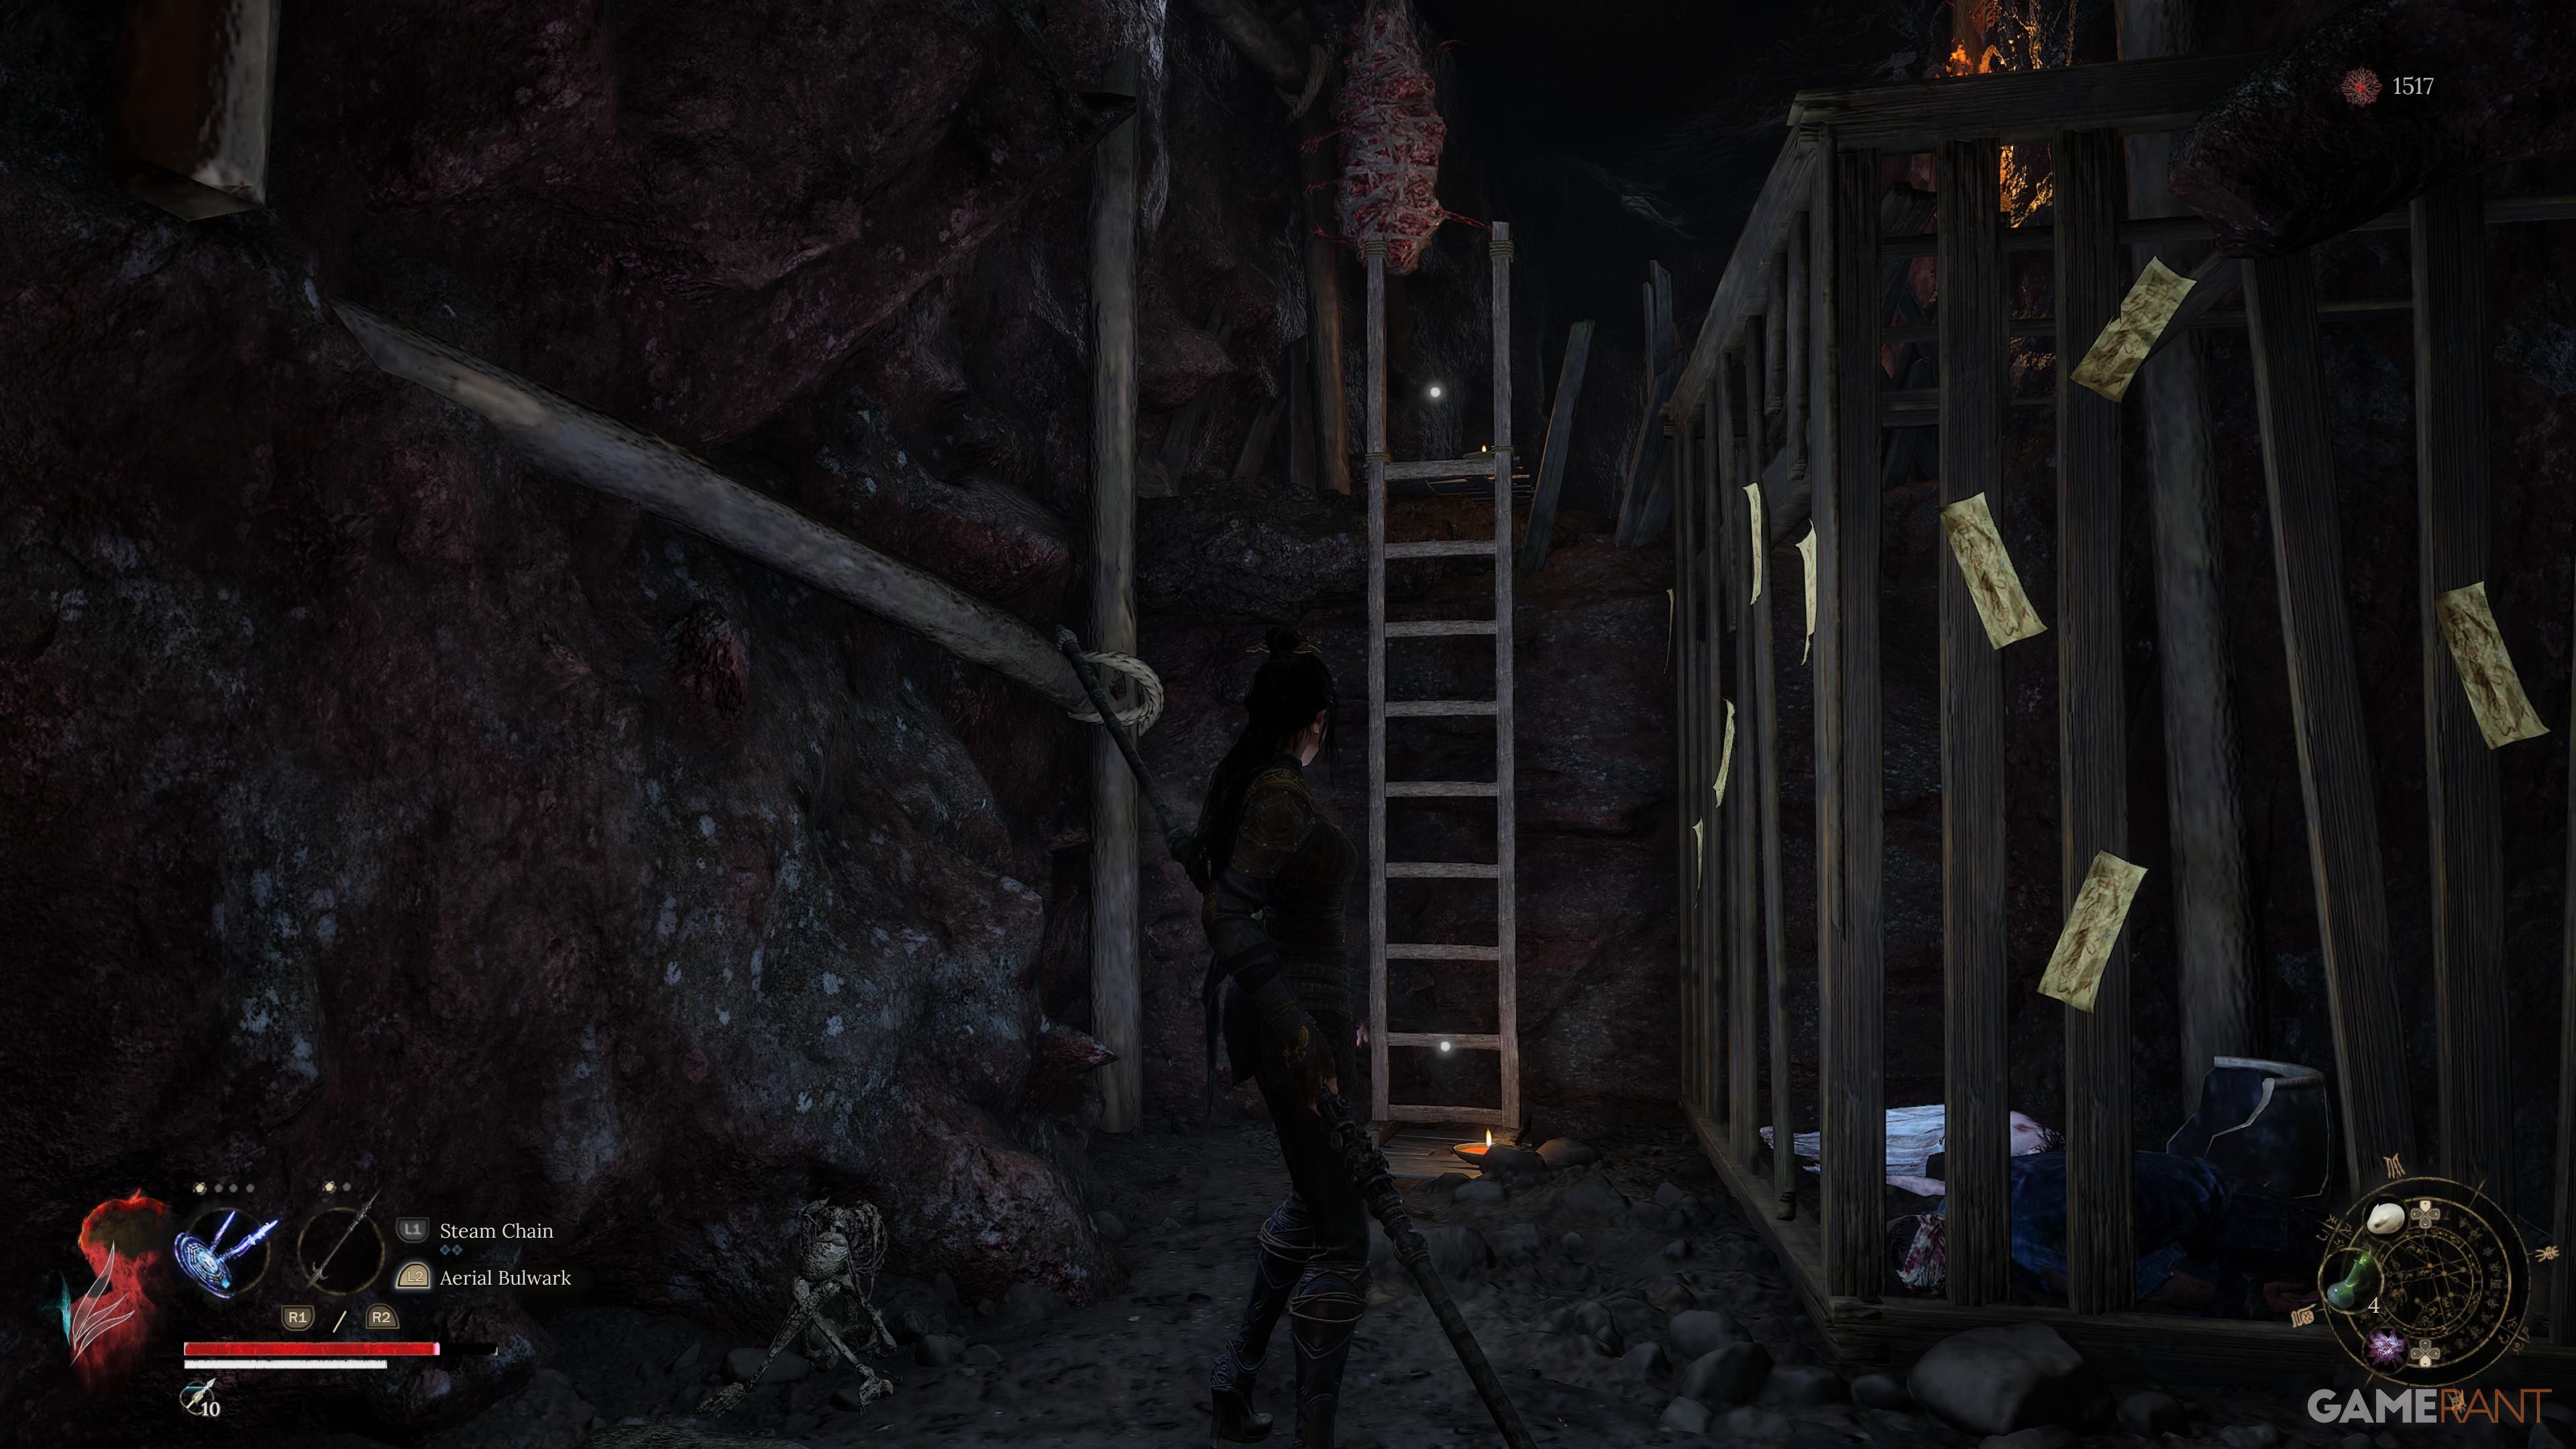
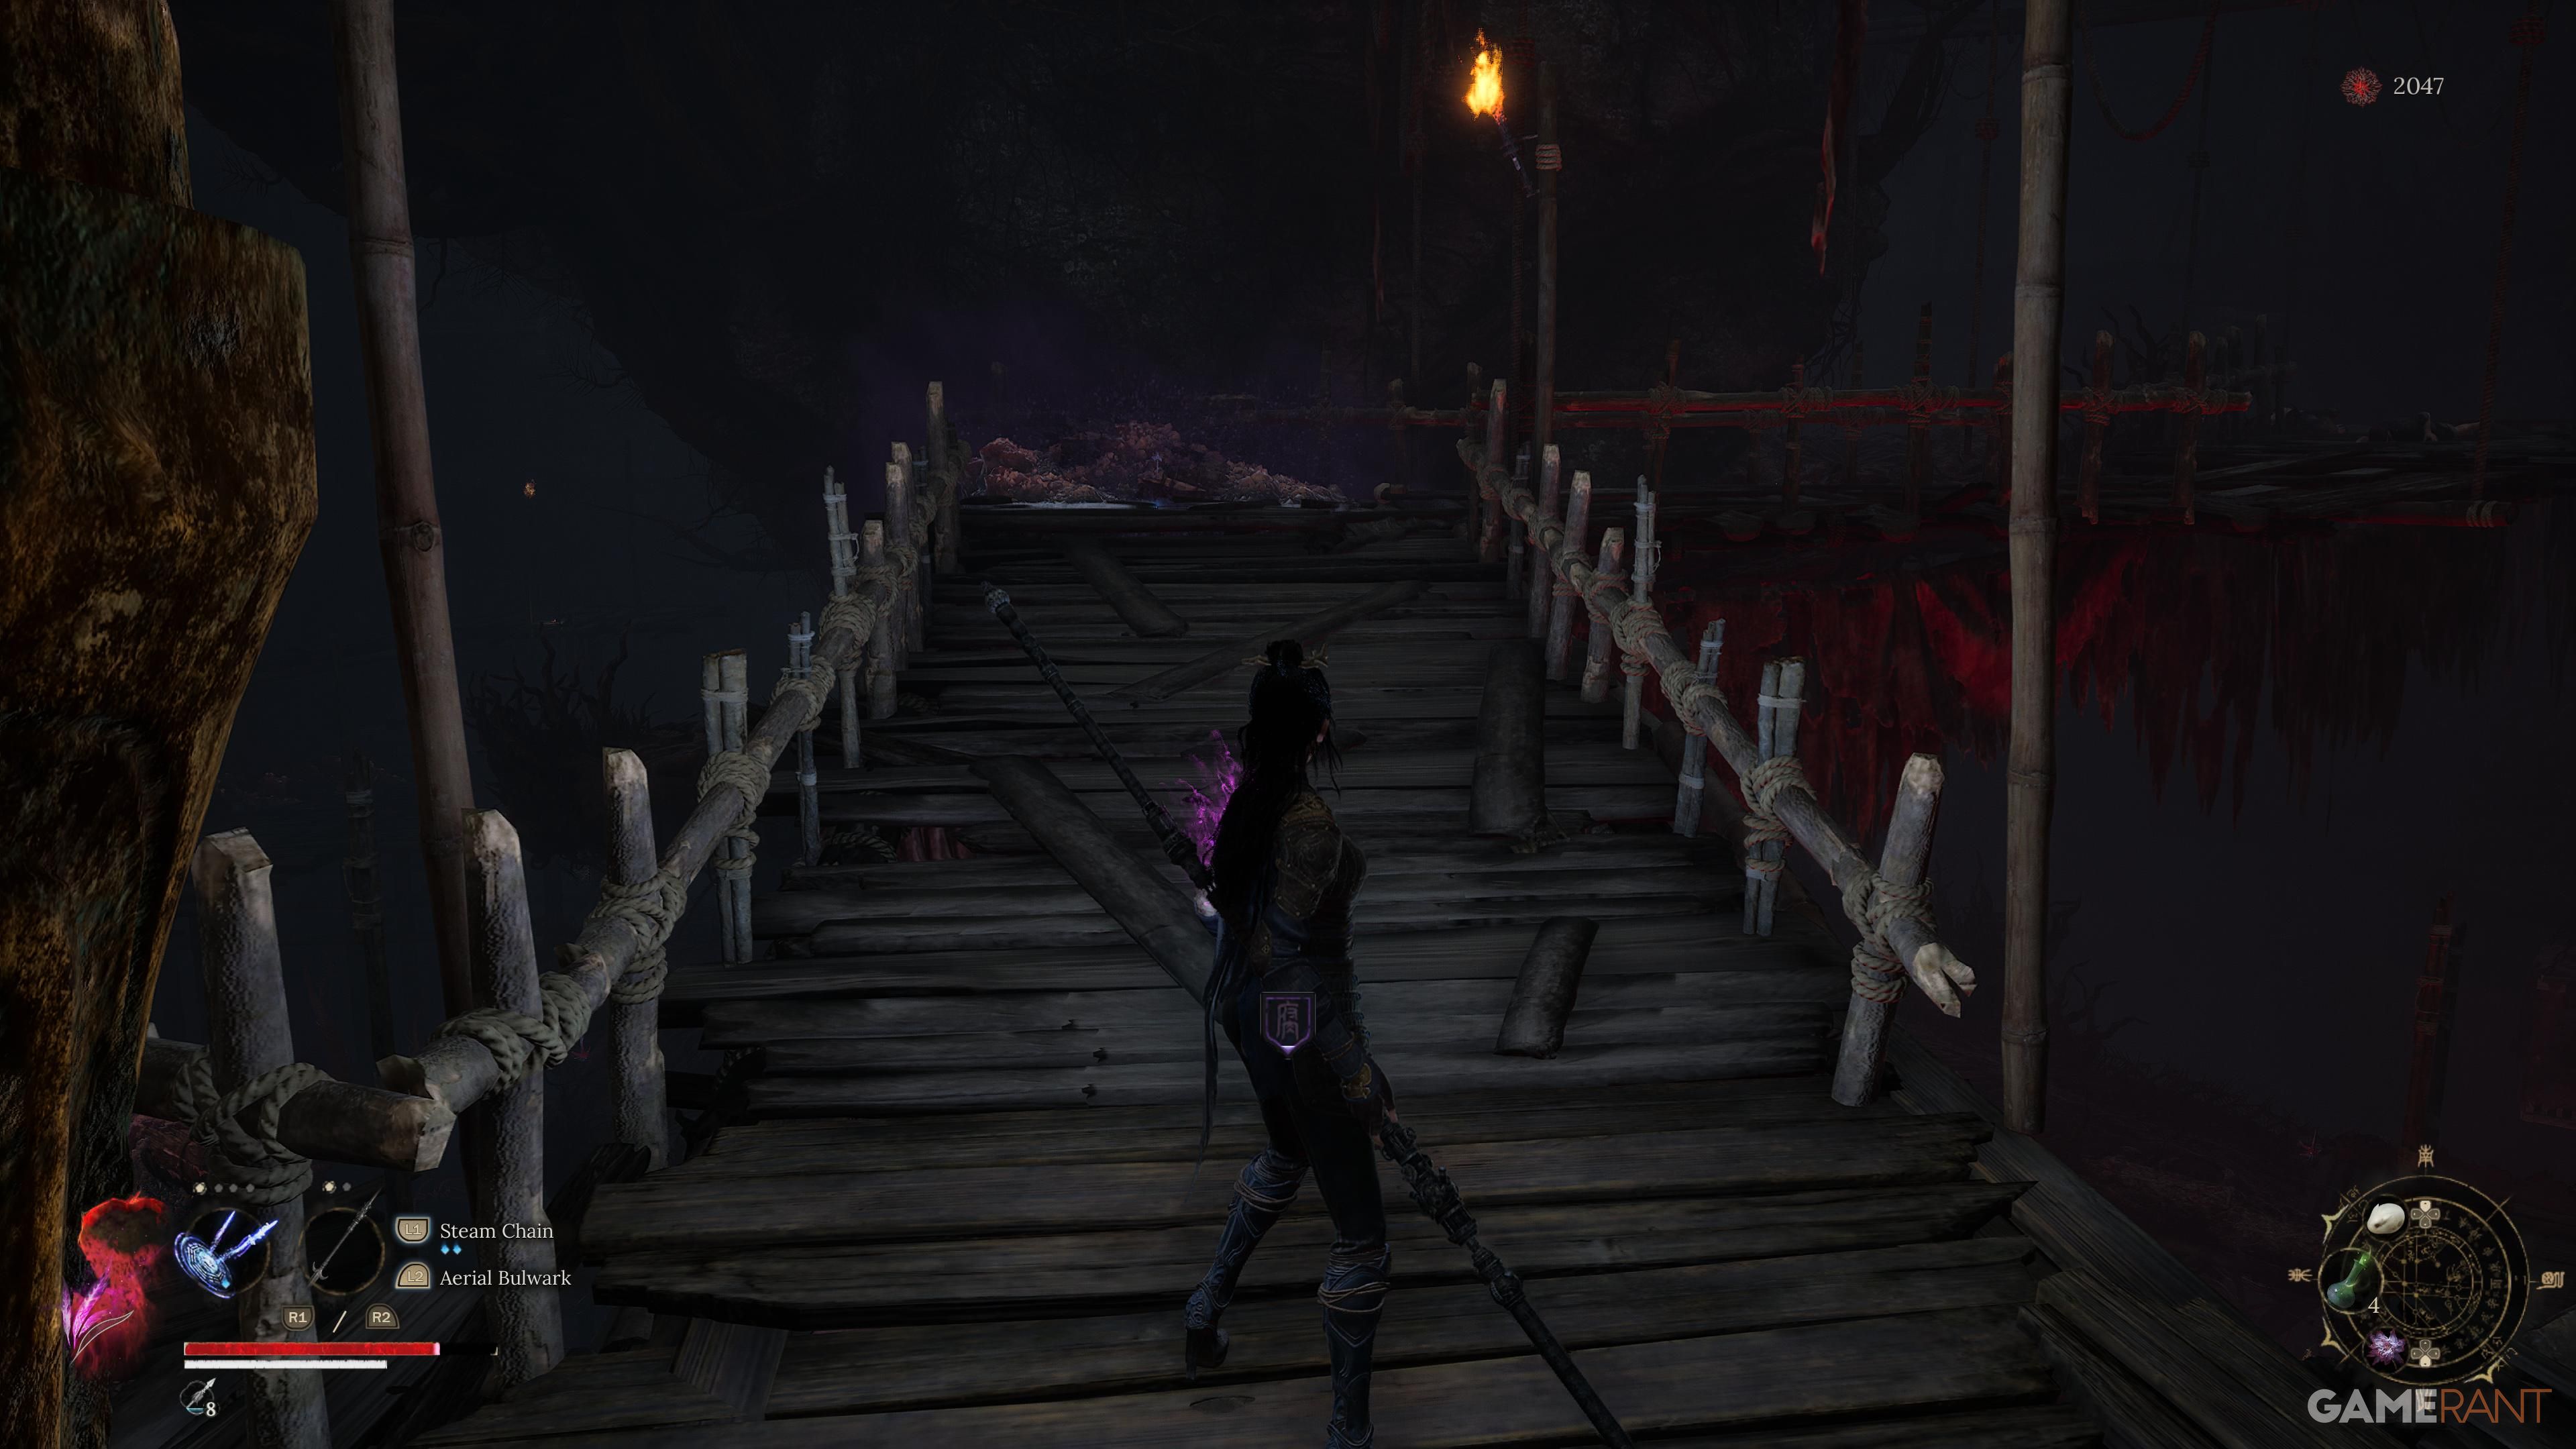
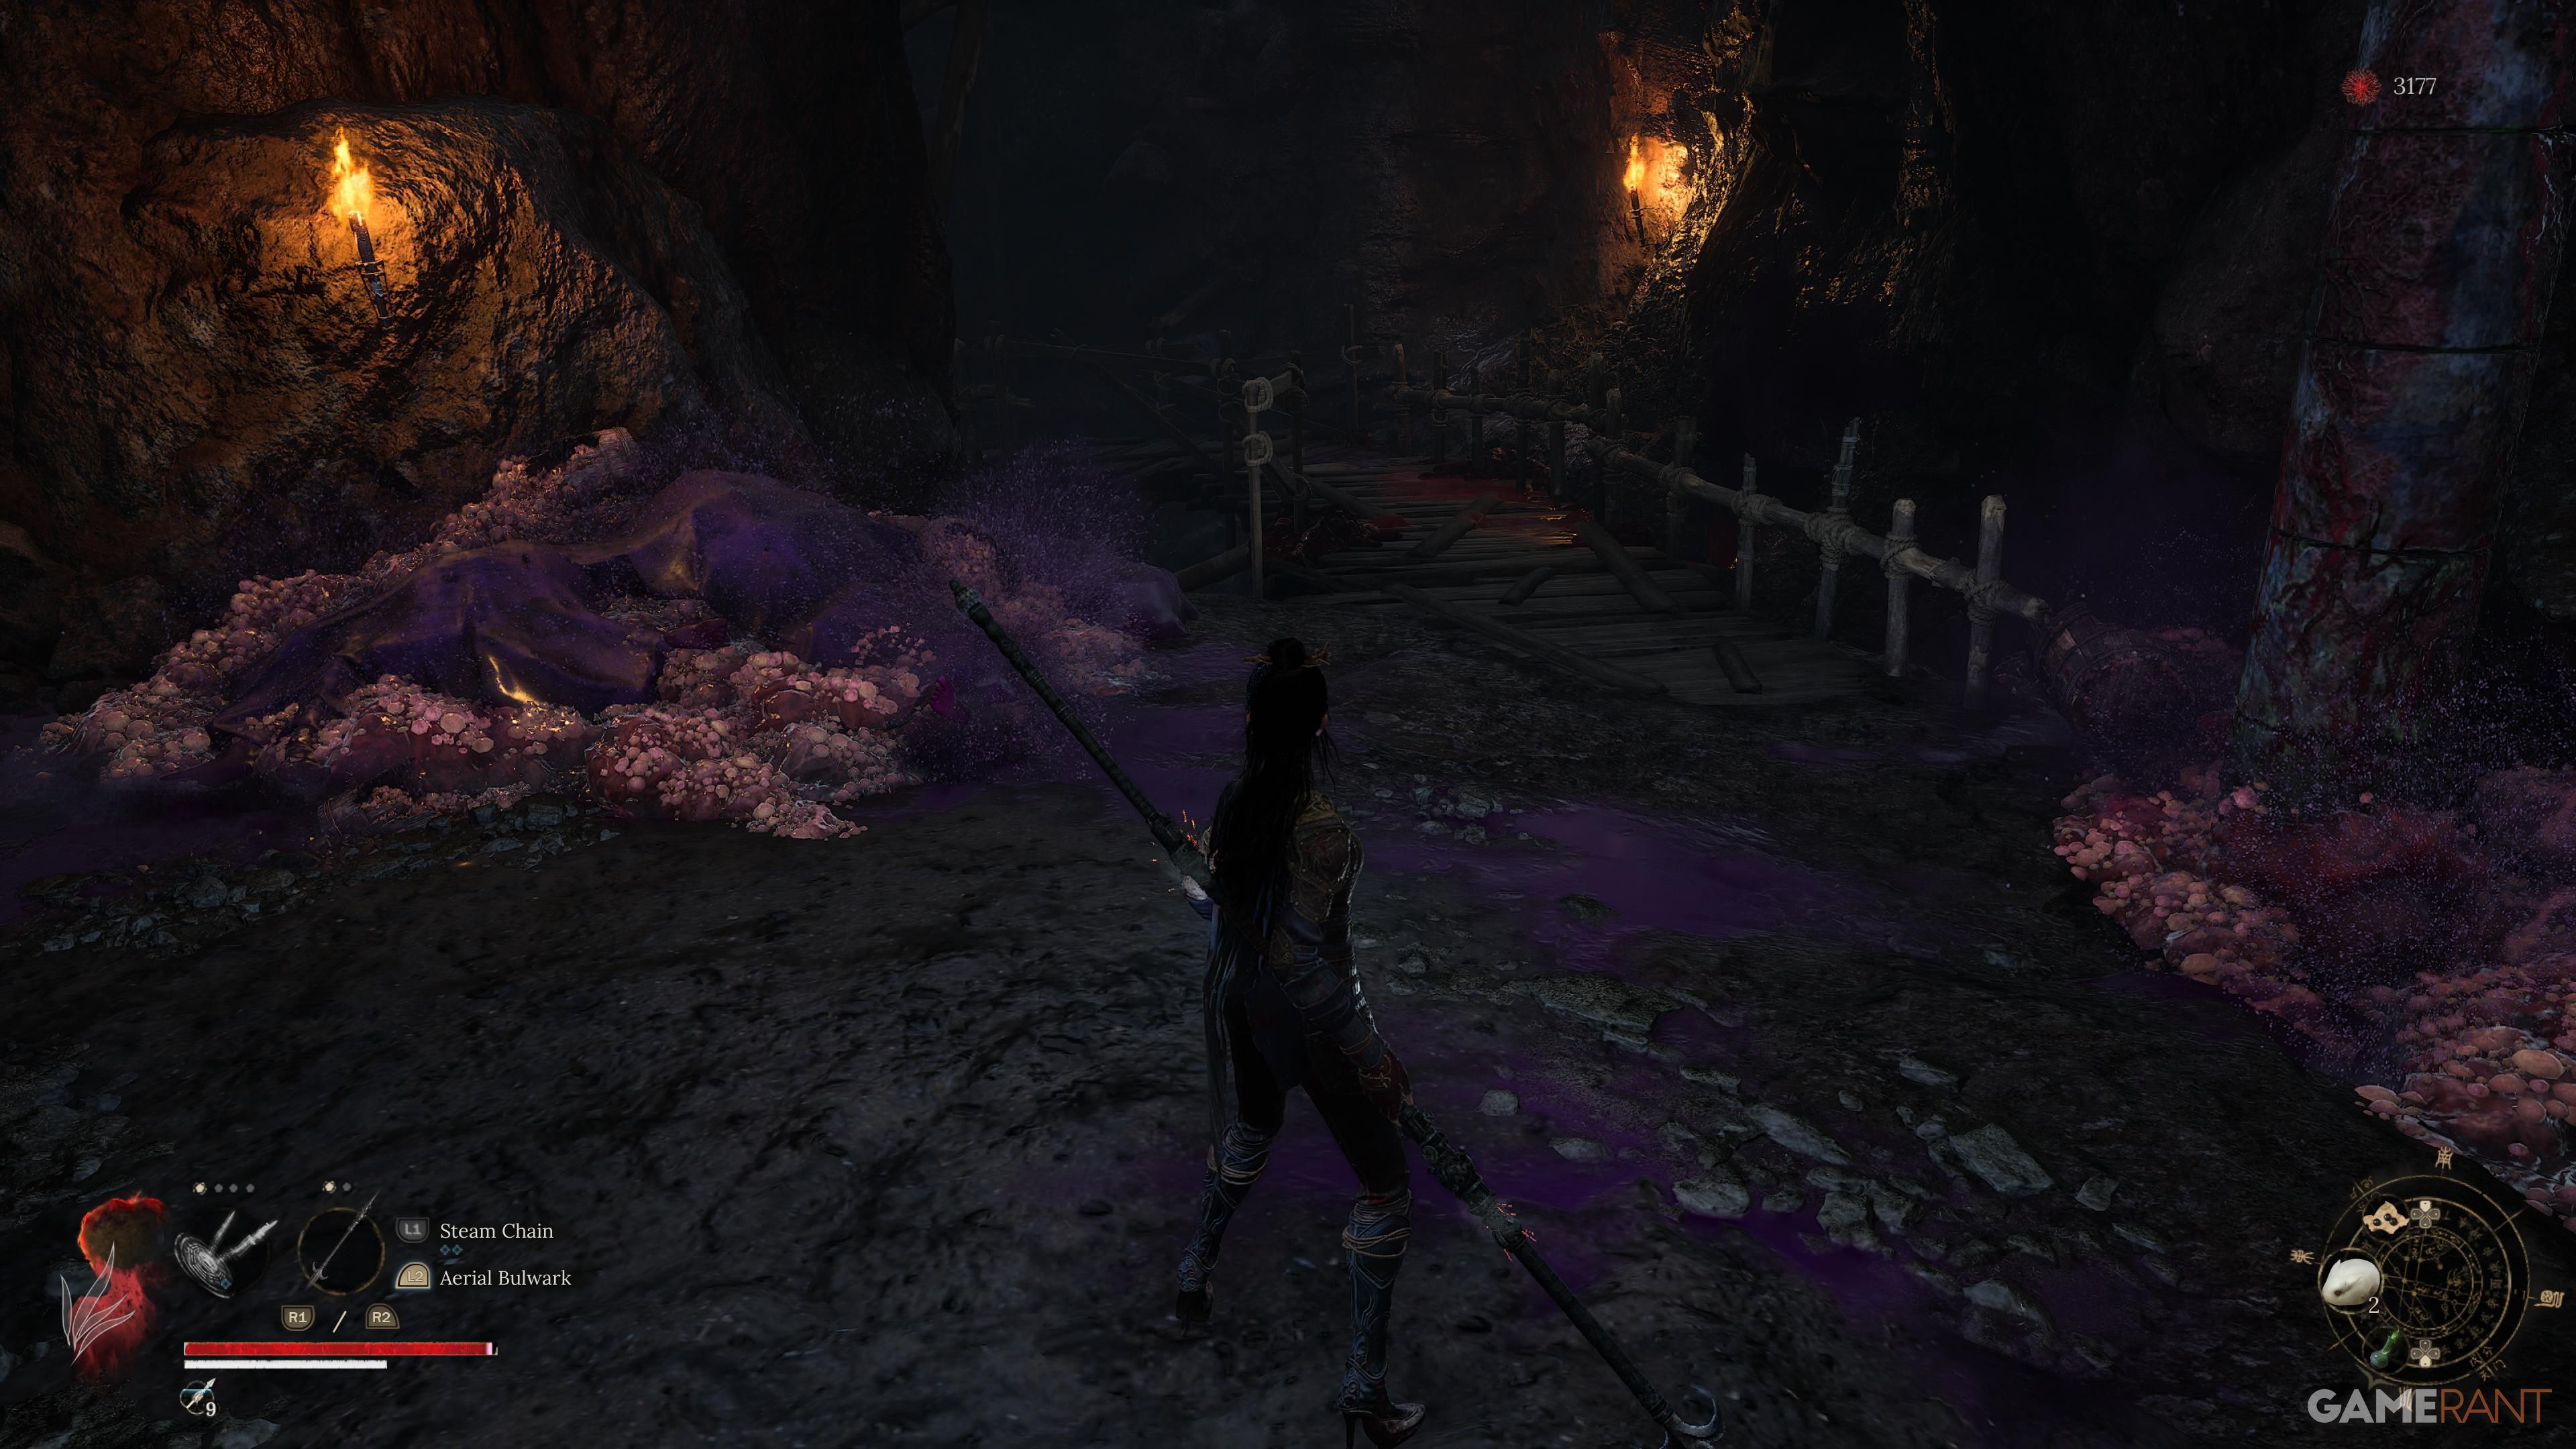
Starting from the Shu Sanctum Shrine, engage with the device in front of you that needs the Shu Sanctum Key. This action will reveal a subterranean pathway that leads to the Mercury Workshop. Follow this pathway down and pass through the contaminated tunnel to discover a Shrine on your right side. Subsequently, proceed along the squishy path beside the Shrine and choose the route where two rifle-wielding enemies are shooting at you. Continue descending the wooden planks, veer right, then left to locate a ladder ascending upwards.
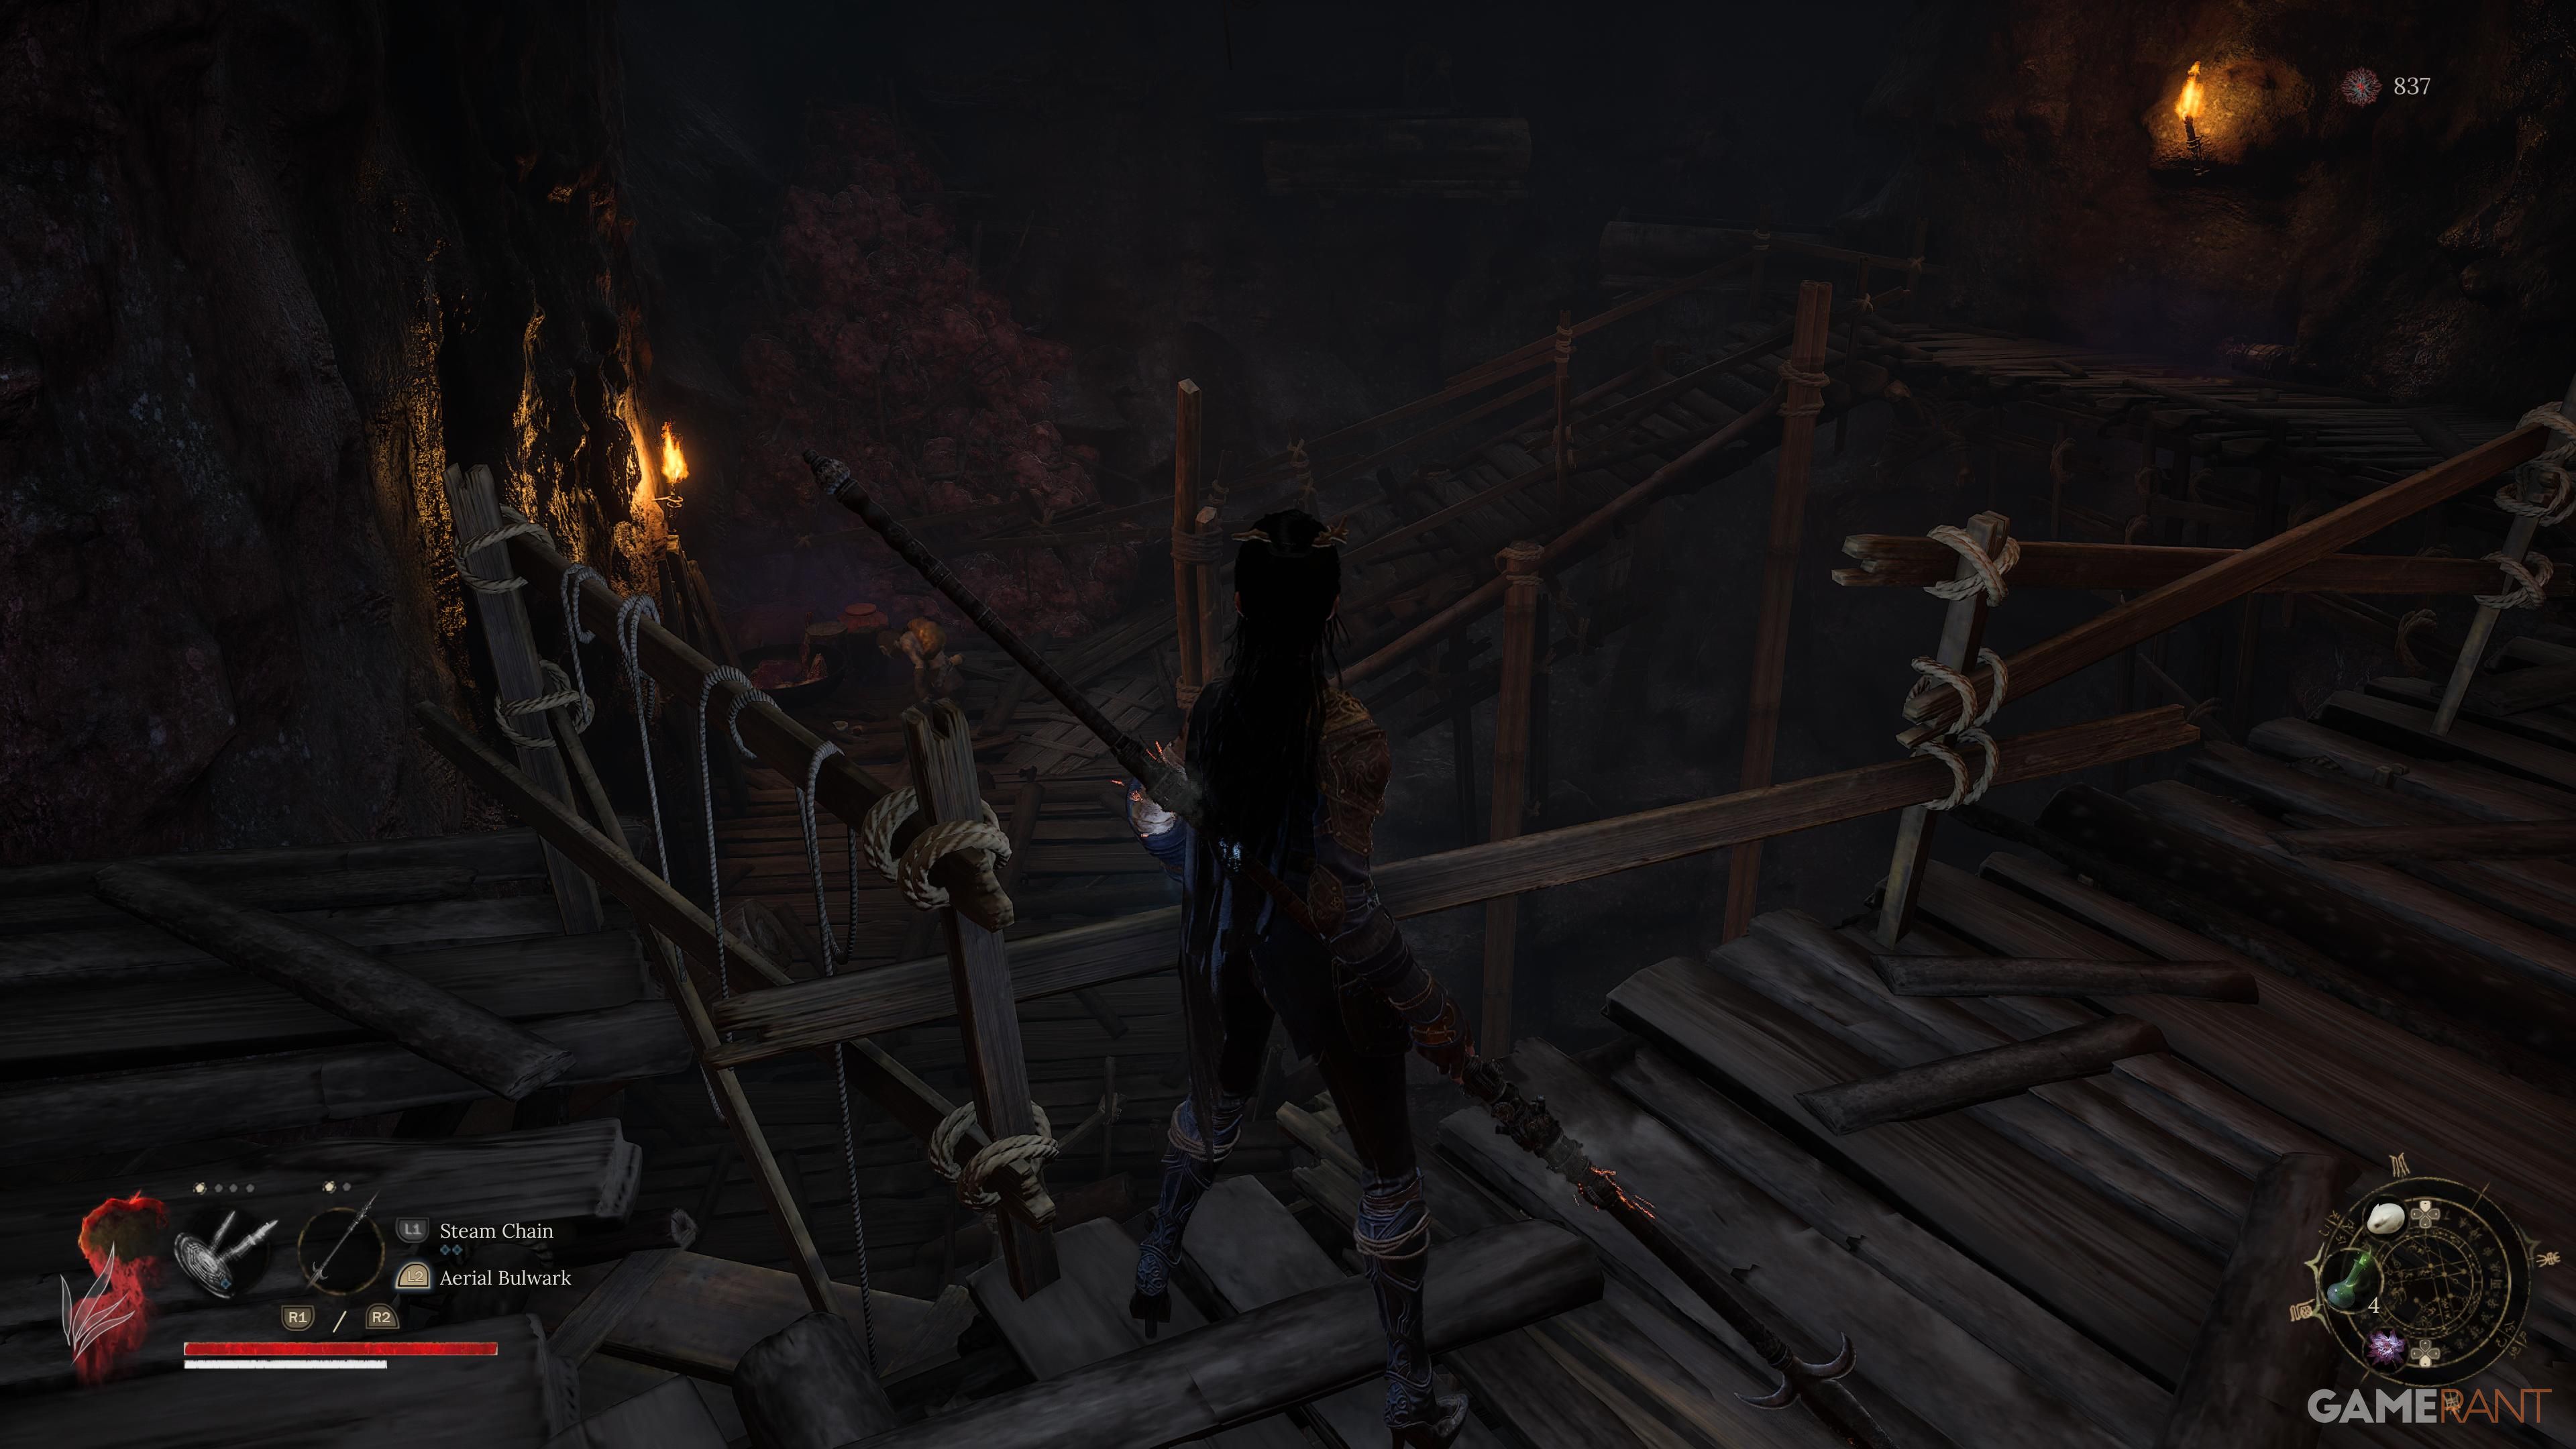
Step into the compact lair hosting the formidable adversary. Take him out swiftly before moving on. Remember, hostile forces lurk at both exits, ready to seize me, so tread carefully while handling them with my weapon. The corridors branch out ahead, but I choose to bypass them and descend the ladder instead, reaching the elevator ascending to the Shrine. From there, veer across and make a right turn to encounter a pair of enemies near the squishy pathway. Keep left and proceed all the way down until you spot a ladder descending further.
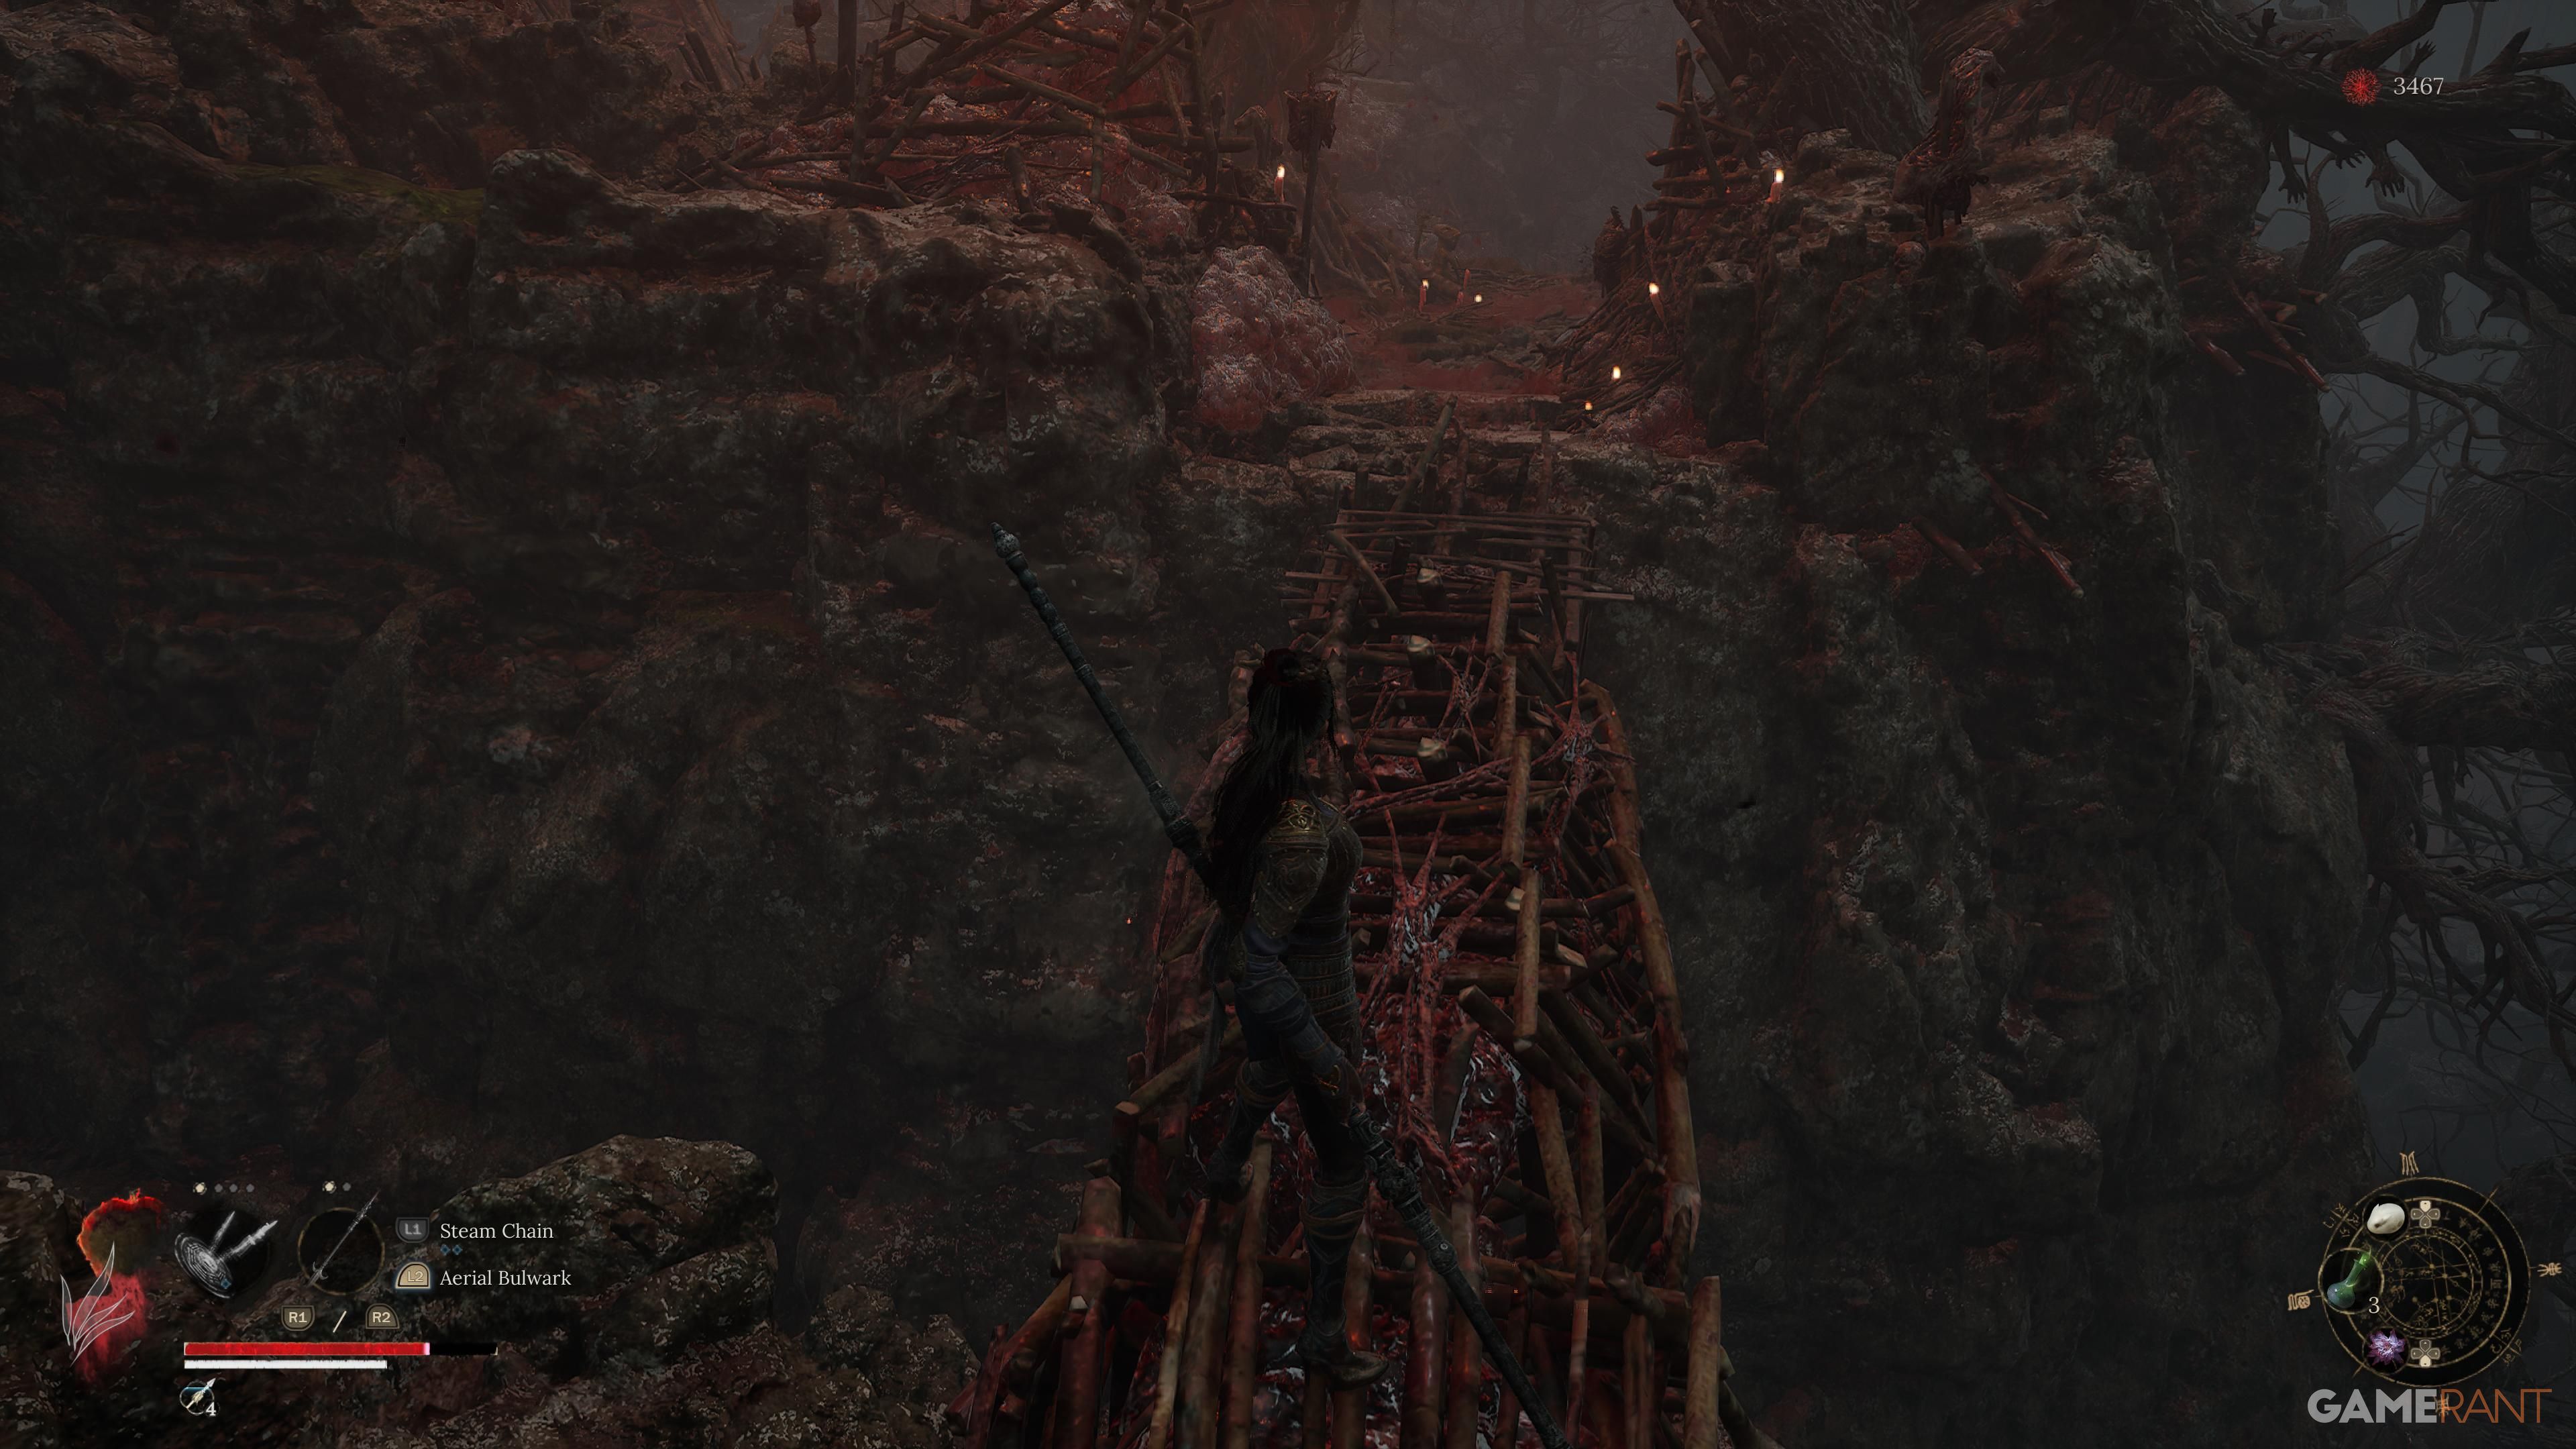
Navigate towards the direction where you’ll find a path on your left, and there you’ll come across an open chest containing an item. Keep moving forward, and on either side, you’ll discover a stone-paved route filled with various items. However, be mindful as enemies might emerge in front of you along this path.
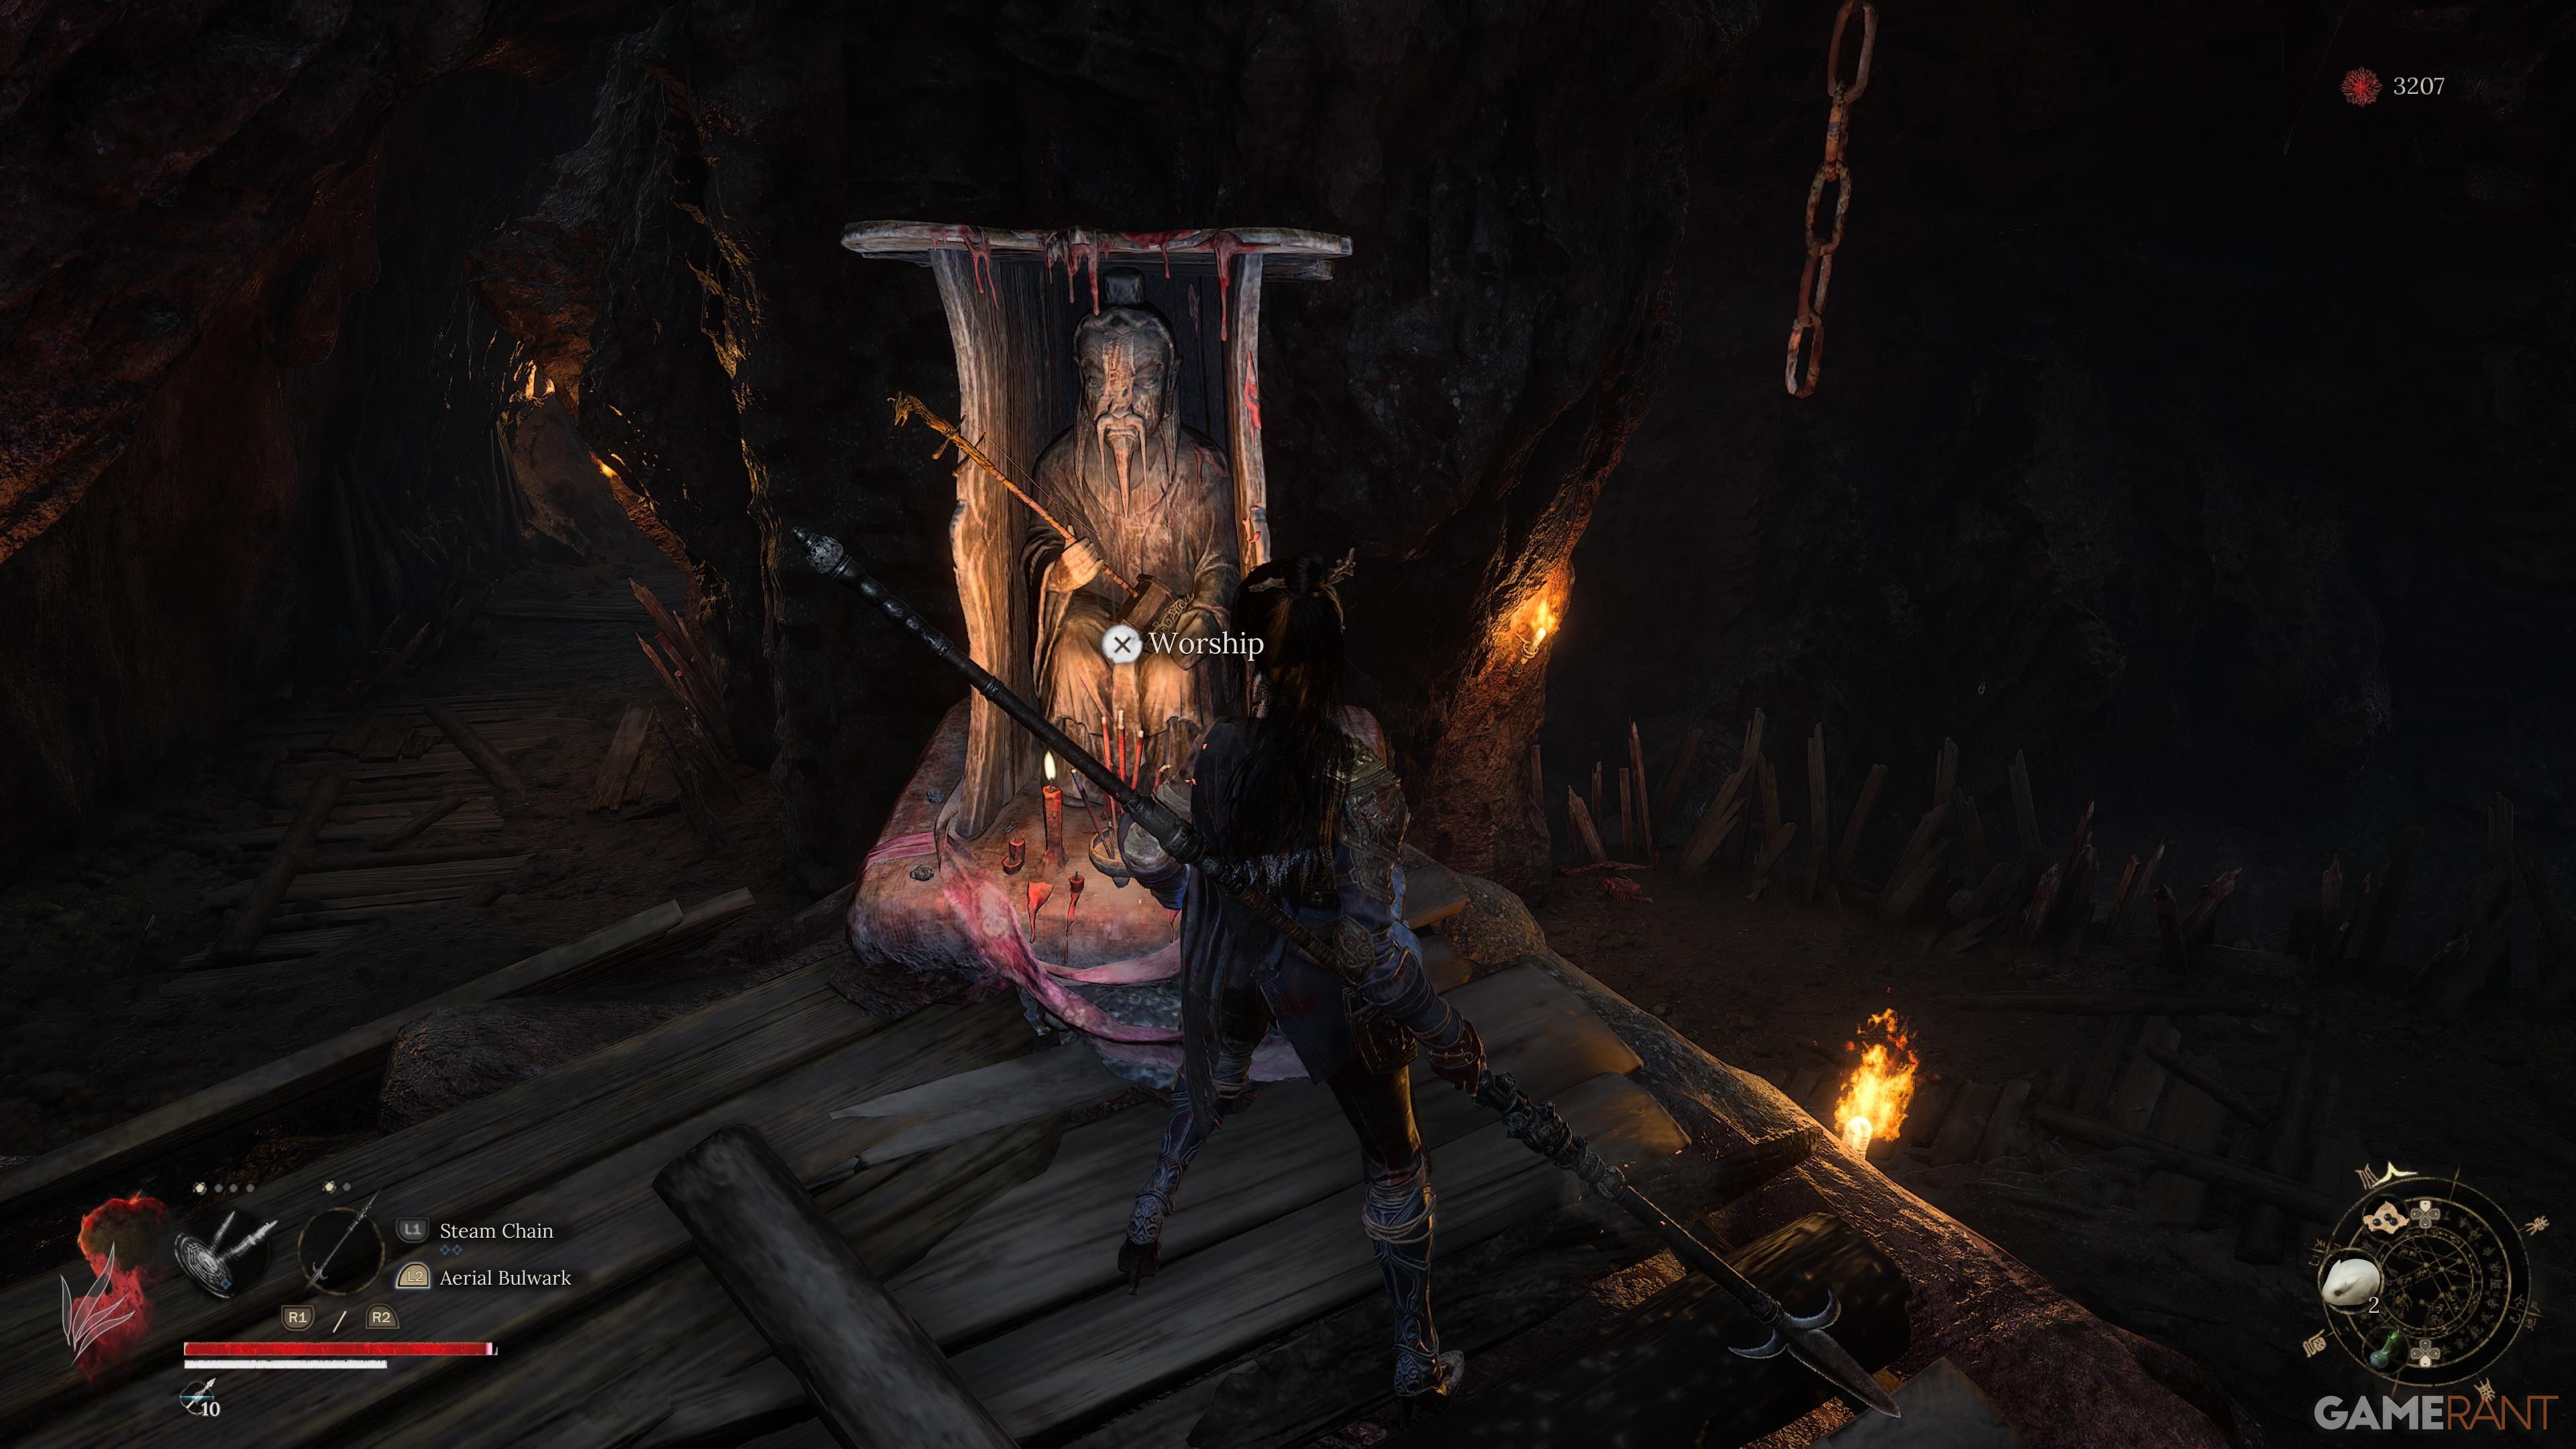
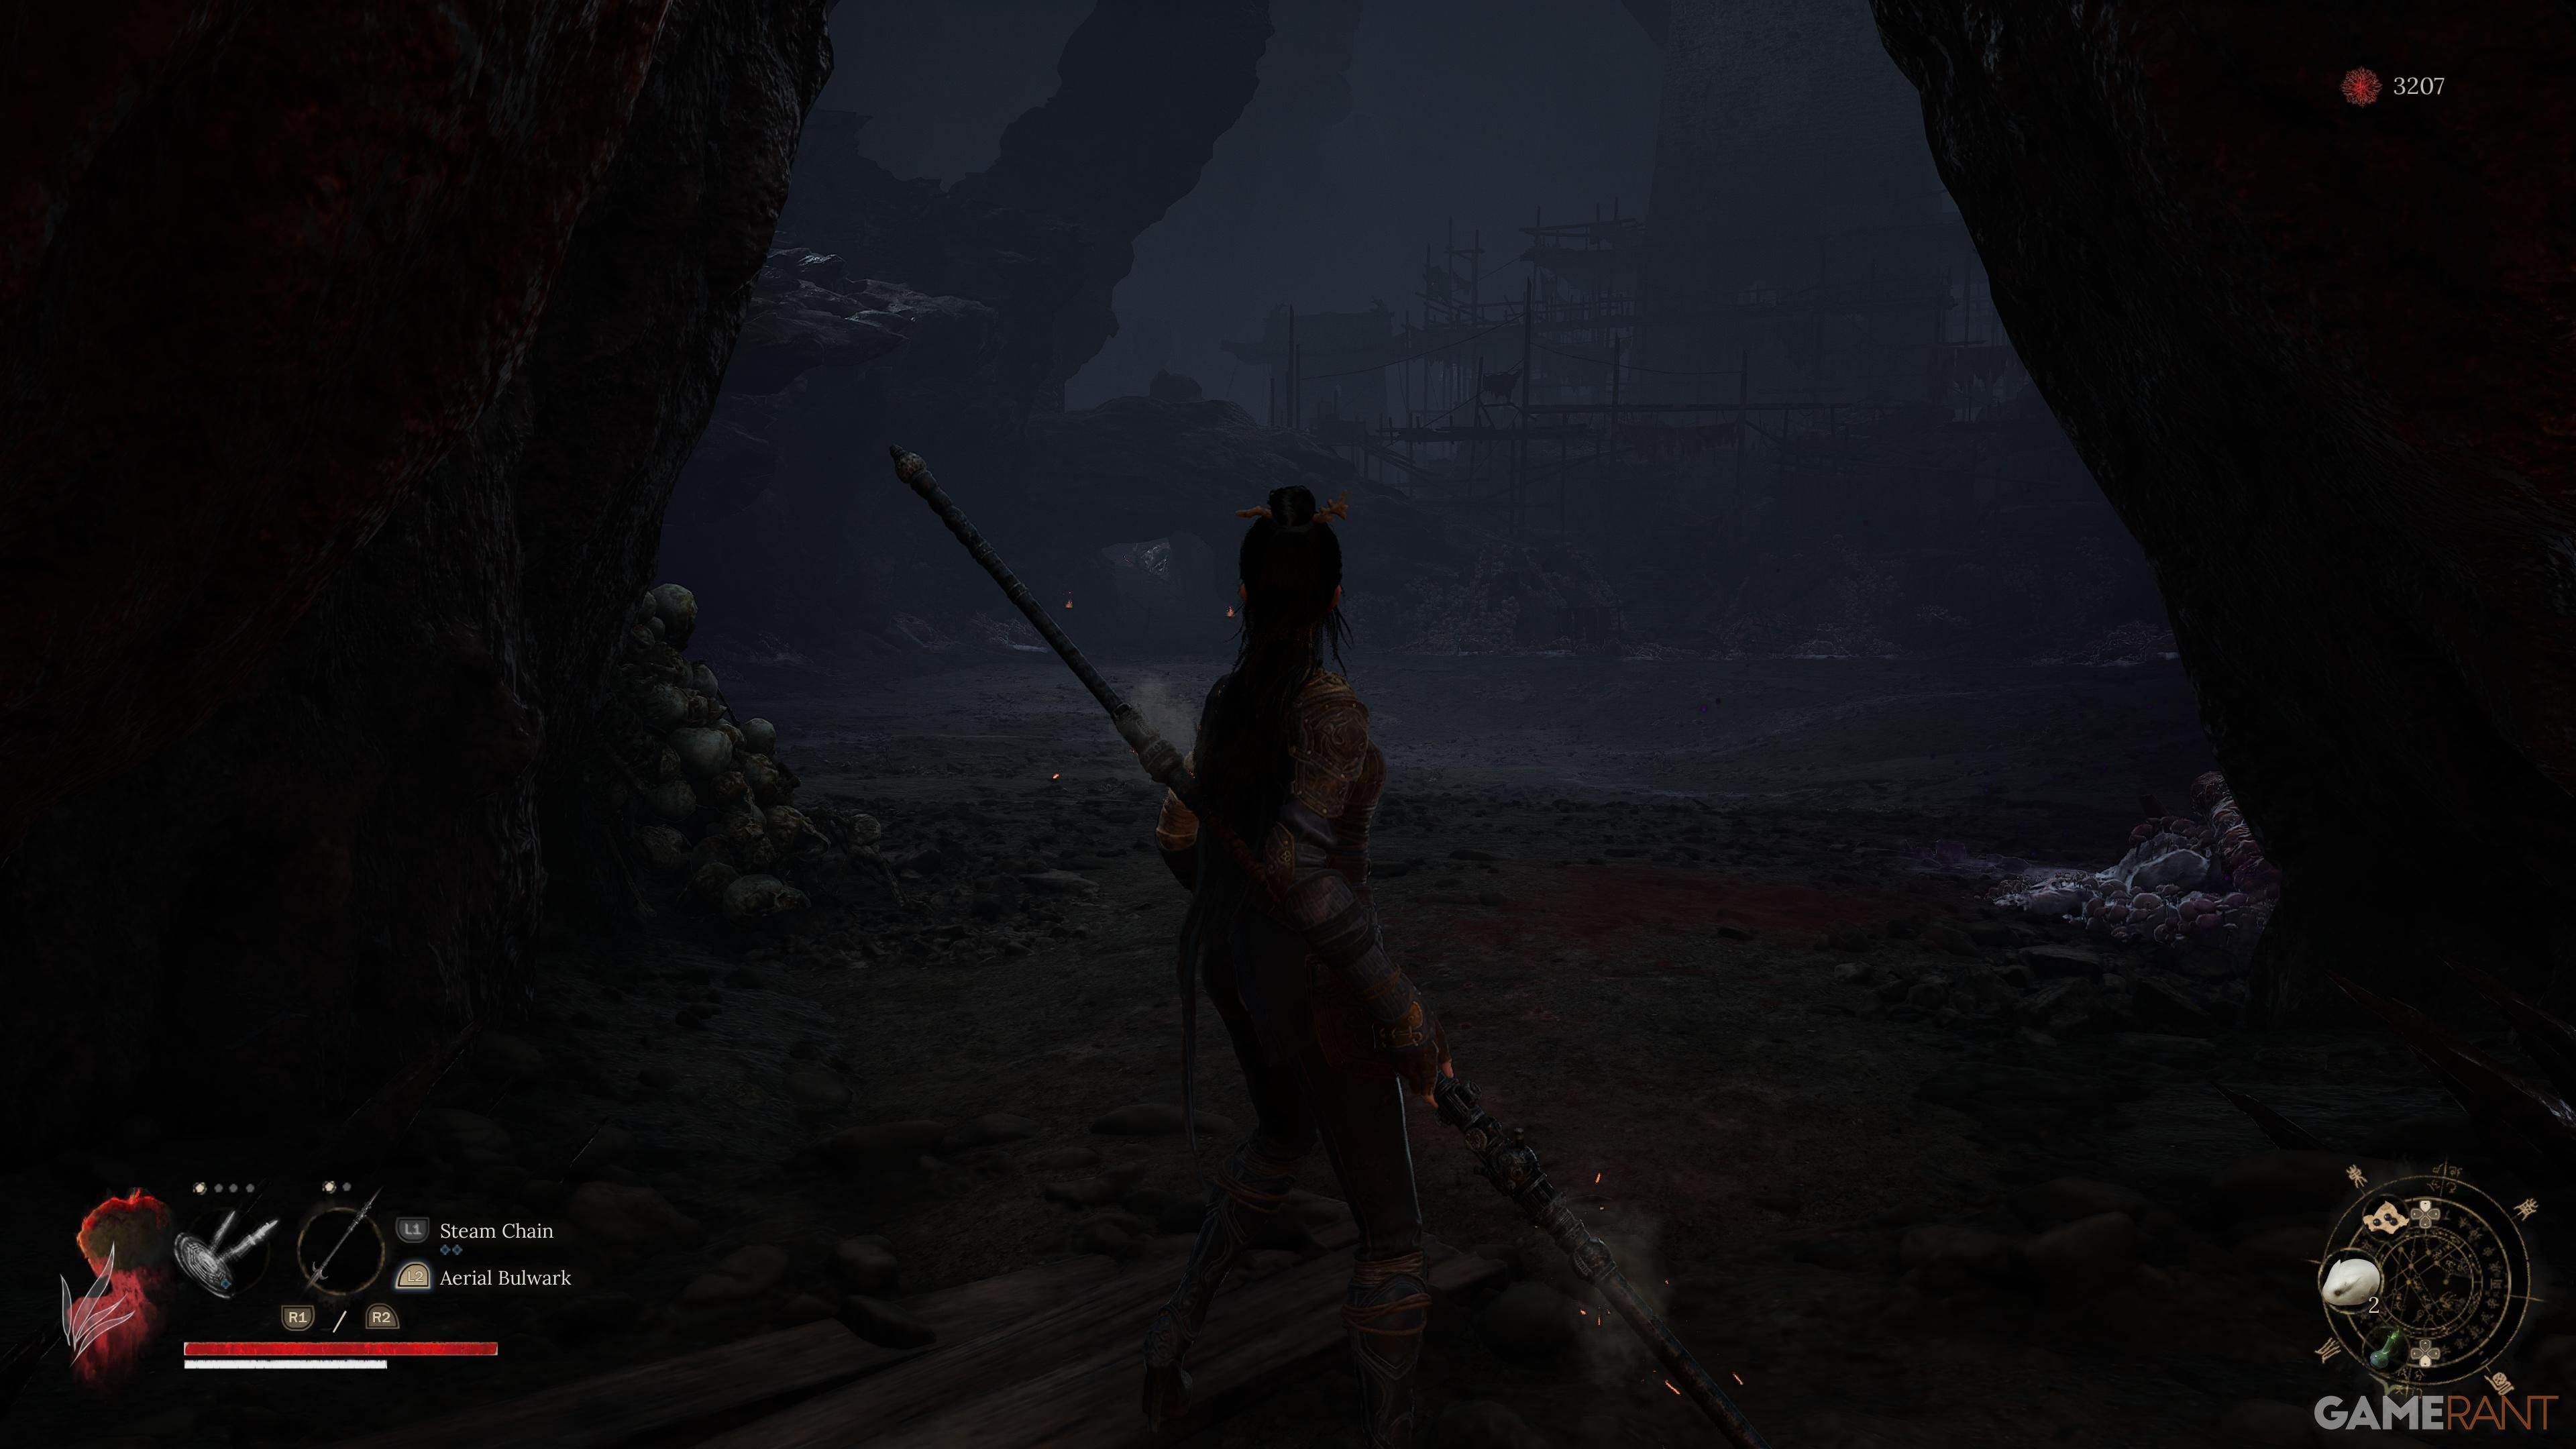
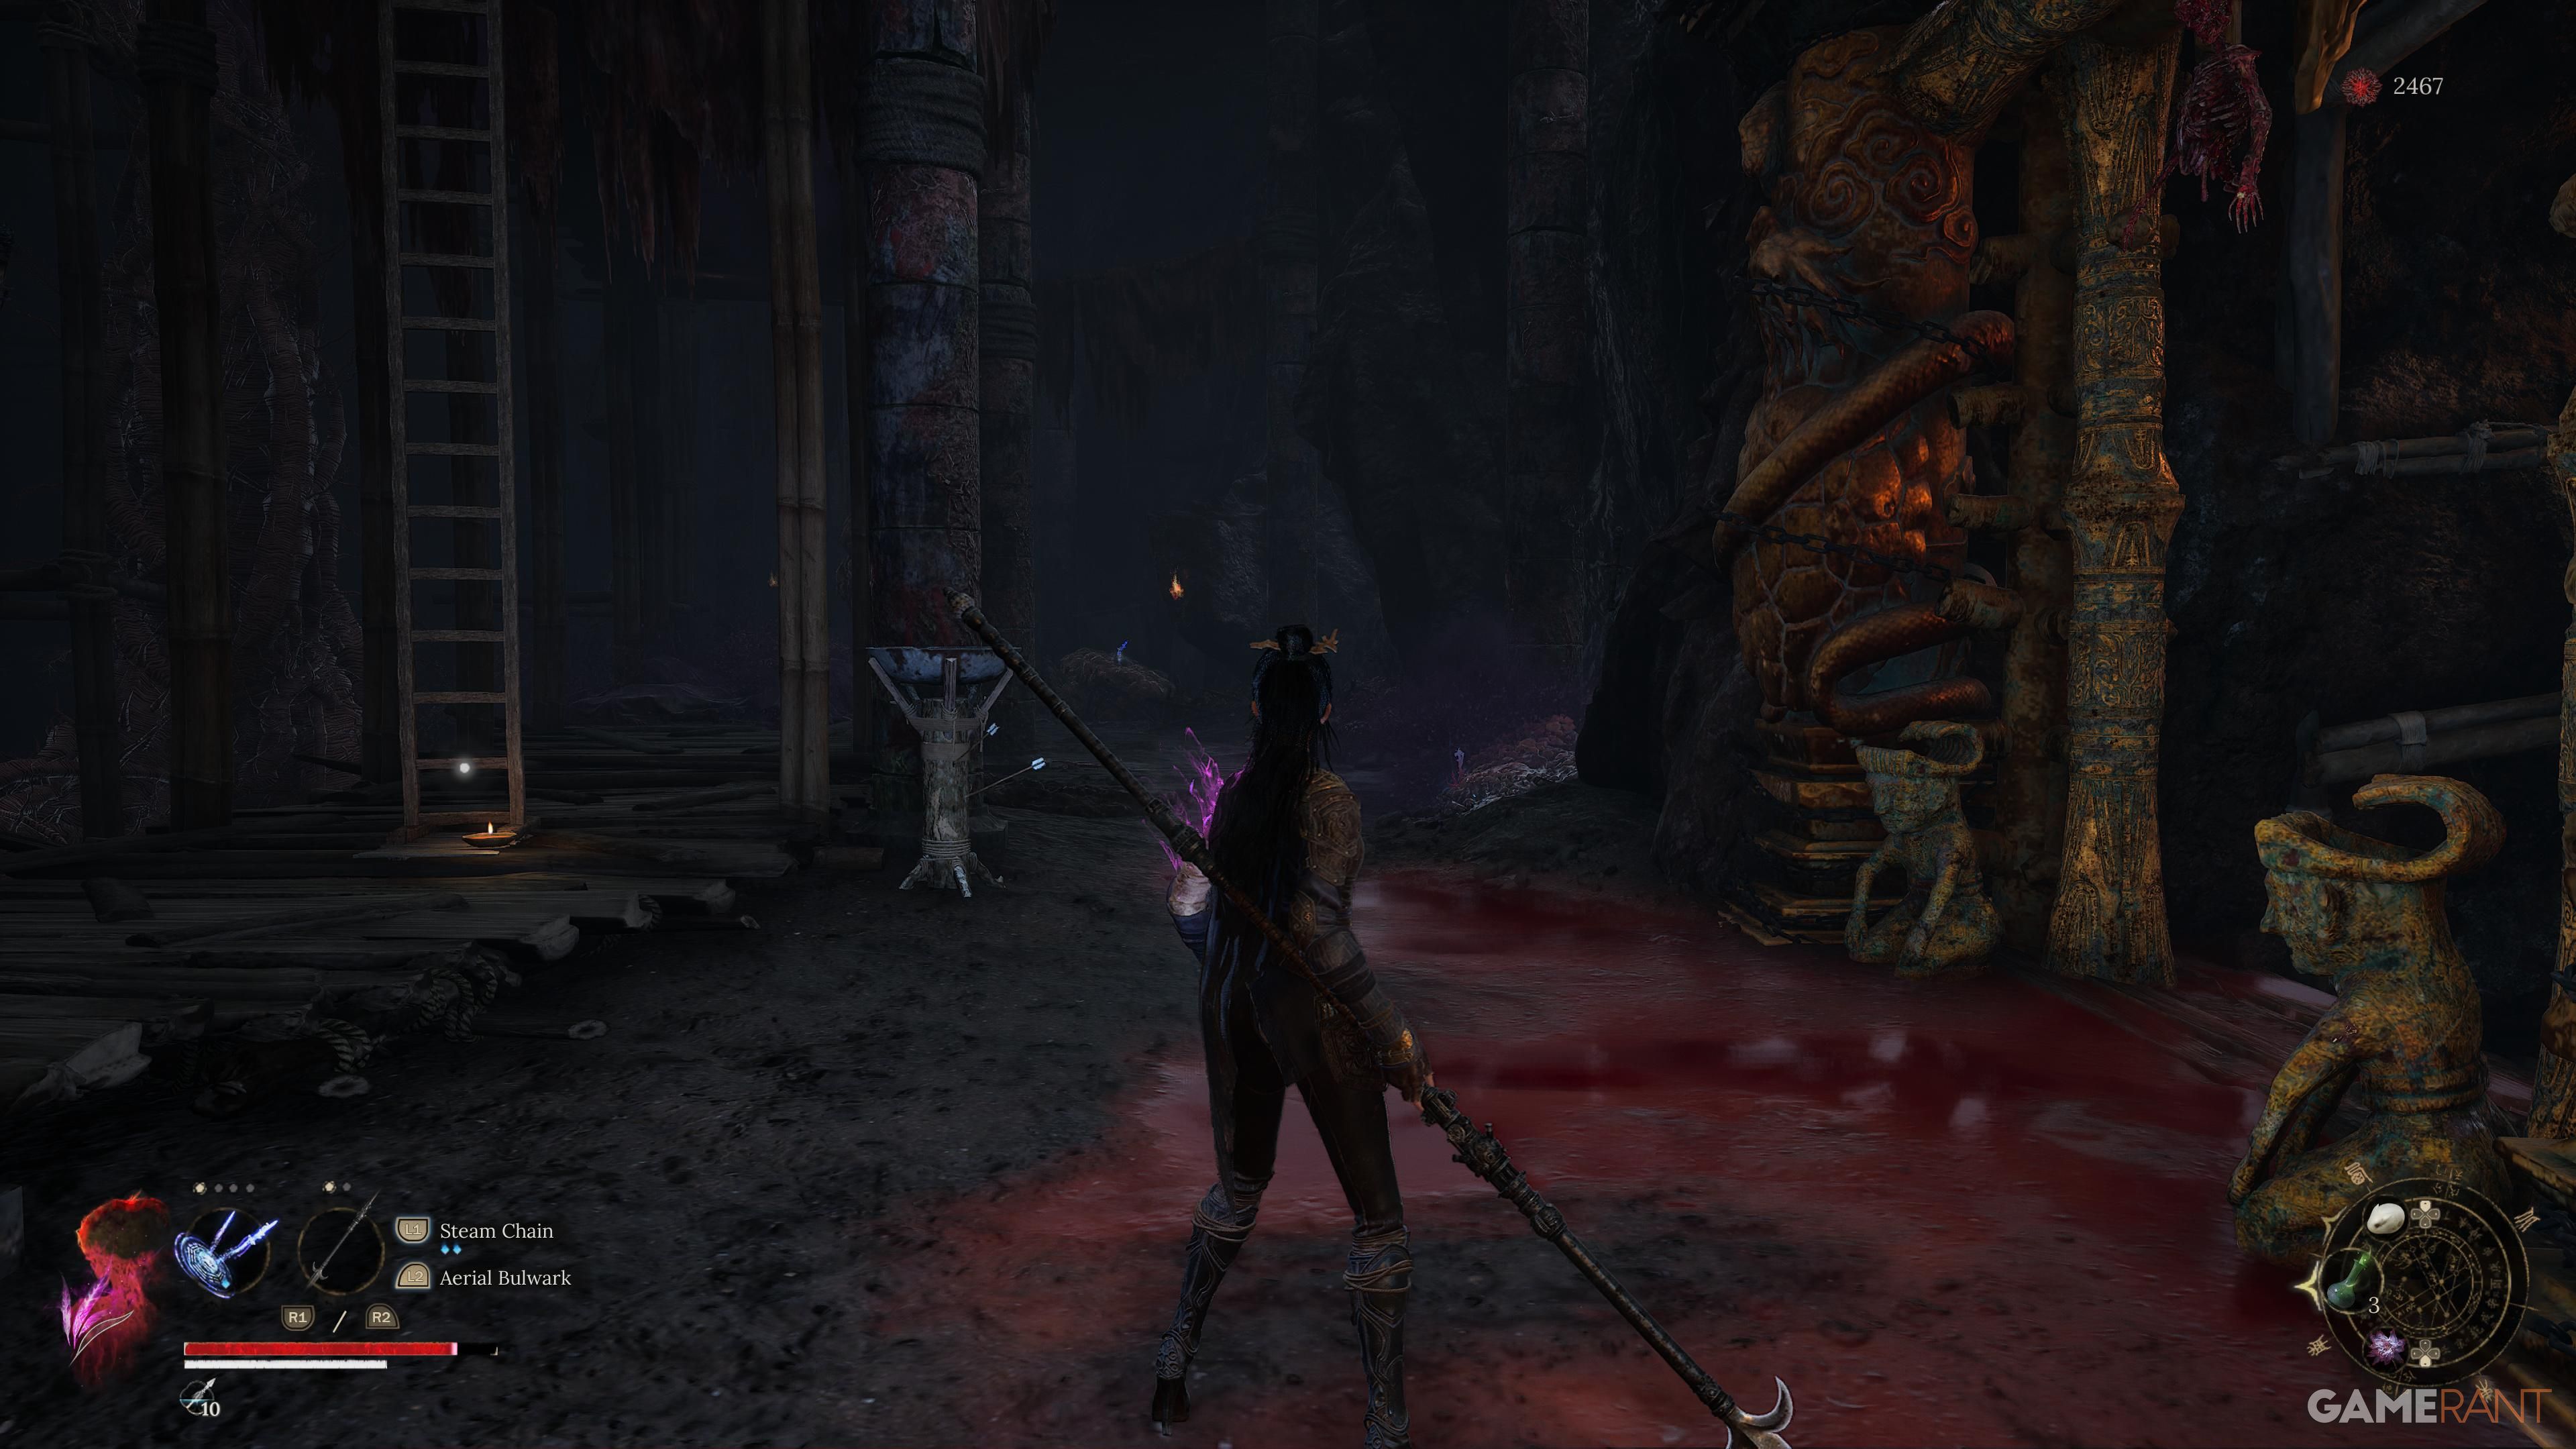
Turn to your right initially, then make a left turn later as you traverse the wooden bridge that takes you towards the Bandit Cave, which is where your next Shrine lies. After visiting this Shrine, face its opposite direction and follow the path to the right until you reach the boss arena for Blightweaver – Giant Centipede.
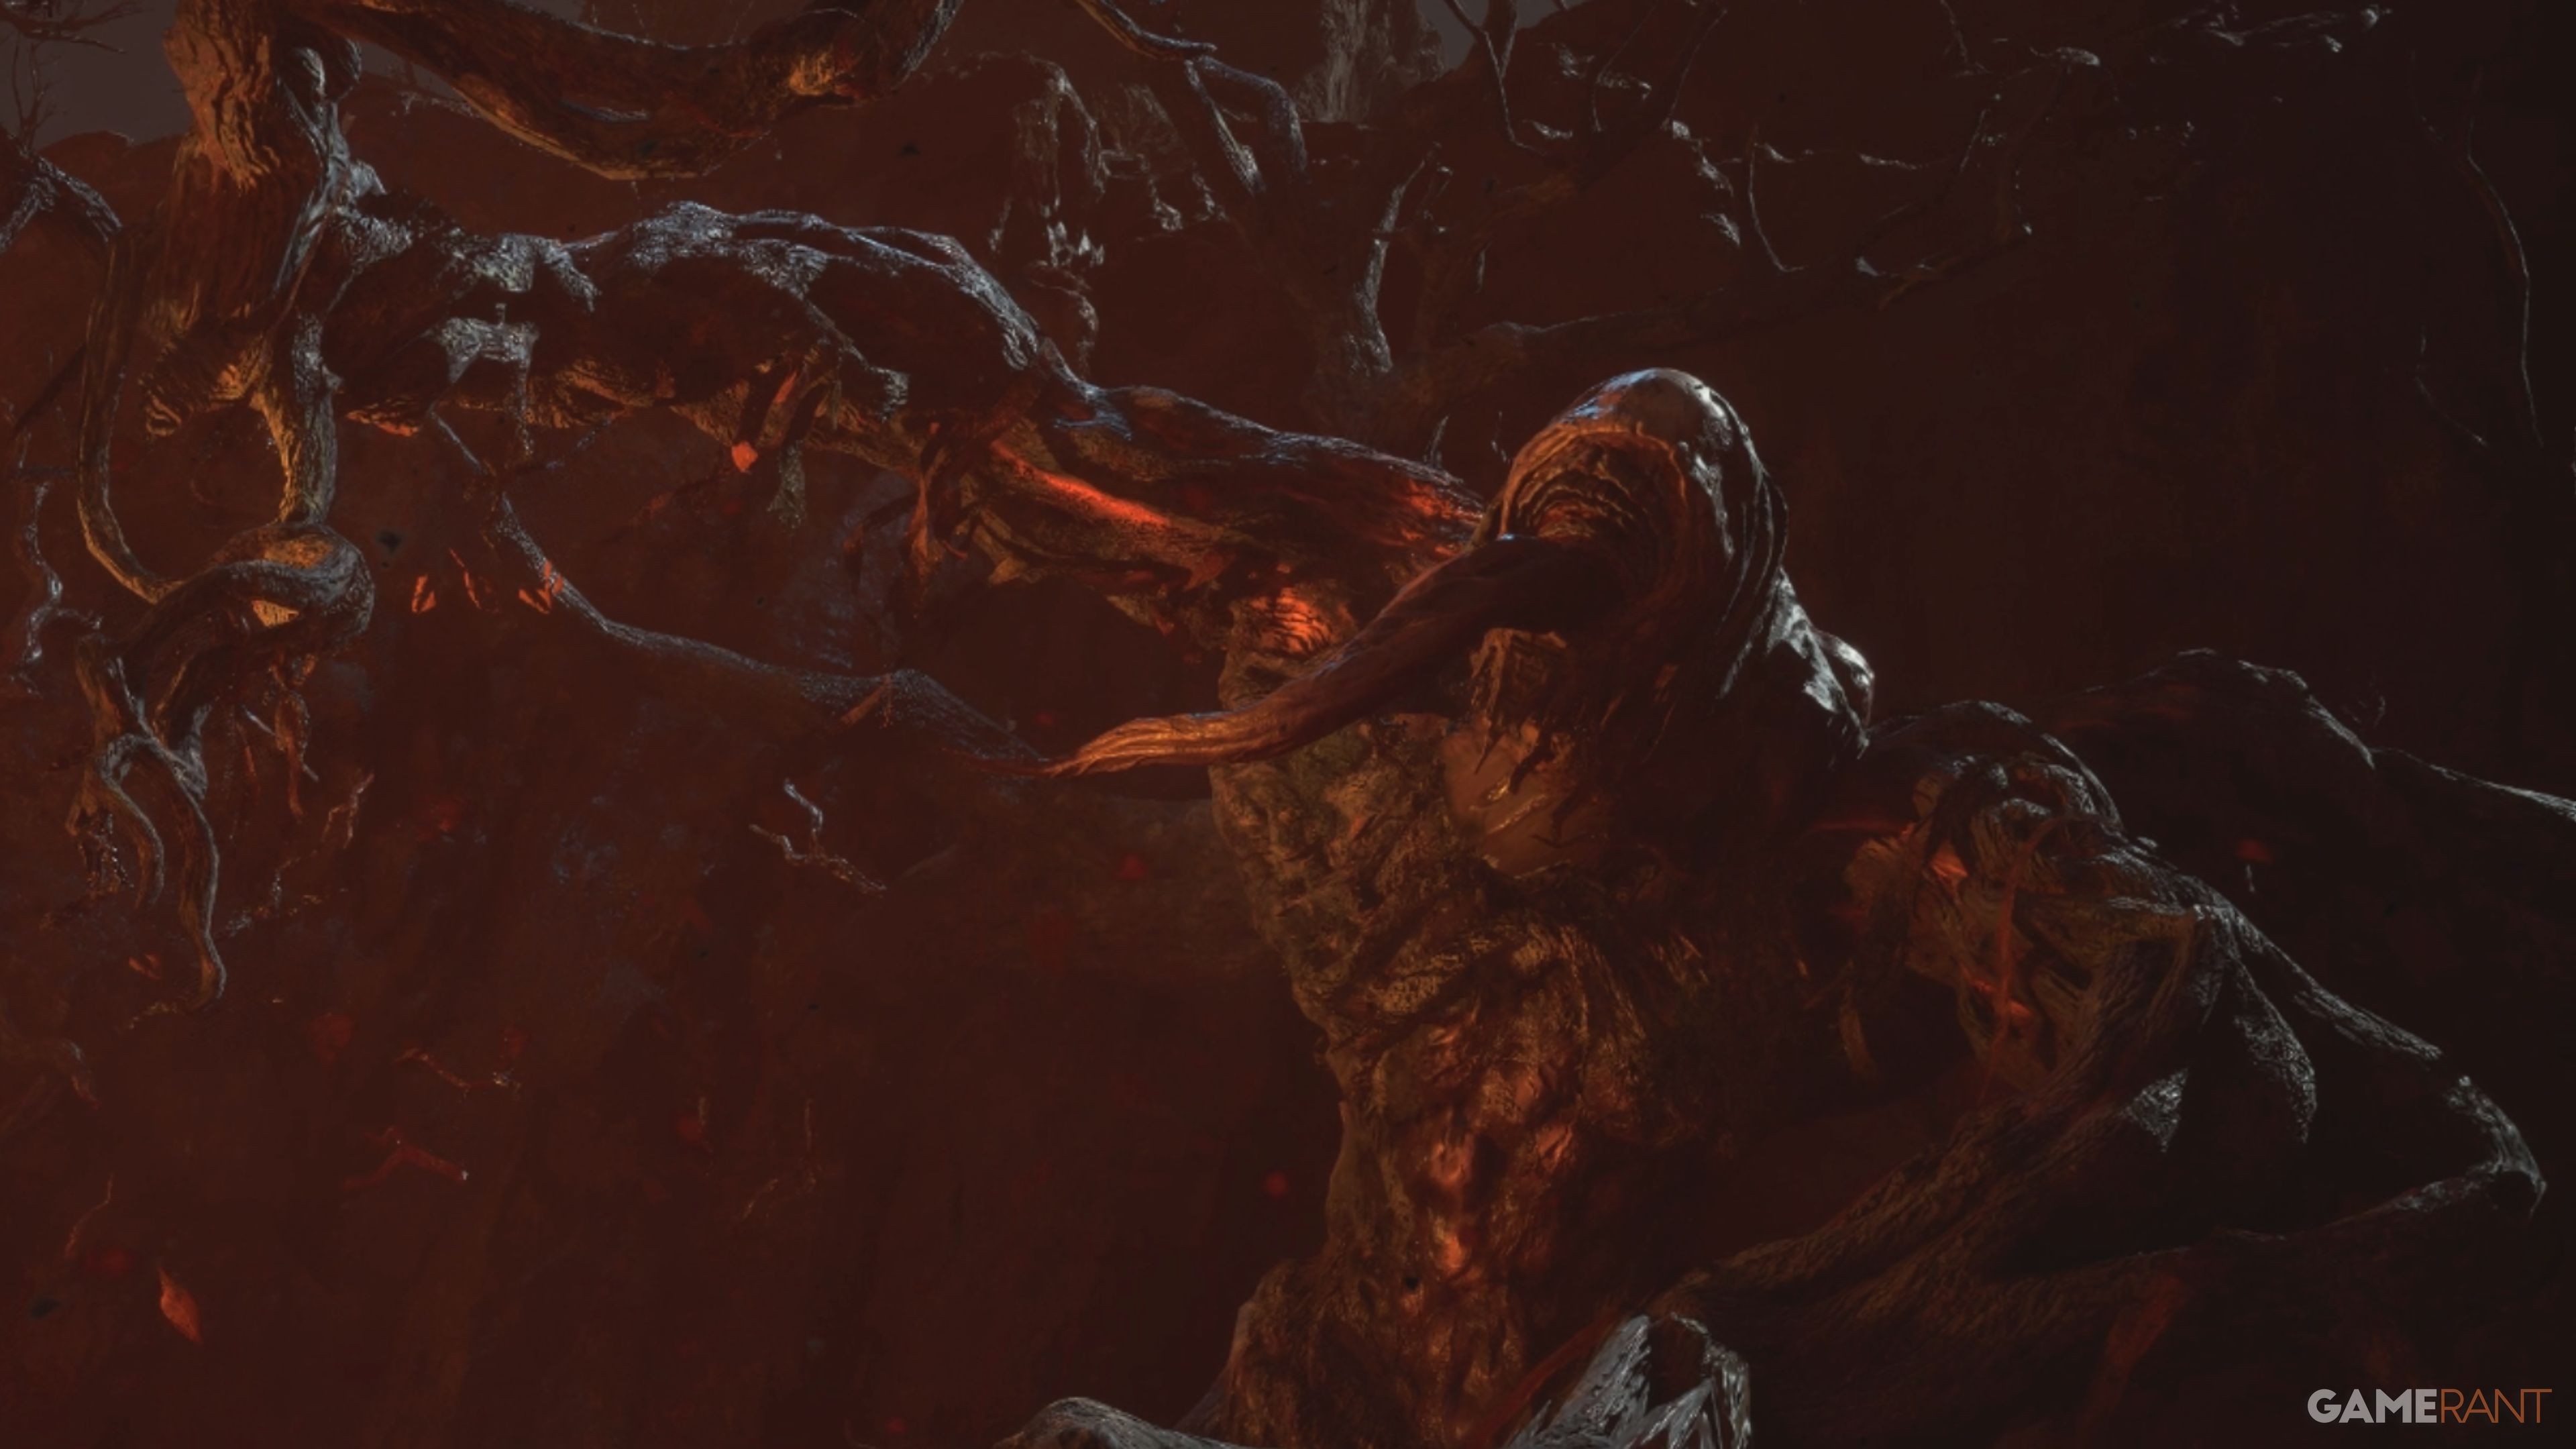
Reborn Treant – Soulwood
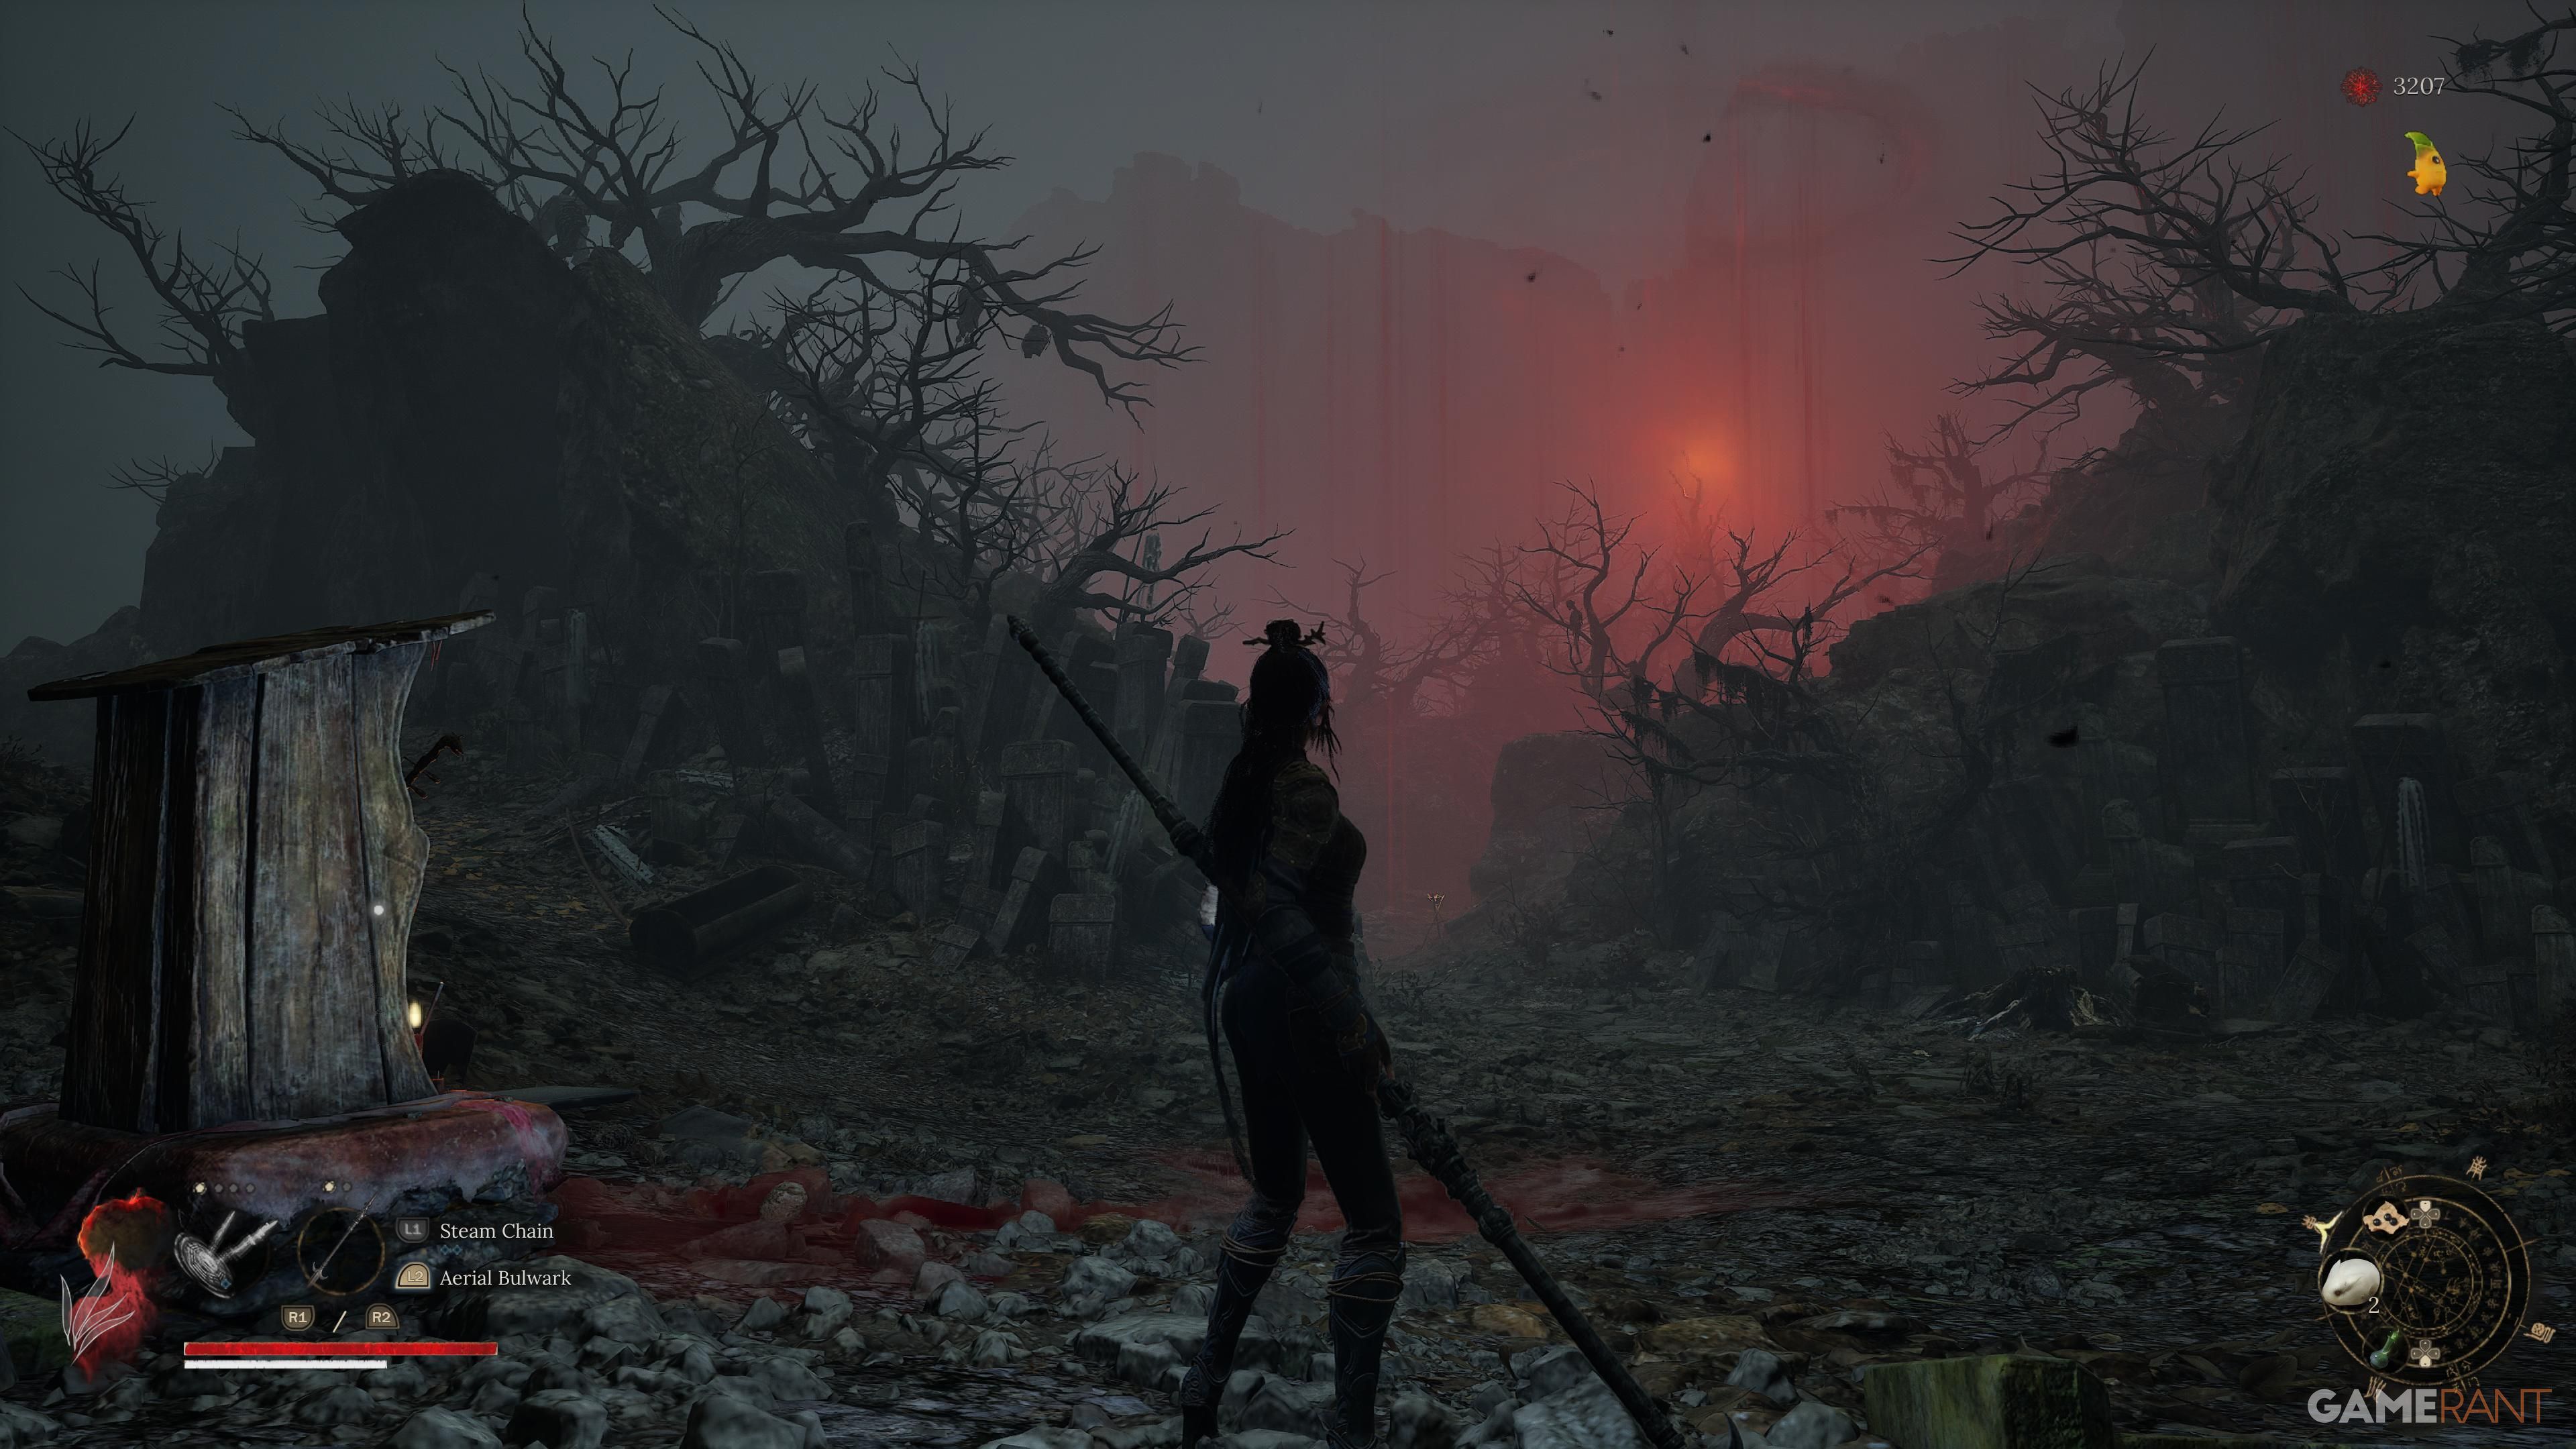
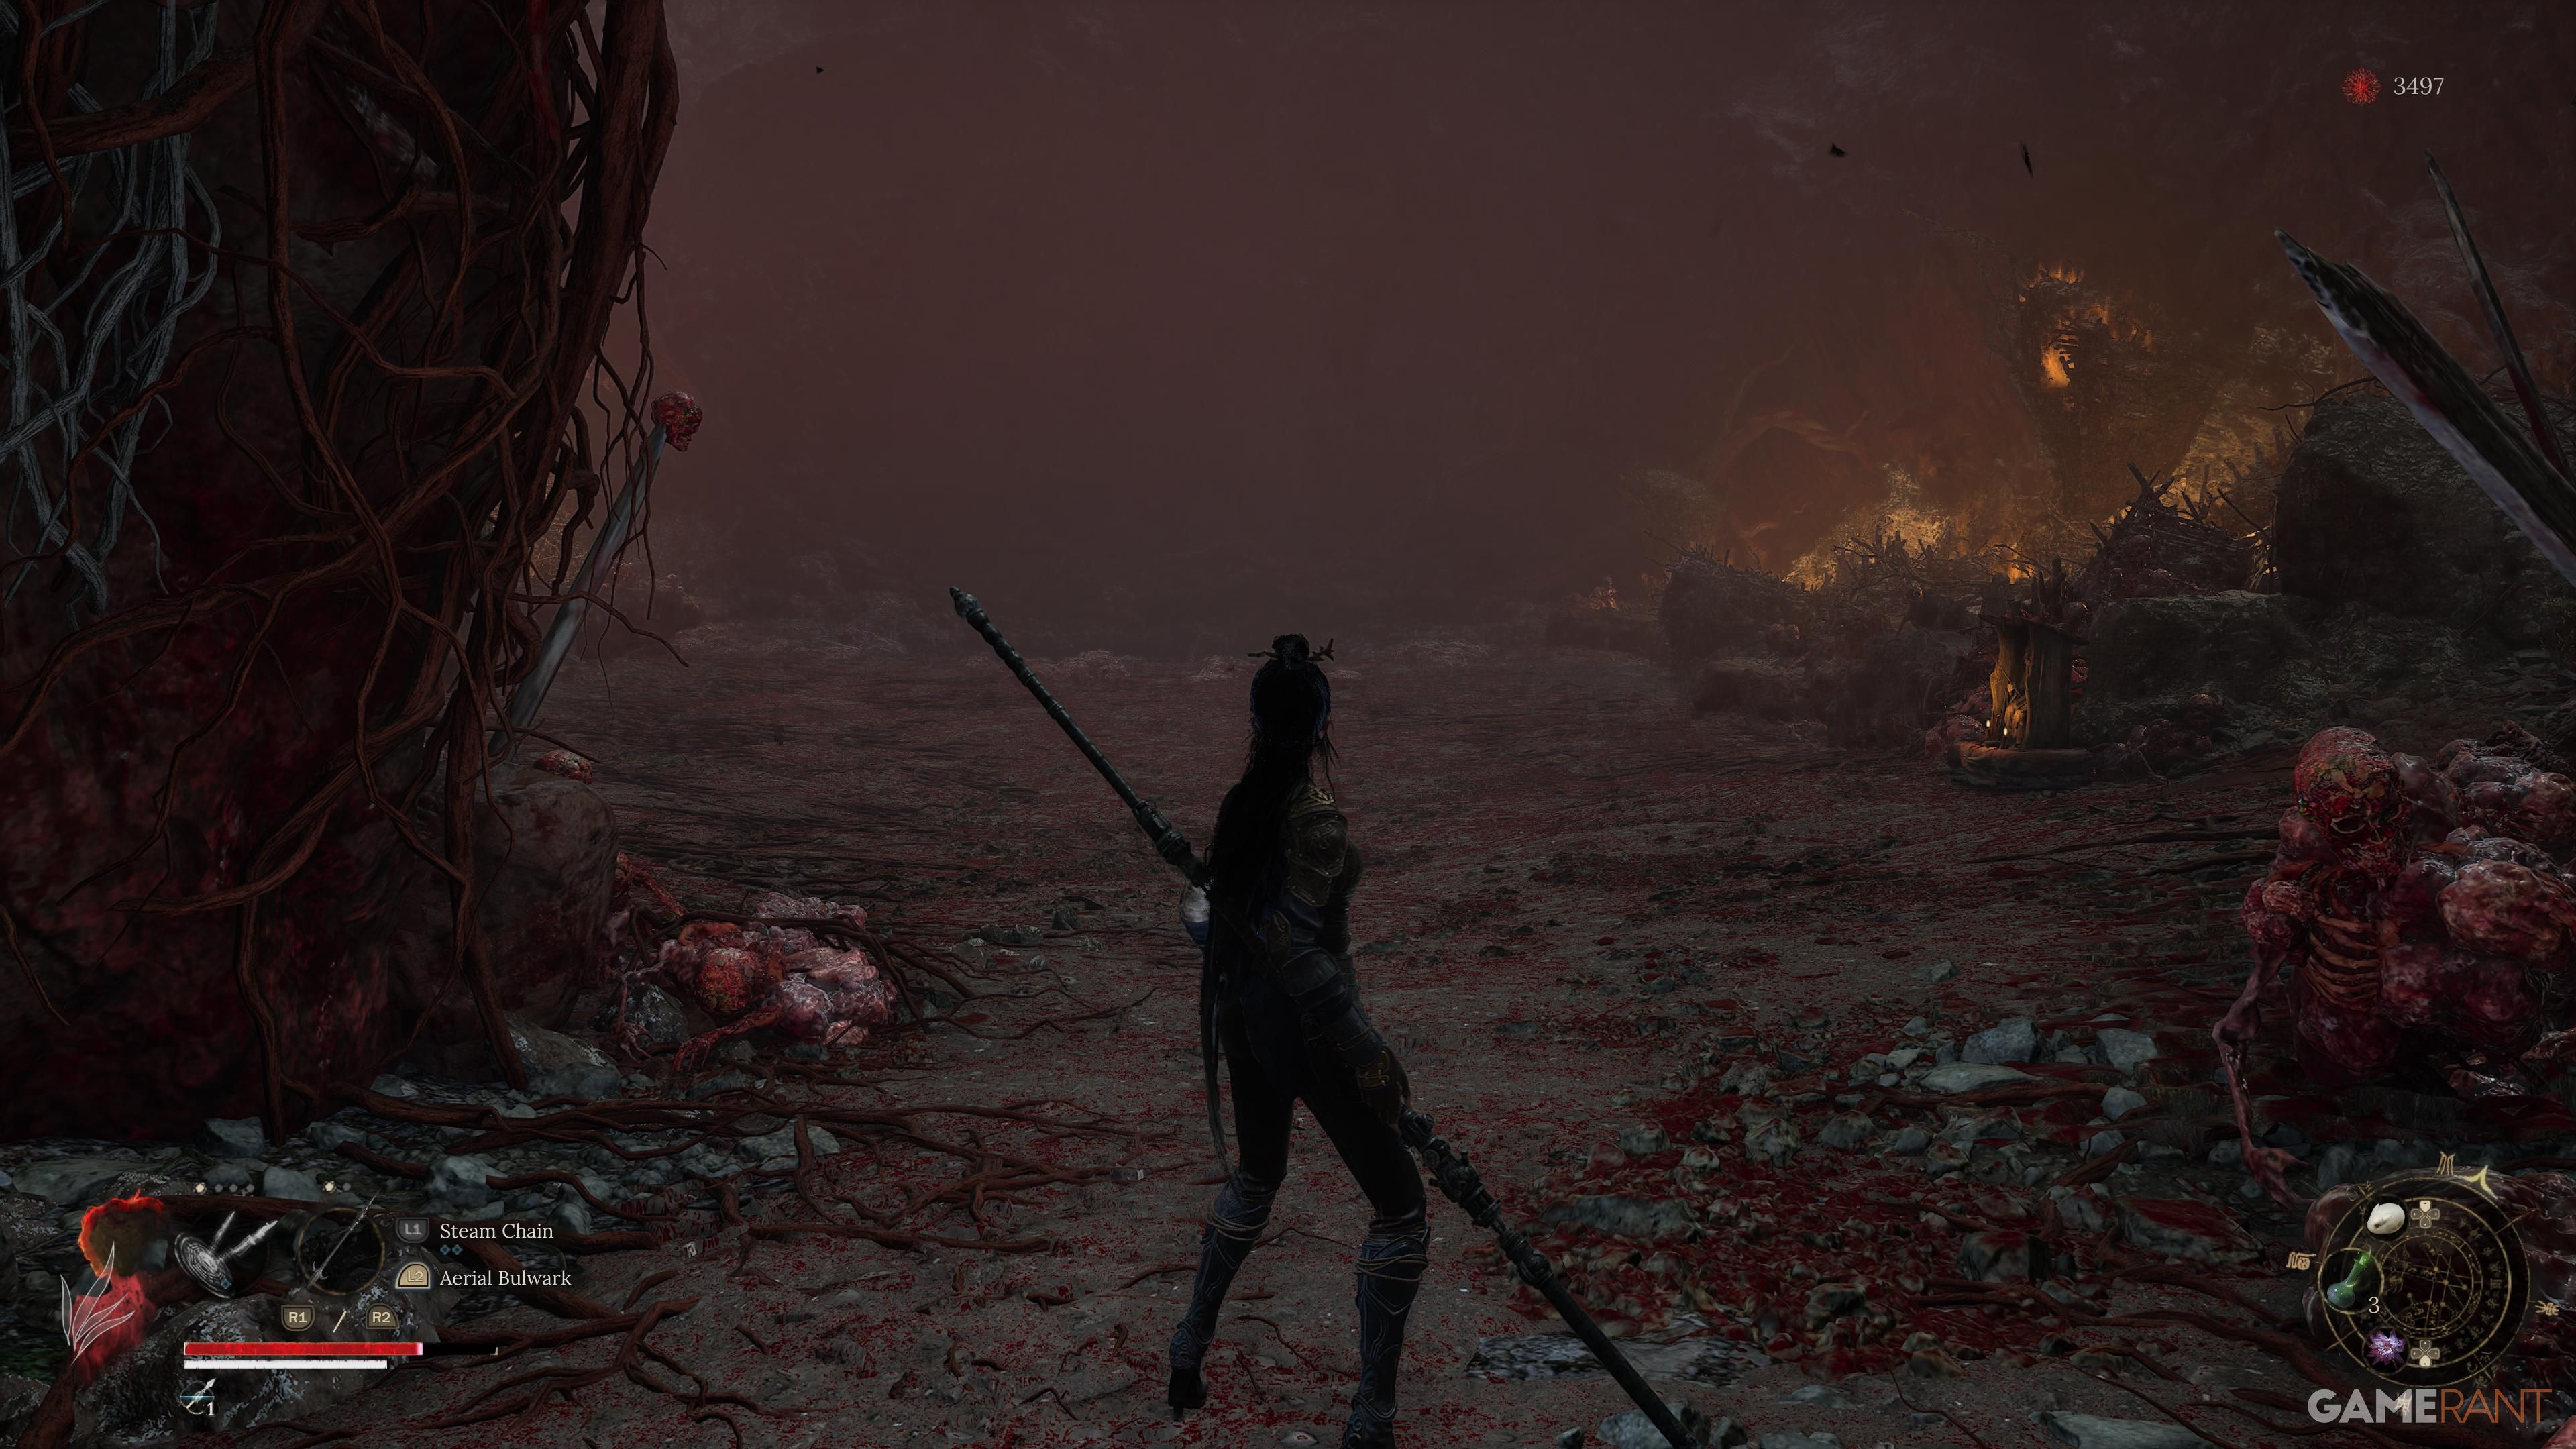
Following your victory over the boss, glance to your left to discover an exit and ride the elevator inside the Tower of Sacrifice to locate a door that needs opening. Shortly after, you’ll encounter He Youzai ahead, who brings up his missing package. Return it to receive the Pirate Armor set. To proceed, head right until you reach the solitary Shrine at Doomwillow Beach. From this point, you can choose among three different paths, excluding the one you initially took. Take the path on the far left, which is teeming with skeletons and grotesque four-legged creatures.
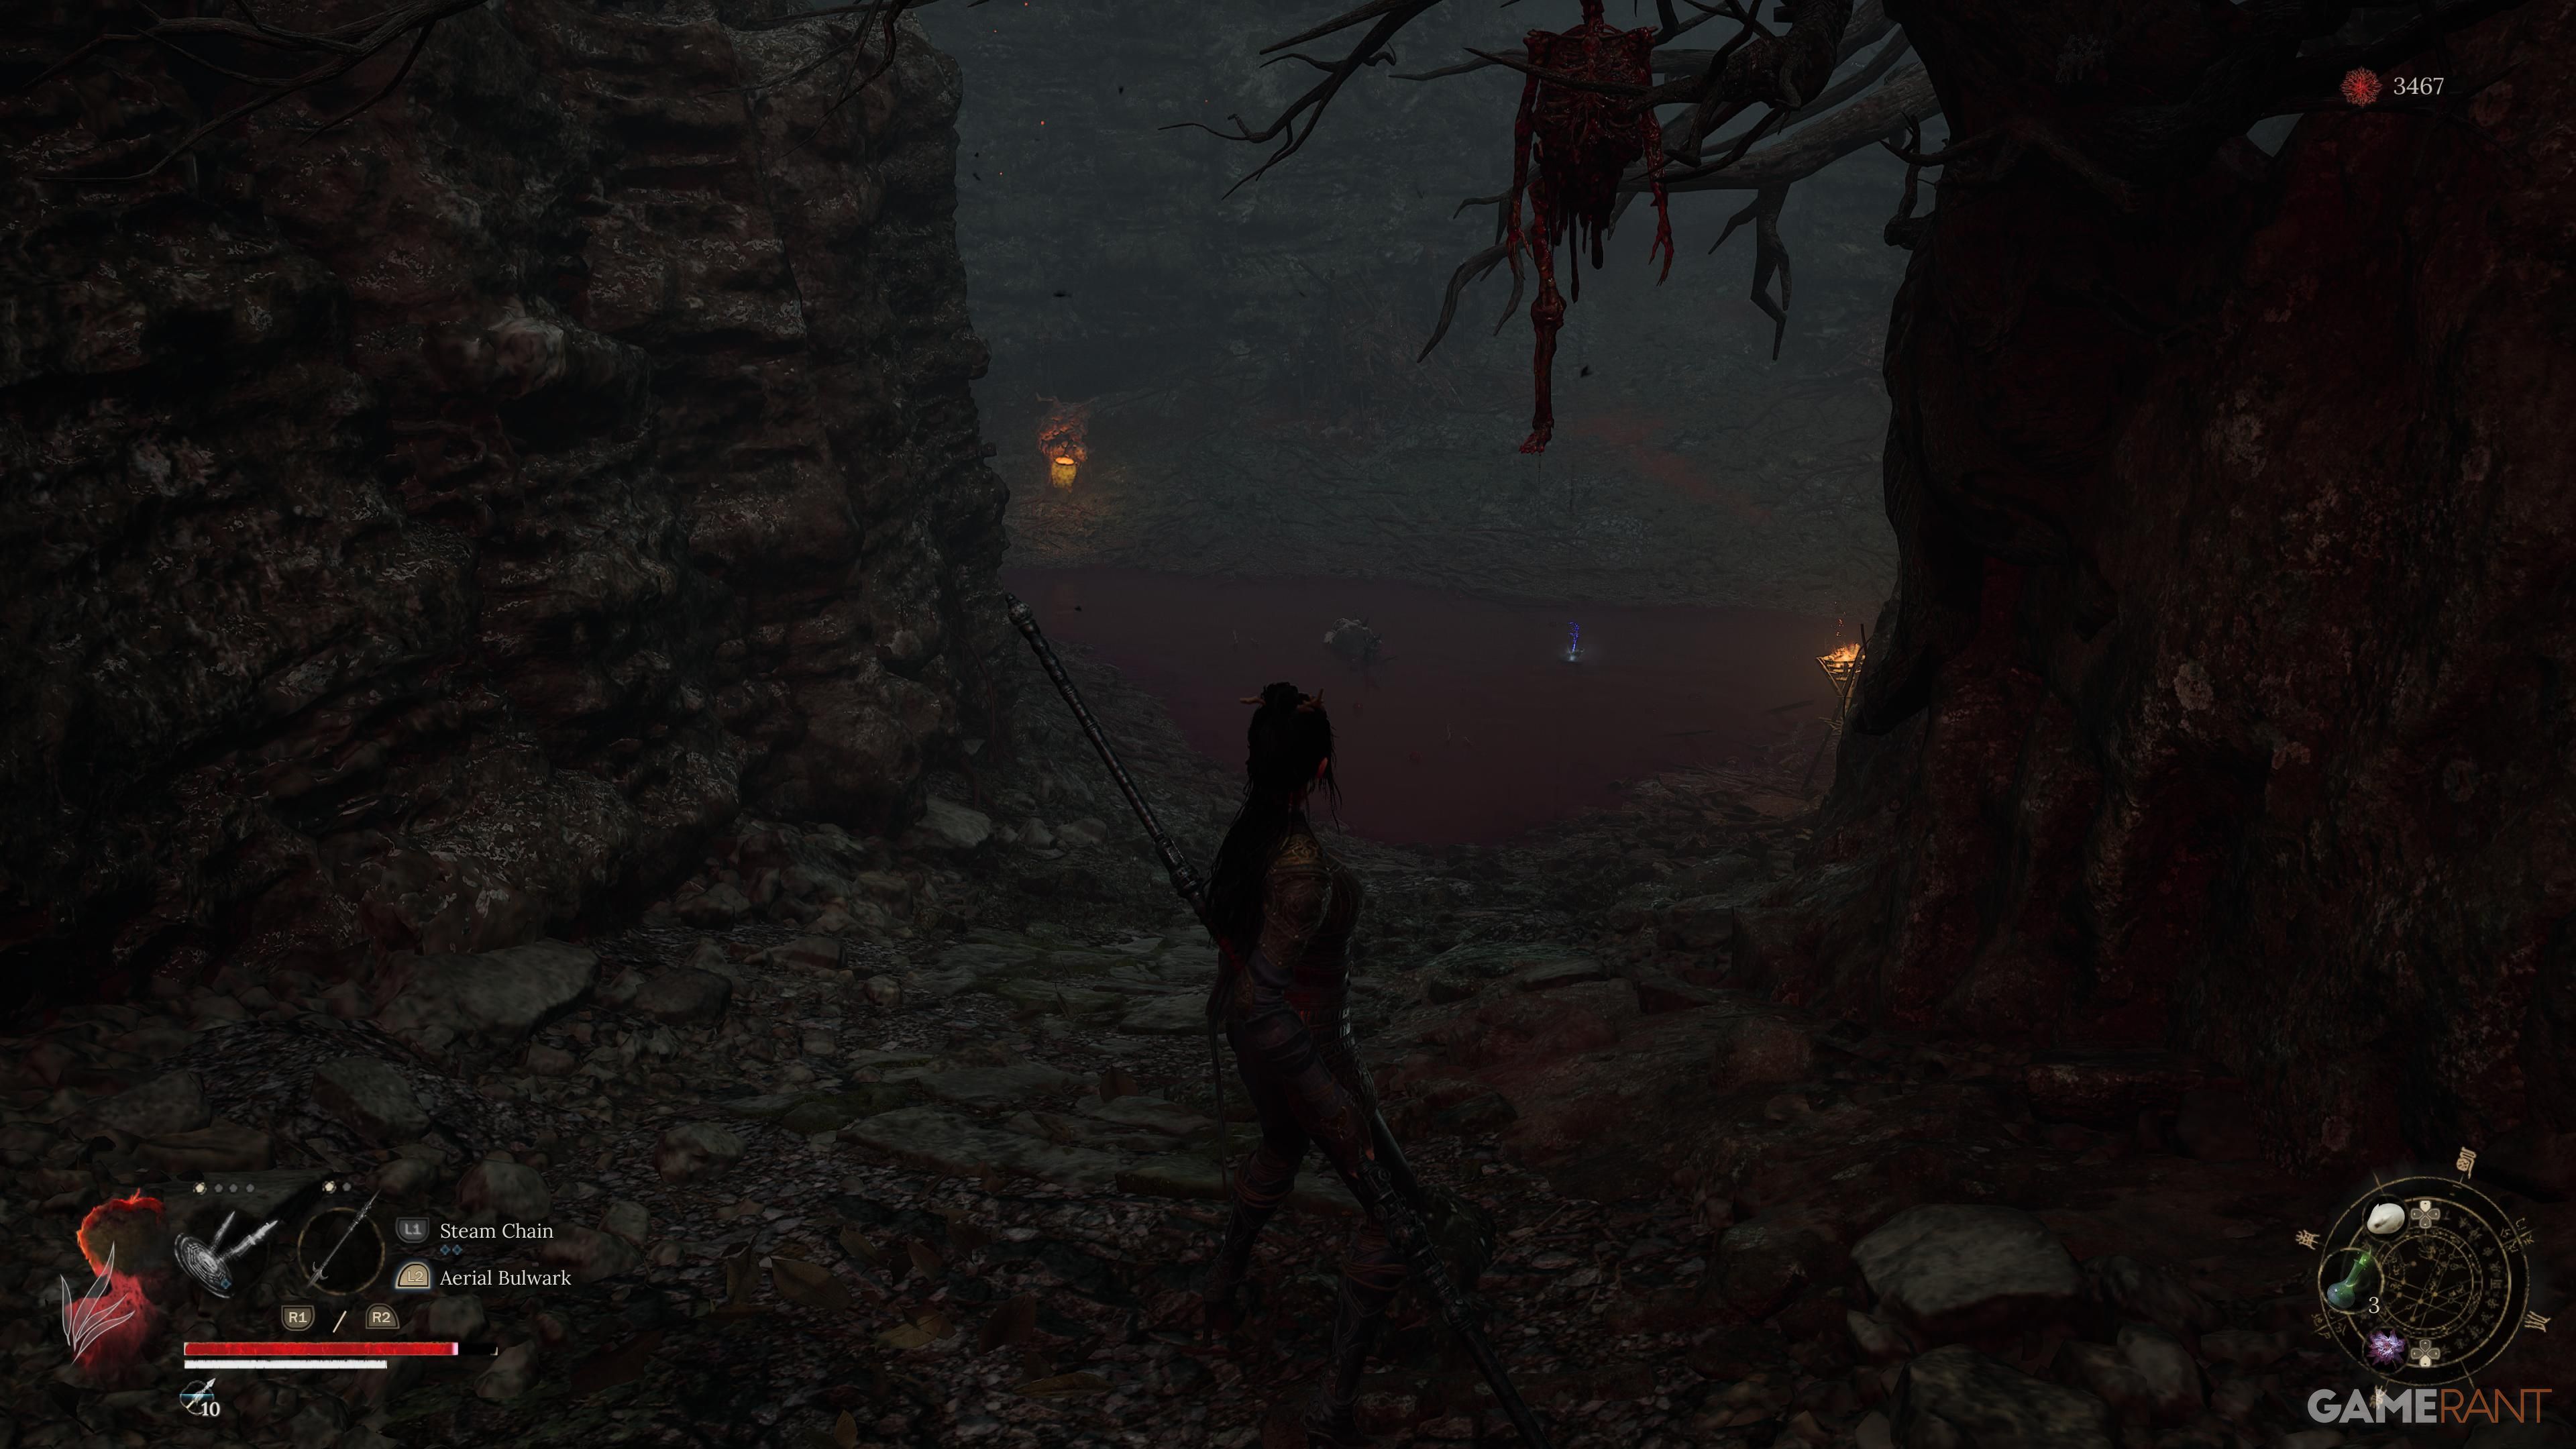
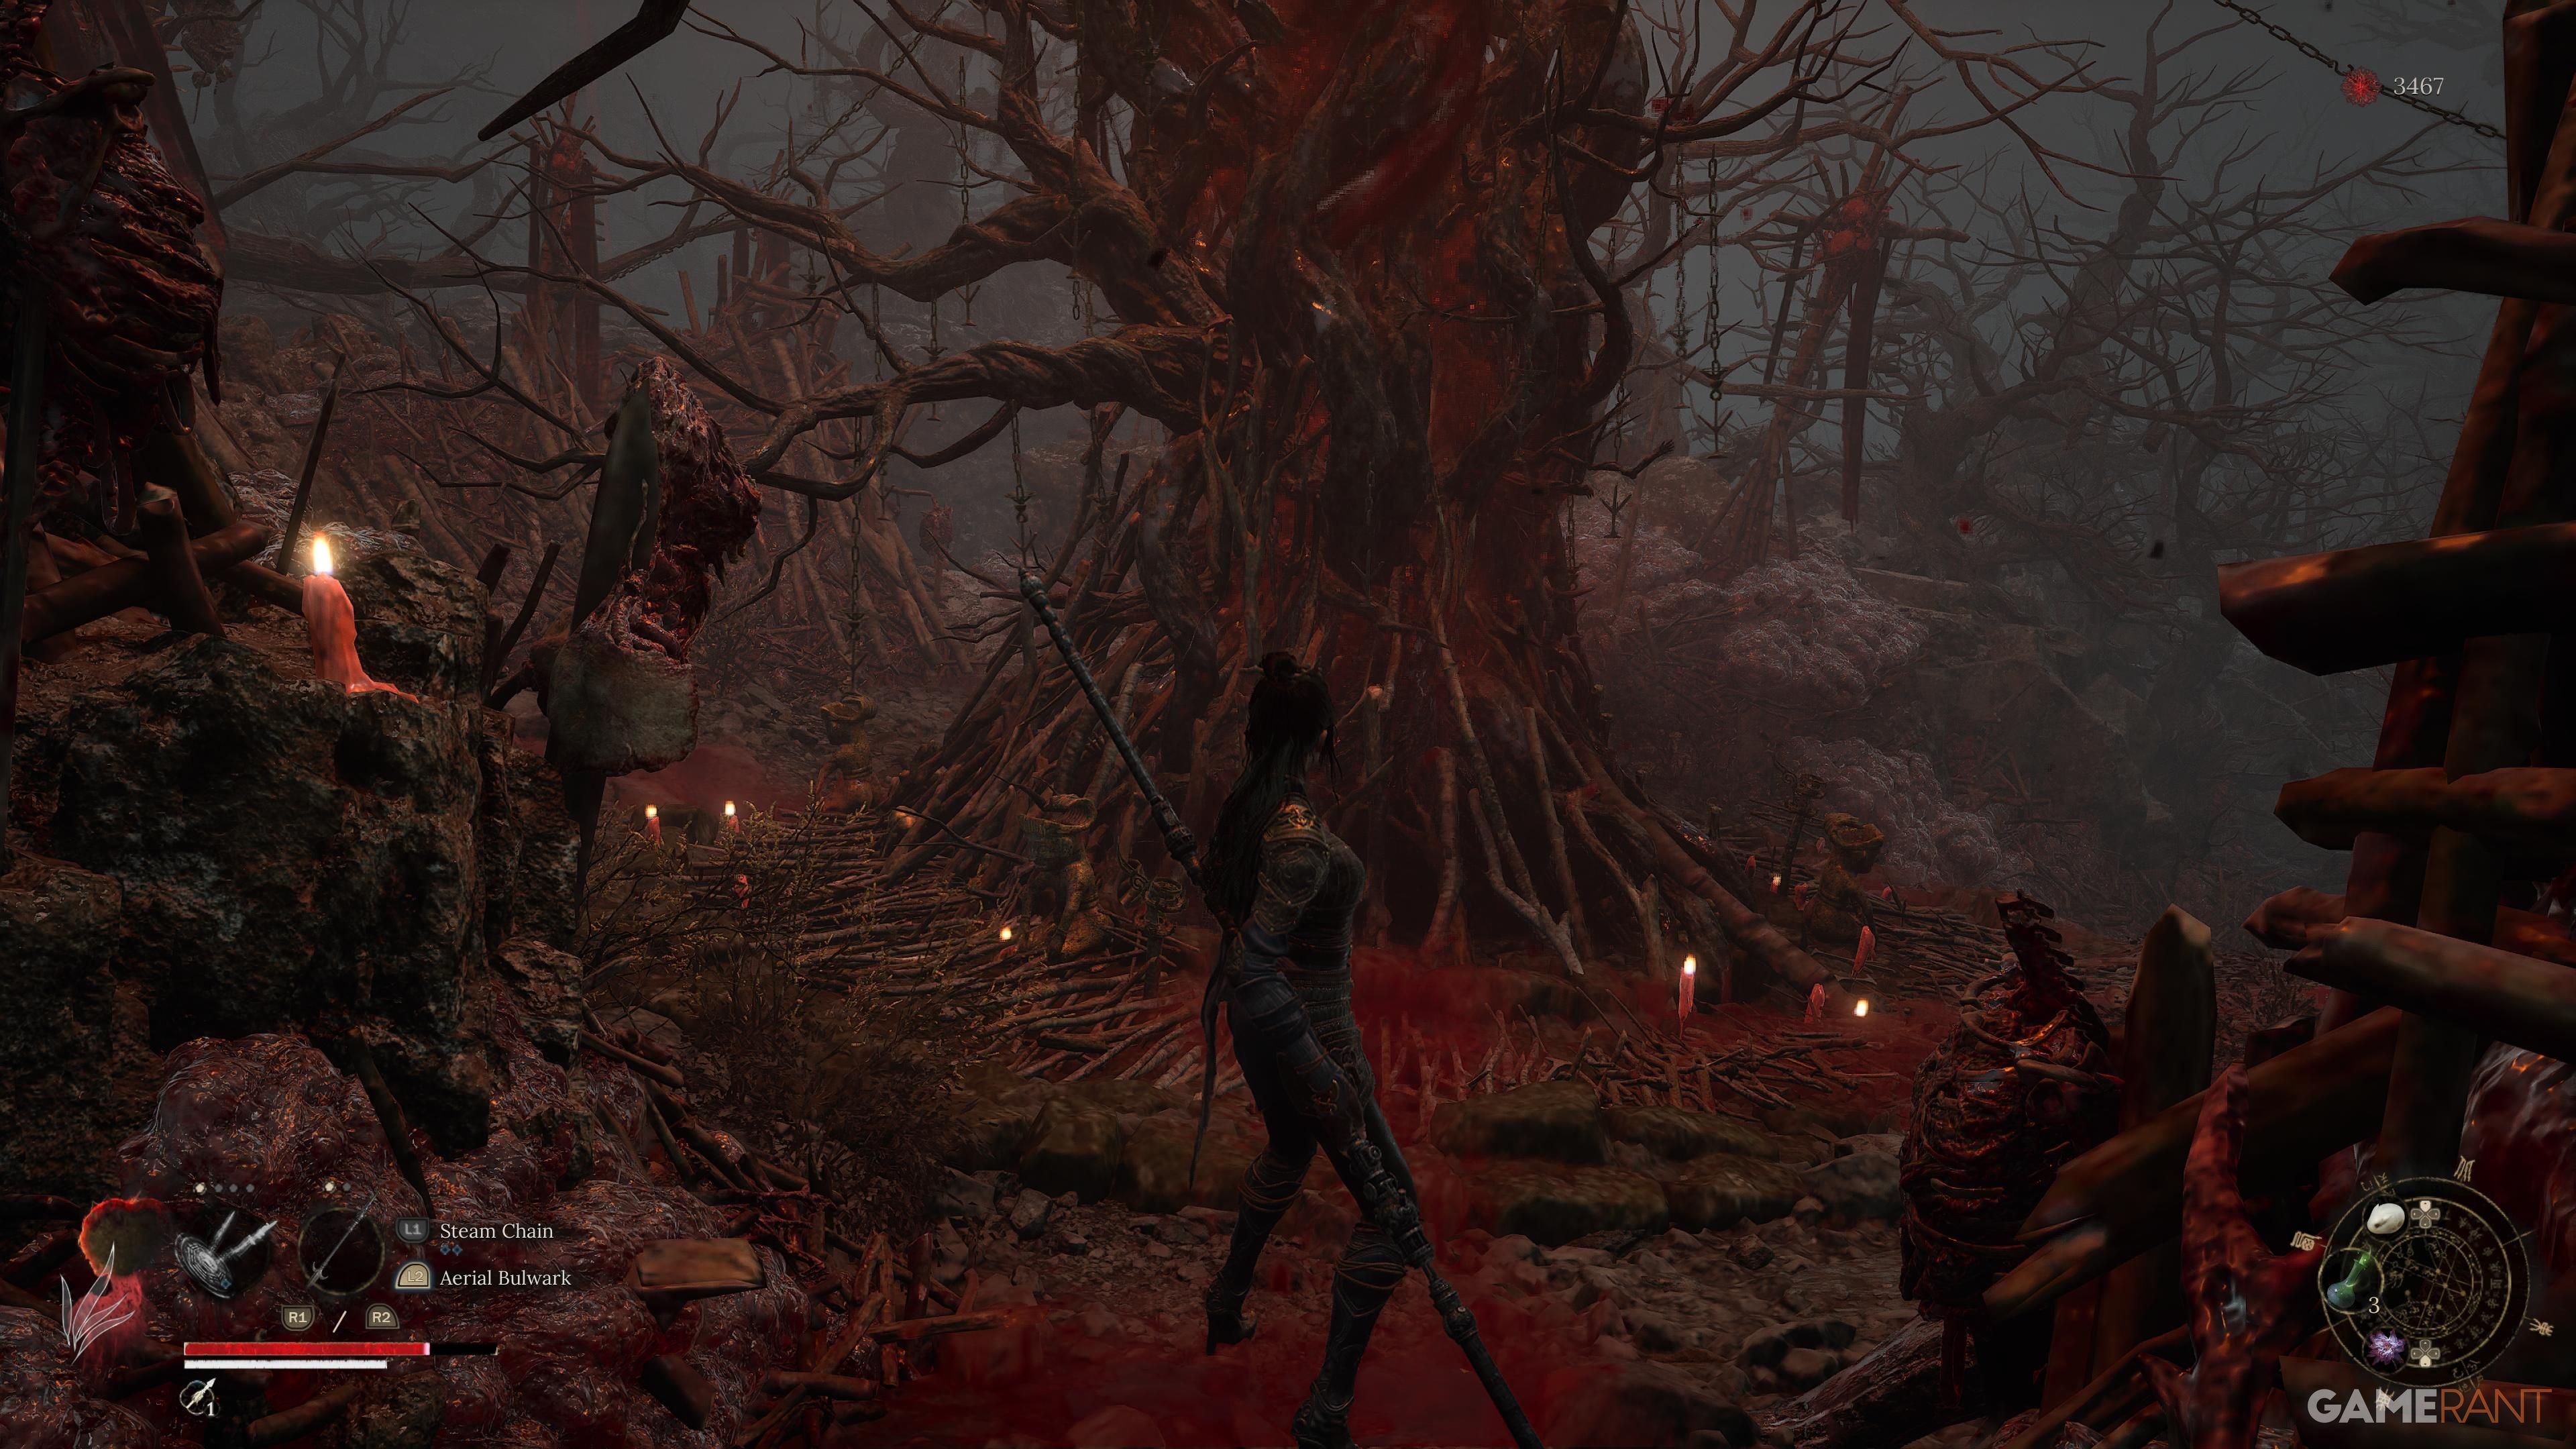
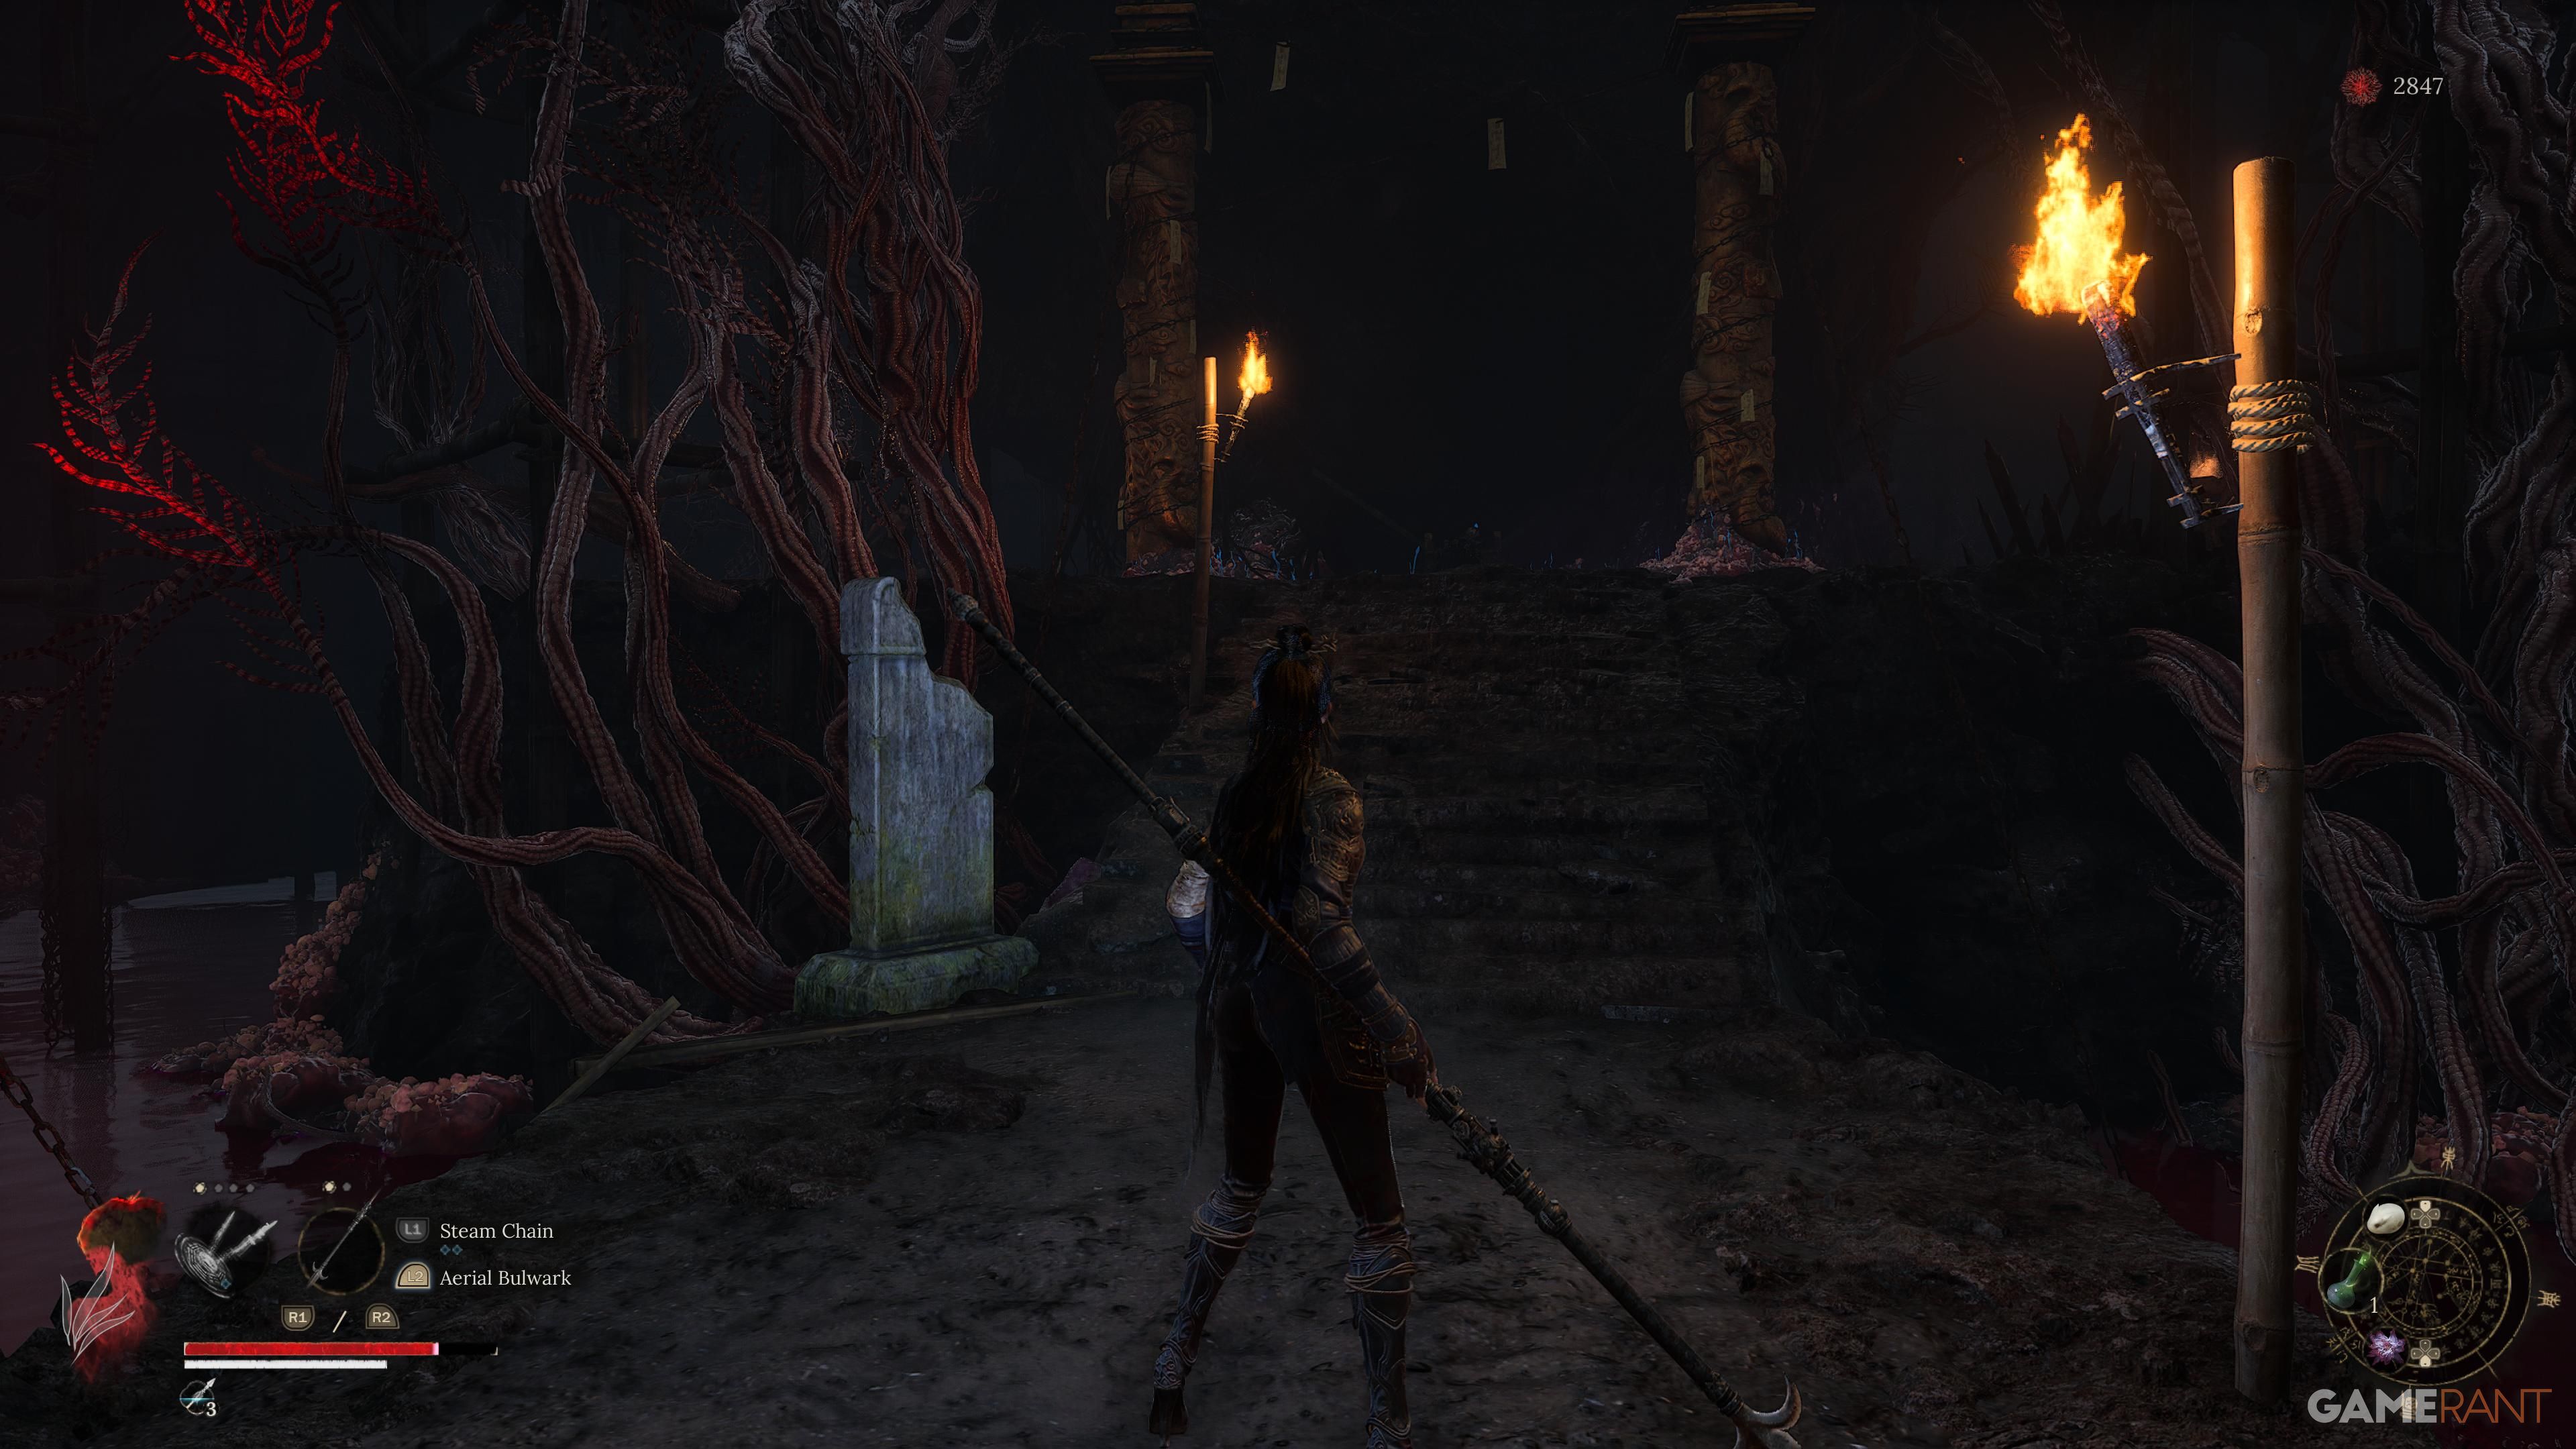
As a keen explorer, keep following the path until you come across the crimson stream. At that point, veer left and maintain your course until you spot a gentle incline near a fire. Ascend the slope and swiftly take a left, disregarding the solitary tree ahead. Continue towards the distant ladder. Once you’ve scaled it, make a right turn to discover a Corpse Tree that you can engage with combat. This will lead you to an NPC standing next to another tree.
Here, there’s a trail going downhill. At its end, if you turn left, you’ll find a big chest harboring an Old Memory.
From hereon, proceed along the correct route, and keep going until you arrive at the Corpse Pits. There, you’ll encounter one of the least challenging bosses within the game: Reborn Treant – Soulwood.
Commander – Honglan
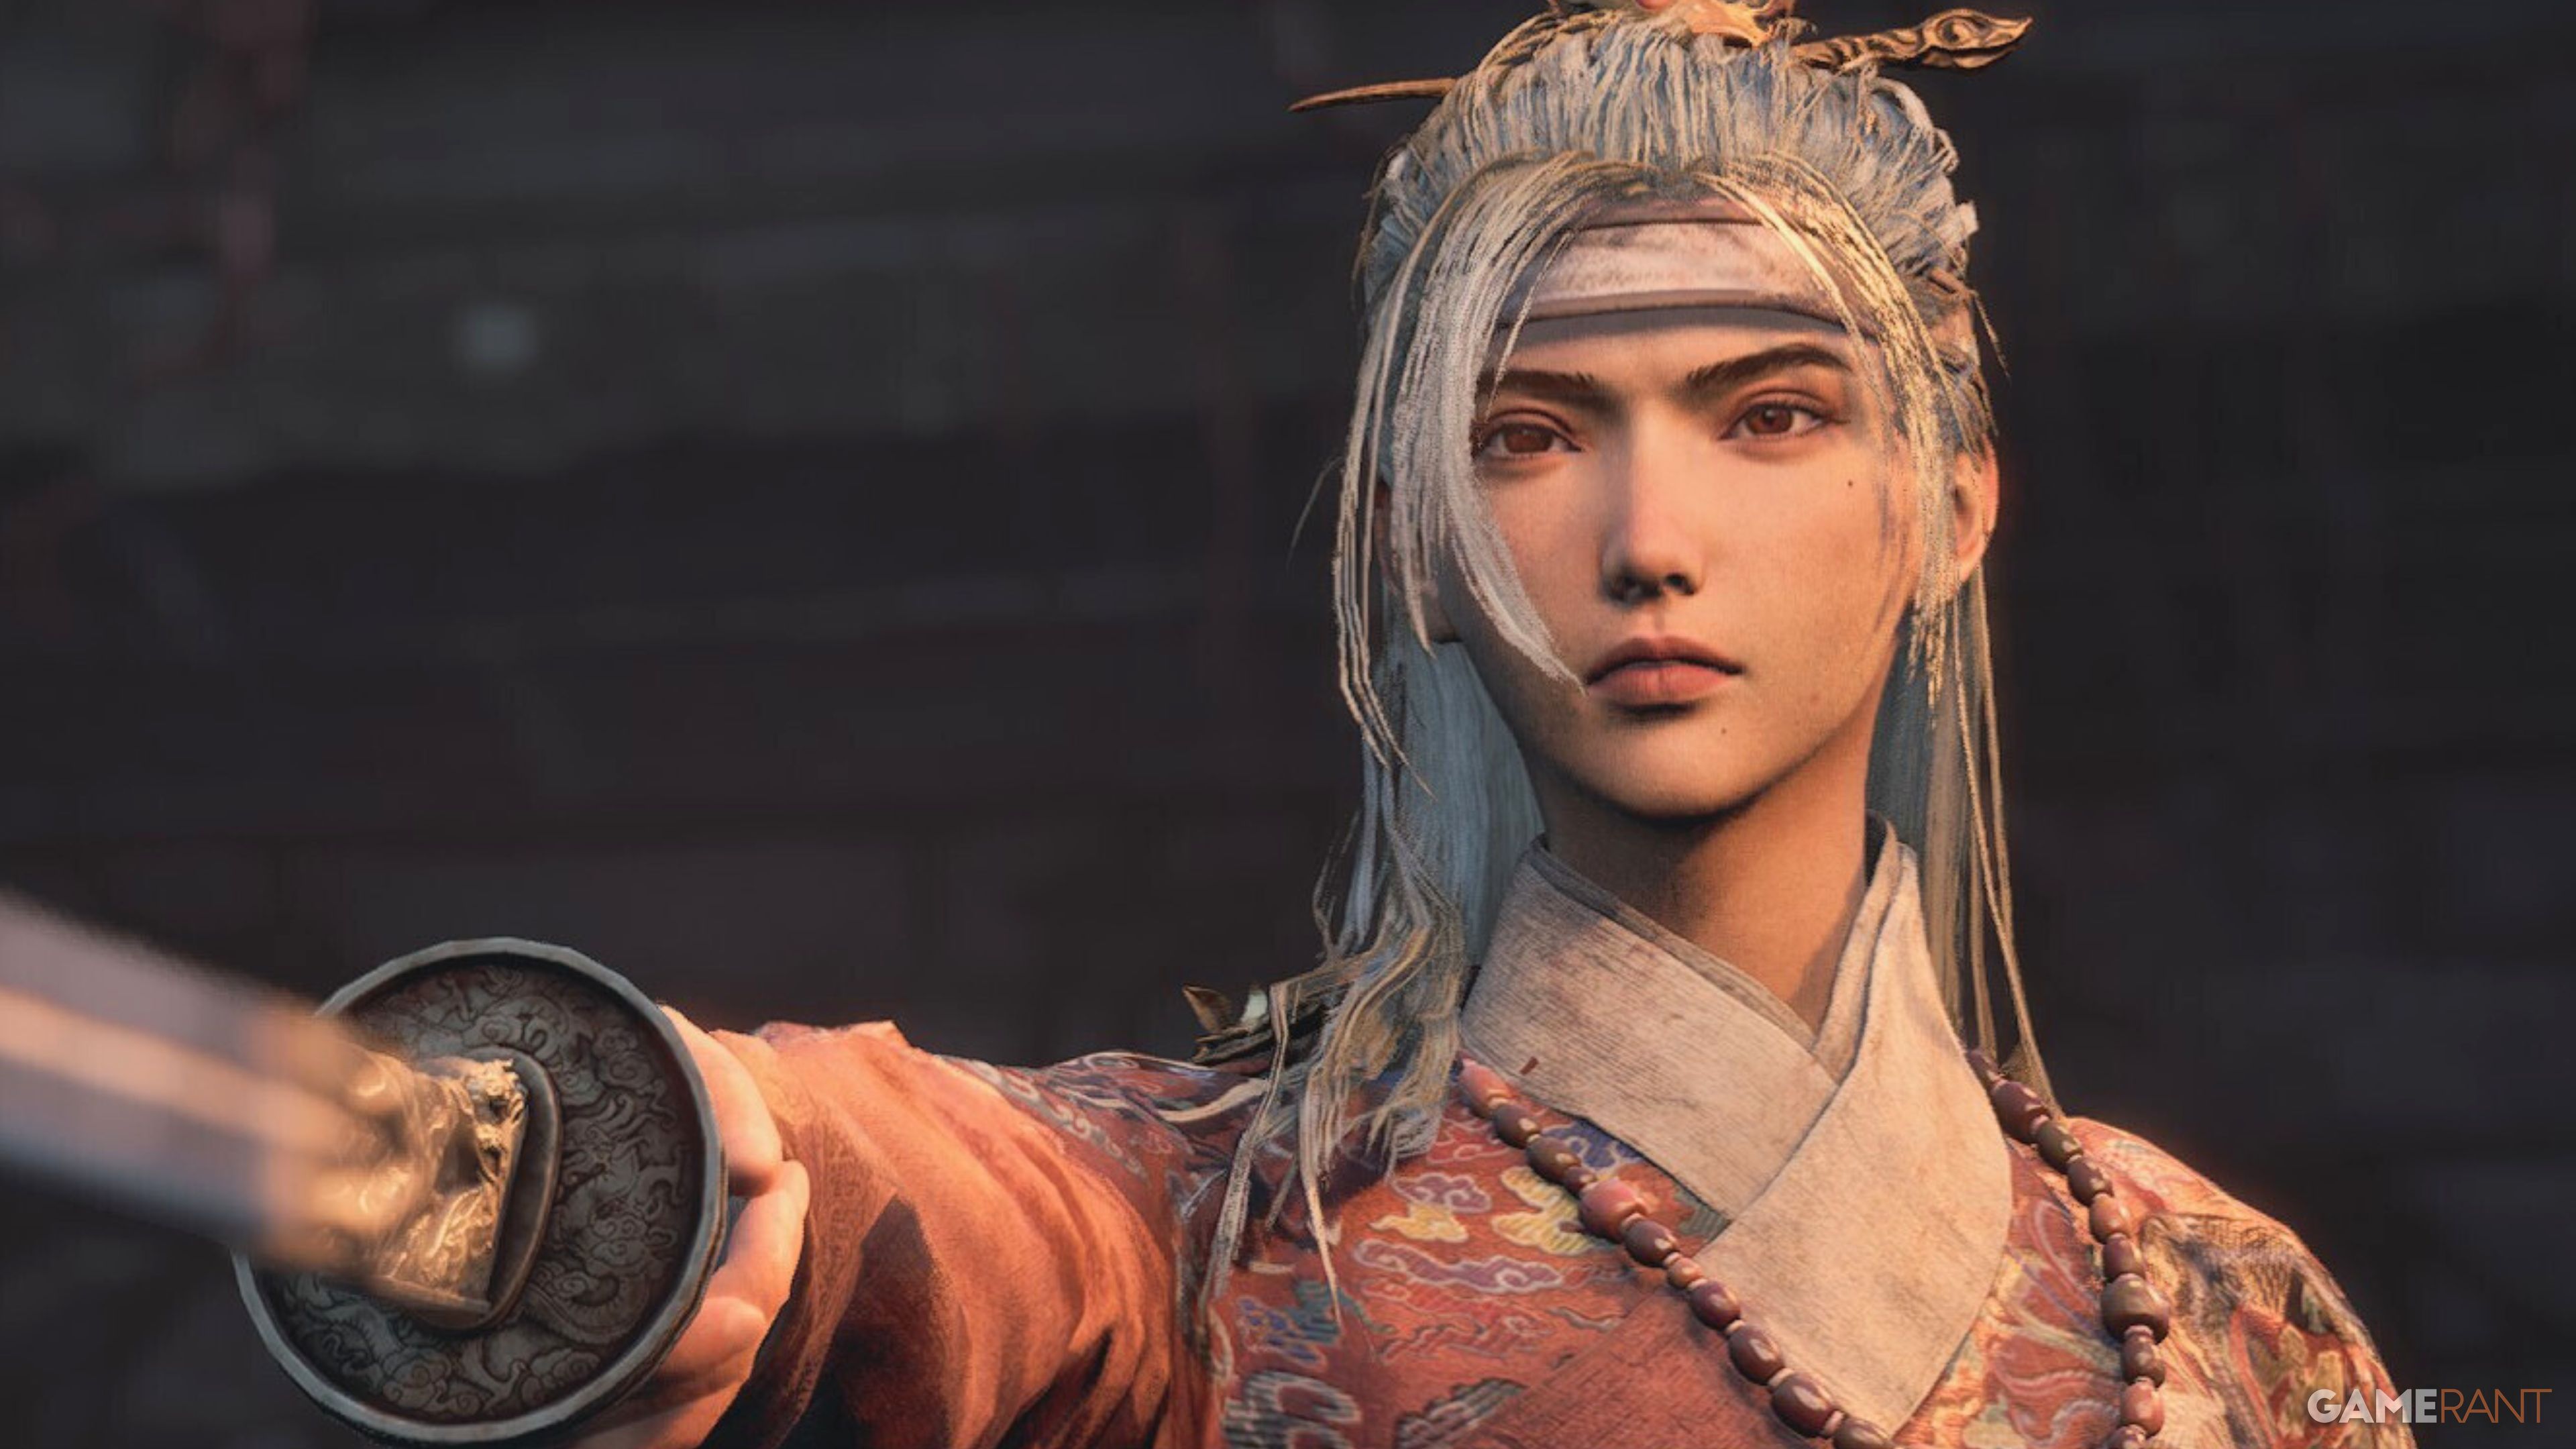
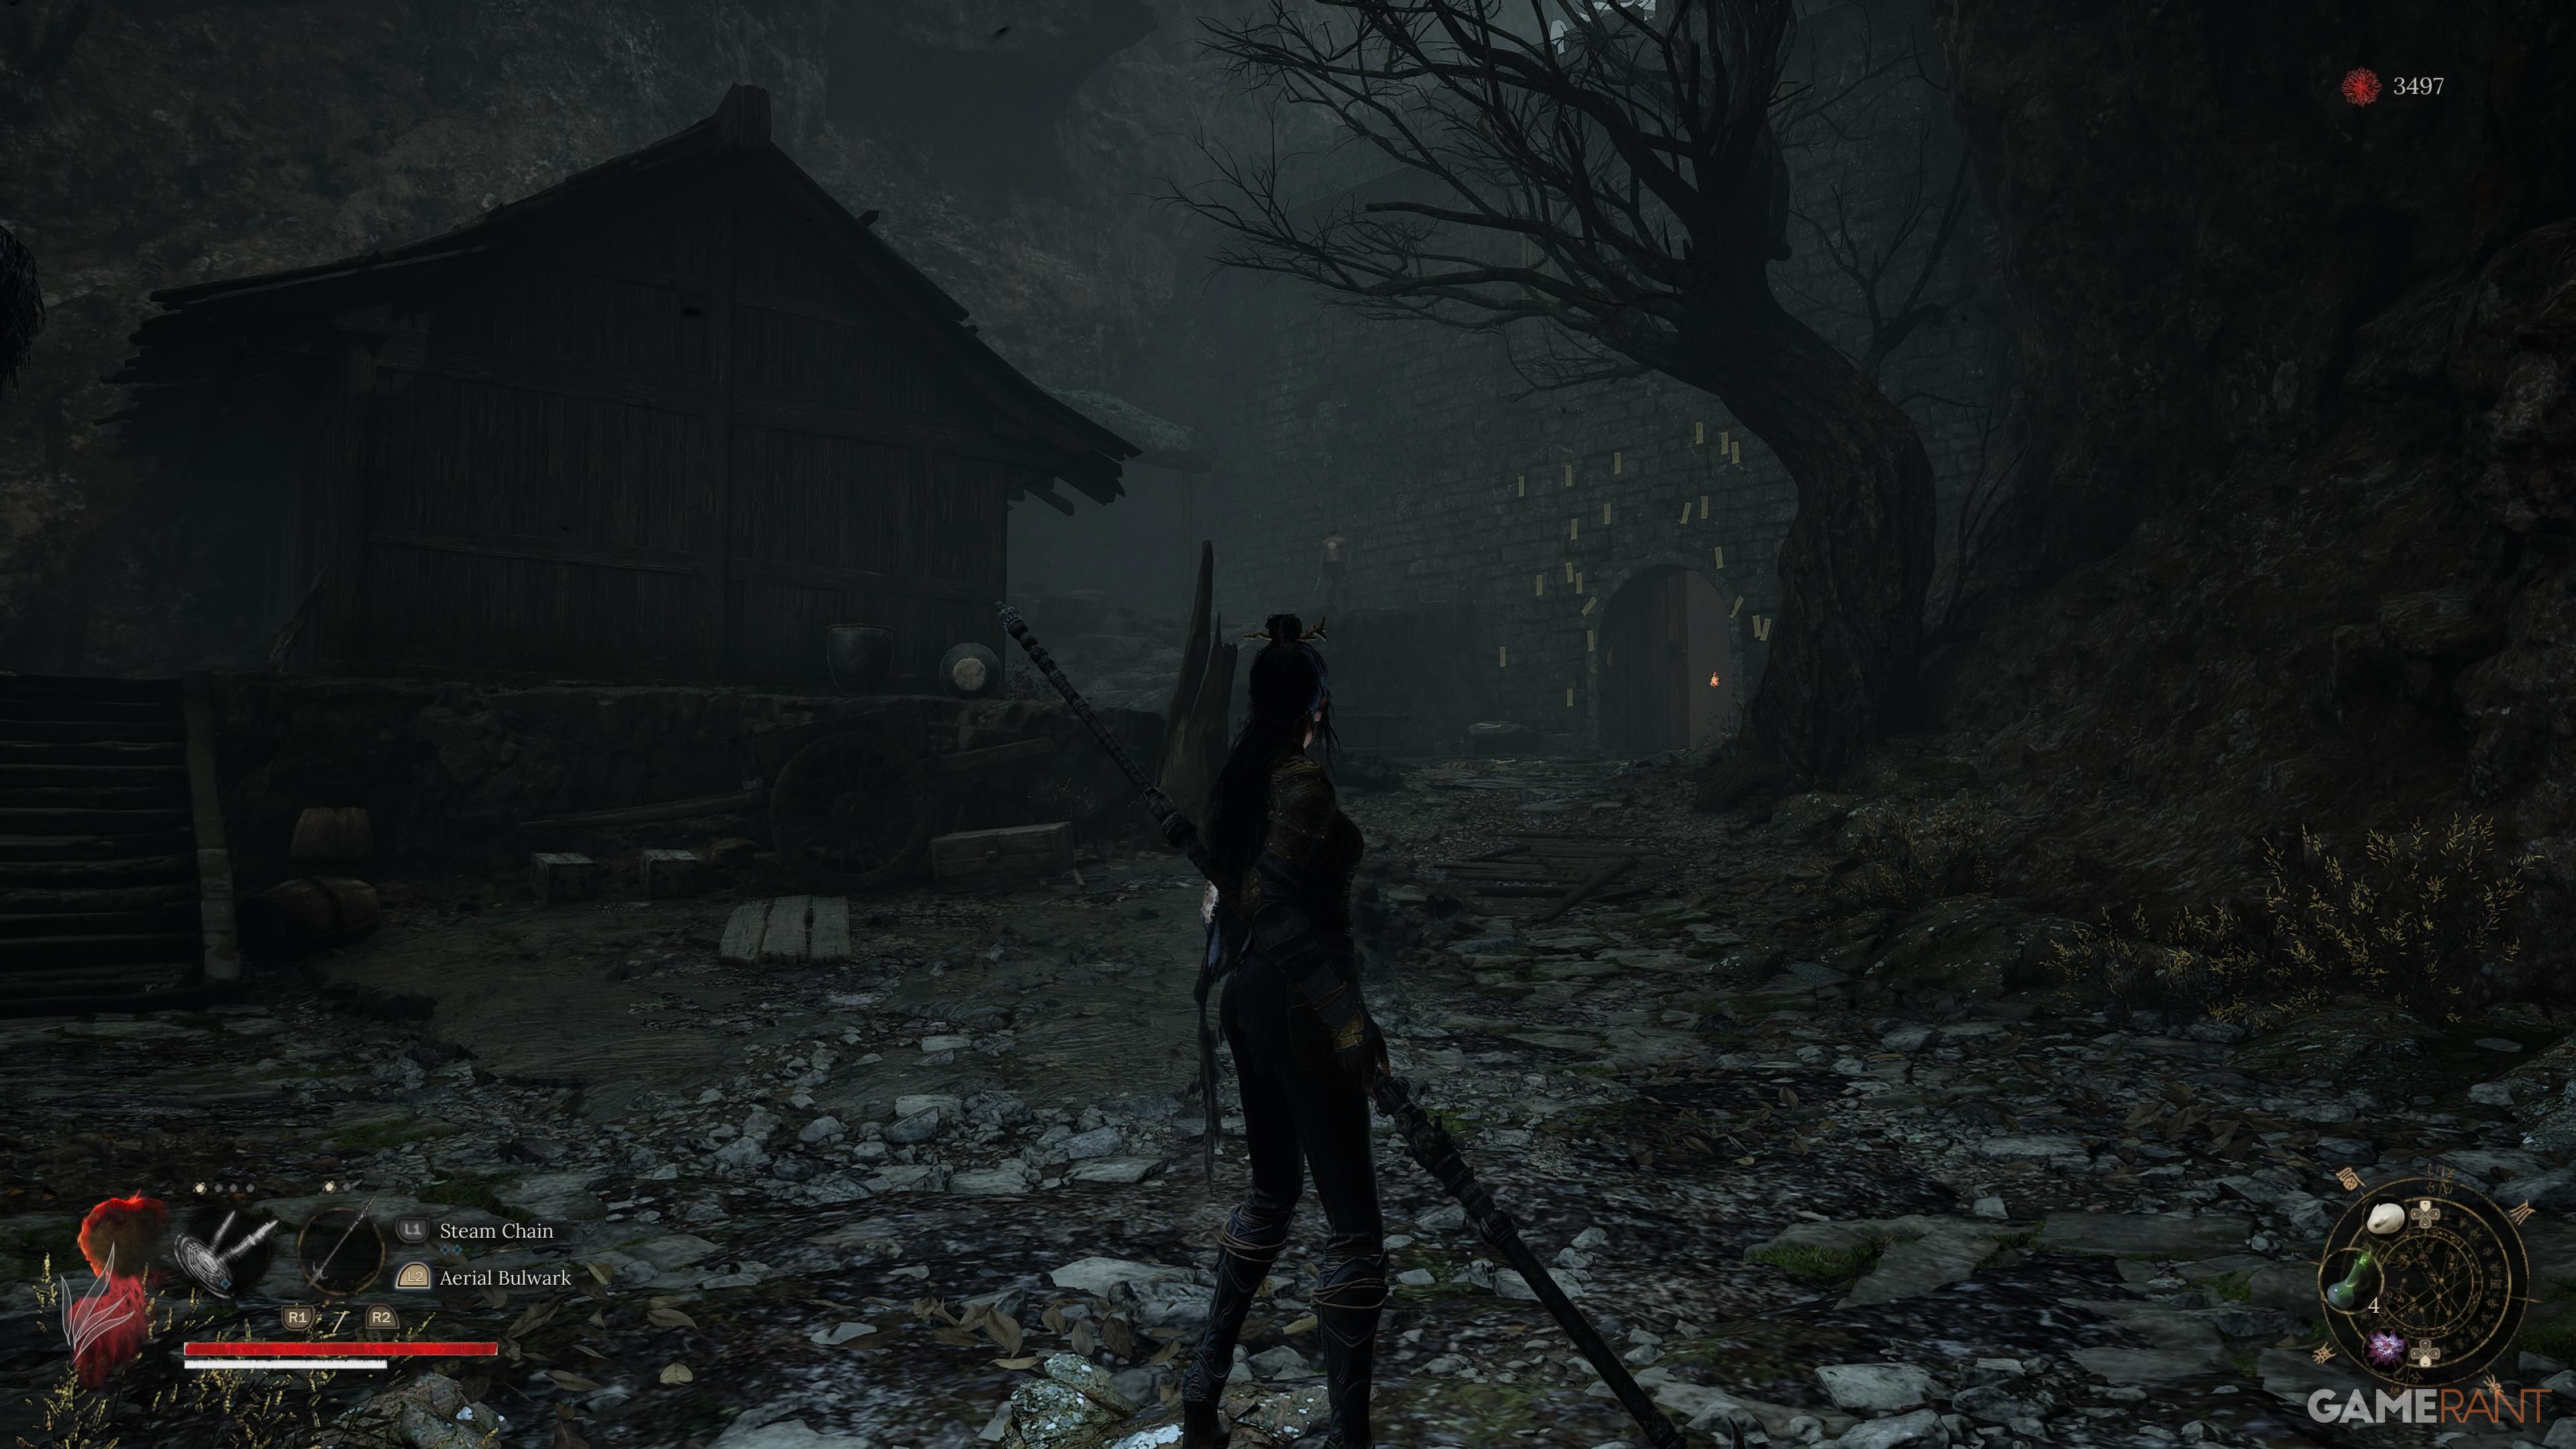

As the boss falls, I make my way to the Shrine and follow the path nearby that leads me to Palace Pass. Scaling the staircase, I take a left to traverse a wooden bridge. Following this linear course, I ascend another ladder and press onward until I reach the entrance of Tang Emperor Palace. Carefully avoiding the tripwire mine at the entrance, I step inside, climb the stairs, and veer left where a series of bridges lies ahead. Continuing my journey, I approach a house, turning right to discover a path that ascends the temple and a ladder descending to a foe hidden behind a shield.
Advance forward to find a big red door; open it to reach the Shu Sanctum Shrine’s entrance. Proceed left, climbing up the steps and following the wooden ramp. Be aware of the adversary armed with torches, who is guarded by tripwire traps along the way. Keep going straight until you encounter a moderately challenging opponent standing near some stairs leading to the first enigmatic gate.

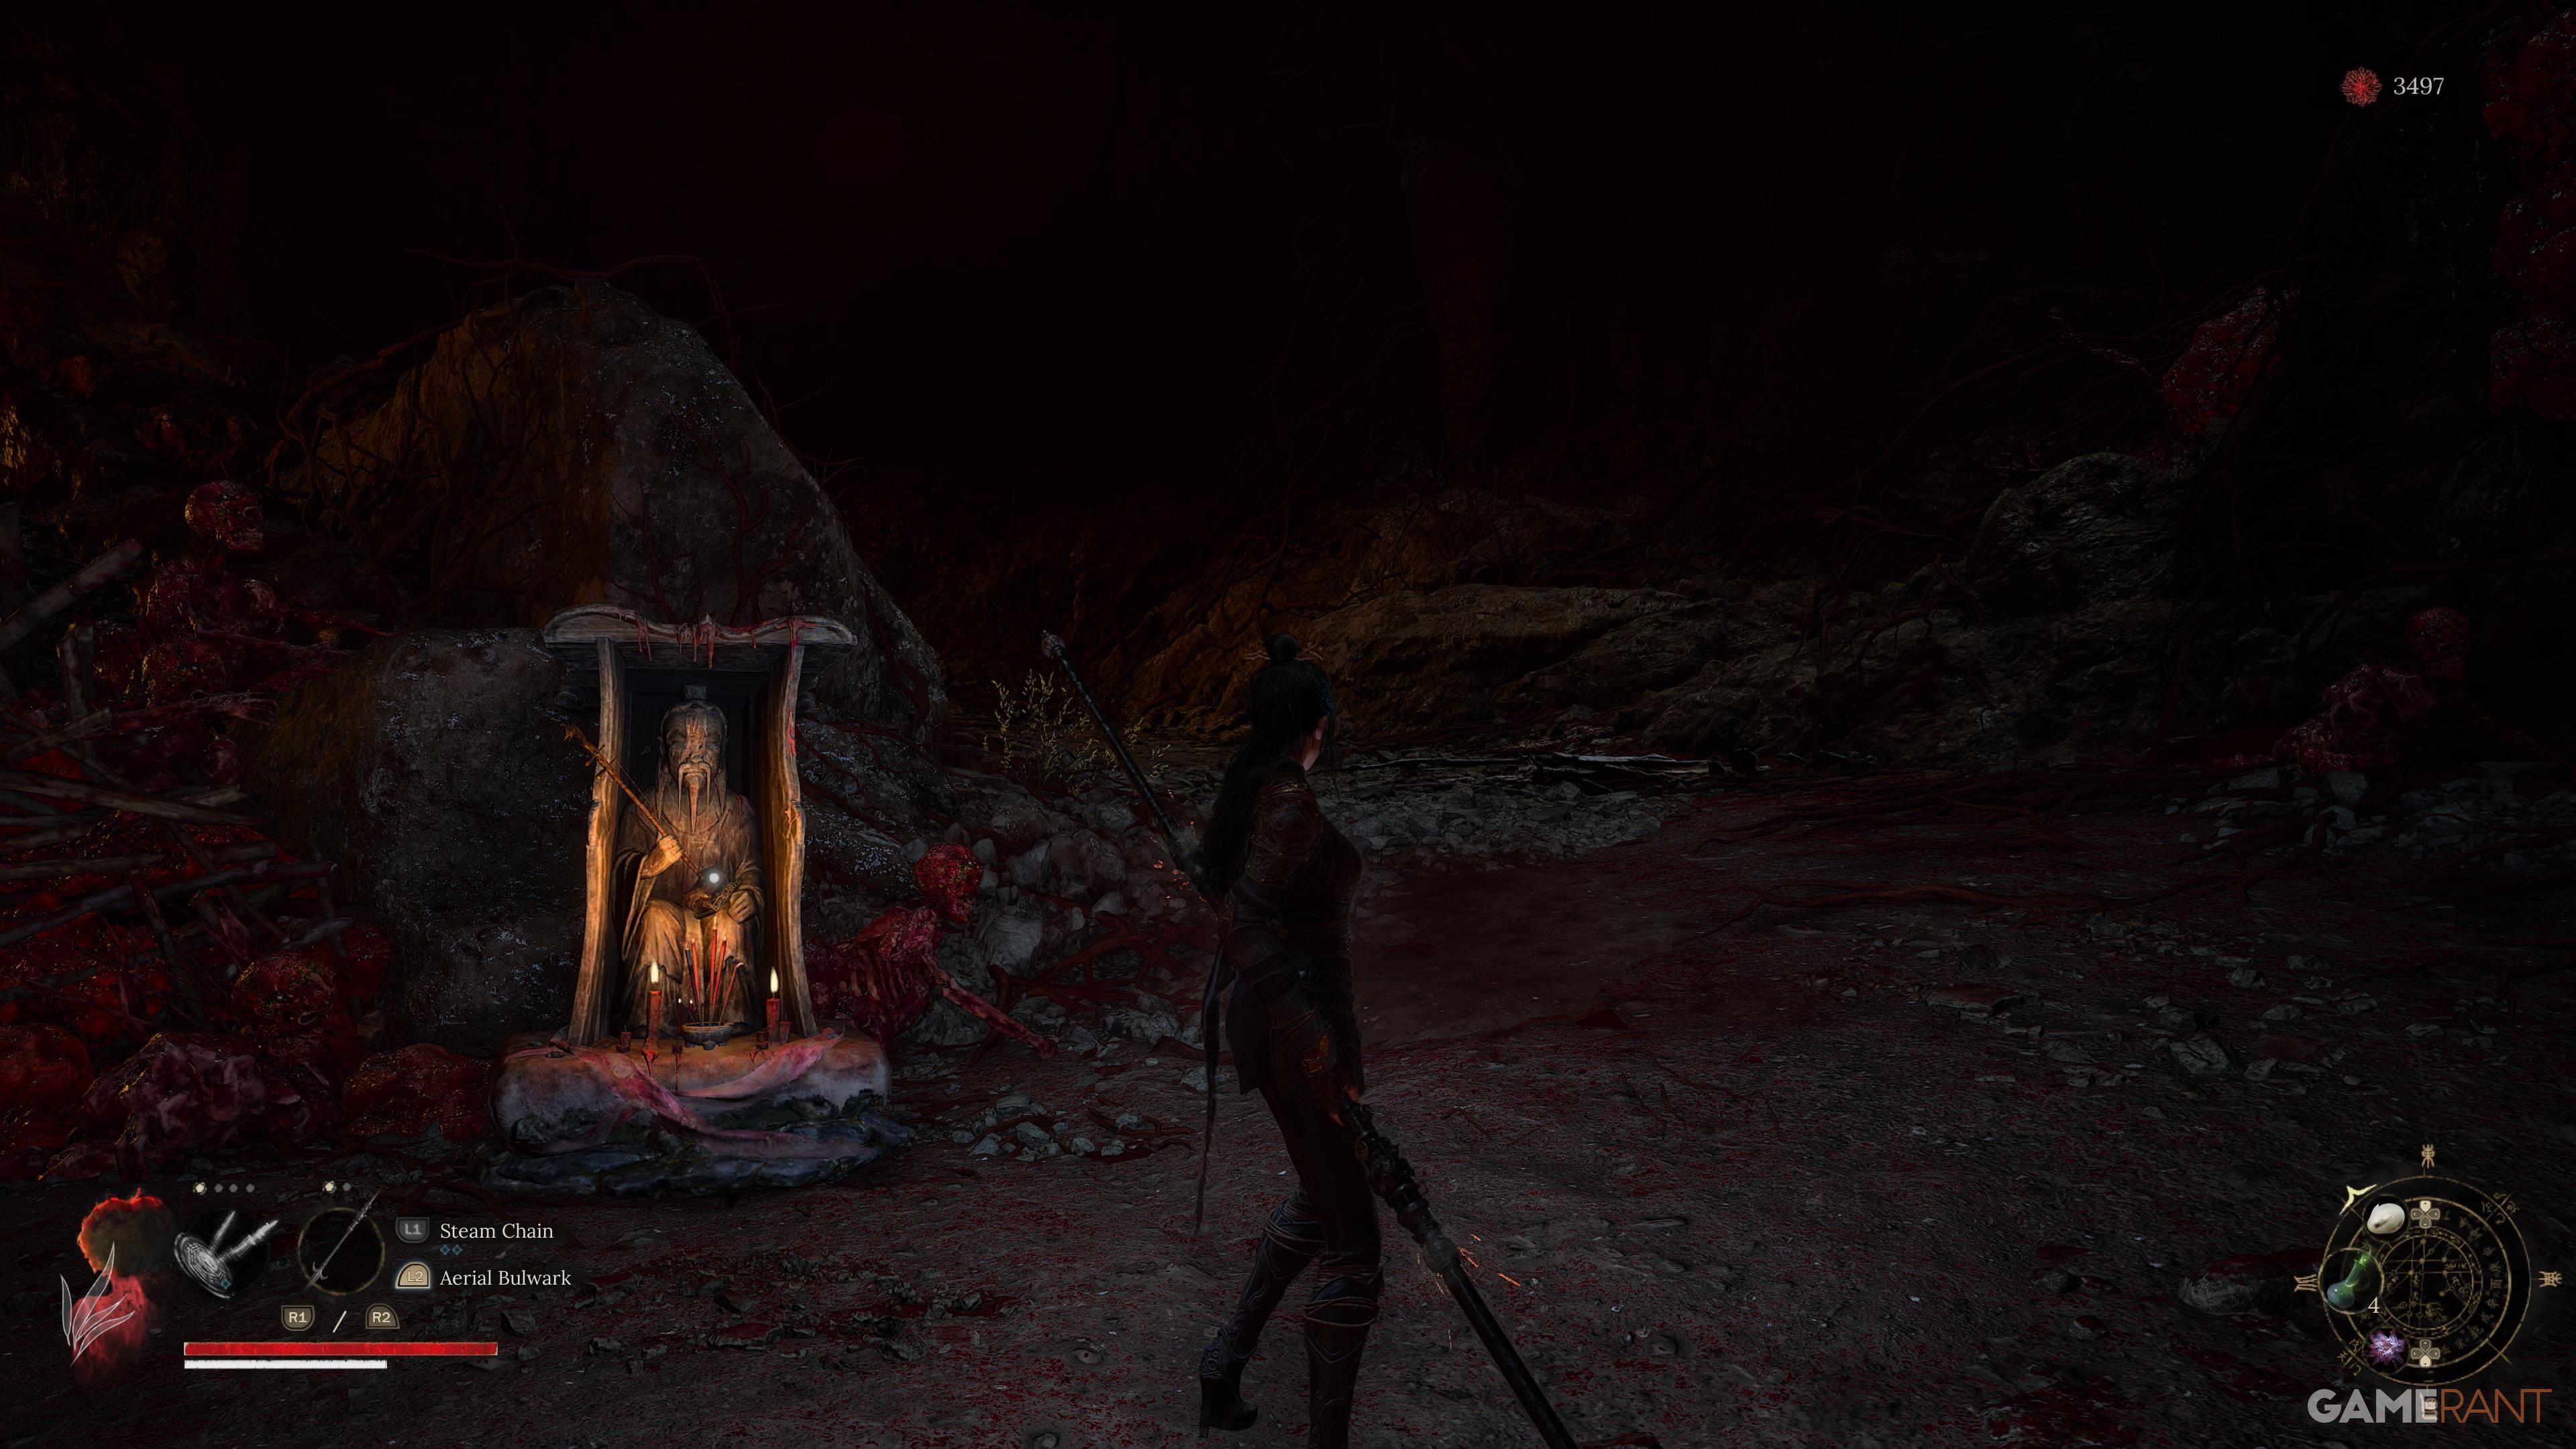
Head towards the gate’s left side and carry on going straight until you spot a temple with an open entrance. Inside, you can encounter the Tang Palace Maid once more and discover a big chest holding Lost Remains as loot. Upon leaving, keep going straight then turn left to locate a ladder. Follow the right path to get to the Palace Hill Shrine. You’ve bypassed this area’s boss arena for now, but it will only appear when you find the Buddha Statue. Descend from the Shrine and interact with the statue located on the left side, close to the white NPC.

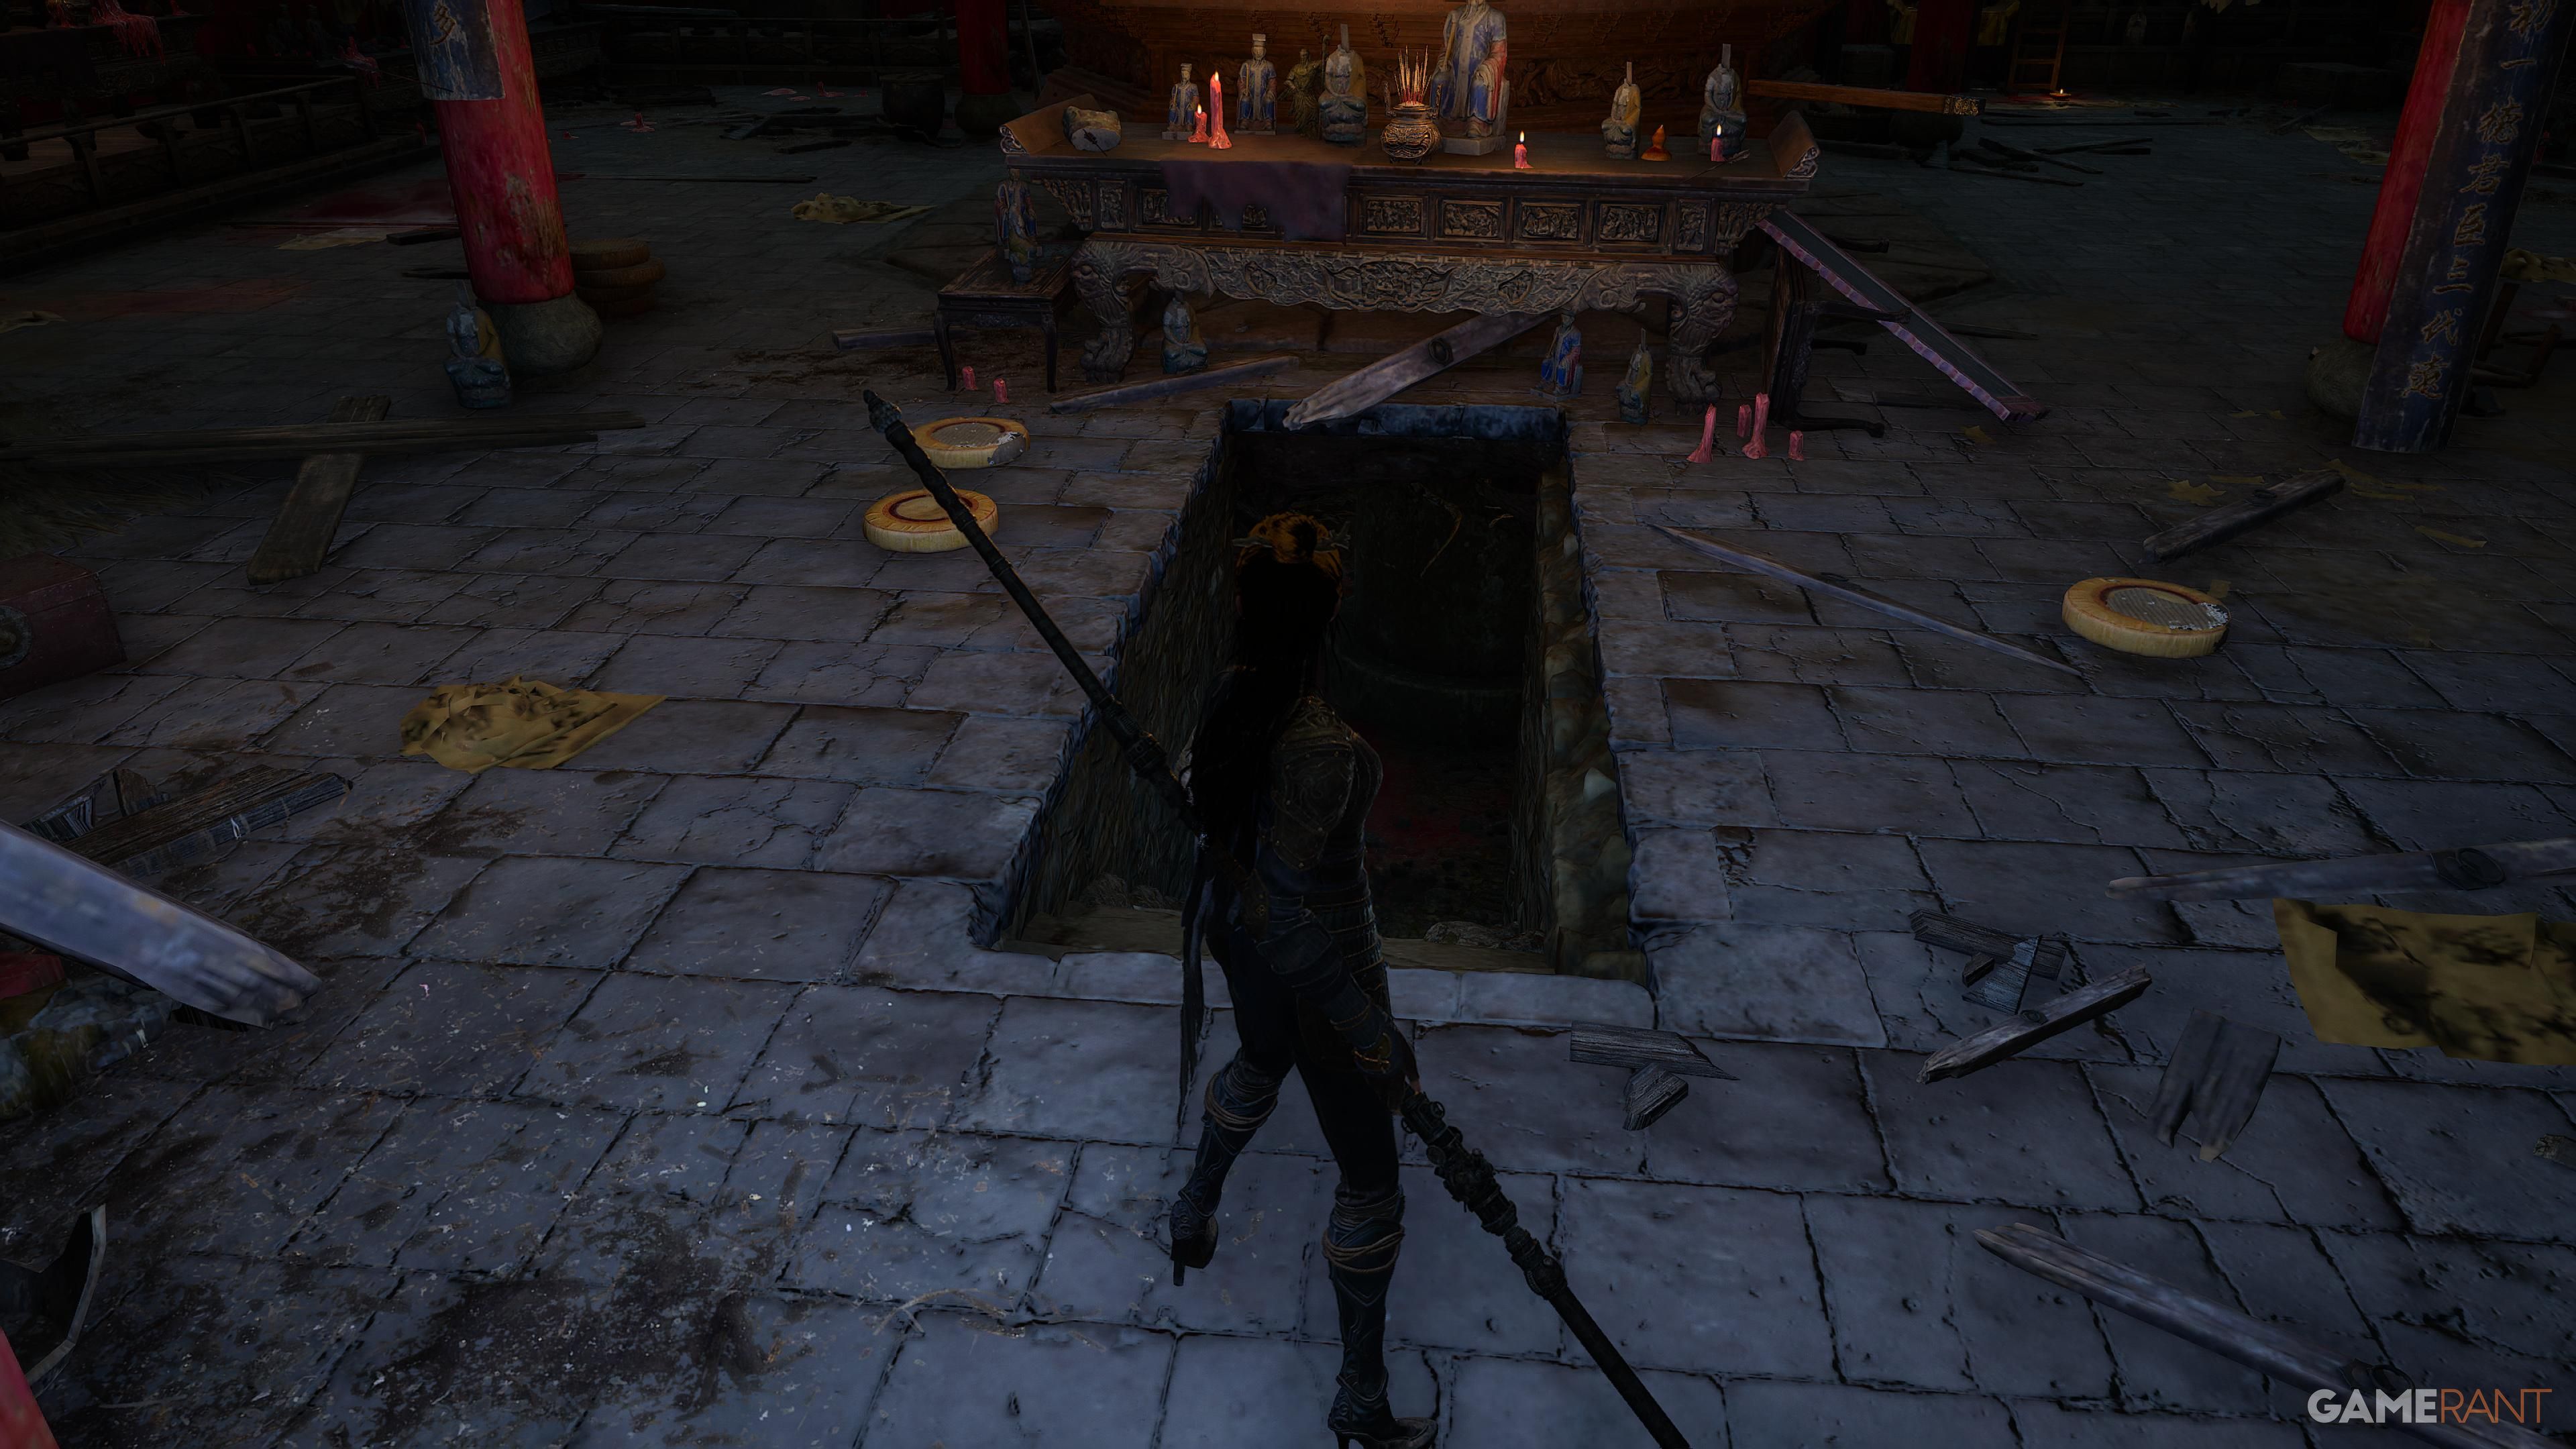
In this courtyard, you can lower the water level by following these steps: First, descend the ladder, then turn right and proceed towards the location across from the temple where you previously encountered the Tang Palace Maid. This area will lead you to a place where you can access a drop-down spot that takes you straight into the boss fight against Commander Honglan.
Read More
- Who Is Harley Wallace? The Heartbreaking Truth Behind Bring Her Back’s Dedication
- Basketball Zero Boombox & Music ID Codes – Roblox
- 50 Ankle Break & Score Sound ID Codes for Basketball Zero
- 50 Goal Sound ID Codes for Blue Lock Rivals
- TikToker goes viral with world’s “most expensive” 24k gold Labubu
- Revisiting Peter Jackson’s Epic Monster Masterpiece: King Kong’s Lasting Impact on Cinema
- 100 Most-Watched TV Series of 2024-25 Across Streaming, Broadcast and Cable: ‘Squid Game’ Leads This Season’s Rankers
- League of Legends MSI 2025: Full schedule, qualified teams & more
- KFC launches “Kentucky Fried Comeback” with free chicken and new menu item
- Gaming’s Hilarious Roast of “Fake News” and Propaganda
2025-07-24 08:39