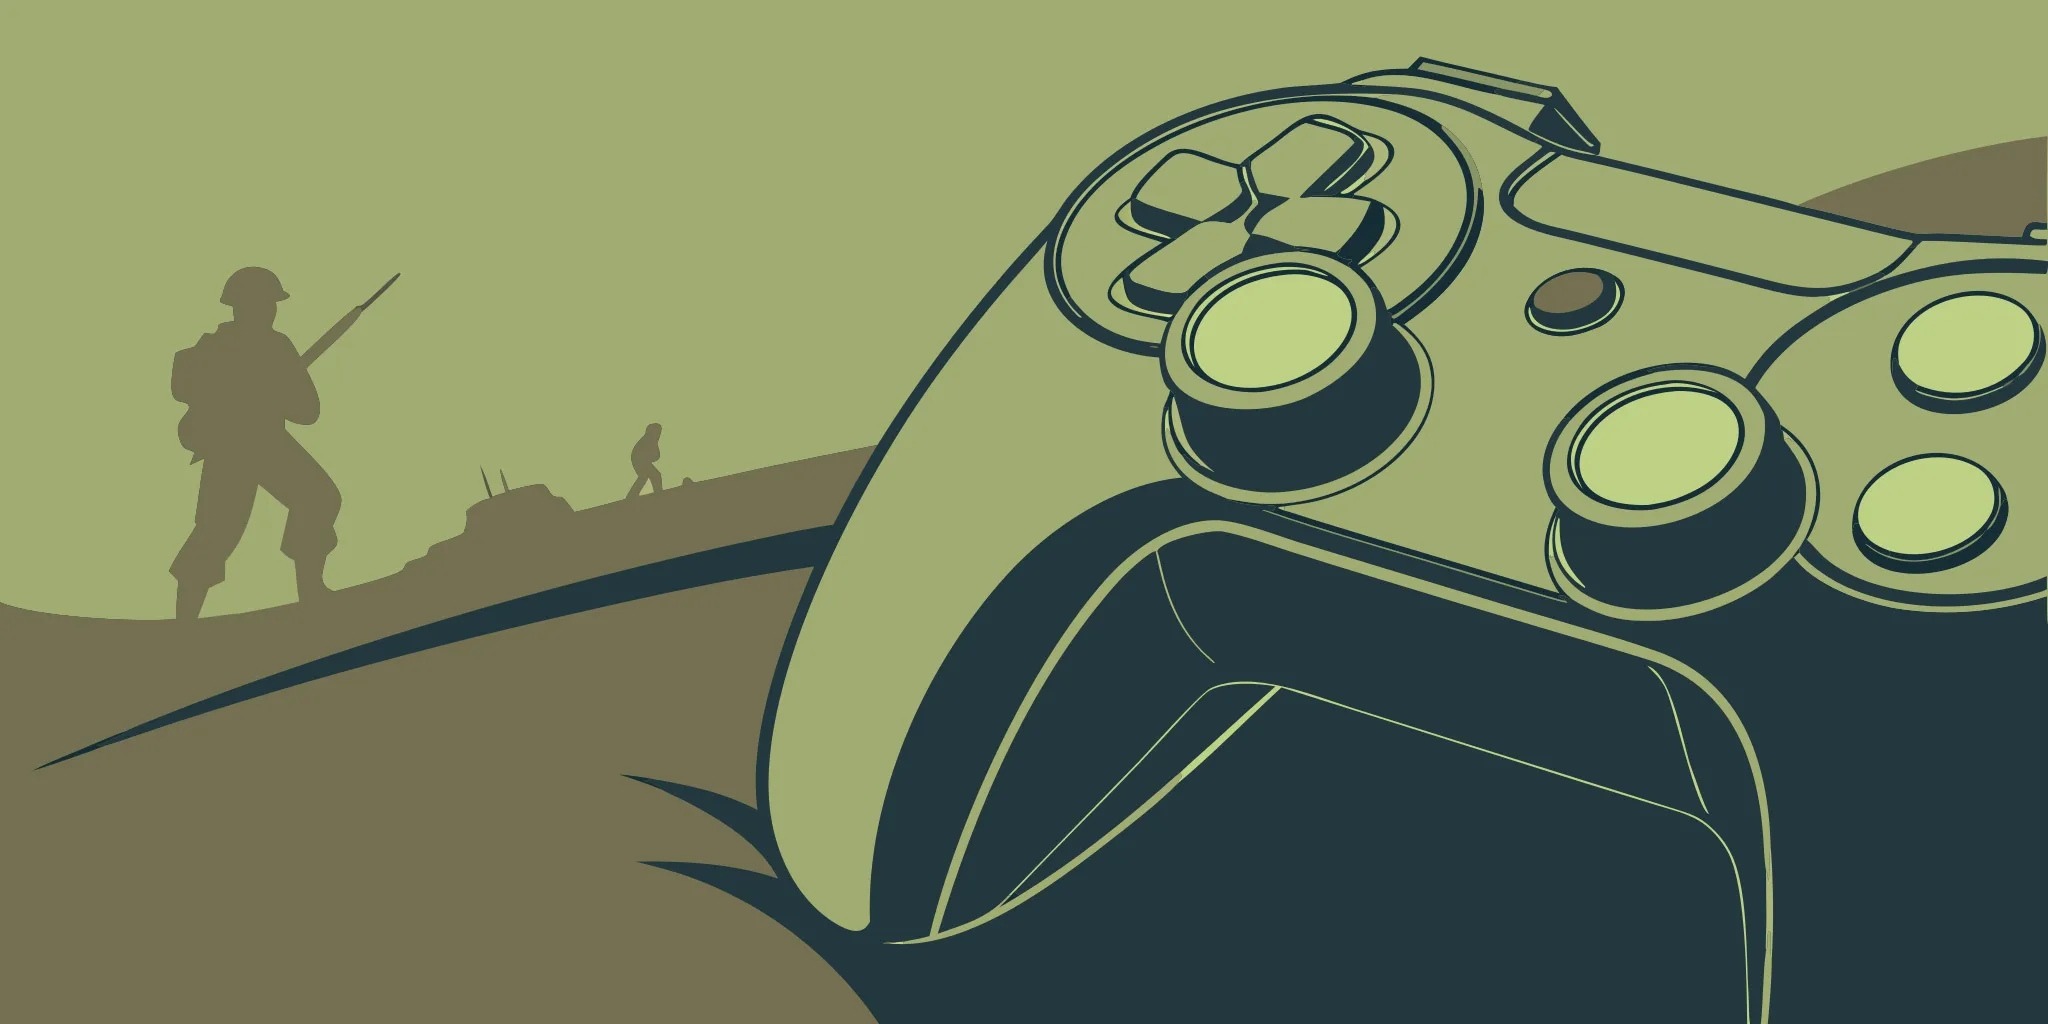
Many people believe great aim is simply a natural gift, but that’s not usually the case. Consistent, precise aiming actually comes from having perfectly customized controller settings. Professional players spend a lot of time adjusting these settings to make their controller feel completely comfortable and intuitive. Even small changes – like adjusting the deadzone, choosing a clear reticle color, or finding the right sensitivity – can significantly improve your performance in-game. These adjustments lead to quicker reactions, smoother target tracking, and more confidence in firefights. This guide will help you find those improvements. We’ll show you the most important settings to adjust so you can stop experimenting and start building a setup that helps you play your best.
Key Takeaways
- Treat Pro Settings as a Starting Point, Not a Rule: Use a professional player’s setup as a solid foundation to avoid clunky defaults, but spend time in the practice range making small adjustments until the controls feel like a natural extension of your hands.
- Gain an Edge with Clear Visuals and Audio: Your sensitivity settings don’t matter if you can’t see or hear your opponent. Max out your Field of View (FOV) to see more of the battlefield and tune your audio mix to prioritize crucial sound cues like enemy footsteps.
- Match Your Sensitivity to Your Playstyle: A single sensitivity setting limits your potential. Use a lower sensitivity for the precise, long-range shots required for sniping and a higher one for the fast, reactive aiming needed for SMGs in close-quarters combat.
Battlefield REDSEC Controller Settings: The Basics
Starting Battlefield REDSEC can be a bit tricky, particularly if you’re used to other shooting games. The initial controller settings aren’t ideal, and while the game offers a lot of customization options in its menus, it can be confusing just trying to get comfortable. If you’re having trouble with aiming and movement, don’t worry – many players do. The key is to take the time to adjust the settings to fit your preferences. Don’t feel like you need to copy a professional player’s setup; focus on building a comfortable foundation that works best for you.
Why Your Controller Settings Matter in Competitive Play
The standard controller settings in REDSEC aren’t always the smoothest, and many players – particularly those used to Call of Duty – struggle with them at first. However, the game has detailed settings that can make a huge difference in how it feels to play. As streamer ZLANER explains, tweaking these settings gives you a lot of small benefits that combine to significantly improve your skills. It’s not just about adjusting sensitivity; it’s about boosting your overall awareness, aiming quicker, and moving more easily around the map. Just like building the perfect loadout in Warzone, every setting matters and can help you perform better.
Console vs. PC: Key Differences for Controller Setups
Many console players get frustrated trying to optimize their controller settings, and professional player ZLANER understands the feeling – he almost switched to mouse and keyboard himself. However, after a lot of tweaking, he finally found settings that felt just right. A key issue is that a game can feel different on consoles compared to PC, even with the same controller. The aim is to adjust settings until the game feels as natural and responsive as it does on a PC, like playing Call of Duty. Getting the right adjustments makes your controller reliable no matter what system you’re using, and this struggle is something many players can relate to – it’s similar to how people react to a new game trailer.
Dialing In Your Sensitivity for Pinpoint Accuracy
Finding the right controller sensitivity is really about personal preference and is a key part of getting comfortable while you play. There’s no single ‘best’ setting – what works for one person might not work for another, just like with building a custom weapon setup. The idea is to find a balance that lets you aim quickly and accurately, and smoothly follow enemies as they move, without feeling like you’re struggling against the controller itself.
It’s a common error to immediately set your sensitivity to the maximum, believing that faster movement automatically means better performance. However, this usually results in shaky aim and losing fights. Instead, it’s best to begin with a moderate, well-rounded setting and then make small, careful changes. We’ll guide you through the most important sensitivity options, so you can stop relying on guesswork and start developing the consistent muscle memory needed to win. Don’t hesitate to spend a little time in the practice range fine-tuning these settings—even a few minutes of adjustment can significantly improve your performance in actual matches.

Infantry Aim: Finding Your Sweet Spot
Your aim sensitivity while looking through a scope (also called ADS sensitivity) determines how quickly your crosshair moves. Accuracy is key when aiming down sights. A good starting point is to set your sensitivity to 50, and leave aim assist at its default setting of 100. This provides a balanced setup, letting you aim precisely and with control, while still benefiting from the game’s aim assistance.
If your aim feels too sensitive at the default setting of 100, try reducing it to around 80. This can make your aim feel smoother and help you make small, precise adjustments when shooting. You’re looking for a setting that lets you easily follow a moving target without your aim being shaky or slow.
Look Sensitivity: How High Should You Go?
As a player, one of the first things I tweak is look sensitivity. It basically controls how fast I can turn and scan my surroundings when I’m shooting from the hip. It’s all about being able to react quickly! You want it high enough to spin around and get on an enemy before they get you, but if it’s too high, it’s really hard to stay accurate when you’re fighting up close. Honestly, the best way to find what works is just to mess around with it. I’ve even seen people start with sensitivity settings from games like Battlefield 4 – that’s a good place to begin if you’re lost!
Let’s adjust the aiming acceleration. Try lowering the left/right acceleration from its default value of 70 to 20. This will make your aiming feel more direct and consistent with your stick movements, giving you more predictable and easier control.
Balancing Speed and Control
Finding the best mouse or controller sensitivity comes down to balancing speed and accuracy. You want to be able to turn around quickly to react to threats from behind, but also have the control to aim precisely for distant shots. Keep in mind that your field of view (FOV) also plays a role – a wider FOV can make things feel faster, but it might make targets harder to see and slightly affect your aim.
A field of view (FOV) around 60 can make turning while running feel smoother and faster, potentially giving you a small advantage. These little changes might not seem like much, but they can really add up during quick battles. Experiment with different settings until you find what feels most comfortable and lets you concentrate on playing, instead of worrying about controlling the game.
Fine-Tuning Your Movement and Controls
Accuracy is important, but truly skilled players excel at how they move. Sliding, jumping, and quickly checking around corners are what make the difference. If your character feels slow to respond, you’re already at a disadvantage. Your controller settings are like the gears in a car – they turn your commands into action. Getting these settings right makes your character feel like a natural part of you, letting you react quickly and move smoothly in any fight. Let’s look at the most important settings to help you gain an advantage.
Auto Tac Sprint: On or Off?
One of the most discussed settings in today’s shooting games involves how quickly you sprint. While automatic tactical sprinting lets you reach top speed immediately, it can also be a disadvantage. It’s easy to accidentally activate it while trying to carefully aim around a corner, leaving you vulnerable. If you prefer more control, try disabling automatic tactical sprinting and using regular automatic sprinting instead. This lets you run without repeatedly pressing a button, but still allows for quick bursts of speed when you intentionally choose. This creates a smoother experience in firefights, letting you reload and move without getting stuck in unwanted animations. It’s a simple adjustment that can significantly improve how you move strategically.
Custom Button Layouts and Advanced Grips
Using the standard button setup might be holding you back. A custom layout lets you do important things like jump, slide, and reload without moving your thumb from the right stick, so you can keep aiming smoothly. Try out pre-made options like “Bumper Jumper” or “Tactical” to find a good fit. Or, create your own layout by changing the controller settings to match how you like to play. If you really want to level up, consider a controller with extra paddles or grips – they give you more control options without forcing you to change how you hold the controller.
Nailing Your Stick Deadzones and Trigger Sensitivity
Okay, so stick deadzones – basically, it’s that little area in the middle of your analog stick where nothing happens when you move it. If it’s set too high, you have to really push the stick before anything happens in the game, which feels kinda slow and clunky. I like to set mine as low as possible, but you gotta be careful! If you go too low, you’ll get ‘stick drift’ – where your character moves on their own, which is super annoying. The best way to find the sweet spot is to mess with it in the practice range. Lower it until you just start seeing drift, then bump it up a click or two. Also, tweaking your trigger sensitivity can make your shots feel way faster and more responsive – letting you fire instantly when you want to. It makes a big difference!
Getting Your Audio Right
While good controller settings are important, clear audio is just as crucial in a fast-paced game like Battlefield REDSEC. Being able to hear clearly can mean the difference between noticing an enemy approaching from the side and getting eliminated. Properly adjusting your sound settings helps you locate enemies, react quickly, and stay fully engaged in the game. Let’s go through how to optimize your audio for a competitive edge.
Master Volume vs. Sound Effects
Everyone prefers audio a little differently, but a good place to begin is setting your main volume to 100 and your sound effects volume to around 50. This helps you easily hear important sounds like gunshots and engines over the music and background noise. It keeps the audio clear and prevents everything from blending together, so critical sounds really stand out. It’s like setting up a clean, focused soundscape to help you concentrate during gameplay.
How to Actually Hear Enemy Footsteps
Many REDSEC players struggle to hear enemies approaching because the game often focuses on the sounds of your own and your teammates’ footsteps. To fix this, try changing your audio settings to boost sound effects. This won’t guarantee you’ll hear every enemy step, but it will significantly improve your ability to detect opponents nearby, which is crucial for staying aware of your surroundings.
The Best Audio Mix for Headsets
The audio settings you choose with your headset can really impact how you experience a game. A lot of players love the “war tapes” mix because it creates a more realistic and immersive sound, making you feel like you’re actually in the game. But everyone’s different! I suggest trying out all the available audio mixes to find the one that sounds best with your headset and helps you hear important sounds clearly.
Dealing with REDSEC’s Audio Glitches
REDSEC does have a few audio problems worth being aware of. Some players have noticed the sound quality can be inconsistent, particularly when navigating menus. You might initially hear good audio, but it can suddenly worsen when you reach the queue screen. While there’s no complete solution, knowing about these glitches can prevent frustration. If the sound quality changes unexpectedly, you’ll understand it’s probably a known issue with the game, not your audio setup.
Key Visual Settings for a Competitive Edge
As a player, I’ve learned that having perfect sensitivity settings doesn’t matter if you can’t actually see clearly! Honestly, your visual settings are the most important thing. They’re what let you know what’s going on, aim properly, and react quickly. It’s not about making the game look amazing, it’s about getting a clear, smooth picture that helps you play your best. You need to find a balance between how good the graphics look and how well the game runs. For competitive play, a high and stable frame rate is a must – it makes everything feel responsive and tracking enemies so much easier.
Every time your game’s frame rate drops, you’re missing visual information. In a fast-action game like Battlefield REDSEC, that split-second loss can mean the difference between winning and losing a fight. Just like you carefully choose your gear in Warzone, you should also take the time to adjust your video settings. We’ll show you the most important changes you can make to improve your view of the battlefield and gain an edge over other players.
Setting Your Field of View (FOV) for Better Awareness
Increasing your Field of View (FOV) to the highest setting, 120, is a simple way to significantly improve your gameplay. A wider FOV moves the in-game camera back, giving you a broader view of your surroundings. This helps you spot enemies you might not otherwise see, giving you a big advantage. It also makes the game feel faster, enhancing your sense of speed and control. While lower FOV settings zoom you in, a wider view provides the awareness you need to react quickly and stay ahead.
Choosing a Reticle Color You Can Actually See
Your crosshair is what you focus on during fights, so make sure it’s always easy to see. Don’t settle for the standard white – choose a bright color that really stands out against the game’s backgrounds. A lot of players like a bright green because it’s visible in almost any environment, from dark buildings to bright, open areas. The goal is to pick a color that’s easy for your eyes to follow, even when there’s a lot happening on screen like explosions or gunfire. Try out a few different colors to find one that helps you keep your aim steady.
Balancing Visuals and Smooth Gameplay
PC gamers often struggle to find the right balance between visual quality and how smoothly a game runs. While some experts suggest turning all graphics settings down to maximize frame rates (FPS), Battlefield REDSEC is known for being more stable than other competitive games. This gives you more flexibility – you can increase some settings without causing the game to crash or significantly reduce your FPS. Begin by setting most options to low, then gradually increase settings like texture quality and anti-aliasing to see how they affect performance. The ideal setup is one that delivers a smooth, consistent experience while still looking visually appealing.
Should You Change Sensitivity for Different Weapons?
Yes, absolutely! While a standard sensitivity setting works for many, adjusting it based on the weapon you’re using can really boost your performance. It’s like using the right tool for the job – you wouldn’t use a hammer to screw in a nail! Sniper rifles need precise, gentle movements for long-distance shots, while submachine guns require quick reflexes in close combat. A lot of players stick with one sensitivity setting out of habit, but they’re overlooking a simple way to improve. Creating custom controller settings or just learning to adjust quickly can significantly impact how well you play. It’s not about having tons of different settings, but understanding how to adapt your main setup to fit your current role. Just like you change your Warzone loadouts depending on the situation, tweaking your sensitivity can make your favorite weapon even more effective. This helps you develop muscle memory for different playstyles, so your reactions become more natural under pressure. We’ll go over good starting points for each weapon type to help you build a solid foundation.
Settings for Assault Rifles and All-Around Play
Assault rifles are central to REDSEC gameplay, so your settings should highlight their all-around usefulness. Aim for a sensitivity that lets you react quickly in close-quarters combat while still allowing for accurate shots at medium distances. A sensitivity of around 45 is a good place to start, offering a balance between speed and precision to avoid overshooting your targets. Combine this with a Field of View (FOV) between 110 and 115. This wider view will help you stay aware of your surroundings and spot enemies on the edges of your screen without making targets appear distorted. These settings are a solid, general-purpose foundation for most combat situations.
Settings for Snipers and Long-Range Fights
If you’re sniping from a distance, accuracy is key. To help with precise aiming, reduce your sensitivity. A vertical aim ratio around 45 is ideal – it slows down your scope just enough to make small adjustments without overshooting your target. While high sensitivity feels fast, it can actually hurt your ability to land difficult, long-range shots. Focus on smooth, controlled aiming that feels stable and gives you the confidence to take your shot when the moment comes.
Settings for SMGs and Close-Quarters Chaos
Using an SMG changes how you play significantly. In close-range fights, quick reactions and speed are key. To help with this, increase your aiming sensitivity to around 50-60. This lets you quickly switch between targets and turn around to face enemies who try to flank you. In the fast, chaotic battles inside buildings or narrow spaces, being able to turn quickly is often the difference between winning a fight and being eliminated. It might feel a little sensitive at first, but with practice, you’ll become a formidable opponent at close range.
How to Adapt Your Settings for Different Game Modes
What feels comfortable with your controller settings in one game might not work well in another. Different game types require different approaches – a fast-paced city map needs different settings than a large, strategic battle royale. Trying to use the same settings for everything can actually prevent you from performing at your peak.
As a player, I’ve found that treating my in-game settings like a toolbox is a total game-changer. Instead of just having one setup for everything, I adjust them depending on what I’m doing. Seriously, tweaking my sensitivity and controls for each mode makes a huge difference! It lets me react quicker when things get close, hit shots more reliably from far away, and just move around the map way better. Let’s look at some good starting points for REDSEC’s most-used modes so I can start building my perfect custom setup, and you can too!
Setups for Battle Royale
To succeed in Battle Royale, you need to be adaptable. You might be looking at the distant landscape one second and engaged in close-quarters combat the next, so a well-rounded setup is key. A good sensitivity for aiming is around 40 – high enough to quickly react to enemies who surprise you, but low enough to stay accurate with long-range shots. Just like creating the perfect loadout in Warzone, it’s all about being ready for anything. A helpful tip: disable the Double Tap Forward Sprint. This prevents accidental sprints from cover, which could reveal your location during critical moments.
Setups for Conquest and Large-Scale Battles
In Conquest, the action constantly changes between fighting on foot and driving vehicles, so it’s important to have settings that work well in both situations. A good starting point is to set your vehicle aim sensitivity around 40 for quick and accurate turret and steering control. For aiming while on foot, try a lower sensitivity, maybe between 20 and 30, to help you make precise shots even during intense battles. The key is to find a comfortable balance so your aim feels smooth no matter if you’re in a vehicle or fighting as infantry. You want a consistent feel when switching between these roles.
Setups for Close-Quarters and Urban Maps
Okay, so when I’m playing on those tight, city maps, I really focus on speed. That means bumping up my sensitivity! I usually start around 45 and then increase it by 5 at a time until it feels right. Higher sensitivity lets me spin around quickly to check corners and switch targets fast – which is super important when enemies are right in your face. I don’t need super precise aiming for long distances in these situations, so I’d rather react instantly. Honestly, these maps are the best place to push my sensitivity to the limit and really build up that muscle memory for some clutch plays.
Your Physical Controller Setup
As a gamer, I’ve learned that getting good isn’t just about what settings you pick in the game. How you hold and use your controller is a massive deal! You can have everything perfectly tuned in the software, but if your hands are hurting or your movements feel slow, you’re definitely losing out on precision. I’m all about getting your controller and your hands working together seamlessly with the game. Honestly, making these physical adjustments can be just as important as changing your sensitivity – it’s about creating a comfortable, responsive setup so you can really focus on what matters: winning the game!
Controller Vibration: A Distraction or a Tool?
Let’s clear up the question of controller vibration for competitive gaming: it usually hurts more than it helps. While it can add to the experience when playing alone, those sudden shakes during important moments – like a firefight – can actually make it harder to aim accurately. When you’re trying to stay steady and control your weapon, you don’t need the controller adding extra, unpredictable movement. That’s why most professional players and gaming guides suggest turning vibration off completely. Go to your settings and disable both Controller Vibration and set Vibration Intensity to 0. This will give you more consistent control and help improve your gameplay.
Getting Instant Trigger Response
Ugh, it’s the worst when you swear you spotted the enemy first, but still get taken down, right? I figured out it might be my controller settings! Basically, there’s a little ‘dead zone’ on the sticks and triggers – a small area where nothing happens when you move them. If that dead zone is too big, you have to really push the stick or trigger before anything registers in the game. I started messing with my settings, and lowering those deadzones makes a HUGE difference. I set both my Center Deadzone and Axial Deadzone to around 4, and now everything feels so much more responsive – my aim is sharper, and my movements are instant. Seriously, try it – it might just up your game!
Finding a Comfortable Grip That Works for You
There isn’t one right way to hold a controller, but it’s essential to find a grip that’s comfortable for you. Whether you prefer a traditional hold or something like the “claw,” the main thing is being able to easily reach all the buttons and sticks without straining your hands. If your grip is uncomfortable, you’ll get tired and react slower during long gaming sessions. So, experiment and find a position that feels natural, gives you full control, and lets you play comfortably for hours.
Pro Settings vs. What Works for You
It’s easy to think you can instantly improve by copying the settings of your favorite professional gamer. While pro settings are a good place to start, the best settings are those that feel most comfortable and natural to you. Don’t aim to perfectly replicate someone else’s setup—instead, create a configuration that feels like an extension of your own skills and reflexes. Think of pro settings as a solid base to build from, not a rigid set of rules. What works best will depend on your individual playstyle, what you’re used to from other games, and even the controller you use.
Start with a Proven Pro Setup
If you’re new to a game, a great way to start is by using the settings a professional player uses. These configurations have been proven effective in competitive play, giving you a strong base to build from. It avoids the difficult process of adjusting countless options yourself. As streamer ZLANER explains, it helps you get “on the right track.” After that, you can fine-tune things to fit your personal preferences. This way, you can skip the annoying experience of using poor default settings and immediately use a setup that’s already designed for good performance.
When to Break the Rules and Go Custom
Starting a new game often feels awkward with the initial settings, particularly if you’re used to playing something else. Players switching from games like Call of Duty often find REDSEC’s controls feel strange at first. Don’t be afraid to adjust things to your liking! If a recommended setting, like sensitivity or button layout, doesn’t feel right, change it. The key is to find a comfortable balance where the controls feel natural and react quickly. You’ll know you’ve got it right when you stop consciously thinking about the controls and can fully focus on the game, letting you play your best without struggling with the controller.
Why Comfort Is More Important Than Copying
Your muscle memory is your greatest asset. If a game setting clashes with habits you’ve developed over time, it will likely hinder your performance, even if someone suggests it. Many players change settings like “Prioritize Interact” to feel more like other games they’re used to, and that’s not about being inflexible – it’s about playing efficiently. The best setup is one that feels natural and consistent, letting you react quickly without thinking. Don’t worry if a popular setting doesn’t work for you; top players customize their settings to match what’s comfortable and what plays to their strengths.
How to Test and Perfect Your Settings
You’ve established some basic settings, and now the real customization begins! Finding the best controller settings isn’t about simply copying what a pro player uses. It’s a process of experimenting to find what works best for you. Just like building the perfect loadout in Warzone, everyone plays differently, so what feels good for one person might not for another. Ultimately, you want settings that feel completely natural, allowing you to react instinctively and confidently in critical situations.
Finding the perfect settings takes time and effort. Don’t expect to nail it all in one session. It’s about experimenting in the practice range, making small tweaks, and really understanding how those changes affect your aiming and movement. It might seem a little boring, but this careful adjustment is one of the best ways to become more consistent and confident in-game. Don’t get frustrated if it takes a while – even players with incredible aim have gone through this process. Now it’s your turn to work on it!
Use the Practice Range Effectively
Think of the practice range as a safe space to try out new settings without worrying about your performance in a real game. It’s perfect for testing things without affecting your stats or letting your team down. A good place to start is fixing stick drift. If you notice any unwanted movement, slowly increase your deadzone settings one at a time, then test in the practice range to see if the drift is gone. Keep doing this until the drift disappears – this helps you find the lowest possible deadzone setting, which keeps your controls responsive and precise.
Make Small, Gradual Adjustments
It’s tempting to completely change your settings after a few disappointing games, but that’s usually a mistake. Big changes can disrupt what your hands and muscles are used to. Instead, make small adjustments, one at a time. For example, if you lowered your aiming sensitivity, try it out and see how it feels when tracking targets at different distances. One player improved their game by lowering a setting and finding it felt smoother. These kinds of improvements only come from making gradual changes and testing them. If you change too much at once, you won’t be able to tell what’s actually helping or hindering your performance.
Know When It’s Time for a Tune-Up
What feels comfortable in your game settings today might not feel right later on. As you get better at the game, your preferences will naturally change. Also, controllers wear out over time, which can cause problems like drifting, and game updates can change how controls feel. Don’t hesitate to adjust your settings if something doesn’t feel quite right. Even professional players are always making small adjustments to find what works best, as one put it after extensive testing, they eventually “settled on something that feels beautiful.” If your aim is shaky or you’re losing fights you should be winning, it’s a good sign you should revisit and fine-tune your settings.
Frequently Asked Questions
Feeling lost in all the settings? If you could change just one thing right now for a quick boost, make it your Field of View (FOV). Increasing it to at least 110, or even the maximum of 120, will immediately show you more of the game world on your screen. This wider view helps you see enemies to the sides and makes moving feel smoother and faster. It’s a quick change that significantly improves your awareness before you worry about anything else.
It’s normal to feel worse after copying a pro player’s settings! Remember, those settings are just a good place to start, not a perfect solution. Pro players customize their settings to fit their own controller, how they hold it, and years of practice. Use the pro’s settings as a base, then make small changes until it feels comfortable for you. If it feels too fast or slow, adjust the sensitivity. Consistent aiming comes from feeling comfortable, not from exactly copying someone else.
Don’t give up on a new setting after just one try! It takes time to adjust, so play with it for several full gaming sessions. It’s easy to revert to what’s comfortable after a single bad game, but your brain and muscles need time to learn the new feel, whether you’ve changed your sensitivity or button setup. Spend a few hours really trying it out, including time in practice mode. If it still feels awkward and doesn’t improve after that effort, then it’s okay to switch back or try something different.
Does disabling controller vibration actually make a difference? For serious competitive gamers, it absolutely can. Vibration feels immersive, but it’s an unpredictable movement that can slightly throw off your aim. When you’re trying to make precise adjustments for recoil control or tracking a target, controller shaking is the last thing you need. Turning vibration off provides a steadier, more consistent aiming experience – exactly what you want during intense moments in a game.
It sounds like your aiming is unsteady. Let’s tackle your deadzones first. Deadzones control how much you need to move the sticks before anything happens in the game. If they’re set too high, aiming will feel slow and laggy. Too low, and you might experience unwanted movement (stick drift). Get your deadzones dialed in so your controller accurately reflects your movements. Then, you can adjust your sensitivity to perfect your aim.
Read More
- Off Campus Season 1 Soundtrack Guide
- 46 Years Later, The Mandalorian & Grogu Answers A Major Empire Strikes Back Question
- X-Men ’97 Finally Gave Gambit the Hero Moment He Deserved
- Chainsaw Man Volume 24’s Cover Art Reveals a Brand-New Denji
- HoI4 fans harsh reactions to the announcement of another DLC pack
- 10 Worst End-Game Couples In Sitcom History
- Hatsune Miku cosplayer goes viral selling $15 cups of “foot juice” to thirsty anime fans
- Katanire’s Yae Miko Cosplay: Genshin Impact Masterpiece
- Gold Rate Forecast
- Emily Henry Says to ‘Trust the Vision’ For Beach Read Adaptation
2025-11-17 16:06