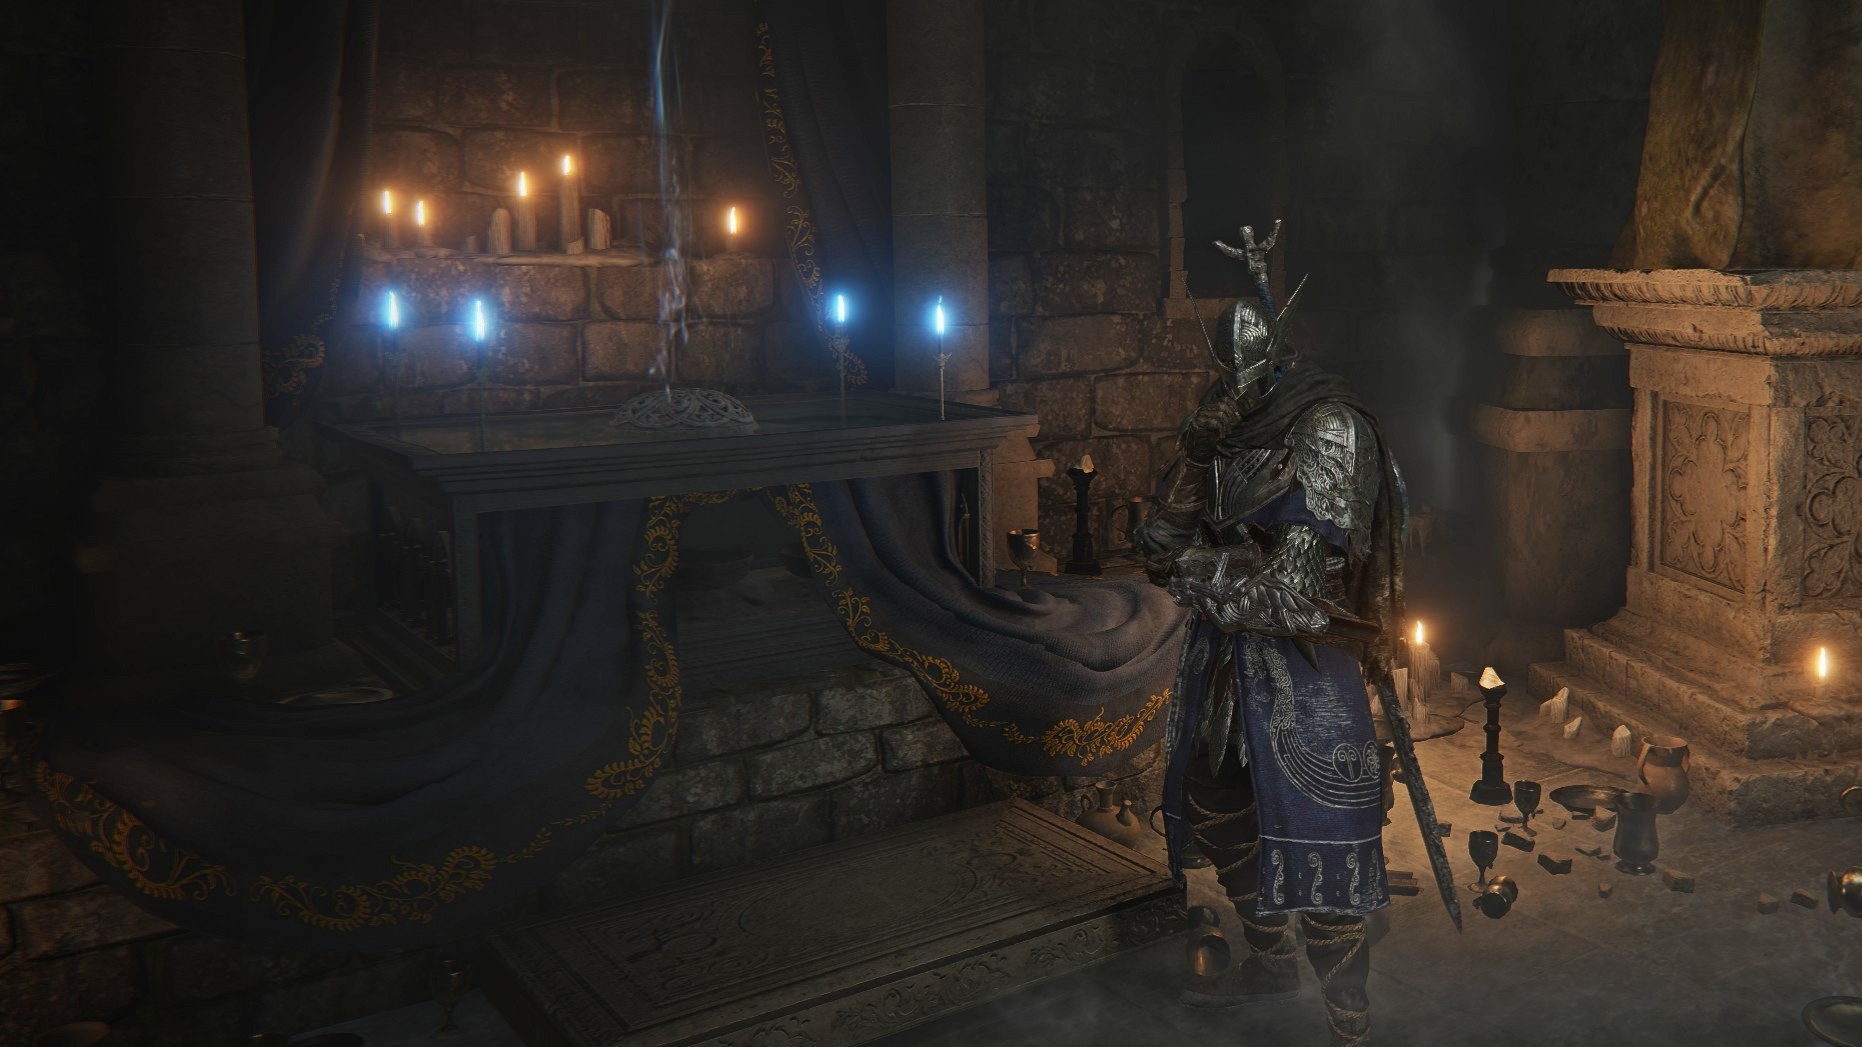
Selecting optimal relics in Elden Ring: Nightreign significantly boosts your chances against the challenging Nightlords you’ll encounter later on. You can equip three relics, each with distinct colors, offering a diverse array of benefits that vary from extremely beneficial to somewhat peculiar due to their specific effects.
You have the option to switch up the color of the relics you can use during rituals with goblets and chalices, and there are even relics specific to your chosen Nightfarer class that offer potent bonuses exclusive to your choice. In this guide, I’ll cover the relics unique to Nightfarers, my top picks for other relics, delve into how relic rites work, and explain their functionality.
How to get relics in Elden Ring Nightreign
There are two ways to get relics in Elden Ring Nightreign:
- Earn them through expeditions: Either completing or failing them. Beating a Nightlord for the first time grants a unique relic.
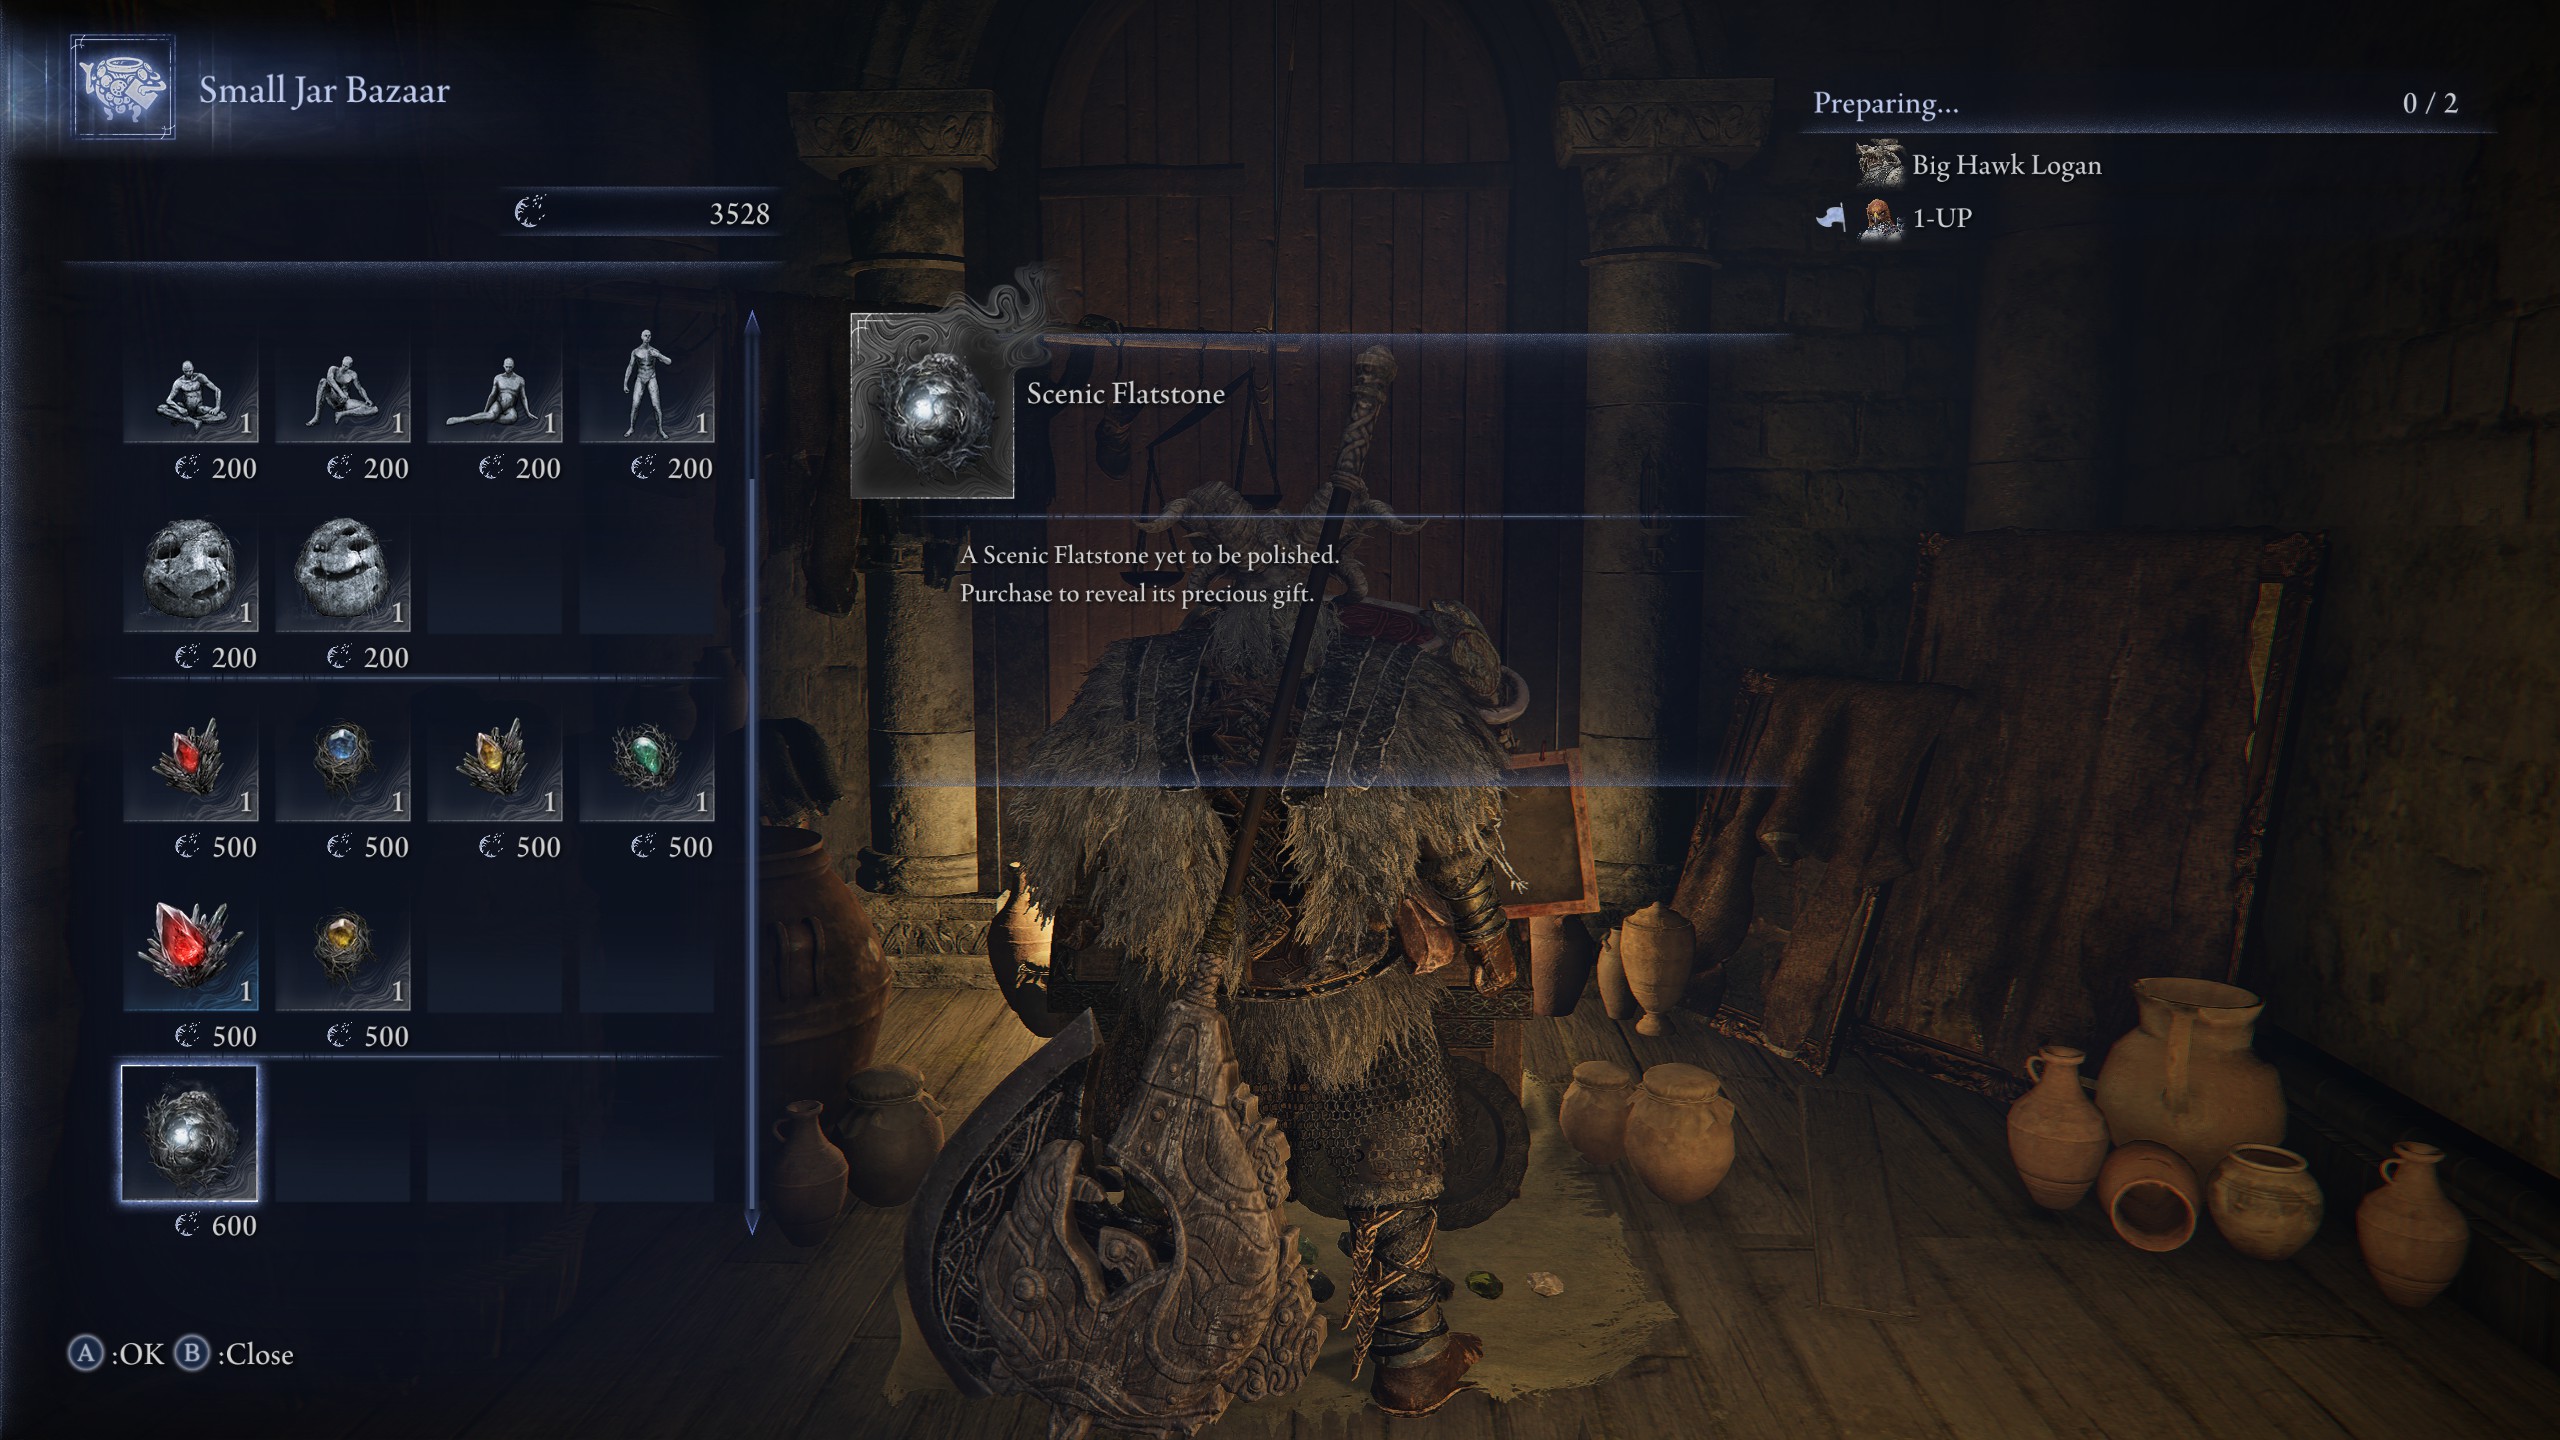
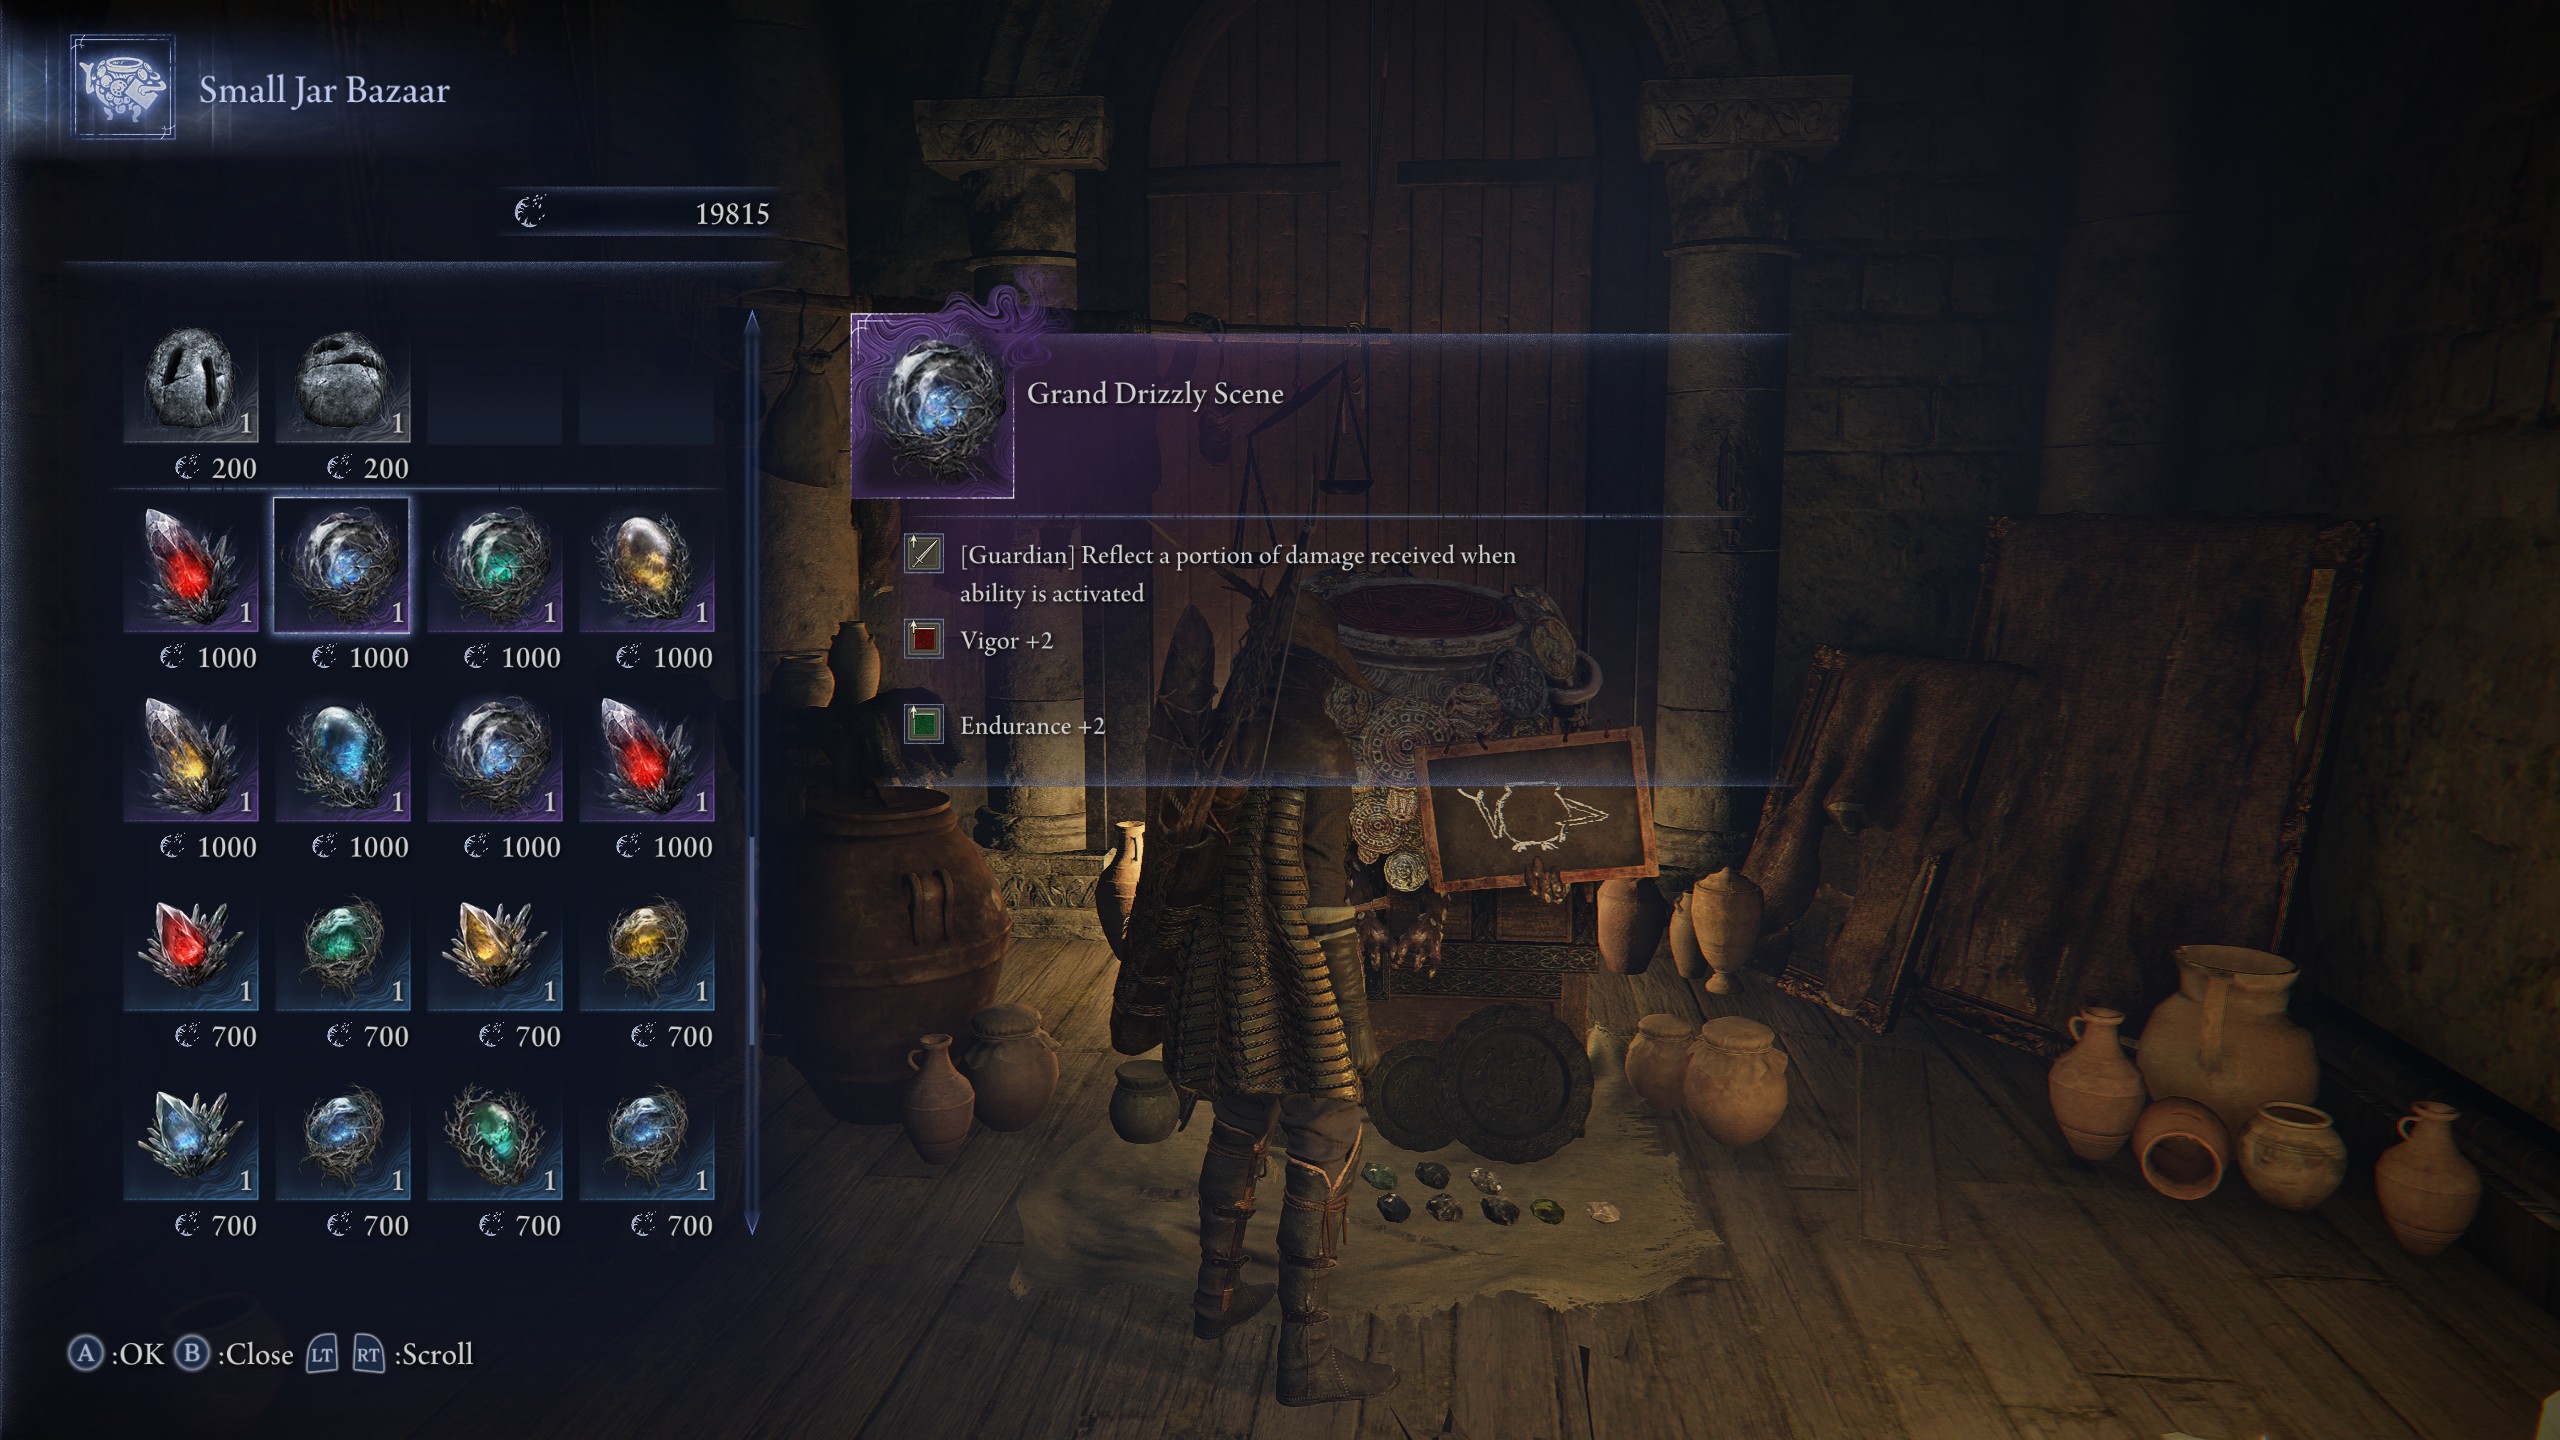
- Buy them from the Small Jar Bazaar: You can purchase these with Murk, which you get for simply trying to complete expeditions, and the stock will expand as you defeat more Nightlords. His selection may seem lacklustre at first, but if you purchase Scenic Flatstone at the bottom, you’ll get a random relic which can potentially be pretty good.
Before spending all your Murk, keep in mind that it’s also essential for purchasing Nightreign outfits for your Nightfarer when you eventually unlock them.
Elden Ring Nightreign best relics
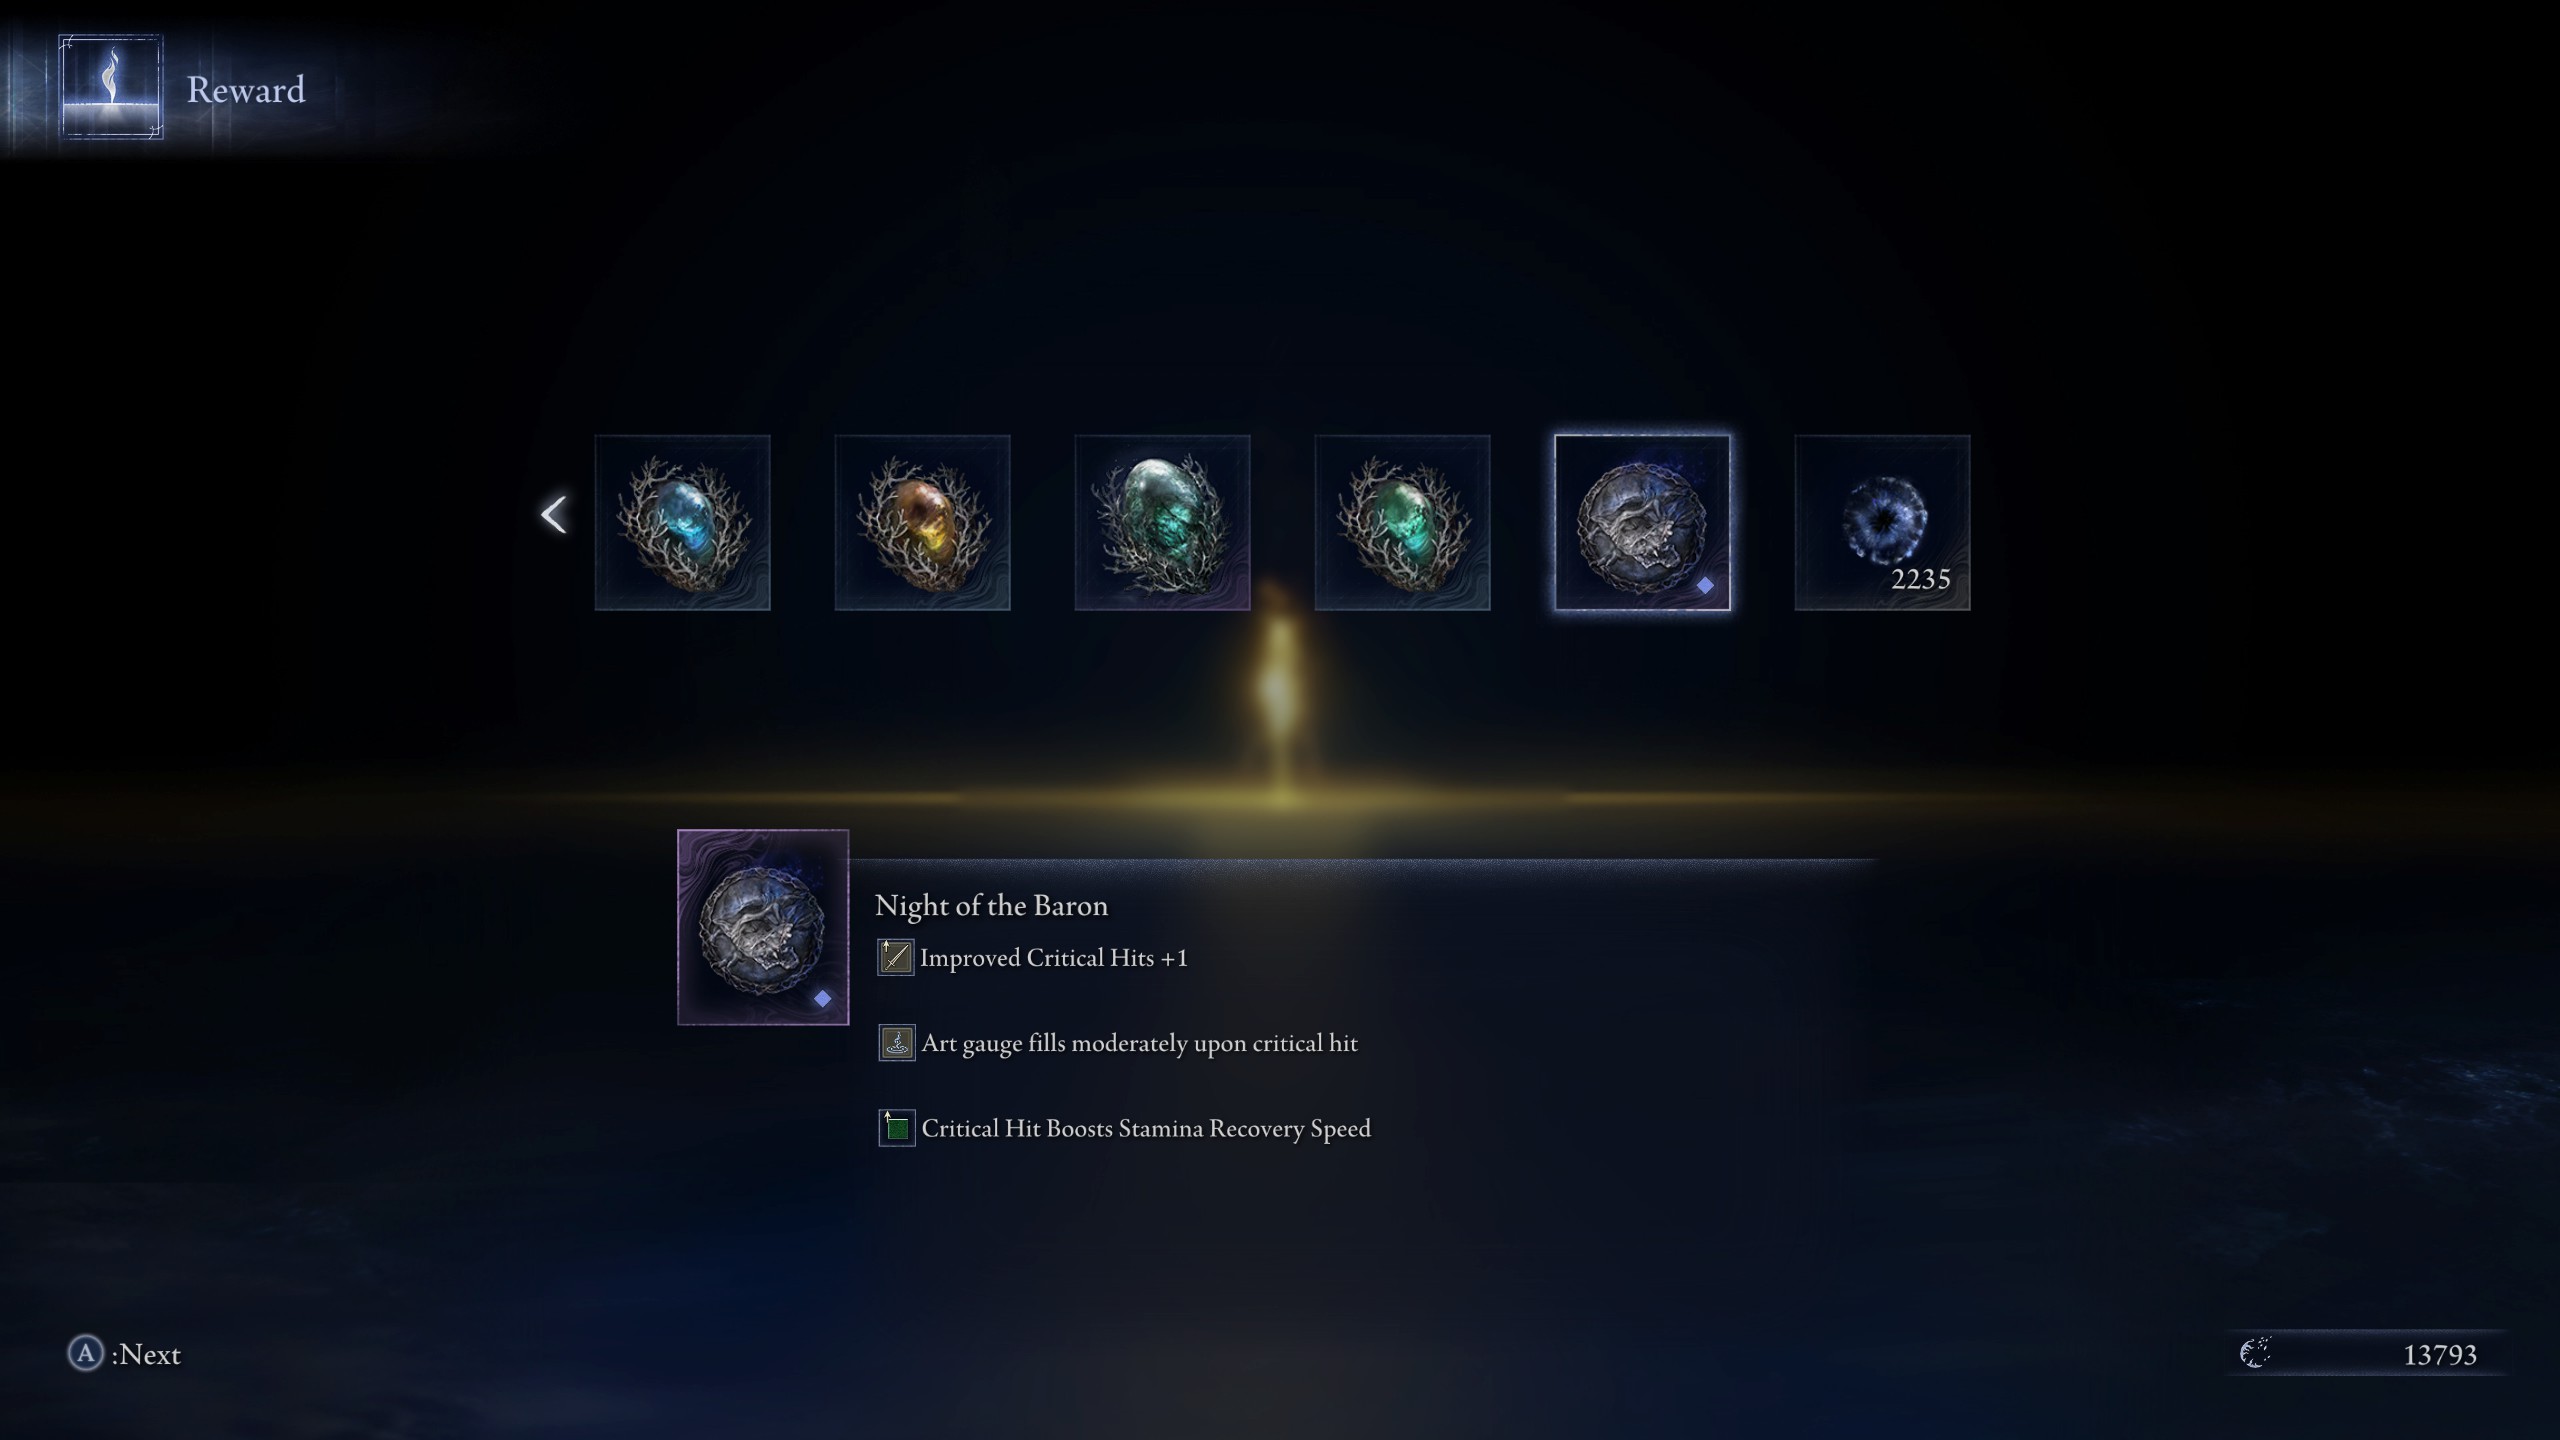
Just like other items in Nightreign, relics are randomly assigned, giving you a choice of up to three properties that can vary greatly in usefulness from excellent to completely worthless. The exception is that there’s only one type of relic with a fixed property, and those are the ones you receive for defeating a Nightlord for the first time, such as “Night of the Beast” for Gladius or “Night of the Baron” for Adel.
As a gamer, I can tell you that each relic in our game has a possibility to acquire unique affixes tailored for specific classes, and these are the rarest and strongest items in the game, clearly labeled with the class name beside them such as [Wylder]. Once I’ve vanquished four Nightlords, I will gain the ability to purchase an array of these powerful relics at the Small Jar Bazaar shop.
Wylder
- Art activation spreads fire in area
- +1 additional character skill use
- Follow-up attacks possible when using character skill (Greatsword only)
Guardian
- Reflect a portion of the damage received when ability is activated
- Create a whirlwind when charging halberd attacks
Ironeye
- Extend duration of weak point
- Art charge activation adds poison effect
Raider
- An aura surrounding the Totem Stela grants increased poise
- Damage taken while using character skill improves attack power and stamina
Recluse
- Collecting any affinity residue activates Terra Magica
- Suffer blood loss and increase attack power upon Art activation
Executor
- Roaring restores HP while Art is active
- Cursed Sword boosts attack but attacking drains HP
Duchess
- Dagger chain attack reprises event upon nearby enemies
- Improved character skill attack power
- Become difficult to spot and silence footsteps after landing critical from behind
- Defeating enemies while art is active ups attack power
Revenant
- Trigger ghostflame explosion during Ultimate Art activation
- Power up when fighting alongside family
Beyond those mentioned, there are even more relics available. These can be obtained randomly or by earning Memory Fragments and completing Remembrances for each character. While these powerful relics are highly recommended, there are also universally strong affixes on other relics. Some of these special relics can be found at the Small Jar Bazaar, and after defeating the final boss, you’ll have the opportunity to buy an exceptionally strong relic. This purchase comes with rune acquisition, discounted merchant prices, and a guaranteed Stonesword Key when your run begins.
Until then, these are the ones I recommend:
- Items confer effect to all nearby allies: This basically allows you to use Gold Pickled Fowl Foots, Boiled Prawn, and Boiled Crab for the whole team whenever you consume one.
- Starting armament deals X damage: Considering every Nightlord has a specific affinity weakness, being able to guarantee yourself one of those weapons from the very start is super handy. You just need to make sure that in the course of the two days, you upgrade your starting weapon with Smithing Stones.
- X damage +: If you can guarantee yourself a weapon that fits an affinity or the boss weakness using the above, you can also buff that with this affix.
- Increased rune acquisition for self and allies: More runes means more levels, more levels means unhappy Nightlord. You can also stack these yourself, or with allies.
- HP restoration upon X weapon attacks: Provided you can match the weapon type in this affix with what you find in an expedition (great spear, greatsword etc.), it gives a nice healing bonus to strength-based attackers like Wylder or Raider who don’t hit successively as much, and so struggle to proc those effects.
- FP restoration on successive attacks: Though less good for strength-wielders like Wylder and Raider, this is great for just about anyone else with fast dex-weapons, if you’re utilising spells and skills and so spending your FP.
- HP restored when using Cured Meats, Medicinal Boluses, etc: This one lets you have an entire inventory filled with health restoration consumables, which is pretty good when the healing flask limit is so important, and it also stacks with the top relic, giving this to all allies.
- Stat + X: Though I wouldn’t generally take a stat bonus vs. an active effect, it’s easy to match stats to the class you’re bringing. If you’re unsure what stats do, go to the Visual Codex in the west wing of the Roundtable Hold, then go Handbook, then Attributes.
- Improved X resistance: Not something I’d usually take, but once again, if you know the Nightlord you’re fighting, you can bring improved resistance against their affinity so they do a little less damage.
- Rune discount for shop purchases while on expedition: Basically what it says, cheaper stuff when you buy from a merchant.
In Nightreign, many relics provide highly specialized boosts that only become effective if you happen to discover weapons compatible with them during your expeditions. For instance, I might opt for “Enhanced Roar and Breath Attacks,” but the question remains: will I stumble upon a Sacred Seal carrying those spells? It’s often a gamble compared to choosing general-purpose buffs, especially in the early stages of gameplay.
How to use goblets in Elden Ring Nightreign
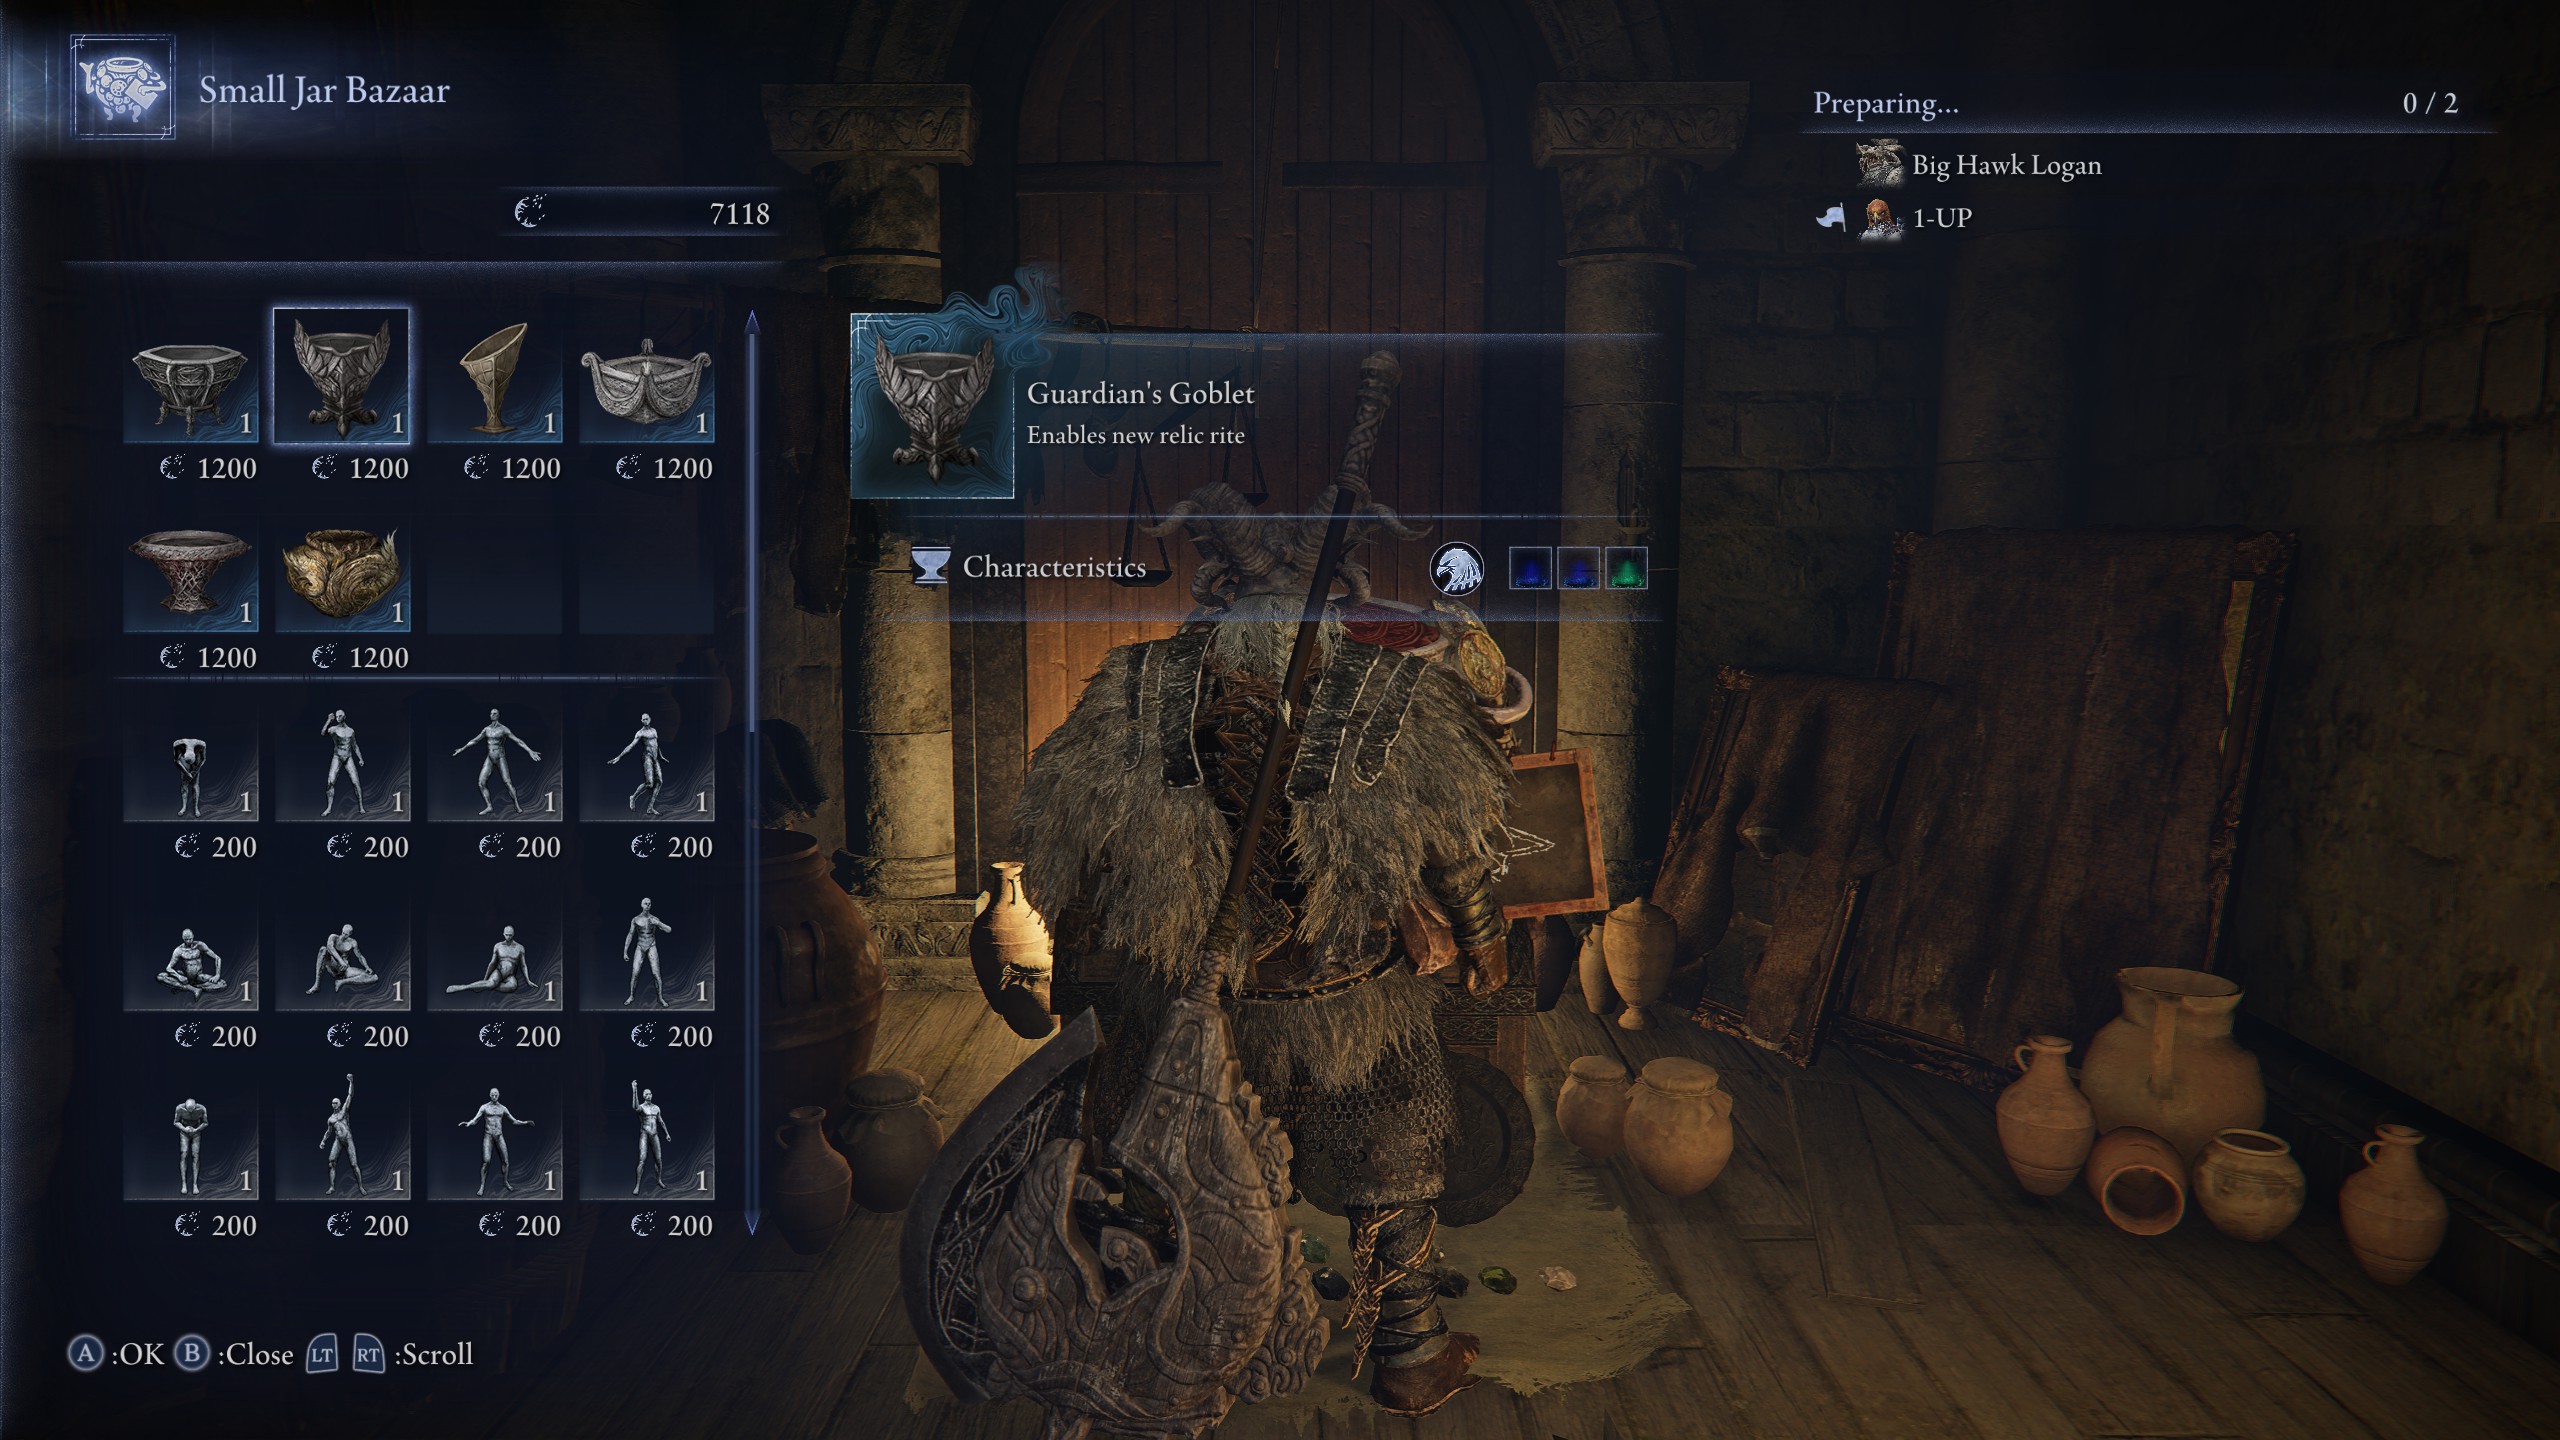
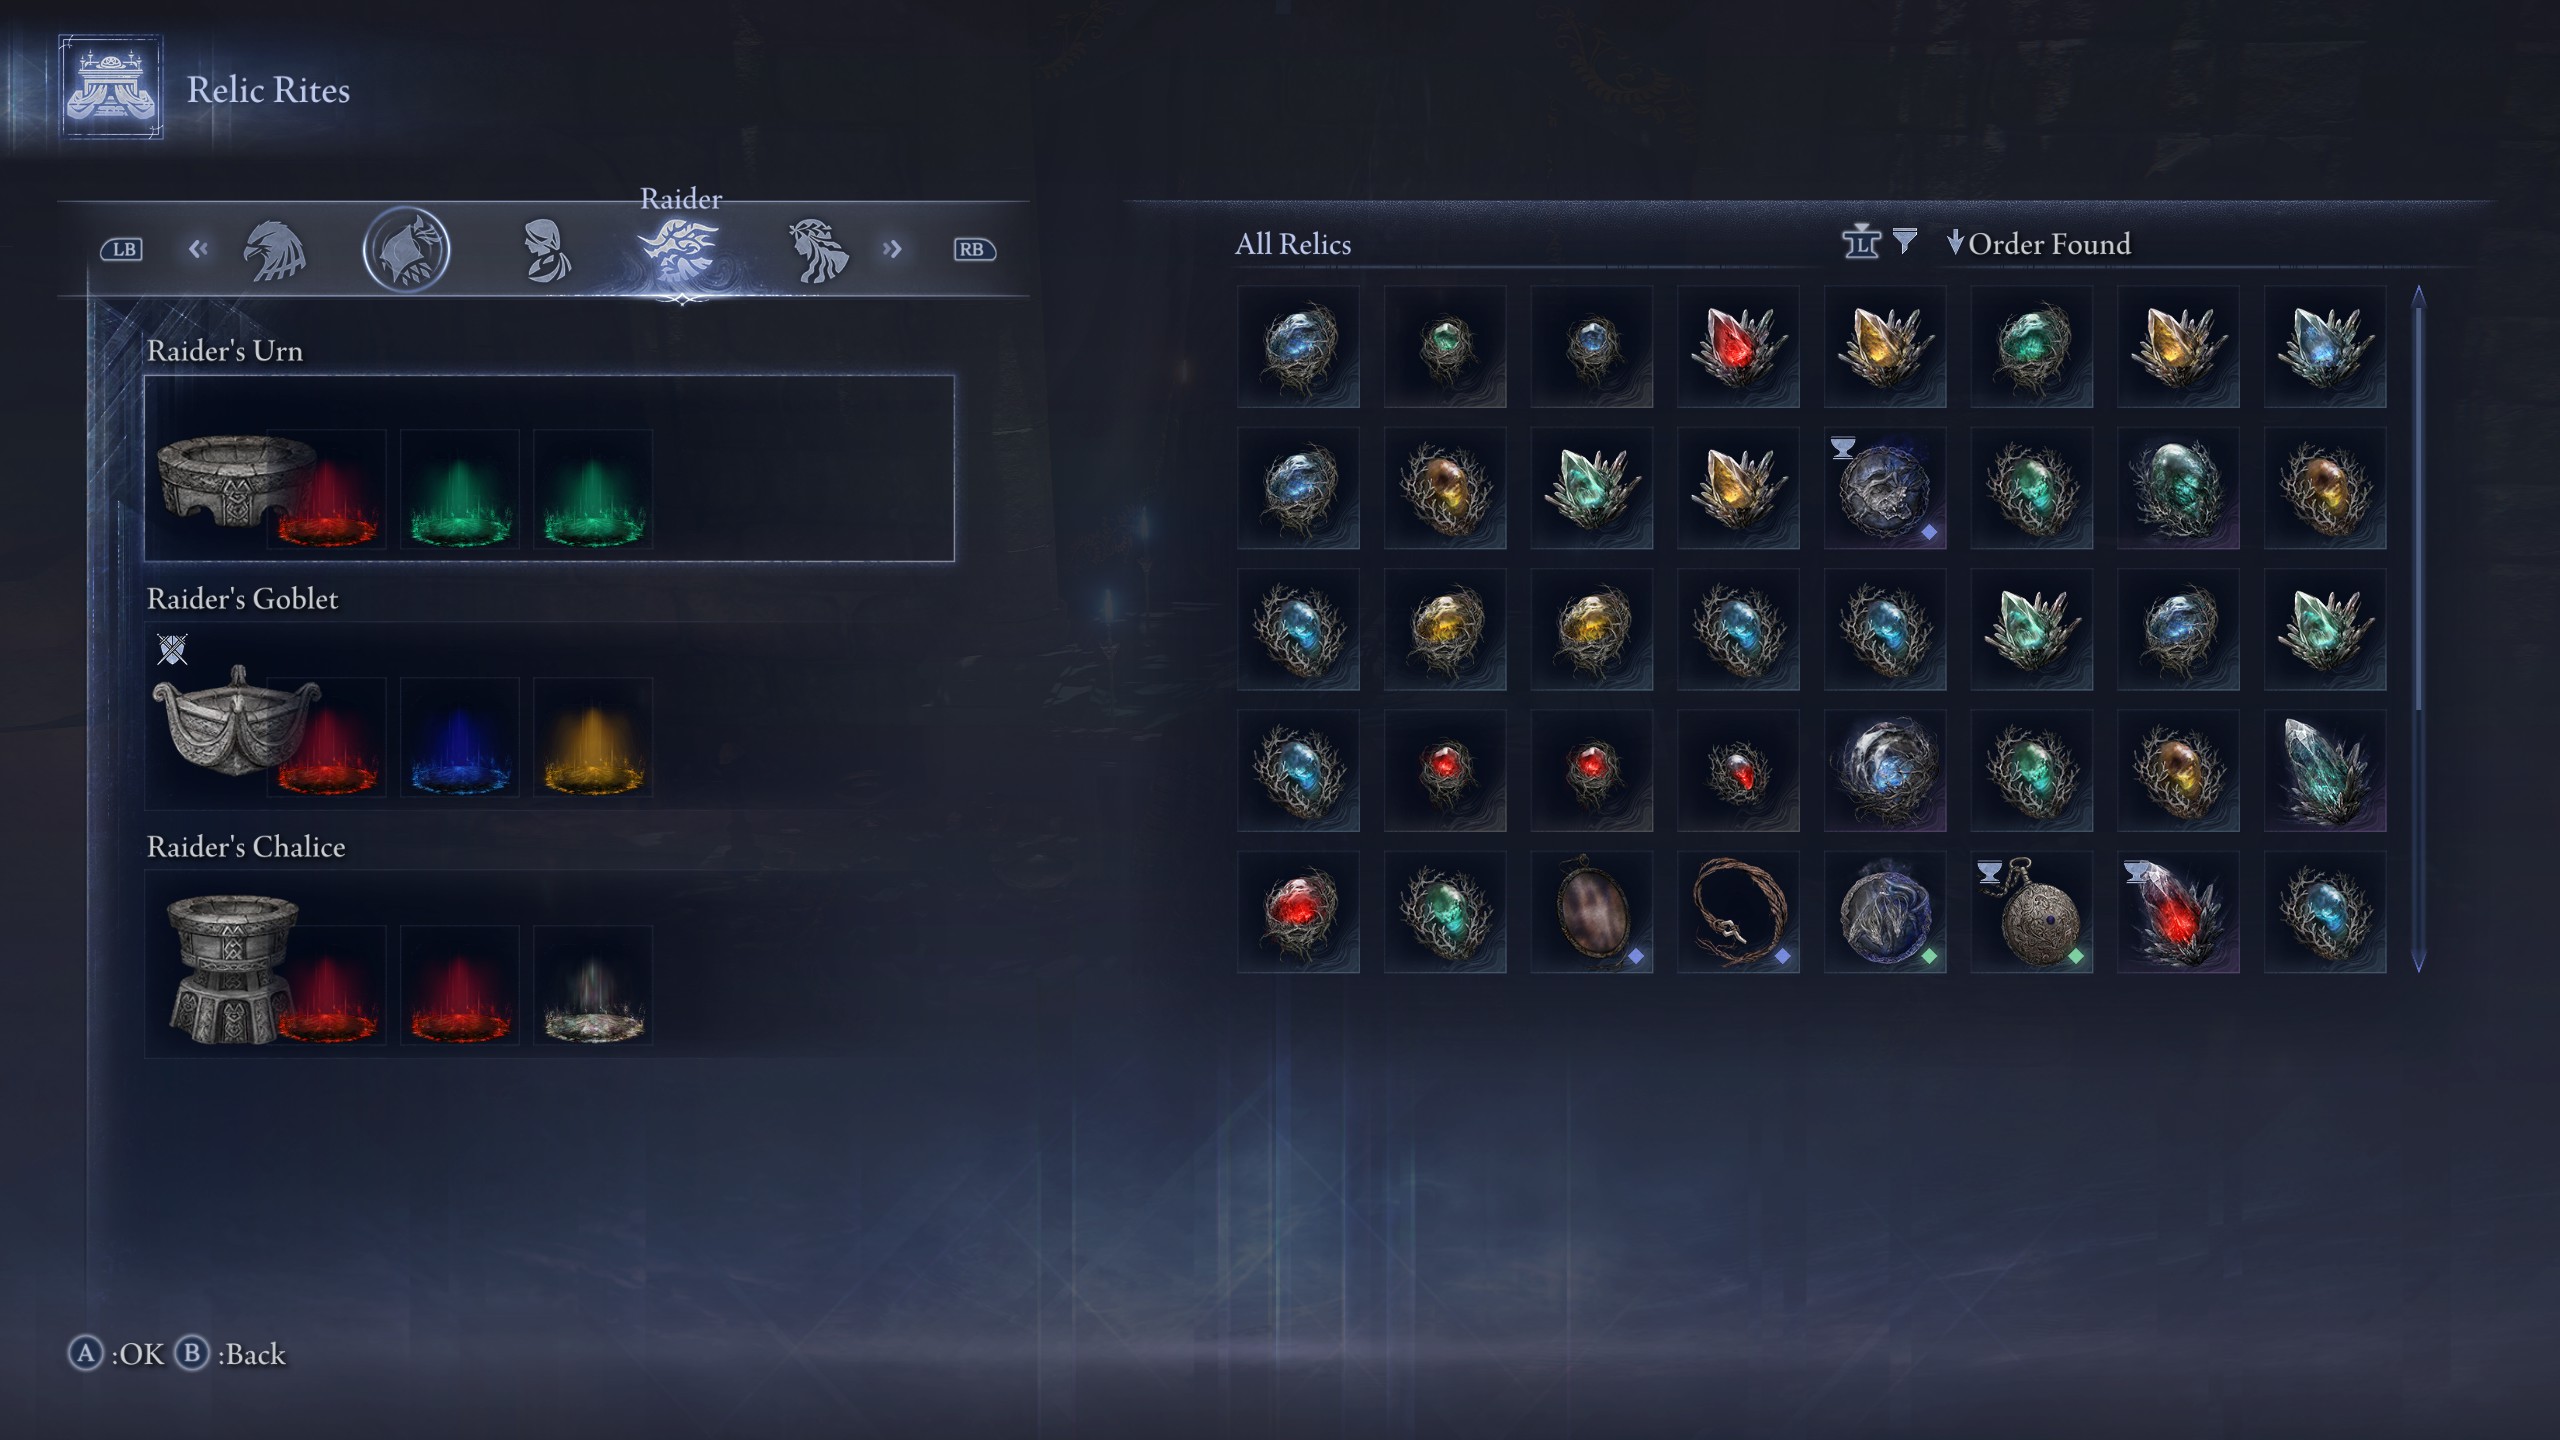
After finishing the initial Tricephalos expedition, you’ll have the opportunity to buy a goblet for each character from the Small Jar Bazaar located in Roundtable Hold. Each goblet unlocks a new relic ritual, which essentially allows you to change the color combination of your Nightfarer’s relic. To do this, simply:
- Go to the relic altar
- Cycle along to the character you bought a goblet for
- Click the arrow at the bottom of the relic display to expand it (or down on D-pad on controller)
- Select the new goblet to equip it
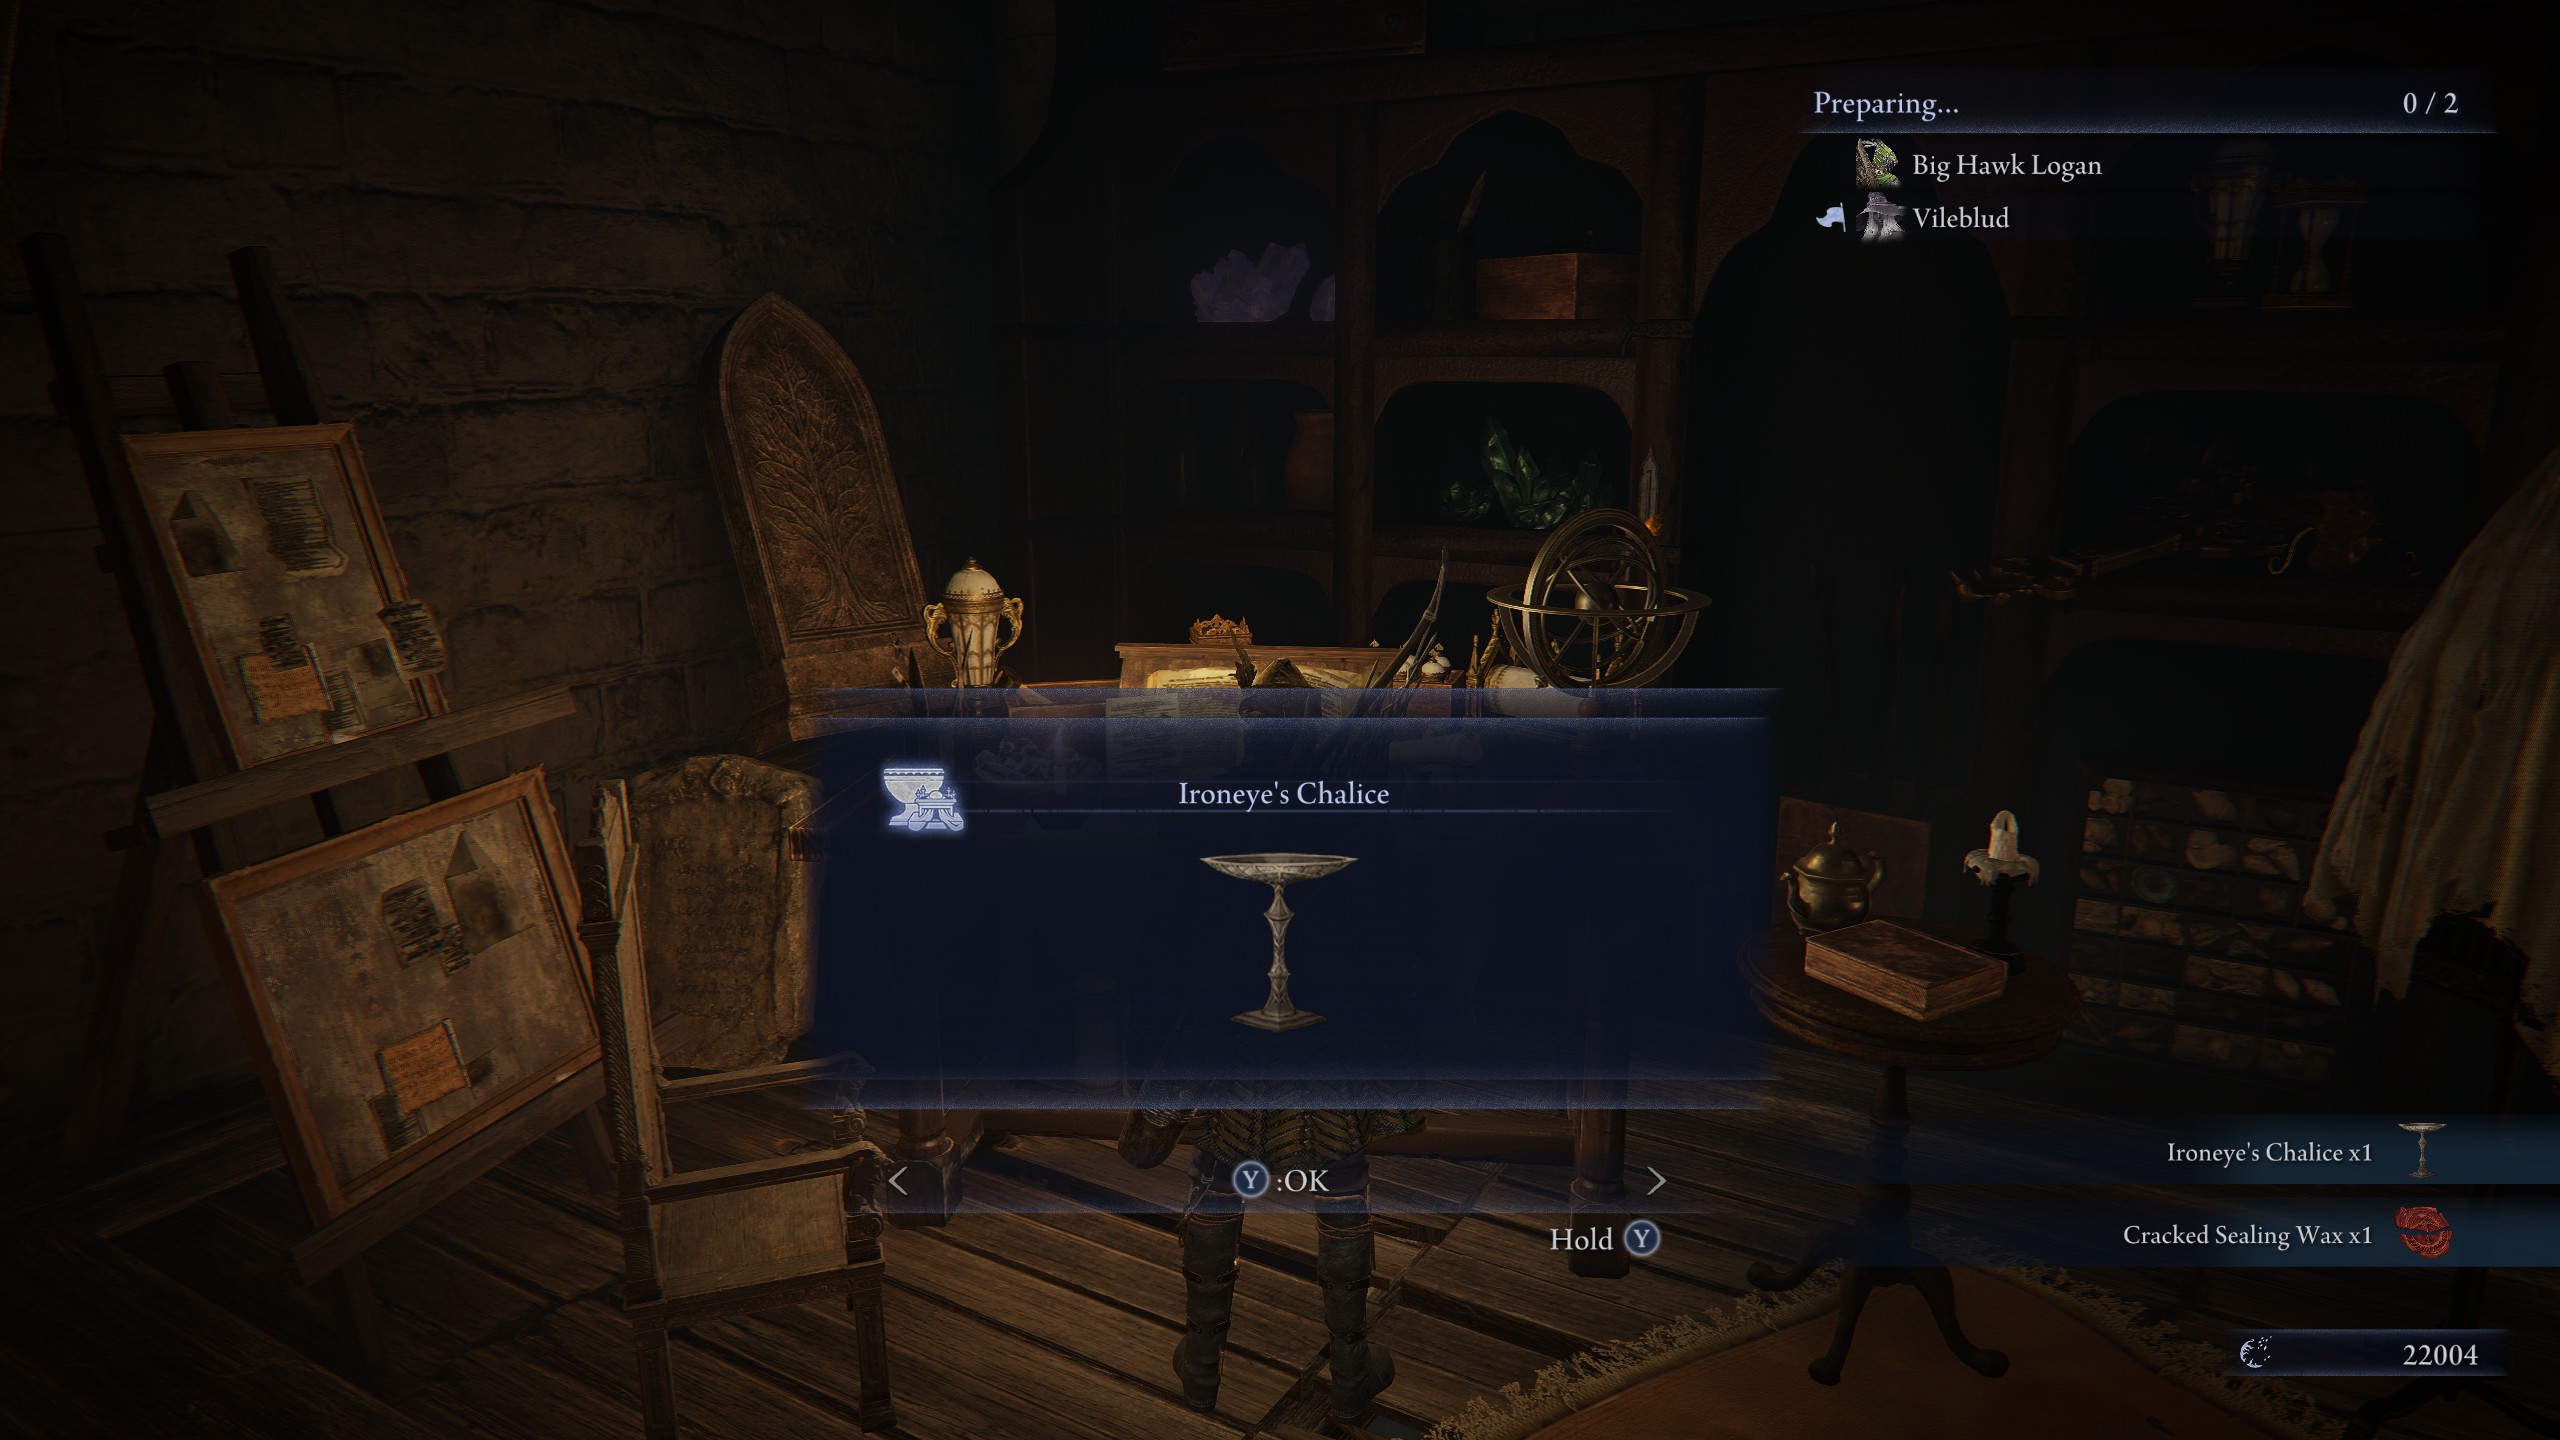
Completing the third Remembrance mission for every character following the one that provides a character-specific relic, grants you a Chalice. This Chalice enables you to alter relic rites and insert any relic of your choice into a white slot.
How to sell relics in Elden Ring Nightreign
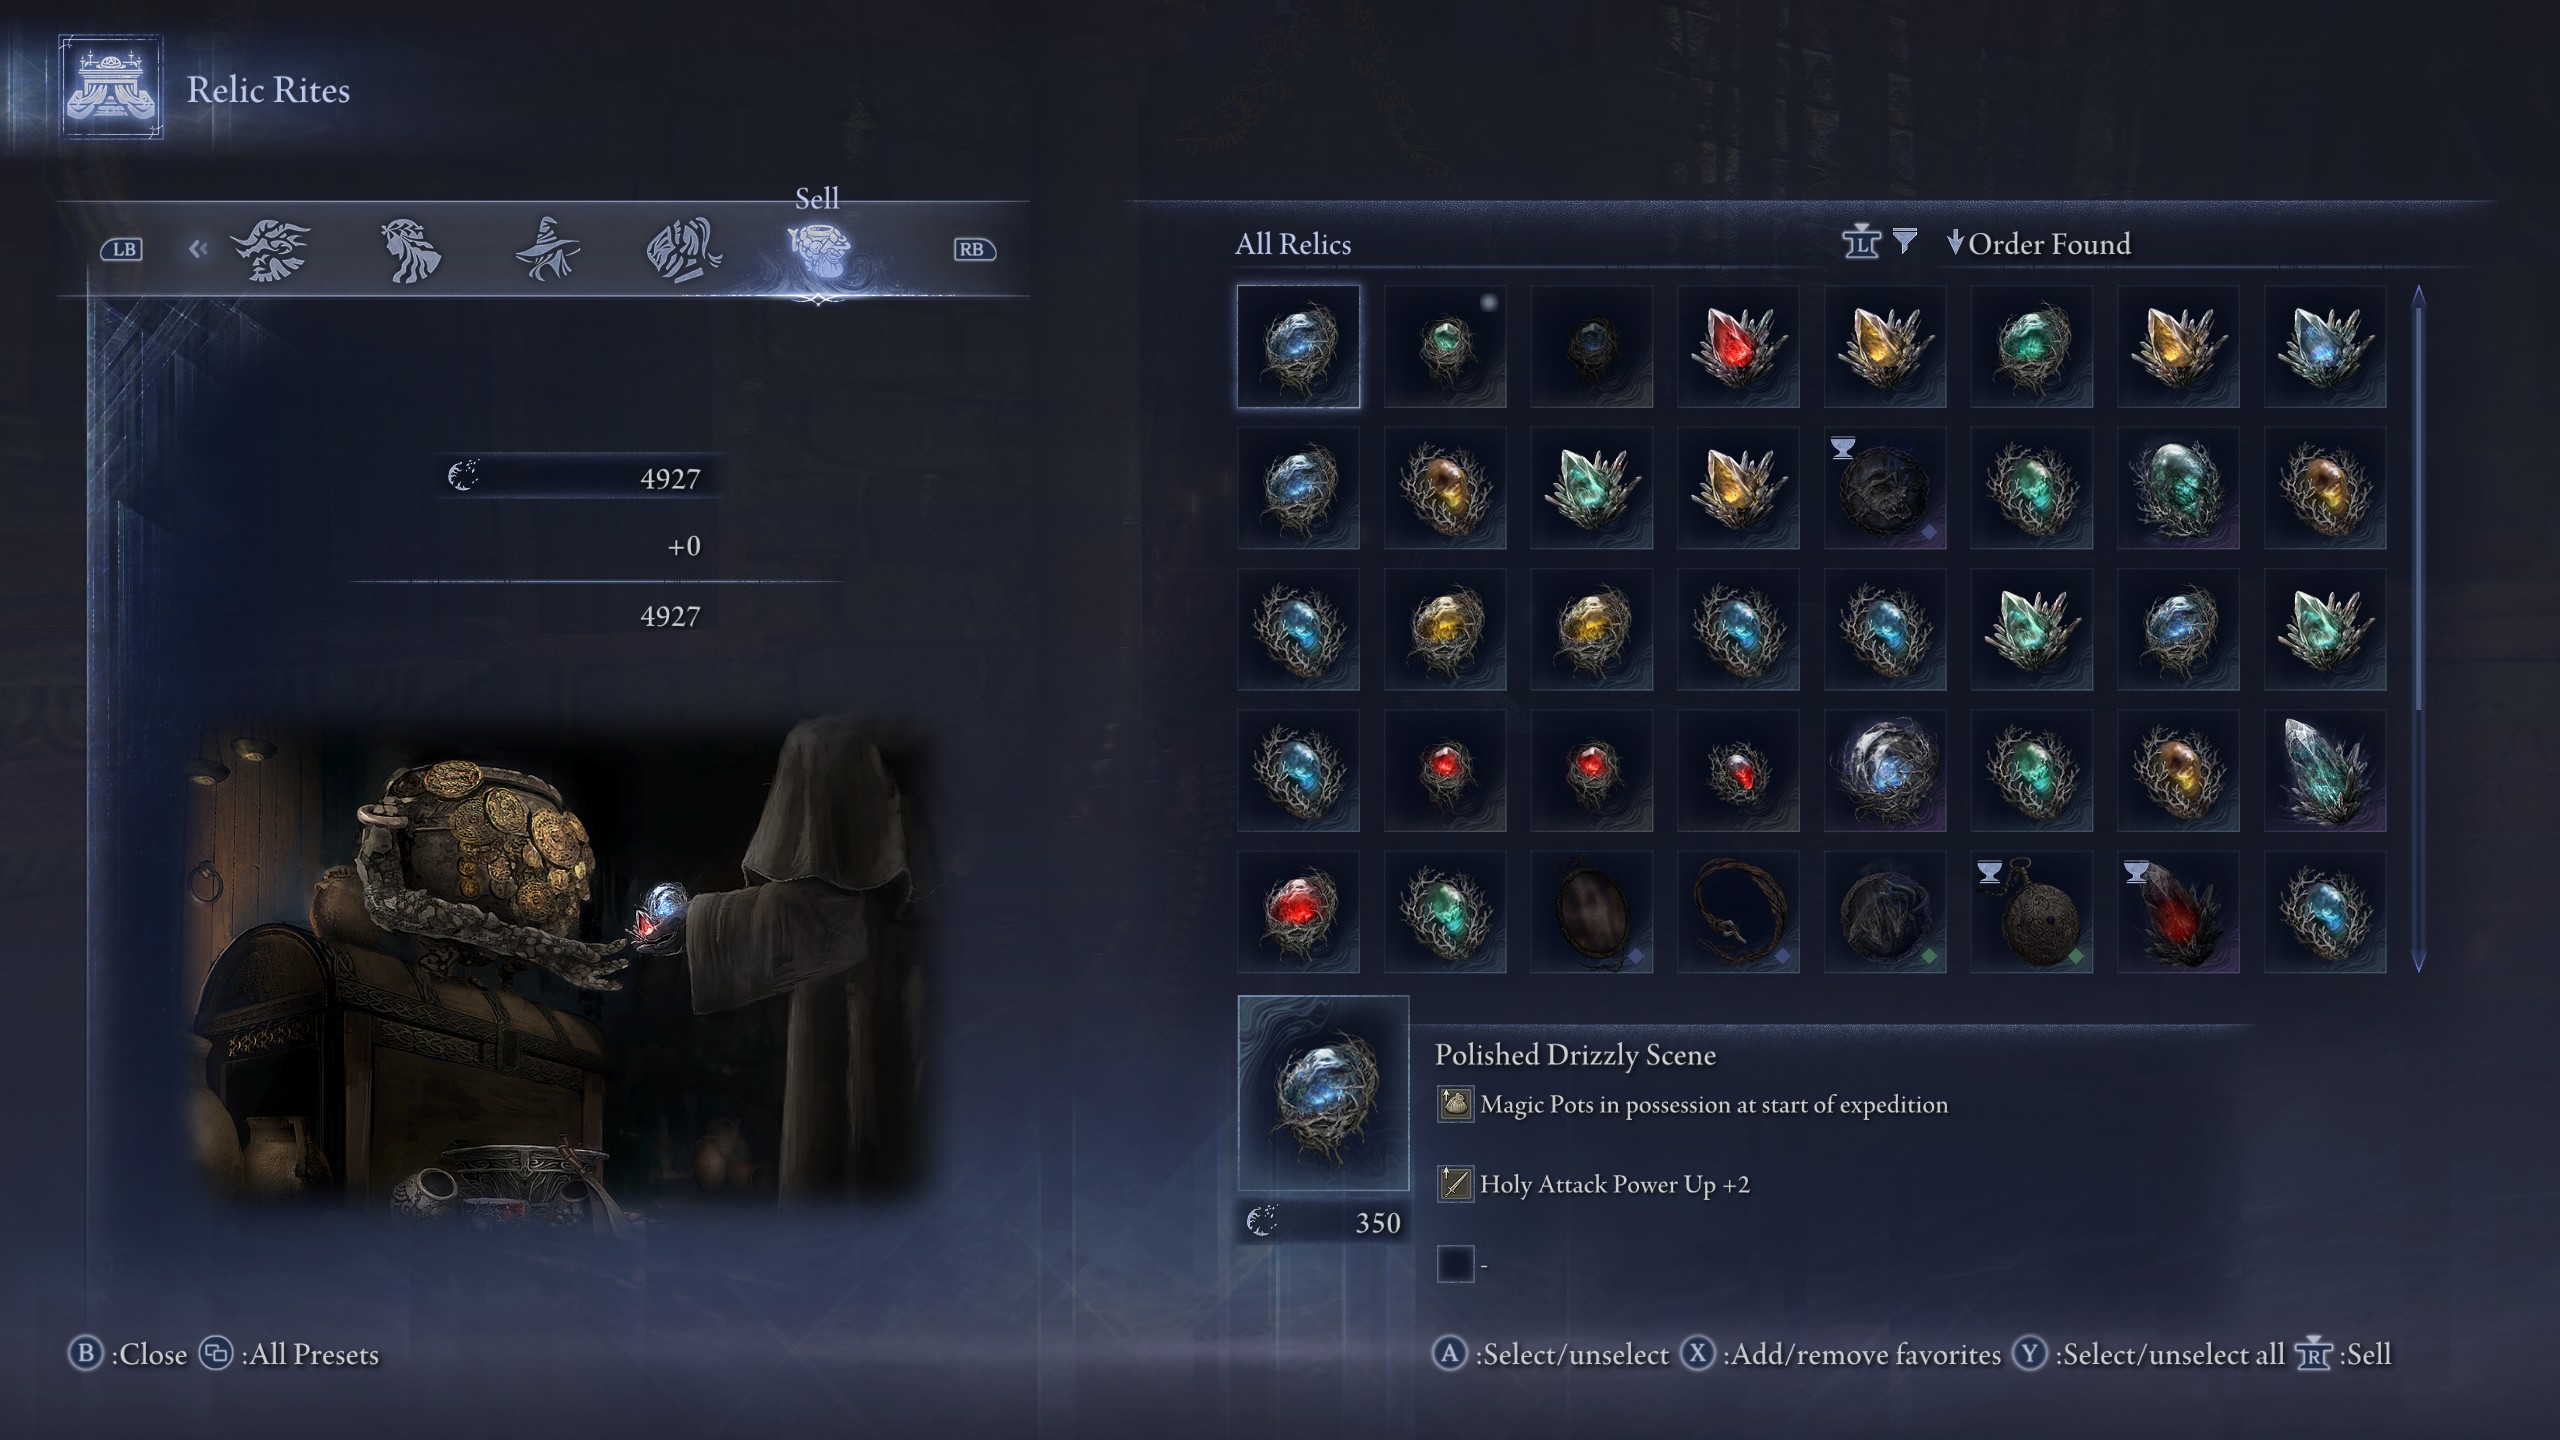
As someone who often finds themselves with underwhelming relics, much like myself, if luck hasn’t been on your side (ahem, RNG), you can always exchange these for Murk at the Relic Rite Table. To do this, simply navigate to the end of the table and sell them to the small jar located there. Just remember to be cautious not to offload anything valuable!
Read More
- Who Is Harley Wallace? The Heartbreaking Truth Behind Bring Her Back’s Dedication
- 50 Ankle Break & Score Sound ID Codes for Basketball Zero
- Basketball Zero Boombox & Music ID Codes – Roblox
- 50 Goal Sound ID Codes for Blue Lock Rivals
- Lost Sword Tier List & Reroll Guide [RELEASE]
- Summer Games Done Quick 2025: How To Watch SGDQ And Schedule
- 100 Most-Watched TV Series of 2024-25 Across Streaming, Broadcast and Cable: ‘Squid Game’ Leads This Season’s Rankers
- Gaming’s Hilarious Roast of “Fake News” and Propaganda
- League of Legends MSI 2025: Full schedule, qualified teams & more
- The best Easter eggs in Jurassic World Rebirth, including callbacks to Jurassic Park
2025-05-30 01:42