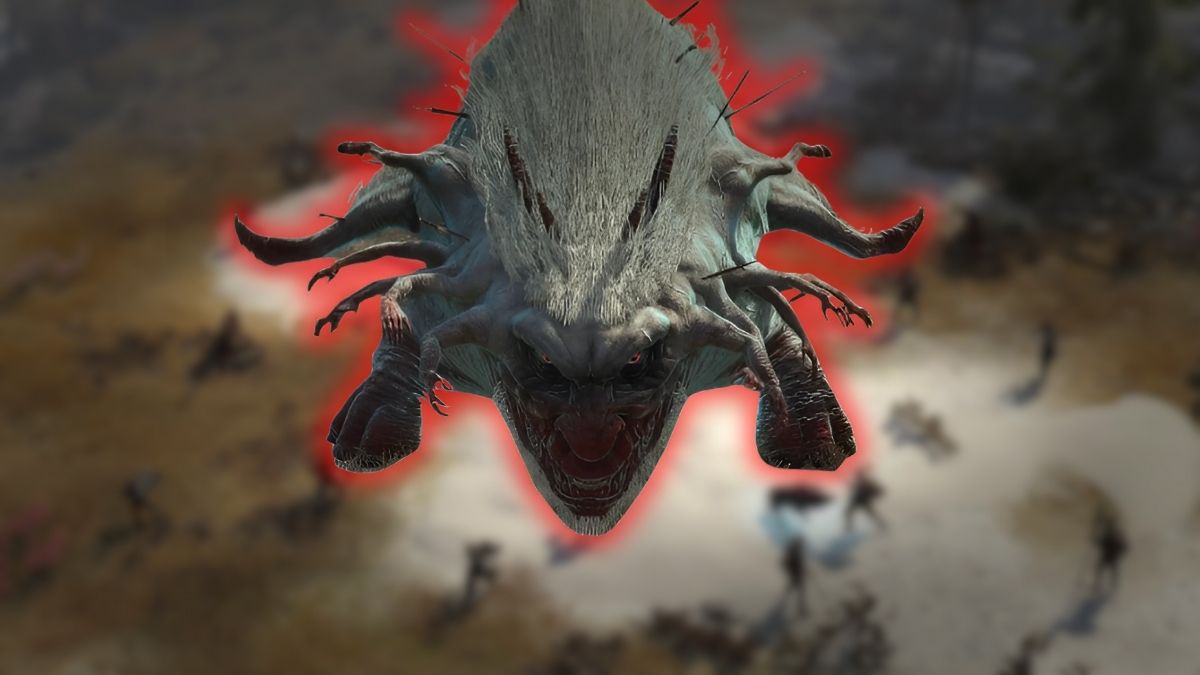
In the latest expansion for The Beast Hunt DLC, the chief antagonist is none other than “The Beast” itself. This monstrous creature can be found prowling the valleys of Brigga, causing havoc by spreading a lethal mutation among the local wildlife. However, you can’t confront it until you’ve triumphed over its three Heralds first. If you’ve managed to do that, here’s a guide on how to vanquish The Beast in Wartales.
How to beat The Beast in Wartales

After defeating the Bellegerent Herald, the Hungry Herald, and the Infected Herald within Brigga, you are free to journey towards the Tomb of Brigga where The Beast lies asleep. Your next step is to link up with Huntsman Mervice, followed by an expedition through the tomb.
As you embark on your exploration of the tomb, initially head straight ahead and then venture down the Left Path to discover a Bookshelf. You can choose to clear or shatter it (with a Miner’s assistance), allowing you to obtain the Stone Seal, an essential item needed to advance further into the Tomb.
As I delve deeper into the Tomb, my quest lies in uncovering the correct path that ultimately brings me face-to-face with an altar bearing only half of a Copper Seal. To complete it, I’ll need to retrieve another half, hidden within the previous chamber where I discover a skeleton corpse on the ground. Once found, I can use this Copper Seal to unlock the door that lies ahead in my journey.
In the third part of the adventure, before accessing the Tomb, you must confront a swarm of rats initially. Afterward, navigate directly towards the chamber where the Anvil is located. There, it’s crucial that someone skilled in Blacksmithing forges the Steel Seal to advance further, leading ultimately to the room with The Beast.
The Beast Boss Fight, Part 1: Awaken The Beast

Once you enter the room where The Beast lies sleeping, you have the opportunity to engage in battle. Before rushing in or attacking, make sure to strategically arrange your units for maximum effect. Encircle its head with your strongest damage-dealers, while keeping most of your tanks in the backline for protection.
Ensure that your damage-dealing and tanking units are positioned with a protective barrier in between, as when the Beast is awakened, you will need to attack it while simultaneously defending against Ghost monsters that may attack from behind.
When properly placed, initiate your attack and direct all your force towards The Beast’s head. It may attempt to instill fear in your comrades, so ensure someone is providing Inspiration to neutralize its effects. Once The Beast’s Health Points reach approximately 3,000, it will exit the Tomb.
The Beast Boss Fight, Part 2: Escape The Tomb

As soon as The Beast breaks free from the Tomb, your goal shifts to a hasty escape from the Tomb itself, as it begins to crumble. You must now move swiftly and make certain that all your party members manage to scramble clear before they are caught in the falling debris.
To prevent your soldiers from getting struck by the stone, always place them beyond the Red circles marked on the ground each round. Additionally, have your tanks lure the monsters towards them, ensuring that they take the brunt of the attack while your damage dealers make a safe exit since they’ll be positioned farthest from the retreat zone.
Once your damage dealers have reached the enemy’s escape point, start withdrawing your ranged units while simultaneously attacking the nearest enemies. Once most of your team is out, make sure to pull your Tanks out quickly. Your Tanks can withstand a few attacks from falling rocks, but your DPS and Ranged could perish from them.
The Beast Boss Fight, Part 3: Trap The Beast

After exiting, the primary conflict erupts several spaces from the Tomb, moving downhill. The monster is causing destruction, and a battle has broken out between it and the Trackers. They urgently need your help to vanquish the beast. Remember to Save and recharge your troops before joining this fight.
In this fight, your goal is to effectively subdue the Beast, leaving it exposed for attack. The Beast boasts a formidable health pool of about 4,000 points, which means the encounter may be lengthy and challenging. To succeed, you should make use of the traps strategically placed throughout the battlefield to capture the Beast.
To conquer The Beast effectively, ensure that you’ve placed enough units strategically near the traps, and be able to continuously inflict damage over time (DoT) akin to Poison or Burn. By triggering “Spring The Trap” twice, you can make The Beast vulnerable.

When the enemy is in the Vulnerable state, continue inflicting as much damage as you can while keeping the Rangers at a safe distance. The Warrior should be positioned nearest to the Boss to absorb its attacks (act as a tank). Arrange your 2-handed Tanks at the back to manage the Ghost Monsters that will frequently spawn.
The Vulnerable status is temporary, lasting just one round, and the Beast may vanish during the next round, only to reemerge in a different location after that. Typically, it will resurface in the area with the most of your units, causing harm as it does so.
So, if you keep your damage dealers safe, tanks well-healed, and rangers clear from danger, you can expect to conquer The Beast in Wartales within about 15-20 minutes of continuous assaults and strategic repositioning.
To learn more about Wartales, explore these articles: Mastering the Art of Taming Wild Beasts in Wartales or The Ultimate Huntsman Construction Plan – Wartales on GamerTop!
Read More
2025-04-30 21:22