
Mastering long-range battles is akin to wielding an art form, and the TR2 Marksman Rifle serves as your artistic tool. This adaptable weapon has swiftly gained popularity, offering a distinctive mix of potency and precision that sets it apart. Whether you’re an experienced sniper or a novice delving into marksman rifles, this guide will arm you with the wisdom and strategies to excel in using the TR2. We’ll delve into optimal loadouts, attachments, as well as advanced skills such as quick-scoping and map comprehension. Prepare yourself to leave your mark on the battlefield with unerring precision and outperform your opponents.
Key Takeaways
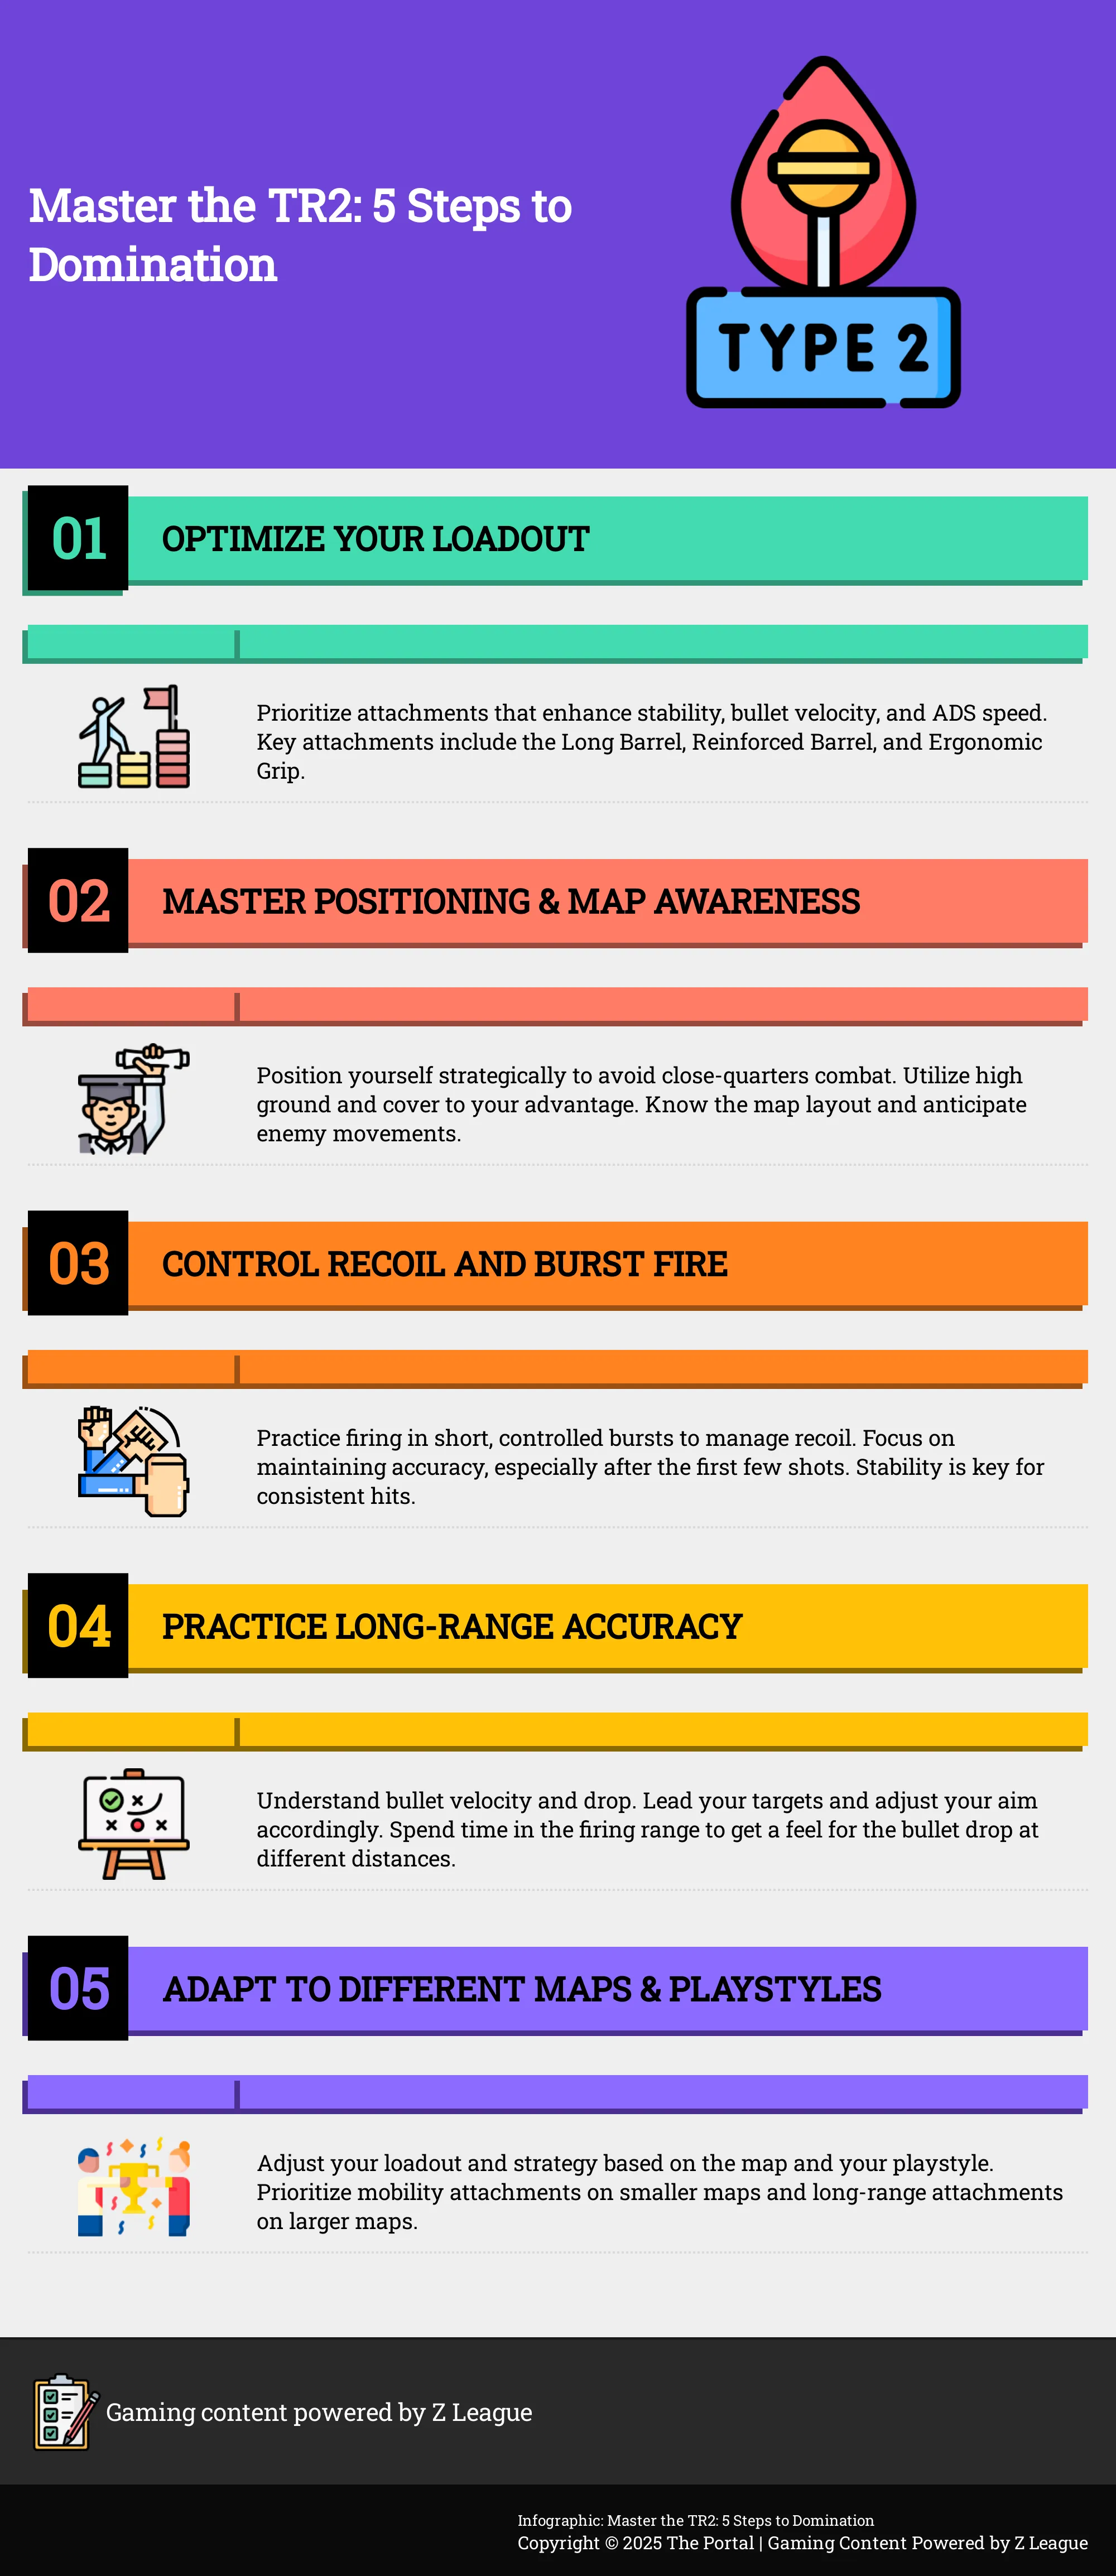
- Control the Recoil: The TR2’s semi-automatic action demands recoil control. Practice burst firing and find a loadout that works for you to maximize accuracy.
- Play to its Strengths: The TR2 excels at mid-to-long range. Position yourself strategically and avoid close-quarters combat where other weapons have the advantage.
- Adapt Your Loadout: The TR2 is versatile. Experiment with attachments to optimize for different maps and playstyles, focusing on stability, bullet velocity, and ADS speed.
What is the TR2’s Dominance in the Current Meta?
In today’s gameplay, the TR2 Marksman Rifle has gained widespread popularity due to its adaptability and potency. It truly shines in long-range skirmishes, dealing significant damage while maintaining a controlled rate of fire. This balance empowers players to take down opponents from a distance, offering strategic benefits for their team. Although it doesn’t deliver an instant kill, the TR2’s capacity to swiftly incapacitate enemies with accurate shots makes it a formidable adversary.
As a dedicated fan, I must say, what really distinguishes the TR2 from other marksman rifles is its versatility. Unlike some other sniper weapons that falter in close combat, the TR2 can be tailored to suit diverse scenarios. With the right accessories and enhancements, you can craft a setup that emphasizes long-range accuracy or one that thrives in close-quarters encounters. This adaptability gives the TR2 immense value in the dynamic environment of the game, making it an invaluable asset as situations change.
On the other hand, the TR2 doesn’t lack flaws. Its smaller magazine size and semi-automatic function demand that players manage recoil effectively and make each shot significant. Mastering these elements is crucial to maximizing the weapon’s capabilities. The TR2 proves beneficial for skilled players who can handle its recoil and consistently hit their targets, serving as a potent asset in the hands of an adept marksman.
Key Features of the TR2
Here, we delve into the essential aspects of the TR2, highlighting why they significantly impact your gaming prowess. Gaining insight into its key advantages and potential drawbacks forms the foundation for becoming proficient with this precision-built marksman rifle.
Damage, Fire Rate, and Why They Matter
The TR2 excels in distant battles due to its impressive damage output and well-balanced firing speed, making it an excellent option for players focusing on accuracy. Hitting your targets is crucial since the TR2’s per-shot damage enables you to efficiently take down enemies from afar, a significant edge in the current game environment. To enhance your long-range performance, explore some renowned Warzone loadout configurations. However, remember that the TR2 has a longer time-to-kill (TTK) than SMGs and ARs in close combat situations. This might be a disadvantage during fast-paced skirmishes at short ranges, so carefully selecting your engagements is crucial.
Recoil Control and Stability
To effectively use the TR2, which has a semi-automatic function, it’s essential to have excellent control over recoil. Learning the recoil pattern is key to delivering accurate follow-up shots and getting the most out of the weapon, particularly in extended battles. It’s this stability that makes the TR2 excel in mid-to-long-range skirmishes where precision is vital. Imagine it as a potent sniper rifle; instead of rapid firing, each shot carries significant weight.
Bullet Velocity and Long-Range Precision
The TR2 performs exceptionally well in terms of range, but its bullets travel somewhat slowly. This slower speed might reduce its performance at great distances, necessitating that you anticipate your targets more. Accessories such as the Reinforced Barrel can lessen this issue by boosting bullet velocity. Here’s a suggested loadout for the TR2, with additional attachment suggestions included. Striking a balance between long-range accuracy and close-quarters efficiency is crucial if you want to really master the TR2.
Master TR2 Gameplay
This part delves into essential gameplay tactics for TR2, encompassing topics such as optimal gear configurations and proficiency in long-range scopes. Regardless of whether you’re a beginner with TR2 or seeking to enhance your abilities, these tips will empower you to outperform opponents effectively.
Optimal Loadouts
The TR2 is a multi-purpose sniper rifle that performs exceptionally well in distant battles. To maximize its potential, select a setup that amplifies its advantages while minimizing drawbacks like recoil and slower rate of elimination (RoE). Focus on adding attachments that boost stability, bullet speed, and aiming-down-sights (ADS) quickness. For some top-notch loadout ideas focusing on these crucial aspects, take a look at Gladiator Boost’s suggestions. Keep in mind, the optimal TR2 setup can vary based on your playstyle. Are you more comfortable with long-range exchanges or close-quarter skirmishes? Dexerto offers various builds tailored to diverse combat situations.
Positioning and Map Awareness
When it comes to the TR2, it’s all about strategic placement. Its slower rate of fire and extended time to kill make it a bit tricky in close-quarter battles against SMGs and ARs. However, Game8’s guide for the TR2 emphasizes that it performs exceptionally well in mid-to-long-range encounters. Being mindful of the map layout, predicting enemy movements, and securing favorable positions will greatly boost your efficiency with this weapon.
Using High-Magnification Scopes
The extended reach of the TR2 is boosted by powerful, high-zoom optics, but mastering their use takes practice and knowledge. Dexerto’s article suggests accessories such as the Ergonomic Grip and Long Barrel to improve handling and range even more. To excel in various battle scenarios, you might want to equip your TR2 with tactical tools like the Stim Shot or Semtex, as advised by WZ Stats’ equipment guide. Getting a handle on recoil control and predicting bullet drop at greater distances is crucial for hitting those critical shots.
Long-Range Combat with the TR2
The TR2 really excels in distant battles, dishing out significant damage with a well-balanced rate of fire. This puts it in strong contention within the current game environment. But remember, since it’s semi-automatic, managing recoil is crucial to hitting those key follow-up shots. Here are some tips for performing optimally at a distance.
Improve Long-Range Accuracy
According to Gladiator Boost’s TR2 setup guide, the TR2 shines at extended distances but requires careful handling of recoil. To keep your shots precise, especially after the initial burst, focus on controlled burst firing and mastering recoil management. A solid shooting platform is essential for consistent hits over distance. Look into attachments that reduce recoil and enhance stability to fine-tune your long-range capabilities. This way, you can swiftly take out enemies before they have a chance to respond.
Master Bullet Velocity and Drop
Mastering bullet speed and trajectory is crucial for excelling in long-range shots with the TR2, as its bullet velocity is relatively slower compared to other rifles. Consequently, accurately leading your targets becomes all the more important. Dexerto’s guide proposes trying out the Reinforced Barrel attachment to find the optimal setup based on your unique playstyle. Allocate ample time at the shooting range to familiarize yourself with bullet drop variations at distinct distances. This expertise will enable you to predict and make necessary adjustments to your aim.
Use Tactical Equipment Effectively
As a fan, I’ve found that the right gear can really boost the TR2’s impressive long-range performance. We’ll dive deeper into specific loadouts down the line, but for now, let’s ponder how your equipment choices align with your playstyle. For instance, strategically placing a Stim Shot can offer crucial health restoration in prolonged battles, while Semtex grenades can force enemies out of their hiding spots. The WZStats guide on TR2 gear provides some fantastic strategies to explore. Don’t forget about the Sleeper Agent – it’s perfect for uncovering enemy positions and gathering valuable intel before engaging from a distance. These tactical advantages can give you that extra edge you need to master the TR2 and rule the battlefield!
TR2 vs. Other Marksman Rifles
If you’re considering the TR2 rifle and pondering how it compares to other sniper rifles, let me help clarify. This part isn’t about saying one rifle is superior to another, but rather, understanding their unique advantages and disadvantages so you can select the ideal weapon for your specific gaming style. Keep in mind that what suits your playstyle best is ultimately what truly counts.
Stats Breakdown
The TR2 excels in distant battles, dishing out substantial damage at a moderate firing speed. To capitalize on its potency, controlling recoil is vital for nailing important subsequent shots, given it’s semi-automatic. This blend of strength and accuracy sets the TR2 apart at long range, as detailed in this TR2 setup guide. However, its smaller magazine size and possible extended time to eliminate (TTE) imply that each shot should be deliberate. You won’t outperform SMGs or ARs in close-quarters combat with this weapon; this tutorial points out some of the potential disadvantages it might face up close.
Situational Effectiveness
The adaptability of the TR2 is a significant plus point. Different setup configurations can optimize the TR2 for long-range or close-quarters fighting, offering versatility across various playstyles, as explained in this Warzone loadout guide. Although it performs exceptionally well at longer ranges, a carefully constructed TR2 can handle mid-range skirmishes quite capably. Its good rate of fire and handling, coupled with its semi-automatic action, enable swift subsequent shots. This makes it a formidable choice in numerous combat situations, as this TR2 evaluation suggests. Consider it as a finely-tuned tool—potent, but demanding of a deft touch to use effectively.
Maximize TR2 Performance
To truly master the TR2, or any marksman rifle for that matter, it’s essential to grasp its unique advantages and limitations. This part of our guide will help you unlock the TR2’s full potential, transforming you into an unstoppable combatant on the battlefield.
Essential Attachments and Perks
It’s essential that the appropriate accessories are fitted for any firearm, and the TR2 is no different. Given its strength in long-range combat, focus on attachments that boost stability, bullet speed, and aiming down sight (ADS) quickness. A well-designed TR2 setup will enhance recoil management during those critical subsequent shots. The Ergonomic Grip serves as a solid foundation for better handling, while the Long Barrel extends your effective range. Due to the TR2’s lower bullet velocity compared to other rifles, the Reinforced Barrel is another worthwhile consideration. For more tailored suggestions, consult this guide on optimizing the TR2 loadout.
Practice for Precision
The TR2 isn’t built for intense, up-close fighting. Instead, it shines in medium to long-range battles, where its precision and power really come into play. In tight spaces, faster-firing weapons like SMGs or ARs will typically have a lower time-to-kill than the TR2. To maximize your success with this weapon, focus on improving your aim and seeking out strategic locations on the map. Following these strategies can help you take advantage of the TR2’s strengths while minimizing disadvantageous encounters. This guide provides valuable advice on loadout choices and customization options to enhance your gameplay experience with the TR2.
Control Recoil and Burst Fire
To consistently hit your mark with the TR2, you need to get a grip on its recoil. Stability should be your focus, along with deliberate burst firing, especially for shots taken from afar. A suitable loadout can aid you, but practice is vital. Managing recoil enables you to make accurate shots even in tense situations. To excel as a TR2 player, you need to find the sweet spot between long-range precision and being able to handle close encounters when they arise. For more tips on handling recoil and enhancing your TR2 performance, check out this article.
Adapt Your Playstyle for TR2 Success
Aggressive vs. Defensive Play
The TR2 shines in distant battles, dishing out substantial damage while maintaining a reasonable firing speed. To make the most of its semi-automatic mechanism, mastering recoil control is crucial for precise follow-up shots. This weapon is ideal for players who like to play defensively, as it lets you take down opponents from afar while keeping your aim steady. However, be aware that the TR2 may struggle in close-quarter fights, as SMGs and ARs tend to outperform it in these situations. To stay safe and make the most of the TR2’s long-range capabilities, focus on positioning and map awareness to steer clear of unwanted close-quarters encounters. Also, find a suitable loadout for your TR2 to boost its effectiveness at range.
Team Synergy with the TR2
As a devoted fan, I’ve come to realize that mastering the TR2 isn’t just about my individual prowess; it’s about grasping how this weapon synergizes with our team’s collective strategy. To maximize its potential, choose weapons that supplement its strengths and offset its weaknesses, particularly in close-quarters combat. A comrade armed with an SMG or shotgun can offer vital support when adversaries assault our position. Ponder over your loadout selections too. Gear like a Stim Shot can aid in swift repositioning, while a Semtex can drive enemies out of their hiding places. Intelligent equipment choices will amplify the TR2’s effectiveness, transforming me into an indispensable member of our team.
Advanced TR2 Techniques
In this part, we’ll delve deeper into sophisticated strategies to enhance your skill in TR2. Here, we’ll discuss the strategic use of cover and perfecting the art of rapid-fire sniping, both vital for fully exploiting the abilities of TR2.
Use Cover Effectively
The TR2 shines in distant battles, dishing out heavy damage at a moderate firing speed. But remember, due to its semi-automatic design, managing recoil is vital for accurate follow-up shots. Using cover can help you control recoil and maintain precision while targeting enemies from afar. Winning fights in the mid to long range with the TR2 is crucial because it may not fare well against SMGs and ARs in close combat. Positioning yourself behind cover allows you to maximize the strengths of the TR2 while minimizing its weaknesses. Consider cover as your tactical stronghold, providing both safety and a stable base for landing those vital shots. Adopting this strategy will greatly boost your survivability and overall performance with the TR2.
Master Quick-Scoping and Target Acquisition
Utilizing the TR2 for swift sniping can be a pivotal move, yet it demands patience and proper configuration. Adeptness in this technique enables you to swiftly pinpoint objectives and deliver precise shots, even from great distances. Selecting appropriate tactical gear, such as Stim Shot for speedy health recovery or Semtex for driving out adversaries, can greatly boost your quick-scoping efficiency. Additionally, optimizing your TR2 with attachments like an Ergonomic Grip and a Long Barrel enhances handling and range, crucial aspects for swift target identification. Regular practice is vital to mastering this talent, so consider practicing at the shooting range or private matches to sharpen your reactions and precision.
Overcome Common TR2 Challenges
Even top-notch tools or equipment have their vulnerabilities, and that includes the TR2 model. It’s not infallible. Mastering its limitations and learning effective ways to counteract them will significantly boost your chances of continued triumph.
Handle Close-Range Encounters
The TR2 performs best in mid-range and long-range skirmishes, but it may struggle in close combat situations due to its slower rate of fire and smaller magazine capacity. This makes it less favorable compared to submachine guns (SMGs) and assault rifles in close quarters. In tight spots, focus on precision rather than speed. Short, controlled bursts can help you make vital shots without exhausting your ammo too quickly. To manage close-range encounters more efficiently, think about pairing your TR2 with a rapid-fire secondary weapon such as an SMG. Quickly switching to your secondary weapon can be crucial when opponents get too close.
Adapt to Different Maps
As a fan, I’ve learned that every battlefield isn’t the same, and adapting my TR2 strategy is essential. On expansive maps with extended sightlines, I lean into the TR2’s strengths by focusing on taking down enemies from afar. I make good use of high ground positions and cover for a strategic advantage. Conversely, on smaller, tight-knit maps, I consider tweaking my TR2’s loadout to enhance its maneuverability and close-range capabilities. Attachments that boost mobility and minimize recoil can significantly impact performance in cramped spaces. Mastering the map layout and tailoring my playstyle is vital for maximizing the TR2’s potential, making me a formidable force on any battlefield. I encourage fellow fans to delve into some top gun pairings to find the perfect combo that suits their playing style.
TR2’s Impact on Game Balance and Meta Evolution
The TR2 Marksman Rifle has made quite a stir in the current gameplay dynamics, disrupting conventional strategies and compelling players to adjust their tactics. Its distinctive advantages and disadvantages have defined a particular niche for this firearm, impacting everything from equipment selections to strategic map placements.
One significant effect is that the TR2 weapon excels in long-distance battles, thanks to its strong damage output and well-balanced firing speed, as explained in this GladiatorBoost guide. Yet, being semi-automatic means it requires precise recoil control, which elevates its usage to an art form rather than mere luck. As a result, players are focusing on improving their accuracy and tactical placement. Instead of blindly spraying bullets, the TR2 encourages strategic shots and careful aim.
The change towards longer-range, strategic engagements has influenced the pace of games as well. As Game8 highlights, the TR2’s quicker kill time at a distance compared to SMGs and ARs motivates players to stay farther apart. This results in a more tactical playstyle, where players make use of cover and focus on map awareness. The gameplay style has shifted to favor positioning and strategic movement, rewarding players who can manage the engagement range effectively.
The flexibility of the TR2, as pointed out by Dexerto, has played a role in fostering a wide range of strategies within the game. Players can customize their TR2 configurations to thrive at various distances, resulting in numerous play styles. This adaptability maintains an dynamic meta, as players are consistently testing out different equipment setups. The TR2 is not a universal weapon; instead, it serves as a foundation for customized builds. Alongside its commendable handling, as evidenced in this WZStats review, it has earned a prominent position in the game.
Frequently Asked Questions
Is the TR2 beginner-friendly? While it’s a powerful choice, the TR2 isn’t the most intuitive weapon for novice players due to its semi-automatic operation and high recoil. But with patience and dedication, those ready to invest time in understanding its intricacies will find it a valuable asset to master. Adding attachments that enhance stability and recoil control can make the learning process smoother for beginners.
What is the most effective TR2 setup for battles at a distance? A good long-range TR2 configuration emphasizes stability, bullet speed, and aiming down sights (ADS) quickness. Attachments such as the Long Barrel, Reinforced Barrel, and an Ergonomic Grip are great options. Combine these with a high-powered scope for top-tier performance at long range. However, remember that the “best” setup can vary based on your gaming style, so it’s important to test out different configurations to find what suits you best.
What’s the best way to manage the TR2’s kickback? Mastery comes with practice. Begin by shooting in brief, deliberate bursts. Pay close attention to the upward movement of the gun. Equip accessories that boost stability to minimize recoil, making handling easier. Invest time at the firing range familiarizing yourself with the recoil pattern and testing various attachments.
Looking for a weapon to complement your TR2 in tight situations? Given its challenges in close combat, opting for short-range options like SMGs or shotguns can help mitigate the TR2’s weaknesses. These weapons will provide you with an effective solution when enemies invade your space. Ultimately, select a secondary that suits your personal playstyle for optimal performance.
Which play strategy works best with the TR2? The TR2 excels when used tactically and patiently. Its strengths are in mid-range to long-range battles, where its precision and damage can be maximized. Players who value positioning, map knowledge, and choosing their fights wisely will find the TR2 a potent weapon. However, it’s not well-suited for quick attacks or close combat, so adjusting your playstyle is crucial to achieving success.
Read More
- Who Is Harley Wallace? The Heartbreaking Truth Behind Bring Her Back’s Dedication
- 50 Ankle Break & Score Sound ID Codes for Basketball Zero
- 50 Goal Sound ID Codes for Blue Lock Rivals
- KPop Demon Hunters: Real Ages Revealed?!
- Lottery apologizes after thousands mistakenly told they won millions
- Ultimate AI Limit Beginner’s Guide [Best Stats, Gear, Weapons & More]
- 100 Most-Watched TV Series of 2024-25 Across Streaming, Broadcast and Cable: ‘Squid Game’ Leads This Season’s Rankers
- Umamusume: Pretty Derby Support Card Tier List [Release]
- J.K. Rowling isn’t as involved in the Harry Potter series from HBO Max as fans might have expected. The author has clarified what she is doing
- Mirren Star Legends Tier List [Global Release] (May 2025)
2025-04-28 18:01