In the game “The First Berserker: Khazan,” one of the final side quests you’ll encounter is called “The Vow.” This mission is not only one of the last but also one of the most challenging due to several valuable items hidden within its dark corridors, which are skillfully camouflaged behind illusionary walls. Furthermore, the labyrinthine nature of these ruins can make it easy to lose your bearings as you navigate their intricate paths.
Allow me to guide you through this labyrinth, revealing each treasure chest’s position, assisting in locating all collectibles, and ensuring that you leave no stone unturned within this dungeon. I will also highlight any traps along the way and provide advance warnings for the enemies you’ll face. This is my promise to you.
Forbidden Passage
| Enemies | Yoma Jester, Yoma Shamens, Yoma Pursuer, Elite Renowned Swordsman’s Shadow, Undead Shieldbearer, Undead Ice Archer, Undead Swordmen, Undead Archer, Undead Vagrant, Undead Summoner |
|---|---|
| Notable Items |
Unstable Soul Tearstone, Special Cleanse Potion, Ghost Spearhead, Ghost Relic, Large Spirit Ore, Netherworld Energy Hismar Conquest 3 |
| Soulstones? | 1 |
| Jarling? | Yes! |
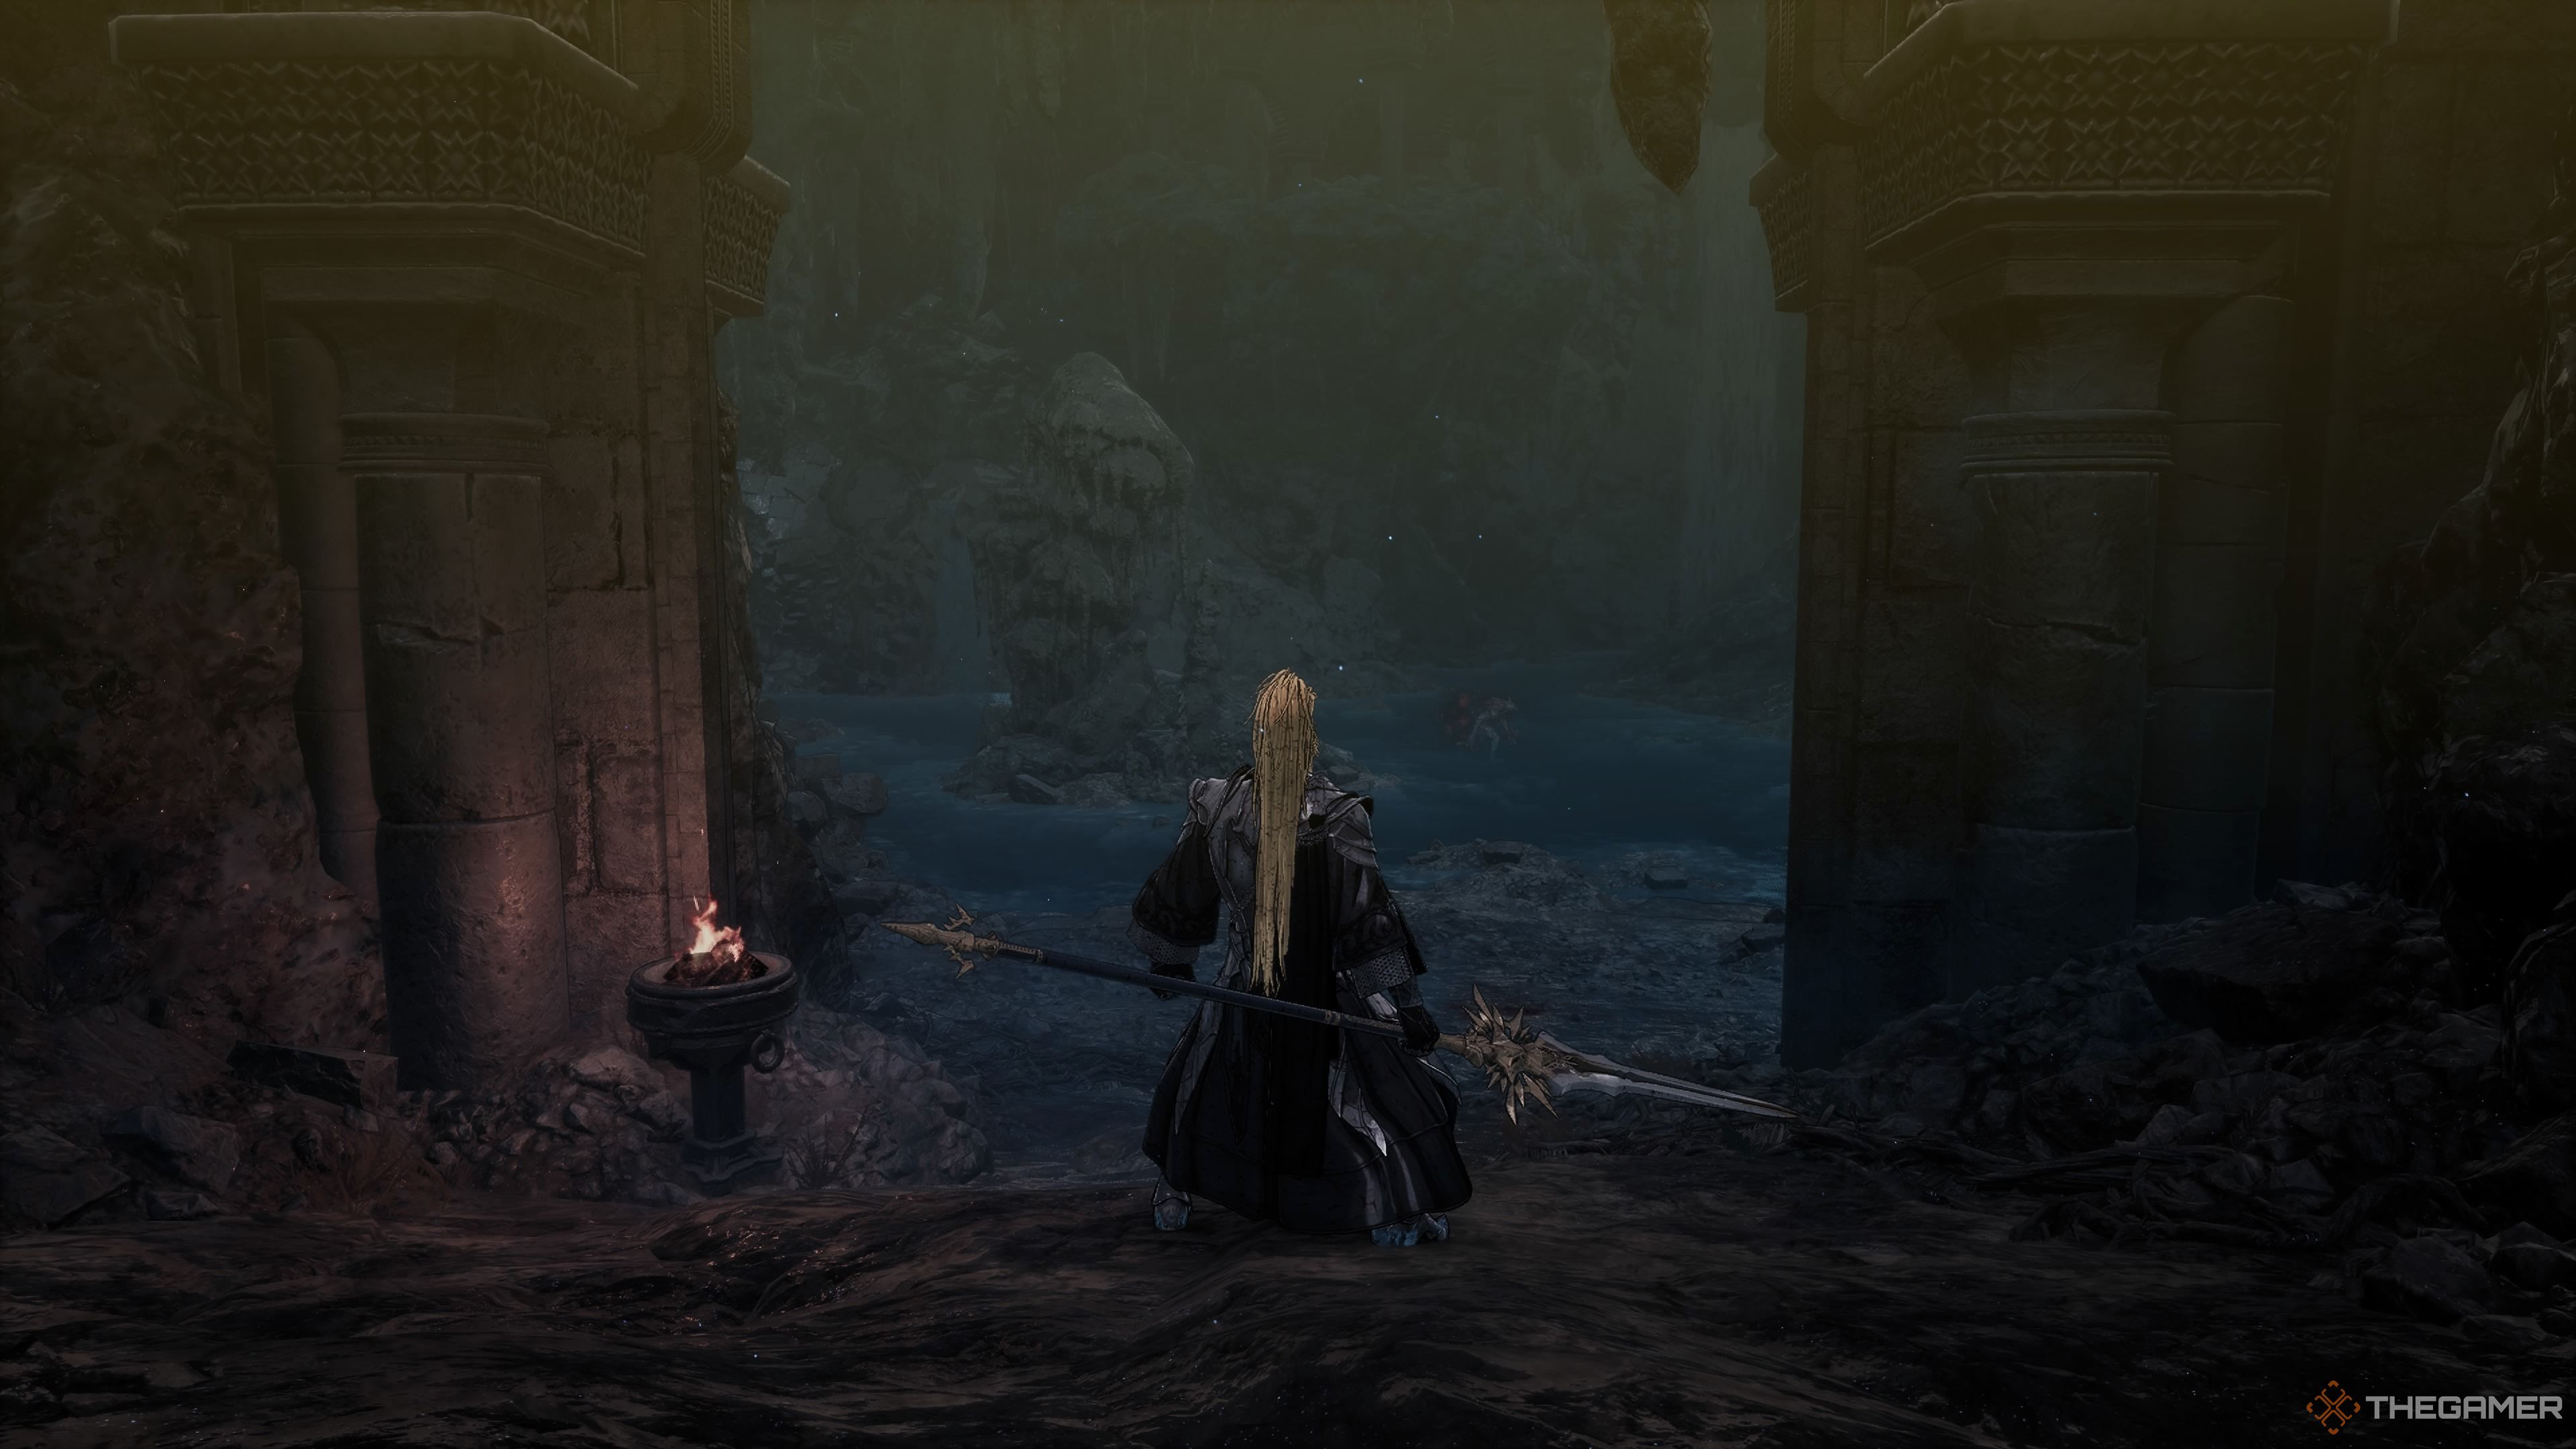
In this gaming adventure, I find myself stepping into The Great Temple Underground Ruins. Making my way past the gate, descending the stairs, and hopping onto an elevator, I eventually arrive at the Forbidden Passage Blade Nexus. It’s wise to gear up with armor that offers a strong resistance to the Plague effect, given the abundance of blood and the speed at which it can inflict this status upon me. Let’s see how far I can push through!
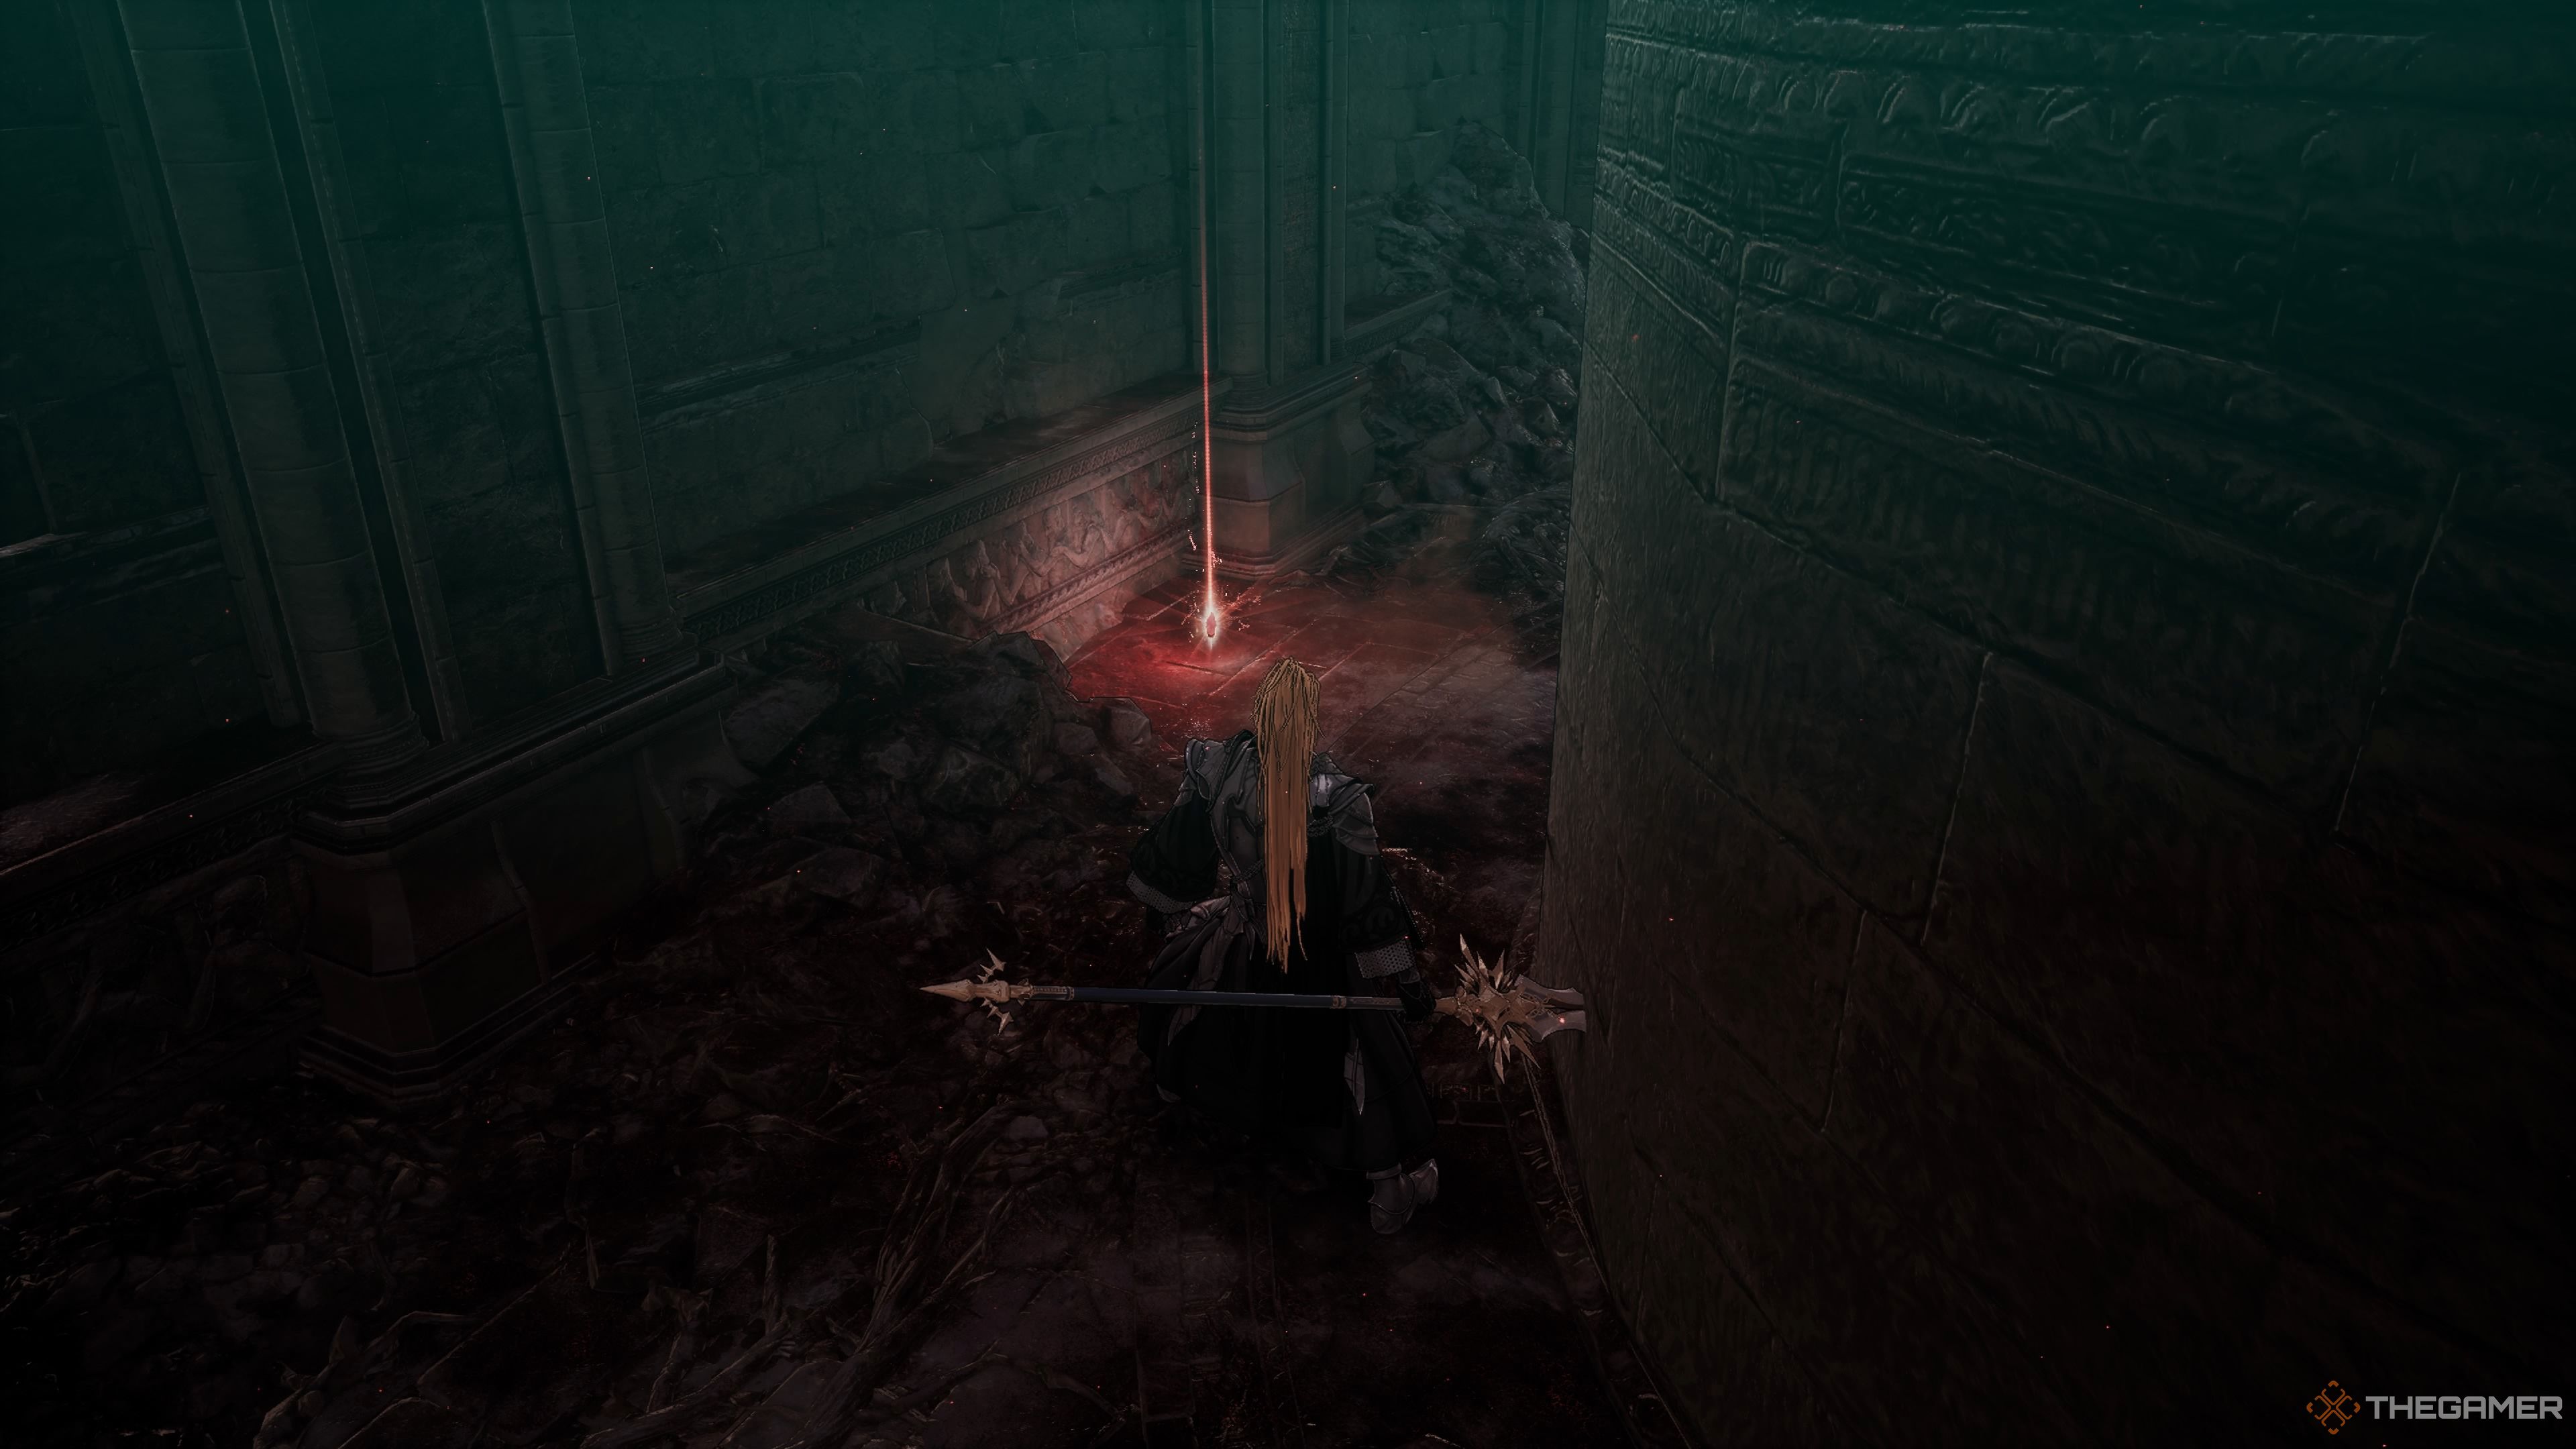
In the backdrop of the statue, you will find an unsteady Soul Tearstone as well as a deceptive wall. If you strike the illusory wall, it will reveal a chamber containing a Yoma Jester and two Yoma Shamans. Inside this room, there’s a chest waiting to be opened. Upon opening, you will receive a Temple Knight’s Spear, a Temple Knight’s Ring, a Necklace of Gratitude, as well as three Transmutation Mists.
Move to the location to the statue’s left, which stands before Blade Nexus. Obtain the Plague Cleanse Potion positioned there by the statue. Continue along the corridor, and you’ll come across a frantic Yoma Pursuer accompanied by a Shamen on their left side. Descend the ladder ahead, taking note of the nearby arrow trap that can be challenging to dodge; simply duck behind the metal cabinet to your right when the arrows are fired. A Shamen is also patrolling this narrow passageway.
You can time it so that the arrows kill the Shamen if you want to engage in some hijinx.
Elite Renowned Swordsman’s Shadow
In the following location, you’ll find two Shamans nearby. The ground around them is unstable and could cause you to fall into an arena with the shadow of a highly respected swordsman. If you tread carefully, you might be able to defeat the Shamans before falling through the hole. Once you descend, you’ll encounter the back of the Renowned Swordsman’s Shadow, providing you with an opportunity for early attacks.
For some time now, you’ve been going toe-to-toe with an opponent. Nothing about him is particularly surprising. Interestingly, when he attacks you, he regains health – not a fresh tactic, I must admit. However, be cautious about standing in puddles of his blood, as it could infect you with the Plague. In the center of the room, there’s a Special Cleanse Potion, and in the corner, you’ll find a Ghost Spearhead.
The First Soulstone
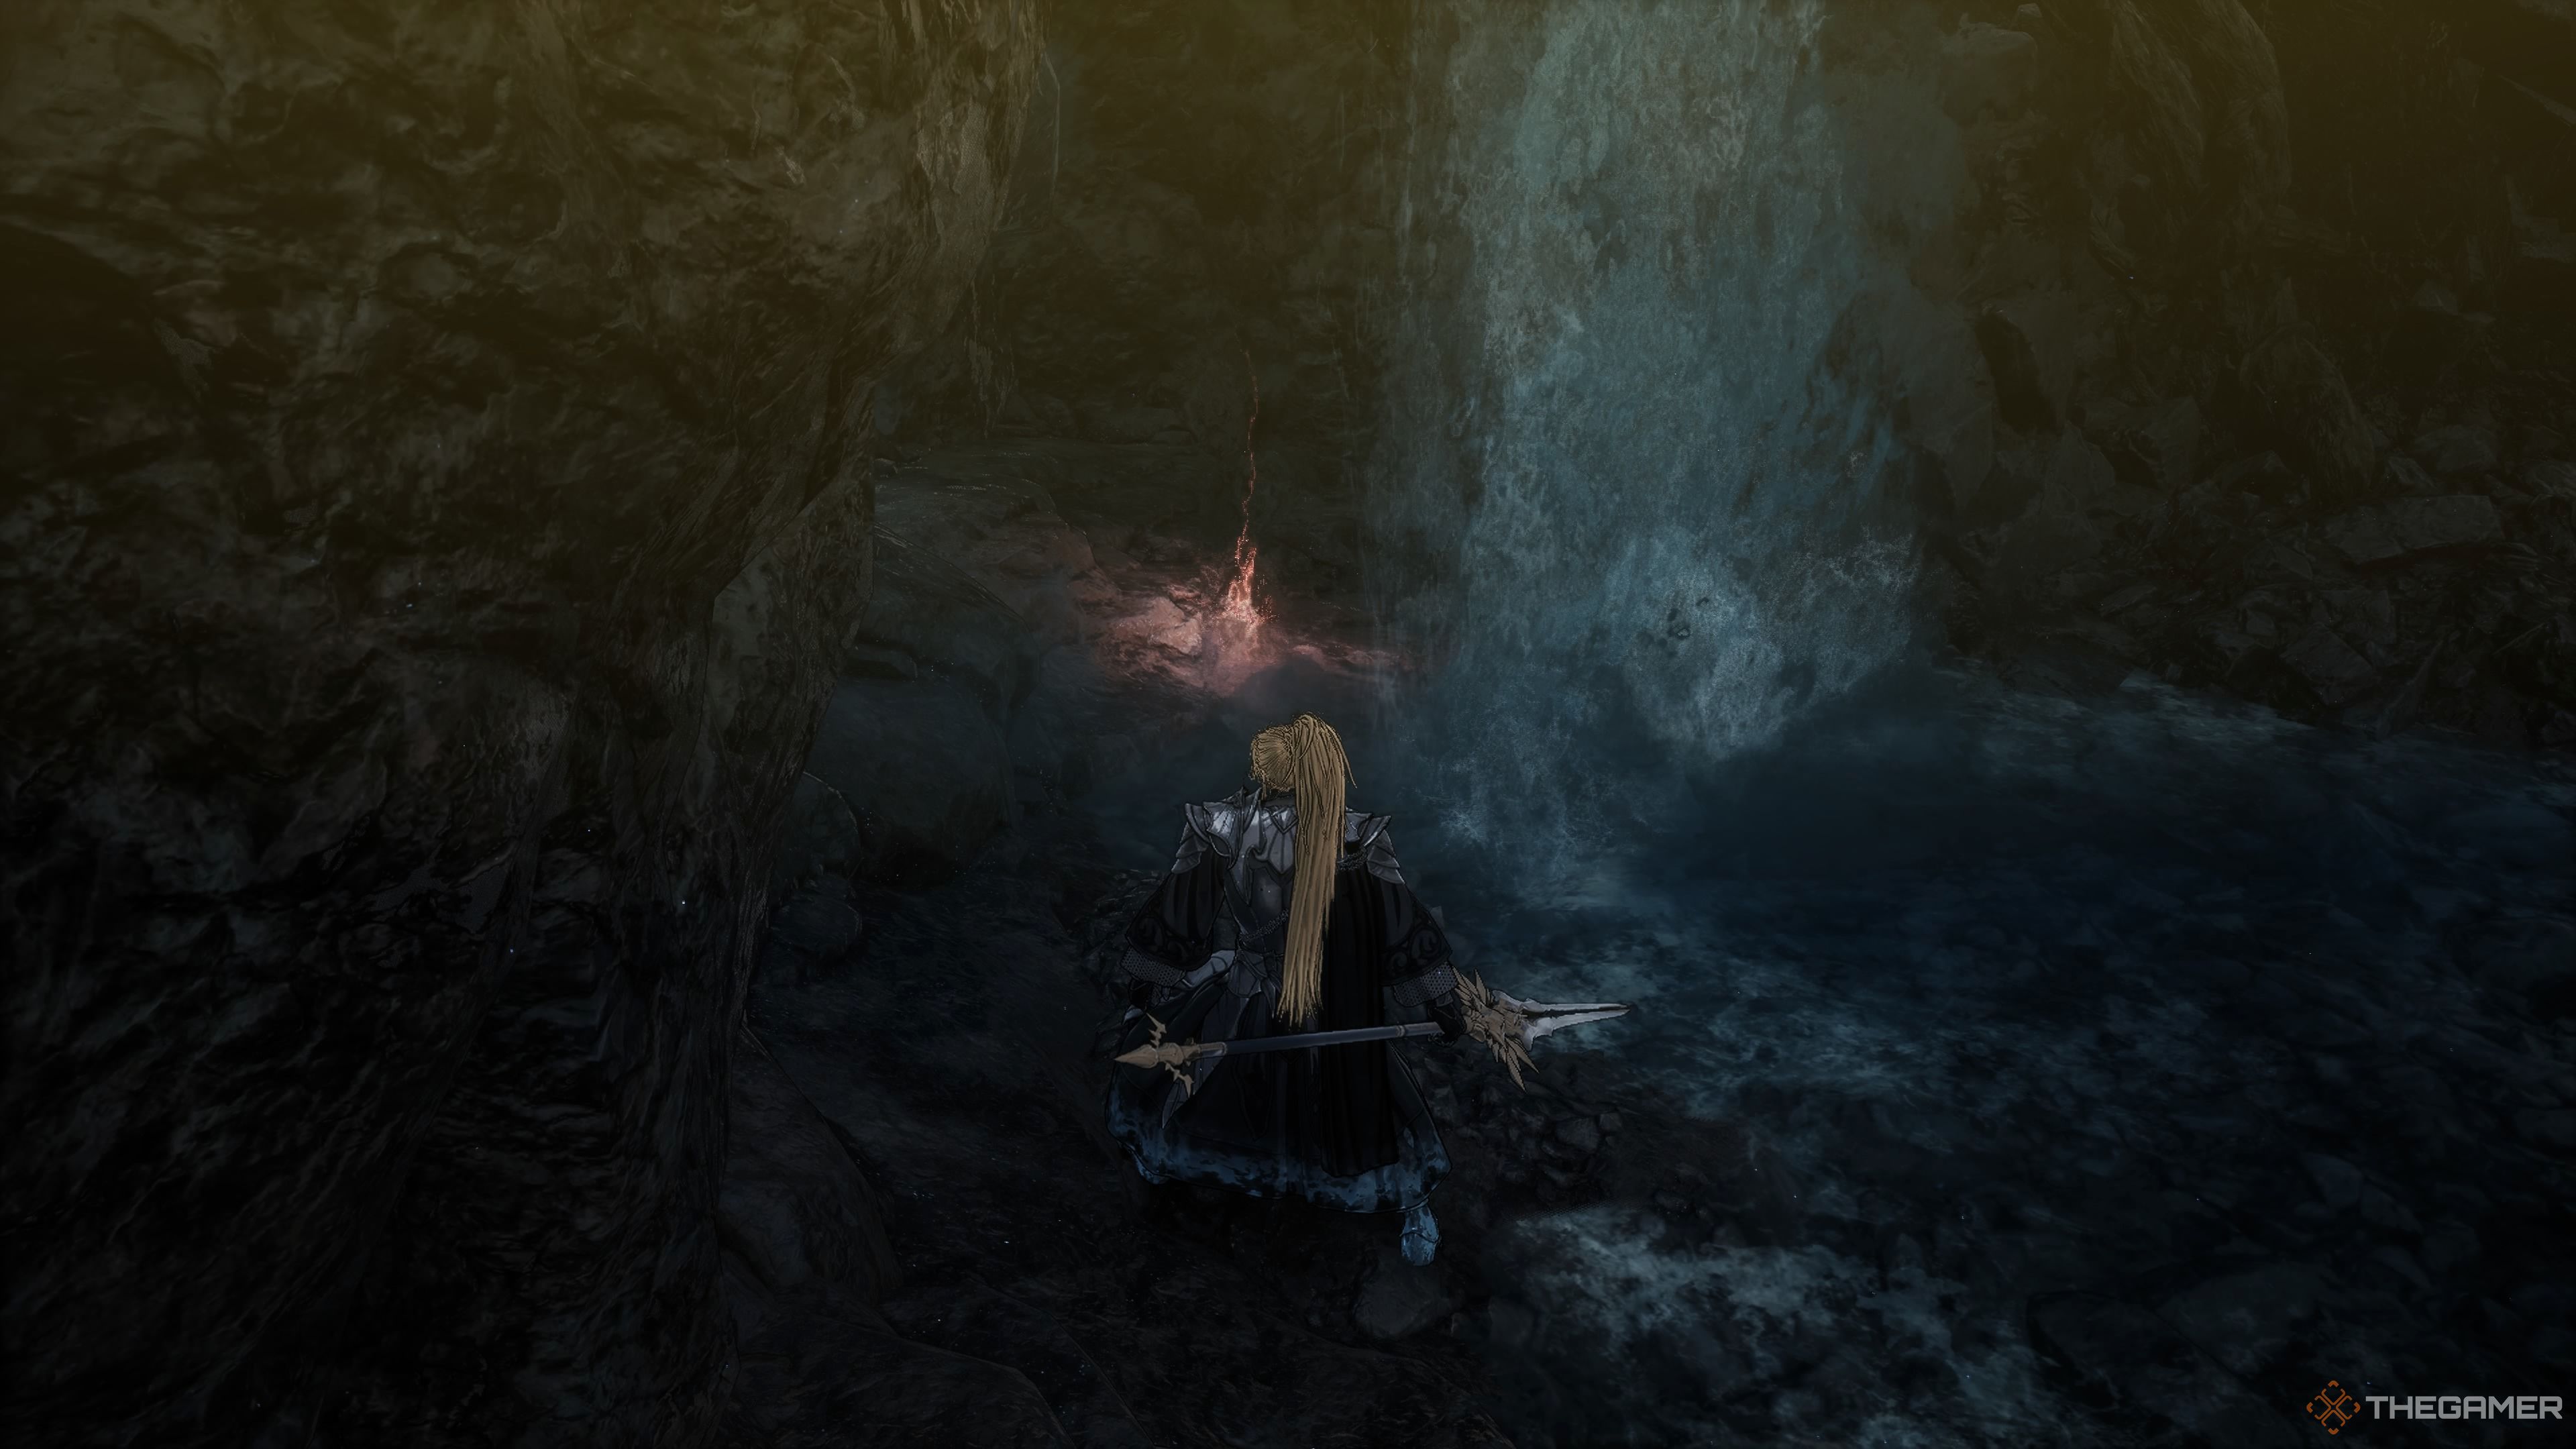
Pass through the locked gate on your left, then turn right. You’ll encounter a false wall here. Find and shatter the Soulstone (1/2) concealed behind that wall. Continue down the corridor; eventually, you’ll reach a junction. Turn left to engage two Yoma Pursuers ahead.
Here’s your updated instructions:
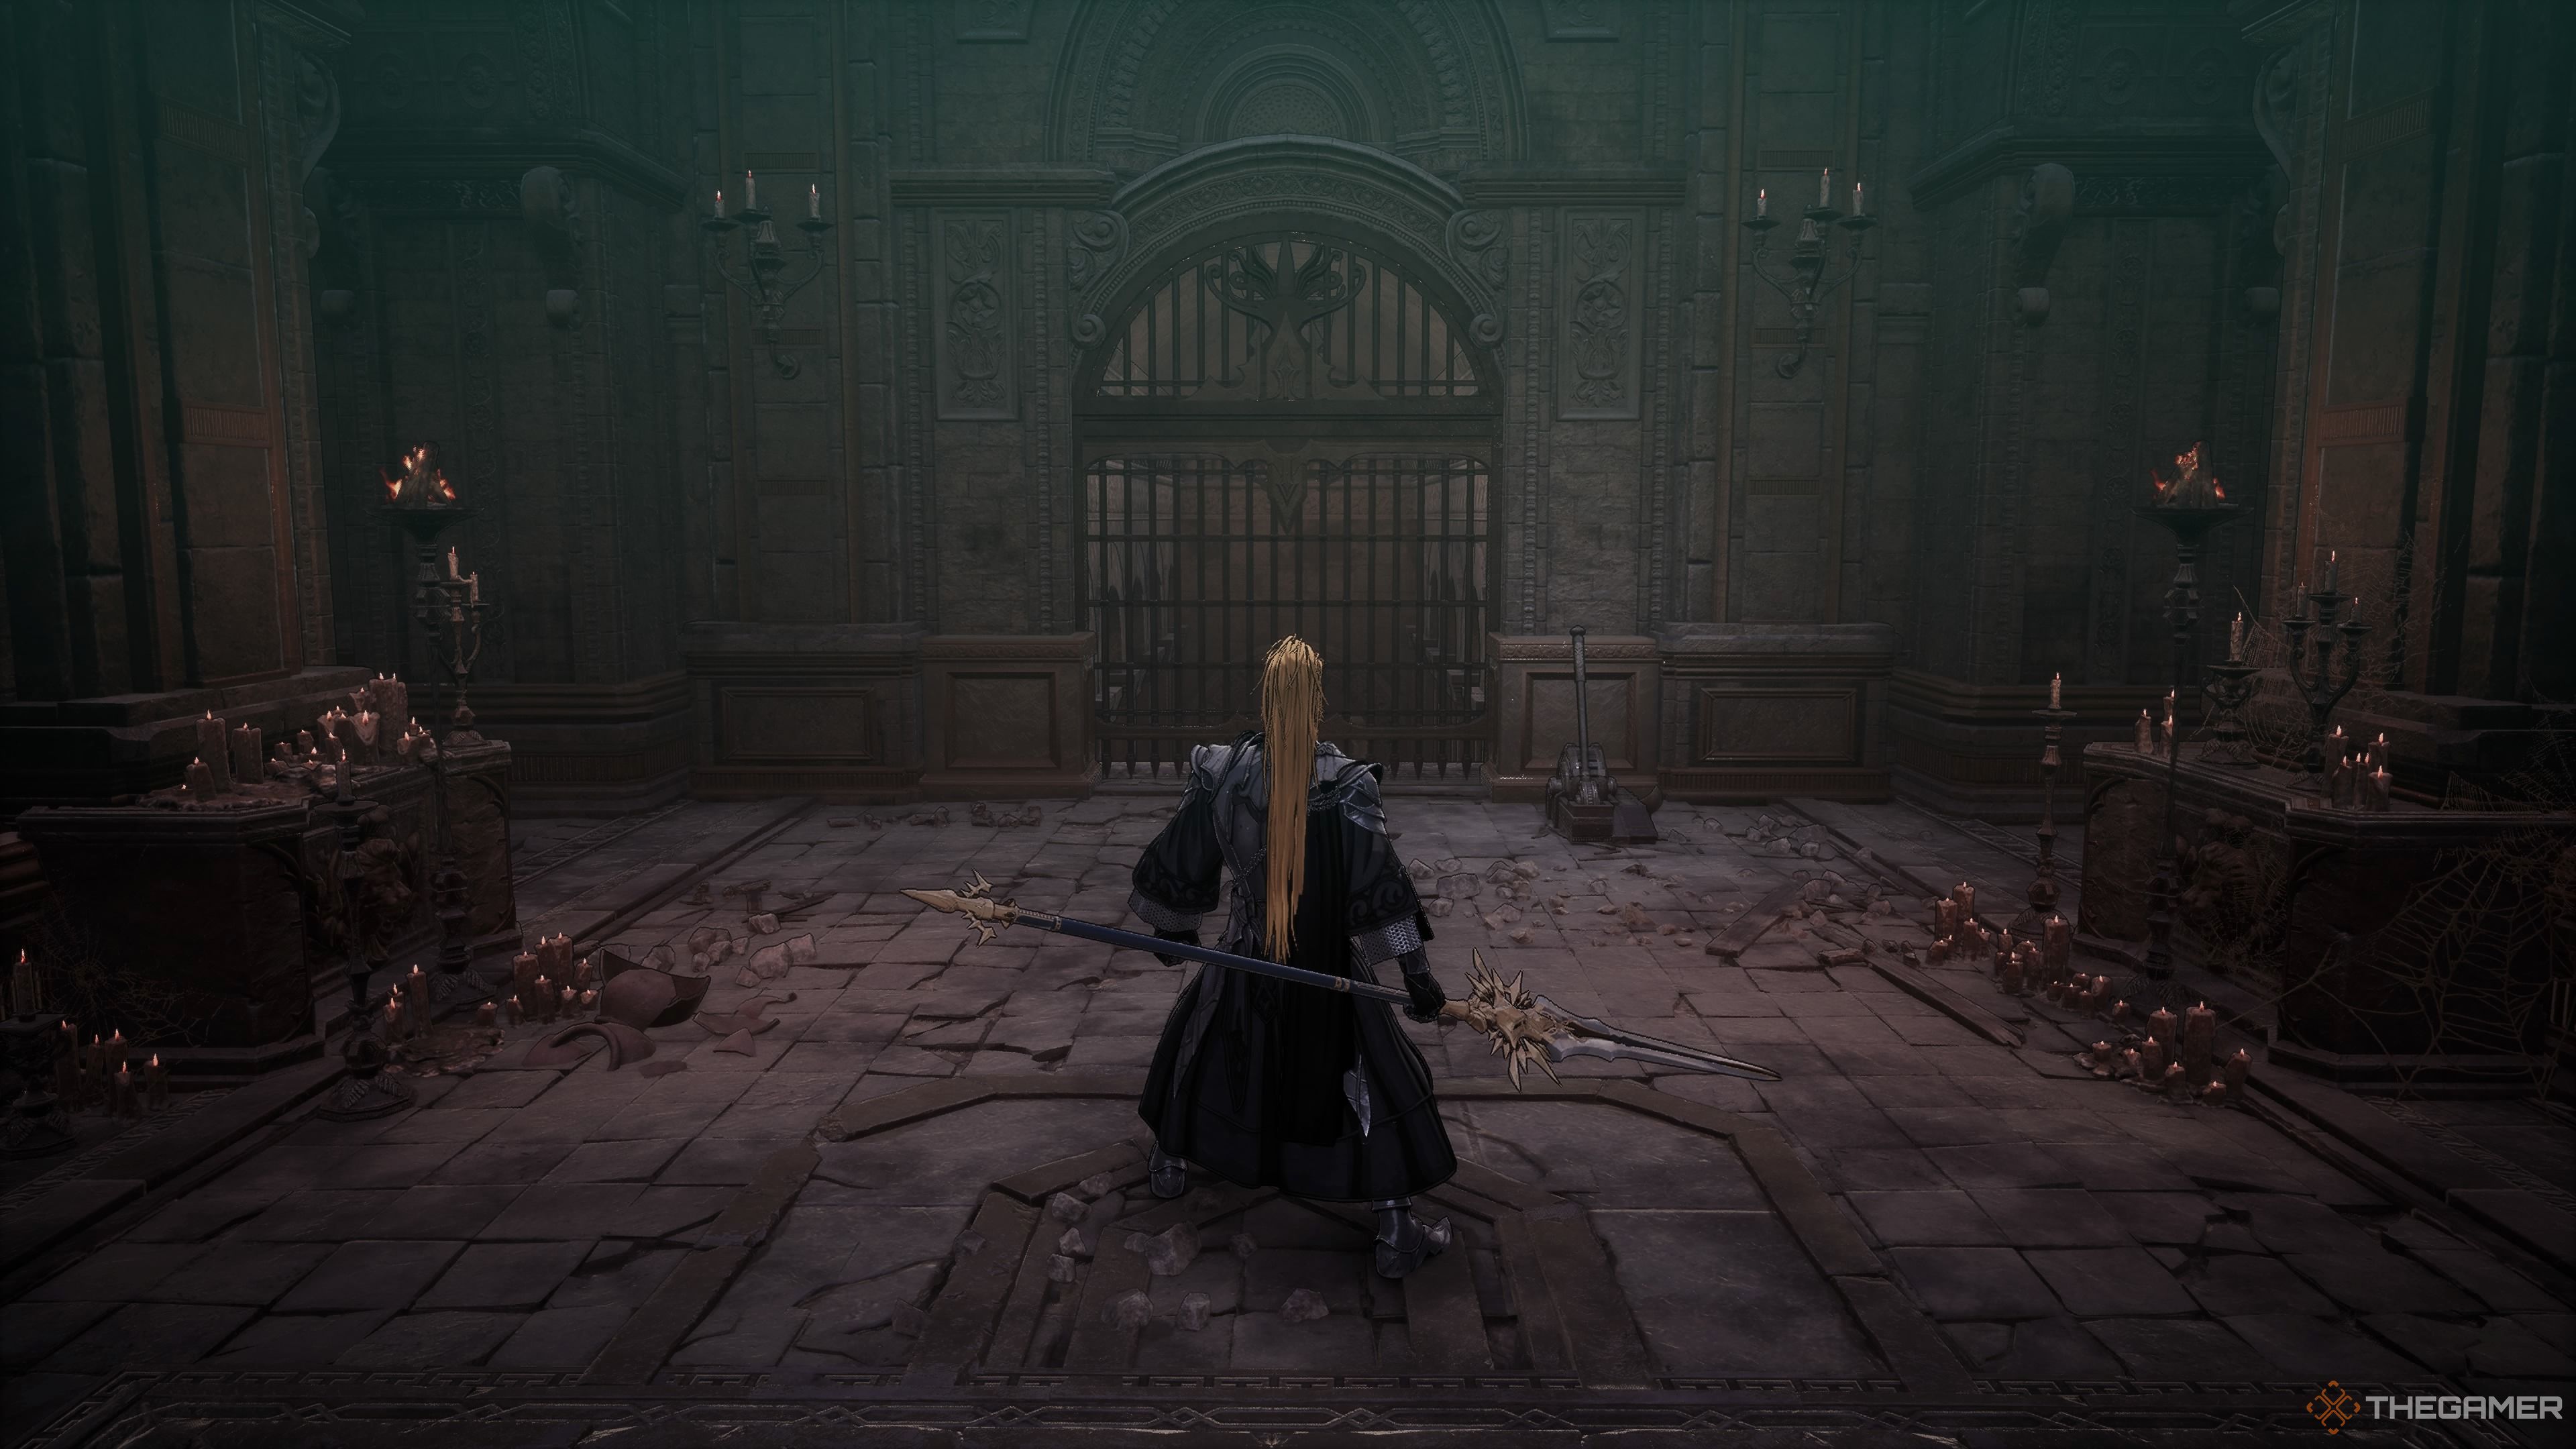
Now, make your way down the stairs. You’ll encounter what seems like a solid wall, but beware, it’s an illusion. Step carefully to avoid tripping over a concealed pressure plate that could trigger an arrow trap. If you run swiftly along the hallway, you should manage to round the corner before the first arrow is released. At the end of this corridor, you’ll find a chest holding a Ghost Relic, Great General’s Helm, Great General’s Pauldrons, Great General’s Gauntlets, Great General’s Leggings, and a pair of Great General’s Combat Boots.
Once you’ve finished here, return to the fork in the path and take the right turn.
The Jarling’s Location
In the upcoming chamber, you’ll encounter two highly agitated Yoma Trackers. Up ahead in this room stands a substantial Spirit Mineral. The following room branches off again; start by venturing rightward initially. You’ll come across a Thunder Booster in one corner and a Jarling in another. Next, knock over the ladder which will bring you back to the battlefield where you faced the Phantom of the Famed Swordsman. However, avoid descending the ladder. Instead, retrace your steps to the prior room, then follow the left pathway. A Pursuer lurks along this corridor. This route will eventually guide you to a colossal space.
As I step into this chamber, brace yourself for an encounter with an Undead Ice Archer at the far end, and two Undead Shieldbearers who will immediately pursue you upon your entry. It’s wiser to fall back into the previous room and engage the Shieldbearers here, avoiding a potential ambush by the archer. Once they’re dispatched, turn your attention to the archer – either with javelins or by pursuing them – to claim the Netherworld Energy that lies near where the Undead Ice Archer once stood. You’ll also find a Lightning Enhancer in this fray. With those objectives achieved, make a leap down into the area below.
In this area, you’ll need to engage and defeat three Undead Swordsmen, an Undead Archer, two Undead Vagrants, and an Ice Archer lurking near the hallway. If you fight in the open, the Ice Archer will keep attacking you. Defeating these undead creatures will reward you with a Concentrated Poison Essence hidden in one of the adjacent cells, along with a Lightning Spirit Fuel and an Unstable Soul Tearstone in the central part of the room. After taking care of this group, proceed towards the hallway where the Ice Archer is located, eliminate them from a safe distance using a javelin, then take the first left you come across to hide in the alcove.
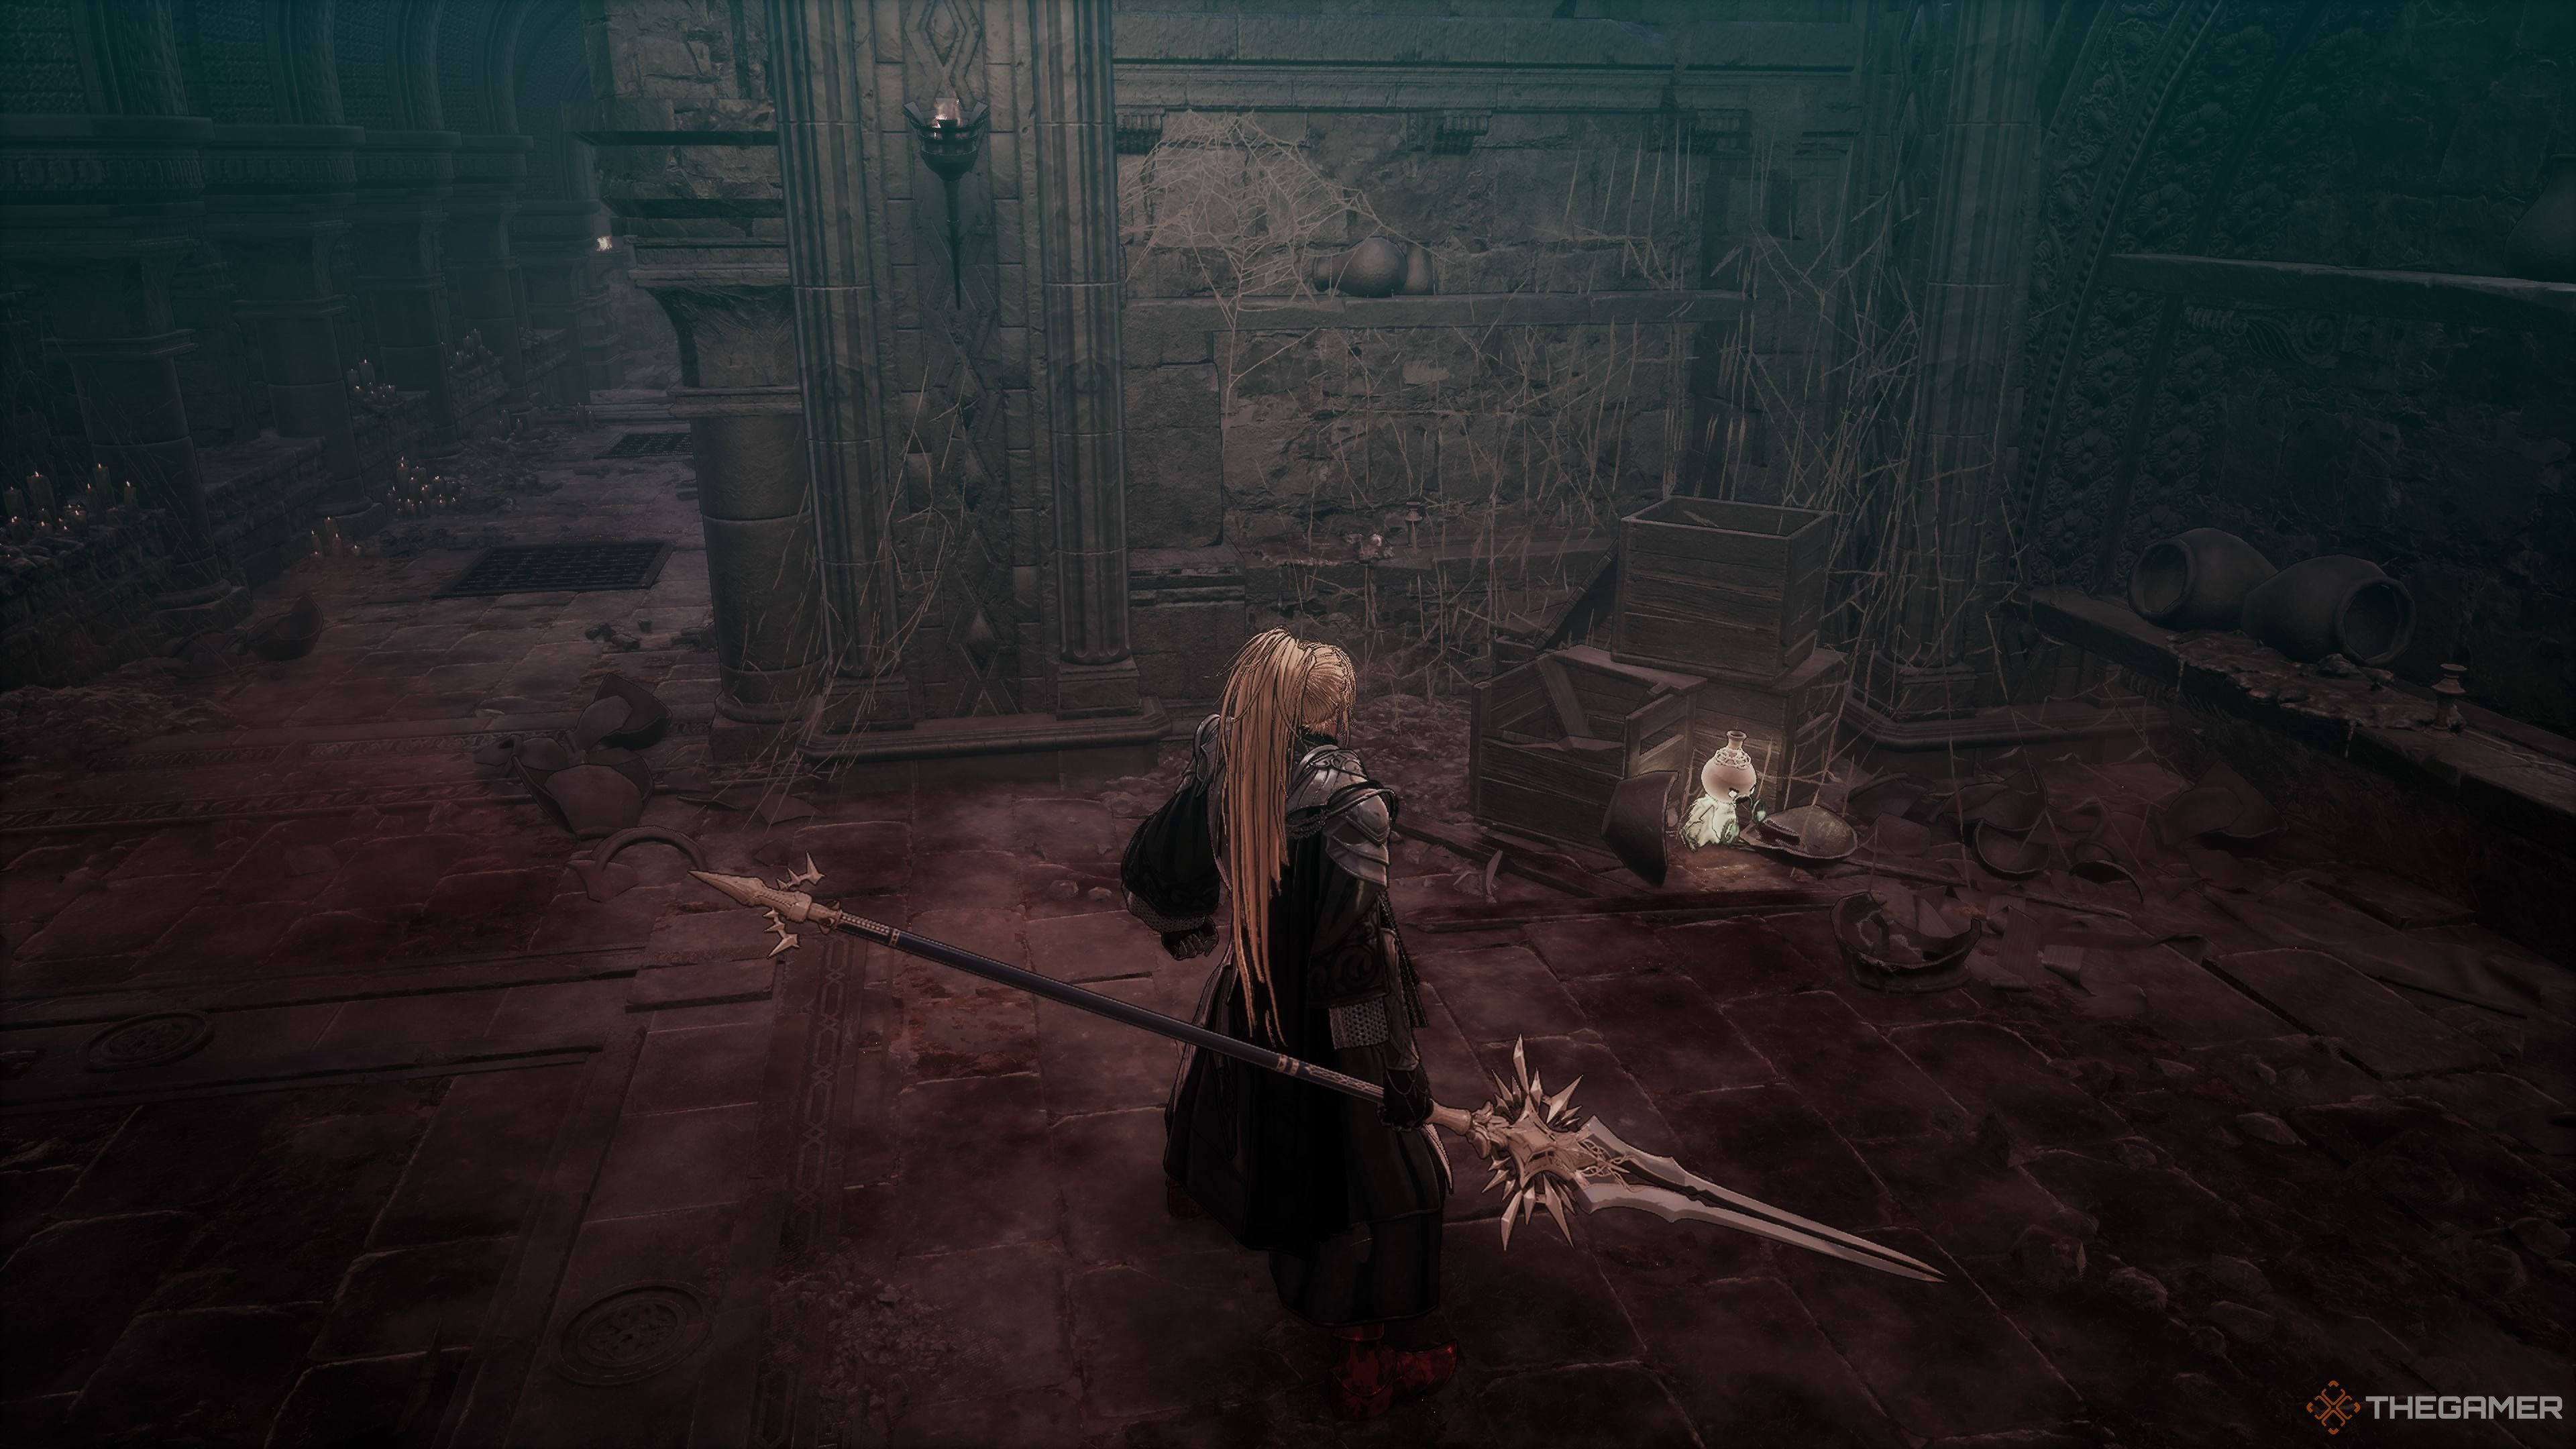
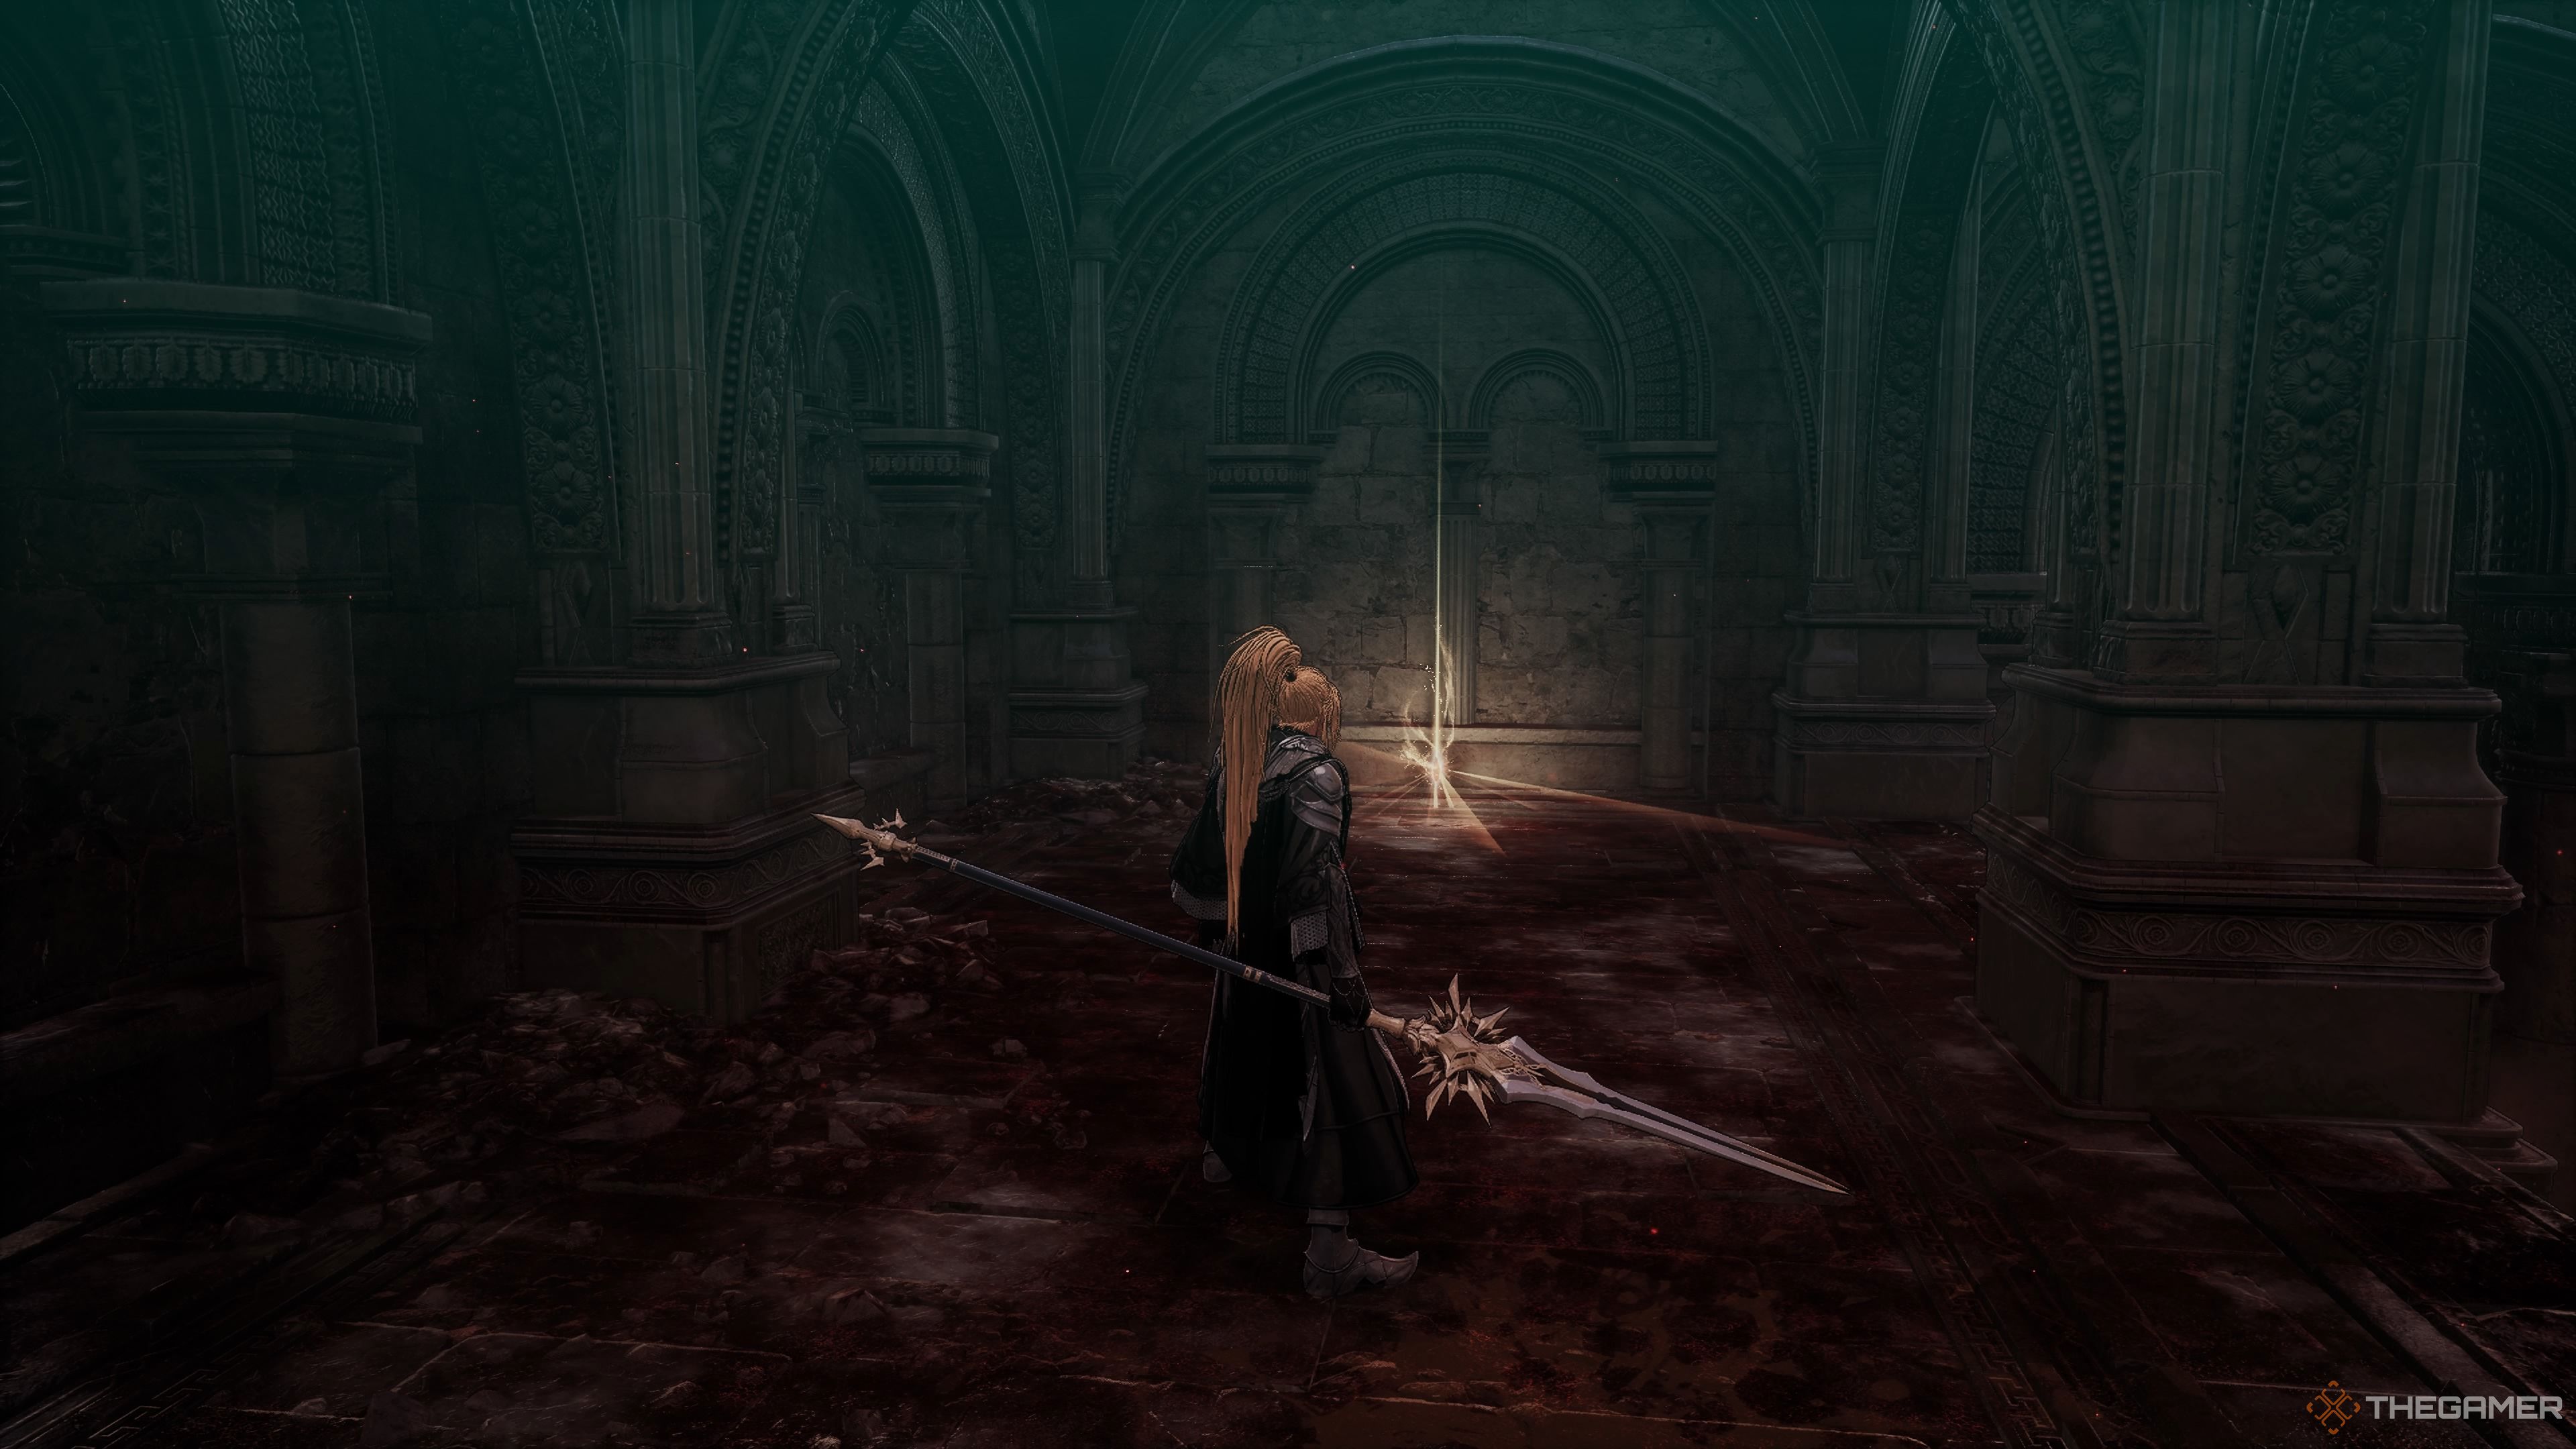
Nearby, you’ll spot a hidden danger – a trap trigger. Be sure to circumvent it and proceed into the room where the Ice Archer once stood. There’s another vagabond in this vicinity. Upon entering, you’ll encounter a Summoner along with two Shieldbearers. It’s essential to eliminate the Necromancer first. Once they are down, venture behind them to discover an open gate. Resist the urge to descend the elevator immediately. Instead, circumnavigate it and uncover the Hismar Conquest 3 document in that location. Now, it’s time to journey to the next level using the elevator.
Ruins Bridge
| Enemies | Yoma Pursuer, Crypt Devourer, Servant of Chaos |
|---|---|
| Notable Items |
2x Unstable Soul Tearstones, Devourer’s Scroll, Reese’s Ring Hismar Conquest 4, Hastily-Written Note |
| Soulstones? | 1 |
| Jarling? | No. |
As a gamer, I’ll veer right and make my way towards the Ruins Bridge Blade Nexus. Crossing the bridge, I descend the stairs. To the right of these steps, there’s a handy Poison Enhancer. The path continues to a vast cavern, but beware! What looks like a Soul Tearstone isn’t – it’s my old pal, the Crypt Devourer. From here onwards, I’ll need to tread carefully around those decaying bodies.
In this particular region, a total of 15 individuals known as Yoma Pursuers are present, with three of them showing signs of extreme agitation. Fortunately, it’s almost possible to identify most of these individuals. If you prefer, you could circumvent the entire area, eliminating the Pursuers as you progress. After you have cleared the cavern of all Pursuers, return to the entrance. Take a left turn, and you will stumble upon 15 Transmutation Shards. Continue following the wall around, and you’ll discover a document named Hismar Conquest 4 hidden behind a waterfall.
As we continue along, keep the wall on your left side and you’ll come across a treasure chest. Inside, you’ll find a Claw-Slit Dual Wield weapon, a Trooper’s Ring, a Necklace of Preparation, and two Hallucination Cleanse Potions. Notably, there are two aggressive Pursuers close to this very chest.
As you continue along the left side, you’ll come across three important energy sources known as Vitality Spheres and two Willpower Orbs. Be aware, a Crypt Devourer will appear as a glowing corpse, so dispose of it using a javelin. Nearby, on a rock in the middle of the stream, there are seven Spirit Ores hidden.
In this version, I’ve aimed to make the text more conversational and descriptive while maintaining the original information:
When proceeding along the left side, you’ll stumble upon three energy sources called Vitality Spheres and two Willpower Orbs. Watch out for a Crypt Devourer – it will manifest as a glowing corpse, so eliminate it with a javelin. Keep an eye out for seven Spirit Ores hidden on a rock in the center of the stream nearby.
The Second Soulstone
In the following region, you will discover an Unstable Soul Tearstone. Make your way down and around to encounter one of the colossal Servants of Chaos golems. Defeat them, and you’ll uncover a Devourer’s Scroll. To your right, you’ll find the second Soulstone (2/2) hidden behind a statue. Pass through the doors, grab the Unstable Soul Tearstone, and trigger the Hidden Chamber Blade Nexus. The final step is to advance forward and challenge the stage’s boss: The Specter of Pleuvious.
The Specter of Pleuvious
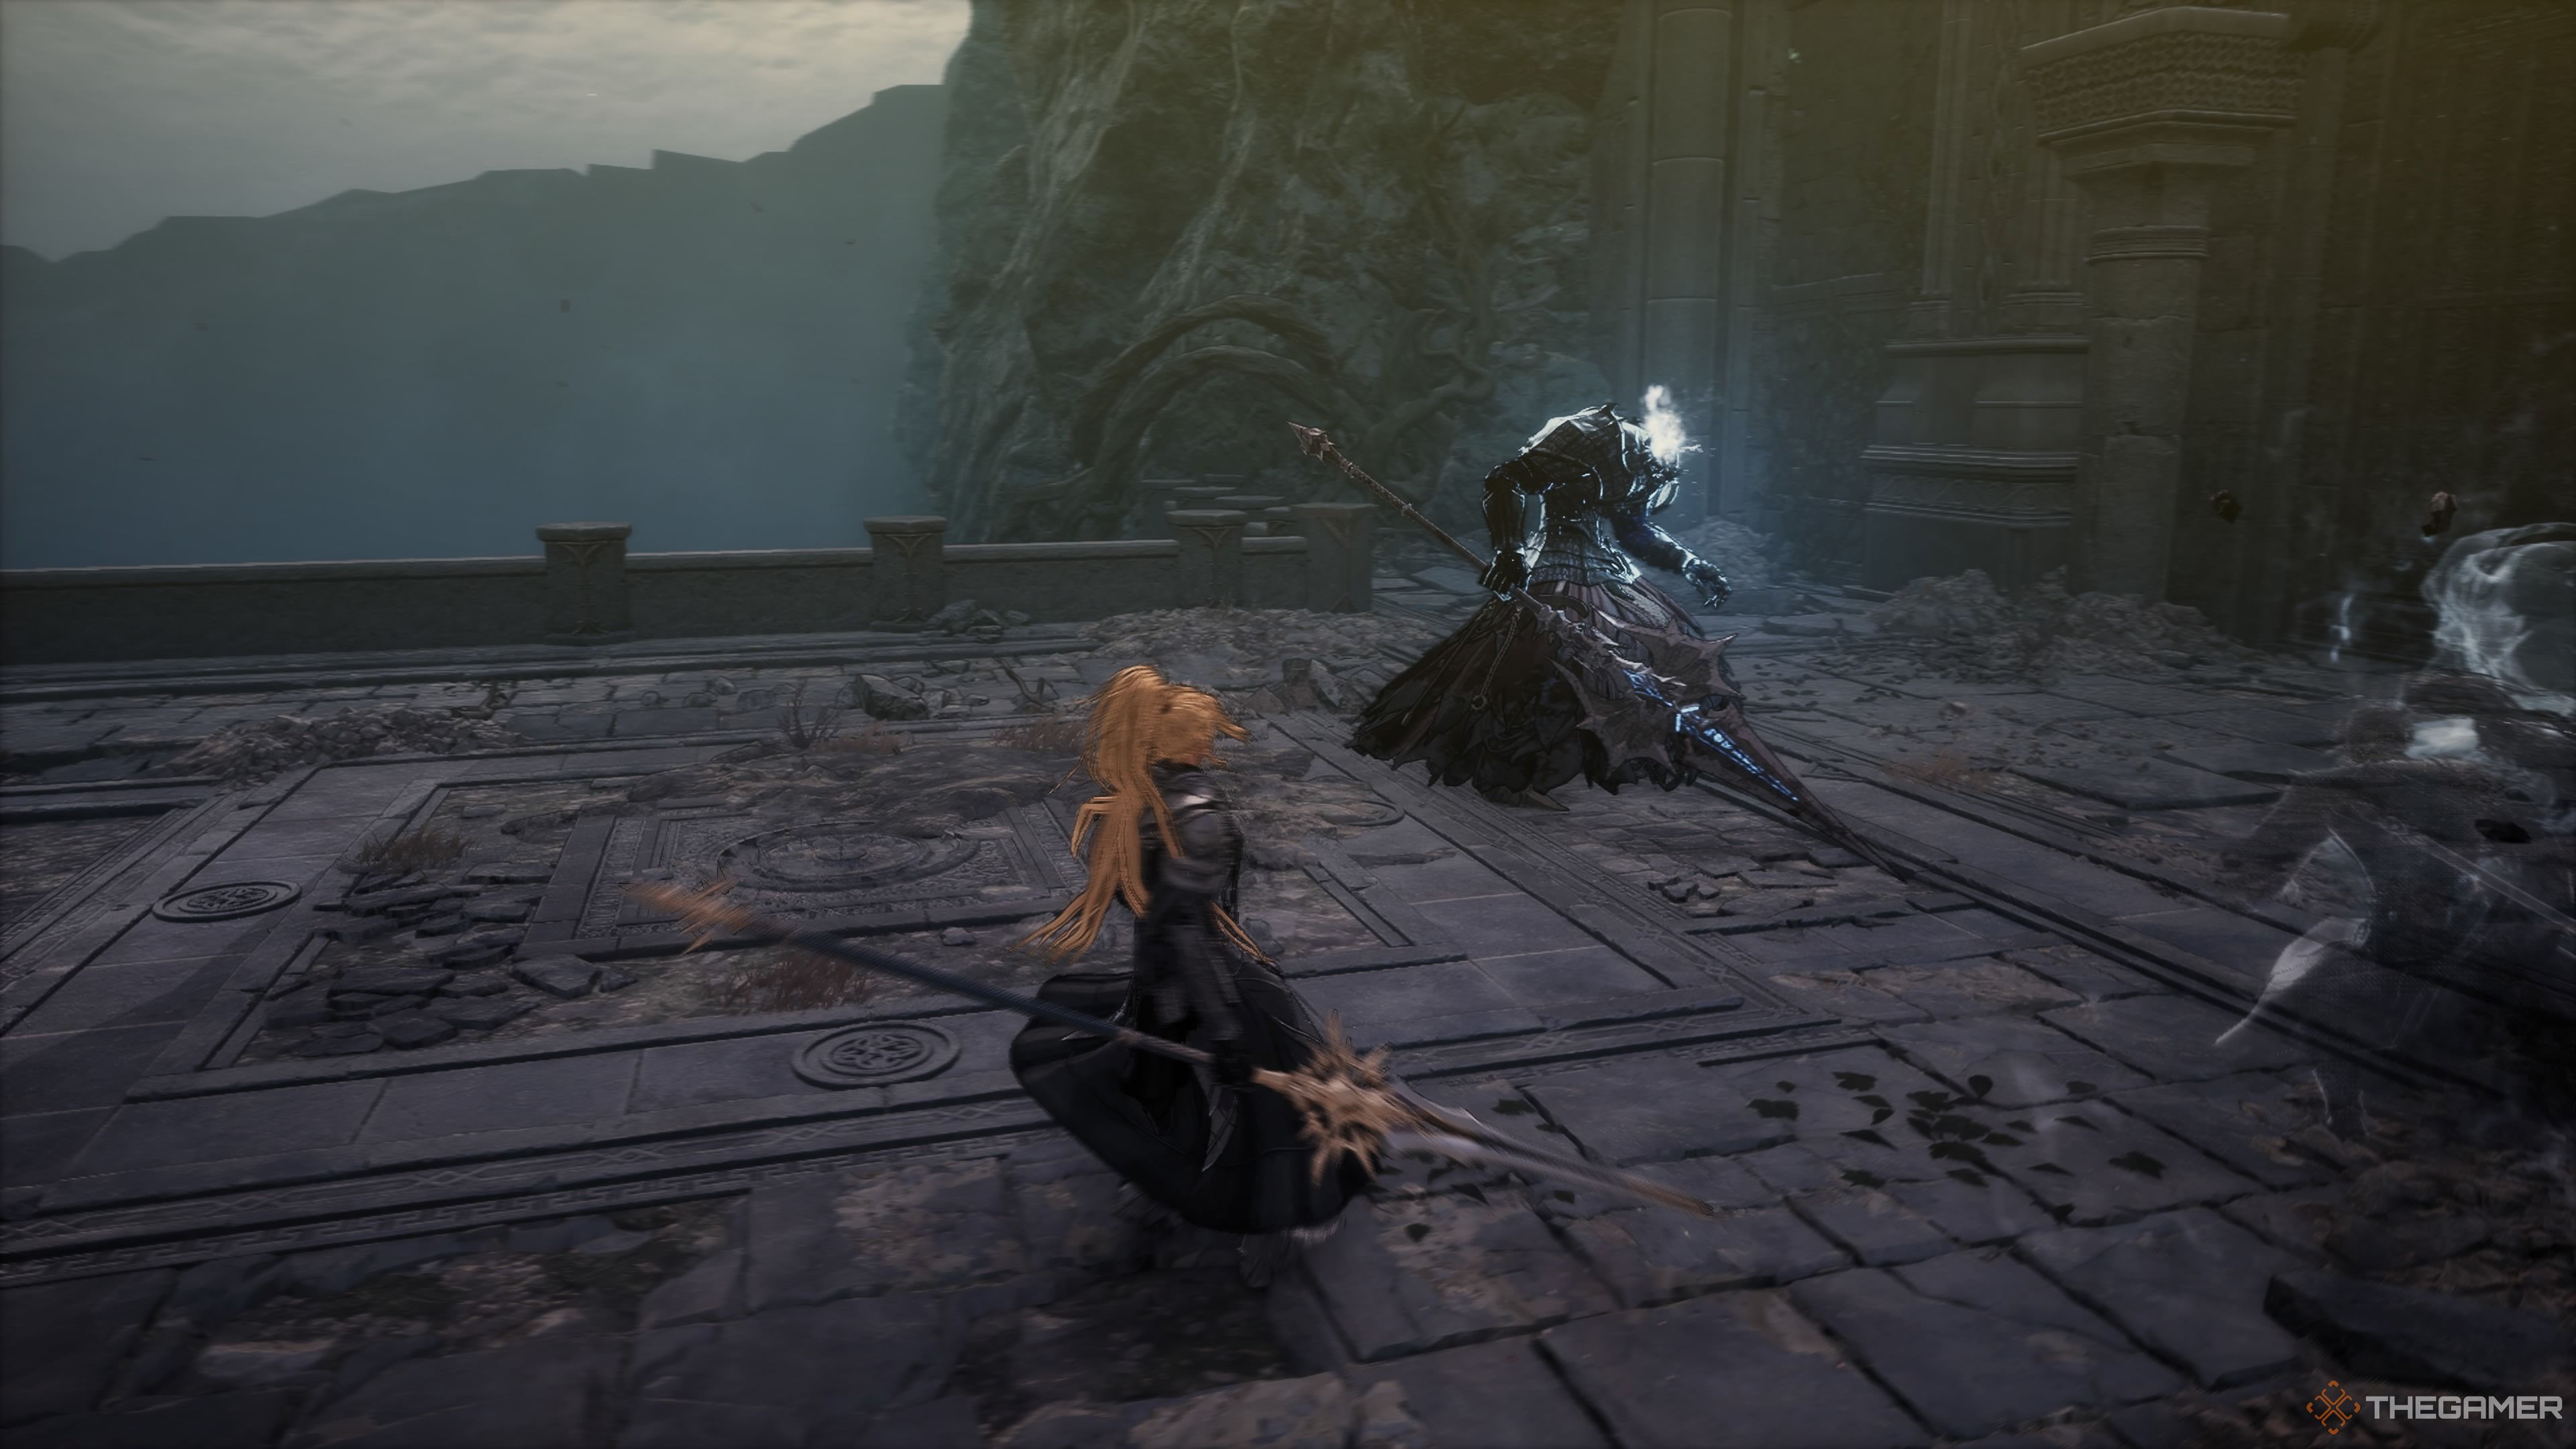
The Spirit of Pleuvious represents an upgraded version of the Soulbound Knight, but not only in terms of increased health and attack strength. The Spirit of Pleuvious will be endowed with the ability to summon two spirits for assistance. Moreover, its spear boasts a longer range than the standard Soulbound Knight’s weapon.
Similar to the regular Soulbound Knight, this character tends to mimic Pleuvious’s behavior, but there’s a catch – the spirits he summons may take longer to appear, making it more challenging to respond. This delay allows him to strategically position himself so that his spirit attacks from behind while he strikes from the front. Additionally, he can conceal his Burst Attack by having his spirits execute a rapid series of thrusts first, followed by his powerful Burst Strike.
If you interfere with Pleuvious mid-move, his spiritual entities would still carry out the action he originally intended before you interrupted him.
If ghostly entities attack you during this battle, they might cause severe hallucinations. To mitigate this, it would be wise to have a Hallucination Dispelling Potion at the ready.
The optimal moment to attack Pleuvious occurs following his (as well as his spirit’s) evasion of your attacks. Moreover, during the time when he summons his two spirits aloft, he becomes particularly defenseless.
After overcoming the Phantom of Pleuvious, you will obtain the hastily scribbled message and some equipment. Proceed into the chapel next. On the table within, you’ll discover Reese’s Ring. Interact with the journal to complete The Vow quest.
Read More
- Who Is Harley Wallace? The Heartbreaking Truth Behind Bring Her Back’s Dedication
- 50 Ankle Break & Score Sound ID Codes for Basketball Zero
- 50 Goal Sound ID Codes for Blue Lock Rivals
- KPop Demon Hunters: Real Ages Revealed?!
- 100 Most-Watched TV Series of 2024-25 Across Streaming, Broadcast and Cable: ‘Squid Game’ Leads This Season’s Rankers
- Elden Ring Nightreign Enhanced Boss Arrives in Surprise Update
- Ultimate AI Limit Beginner’s Guide [Best Stats, Gear, Weapons & More]
- Umamusume: Pretty Derby Support Card Tier List [Release]
- Mirren Star Legends Tier List [Global Release] (May 2025)
- Lottery apologizes after thousands mistakenly told they won millions
2025-04-09 05:05