As an enthusiast, I’d like to share my experience with the Totems in Avowed – they’re simply fantastic for a quick stat boost! The Wael’s Totem is particularly intriguing because it can be discovered and gathered all over Shatterscarp. Depending on your equipment level, finding it can be quite manageable. Plus, you might even stumble upon some helpful hints along the way if you don’t wish to strictly follow the map provided.
In the game “Avowed“, uncovering Totems and Ancient Memories offer a subtle but beneficial enhancement to your character that doesn’t require any additional upgrades or purchases. These items can be elusive, making it challenging to gather them all, or costly if you opt to buy advanced versions outright. However, these collectibles present an excellent opportunity to increase your character’s stats with minimal effort – simply pick them up when you find them on the ground.
Where To Buy The Clues For The Totem Of Revelations Pieces In Shatterscarp
The Right Merchant For The Job
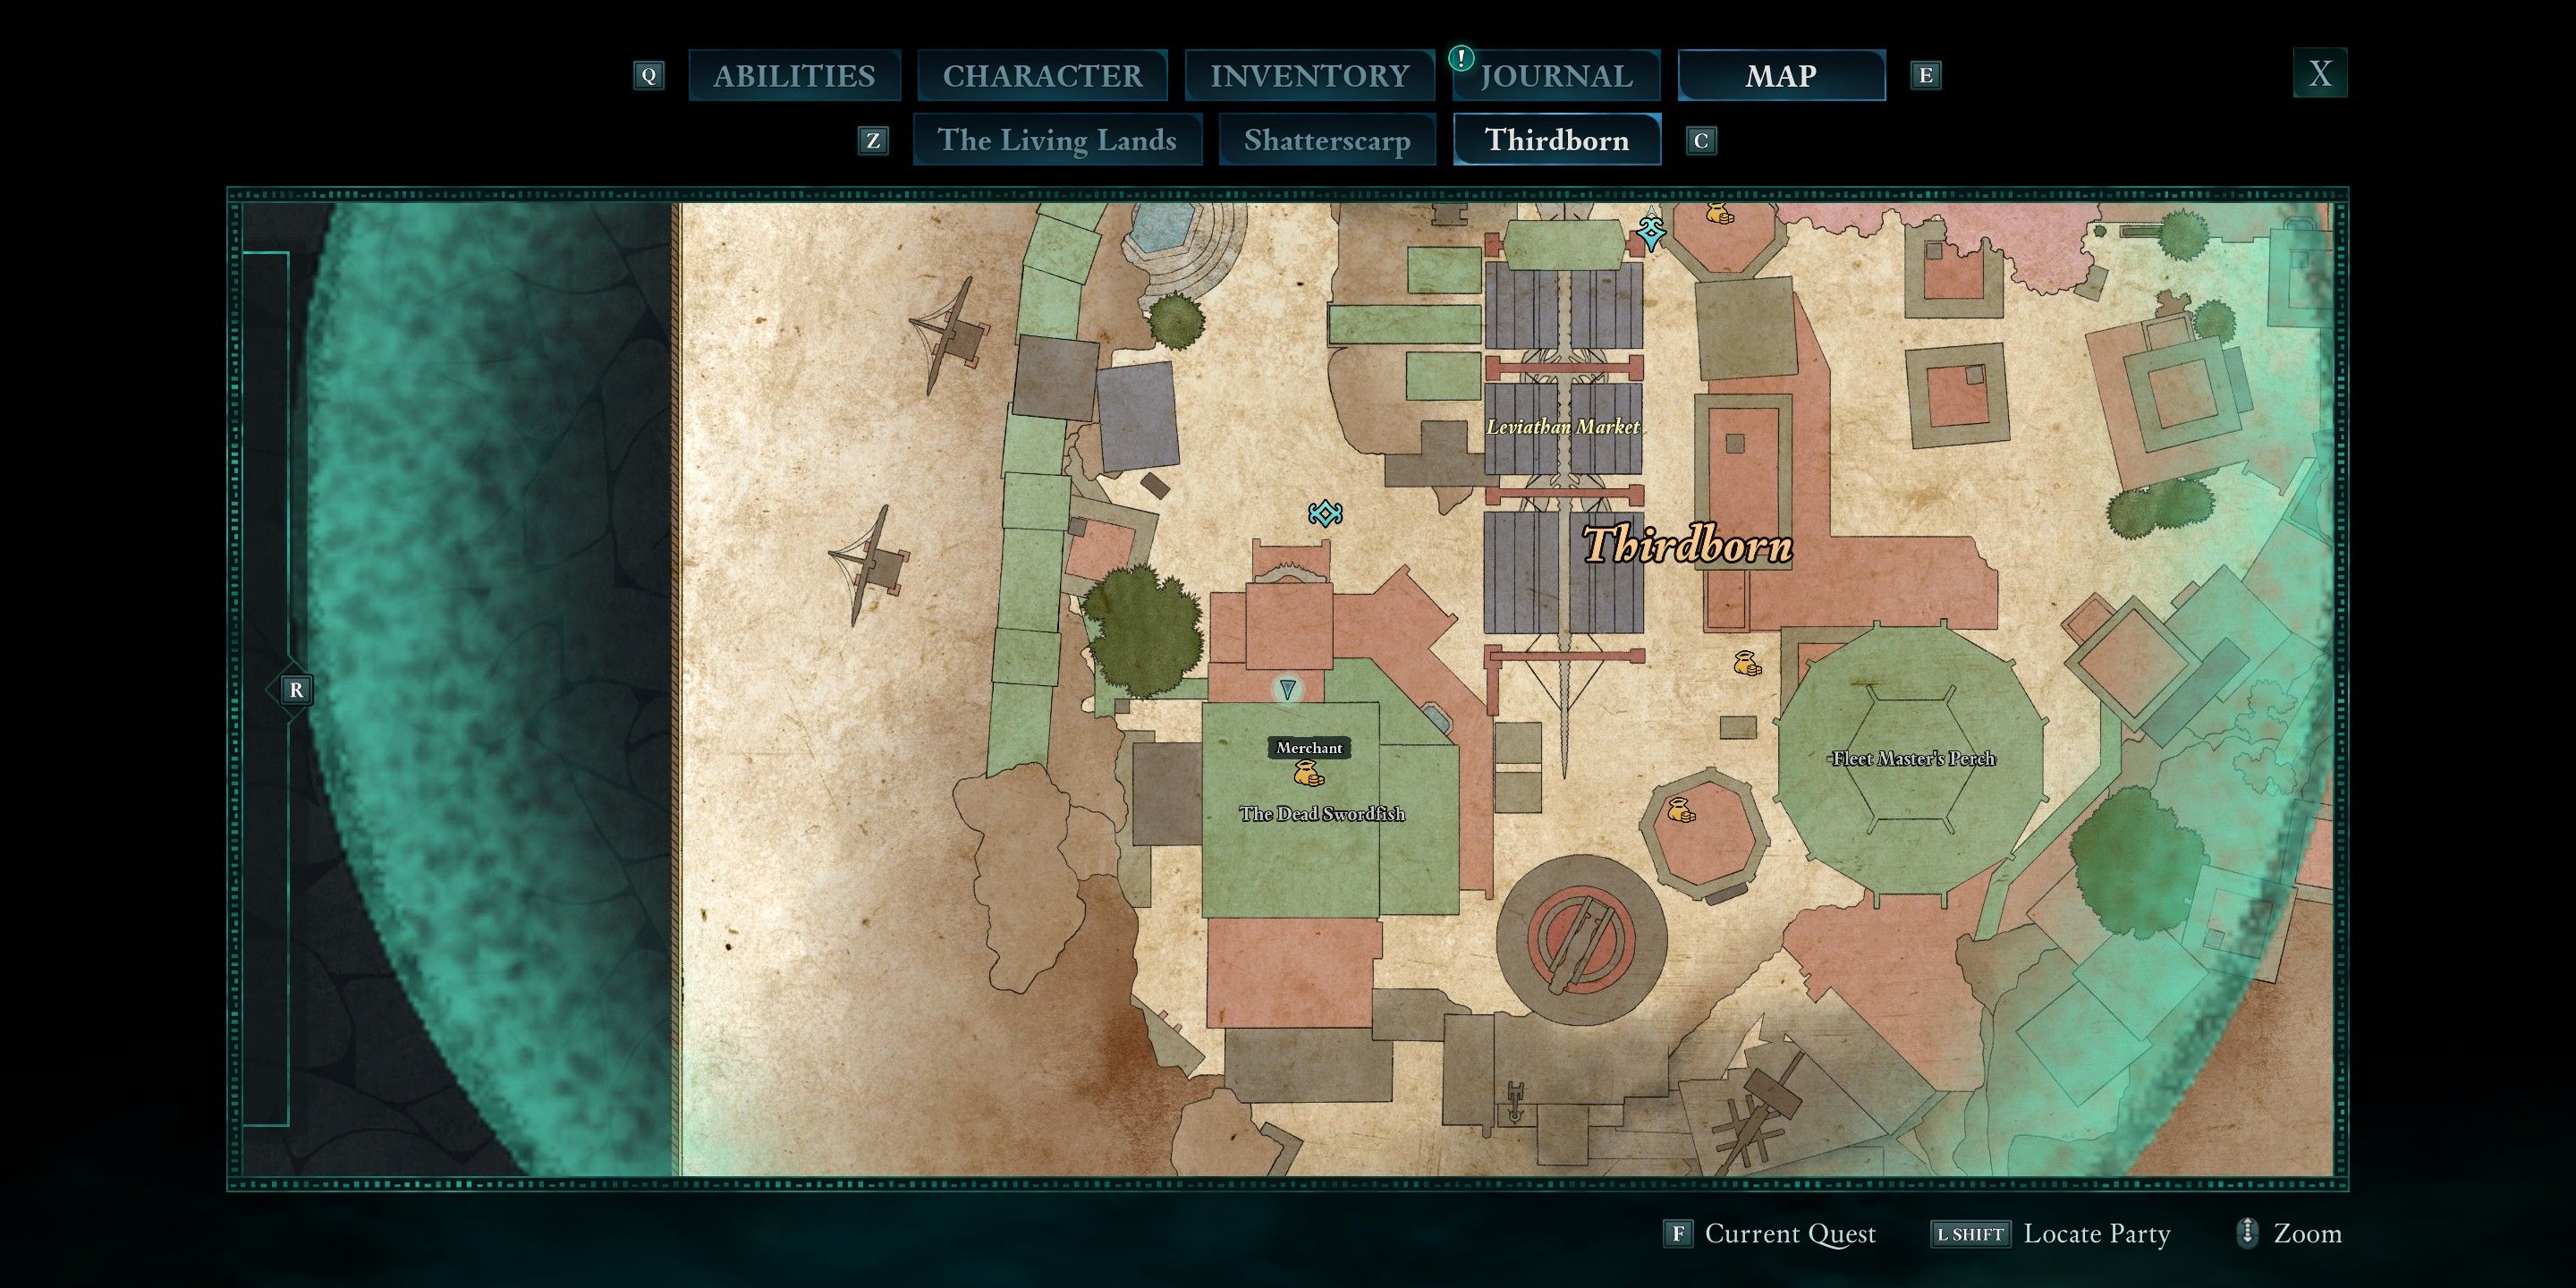
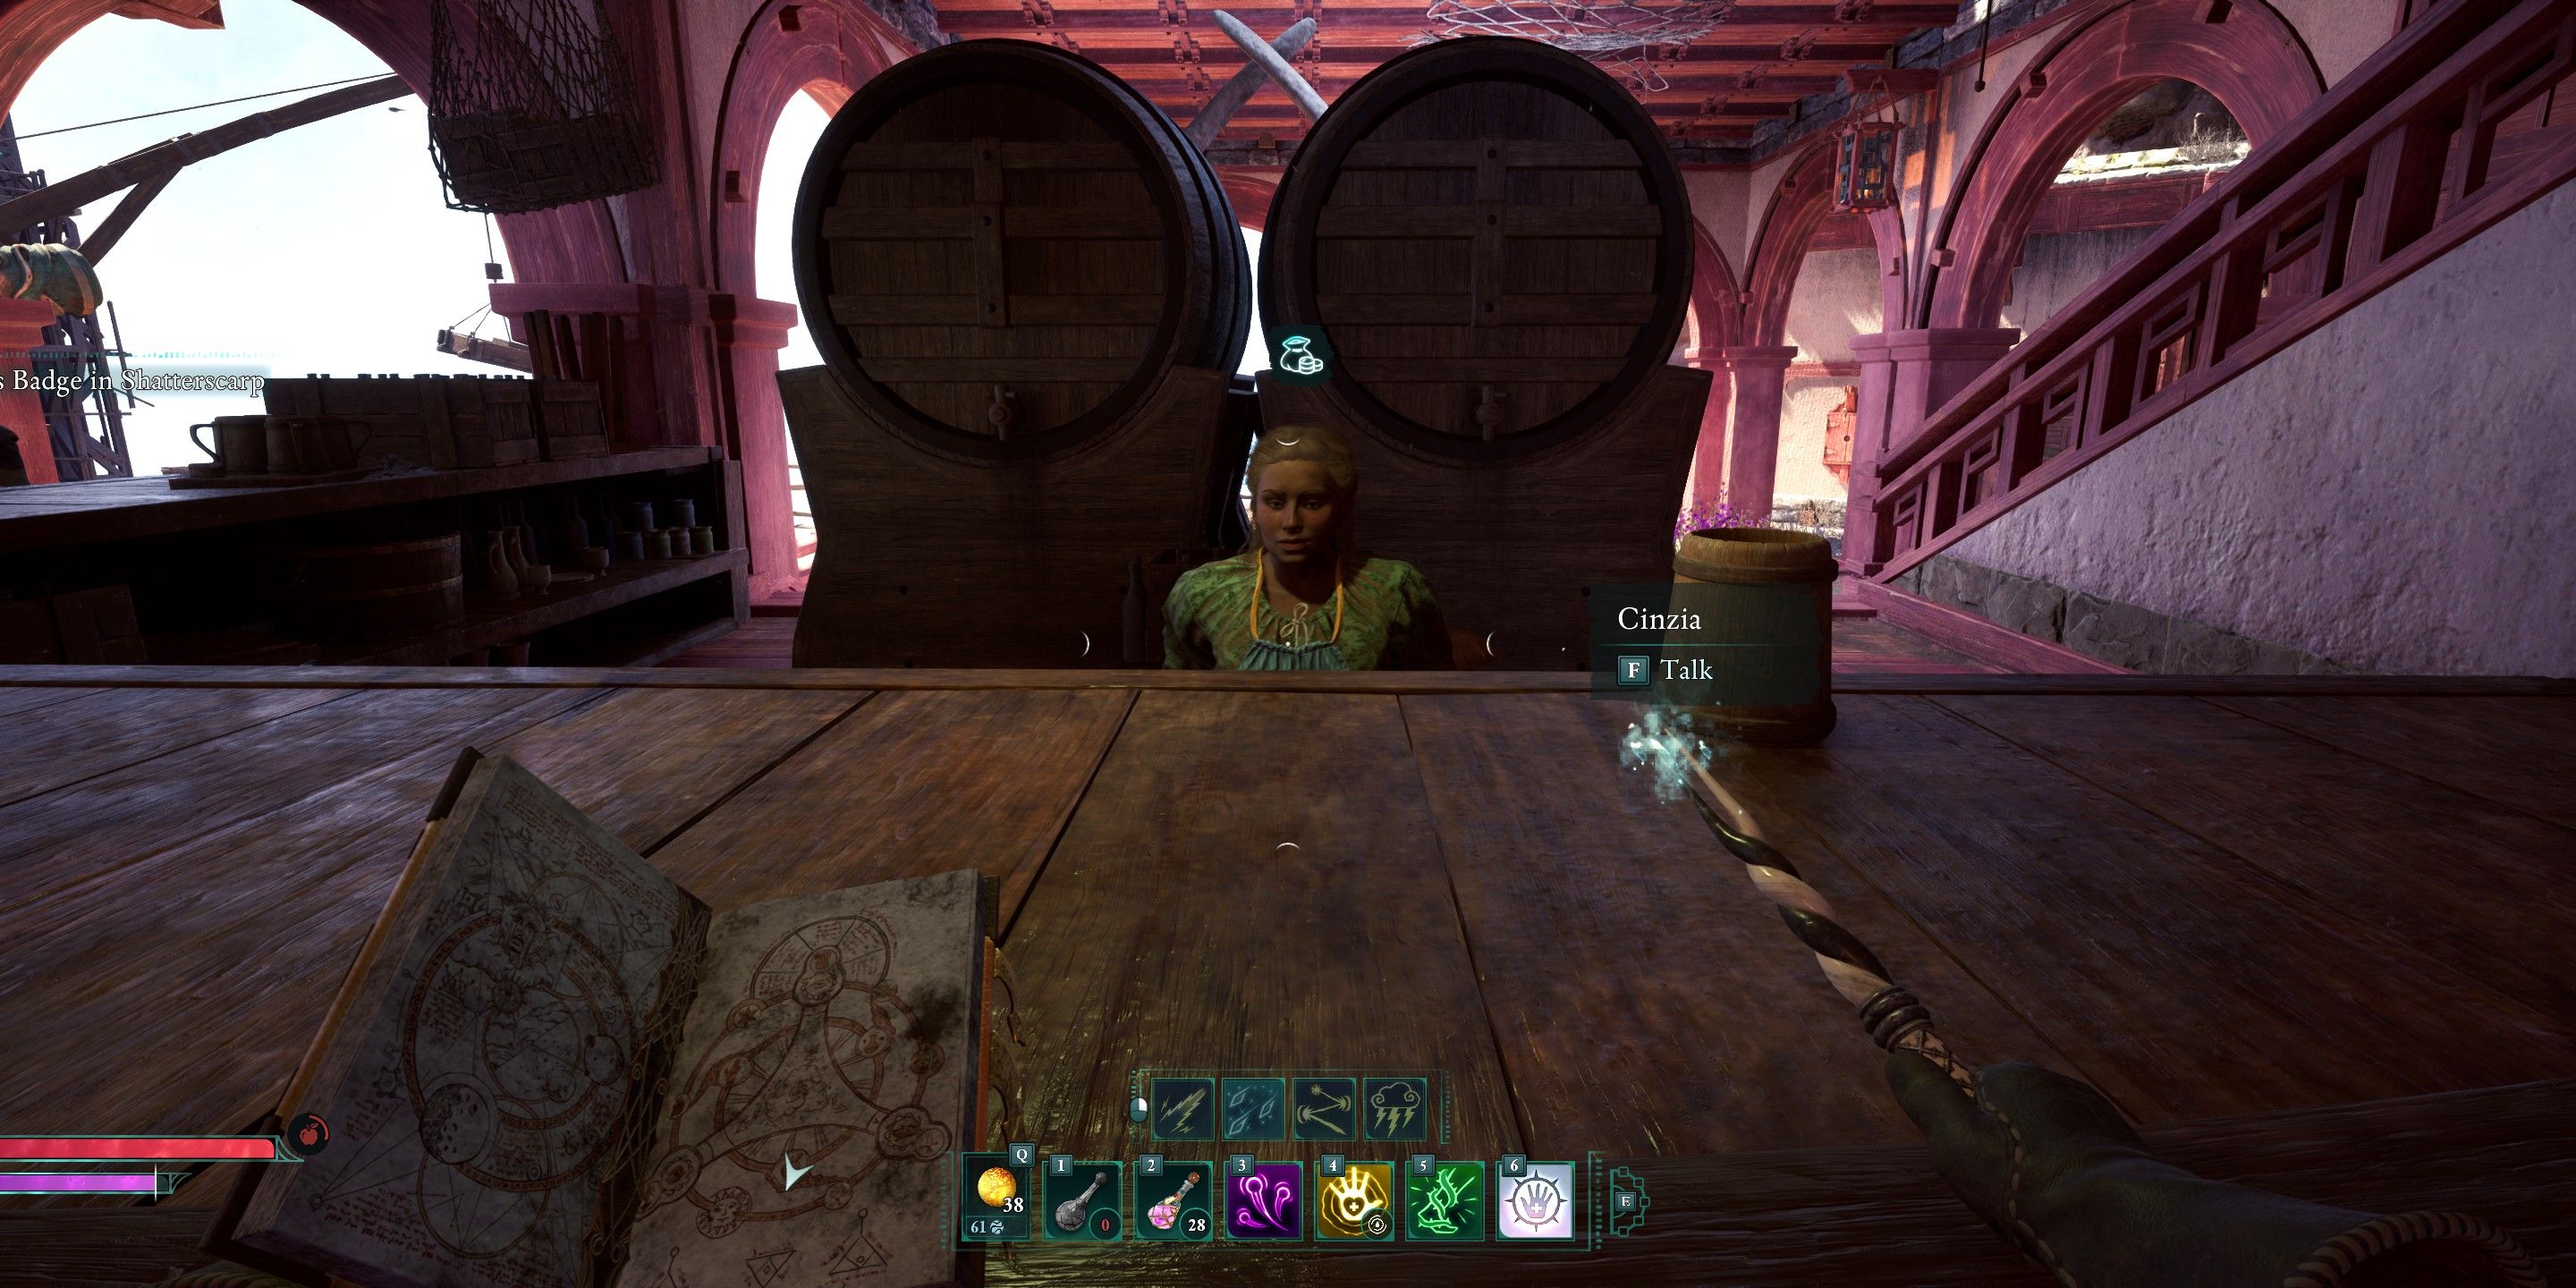
As a devoted follower, I’ve found that the Wael’s Totem clue map stands out as less elusive compared to other totems. To locate it, you should navigate your way to Thirdborn and seek out a merchant named Cinzia, who resides near The Dead Swordfish. Notably, this is where you encounter Yatzli during the main quest, making the location easier to identify. The merchant in question can be found just across the street from both the fish and bounty merchants.
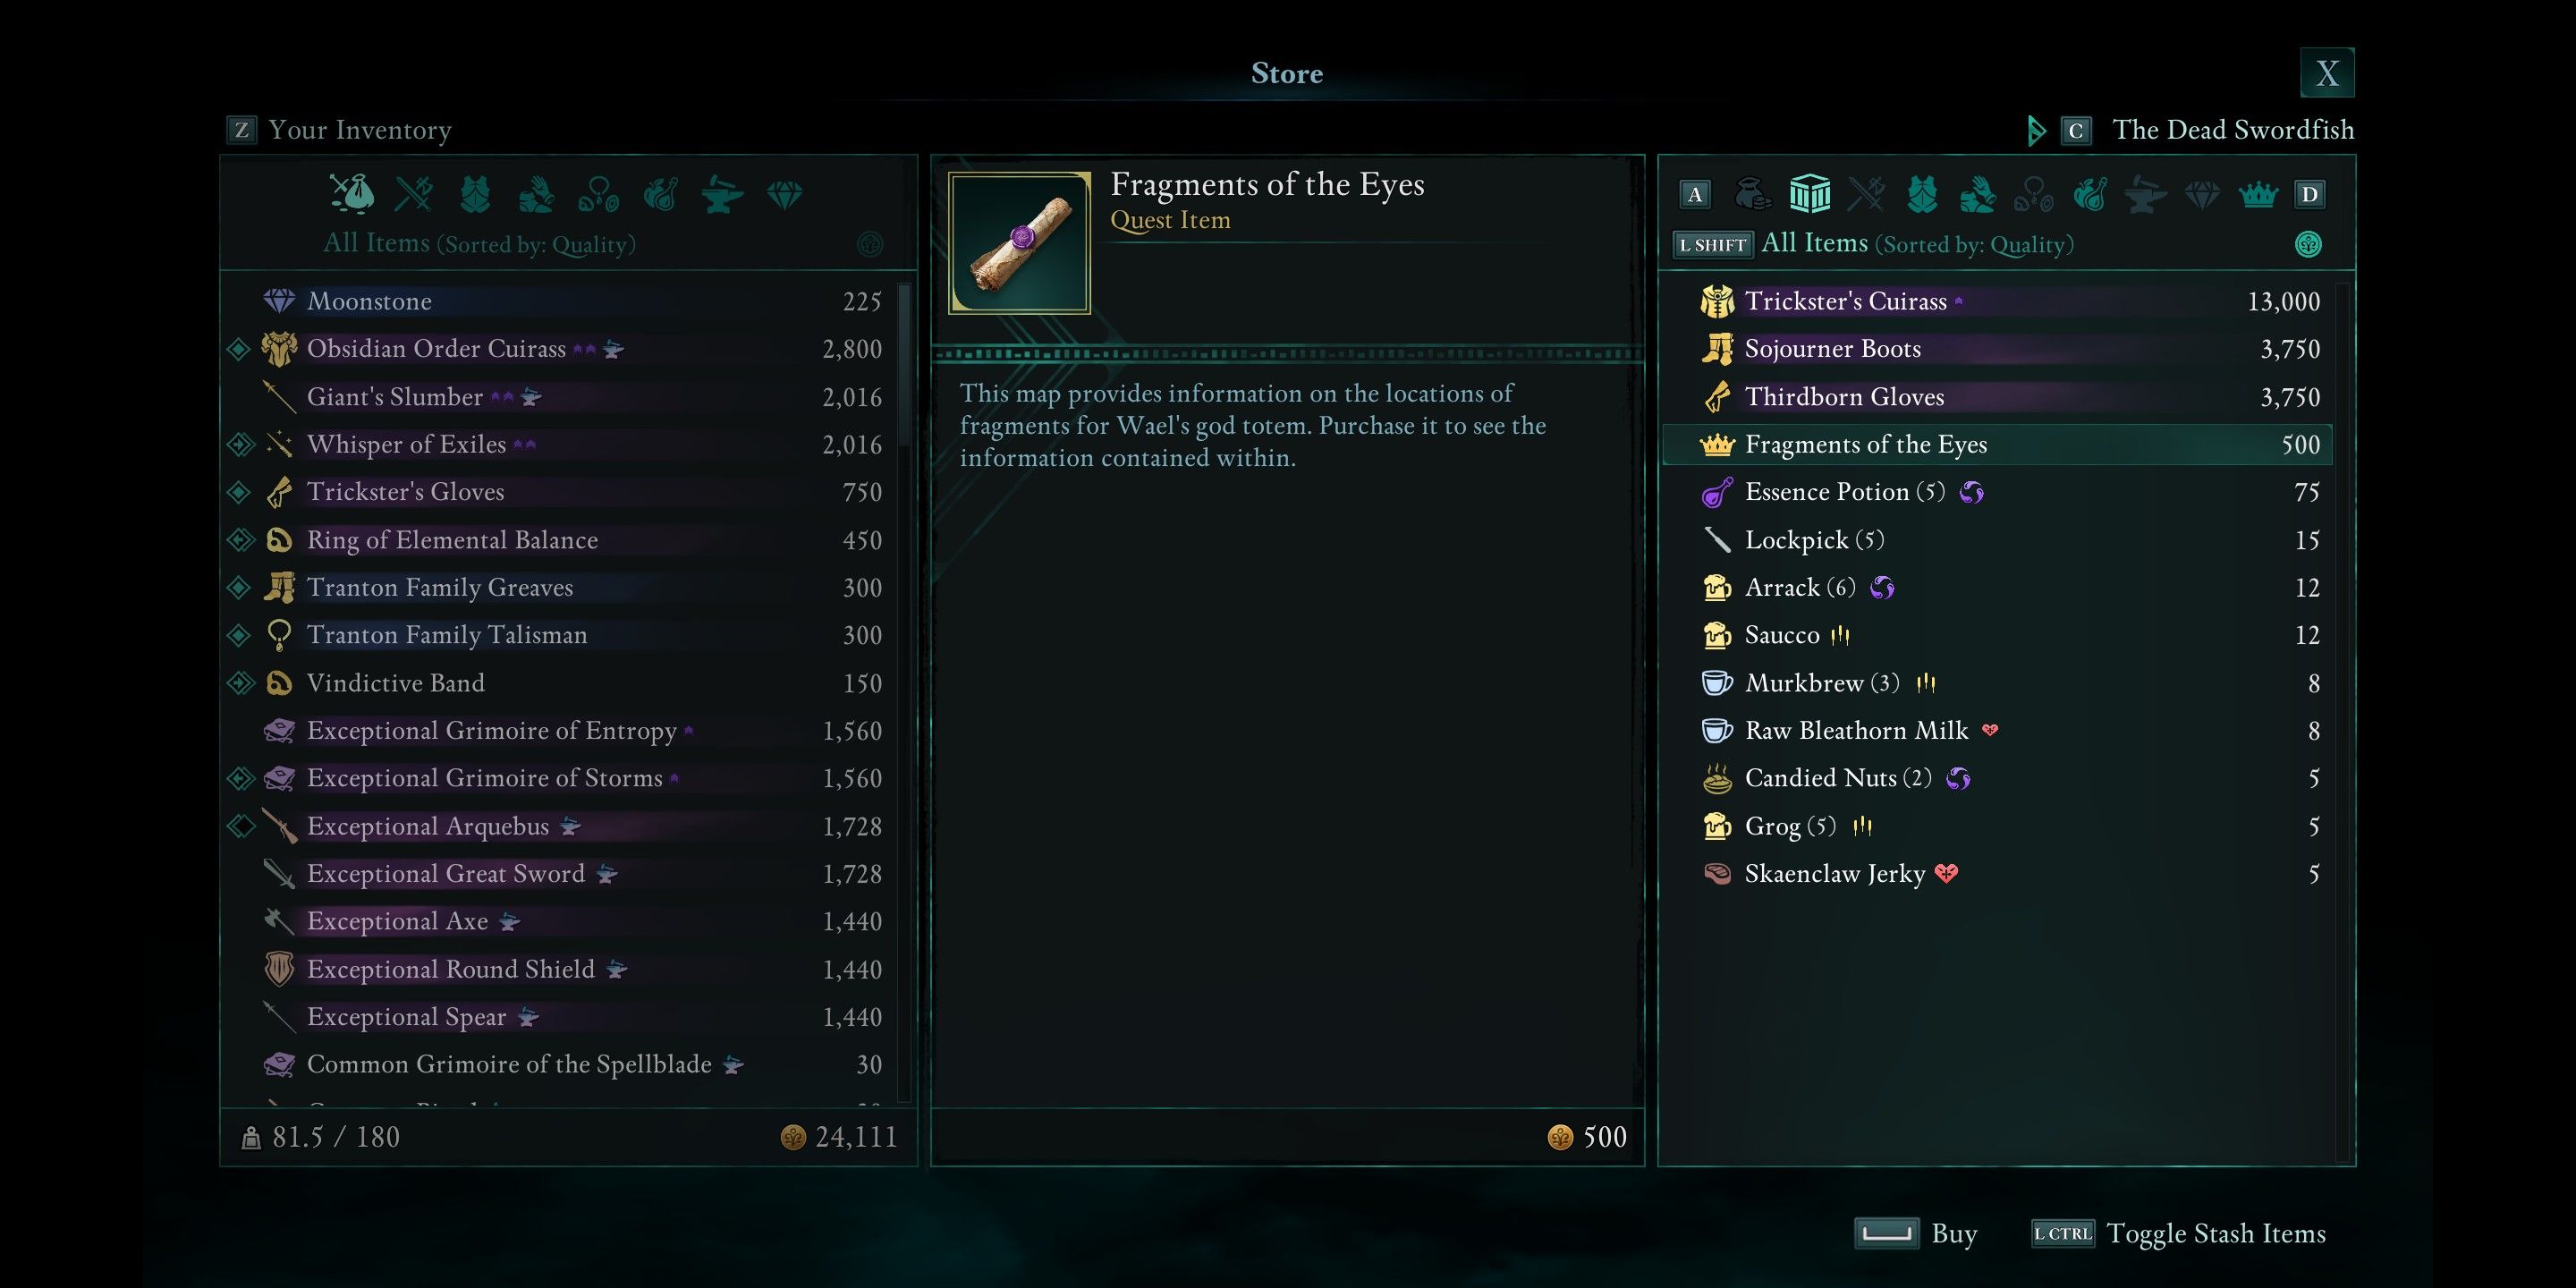
Upon perusing her inventory, be on the lookout for an item called “Fragments of the Eyes“. This shop also offers exclusive gear that could be beneficial for your character, so give it a glance and see if anything catches your eye in terms of fitting with your character’s build. I was drawn to the “Trickster’s Cuirass“, but I had a slightly superior armor piece in “Avowed” at the time, so I opted not to purchase it. However, you’ll find some hints there that may aid you in locating Wael’s Totem fragments.
Avowed Totem Of Revelations Walkthrough: Where To Find Every Piece Of Wael’s Totem
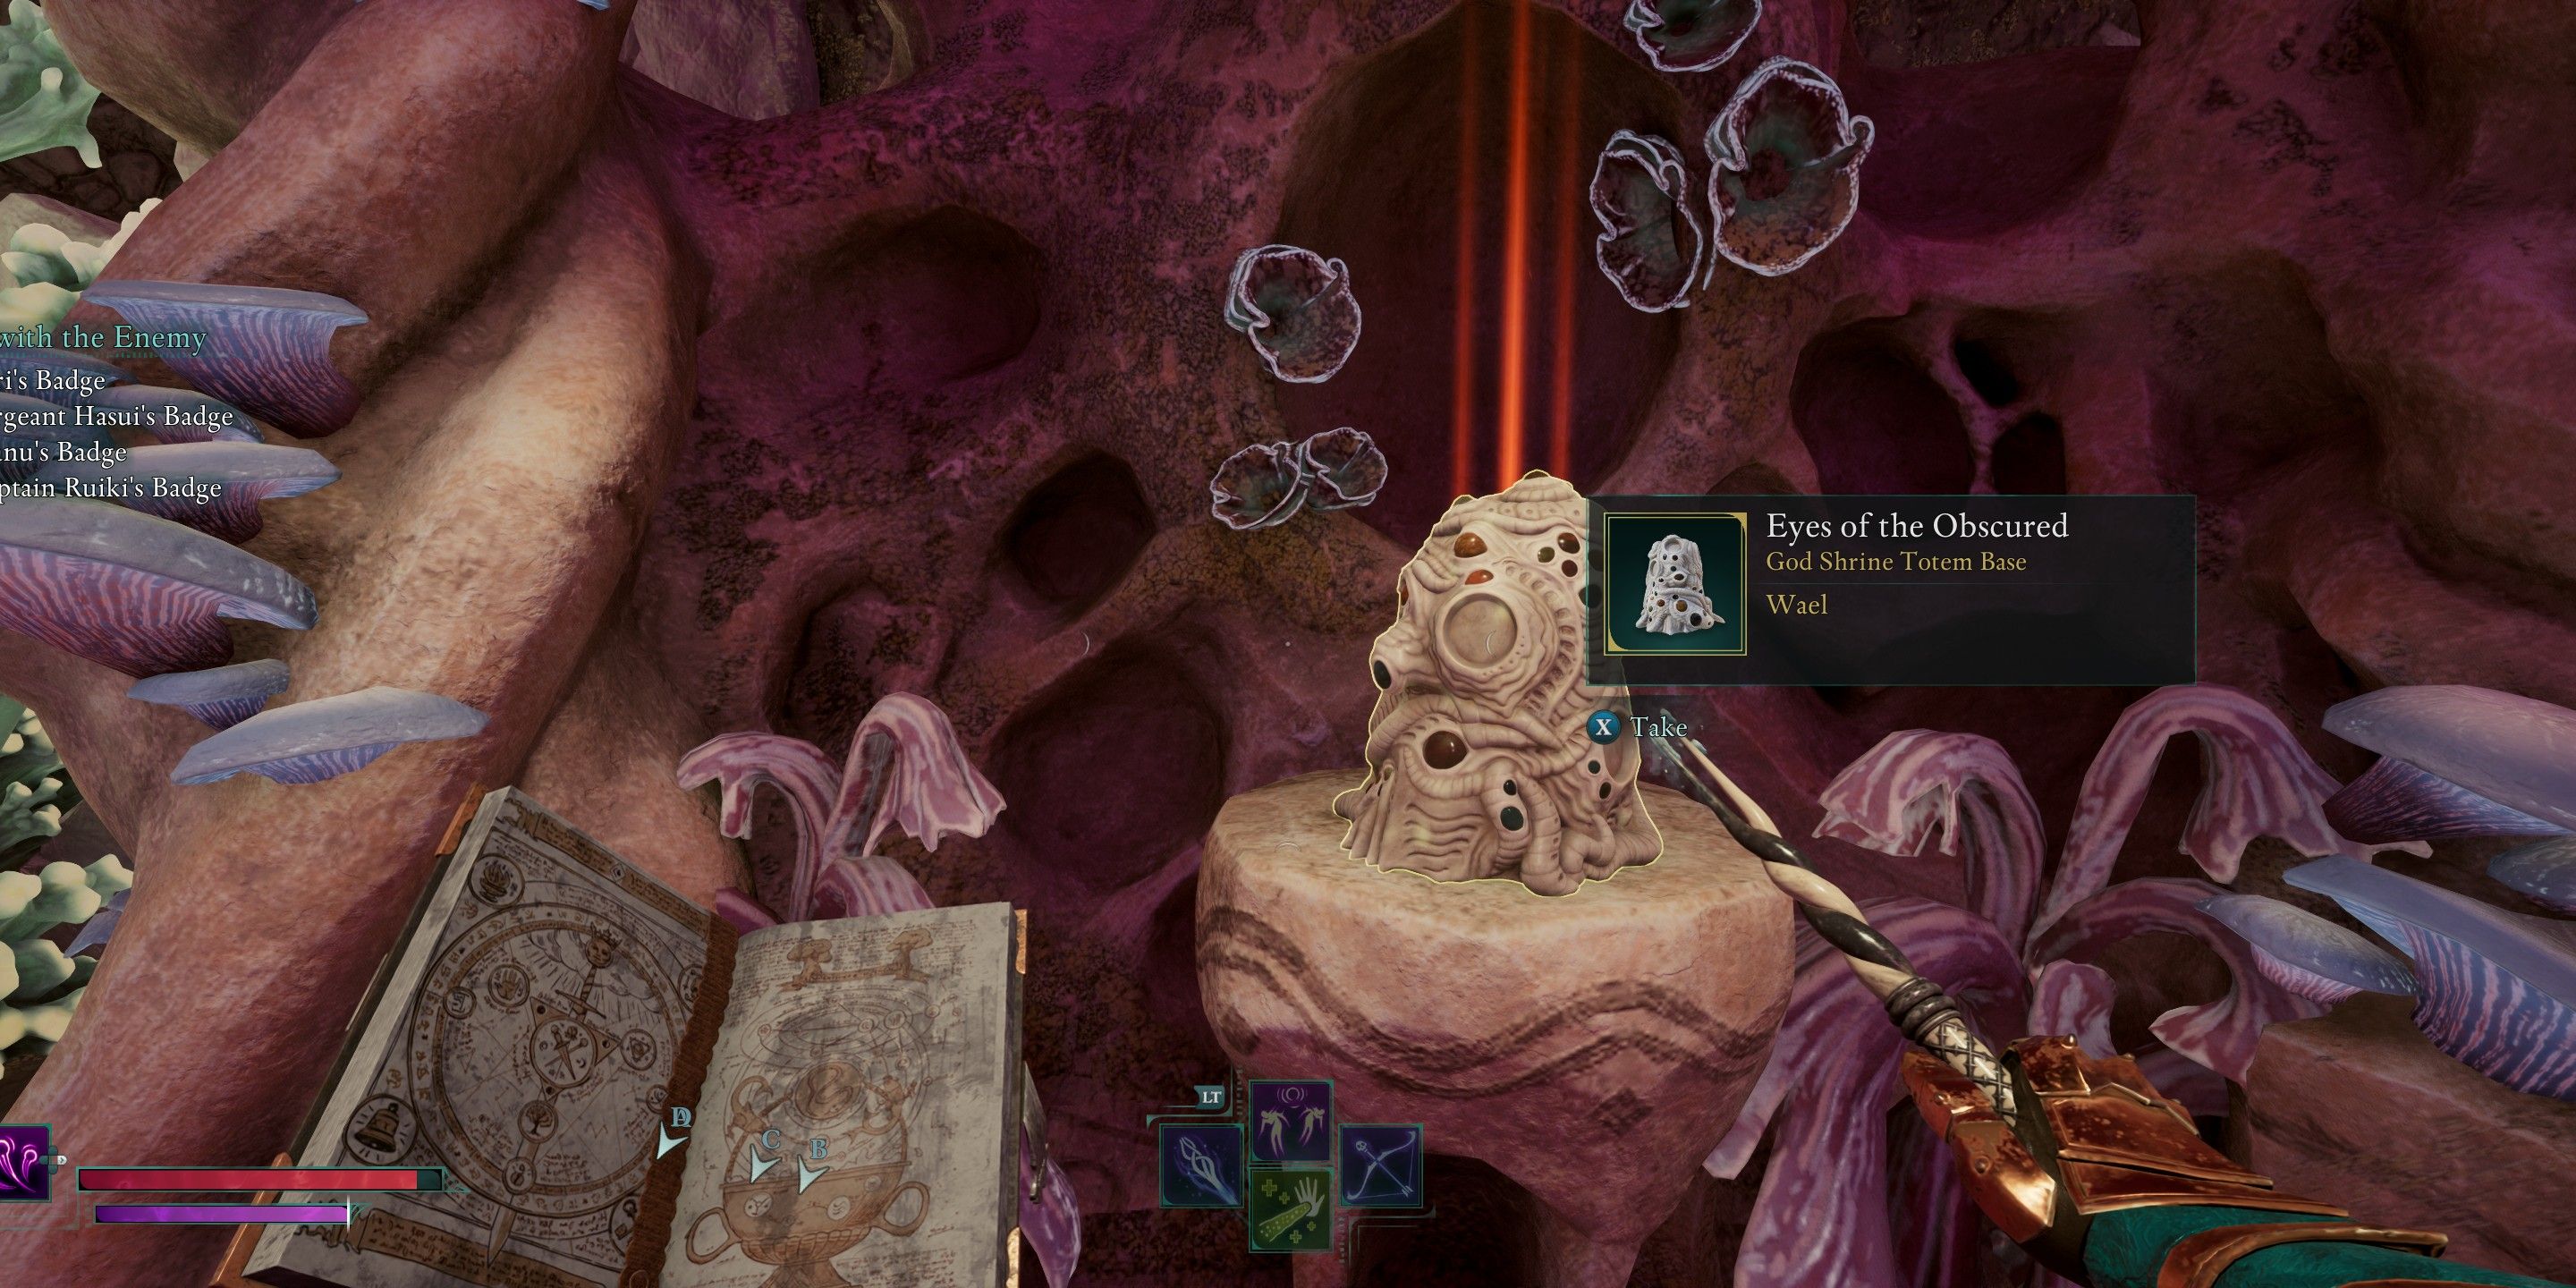
Wael’s Totem Base & Ruby Eye – Shrine of Wael
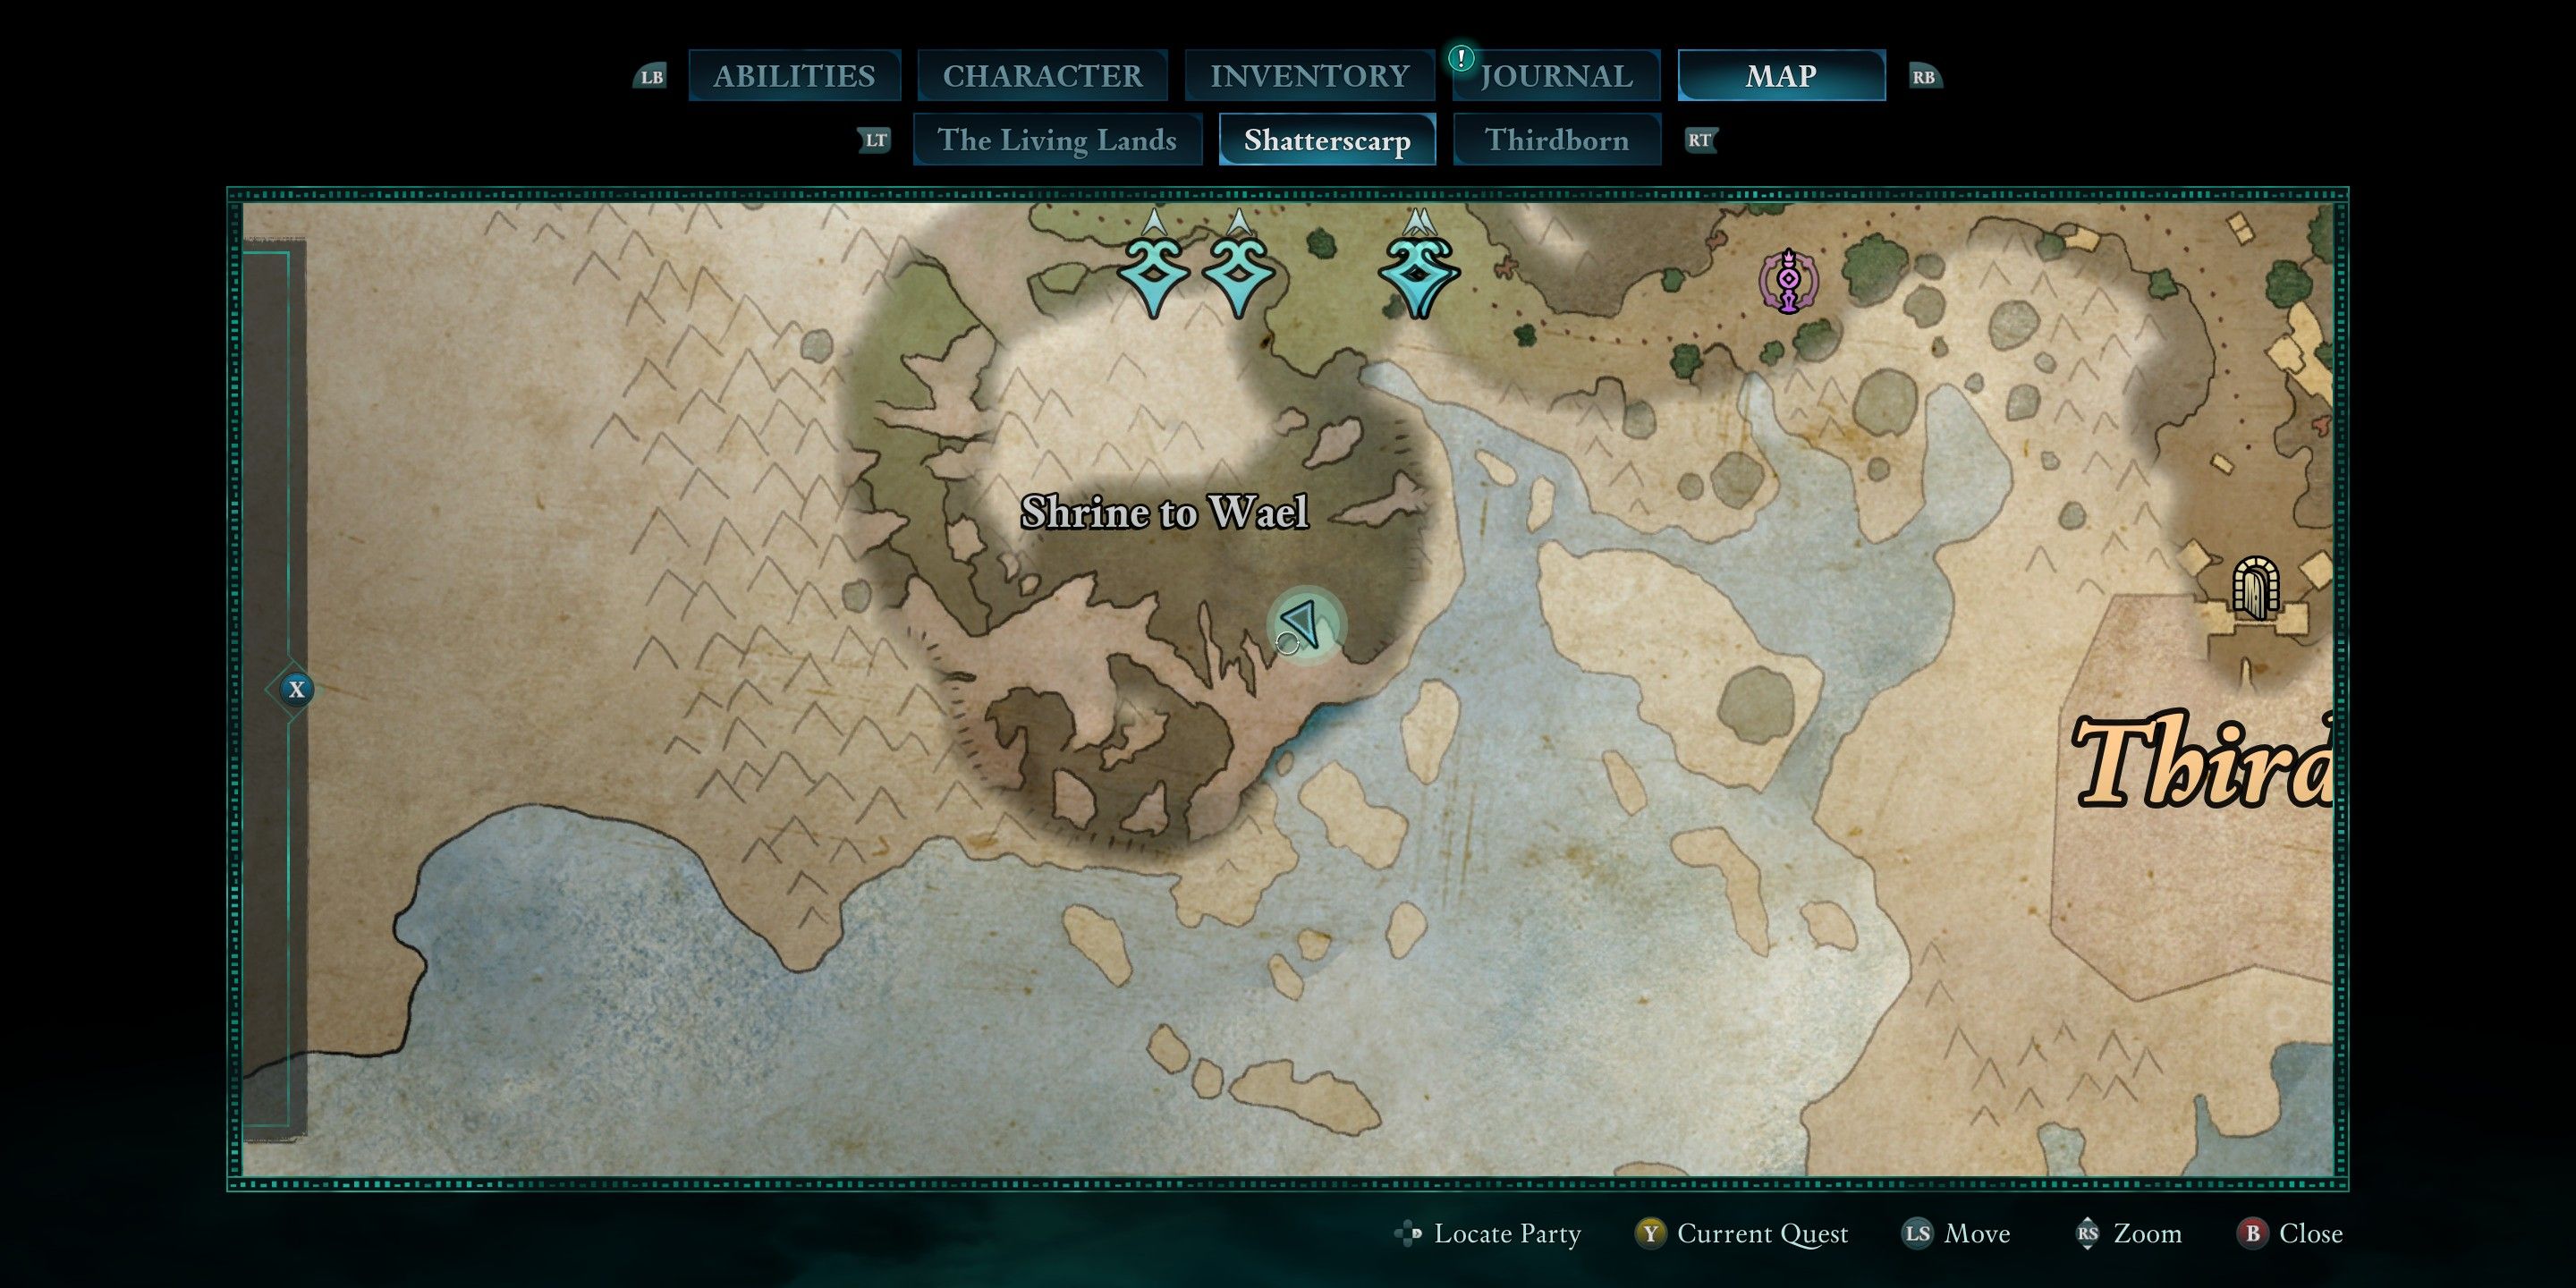
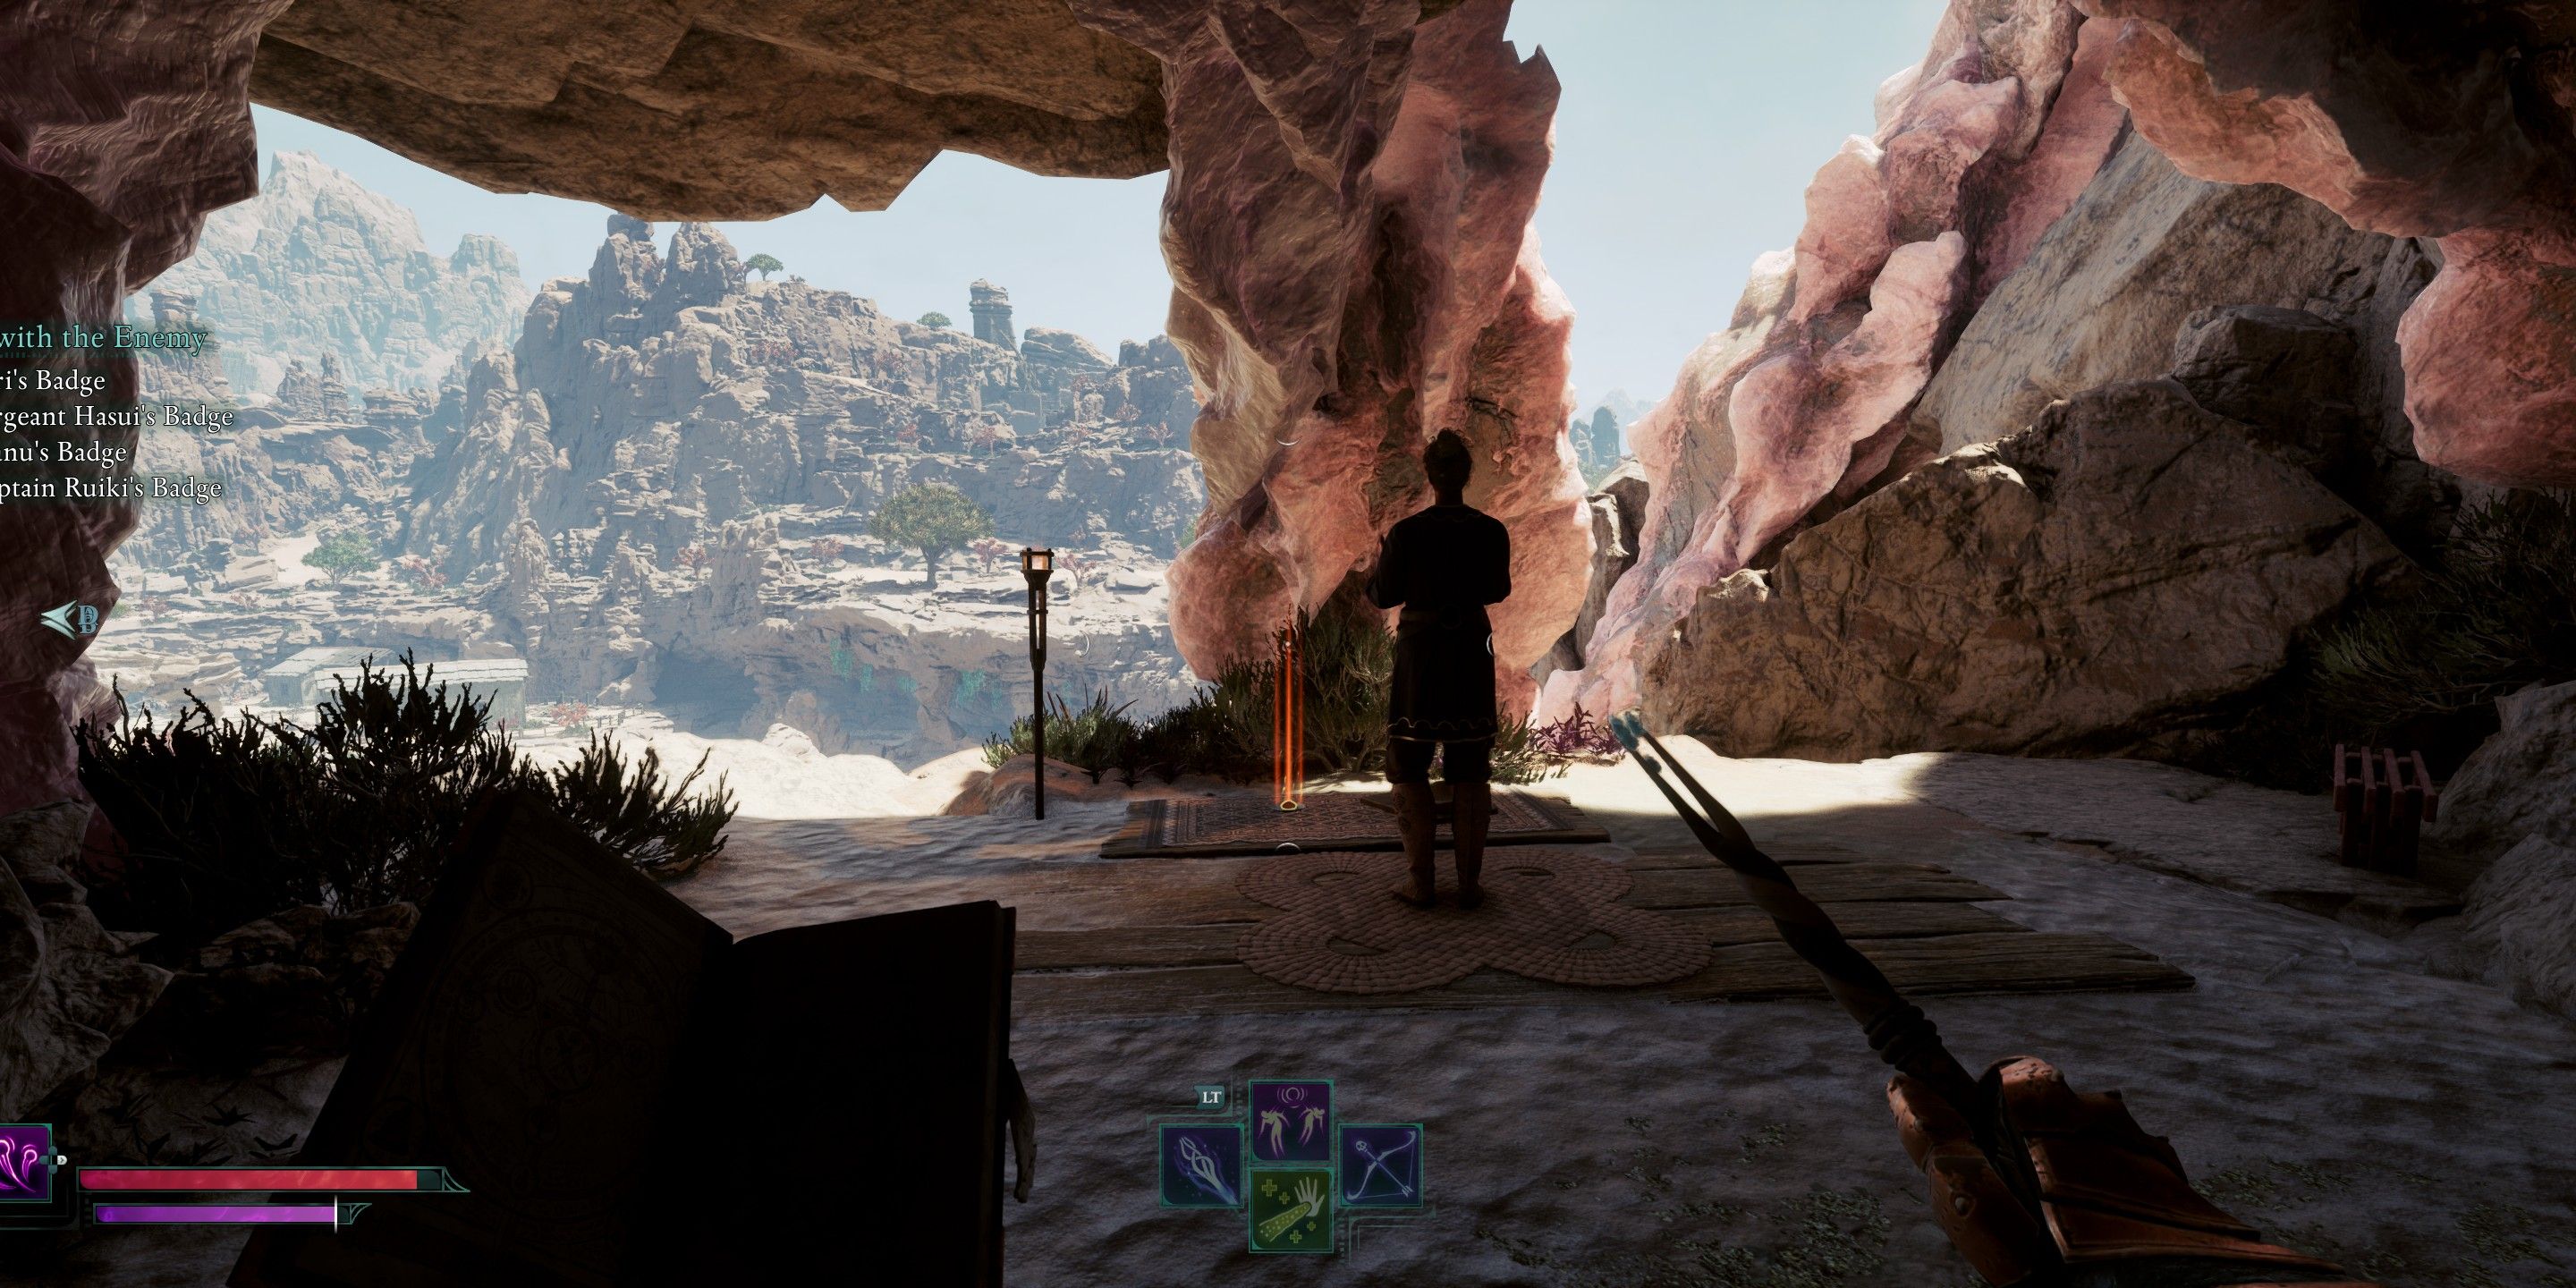
To find the Shrine of Wael, you should move towards the southwest part of the map. As you approach, it will appear on your mini-map. Try to stick to the coastline as much as feasible, then climb the cliffs and make your way into the shrine.
In this room containing the totem pillar, there’s a chest concealed behind bars if you manage to freeze them, making it quite accessible and providing you with an improved piece of equipment early in your quest. After facing away from the totem, take the path on your left and follow it uphill. At the summit, you will encounter someone standing gazing out over the cliff edge.
The place you’re looking for is known as the “Ward of the Eye”. To obtain the Ruby Eye without any hassle, simply converse with her. Remember to save your game before venturing out and descending the cliff. There’s a marked adversary close to the base, and engaging it could prove challenging since the fight won’t automatically save before you initiate it. If you’re like me, this means that you might perish, forcing you to go back through the process of speaking with the Ward and getting the Ruby Eye unnecessarily more times than required.
Amethyst Eye – Ancient Lakebed
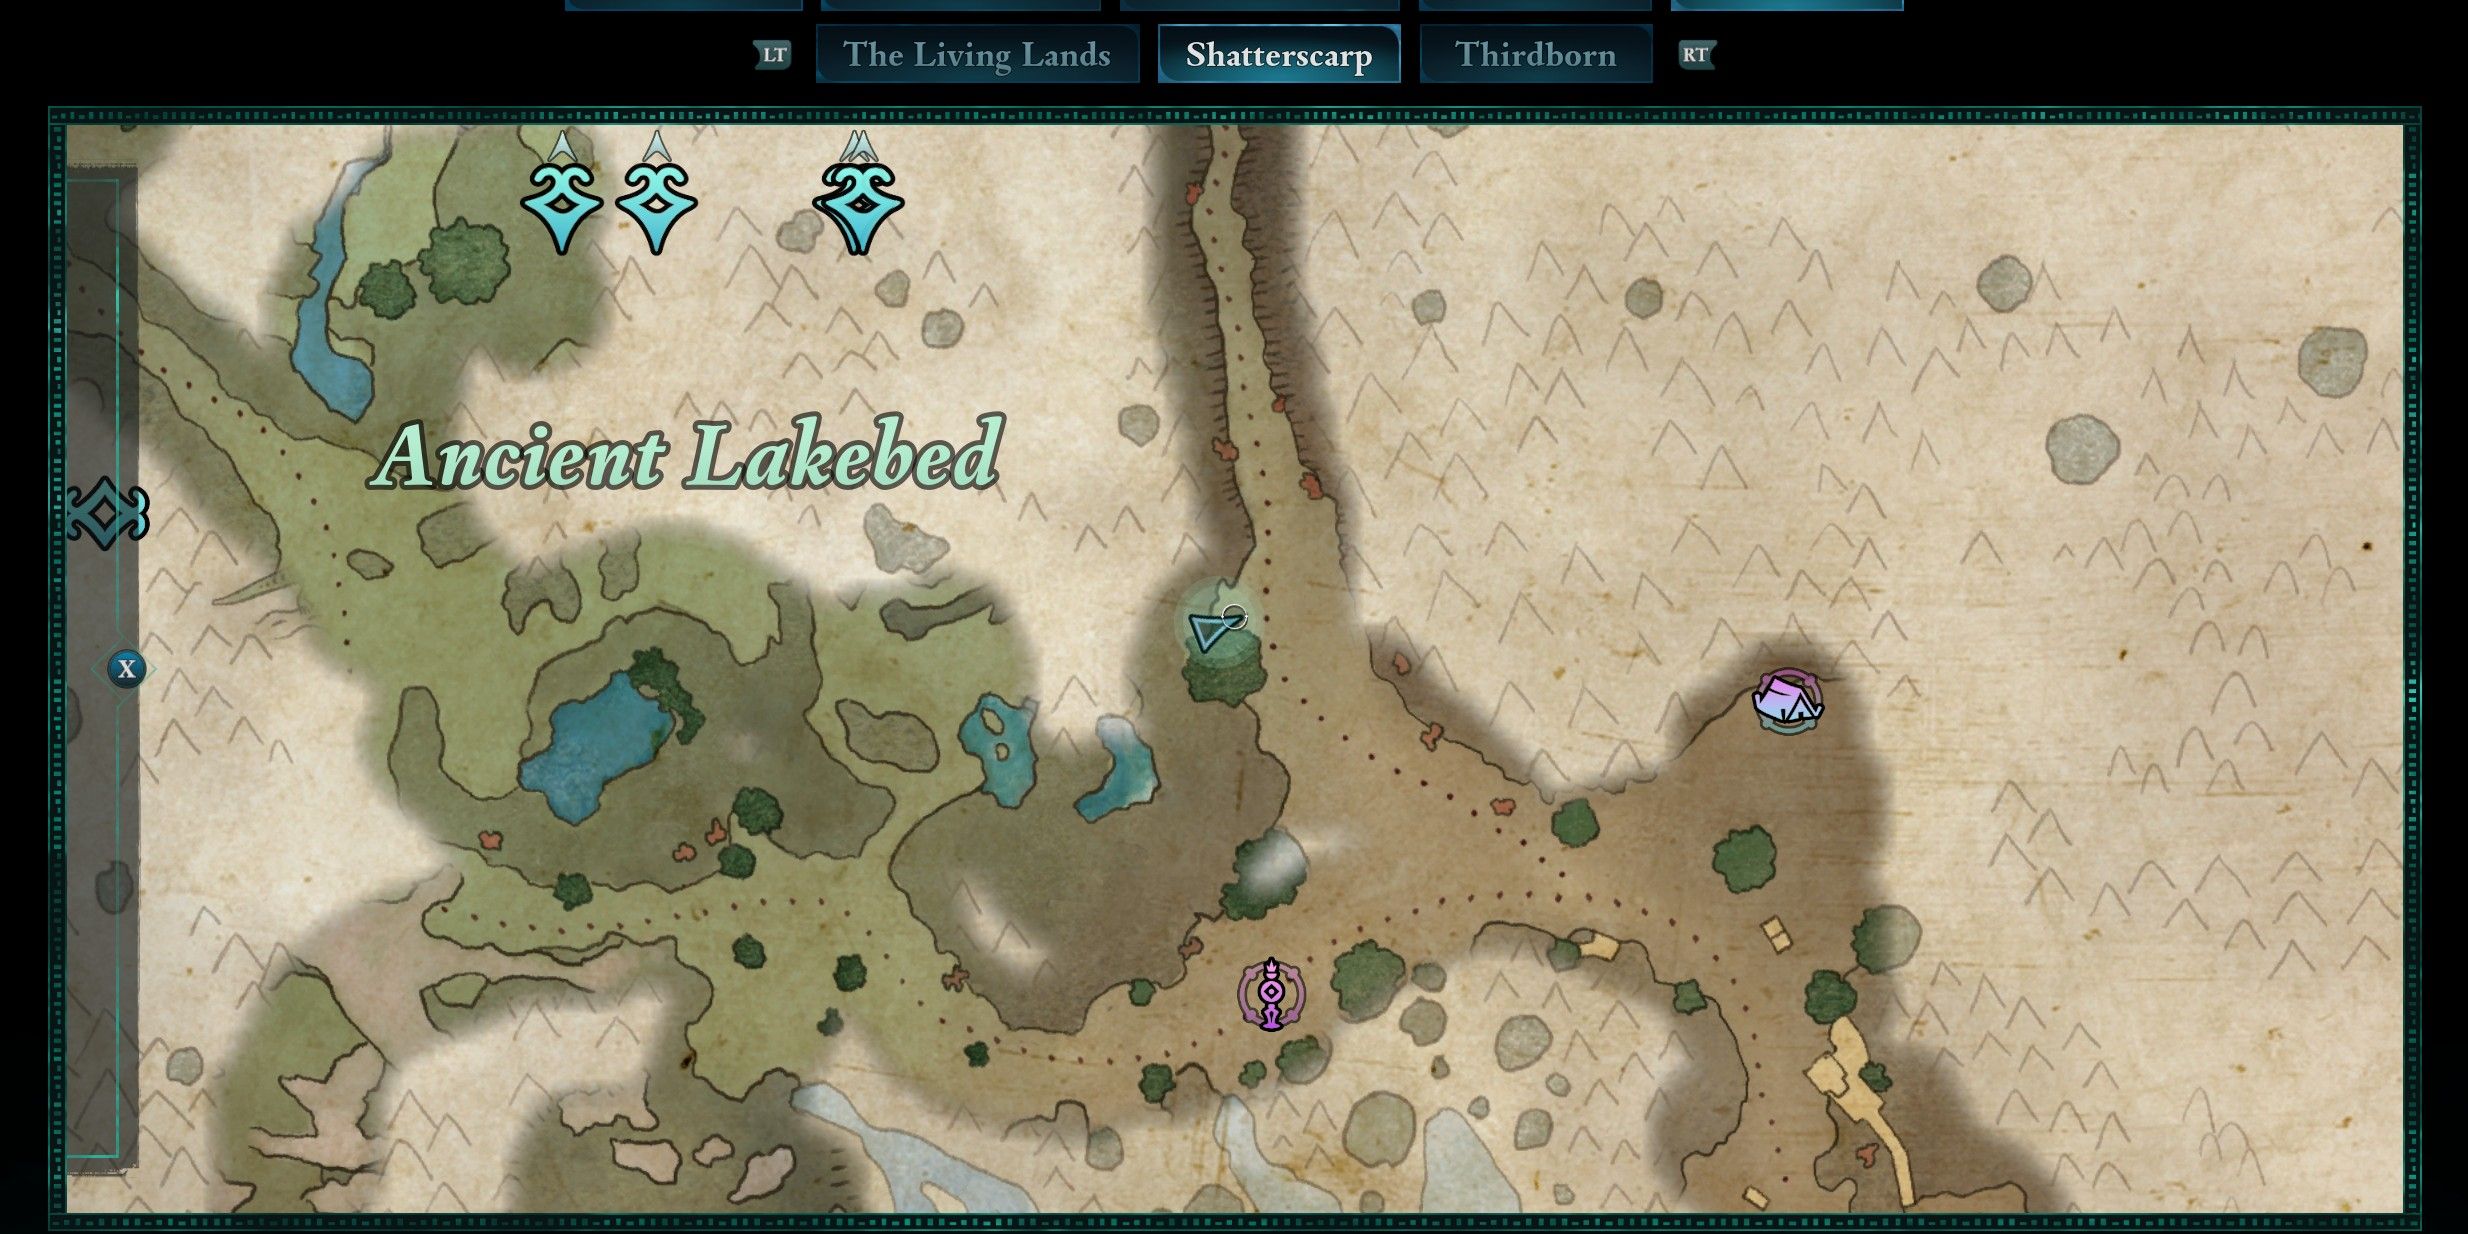
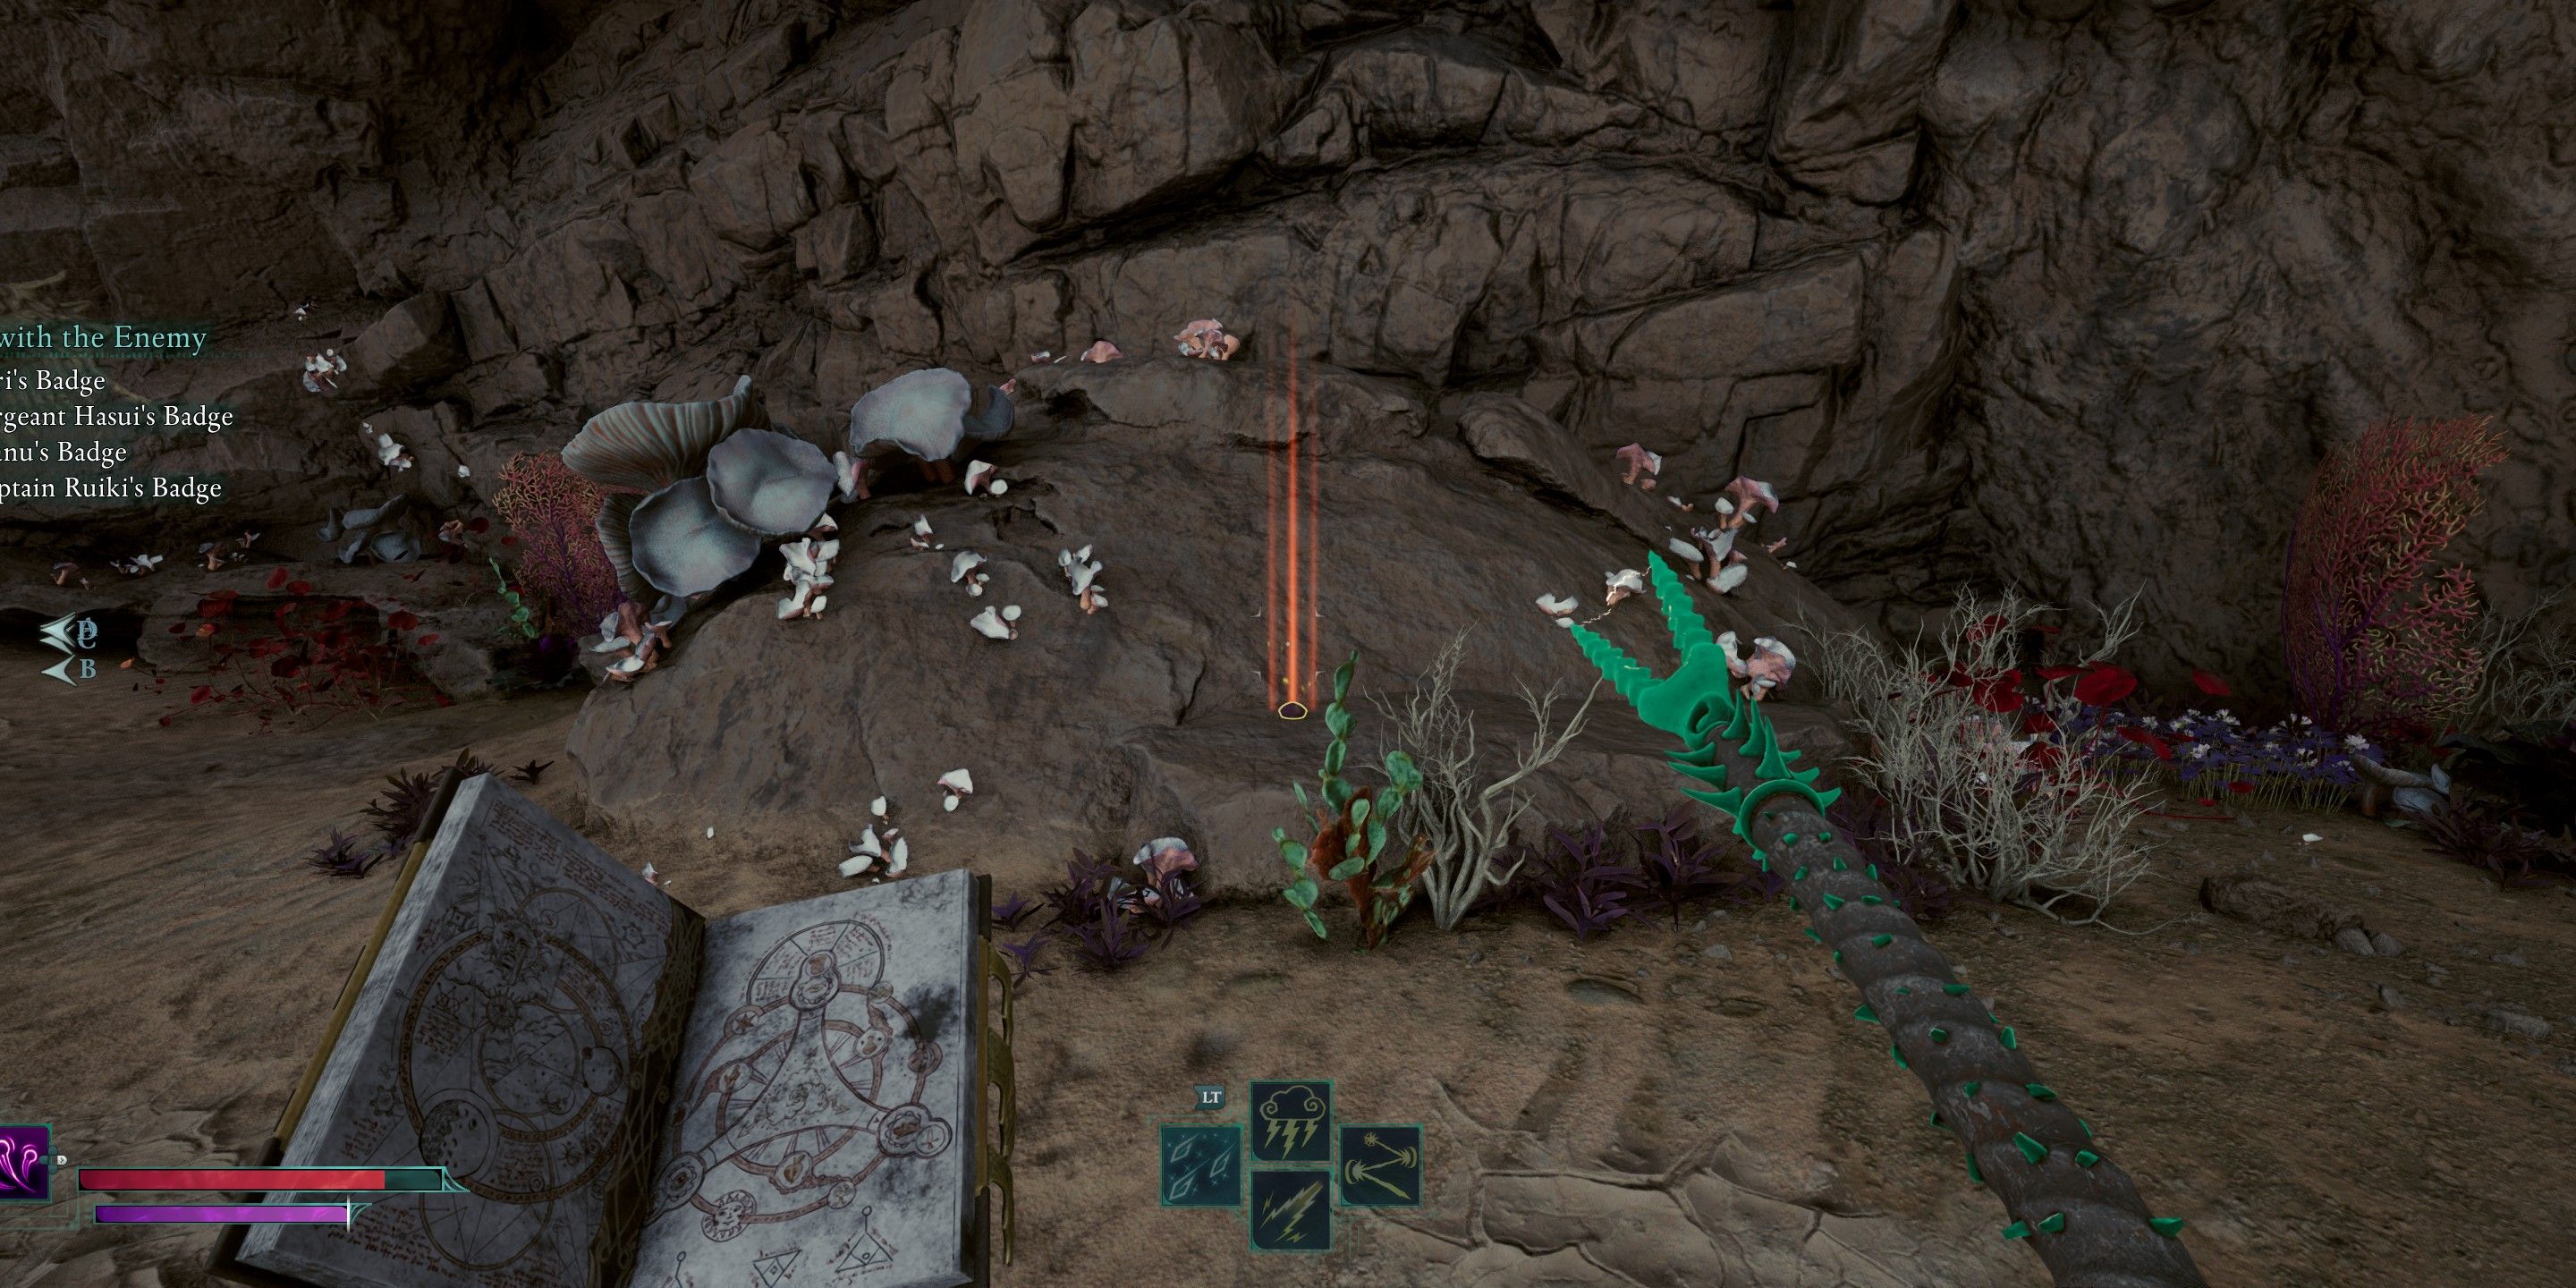
If you depart from the Thirdborn Party Camp and make your way upward towards where you’ll find the First Encounter with the Enemy quest, you will come across the location you’re looking for. But keep in mind that it’s tucked away inside a cave that isn’t immediately noticeable. Search for some bodies scattered nearby, then follow or run along the cave until you spot the orange markings.
Topaz Eye – Leviathan’s Hollow
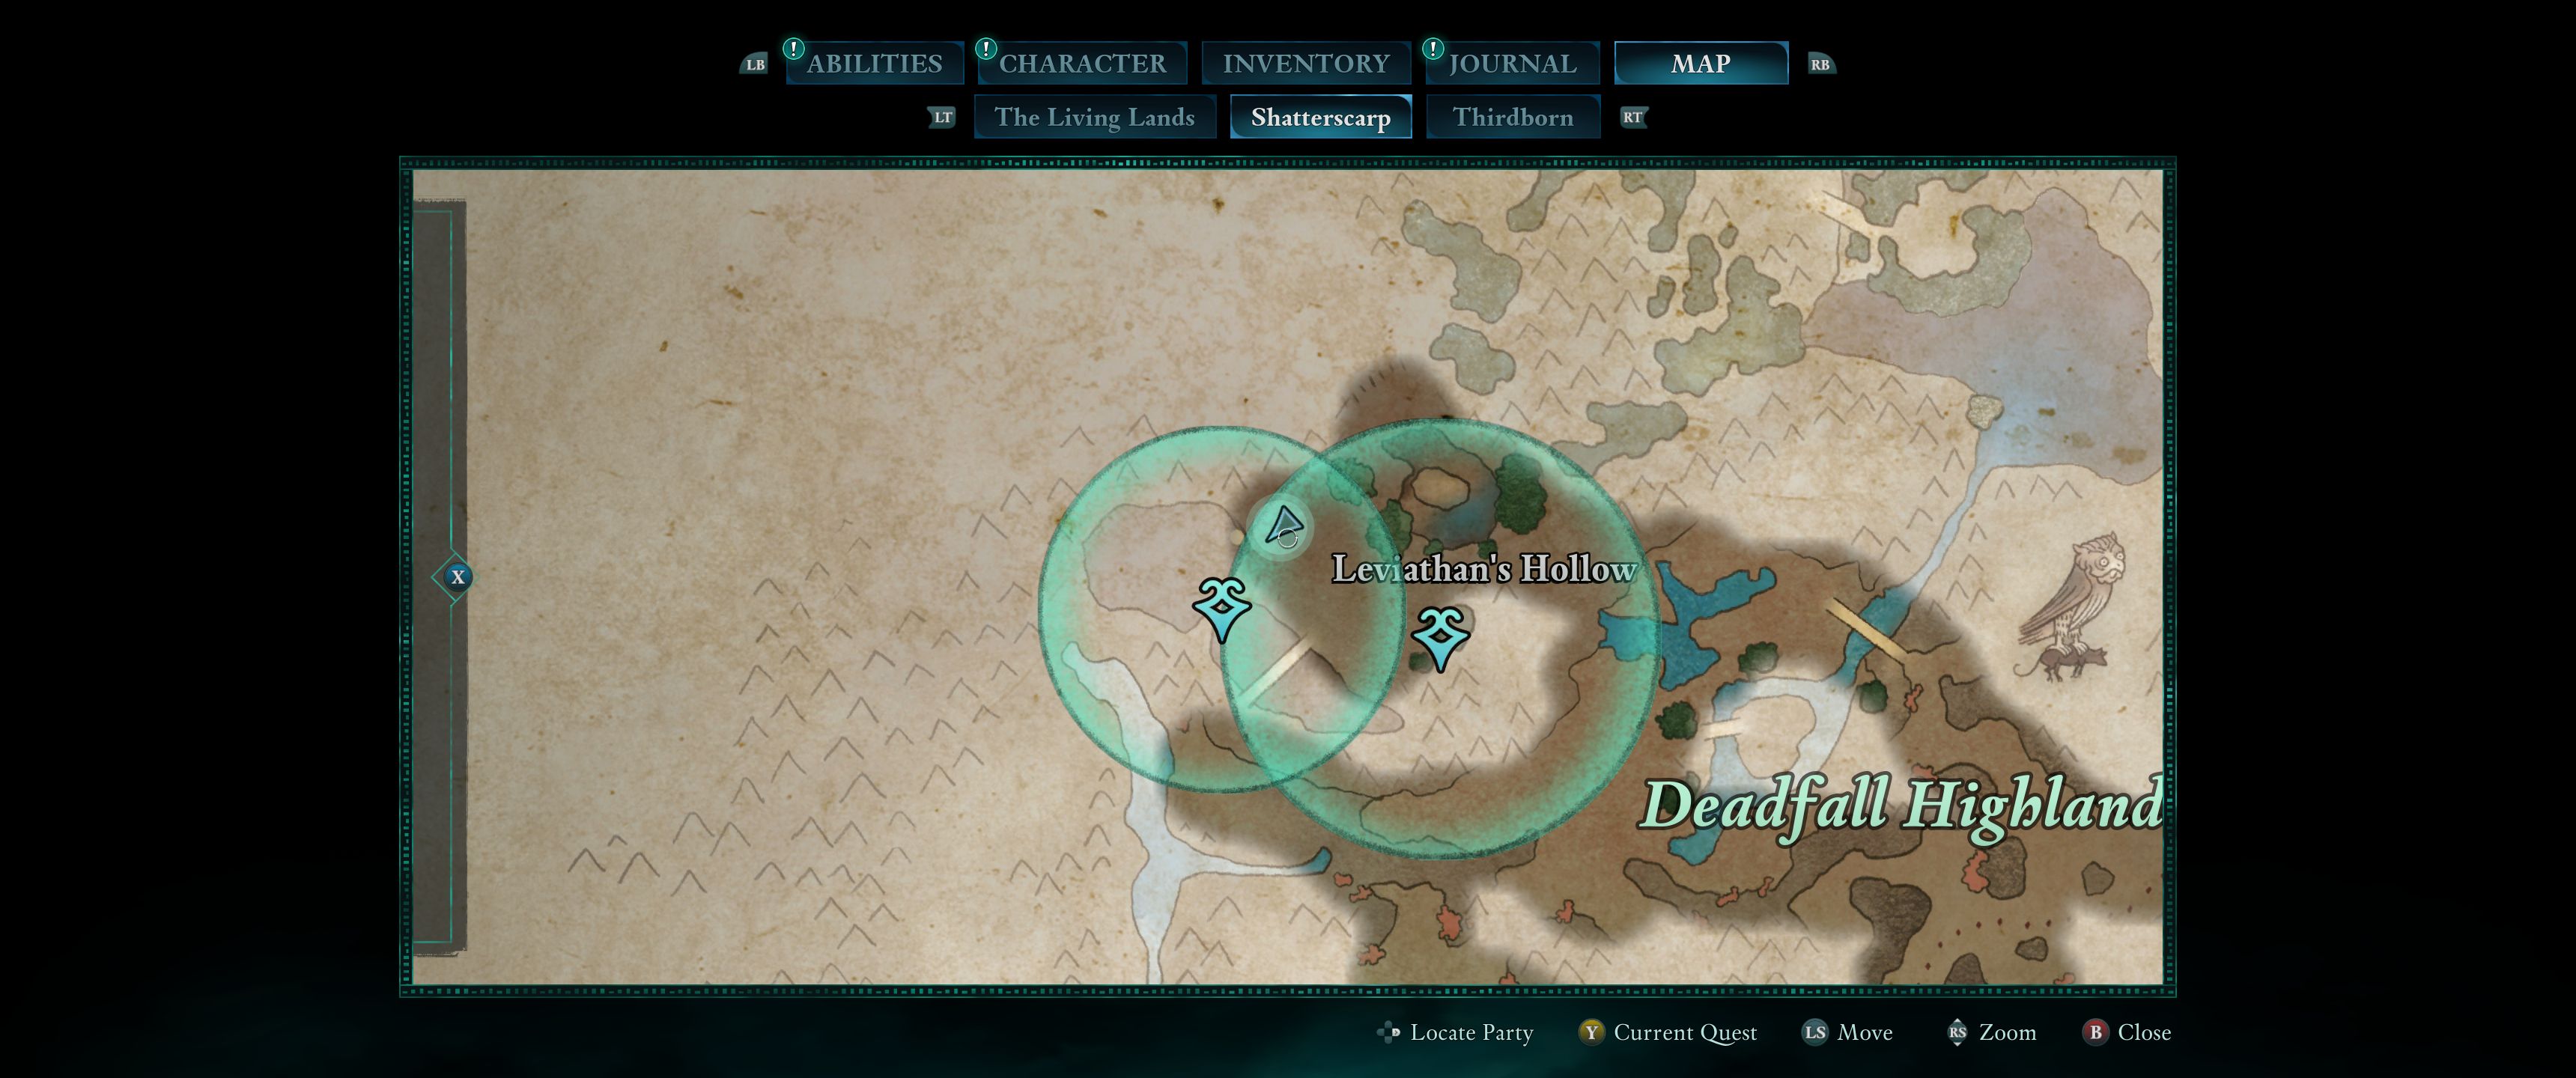
If you’re on the “First Contact with the Enemy” mission, you won’t overlook it. To complete this task, you should first conquer the camps situated outside the cave you’re investigating. Afterward, approach the large lizard’s mouth and dive into the water. Once submerged, make your way to the cave entrance and dispose of the adversaries that are inside the cave.
In simpler terms, I’d like to emphasize that this first major side quest in Thirdborn turned out to be a more challenging camp and battle than anticipated. I assumed it would be a bit easier given its status, but let me warn you, it’s quite a tough fight. Make sure you’re well-prepared, armed with the finest weapons available in Avowed. After defeating the enemies, move to your left, climbing the balconies. Ahead, there’s another smaller group of adversaries, and a path that loops around the top of the main room if you wish to circumvent it.
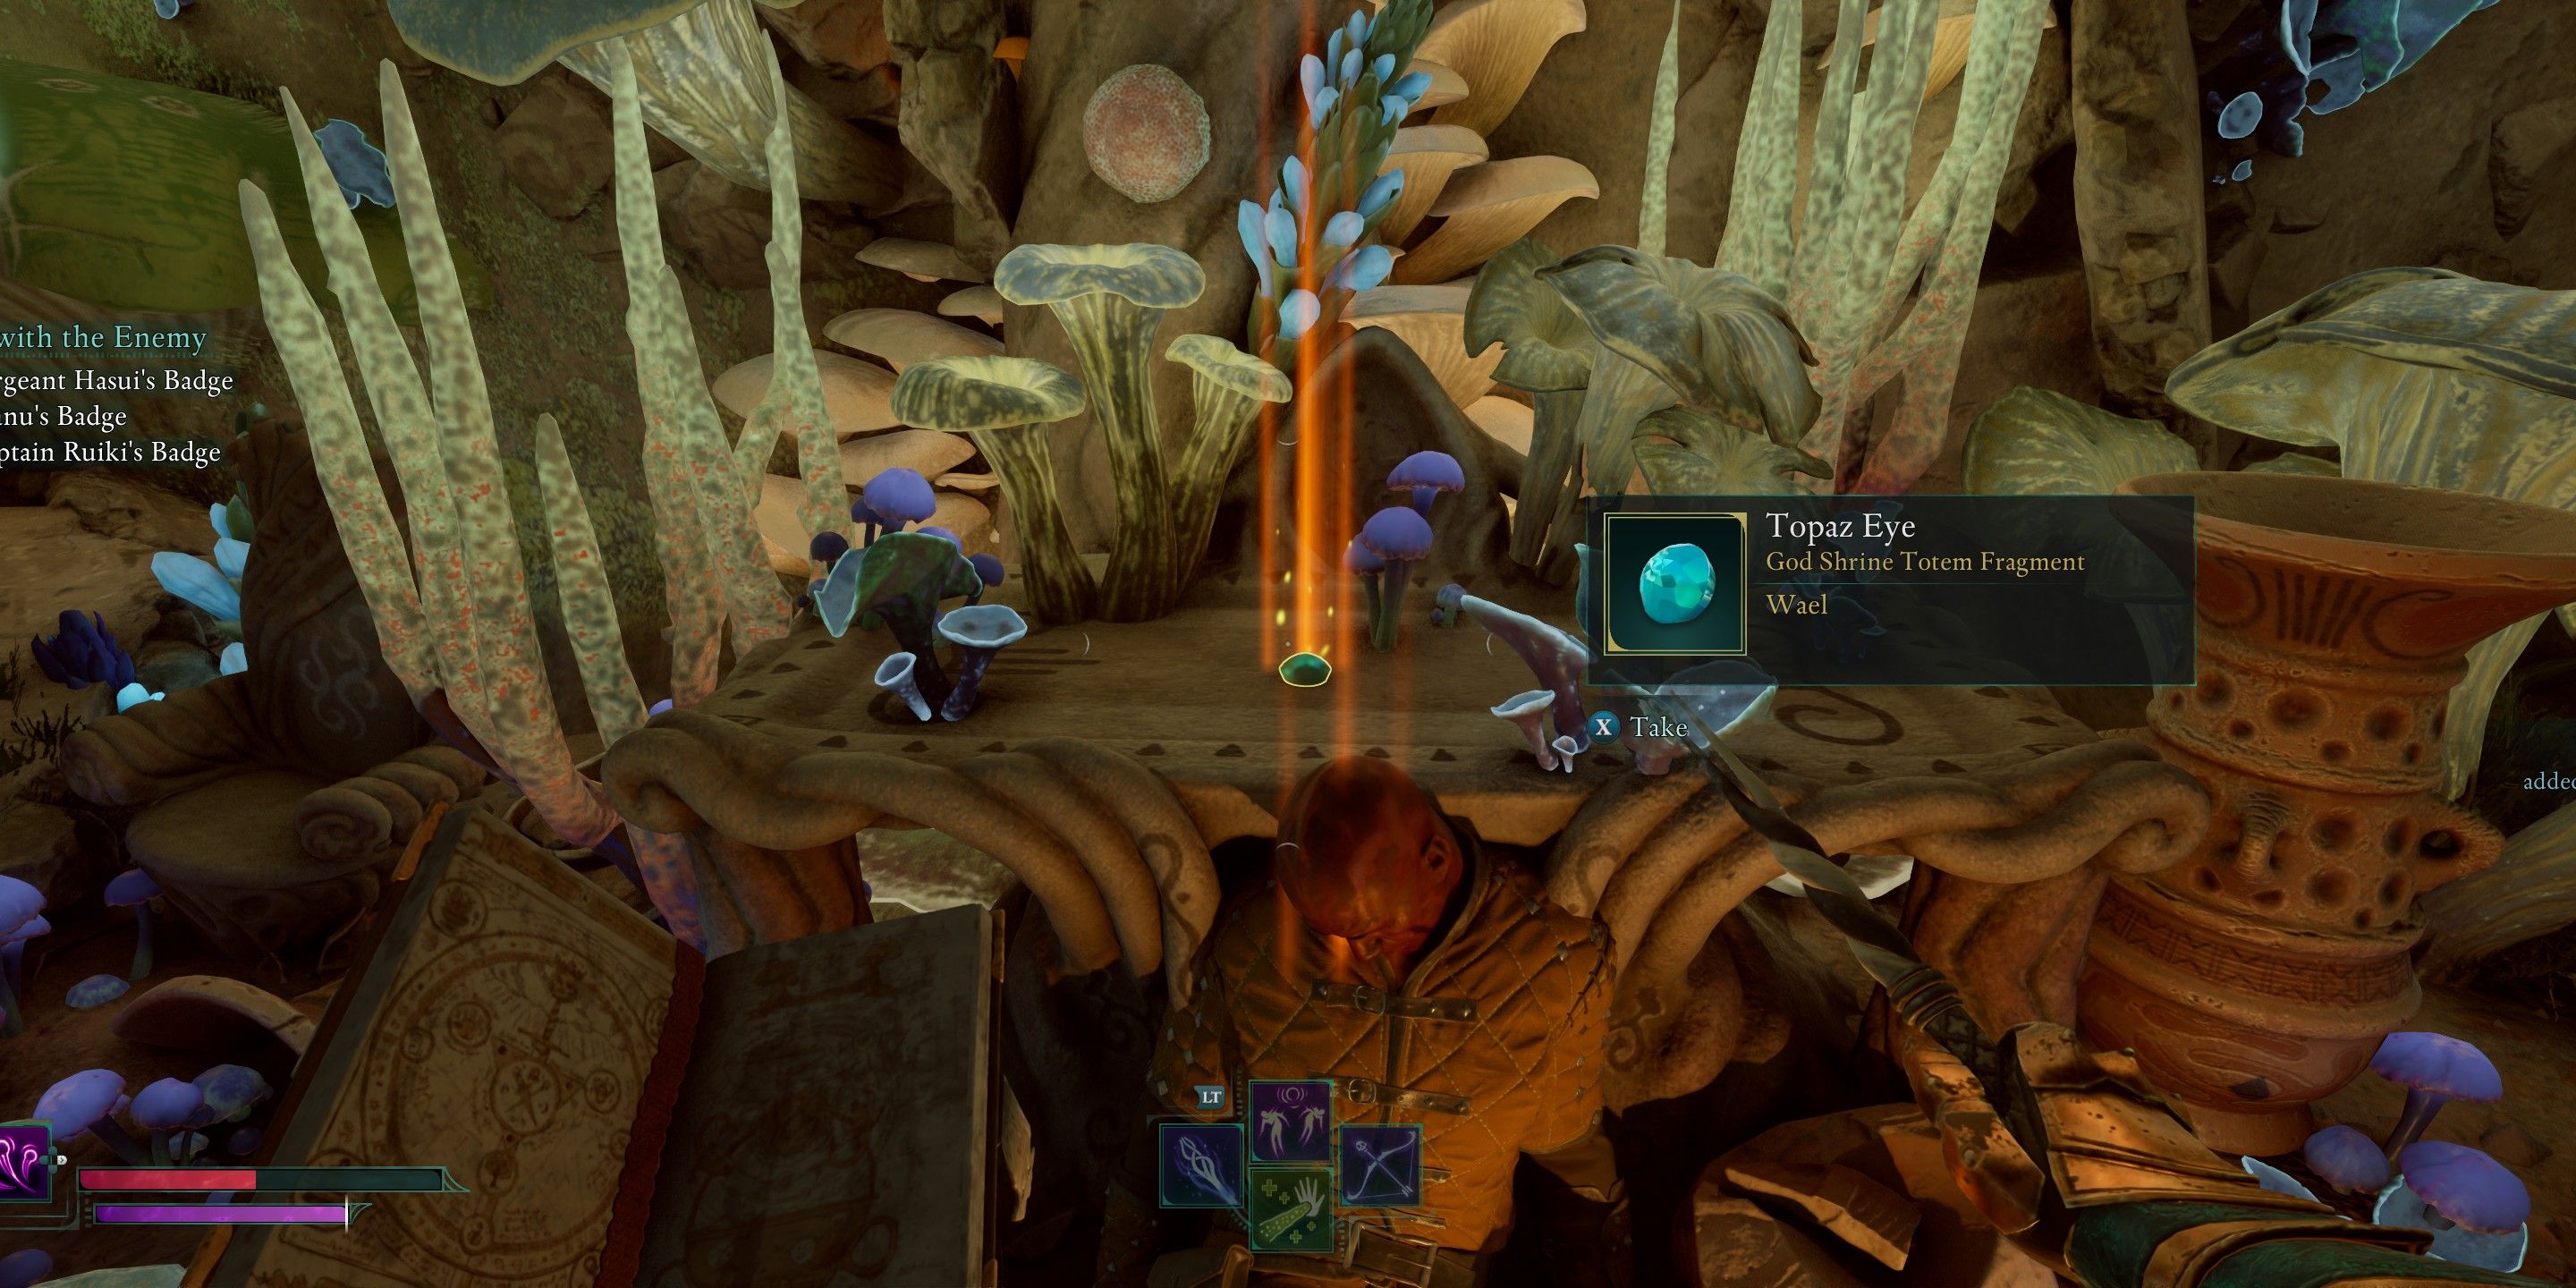
Following that trail, you’ll come across the Topaz Eye and one of your quest indicators – Manu’s Badge is actually situated at the shrine. Don’t forget to pick up both items when you can, as it will help you complete the quest.
Emerald Eye – Shark’s Teeth
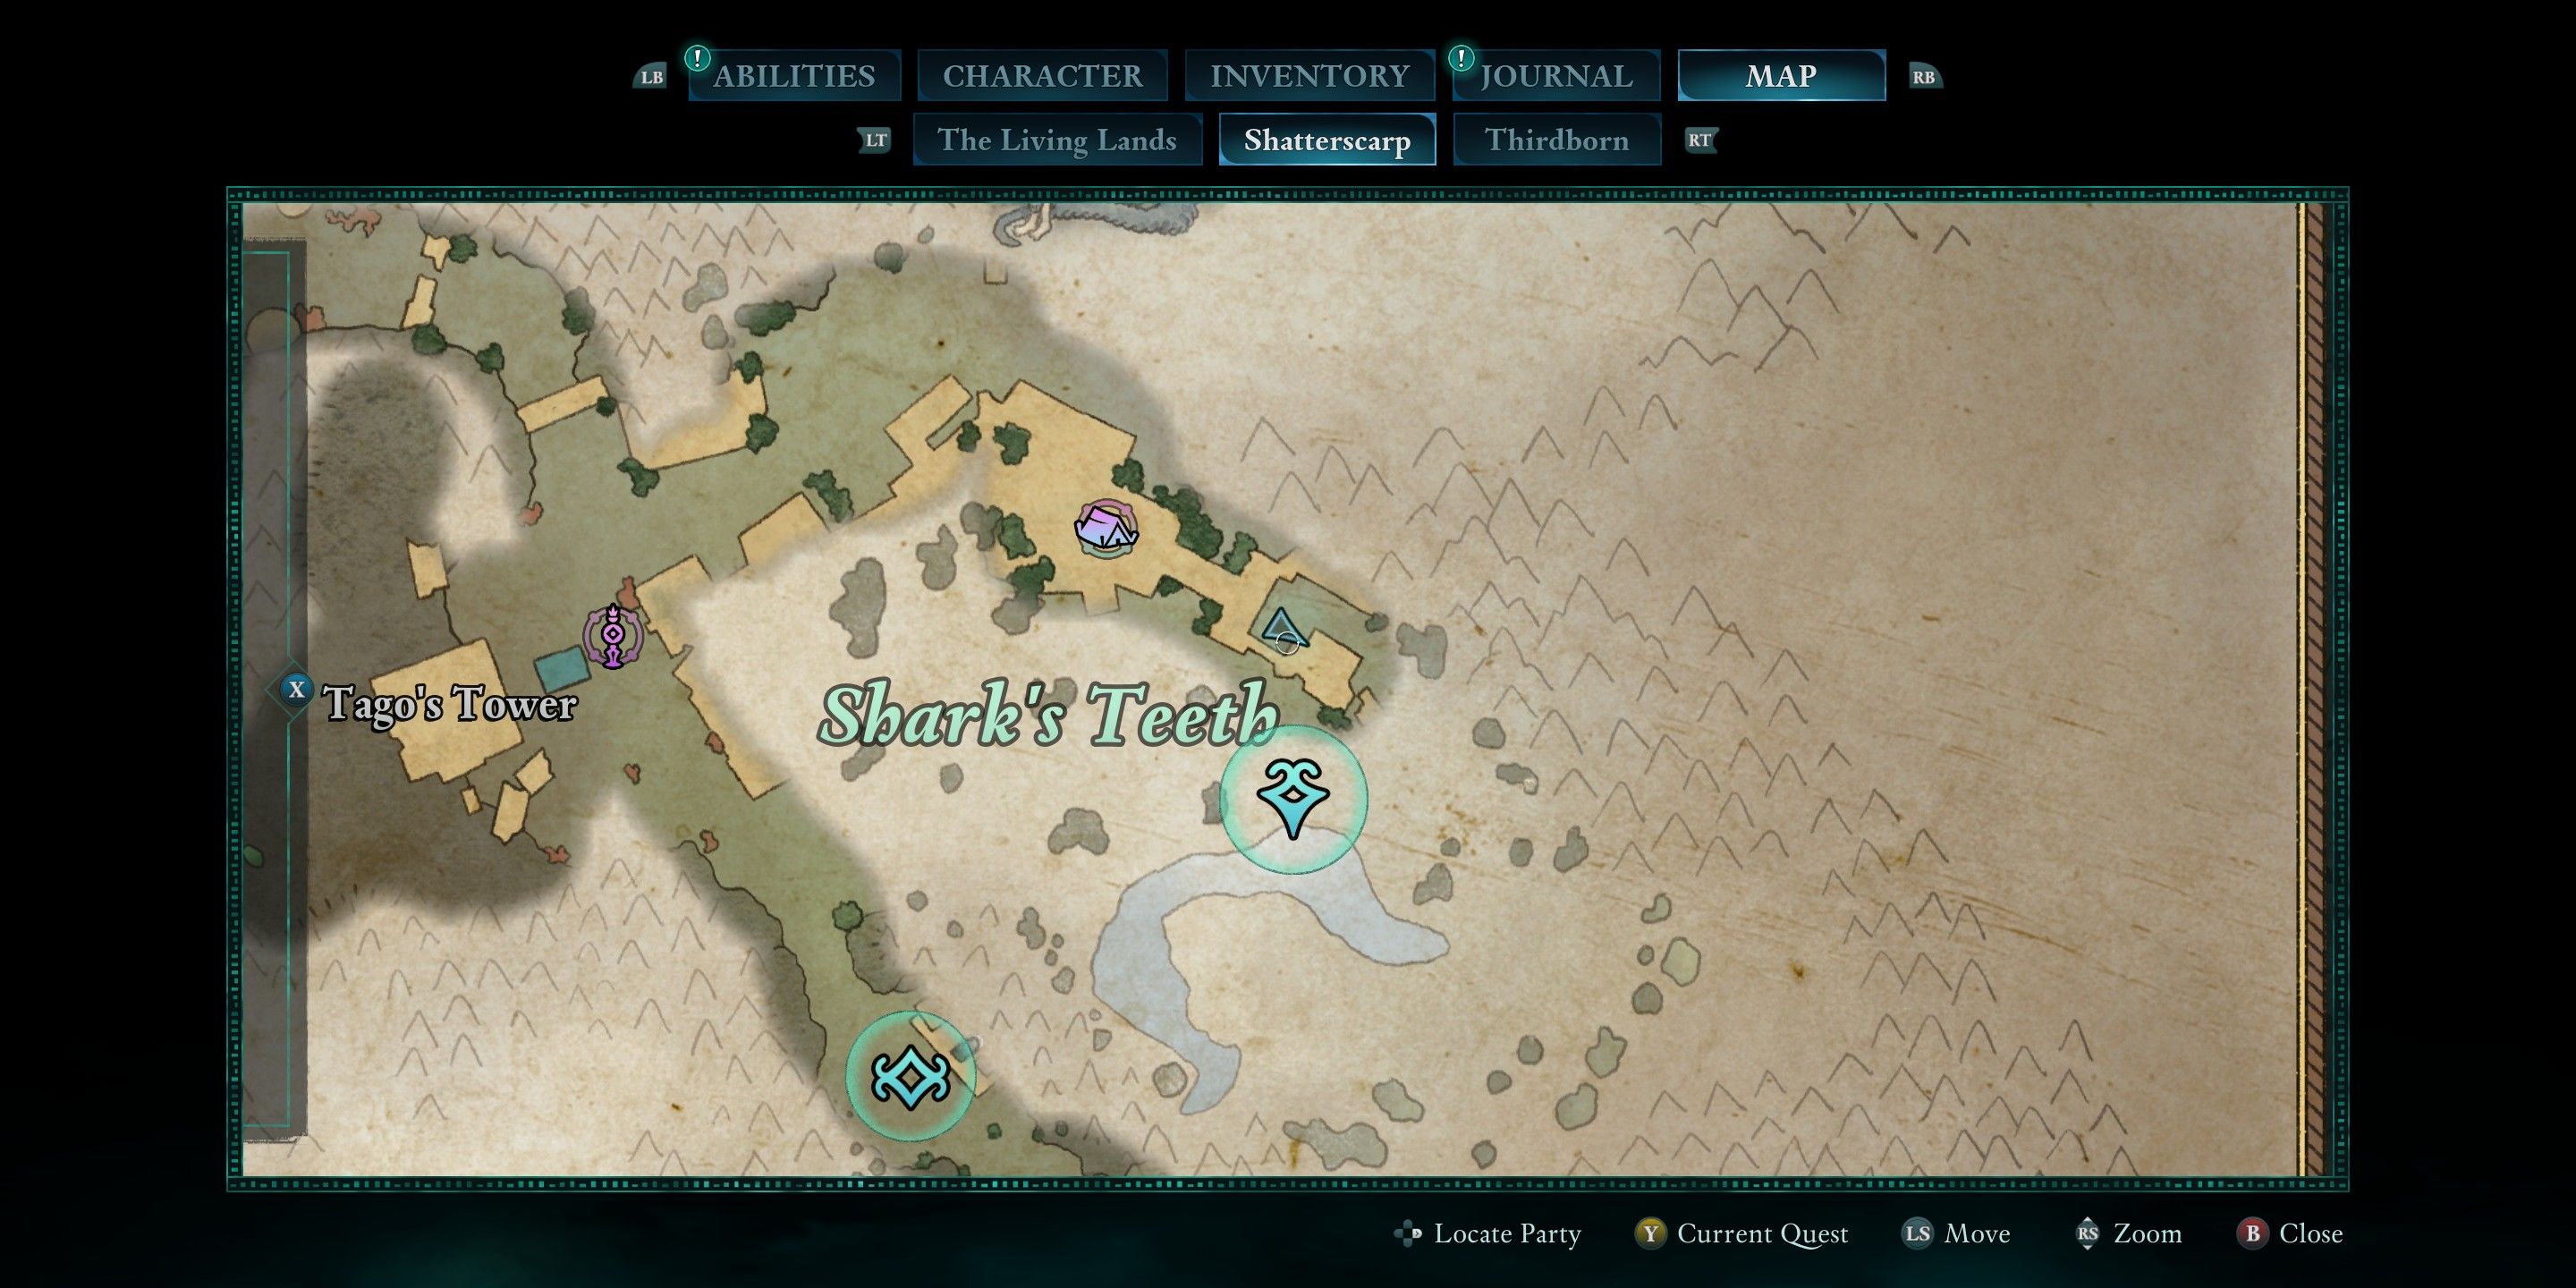
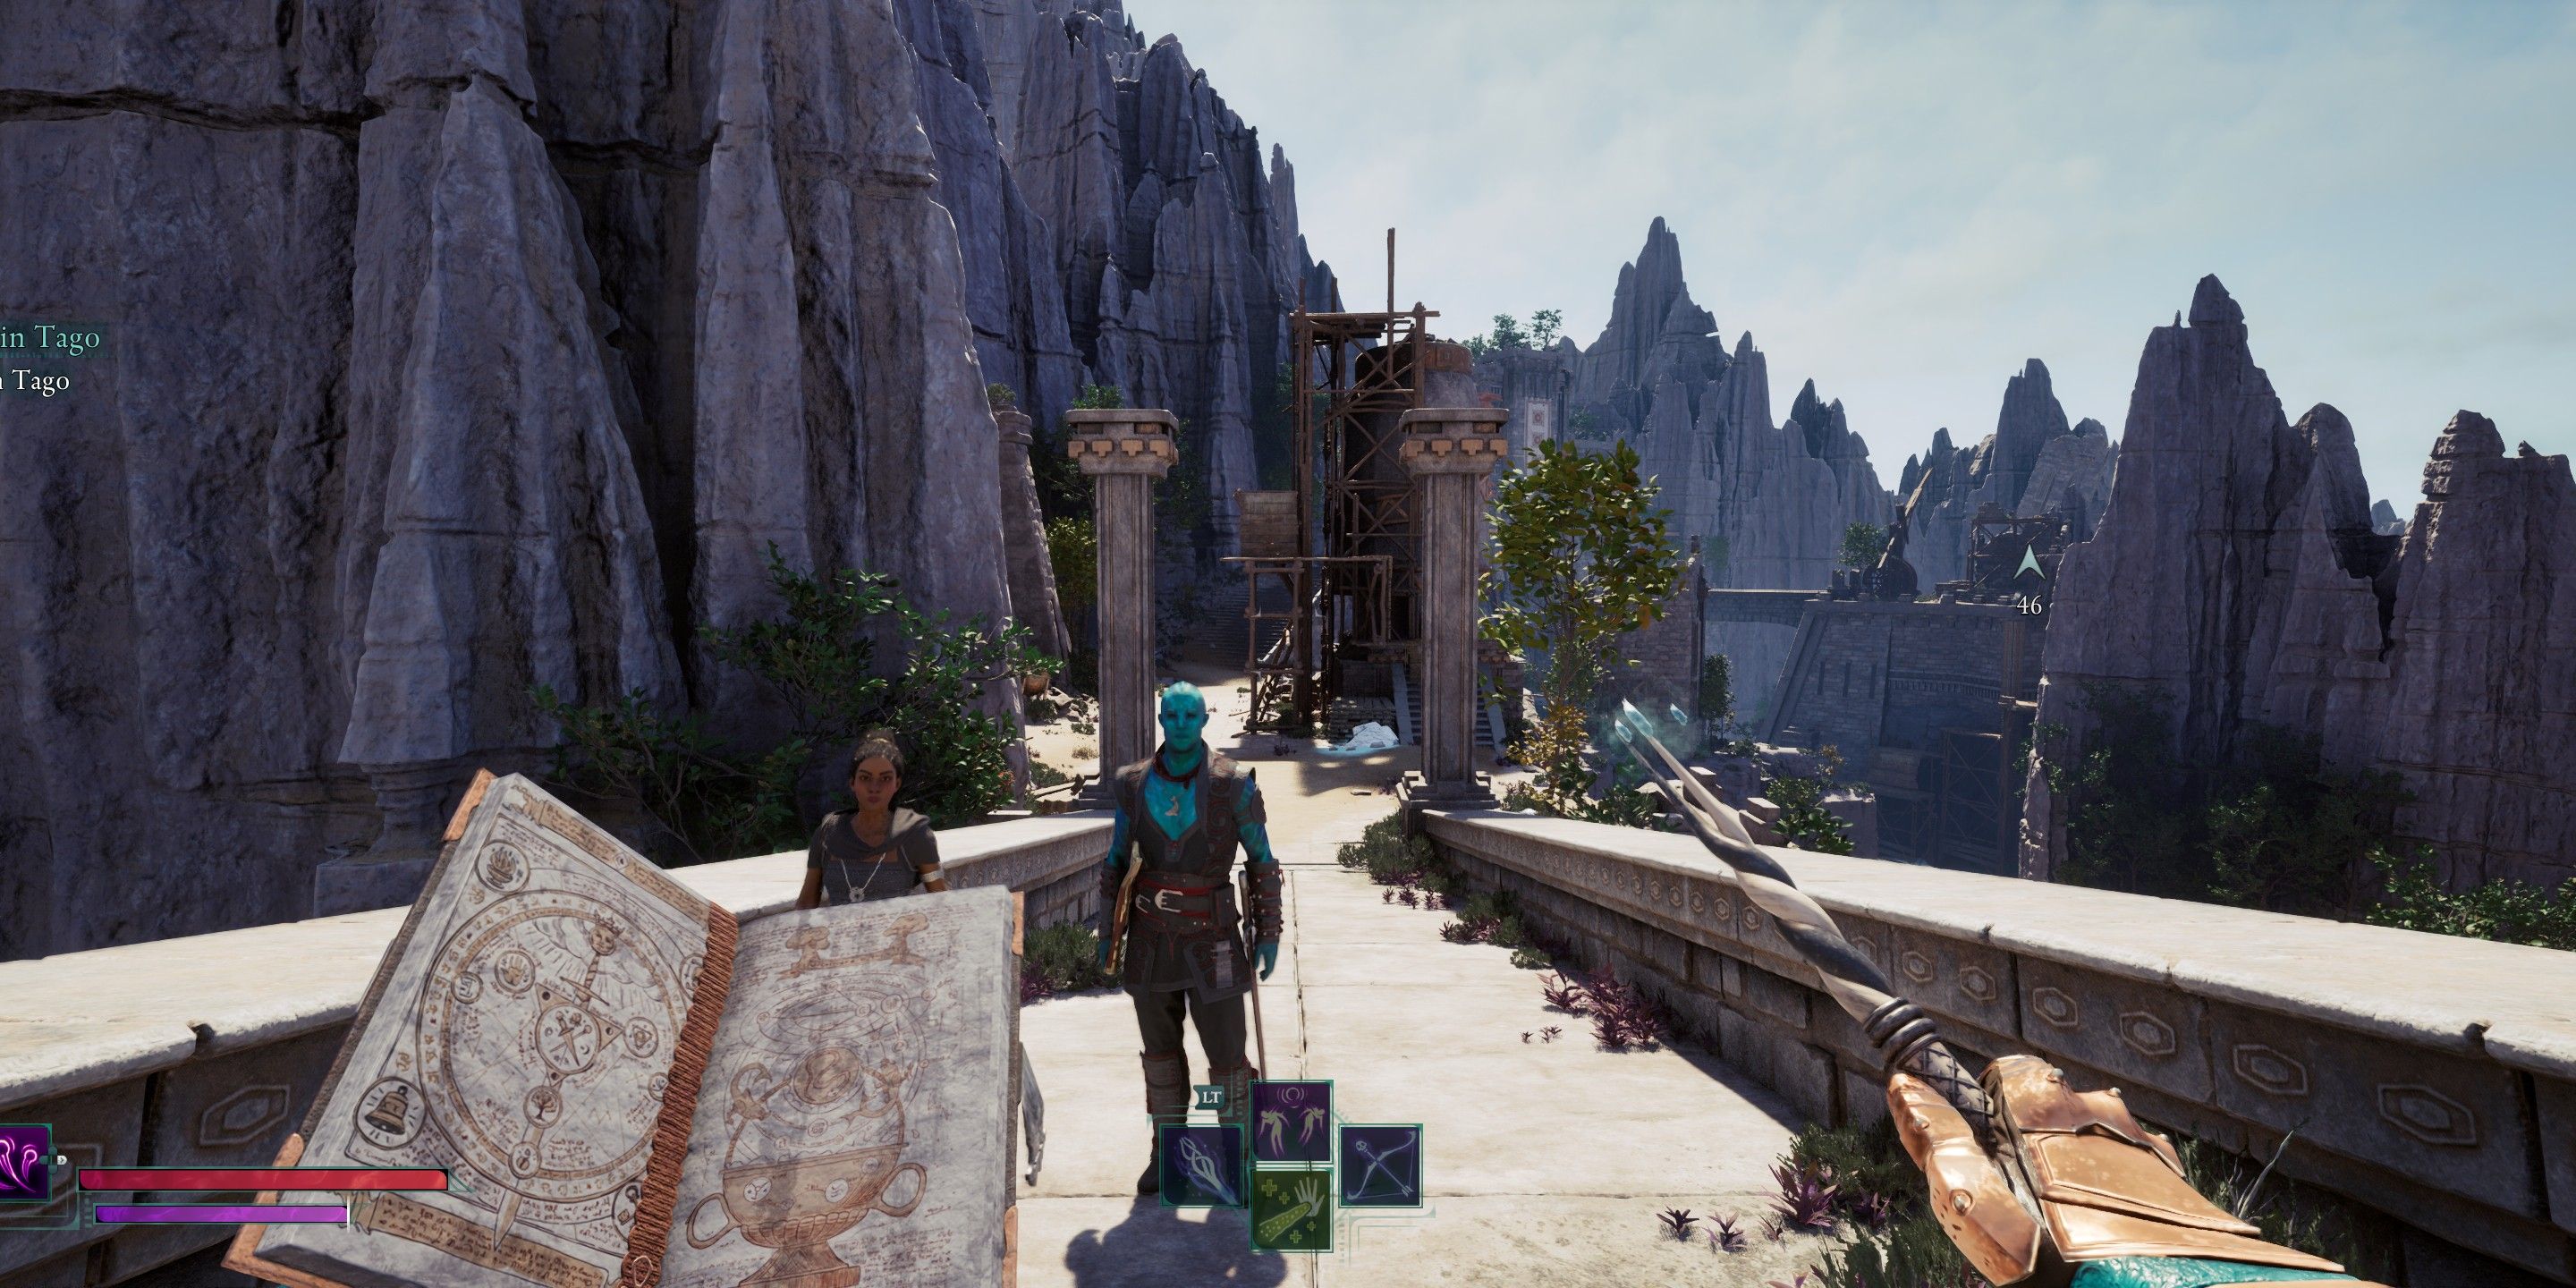
If you’ve managed to locate the Shark’s Teeth Party Camp, simply cross the undamaged bridge where you’ll see a statue with scaffolding around it. Ascend the scaffolding until you reach the top of the statue’s head, and there you will find the Emerald Eye. Once you have that item, the main quest can be found on one side of the camp, while a bounty awaits on the other.
Agate Eye – Sand Sea Ruins
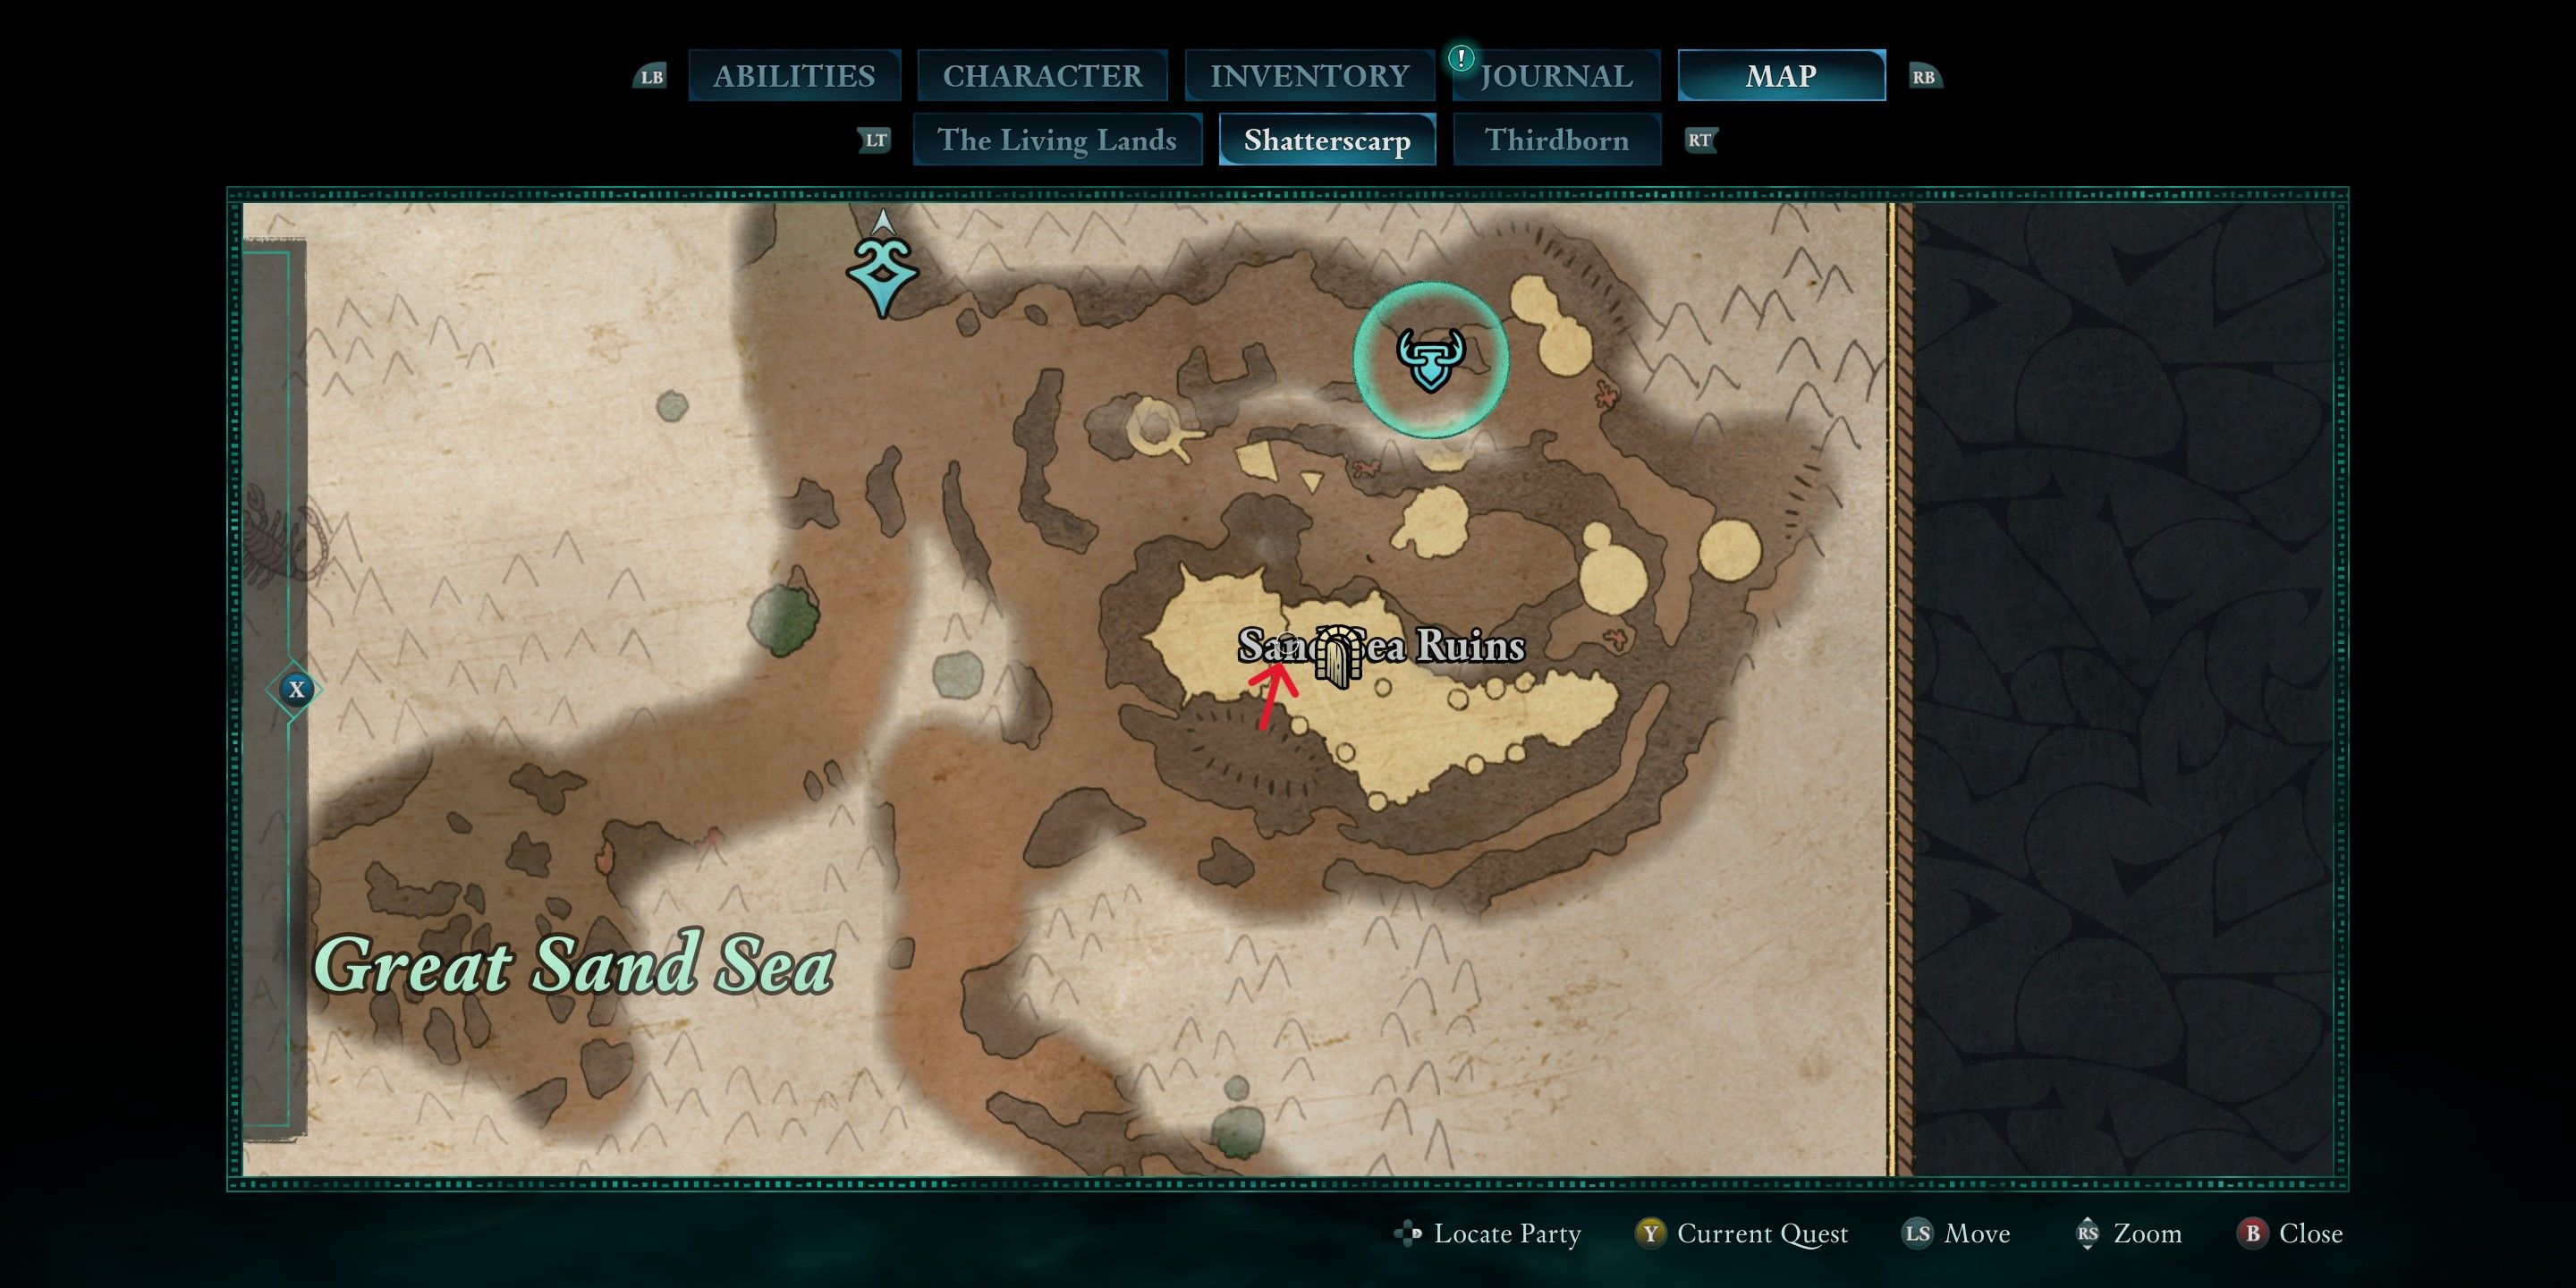
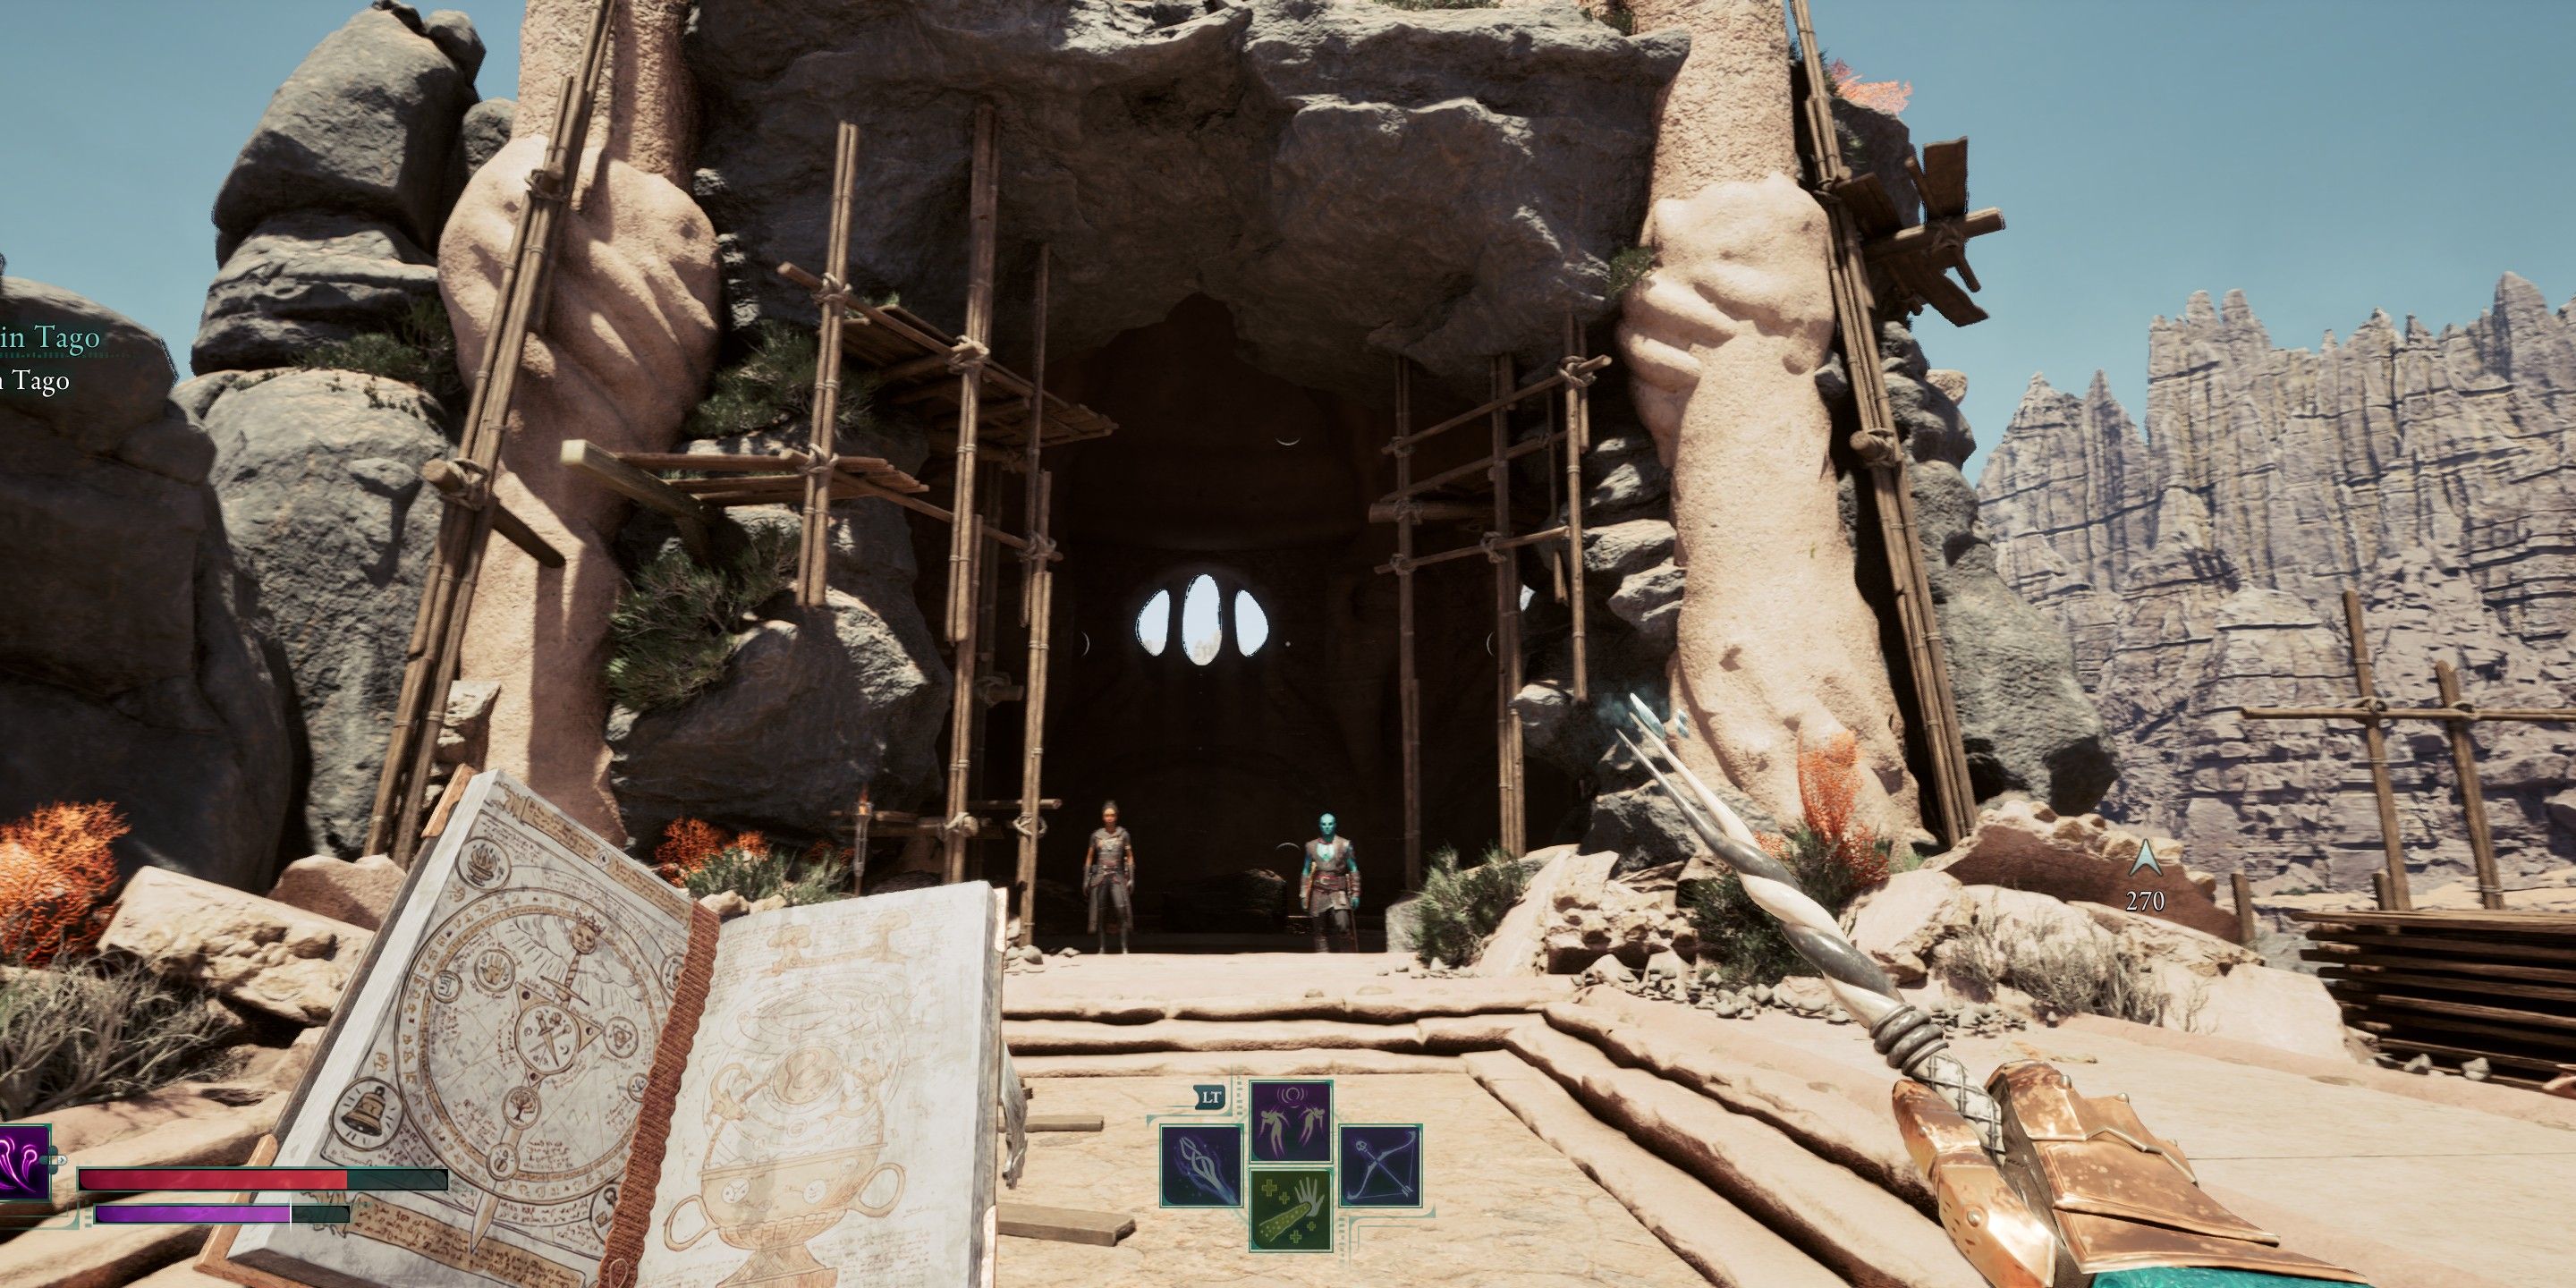
Approaching the ruins from the north side, you’ll find it easier to locate an entry point if you focus on the slightly smaller ruins positioned on your left. A path with a handful of adversaries will guide you to some scaffolding that you can ascend, granting you access into the main structure of the ruins.
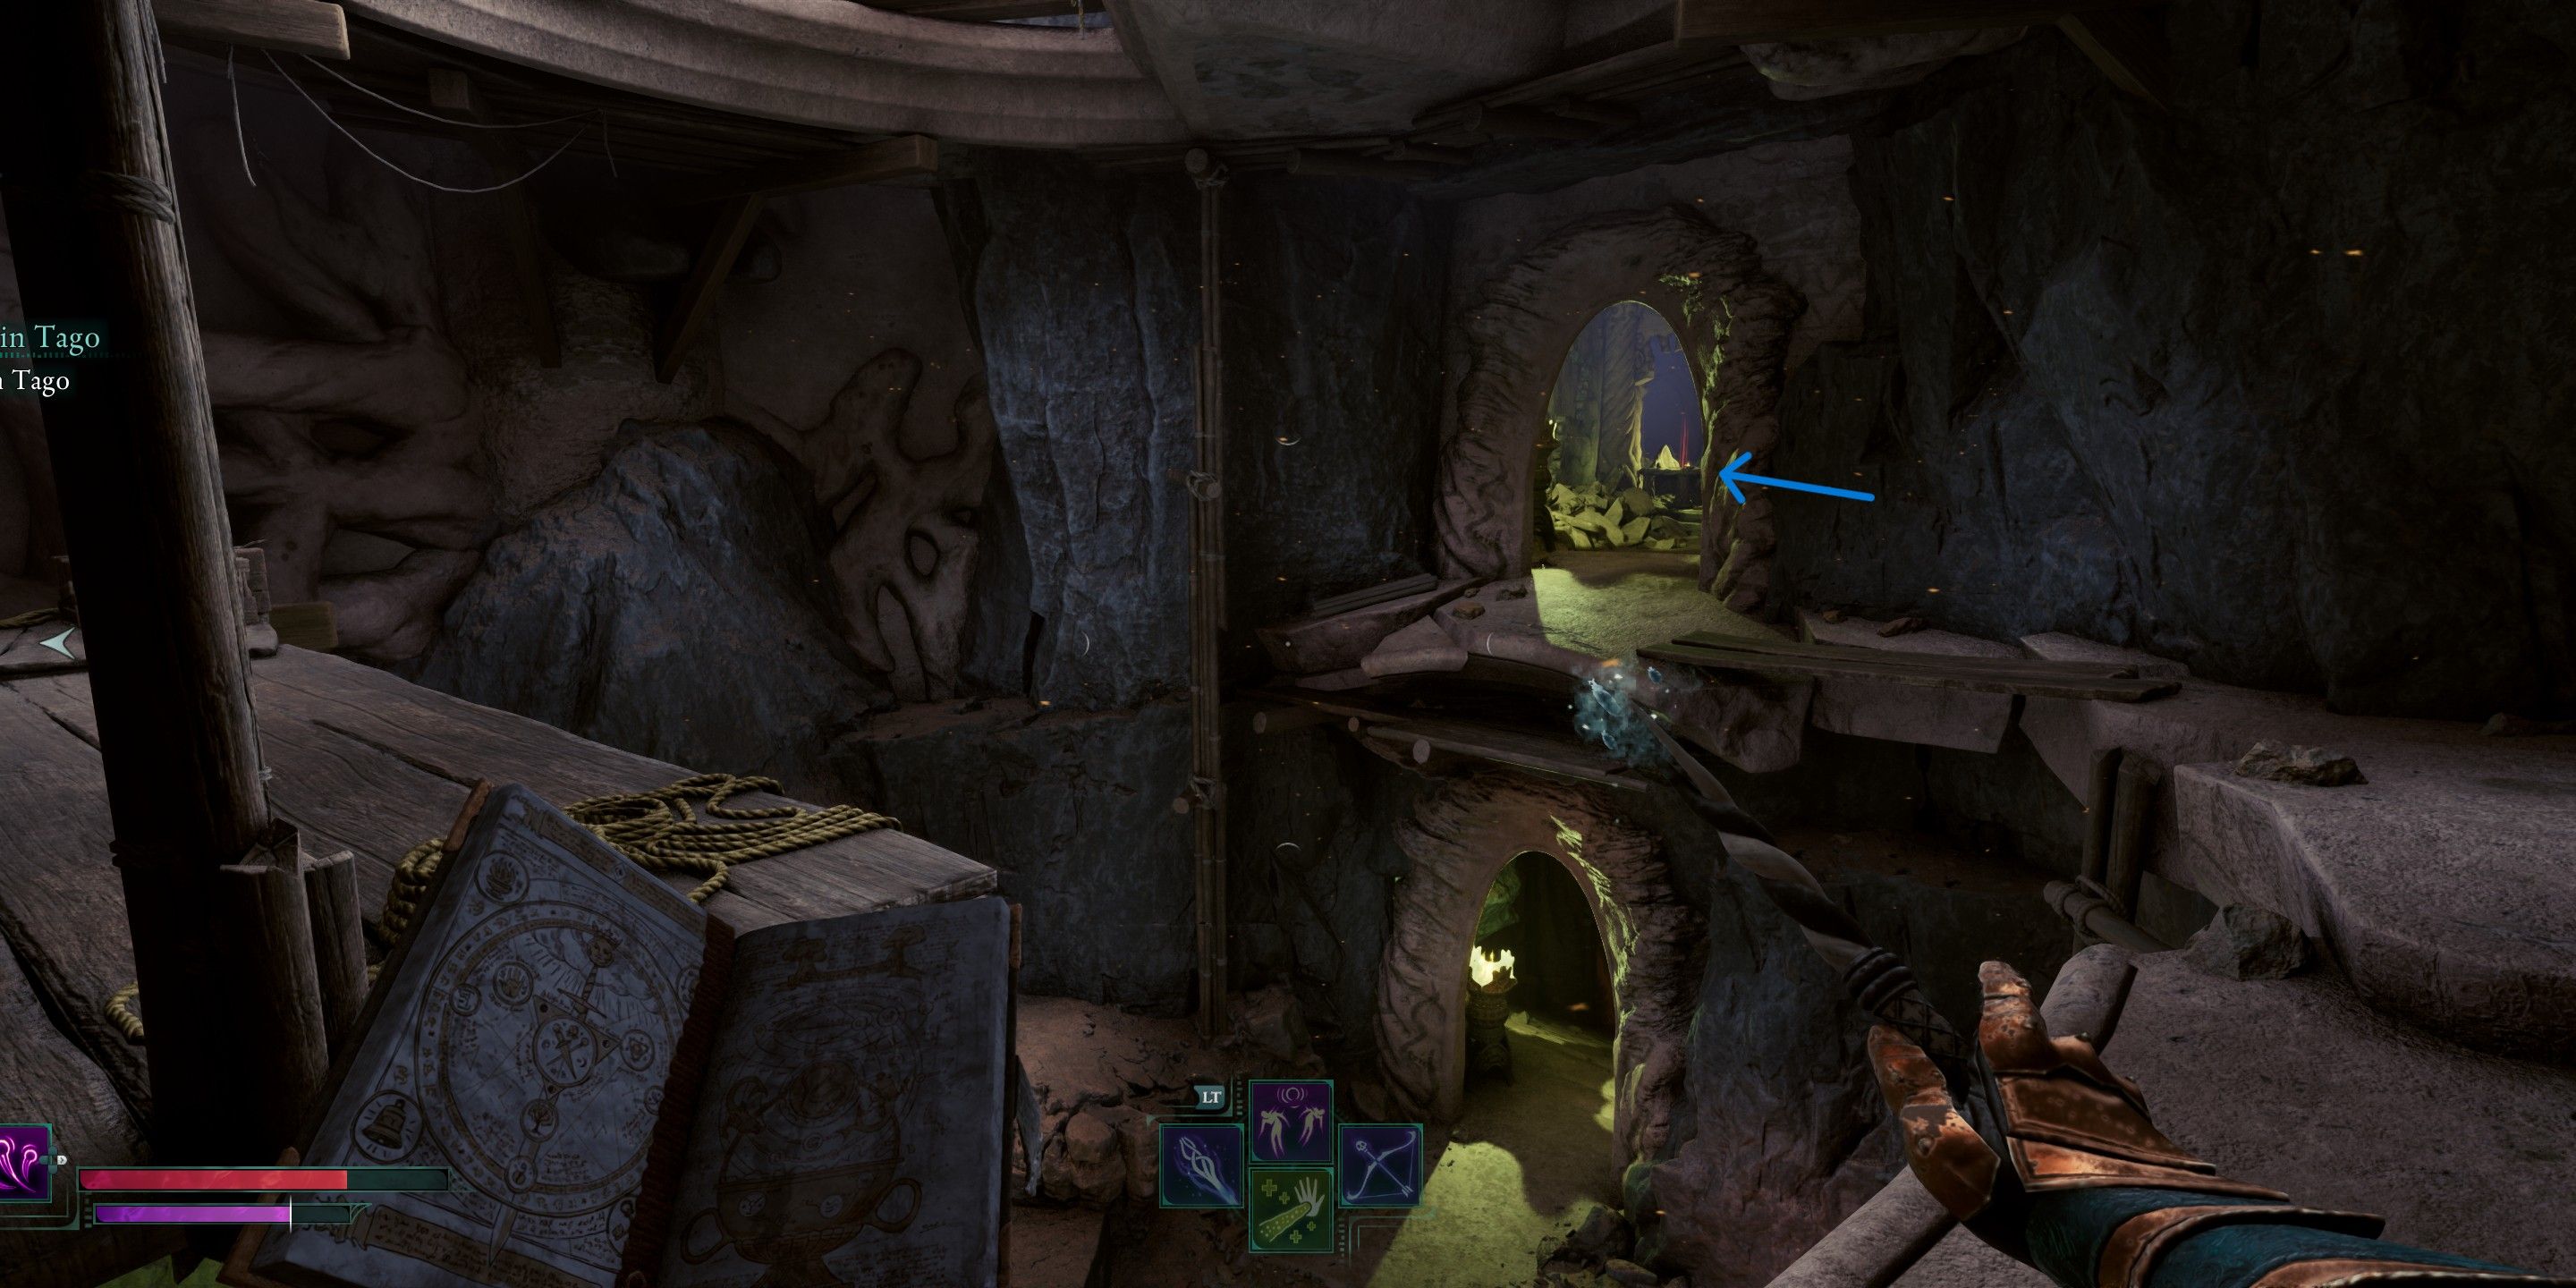
As a keen explorer, when I reach the level where I could plummet down, I’d rather descend to the second tier instead of the first. From there, it becomes effortless to navigate the pathway and secure the Agate Eye Totem fragment.
Sapphire Eye – Sand Sea Oasis
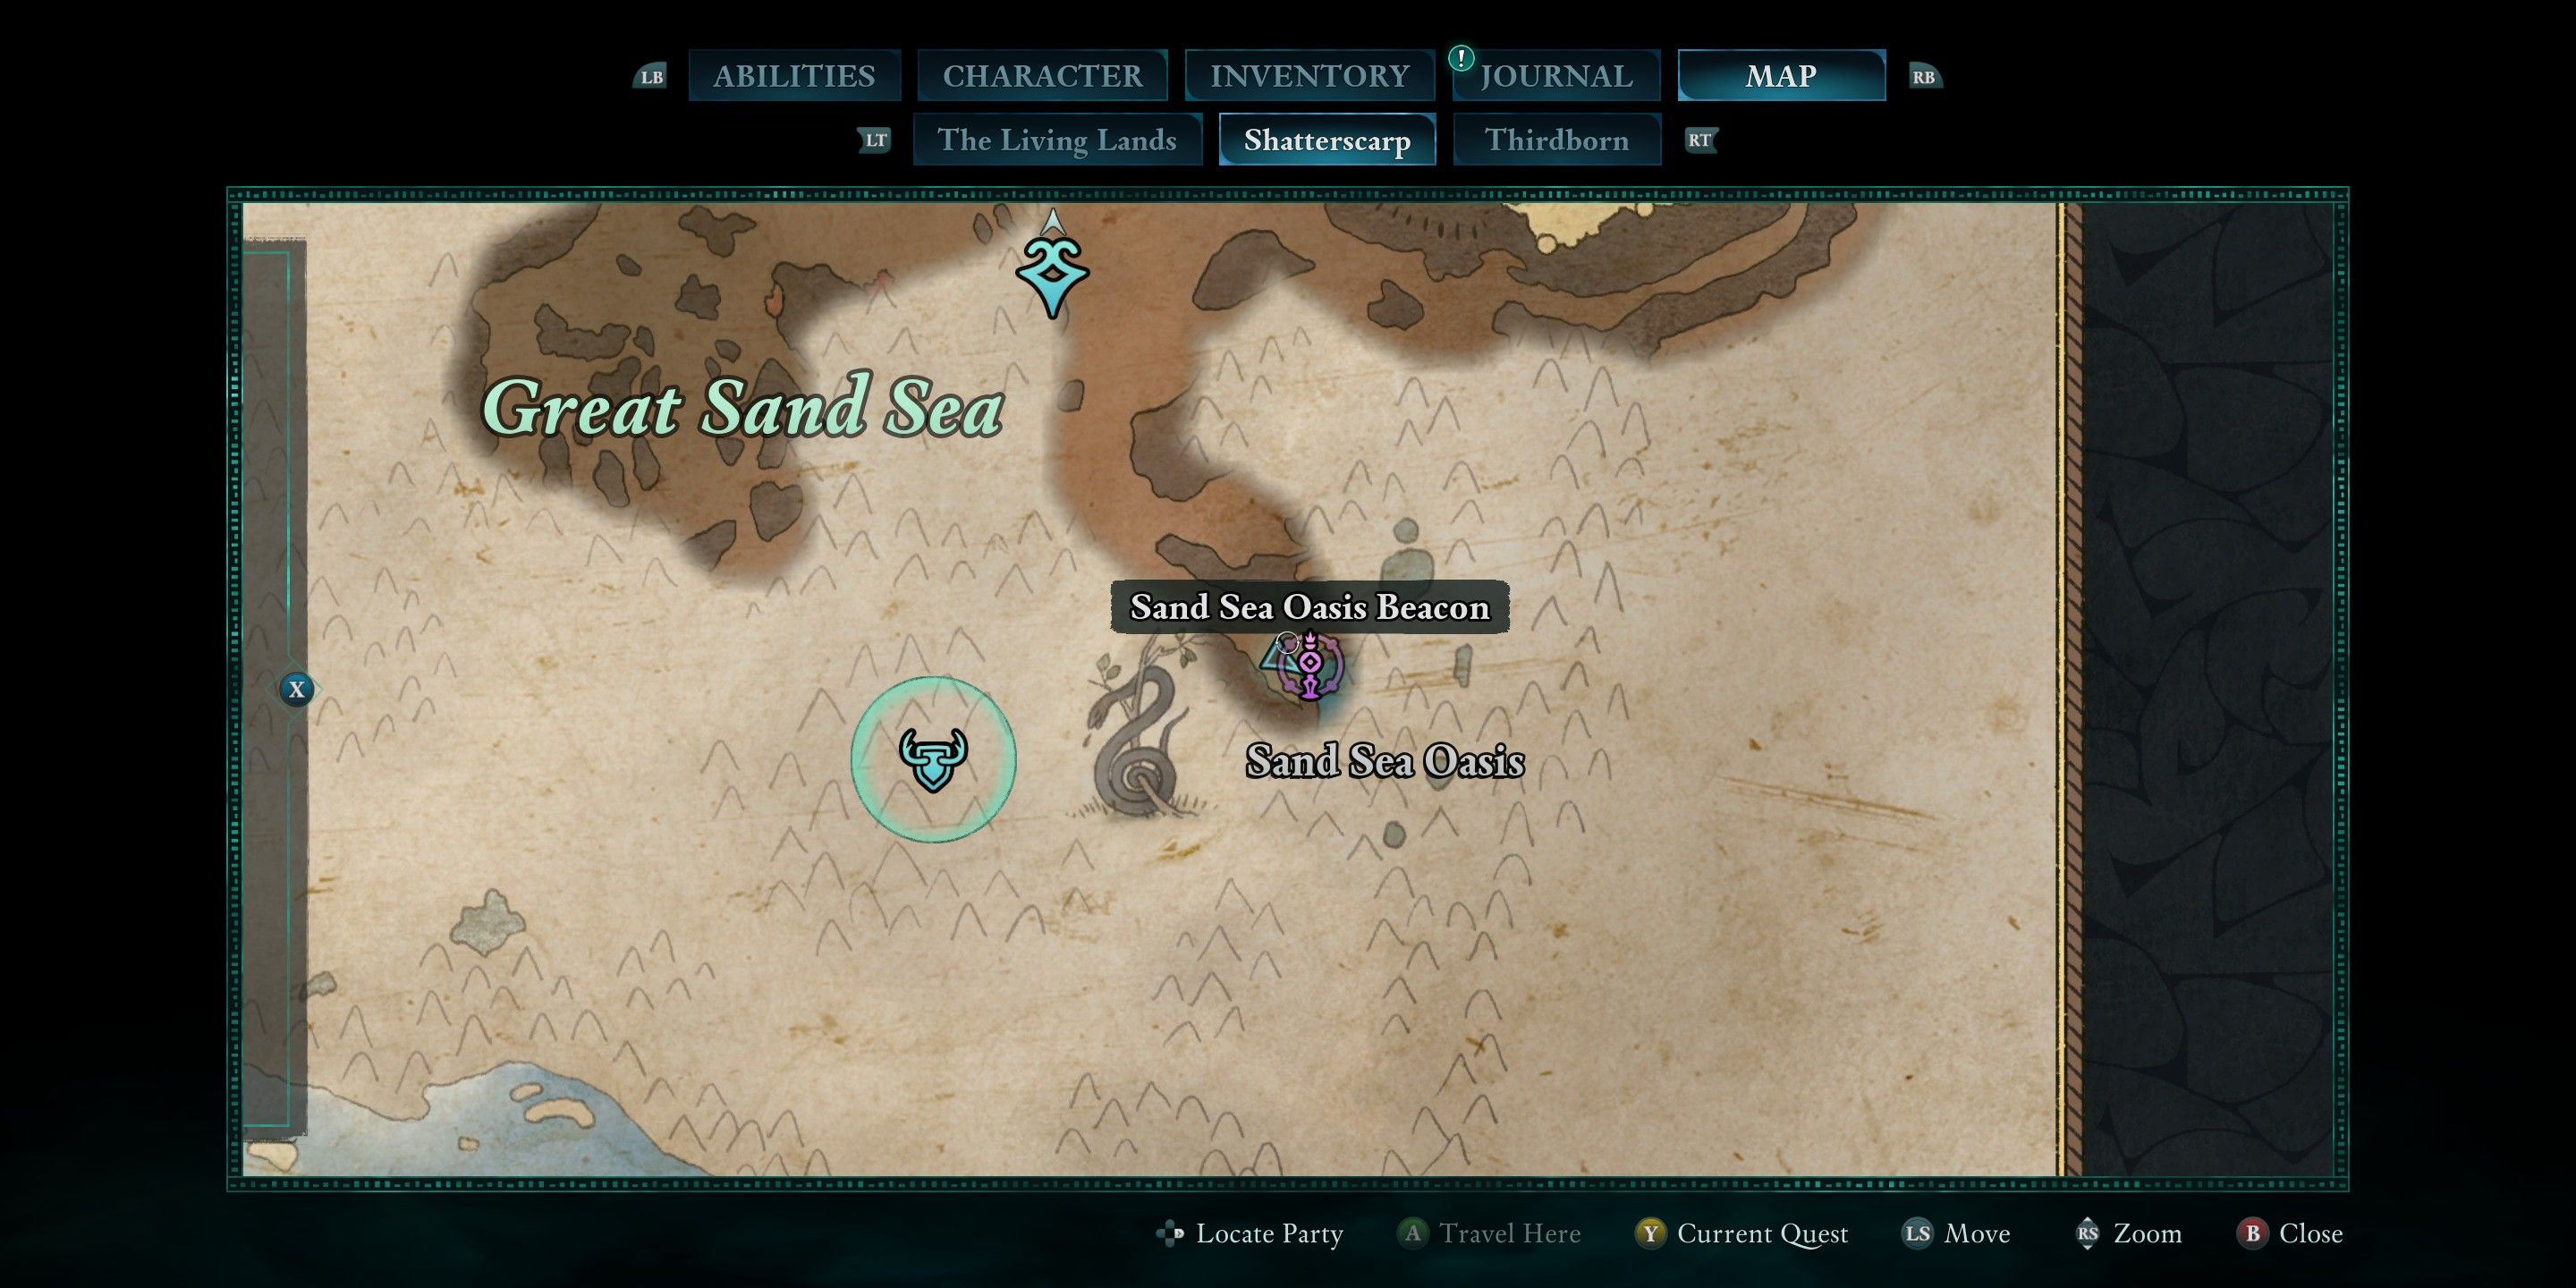
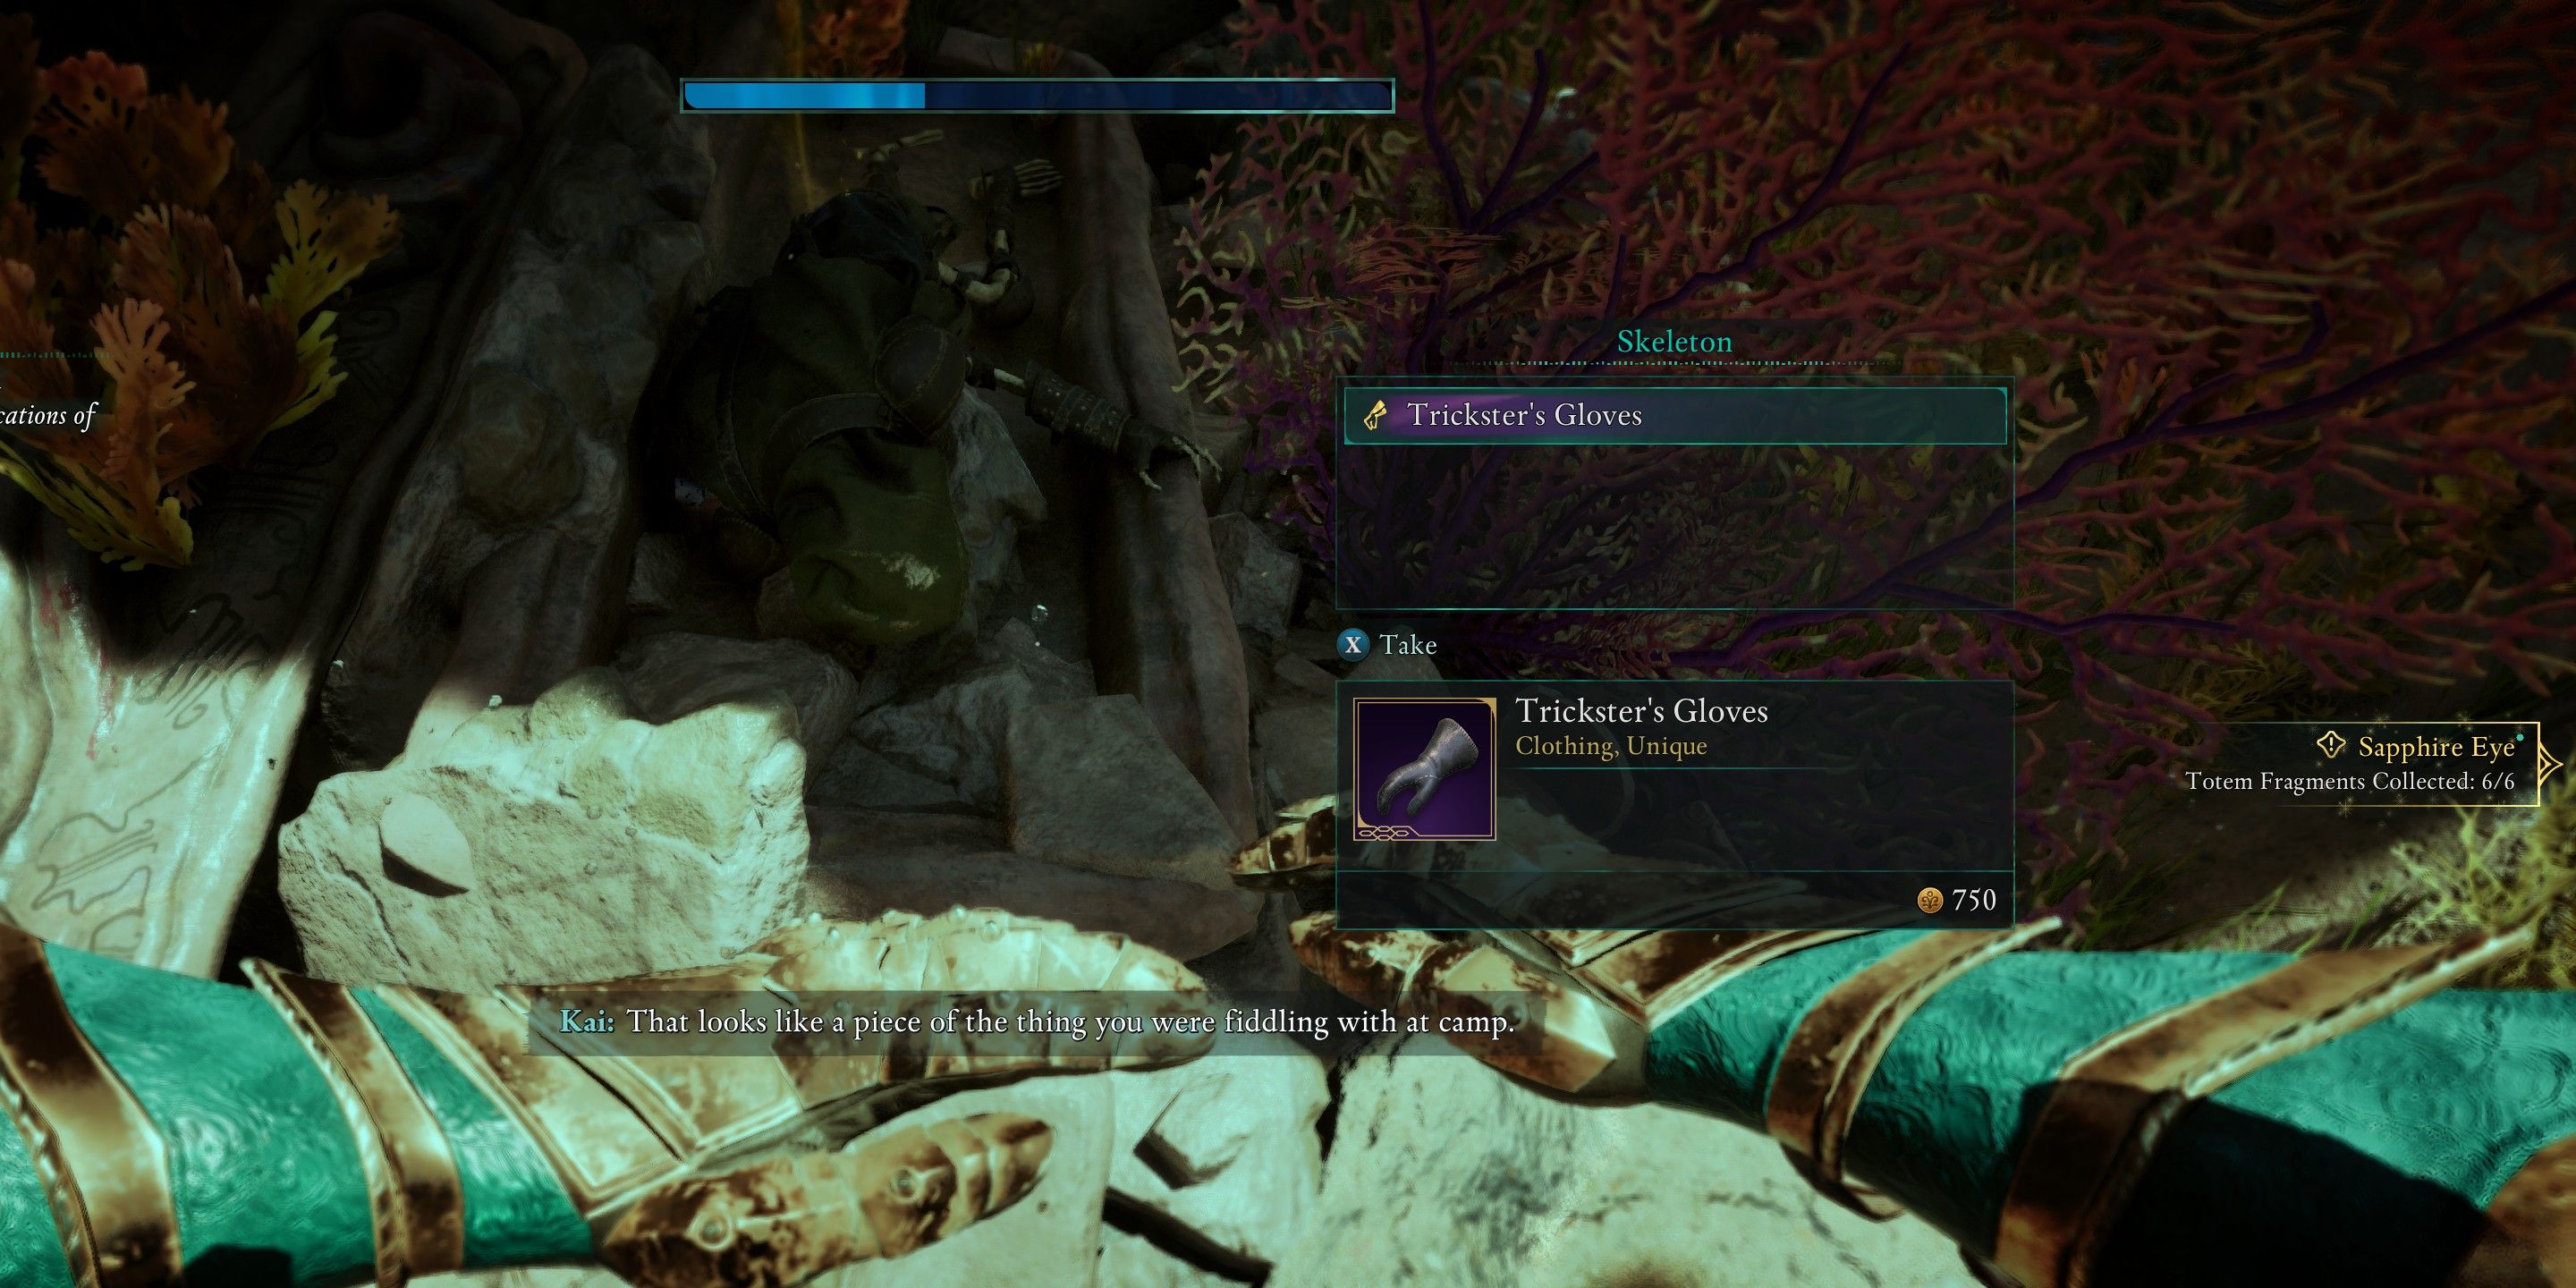
This location lies nearly at the landmark for this area, making it almost as far southeast on the map as possible. Beyond the landmark is the oasis pool, where taking a dip will surely be inviting. The Sapphire Eye can be somewhat elusive and is found near the pool’s bottom and rear side. After you’ve retrieved that item, you will have all the necessary components to complete the totem.
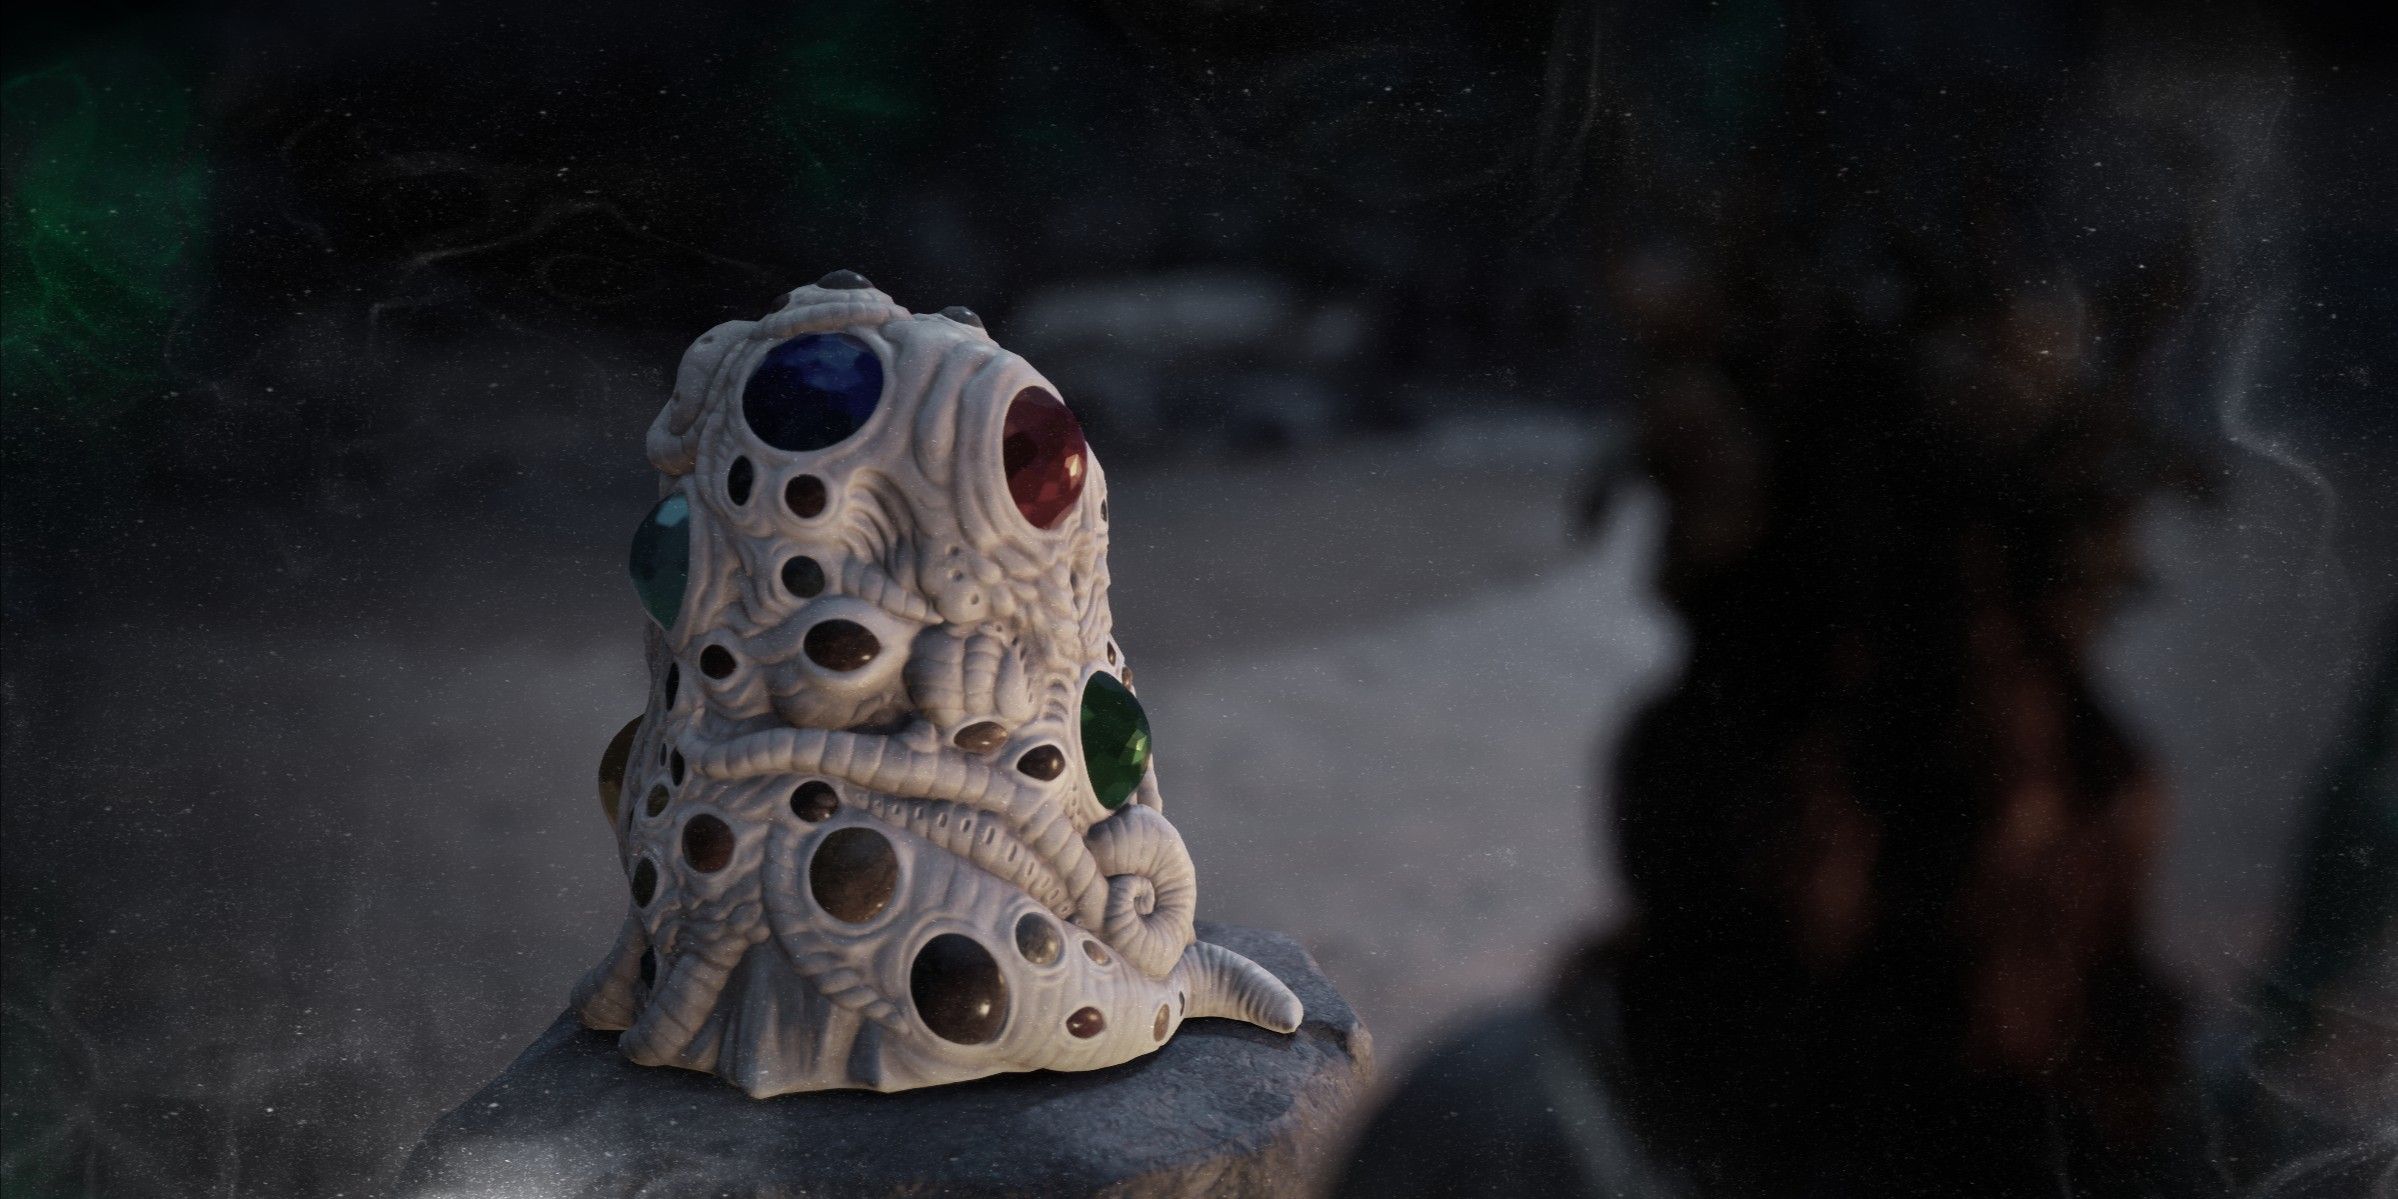
Final Reward For Wael’s Totem
If you choose to activate this totem, here are the rewards you will get:
| Name | Effect |
|---|---|
| Fickle Winds | Critical Hits deal high random accumulation. |
| Magic in the Blood | Restoring Essence also restores a small amount of Health. |
| Enigmatic Shield | Activating a Level 15 or Level 20 ability grants +5% Damage Reduction for 10 seconds. |
| Disappearing Trick | Second Wind casts Shadowing Beyond. |
| Sight Beyond Eyes | +5% Critical Hit Chance |
| The Obscured’s Vantage | +2 Intellect, +2 Perception |
Activating Wael’s Totem is an excellent enhancement for your construction project in Avowed, and it’s definitely worth the effort once it’s fully built.
Read More
- Who Is Harley Wallace? The Heartbreaking Truth Behind Bring Her Back’s Dedication
- Basketball Zero Boombox & Music ID Codes – Roblox
- 50 Ankle Break & Score Sound ID Codes for Basketball Zero
- TikToker goes viral with world’s “most expensive” 24k gold Labubu
- 50 Goal Sound ID Codes for Blue Lock Rivals
- Revisiting Peter Jackson’s Epic Monster Masterpiece: King Kong’s Lasting Impact on Cinema
- 100 Most-Watched TV Series of 2024-25 Across Streaming, Broadcast and Cable: ‘Squid Game’ Leads This Season’s Rankers
- League of Legends MSI 2025: Full schedule, qualified teams & more
- KFC launches “Kentucky Fried Comeback” with free chicken and new menu item
- Which Is the Best Version of Final Fantasy IX in 2025? Switch, PC, PS5, Xbox, Mobile and More Compared
2025-02-22 21:18