Jump Links
- Outer Dungeon Rewards
-
Protect the Giant Digimeat 2
- Odd Underground Passage
-
Fight the Ultimate Digimon 1
- Central Town
-
Fight the Ultimate Digimon 3
- Central Town
-
Speed is Victory 2
- Factorial Town
-
Speed is Victory 1
- Factorial Town
-
Time Attack Boss Battle 2
- Abyss Beach
-
Fight the Ultimate Digimon 2
- Gear Forest
-
Protect the Giant Digimeat 1
- Gear Forest
-
Time Attack Boss Battle 4
- Gear Forest
-
Survive to the End 2
- Shinjuku
-
Speed Is Victory 3
- Abyss Beach (Present Day)
-
Survive to the End 3
- Abyss Beach (Present Day)
-
Survive to the End 1
- Shinjuku (Present Day)
-
Time Attack Boss Battle 1
- Akihabara (Present Day)
-
Time Attack Boss Battle 3
- Shinjuku (Present Day)
-
Speed Is Victory 4
- Paradise Coliseum
-
Protect the Giant Digimeat 3
- Dark Castle
-
Survive to the End 4
- Heat Cosmic
-
Fight the Ultimate Digimon 4
- Chill Cosmic
-
Protect the Giant Digimeat 4
- Chill Cosmic
-
DLC Outer Dungeons
- The Hall of EXP
- The Hall of Gold
- The Hall of Materials
Illiad’s digital world is captivating. You witness Digimon thriving in their environment, going about their daily lives, getting ready for an upcoming war, and, sadly, sometimes meeting their end. It’s a truly remarkable experience.
To truly protect those they cared about and defeat their enemies, those Digimon needed to find the Outer Dungeons. These dungeons contained challenges designed to help them reach their full potential.
Once you reach Illiad, special areas called Outer Dungeons begin to appear throughout the game, in both the digital and real-world environments. These dungeons are usually tucked away in hidden spots or behind objects you can break.
This guide will help you find all the Outer Dungeons in Digimon Story: Time Stranger and offer some advice on how to conquer them.
I’ve listed these discoveries in the order I found them, even if some seem confusing or are meant for later in the game. This way, you can use this guide at any point during your gameplay.
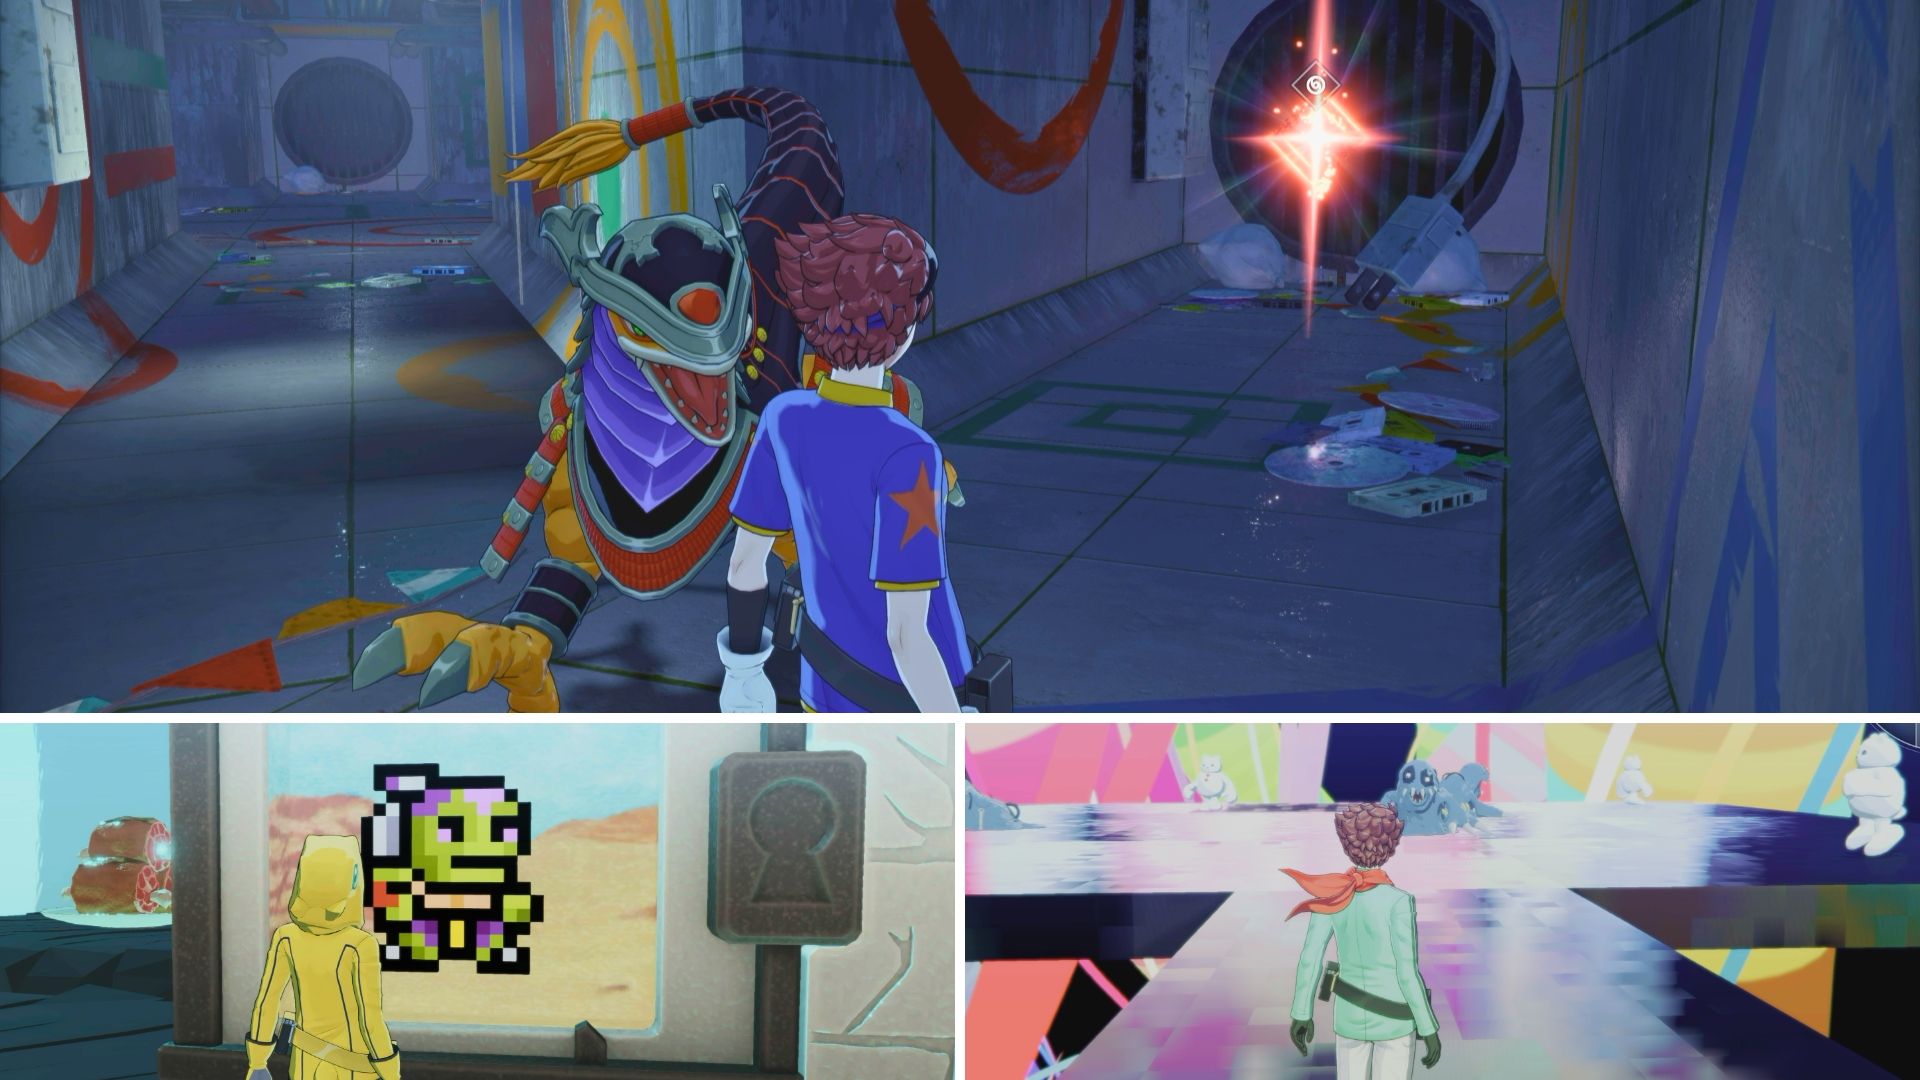
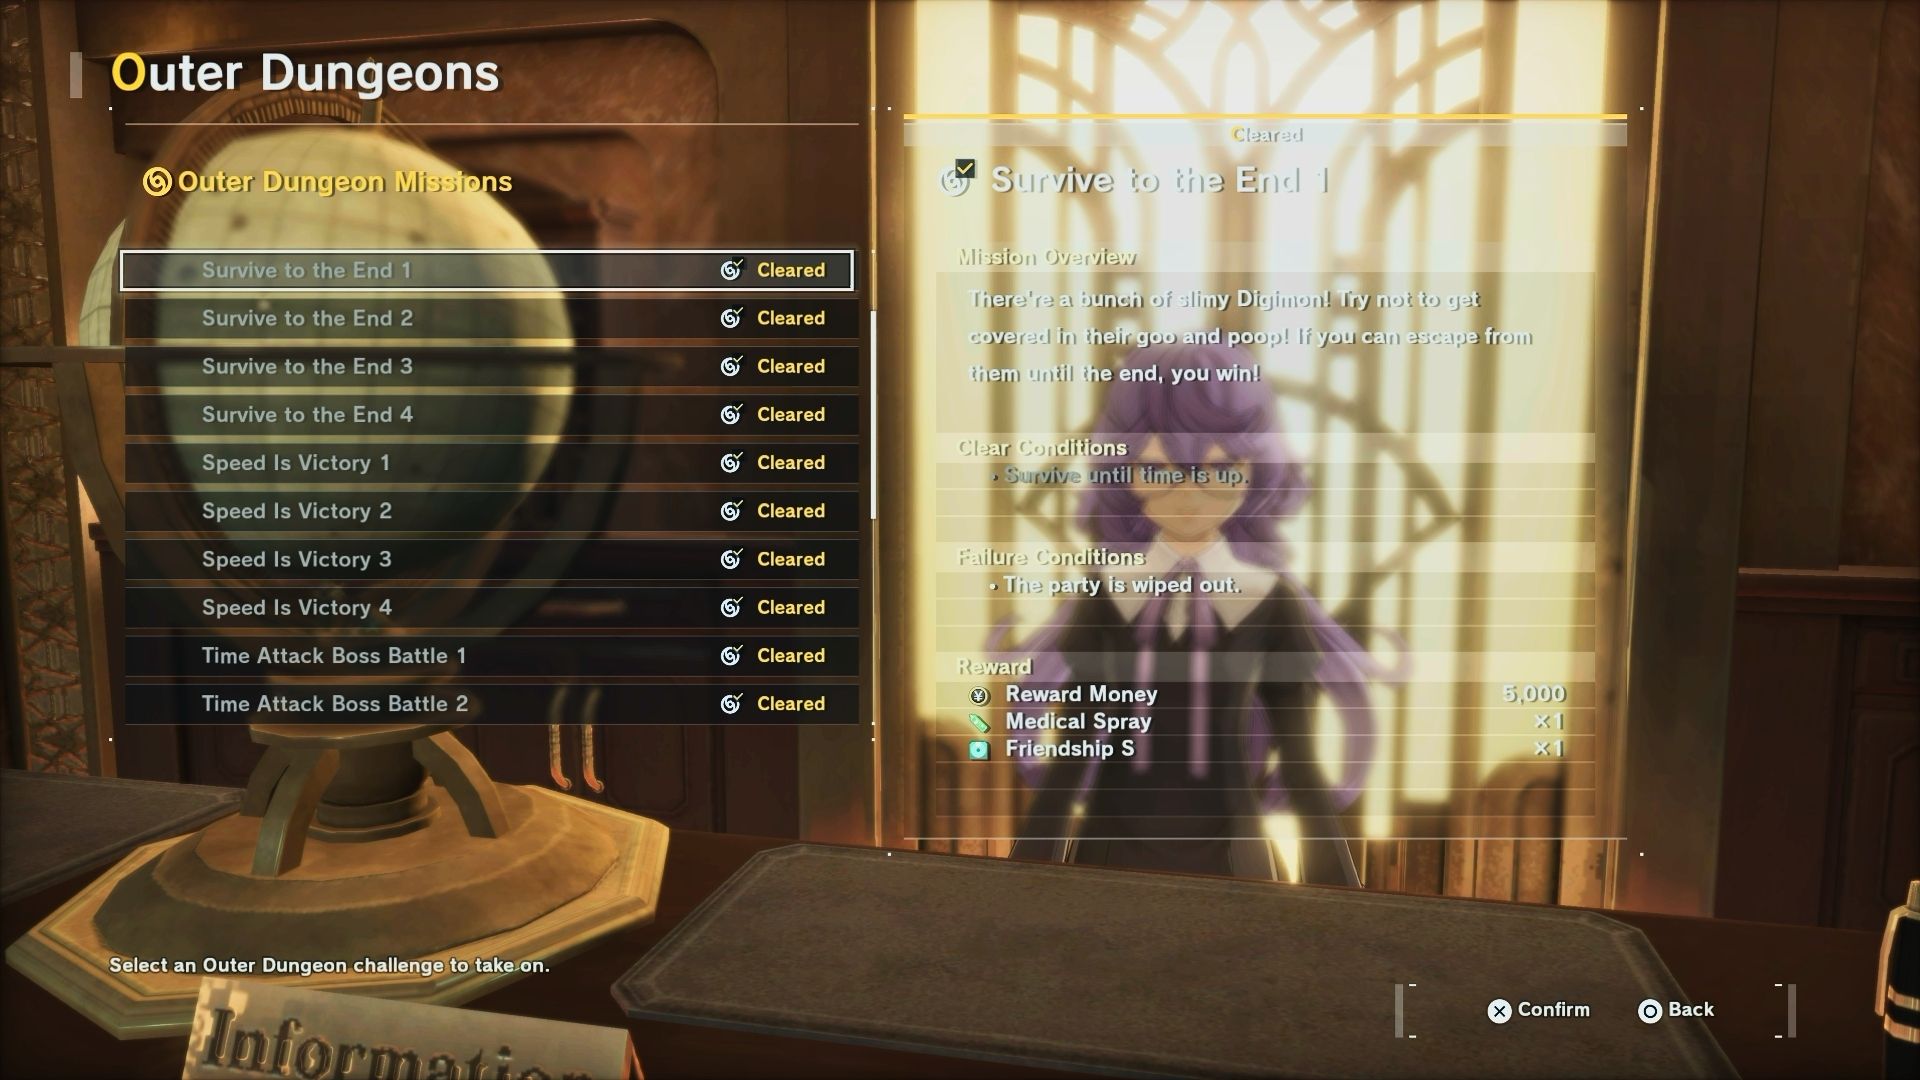
Outer Dungeon Rewards
There are 20 Outer Dungeons in the game, each falling into one of 5 different types. Each type has four difficulty levels, shown by the number in the dungeon’s name. When you complete an Outer Dungeon, you’ll receive a monetary reward, along with items like Medical Spray and Friendship points.
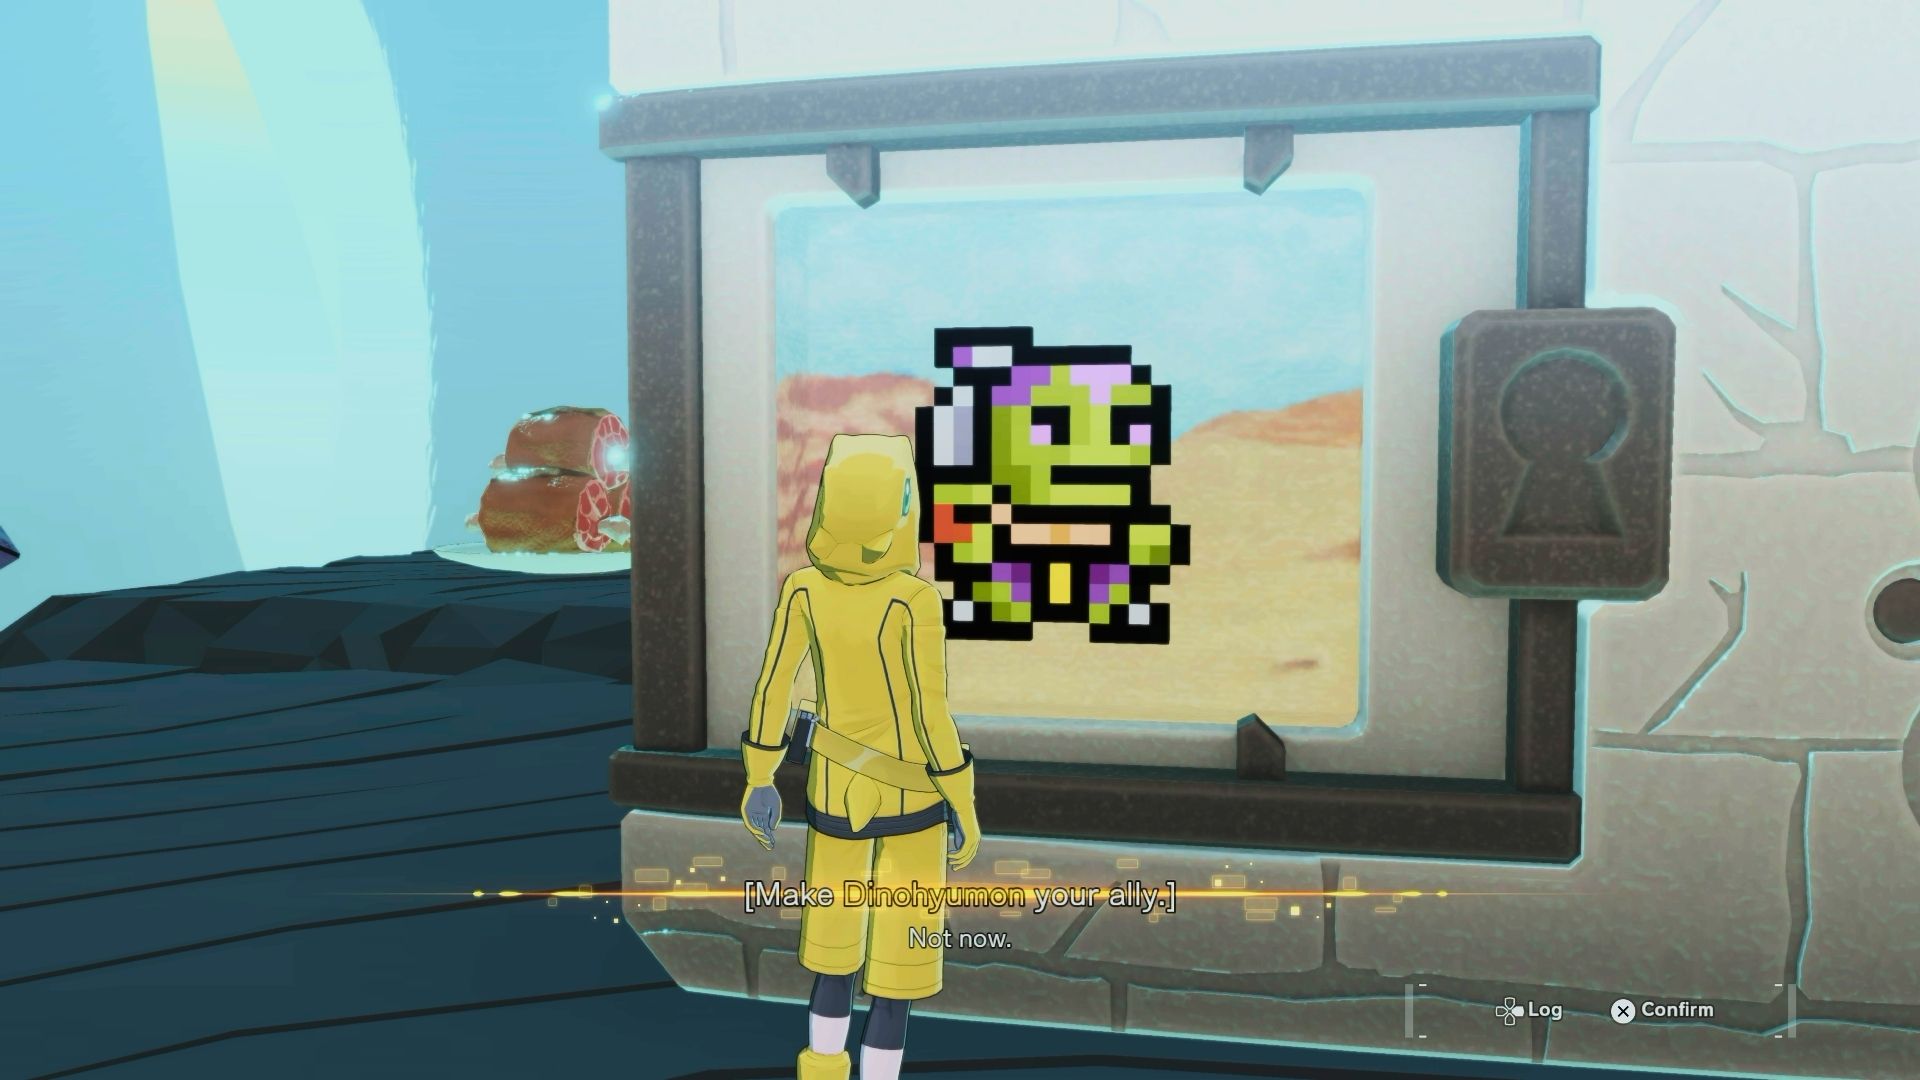
Winning your first battle rewards you with a Digimon! These Digimon aren’t the strongest, but getting a level 60 Mega Digimon from the rank 4 dungeons is a great benefit. You’ll need to interact with its digital image on the screen to claim it.
Each Dungeon also includes a special bonus challenge. If you complete it, you’ll receive a Talent Awakening Booster and a personal message from the Dungeon’s creator.
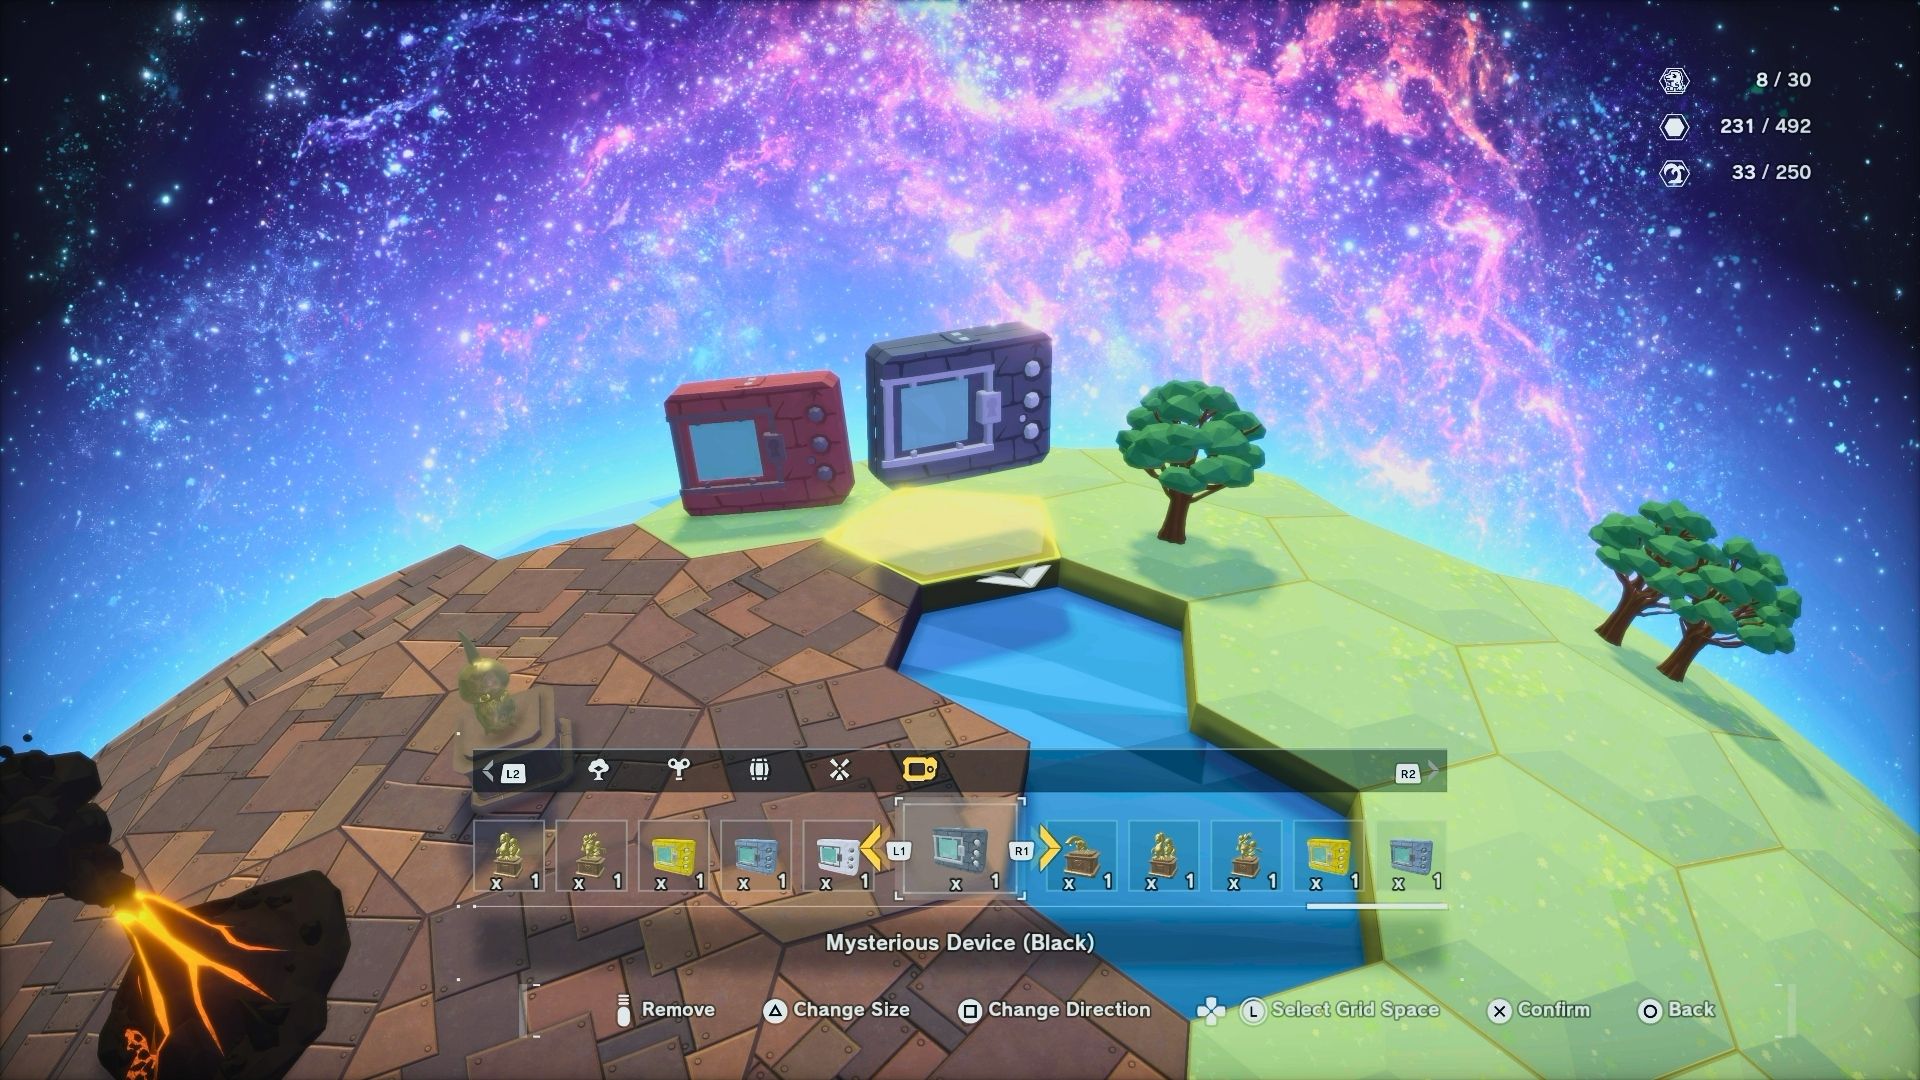
After completing all the Outer Dungeons in a set, you get a uniquely colored Mysterious Device. I was hoping it would unlock a special digivolution, but it turns out they’re just cosmetic items to decorate our rather basic DigiFarm.
Finally, you can earn two trophies: The In-Between Explorer is awarded for discovering all the Outer Dungeons, and Problem Solver is given for finishing them all.
Protect the Giant Digimeat 2
Odd Underground Passage
Once you’ve beaten Titamon, you’ll be transported to the Odd Underground Passage. Don’t follow the main path – instead, turn left at the first corner and use a Digimon to destroy the rubble there.
You’ll easily spot your first Outer Dungeon. If you haven’t already, head down the stairs in the south of Central Town to get back to the underground passage and find it.
Take some Data Digimon with you to the Outer Dungeon – you’ll encounter 30 Vaccine Digimon there. Your goal is to stop them from reaching the meat. If you defeat all 30 using DigiAttacks, you’ll earn a special bonus item and unlock a message for this dungeon.
Fight the Ultimate Digimon 1
Central Town
When you first enter the sewers in Central Town, turn left and break the iron barrels. Doing so will unlock the Fight the Ultimate Digimon Outer Dungeon.
Inside this dungeon, you’ll battle three different Digimon depending on the path you select. You can preview which Digimon you’ll encounter before choosing, so it’s best to build a team that’s strong against them beforehand. Remember, you won’t be able to change your team once the trial begins.
The game requires you to have +10 Marks of Mastery to get a message and bonus item, but it doesn’t explain what Marks of Mastery are. This unusual requirement applies to all dungeons with this particular theme.
Each time you beat a Digimon in this dungeon, you’ll earn a trophy related to that Digimon. It turns out that Marks of Mastery are simply these trophies. Because there are fourteen Digimon in each Ultimate dungeon, you can collect up to fourteen Marks of Mastery during each run – but you only get one Mark per Digimon.
To unlock the creator’s hidden request, you need to finish all available paths within the Fight the Ultimate Digimon Outer Dungeon, or at a minimum, defeat 10 Digimon.
Fight the Ultimate Digimon 3
Central Town
As you continue the story in Central Town, you’ll eventually need to go to the Central Tower. But before heading straight there, turn right after you exit the pub. You’ll find a staircase that was previously blocked by a Guardromon.
Scale the structure, and you’ll discover boxes at the summit that you can break with DigiAttack. Once you destroy them, you’ll reveal the entrance to the Outer Dungeon.
Like the other Ultimate Digimon Outer Dungeons, this one challenges you with a series of three battles on different paths. Once you choose a path, you can’t change it, so it’s best to build a team focused on a single Digimon type and then select the path with enemies that are weak against it.
This part of the game is surprisingly difficult, particularly this early on. Because you can’t use items or heal by just waiting, the Digimon here defeated me easily. I’m also confused why they jumped from the first area to the third, skipping the second one.
Okay, so I’ve learned you need over 30 Marks of Mastery to unlock the message and get the bonus item. But even if I grind for those, I’m still stuck until I actually find the second dungeon! It seems like finding that place is the real key to progressing.
Speed is Victory 2
Factorial Town
You’ll travel to Factorial Town on the massive Blimpmon. After speaking with the first Guardromon, head north on the map and continue walking until you encounter another Guardromon who’s upset because Locomon isn’t working.
There’s a destructible object to the left of this Digimon. Breaking it will open the Speed is Victory 2 Outer Dungeon, which is likely to be your first Peckmon race dungeon.
To enter the race, you’ll need to purchase a Vade Pass for 5000 Yens from Vademon, who’s located inside the dungeon. The race itself is simple: grab the meat while dodging obstacles. It might be described as fun, but it’s actually quite challenging.
Just a heads-up: if you don’t win the race, the game ends. Returning to the lobby will restore your Vade Pass, as it’s like restarting the event.
If you win the race cleanly, without bumping into anything, you’ll get a helpful tip and a bonus item.
Speed is Victory 1
Factorial Town
I’m so excited! There’s a new Outer Dungeon race for us ADAMAS agents! You find it while going through the Factorial Area – it unlocks after you help Kokuwamon and collect those batteries to the north and south. It’s gonna be awesome!
I found it pretty easily – it’s right next to the Eebemon shopkeeper. But just in case you’re having trouble, I’ve included a screenshot to help you out!
This dungeon, being a Speed is Victory challenge, requires you to race a Peckmon while dodging obstacles and other Digimon to get the message and bonus item. Since it’s the first of this new type of dungeon, it’s a bit simpler than the last one.
Time Attack Boss Battle 2
Abyss Beach
You’ll eventually get to enjoy summer vacations and earn rewards through battles at Abyss Beach. Once you reach Ocean Village, don’t follow the main story – instead, continue swimming to the west.
After diving into the water, you’ll find the entrance to the new Outer Dungeon – Time Attack Boss Battle – hidden in a small alcove. In this dungeon, you’ll need to beat the boss before time runs out.
The time limit is quite forgiving. You have three minutes to get to the boss, but the clock pauses during fights. I was even able to collect every chest and still finish with about a minute and a half to spare.
To get the special message and item, you need to defeat at least 10 enemies in one hit using DigiAttack. You’ll mostly fight Butamon, Gomamon, and Coelamon, with a few Shellmon mixed in. The final boss is Ikkakumon.
Here are some tips:
- Bring Data Digimons with Electricity attacks to fight against Gomamon and Ikkakumon.
- Bring Virus Digimons with Ice and Electricity attacks to fight Coelamon and Shellmon respectively.
- Shellmon is also weak to Electricity in case you want to optimize your setup, but remember he’s Data, not Vaccine like Gomamon and his papa.
- The easiest way to meet the requirements to unlock the message is to focus on the Butamons. There are eight of them playing ring-around-the-rosie right at the start, and two more on the left side. Probably any of your attacks will take them out in one shot.
Okay, it looks like it’s time to battle with ten Digimon still in training. These same strategies will also work in other Time Attack Boss Battle dungeons – every enemy group has a weakness, and you need to find and exploit it.
Fight the Ultimate Digimon 2
Gear Forest
While exploring Gear Forest, you’ll encounter lots of vines that you need to burn or grapple. After watching the cutscene where Hawkmon and Floramon acknowledge your bond, don’t continue straight ahead. Instead, swing on a vine to the left, as shown on your map.
Continue forward, collecting treasure chests and swinging as you go, until you reach a platform near the entrance to this Outer Dungeon.
This dungeon is another challenge with three Digimon battles, just like the first one we saw. However, it’s a bit easier since this is the second time around. I usually focused on figuring out which Digimon was the strongest at the end of each path and then built my team to defeat it.
You’ll need 20 Marks of Mastery to decode the message. You get these by collecting enemy heads as trophies.
Protect the Giant Digimeat 1
Gear Forest
Once you arrive at Gear Forest Village, head north. You’ll find the entrance to the Outer Dungeon hidden behind a pillar, right next to the card battle challenger.
This is the first challenge in the Protect the Giant Digimeat series (it’s a bit strange they aren’t in order!). To reveal the hidden message, you need to beat all the Digimon using only DigiAttacks – skip the turn-based battles.
It’s incredibly simple, and you likely won’t have to adjust your Digimon team. Just be careful not to wear out your right trigger button from pressing it so much!
Time Attack Boss Battle 4
Gear Forest
From Gear Forest Village, heading south will take you deeper into the forest. Near the exit, you’ll find a vine you can grab onto, and beyond that lies another section of the Outer Dungeon guarded by a MegaKabuterimon.
Okay, so I’ve been trying this Outer Dungeon, and let me tell you, it’s *tough*. If you’re not seriously power-leveling your Digimon, you’re going to have a really hard time finishing it. It’s just full of Bug Digimon – Kabuterimon, Kuwagamon, MegaKabuterimon, Okuwamon, and the boss, TyrantKabuterimon. I’ve found that bringing a team with both Vaccine and Data types, and definitely some insecticide items, is the way to go!
Even Kabuterimon easily defeated me at that time, so I had to come back later with some stronger, Mega-level Digimon. The game also needed me to defeat over ten enemies using a DigiAttack to unlock something, which made it even harder.
Once I did, I focused on:
- Vaccine Digimon with Fire skills and a Data Digimon with Electricity to make short work of Kuwagamon/Okuwamon and Kabuterimon/MegaKabuterimon, respectively.
- For the boss, bring a Vaccine Digimon with either Water or Ice skills.
To see the hidden message, you’ll need to defeat Digimon at the Champion level – it’s challenging, but doable. However, it’s not really worth the effort, in my opinion. These messages are mostly useful for getting Talent Booster Awakening items and learning a few interesting facts, but that’s about it.
Survive to the End 2
Shinjuku
When you return to Shinjuku, you’ll find the city in chaos and need to protect it. Your mission will involve going underground to fix the generators, and eventually, you’ll return to the surface at the Marunosaka Line station.
Since the Outer Dungeon is near where you need to go, check it out before you get the tool. You’ll find a useful survival skill there that you should add to your abilities.
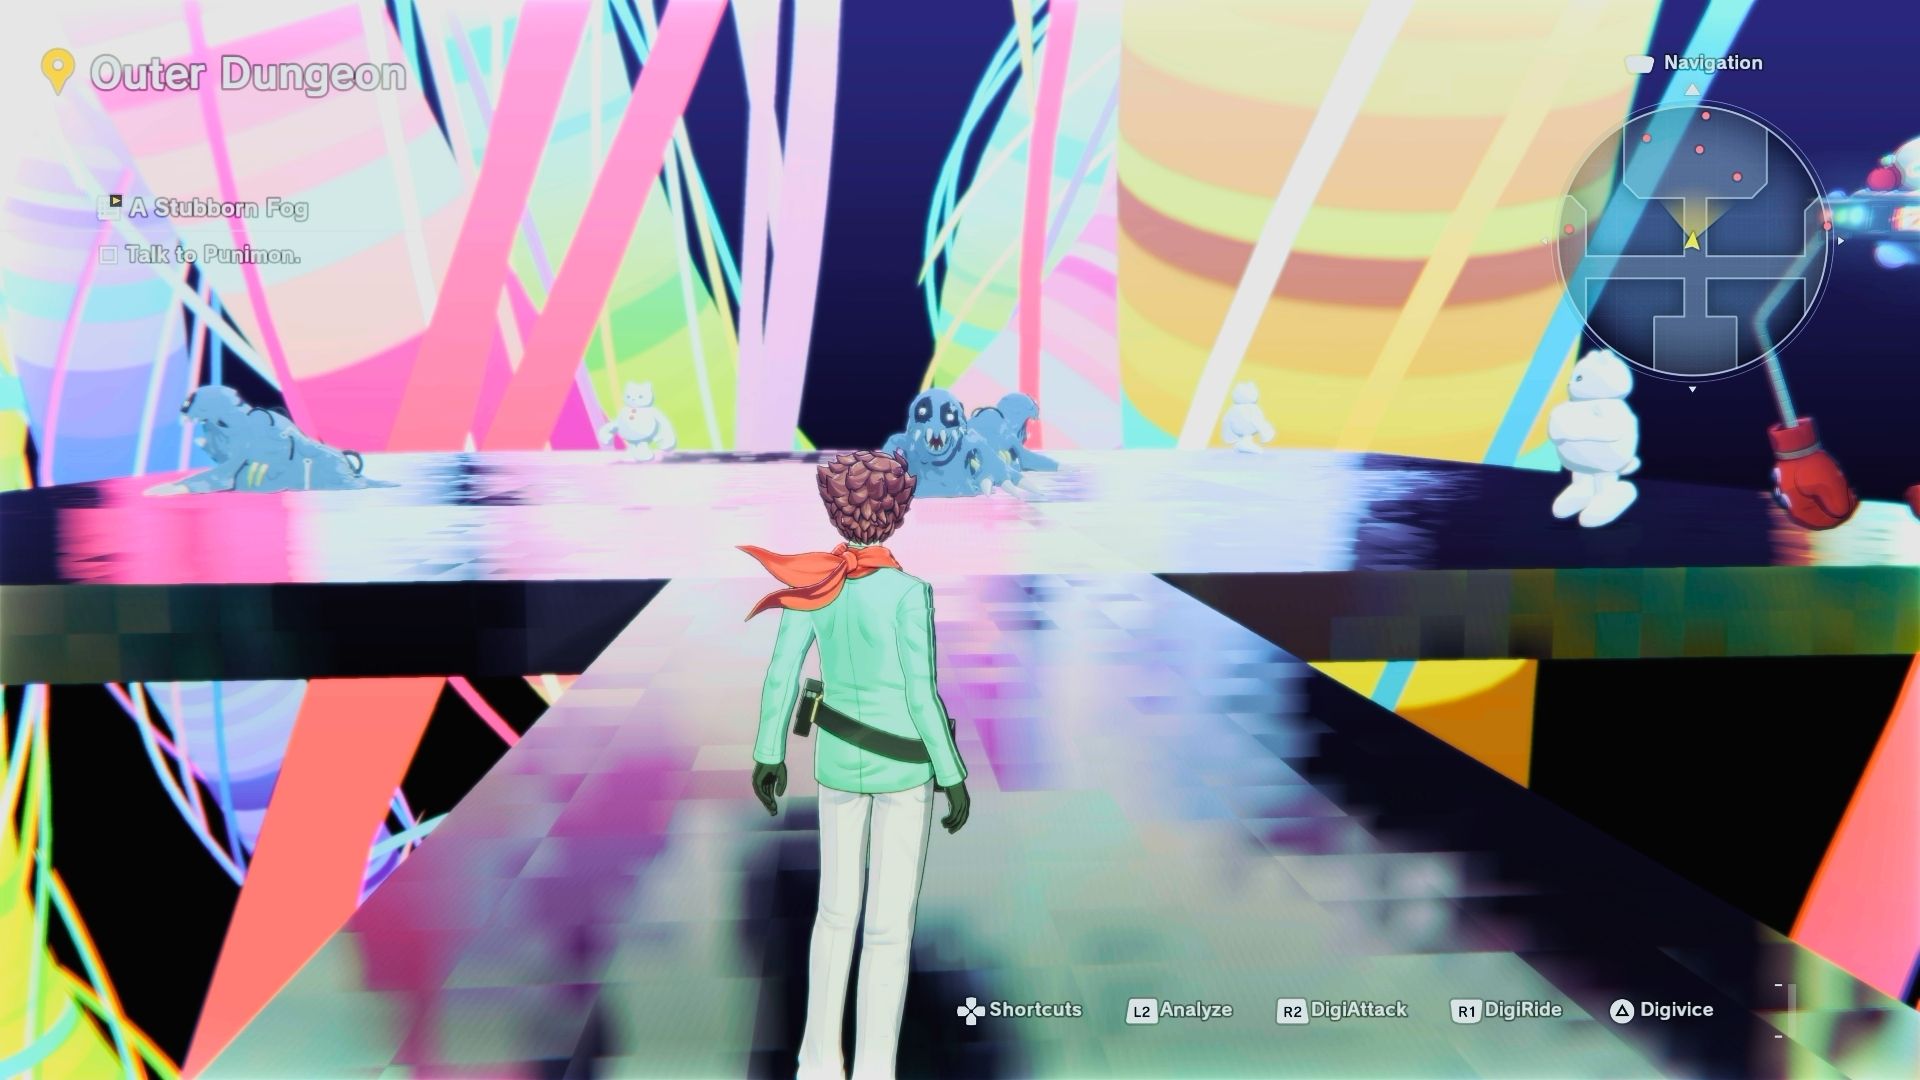
This challenge is simple: just stay alive for 95 seconds. The timer only counts down when you’re not fighting. To reveal the hidden message, make sure enemies don’t surprise attack you.
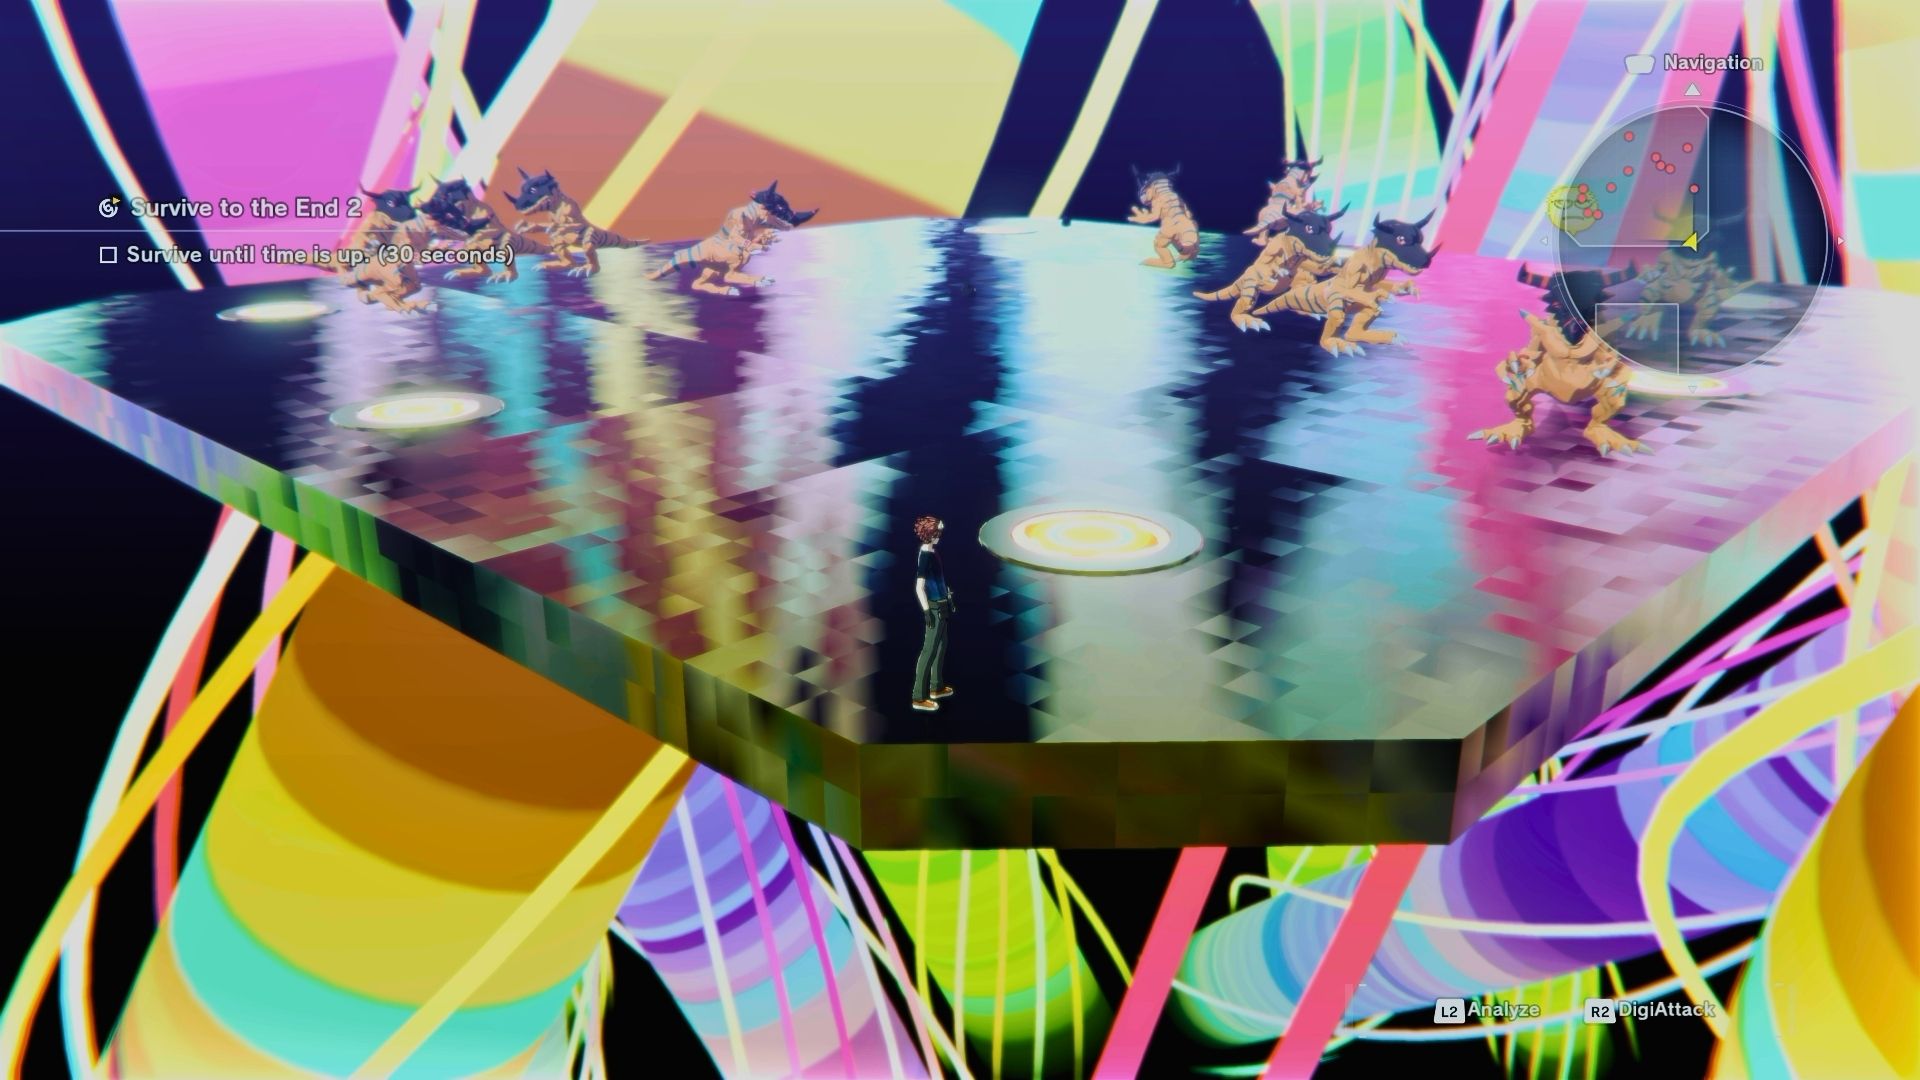
All Digimon evolve from a few basic forms – Botamon, Greymon, and MetalGreymon – so consider their data types when choosing. It’s also a good idea to pick a spot and stay there to prevent being surrounded.
Speed Is Victory 3
Abyss Beach (Present Day)
When you reach Abyss Beach now, you’ll see a ladder to the west – it wasn’t there before, in the past.
Scale the wall, overcome the barrier, and go inside the cave to reach the higher area where this Outer Dungeon is located. Be warned, this dungeon requires you to be quick! I really need Angemon’s help here.
Your aim is to win the race, as always. If you can finish without hitting any Digimon or obstacles, you’ll get a special item and a message.
Don’t worry, you won’t be fighting Digimon – just navigating obstacles! They might seem challenging at first, but because they don’t move, you can quickly learn how to avoid them. The race is still tough, and you’ll need to collect nearly every speed boost to win against Wingdramon.
Survive to the End 3
Abyss Beach (Present Day)
While exploring under the Abyss Sanctuary, you can venture east and then south to discover an Outer Dungeon – it’s a bit of a detour from the main path.
Survive to the End at the three-star difficulty features a challenging arena filled with a variety of Digimon, including Crabmon, Shellmon, Gekomon, and WaruSeadramon. You’ll also face off against Sharkmon as you progress.
I stuck to my usual strategy: staying out of the main fight and quickly defeating any Digimon that wandered close. The weaker ones, like Crabmon and Gekomon, went down with just one attack, while the others just sent me on to the next battle. Ninety-five seconds later, I’d won again.
Survive to the End 1
Shinjuku (Present Day)
You can find this hidden area, the Outer Dungeon, in the alleyway close to Inori’s house, but you won’t be able to enter it until you’ve finished exploring Gear Forest and returned to the city.
Once you return to Shinjuku looking for Little Bearmon, you can start exploring the area. To the north of the alley, you’ll discover an entrance that was previously blocked – it now leads to the Survive to the End 1 dungeon.
Now that you’re familiar with the process, this should be simple. I continued to focus on defending myself, only attacking those who attacked me – because even in the Digital World, self-defense is important.
Time Attack Boss Battle 1
Akihabara (Present Day)
Just like the last Outer Dungeon, you’ll want to explore the Digimon-filled streets of Tokyo. Head to the back alley in Akihabara – that’s where you’ll find this one.
Time Strangers seems to have misordered their challenges again. This is the first in the Time Attack series, and it requires you to defeat at least 10 Digimon with a single attack.
These enemies shouldn’t be a challenge. If you’re having trouble, use Virus Digimon with Fire or Steel attacks against Renamons, and Data Digimon with Grass or Earth attacks to quickly defeat Ryudamons. You’ll also encounter four weak Dorimon at the start.
Time Attack Boss Battle 3
Shinjuku (Present Day)
Although this dungeon is actually found earlier in the game than the Akihabara one, the game incorrectly lists it after the first Time Attack dungeon. It doesn’t make logical sense to present them in that order.
Head back to your home and step outside. Look at the right side of your house – you’ll see some trash bags. Use your Digimon to destroy them and uncover the entrance to the Outer Dungeon.
Beating the boss is possible with a good plan and some perseverance, but you might not be powerful enough to defeat Digimon in one attack just yet. I certainly wasn’t when I first tried!
All the opponents are level 46, including the weaker Digimon like Agumon and Dracomon. I was able to beat the boss, MetalTyranomon, pretty easily after building a team of fully evolved Digimon, which I then used to overwhelm the rookie-level enemies.
Speed Is Victory 4
Paradise Coliseum
I really enjoyed exploring the world of Illiad, but the Speed is Victory Outer Dungeons were so frustrating that they ruined all the fun.
You can find this item inside the Paradise Coliseum, which is located in the Factorial Area. Since you need to explore the Coliseum regardless, it’s hard to miss!
The goal is still to win the race without hitting any obstacles or Digimon. This track is really challenging – it took me a while to complete without crashing, but I finally did it!
To stay competitive, you’ll need to keep using boost by collecting the steaks. But be careful not to crash into the moving Digimons – it’s better to lose a steak than have to start the race over.
Thankfully, completing this quest is well worth the effort. You’ll receive both valuable rewards and a powerful ally – MagnaGarurumon, who joins your team at level 40.
Protect the Giant Digimeat 3
Dark Castle
Okay, so you’re slogging through Dark Castle, which is already a pain, and honestly, Gekomon is *driving* me crazy repeating that same line over and over. After what feels like forever, you finally make it to the next section of the castle.
Follow the path two times until you reach the landmass in the northeast – it’s the second one from the top. Then, speak with Gekomon. When you get the choice, select the option that says, “We should all learn to give rather than take.”
You’ll be heading to the northern region to find the Outer Dungeon. It’s been a while since we’ve guarded the giant digimeat, so just as a reminder, your mission is to prevent Digimon from breaking through our defenses.
To see the hidden message, you can’t fight any Digimon directly. You have to defeat them using only DigiAttacks.
- It’s a mix between Vaccine, Data, and Virus, but most of them are weak to Fire, except for Dracmon, who’s weak to Wind and Light.
- The most infuriating thing about this dungeon is the Bakemon flying way too high. The only way to hit them is by climbing onto the walkway or waiting for them to descend when approaching your Digimeat.
- My recommendation is to focus on the ground enemies and Phantomon. Luckily, they’re all aggressive, so if they spot you, they’ll chase you instead of continuing down the path. SkullMammothmon is tough, but offensively slow, so don’t worry.
- As for Bakemon, I suggest keeping the map open, and when you see one approaching the defense line, run there. He’ll land gently, and that’s when you beat the living daylight out of him with your Vaccine fire-aspected Digimon.
Survive to the End 4
Heat Cosmic
As you explore this hot area, you’ll find your way blocked by rocks burning with magma. Pumpkinmon will let you know you need a Chill Seed to continue. After that, you’ll take an elevator up.
When you get to the top floor, continue forward. After you pass the round platform, don’t go to the right. Instead, head to the far left and break the rocks – you’ll find the entrance to the Outer Dungeon hidden there.
This is the final challenge in the Survive to the End series, so it’s going to be really difficult. I decided to stick to my usual strategy of staying in one corner of the arena and avoiding conflict, and it’s been surprisingly effective so far. The challenge throws Solarmon, Firamon, and Flaremon – all Vaccine Digimon – at you, along with a Data Meramon, and finally, a Virus Megidramon.
As you might expect, they’re all vulnerable to Water attacks. While generally easy to handle, be careful not to run out of SP, as there’s no way to restore it during the battle. The biggest threat is Megidramon – he’s much stronger than the rest and can quickly end your attempt if you’re not ready.
Fight the Ultimate Digimon 4
Chill Cosmic
In Chill Cosmic, you’ll spend time moving around, either searching for a Chill Seed or visiting the leader of the area. At some point, you’ll come to a spot where three paths meet.
To continue, head forward to the next area. The side passages lead to elevators. Take the elevator in the northwest to reach a platform containing the Outer Dungeon.
This is the final challenge in Fight the Ultimate Digimon, so get ready for some really tough fights! All the Digimon you’ll face are level 55, and they have a variety of types, meaning you can’t rely on a team made up of just one type anymore.
Despite the challenges, I was still able to win fairly easily. I had a Megidramon who consistently used the move Hell Howling, which has a high chance of freezing opponents. This prevented them from using any special abilities, letting me win without much difficulty.
Protect the Giant Digimeat 4
Chill Cosmic
Once you’ve beaten Dianamon, head back to Chill Cosmic and run all the way to the throne room. The portal to the Protect the Giant Digimeat 4 dungeon is in the back. If you’ve been following this guide, this is the final dungeon, and completing it will unlock a trophy!
Let’s talk strategy for this battle. Because we’re facing Frigimon, IceLeomon, IceDevimon, and Vikemon, you’ll definitely want to use attacks that are strong against ice – specifically, fire-based attacks. We’ll also be up against Wingdramons, but they aren’t much of a threat; attacks with earth or steel properties will quickly defeat them.
Okay, so this Vikemon is coming at me, and he’s *big* – really trying to look intimidating as he lumbers forward. But honestly? He’s a total pushover. I’m pretty confident I can take him down without much trouble.
To be honest, this trial was surprisingly easy. I just focused on staying near their attack range and defeating each Digimon as it appeared. Even the Wingdramons didn’t have a chance to fly before I took them down.
DLC Outer Dungeons
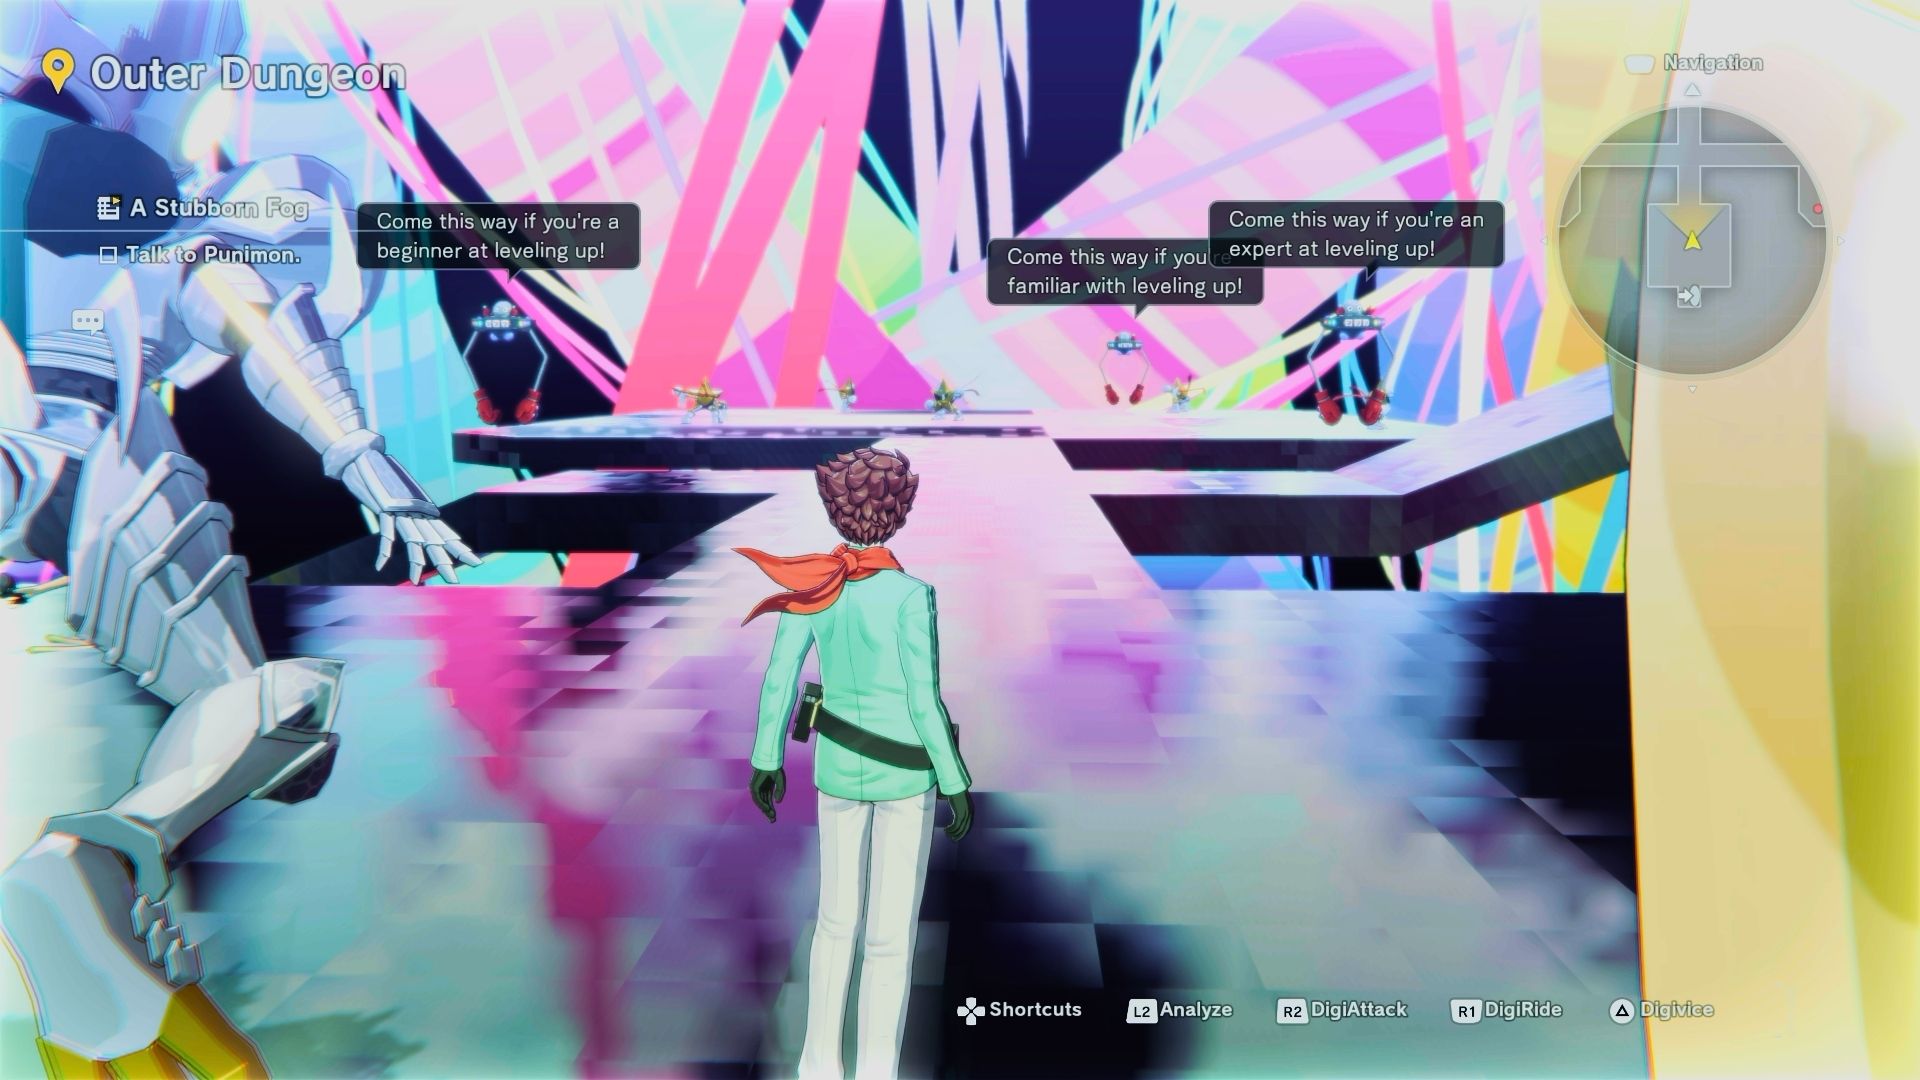
Certain Outer Dungeons are available as downloadable content. These dungeons are designed to help you gain experience, gold, and materials more quickly.
While not required to have fun, purchasing these items can help you advance faster in the game. Or, if you’re creating a comprehensive guide, they’re useful to cover.
It’s better to eliminate enemies while they’re actively fighting, instead of waiting for them to keep endlessly appearing.
The Hall of EXP
The Hall of EXP offers three difficulty levels: beginner, intermediate, and advanced. In the beginner area, you’ll encounter several Choromon. Defeating each one earns you a Courage Point II, which gives one of your Digimon 10,000 EXP.
You’ll face PlatinumNumemon during the middle part of this stage, but fully-trained Digimon should be able to beat them easily. Winning will reward you with a Courage Point IV, which gives one of your Digimon a big experience boost – 50,000 EXP!
The final arena challenges you to battle MetalEtemon, and it’s definitely the toughest fight in the game. It’s designed for late-game players who want to fully level up their Mega Digimon using Courage Point V, which grants a massive 100,000 EXP.
The Hall of Gold
The Hall of Gold works the same way as the EXP Hall, except it rewards you with money – specifically, yen.
Okay, so I’ve been checking out the courses, and it’s a pretty good way to earn some cash. The beginner course has Guardromon, and you get 10,000 Yen for beating him each time. Then there’s the intermediate course with SuperStarmon – he’s tougher, but you score 25,000 Yen per win. And if you can handle the advanced course, KingMamemon drops 50,000 Yen when you finally take him down. It’s a nice little money-making system!
Training your Digimon in both the EXP Hall and the Gold Hall is a great way to make them stronger. The EXP Hall helps them gain levels, and the Gold Hall lets you repeatedly use the DigiFarm for endless training.
The Hall of Materials
You’re already familiar with how this works: there are three areas, and each one offers better rewards as the challenges become harder. This Outer Dungeon can be replayed, and you’ll encounter more Digimon, each dropping items that reflect their type.
Early on, you’ll encounter Hagurumon and Gotsumon in the first area. Gotsumon will give you rock-based items like the Gravel Dataset and Rock Model Fragment, and Hagurumon will drop iron items, including the Cylindrical Model.
The middle area is populated by Frigimon, which drop crystal resources like Spherical Models, and Raremon, which drop strange, fluid materials such as Blackish Texture.
The advanced area contains Digimon made of wood and sand. You can get Brown and Gray Textures by defeating MudFrigimon, and Tree and Leaf Models by defeating Woodmon.
Read More
- Off Campus Season 1 Soundtrack Guide
- Euphoria Season 3’s New R-Rated Sydney Sweeney Scene Proves The Show Is Trolling Us
- Gold Rate Forecast
- DoorDash responds after customer uses AI to make food look bad and get a refund
- Dutton Ranch Review: Paramount+’s New Western Takes All The Best Parts Of Yellowstone & Makes Them Better
- Prime Video Has Officially Found The Next Game Of Thrones
- MNT PREDICTION. MNT cryptocurrency
- Breaking: Inflation Stands Firm at 2.9%-Will Crypto Survive the Chaos? 🤔
- Ethereum’s Wild Ride: Is Your Wallet Ready for the Supply Drama? 🚀💸
- 🇧🇷 Blockchain & AI: Brazil’s SUS Gets a Tech Makeover! 🚀
2025-10-08 16:48