Recently, you might have encountered an irritating situation in Warzone where your body armor seems to vanish unexpectedly, leaving you puzzled about what struck you. Often, the suspect behind this is the ABR A1. This burst rifle has been gradually gaining popularity, and it’s not hard to understand why. It offers a rapid time-to-kill, coupled with recoil that’s remarkably manageable. In this guide, we’ll delve into what makes the ABR A1 a formidable choice in the game, from its distinctive auto-burst mechanism to an optimal eight-attachment setup that transforms it into a precision long-range weapon.
Key Takeaways
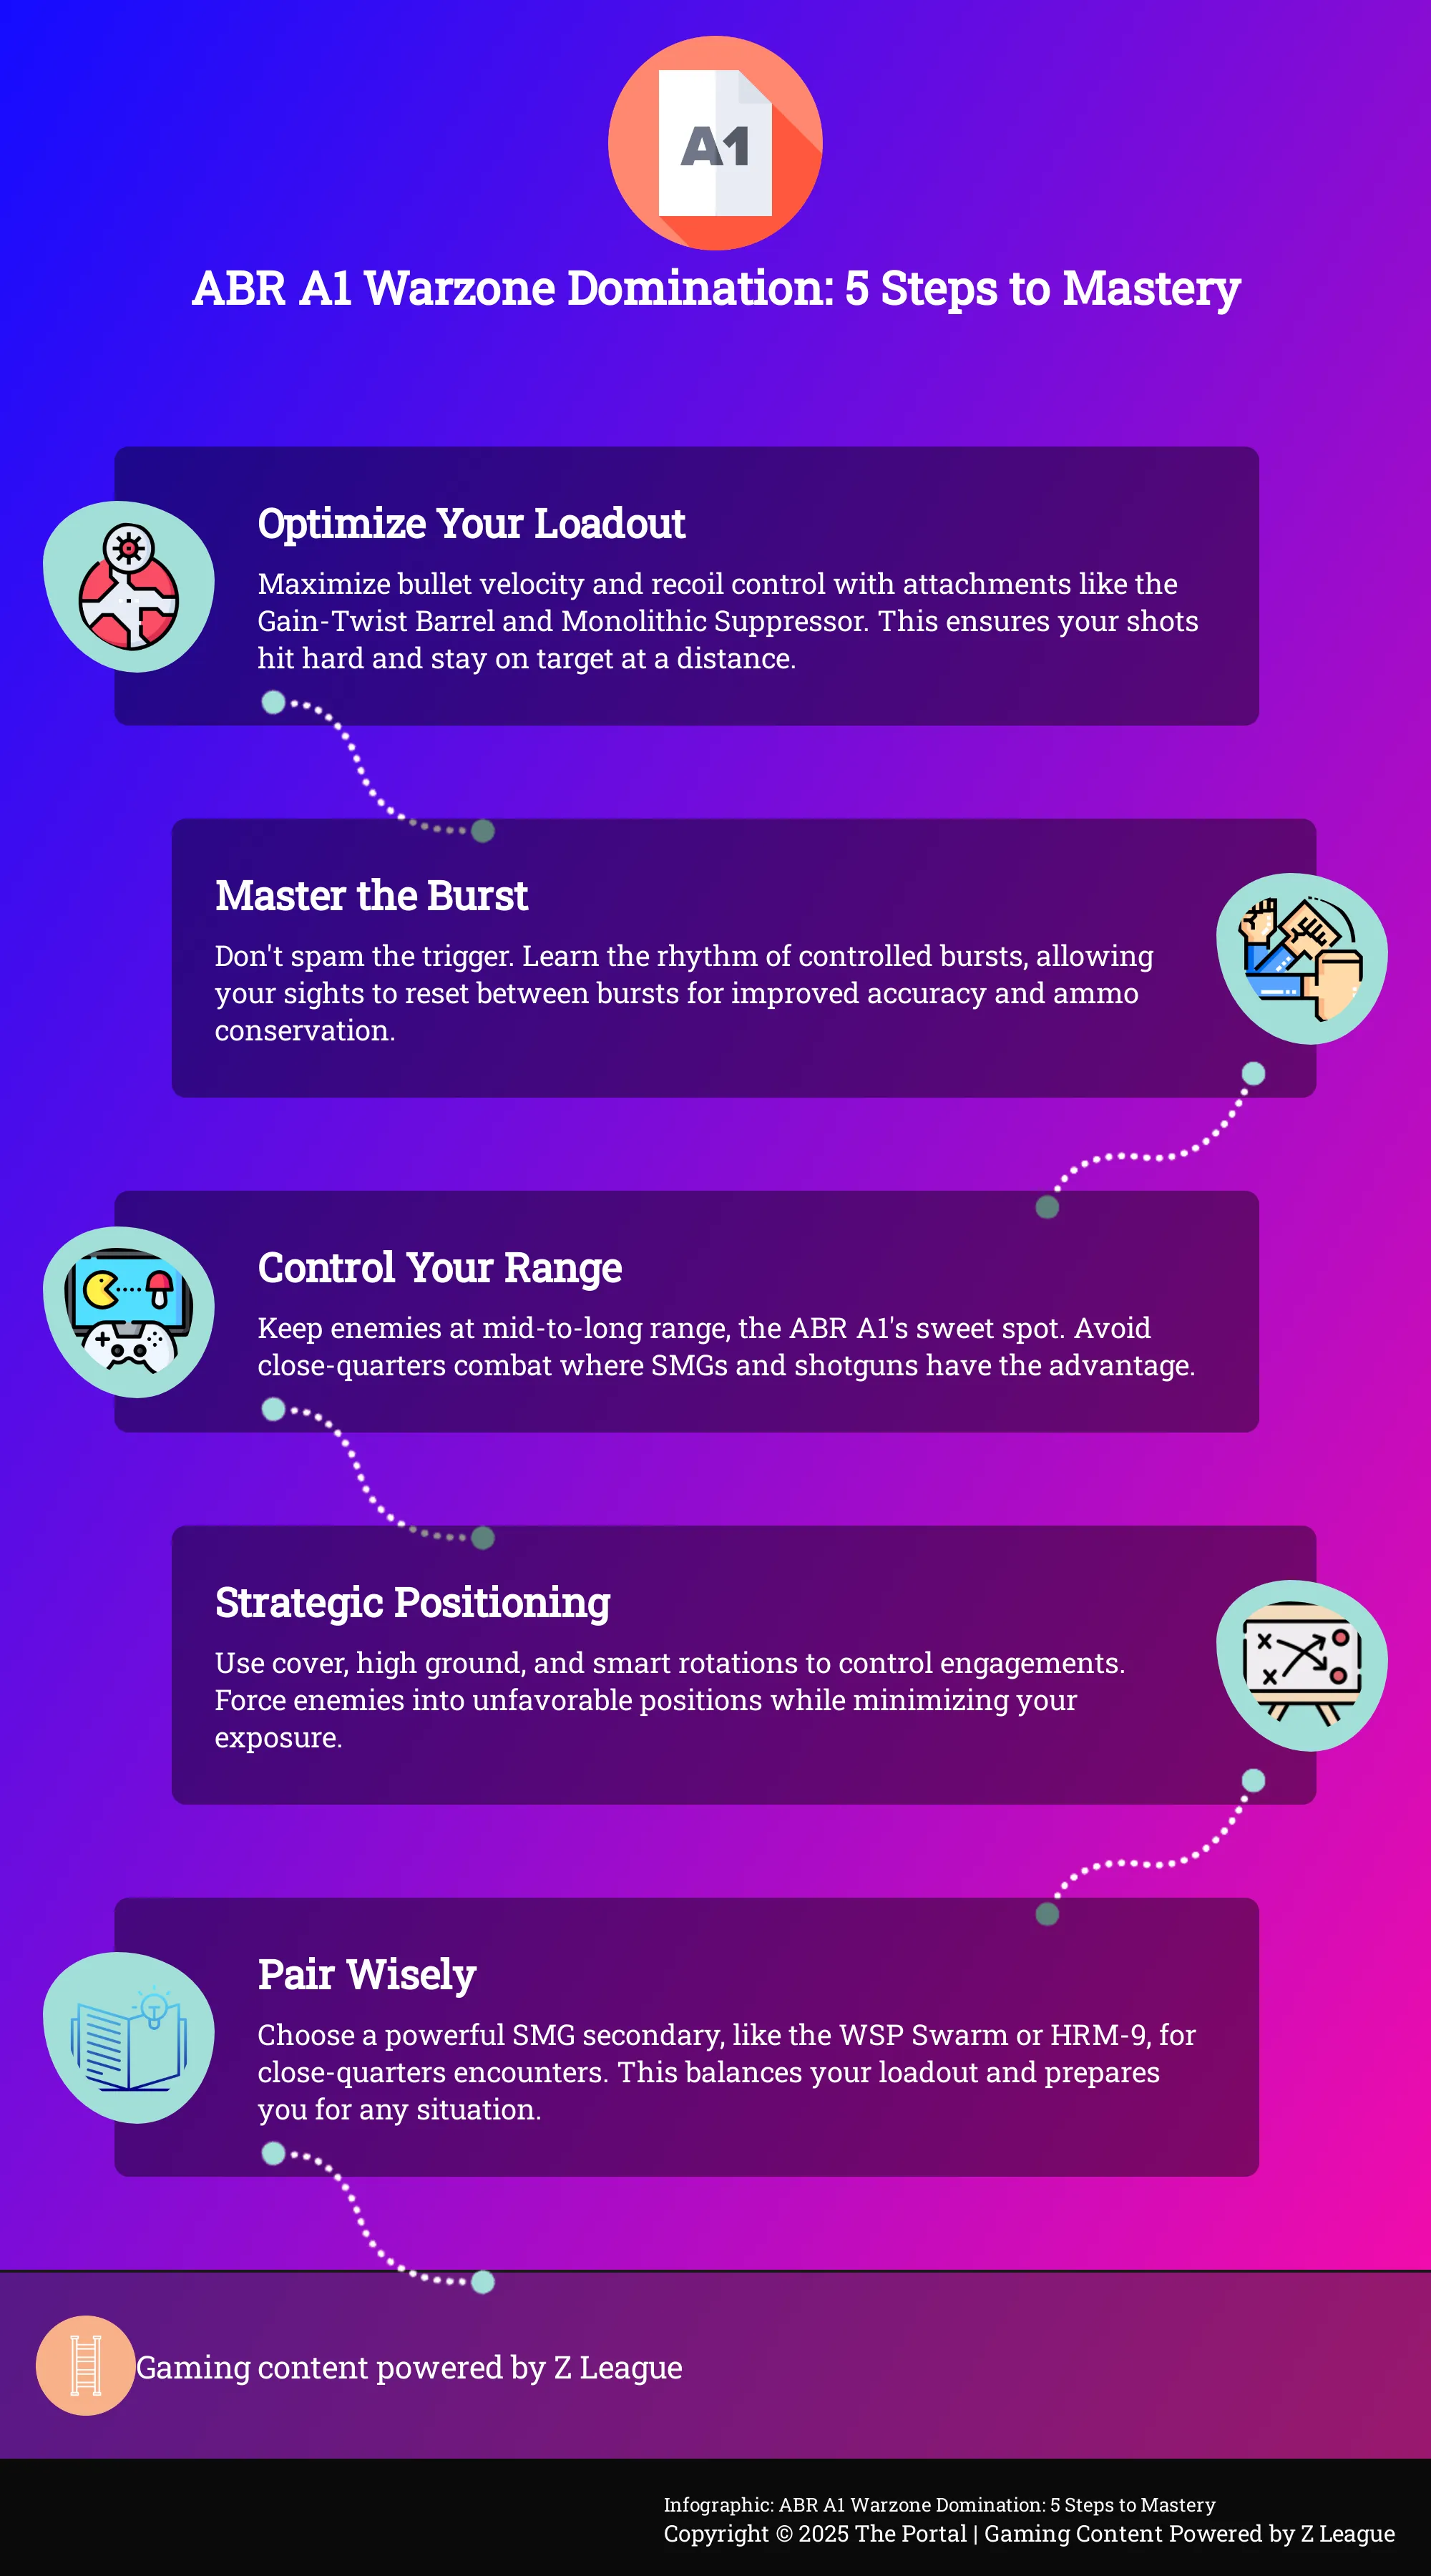
- Master the Auto-Burst Fire: The ABR A1’s strength is its continuous burst system. Aim for the upper torso to take advantage of its incredibly fast time-to-kill and consistently win your gunfights.
- Build for Long-Range Dominance: Focus your attachments on improving bullet velocity and recoil control. This creates a stable, precise weapon that makes hitting distant targets much easier.
- Control Fights with Smart Positioning: Use the ABR A1 to hold down long sightlines and always pair it with an SMG. This balanced approach ensures you’re prepared for any engagement distance the game throws at you.
Why the ABR A1 Dominates Warzone
If you’ve felt like you’ve been targeted from afar recently, there’s a strong possibility that the ABR A1 was the one aiming at you. This burst rifle has rapidly made its way up the competitive ranks, and for valid reasons. It isn’t just any weapon; it’s a force to be reckoned with, combining speed, power, and precision into an incredibly deadly bundle. The reason for its popularity? Its distinctive firing mechanism, devastating damage output that swiftly eliminates opponents, and manageable recoil.
Mastering these three aspects is crucial to fully realizing the potential of the ABR A1. It’s not merely about mimicking a loadout; instead, it’s about comprehending the reasons behind its effectiveness, allowing you to adjust and emerge victorious in firefights. Let’s delve into what makes this rifle an indispensable choice for your next landing.
How the Auto Burst System Works
Instead of the usual panic with quick taps on the trigger for a burst rifle, the ABR A1 stands out by utilizing an auto burst system. This means you can simply hold down the trigger to discharge rapid, continuous bursts. This feature offers the best of both: the accuracy and ammo efficiency of a burst weapon along with the steady firepower of an automatic one. This distinctive function lets you keep your adversaries under constant pressure without compromising on precision. It’s particularly effective in mid-range to long-range skirmishes, as it can significantly impact the damage output, making it a favorite in top Warzone loadouts at present.
Breaking Down Its Damage Profile
In essence, what truly counts in the end is how swiftly you can defeat an opponent, and the ABR A1 really shines in this area. Its Time-to-Kill (TTK) is remarkably competitive, particularly when bullets are aimed at the upper torso and head. Surprisingly, it consistently outperforms other well-liked rifles such as the Cypher across virtually all distances. This implies that if your aim is precise, you’ll prevail in more one-on-one confrontations. The secret is to practice aiming high. The rifle’s burst fire mode actually assists with this, as the slight recoil can subtly guide your shots upwards into the crucial headshot zone, resulting in quicker defeats and offering your team a significant edge.
Why Its Recoil Gives You an Edge
An effective rifle is virtually worthless if you’re unable to accurately hit your targets, and it’s in such situations that the ABR A1 really excels. Its unique capability of accommodating eight different attachments allows for customization into a precision instrument. By adding attachments that enhance recoil management, shooting stability, and bullet speed, you can establish a setup that barely wobbles upon firing. This minimal recoil makes it extraordinarily simple to maintain your aim, even when rapid-firing at an adversary situated far away. A rifle with manageable recoil enables you to hit more shots per burst, maximizing its impressive damage potential and ensuring swift and efficient resolution of conflicts.
The Ultimate ABR A1 Loadout
Hey there, fellow warzone enthusiast! Let’s dive right in and discuss a fantastic loadout for the ABR A1 that will make it an unstoppable force on the battlefield. This setup is all about mastering long-range engagements and snuffing out enemies before they even catch sight of you. Our aim is to enhance bullet speed, manage recoil, and provide a crystal-clear view of the battlefield. By carefully selecting the right attachments, you’ll be unleashing powerful bursts from any corner of the map. Forget about the wild spray-and-pray tactics; this build is crafted for the strategist who prizes precision and control above all else. So, let’s assemble the ultimate ABR A1 setup for your next thrilling Warzone encounter!
Barrel and Muzzle: The Perfect Combo
To enhance ABR A1’s long-range capability, it’s crucial to focus on the barrel and muzzle first. My recommendation is the Gain-Twist Barrel. This accessory significantly boosts bullet speed, a key factor in enhancing its precision and effectiveness during faraway engagements. The bullets will travel quicker and at a flatter trajectory, making it simpler to predict the movement of targets.
After that, combine it with the Monolithic Suppressor. This renowned muzzle device is often found in elite Warzone loadouts, and for good reason. It conceals your position on the minimap when fired, which is vital for preserving a strategic advantage. Additionally, it boosts bullet velocity and range, enhancing the dependability of your shots from afar. Combined, these two attachments create a powerful foundation for an outstanding long-range weapon.
Choose Your Grip and Magazine
To accurately hit each round with a rapid-firing weapon such as the ABR A1, controlling recoil is absolutely crucial. For this purpose, it’s advisable to attach an underbarrel grip that focuses on recoil reduction and improved aiming stability, like the Commando Foregrip. This accessory will keep your rifle stable during continuous shooting, enabling you to maintain a steady aim on your target.
When it comes to your magazine, the decision is straightforward: opt for an extended version. In the intense environment of Warzone, where you might encounter an entire squad, having extra ammo becomes crucial as it allows you to deal with multiple threats without getting stuck in a reload animation. The ABR A1 truly performs best when you fully utilize its attachment slots to create a well-balanced weapon, and these two attachments are indispensable for a smoother, more lenient gameplay experience.
The Best Optics for Long-Range Fights
Choosing the right optic can significantly impact your long-range performance. You’ll want a scope that offers sufficient magnification to clearly spot distant targets, yet avoid excessive visual distortion. The VLK 3.0x Optic is an excellent option. It delivers a crisp view and the perfect level of zoom for distances at which the ABR A1 performs optimally.
This optical device will assist you in zeroing in on your target’s upper body part, particularly the torso. Keep in mind that aiming for the upper body provides the ABR A1 an impressive time-to-kill (TTK), making it faster than most other rifles. Focusing on the chest and head ensures your bursts are as effective as possible. It’s not just about seeing more with a good optic; it’s about delivering more impact.
What to Pair with Your ABR A1
For optimal performance in this ABR A1 build, designed for long-range superiority, it’s crucial to have a backup weapon that excels in close combat situations. Given that an opponent may try to challenge your position, equipping a potent Submachine Gun (SMG) is advised. Weapons like the WSP Swarm or HRM-9 offer the high rate of fire and agility necessary to triumph in intense, short-range skirmishes.
As a gamer in Warzone, I always strive to have a well-rounded arsenal. My trusty ABR A1 covers long ranges and open areas with its accuracy, while my quick-firing SMG keeps me protected indoors or during aggressive pushes. With this setup, I’m ready for any battle the game presents, making me both versatile and formidable in combat.
Win Your Long-Range Fights
As a gamer, I’ve found that the ABR A1 is a formidable long-range companion – but it’s not just about aiming and firing blindly. To truly rule on the battlefield with this rifle, you’ll need to hone your skills in strategic marksmanship. It’s all about maintaining control over your weapon, seizing opportune moments, and placing each shot thoughtfully where it matters most. Instead of spraying and praying, think of it as executing a tactical sequence of well-planned attacks.
By adopting a strategic mindset, you can transform seemingly unreachable adversaries into simple marks. Here’s a rundown of essential abilities that will empower you to dominate critical long-range firefights and maximize the potential of your ABR A1 Warzone configuration.
How to Control Recoil
For managing recoil effectively, the self-firing mechanism in ABR A1 is like having an assistant. Unlike fully automatic firearms which keep moving upward due to continuous firing, the ABR A1 provides a brief pause after each burst for you to readjust your aim. To counteract its vertical movement while shooting, simply pull down gently on your mouse or joystick. With some practice, this technique becomes second nature. The ideal accessories also aid in this, providing superior recoil control for a more seamless firing experience, ensuring your shots remain closely packed together on target.
Time Your Bursts for Maximum Impact
Overdoing frequent, rapid trigger pulls is a typical error that many people make. Shooting continuous, quick bursts can disrupt your accuracy and unnecessarily deplete your ammunition supply. Instead, master the cadence of your rifle. Fire one controlled burst, wait for your sights to realign with the target, and then discharge another. This careful timing increases the precision and effectiveness of your shots. A strategically timed burst is significantly more potent than three reckless ones, as it maximizes your weapon’s power while minimizing exposure of your position for an extended period.
Manage Your Engagement Distance
Every weapon has its ideal shooting zone, and the ABR A1 performs exceptionally well in medium to long-range combat scenarios. Your objective is to maintain enemies within this optimal range. Accessories such as a quality suppressor can boost bullet speed and effective range, thereby enhancing the rifle’s performance at greater distances. Be mindful of your positioning, steer clear from cramped areas where SMGs and shotguns are more advantageous. If an adversary gets too near, use your mobility to establish some distance before you resume combat on favorable grounds.
Aim for the Upper Body
Instead of always striving for headshots which can be challenging at a distance, especially on moving targets, the ABR A1 provides a more forgiving option. Its damage profile means that hitting the upper chest and shoulders significantly reduces an enemy’s time-to-kill (TTK). Targeting the upper body makes it easier to connect multiple bullets in each burst, taking down enemies quickly and consistently before they can respond.
Use Positioning to Your Advantage
As a seasoned gamer wielding the mighty ABR A1, having an impeccable loadout is just the beginning. It won’t guarantee victory alone. Instead, mastering strategic positioning turns this potent weapon into a game-changer.
Envision the map as your personal playground – understanding where to camp and when to roam is as essential as landing those precision shots. Smart positioning empowers you to command battles, dictate engagements, and most importantly, keep your squad one step ahead of the enemy.
Let’s dive into the key strategies that will help you leverage the map for ultimate success while maximizing the ABR A1’s capabilities.
Learn the Basics of Map Control
Managing map control involves more than just occupying a building. It’s about comprehending lines of sight, predicting enemy actions, and securing crucial locations that provide your team with a strategic advantage. The ABR A1’s extended range allows you to command long corridors and open spaces, making it challenging for adversaries to advance against you. Locate the influential positions within each zone – places offering robust cover and a broad view of the surroundings. Holding these spots denies your enemies access and guides them into your line of fire, facilitating their elimination. Mastering diverse loadouts for Warzone based on different map situations will further enhance your adaptability as a player.
Use Cover Like a Pro
In a shootout, having a reliable hiding spot is crucial. Utilizing it properly means minimizing your visibility while increasing your ability to inflict damage. The ABR A1 shines when you hit your targets, and upper body shots significantly improve its Time-To-Kill (TTK). To make the most of cover, try “peeking over” – exposing just enough of yourself to see and shoot your target while keeping most of your body concealed. This allows for accurate bursts towards an enemy’s chest and head. Steer clear of open areas, and keep a keen eye out for any walls, rocks, or vehicles you can swiftly take shelter behind if incoming fire starts.
Know When and How to Rotate
Remaining stationary for extended periods can make you vulnerable to being trapped. Mastering the art of moving or changing positions (rotation) is essential. This could mean advancing with the front line, outmaneuvering an enemy unit, or finding a superior viewpoint. Make sure your movements are strategic. With a long-range weapon like the ABR A1, relocating to a spot offering extended lines of sight can be a tactical advantage. Accessories such as the Gain-Twist Barrel significantly boost bullet speed, making your weapon even more lethal in long-distance engagements. Strategize your path, use cover during movement, and keep your team informed for a smooth and secure relocation.
Secure the High Ground
As a seasoned gamer, I’ve got to say, there’s nothing quite like grabbing the high ground – it’s no wonder why it’s been a classic advantage in gaming for ages! From up here, the battlefield spreads out like a vast canvas beneath me. It’s almost as if I have x-ray vision, spotting enemies before they even lay eyes on me. Plus, my opponents find themselves in quite a pickle when they’re forced to aim upward, exposing more of their body while I can take cover and rain fire down from above.
With the ABR A1 in hand, perched up high feels like an unstoppable force. Add a Monolithic Suppressor to that bad boy, and it’s game over for anyone within range. Controlling a rooftop or a ridge means commanding a massive swath of territory, making me a formidable threat for any unfortunate soul caught in the open below. So, if you want to stay alive, keep your eyes on the skies!
Choose Your Perks and Equipment
The ABR A1 you’ve equipped looks solid, but we can still improve it further. The perfect combination of perks and gear is what turns a good setup into an exceptional one – think of them as backup players who assist your main star. They offer the versatility and durability necessary to come out on top and claim victory in Warzone. Even a masterfully crafted weapon might fail if you’re not equipped to handle all possible challenges that arise. This configuration is meant to amplify the ABR A1’s advantages, ensuring your survival, awareness, and keeping you one step ahead of other players. Let us explore top picks to optimize your class even more.
The Best Perks for This Loadout
As a gamer, I’d say:
When it comes to picking my perks, I always look for a balance between team support and personal awareness. First off, I highly recommend the Survivor perk. It lets me revive my teammates faster, getting them back in the action quicker. Next up, Reactive Armor is a must-have for those crucial one-on-one battles. With this perk, you’ve got that extra shield to help you come out on top. Last but not least, Alertness is a game-changer. It gives me a heads-up about nearby enemies, helping me avoid surprise attacks and pre-aim corners for incoming pushes. With these three perks, I become a tough, resilient opponent that’s hard to take down!
Your Go-To Tactical Equipment
In the strategic position of your loadout, the indisputable top choice is the Smoke Grenade. Its versatility surpasses all others. If you find yourself needing to revive a fallen comrade in an exposed location, a smoke grenade can be your lifeline. When navigating a street under heavy sniper fire, a well-timed smoke screen offers invaluable protection. In essence, it’s like having a free pass out of danger situations. With the Smoke Grenade, you can orchestrate encounters and reposition safely. Using this tool effectively allows you to set the tempo of a battle, transforming an unfavorable situation into one that your team can manage, ultimately providing them with the advantage needed to turn the tide.
Recommended Lethal Equipment
A tried-and-true option in many situations is the Frag Grenade. Known for its dependability and effectiveness, it’s an excellent choice for various scenarios. Use it to coerce hidden enemies to reveal themselves by detonating it near their hiding spots, thereby exposing them. It’s also effective for finishing off wounded players you can’t quite reach or for clearing a room before entering. The consistent, easy-to-predict trajectory and explosive force of the Frag Grenade make it an indispensable tool for increasing pressure and securing kills when regular gunfire falls short. It’s a straightforward item that consistently delivers results.
Advanced Tactics to Master the ABR A1
After creating an exceptional ABR A1 loadout, the next step is refining your strategies to turn it into a game-winning weapon. Mastering this rifle requires more than just aiming and shooting – it involves understanding movement tactics, timing of shots, and team coordination to control the game’s dynamics effectively. This article will explore ways to quickly lock onto targets, leverage movement for an advantage, master the burst fire technique, and collaborate with your squad for ultimate domination in the lobbies.
Acquire Targets Faster
As a gamer, I can’t stress enough how the ABR A1 truly shines when decked out with attachments. The perfect configuration, ideally sporting eight attachments, grants me a superior scope, extended range, and an almost effortless recoil control. This setup is the key to lightning-fast target acquisition, even from long distances in Warzone. In the heat of battle, that fraction of a second edge can mean the difference between a victory and a trip to the Gulag. My mission is to transform the ABR A1 into a steady, long-range precision tool, capable of pinpointing enemies before they even spot me on their radar.
Optimize Your Movement in a Gunfight
This rifle excels in accuracy, and its time-to-eliminate (TTE) is exceptional when you hit the upper body. In fact, it can outperform competitors such as the Cypher across all distances if your aim is spot on. Consequently, the ABR A1 is an ideal choice for players who can stay agile while dishing out precise bursts. Instead of standing still and engaging in firefights, utilize slides, jumps, and cover to become a harder target as you align those vital upper-body shots. The recoil is well-controlled, so concentrate on your movement and let the weapon’s user-friendly characteristics handle the rest.
Master Your Burst Fire
The ABR A1 deviates from standard burst rifles, behaving more like an “automatic burst” weapon. Instead of individual rounds being fired in quick succession upon trigger pull, it allows for a continuous, rapid-fire stream as the trigger is held down. This distinct feature can significantly alter gameplay, but requires some practice to grasp its rhythm correctly. Spend time at the firing range to familiarize yourself with the sequence of shots and learn how to maintain precision while firing. Mastering the timing will enable you to pierce through armor more effectively than ever before.
Coordinate with Your Squad
As a gamer, I’ve come to know the ABR A1 as a formidable force on its own. But when teamed up with fellow gamers, it becomes downright terrifying. If my squadmates are wielding close-quarters SMGs or long-range support weapons, clear and effective communication is crucial. It’s essential to keep each other informed about enemy locations, plan our assault strategies, and use the ABR A1 strategically – either laying down suppressing fire or picking off crucial targets from afar. When we work together seamlessly, this weapon can control entire sections of the map. By carefully crafting our Warzone loadouts and communicating effectively, we can create tactical advantages that translate into more victories.
Common ABR A1 Mistakes to Avoid
Just like top-tier equipment often requires a bit of learning to master, the ABR A1 is no different. It packs quite a punch, but minor errors can make it seem less reliable than expected. If you’ve ever found yourself losing a firefight and questioning why, it might be because you’re falling into some common pitfalls. The positive side is that these issues can be easily rectified with a bit of practice and attention. It’s not about drastically changing your approach, but rather making subtle, strategic modifications that enable the weapon to perform at its best. To truly excel with the ABR A1, it’s essential to comprehend its unique rhythm and suitable combat situations.
As an avid fan, let’s delve into the common blunders that players often commit when wielding this ABR A1 rifle. Ranging from engaging in battles unsuitable for the situation to settling for suboptimal build configurations, these seemingly minor details set apart a good user from a remarkable one. By comprehending these potential pitfalls, you can enhance your playstyle, ensure your shots are impactful, and begin consistently outperforming your gaming peers. Consider this an adjustment for your skills – let’s optimize your ABR A1 gameplay, pushing it to perform at its maximum potential so you can grasp why it’s a top-notch choice.
Fighting at the Wrong Distance
One significant error when using the ABR A1 is trying to make it suitable for close-quarter battles. This gun excels in mid-to-long range encounters, as its burst fire can quickly penetrate armor, catching opponents off guard. Engaging in confined spaces like buildings or narrow corridors takes away this advantage since submachine guns and shotguns are typically more effective in such situations due to their quick firing capabilities. Instead, take advantage of the ABR A1’s strengths by controlling long corridors, monitoring open fields, and allowing your strategy to be guided by the weapon’s superior performance at distance.
Choosing the Wrong Attachments
The right choice of attachments can either boost or hinder this firearm’s potential. While it might be tempting to select attachments based on their appearance alone, an ill-suited combination will hinder your performance. The objective is to boost the ABR A1’s inherent strengths – damage range and control – rather than undermine them. Steer clear of attachments that lower bullet speed or add excessive recoil. Instead, concentrate on a configuration that makes managing recoil feel effortless. An optimal setup empowers you to consistently hit those critical upper-body shots, which is where the ABR A1 excels in terms of time-to-kill. If you’re seeking inspiration, consider exploring some popular ABR A1 loadouts shared by the gaming community.
Common Positioning Errors
In the heat of Warzone battles, even if you’ve got the ultimate gear setup, standing exposed in an open area is inviting trouble. Mastering positioning is crucial, especially with a long-range precision weapon like the ABR A1. Remember to always seek cover, use head glitches, move around corners, and whenever feasible, take advantage of higher ground positions. These tactics provide a significant edge, enabling you to fire pinpoint shots, retreat safely, and prepare for your next move. Many players fall because they found themselves in an unfavorable position. Study the strategies of top players; they expertly navigate the map using the terrain to stay concealed while readying their next shot.
Failing to Control Recoil
The ABR A1 has a relatively controllable recoil, but it’s important to remember that each burst does have a slight kick. If you don’t adjust for this, your subsequent shots may miss their mark. Get accustomed to the rhythm of the burst fire. Instead of continuously firing, allow a brief moment between bursts to reposition your aim. This minor pause significantly improves your accuracy at a distance. To compensate for the vertical ascent, gently pull down on your mouse or control stick while shooting. With practice, you’ll be able to hit multiple shots in a burst, making those swift eliminations that make the ABR A1 so powerful when handled skillfully.
How the ABR A1 Stacks Up
What sets the ABR A1 apart from other popular choices in Warzone? While it’s crucial to have an excellent loadout, knowing the weapon’s unique strengths and weaknesses can make all the difference. The ABR A1 isn’t just impressive on paper; it has a distinctive feel that makes it particularly effective in certain combat situations where other rifles might struggle. Let’s explore where this burst rifle truly excels and learn how to leverage its special traits for success on the battlefield. By familiarizing yourself with its role within your arsenal, you’ll be better equipped to choose your battles strategically and emerge victorious more often.
This version maintains the original message while using simpler language to make it easier for readers to understand.
Damage Output vs. the Competition
The ABR A1 gun really shines when accessorized, offering a clearer sight, longer range, and easier recoil management. With all attachments, it becomes quite formidable, boasting an impressive time-to-kill (TTK), especially if you aim for the upper body. In head-to-head competitions against guns like the Cypher, the ABR A1 delivers a TTK that outperforms at all distances when targeting the upper body. This makes it a powerhouse for players who can consistently hit their shots above an enemy’s waist. If you’re accurate, you’ll find yourself quickly taking down opponents’ armor and eliminating them before they realize what happened.
Comparing Mobility
As a fan, I’d say: You might assume a powerful rifle like the ABR A1 would be cumbersome, but it masterfully balances power and agility. One of its most impressive aspects is its remarkably manageable recoil, which provides an edge in fast-moving battles because you can maintain aim during strafing or repositioning without losing your target. The stability even lets you fire accurately on the move, a game-changer in Warzone’s unpredictable encounters. This unique blend of agility and control makes the ABR A1 surprisingly nimble for a weapon with such potent force.
Effectiveness at Different Ranges
In Warzone, versatility is key, and the ABR A1 certainly delivers on that front. It’s an impressive performer at medium to long ranges, thanks in large part to attachments that significantly enhance its capabilities. For instance, the Gain-Twist Barrel offers a substantial increase in bullet velocity, which can be a real game-changer for accurate shooting from afar. Faster bullets mean less need to anticipate your target’s movement and a more intuitive shooting experience when engaging enemies from a distance. When paired with an accessory like the Monolithic Suppressor, which extends its range even further, the ABR A1 becomes one of the most dependable choices for managing sightlines and securing those crucial long-range victories.
Know When to Use the ABR A1
The ABR A1 is an ideal choice for strategically minded players who master the tempo of combat. With its potent abilities, it’s best employed in scenarios where you can manage the battlefield range. It shines brightest when you’re in a dominant position, offering cover fire to your team, or sniping opponents from afar. Although it boasts reasonable mobility, it’s not designed for close-quarter skirmishes. Steer clear of cramped structures with it; let your Submachine Gun (SMG) or shotgun handle encounters at a closer range. Consider the ABR A1 as your tool of choice for controlling the mid-to-long-range battlefield, making it a valuable inclusion in numerous successful Warzone setups.
Frequently Asked Questions
Is the ABR A1 suitable for new players? Definitely, but it has a slight learning curve. The manageable recoil makes it an excellent choice for beginners. However, mastering the rhythm of its auto-burst fire requires some practice. Spend a bit of time at the firing range to familiarize yourself with controlling the continuous bursts, and you’ll find that it’s a forgiving and potent weapon to learn on.
Instead of choosing a fully automatic rifle, consider the ABR A1 as offering a harmonious blend between precision and power. This weapon provides the benefits of controlled burst fire that enhances your accuracy in long-range shots, conserving ammo. Simultaneously, its innovative auto-burst feature enables you to hold down the trigger for continuous firing, mimicking the pressure application of a full-auto rifle against multiple adversaries. It’s perfect for players who prioritize precision while still wanting to maintain the capability to engage numerous opponents effectively.
Can I still make an effective build if I haven’t unlocked all the recommended attachments? Absolutely! Focus on enhancing recoil control and bullet velocity for optimal performance. Invest in the Monolithic Suppressor and the longest barrel option you currently have, as they’ll provide significant improvements at a distance. If necessary, use any grip that improves aiming stability or recoil control until you can unlock the Commando Foregrip.
You’re welcome to consider alternative optics instead of the VLK 3.0x. Optic preference is often subjective, so what suits one player may not suit another. The VLK 3.0x is commonly suggested due to its clear sight picture and adequate zoom for mid-to-long range engagements. However, don’t hesitate to explore similar scopes such as the Corp Combat Holo Sight or any other that feels comfortable for you and doesn’t obstruct your view while you try them out.
What’s the performance of the long-range ABR A1 in quicker game modes like Resurgence? It thrives, particularly for managing rooftops and longer ranges on the map. But since Resurgence encourages close combat, your secondary weapon becomes crucial. Ensure you team up the ABR A1 with a swift and aggressive SMG such as the WSP Swarm. This setup gives you superior range control and also provides a reliable tool for breaching buildings and dealing with enemies who get too close.
Read More
- Off Campus Season 1 Soundtrack Guide
- Euphoria Season 3’s New R-Rated Sydney Sweeney Scene Proves The Show Is Trolling Us
- Gold Rate Forecast
- DoorDash responds after customer uses AI to make food look bad and get a refund
- Brent Oil Forecast
- How to Get to the Undercoast in Esoteric Ebb
- What is Omoggle? The AI face-rating platform taking over Twitch
- 8 Funniest Billy Butcher Quotes From The Boys
- EUR CLP PREDICTION
- MNT PREDICTION. MNT cryptocurrency
2025-09-07 19:25