Episode 3, ‘Turnover’, is the trickiest dispatch to complete flawlessly. Luckily, it’s not essential for getting the best ending, and it doesn’t significantly impact the game overall. But if you’re aiming for 100% mission success like I am, we’ve created a walkthrough to help. We’ve also detailed all the choices and what happens as a result of each one.
Dispatch Guide and Walkthrough
We’ve created more chapters and Dispatch guides if you’d like to explore further. You can find everything here.
Story Part 1
Choice: Royd asks about our “home”. There are no consequences of that choice.
- It’s minimalism.
- I’ve been focused on my work.
- I’m poor.
Choice: Next, Royd tries to explain how Astra Pulse works.
- Sounds pretty important.
- I didn’t get any of that.
- Can you recreate it?
There will be no consequences of that choice.
Choice: Later, you will be pushed by Golem. He will remember your reaction:
- Watch where you’re going
- Let it go.
It’s tough to choose the best approach here, but I’d suggest standing up for yourself by saying something like, “Watch where you’re going.”
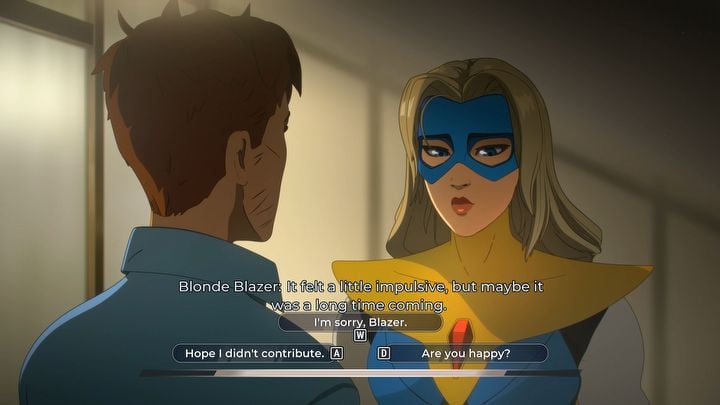
Choice: Blonde Blazer broke up with Phenomaman. It will influence your relationship level:
- Hope I didn’t contribute.
- I’m sorry, Blazer.
- Are you happy?
Pick the option in the middle to improve the relationship.
Choice: Another important for Blonde Blazer choice, she will remember it:
- I like it.
- It’ll scare them.
- You sure about that?
Obviously, the first option is the one you should pick, if you want to increase your relationship.
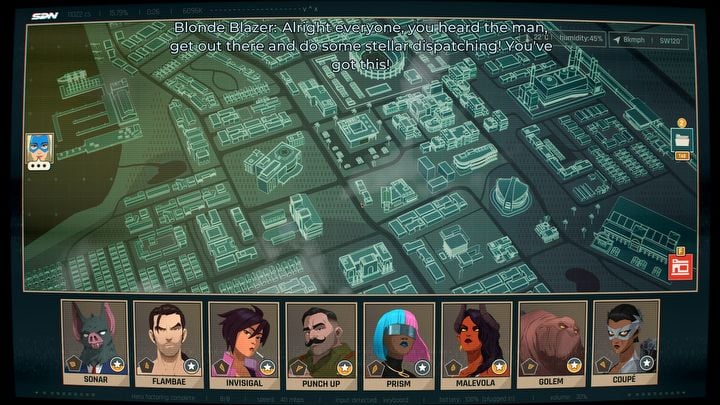
Dispatch shift 1
This part of the game is tricky because Team Z players will intentionally hinder their teammates to make themselves appear more successful. Because of this, if you send more than one person on a mission, you can almost guarantee that only one of them will actually complete it. Therefore, we recommend sending either one person or three. Sending two isn’t a good strategy. Be aware that heroes who are waiting can even leave the base to sabotage someone who’s on their way back from a mission.
If someone tries to sabotage the hero, they must pass a skill check. Success means they return to base, but failure results in injuries – their stats will be lowered.
Sometimes, missions require you to send two heroes, but one of them will always be weakened. Usually, the game randomly chooses which heroes are sent. If you get a bad pairing, you can restart the mission hoping for a better teammate. However, there’s one instance where you’ll definitely have to send Couper and Sonar together.
Sabotage choices
Below you can find some sabotage choices:
Golem
- Ask someone for help – Charisma check 1.
- Incorporate it into your body – Intellect check 4.
- Pry yourself loose – Vigor check 4.
Prism
- Distract – Charisma check 4.
- Blast them – Combat check.
- Puch them – Vigor check.
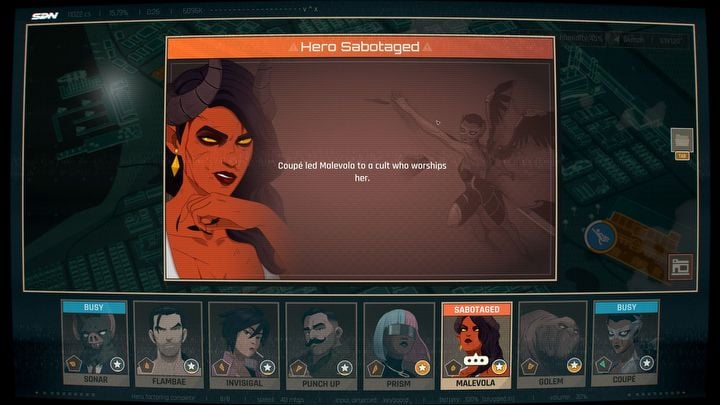
Malevola
- Fight your way out – Combat check 4.
- Run – Mobility check 3.
- Play the part – Charisma check.
Sonar
- Track down – Mobility check 1.
- Plug up – Intellect check 4.
- Withstand – Vigor check 2.
Flambae
- Blast the lead – Combat check 1.
- Calm the mind – Intellect check 3.
- Unlock the tank – a simple hacking minigame.
Coupe
- Splash them and dip – Combat check 5.
- Backstroke away – Mobility check 4.
- Describe your diarrhea earlier – Charisma check 2.
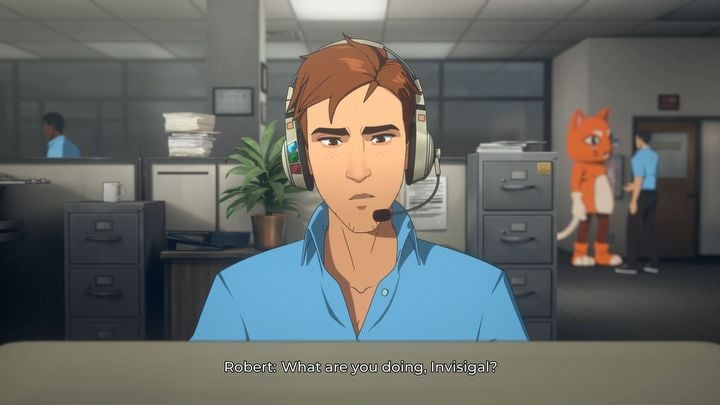
Invisigal
- Ditch him – Mobility check 3.
- Pay him off – Intellect check.
- Break the camera – Combat check.
Punch Up
- Force it out – Vigor check 1.
- Mind over matter – Intellect check 2.
- Fight the powerful urge – Combat check 4.
Dispatches
- Beach Clean Up – It is the first mission and you will have to send 2 characters. Charisma (4) Vigor (5) test with a little bit of Mobility (3).
- Undercover Drug Bust – Just pick Sonar aka “Batguy,” his abilities are almost a perfect match for the job. He will change afterwards, though. It is a test of mostly Intellect and Charisma.
- Drug Deal Shot Down (only available if you fail Undercover Drug Bust) – Difficult test on Combat and Vigor.
- Assault on the Drug Base (available if you succeed at Undercover Drug Bust) – mainly Vigor and Combat, with a little bit of Intellect and Mobility
- Trouble at the Tailgate – mainly Vigor and Combat, with a little bit of Intellect and Mobility.
- Learn about SDN Scammer – Mainly Intellect (5) and Charisma (6) test.
- Landslide – Sonar and Coupe will be automatically chosen in this case. Mainly Intellect test with some Vigor, Charisma and Mobility.
- Save the Mascot in Peril – Mostly Mobility, but a character with Combat and Vigor will be useful, too.
- Hack the Scammer – hacking minigame. You will have to match waves. Or you can pick:
- Investigate Tip – alternative to Hack the Scammer. Mostly Vigor and Mobility test.
- Runaway train – Vigor and Mobility test.
- Parking Lot Backup – Mostly Intellect, some Charisma and a little bit of Mobility.
- Burglary in Progress – story mission. You will have to send Malevola.
Story Part 2
Choice: When the Golem pushes you:
- Kick Golem Out.
- Give him the chair.
Choice: What I see is
- Potential.
- Pain.
- Fear.
Choice: The Phoenix emerged from ash, reborn:
- You set this program on fire.
- You’re all burnt shit.
- All of you are Phoenixes.
Dispatch shift 2
This transition should be smoother, mainly because the discussion went well and your team won’t undermine their own efforts.
- Personal Shopper – an easy test of Combat and Vigor (with a little bit of Intellect and Mobility).
- Line Cutter – Send Prism or Coupe to win automatically.
- Ritualistic Solicitation – send Malevola to complete it.
- Underground Fighting Ring – Combat and Vigor test.
- Personal Security – Combat and Vigor test.
- Fight in the Tournament – Send Punch Up to the tournament. He will get 200% XP and will remember it. In the middle of the dispatch you will get additional choice – you will be able to tough it (5 Vigor required) or send Coupe to help. The latter will start Combat and Vigor test. Alternatively you can:
- Shut Down the Tournament – All Z-team members will get XP. Charisma, Vigor and Combat test. Punch Up will remember it.
- Flight School – you can send one of your flying heroes to the school. It will reduce their travel time. However, keep in mind that at the end of the chapter you will have to cut someone. If you decided already on Sonar or Coupe… don’t send them.
- Personal security 2: The Ride – Send Coupe or Invisigal to solve it automatically. Alternatively send someone with Combat (Challenge) or Vigor (Shield) at 5+.
- Debate the Bone Zone – Test of mainly Charisma, but Intellect is useful, too.
- Hero Training – remember that you need to cut someone at the end of the chapter.
- Lightningstruck Strikes Again – A test of all stats, but Charisma. So send a team with Intellect, Combat, Vigor and Mobility.
- Bank Robbery – You can Brawl (7 Combat) or Rescue (7 Mobility). Alternatively, it is possible to just complete hacking minigame. You will need to guess the sequence. It is irritating, but there are no enemies to be afraid of.
Story Part 3
You speak with Invisigal, who reluctantly accepts that she’s destined to be the one sacrificed. Keep this conversation in mind, and be kind to her.

Choice: Fate
- Fate is bullshit.
- F*ck the stars.
- You make your own destiny.
Although all the options seem suitable, the final one is the best choice because it will lead to a touching conversation and reveal a more playful side of Invisigal, making it feel like the right decision.
Choice: The ongoing burglary
- Get one for the road.
- Take your anger out on him.
- This could make a difference.
The last one is definitely the most inspirational.
You’re about to watch a cutscene followed by three hacking challenges. This is your first encounter with Antivirus – touching it means instant failure, so you’ll need to escape! Luckily, it’s not very quick in this section. If you’re not a fan of the hacking games, consider activating unlimited lives. In the third game, trick the enemy into the square-shaped area at the bottom of the screen and trap them there with the Antivirus. Succeeding in these challenges will be remembered by Invisigal, allowing you to proceed with the level without interruption.
Next, you will talk with Blonde Blazer.
Choice: Did you mean all that? – Blone Blazer will remember it.
- No, I don’t.
- I hope so.
- Everyone has a shot.
Both, I hope so and Everyone has a shot, look like a good choice here.
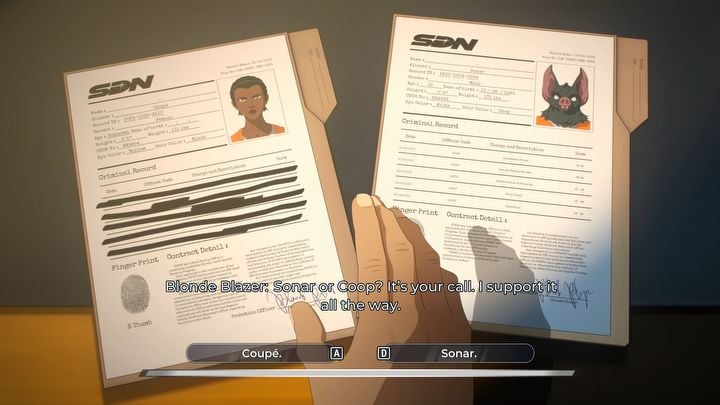
Sonar and Coupe Choice
Choice: who to cut
- Coupe.
- Sonar.
Now choose between Sonar and Coupe. Select the character you prefer or who you think is more helpful to the team when they’re actively working. This choice will be relevant later on, but the overall result will be pretty much the same either way.
Spoiler about the outcome is under the screenshot.
If you defeat an enemy, they’ll join the forces of the Shroud – the one responsible for your father’s death. While the overall story won’t change, you’ll be fighting a different foe. You can find more details in our article about this feature.
Read More
- Off Campus Season 1 Soundtrack Guide
- DoorDash responds after customer uses AI to make food look bad and get a refund
- Jon Bernthal Explains Why Marvel Let Him Make The Darkest Punisher Story Ever
- Gold Rate Forecast
- Ethereum Eyes Break Above $2,420 as Rally Hangs in the Balance
- 10 Most Universally Beloved Sci-Fi Movie Villains, Ranked
- All Golden Ball Locations in Yakuza Kiwami 3 & Dark Ties
- The Strongest Battlegrounds codes (May 2026)
- 8 Movie Trilogies That Are More Rewatchable Than The Lord of the Rings
- Umamusume has been transformed into a D&D game with new race
2025-11-20 20:06