Pay attention to how enemy Super Destroyers position themselves – it reveals their plans. Recognizing these formations gives you a significant advantage, like knowing what your opponent will do next. Are they preparing to attack, defend, or launch a new offensive? Each arrangement has strengths and weaknesses, and understanding them can mean the difference between victory and a desperate retreat. Let’s take a look at the most frequent formations.
Key Takeaways
- Understand Your Orbital Support: The fleet overhead isn’t just background scenery; each Super Destroyer belongs to a player on your team. Their position in the atmosphere directly impacts stratagem deployment, so pay attention to their formation to better time your support calls.
- Read the Battlefield: Enemy formations are a direct signal of their immediate strategy, whether they’re preparing for a full assault or setting up a defensive line. Learning to identify these patterns allows you to anticipate their moves and use the right tools to shatter their coordination.
- Squad Synergy is Non-Negotiable: The key to high-level play is effective teamwork, from assigning roles before the mission starts to communicating constantly during a fight. A coordinated squad that shares resources and covers each other’s weaknesses is the most powerful weapon in your arsenal.
Why Do Super Destroyers Fly in Weird Formations?
Have you ever noticed a bunch of Super Destroyers seemingly stuck in the sky during a mission? You’re not the only one who’s wondered why they’re positioned that way. It’s not just for looks – their formations actually relate to your squad and the mission objectives. Paying attention to how they group up can help you better understand what’s happening on the battlefield. Let’s take a closer look at what’s going on up there.
The Basics of Formation Flying
Let’s start with the basics: as a Helldiver, you get your own Super Destroyer – it’s your mobile base, provides support from orbit, and gets you around the galaxy. When you team up with three other players for a mission, the four ships you see above are actually your squad’s combined fleet. Each ship represents one Helldiver currently fighting on the planet. This isn’t a set formation, but rather a collection of everyone’s personal command ships, all ready to deploy support when you call for it.
How the Environment Changes Their Patterns
The ships don’t always appear neatly arranged because they aren’t orbiting in deep space. Instead, they fly within the planet’s atmosphere to provide support, constantly adjusting their positions to counteract wind resistance and stay above the fighting. It’s less about a strict formation and more about strategically staying nearby. They need to be close enough to launch your Hellpods and use stratagems effectively, which is why their movements change based on the planet and where you are on it.
Your Impact on Their Behavior
The number of ships you see in the sky directly shows how many players are in your team. Each large ship represents one player, so if you see four ships, you have a full team. If someone leaves the game, their ship will disappear, letting you quickly see how many teammates you have left. Keep an eye on the ship formation – it’s a visual reminder of the players fighting with you and the strength of your team.
How Smart is the Super Destroyer AI?
Have you ever felt like the large, powerful Super Destroyers are specifically targeting you? You’re right to think that way. These ships aren’t just simple weapons platforms; they’re guided by a complex AI that allows them to make smart decisions during battle. To defeat them effectively, it’s crucial to understand how they operate. They can learn from the situation, focus on the biggest threats, and respond quickly, making each fight unpredictable. Let’s take a look at how their AI works.
How They Move and Learn
Super Destroyers aren’t limited to following a fixed route. They’re built to think for themselves and respond to what’s happening around them. The AI analyzes the battlefield, avoids obstacles, and changes course to stay in the best position. If you and your team change how you’re attacking, the Destroyer will often move to keep its strongest weapons aimed at you. It adapts to your actions, so it’s important to be unpredictable to confuse it and create opportunities for a team attack.
What They Target First
The Super Destroyer AI is a ruthless enemy that’s always looking for dangers. It’s programmed to protect itself first, meaning it will usually attack anyone shooting at it. If you’re attacking, expect to become its main target. That’s why working together is so important. One player can distract the AI while the rest of the team focuses on its vulnerable spots, avoiding a full-on counterattack. Successful attacks depend on coordinating your efforts to take advantage of how it chooses targets.
Where They Spawn From
Super Destroyers don’t just randomly appear – they spawn in specific places designed to give them an edge. These locations are usually near important objectives or offer tactical advantages, like higher ground or narrow passages. Watching where they enter the battlefield can help you predict where they’re going and what they’ll do. If you know when and where they’ll arrive, you can prepare traps, like using an Orbital Laser or Eagle 500kg Bomb, before they have a chance to attack.
How They React to Attacks
Firing on a Super Destroyer is extremely dangerous – it’s like provoking a very angry enemy. Its artificial intelligence is designed to react to any damage by unleashing a massive counterattack. If it’s hit hard, it will immediately ramp up its firepower, focusing all its weapons on whatever attacked it. This is meant to destroy threats as quickly as possible, so expect a powerful and instant response. Always have a safe place to hide or a plan to move quickly before you open fire. Often, quickly attacking and then retreating is a better tactic than trying to fight it head-on.
Identify Common Formation Types
If you start to observe closely, you’ll see that the Super Destroyers don’t move randomly. They have clear intentions, and the way they group together reveals what they’re planning to do next. Recognizing these patterns is like knowing what your opponent is thinking – it gives you a significant advantage when deciding how to attack or defend. It’s like understanding their strategy: are they preparing a full-scale attack, building a defense, or getting ready to launch a new offensive?
Every team arrangement has advantages and disadvantages, and understanding these can mean success or failure during a mission. We’ll cover the four most frequently used formations. Being able to recognize these arrangements will help you anticipate enemy tactics and prepare your team for battle.
The Cluster
The Cluster is a dangerous formation where multiple Super Destroyers fly very close together. They use this setup to unleash a massive amount of firepower on a single, important target, or to break through strong defenses. Flying so close allows them to combine attacks, protect each other, and makes it extremely difficult to destroy them individually. They can also quickly deliver supplies and reinforcements to troops on the ground in a limited area. If you find yourself in their line of fire, seek shelter immediately and work with your team to concentrate your attacks on one ship at a time to try and scatter the formation.
The Line
Okay, so when those Super Destroyers line up in a straight line, it’s seriously scary. It’s like they’re building a wall that just *moves* and destroys everything in front of it. They do this to control the battlefield – either to push us out of an area or to create a super strong defense. It’s rough because every ship can target multiple enemies at once, meaning you’re getting hammered from all sides if you try to push forward. Honestly, the best strategy is to try and find a gap in their line, or use the environment – like hills or buildings – to flank them and attack from an unexpected angle.
The Defensive Wall
The Defensive Wall looks a bit like a Line formation, but it’s much more focused on strong defense. Super Destroyers arrange themselves to create a solid barrier, protecting important targets like buildings or evacuation points, or to control key areas on the map. This setup is designed to withstand heavy attacks while shielding friendly ground troops – it’s like building a fortress. If you run into a Defensive Wall, directly attacking it head-on is usually a mistake. You’ll have more success by going around the sides or using long-range attacks to weaken their defenses before attempting to break through.
The Orbital Drop
If you spot enemy ships – specifically Super Destroyers – forming a pattern directly above you, brace yourself for incoming reinforcements. This “Orbital Drop” formation means they’re preparing to quickly deploy troops and supplies from orbit, landing them right on the battlefield. It’s a tactic they use for surprise attacks, aiming to overwhelm you with new enemies before you can respond. This formation is a clear warning: prepare for a ground assault immediately. Check your ammunition, activate defensive measures, and get your team ready for intense close-range combat – you’re about to be engaged!
How Super Destroyers Fight
Super Destroyers are dangerous opponents that combine powerful weaponry with clever tactics. To defeat them, it’s crucial to understand how they fight. They use thick armor to withstand attacks and coordinate their efforts to overwhelm you from all sides. These enemies don’t just respond to your actions-they actively seek you out, using their numbers and the surrounding environment to gain an advantage. By learning to predict their behavior, you can exploit their strengths and ensure your own survival.
Health, Armor, and Weak Spots
Super Destroyers are incredibly durable. They have thick armor and a lot of health, so standard weapons won’t do much damage. Instead of wasting your best ammo on their main body, focus on their weak points. Every Super Destroyer has vulnerabilities, and hitting them is key to winning. The glowing vent on their back is a well-known weak spot – a direct hit with a powerful weapon can cause significant damage. Many players have discovered that a precise shot from a recoilless rifle can even destroy a Super Destroyer in a single hit, making it a very effective weapon against them.
How They Coordinate Attacks
These warships never operate alone. Super Destroyers work together seamlessly, and can quickly defeat unprepared opponents. They constantly communicate and change their formation to respond to the battle. You might notice them shifting into unusual arrangements later in the game, seemingly making themselves vulnerable. However, this isn’t an error – it’s a deliberate strategy. They’re often trying to lure you into attacking a certain way, or draw your fire so other units can move into a better position to attack your sides. Always pay attention to the entire enemy fleet, not just the ship you’re currently targeting. Their teamwork is a warning that you need to anticipate their next move.
Using the Environment to Their Advantage
Super Destroyers are massive and incredibly tough, effectively turning the battlefield into their ally. They can withstand heavy damage, letting them use natural features like rocks and hills for protection while they maneuver. But their real strength is using the environment against you – they’ll position themselves to force your team out of safe spots and into vulnerable positions. These tanks are patient and will wait for the ideal moment to strike with a powerful attack. Don’t let them control where you fight; stay mobile and constantly look for new ways to attack.
How They Assess Threats
Okay, so the AI in these Super Destroyers is actually pretty smart. They don’t just attack randomly – they *figure out* who the biggest threats are in my squad. If I’m rocking the recoilless rifle or constantly getting those sweet critical hits, I instantly become public enemy number one! It’s kinda scary how they change their tactics based on what we’re doing, focusing all their firepower on whoever’s doing the most damage. That’s why it sometimes feels like they’re hunting *me* specifically – because they are! Knowing they’re prioritizing targets like that is a huge help in keeping everyone alive and managing the chaos.
Your Guide to Countering Formations
When you see a perfectly synchronized group of Automatons or a massive wave of Terminids rushing towards you, it can be scary! But stay calm. Every enemy formation has a weakness, and a prepared Helldiver team can destroy them quickly. The key is to figure out how to break their attack and take control. Think of it like a dangerous puzzle that you solve with explosions. Let’s look at how to break through any enemy line and turn a powerful force into wreckage.
Break Their Ranks
To win against a group of enemies, the first thing you need to do is break up their formation. When enemies work together, they’re much more dangerous, but when they’re scattered and panicked, they become much easier to defeat. Area-of-effect attacks – things like airstrikes, orbital lasers, grenades, and grenade launchers – are perfect for this. Use them to disrupt their lines, creating chaos and forcing enemies to break apart. This lets you separate the strongest threats from their support, allowing you to take them down one by one.
Pick the Right Weapons
Just like you wouldn’t use a knife against a gun, don’t use a small machine gun against a Bile Titan. Choosing the right weapons is key to success. For large groups of weaker enemies like Terminid Hunters, weapons that fire quickly and can control the crowd, such as the Stalwart or Arc Thrower, are your best bet. When dealing with heavily armored Automaton enemies, you need powerful weapons like the Autocannon, Anti-Materiel Rifle, or Railgun to take them down from a distance. And remember, your Super Destroyer is there to help your ground team, so make sure to request the right support for each situation.
Master Your Positioning and Timing
Rushing directly into enemy fire will quickly send a new Helldiver to join you on the battlefield. Your best defense is smart positioning. Use the environment for cover, stay out of the enemy’s direct line of sight, and always try to find a way to attack from the side or rear. Hitting enemies from multiple directions will distract them and reveal their weaknesses. Good timing is also essential – avoid calling for reinforcements during intense combat. Lure enemies into narrow spaces for effective grenade throws. Knowing when to attack, retreat, and call in powerful support is the key difference between a beginner and an experienced player.
Coordinate with Your Squad
Teamwork is essential in Helldivers. While one soldier is easily overwhelmed, a coordinated four-person squad is incredibly powerful. Planning before a mission is key – decide who will handle different roles, like taking out tanks, managing groups of enemies, or carrying extra supplies. During combat, clear communication is vital. Use the ping system to highlight dangerous targets and warn teammates about approaching enemies. Even a quick callout, like ‘Enemy on my left!’, can make all the difference. Just like each ship contributes to the war effort, every player brings unique strengths to the team. Use those strengths to build a versatile and unbeatable squad.
Use Advanced Tactics to Win
Okay, so I’ve got the hang of recognizing enemy setups and how to deal with them, and now it’s time to really step up my game. Let’s be real, just being a good shot isn’t enough on harder difficulties. It’s all about being smarter than the enemy, working as a team, and knowing when and how to use everything I’ve got. These strategies aren’t just about surviving, they’re about *owning* the battlefield – turning what could be a total mess into a smooth, successful mission. If I plan ahead and use every tool intentionally, I’ll be well on my way to, uh, bringing ‘managed democracy’ to even the roughest planets in the galaxy!
Advanced Formation-Breaking
To effectively dismantle an enemy formation, don’t just focus on reducing their numbers. The key is to create confusion and break up their teamwork. Start by targeting their strongest units – things like Chargers or Hulks – as taking these out can cause the rest of their forces to fall apart. Powerful attacks like Orbital Lasers or Eagle 500kg Bombs can quickly destroy their defenses. Keep in mind that orbital strikes aren’t always perfectly accurate due to atmospheric interference, so aim slightly ahead of your target. Also, use the terrain to your benefit – try to funnel enemies into narrow spaces before hitting them with attacks that affect a wide area.
Get the Most from Support Weapons
The Super Destroyer provides crucial support for your ground troops, and your support weapons amplify that strength. To get the most out of them, teamwork is essential. Before each mission, talk about what everyone will bring to ensure you have a good mix of weapons to deal with armored enemies, large groups, and various challenges. While a Recoilless Rifle is powerful on its own, it’s even more effective with a teammate helping to reload. Likewise, the Arc Thrower excels at controlling crowds, but you’ll need a teammate with an Autocannon to take down tougher enemies. Don’t hesitate to call in your support weapons early – having them ready when you need them is key.
Plan for Emergencies
Things rarely go as planned in Helldivers, especially when enemies show up unexpectedly. That’s why it’s so important to have backup plans. Before you start a mission, talk with your team about what to do if something goes wrong – like a Bile Titan suddenly appearing. Who will distract it while others attack its weak points? Decide on a safe place to regroup if you get separated or overrun. Having a plan for recovering after a squad wipe can mean the difference between failing and achieving a great comeback. Strong teamwork and clear communication are your best assets when dealing with the unpredictable nature of war.
Manage Your Resources
Every Helldiver, bullet, and powerful ability you have is valuable, so don’t waste them! Avoid using your best attacks on weak enemies. Save your Eagle Strikes and Orbital Barrages for big threats, dangerous bug nests, or when you’re in a desperate situation. Pay attention to how much ammo you and your teammates have. If you’re using a support weapon, you’ll need more ammo, so don’t be afraid to ask for a resupply. Sharing ammo with teammates who are running low is a great way to help the team succeed. Managing your resources effectively will give your team the firepower it needs to win.
Super Destroyer Myths, Busted
Let’s set the record straight. After being on so many dangerous missions, you start to pick up rumors. People love to speculate about how Super Destroyers work – online, over the comms, everywhere. Some guesses are accurate, but much of it is simply incorrect. It’s tempting to look at those huge ships and think they’re just for appearances, or that they act without reason. However, there’s actually a clear logic to what they do, and knowing it could mean the difference between a safe escape and becoming alien prey.
Okay, so let’s talk Super Destroyers. There’s a *lot* of stuff people get wrong about them, and I want to clear it up. I’m going to break down why they fly the way they do, and what *actually* makes them act the way they do during a mission – separating what’s true from what’s just made up. Honestly, understanding this isn’t just for bragging rights; it’s a game-changer. If you misread their movements, your whole plan can fall apart, or you could leave yourself wide open. Knowing what those ships are *really* doing up there helps you predict when they’ll provide support and how to use that support to crush it on the ground. So, let’s debunk some myths and start thinking about these orbital powerhouses differently.
What Everyone Gets Wrong
A common misunderstanding is that Super Destroyer formations aren’t effective because the ships sometimes descend into the atmosphere. Players see them flying low and assume they can’t provide orbital support. However, that’s not the purpose. These formations aren’t about making a visual statement from space; they’re designed to provide key benefits for deploying troops and offering immediate support on the ground. Instead of thinking of them as following a fixed orbital path, it’s better to see them as flexible staging zones. Their positioning is all about giving you the best possible opportunities for using tactics and bringing in reinforcements, even if it means getting closer to the battle.
What They Actually Do
Okay, so let me tell you what the Super Destroyer *really* does. Basically, it’s how my squad and I get to where the action is and stay equipped. It’s our transport to any planet we’re fighting over, and honestly, it’s a lifesaver once we land. Every time we drop in with a Hellpod, call in an Eagle strike, or desperately need more ammo, it all comes from the Super Destroyer. Think of it as a mobile base – it’s a command center, an armory, and a way to get around, all in one. Without it, we’re just stranded soldiers on a dangerous planet. That’s why I don’t see it as just a ship, but as a crucial part of the team, always working with us.
How Strategies Have Evolved
How players approach Helldivers 2 is always evolving, and that includes how we understand and use Super Destroyers. At first, most people just saw them as part of the scenery. Now, the community is actively figuring out the best ways to utilize their support. Players are constantly sharing tips for different difficulty settings and how to use orbital patterns effectively. This shared learning means strategies are always getting better – what worked at the beginning of the game might not work anymore, as teams discover more effective ways to coordinate attacks with orbital support.
What Really Affects Their Behavior
Many Helldivers teams forget that it’s not just *your* Super Destroyer supporting you. When playing with a full team, each player’s Super Destroyer brings its own soldiers and support to the mission. This significantly changes how a mission plays out – more ships mean more potential reinforcements and a stronger presence in orbit. That’s why coordinating with your team is so crucial. Your ships work together, and communicating and planning effectively helps you maximize the combined power of the whole team, both on the ground and in space.
Perfect Your Team’s Performance
It’s much easier to fight off hordes of bugs or robots when your team works well together. Success isn’t just about having powerful weapons; it’s about smooth teamwork. Communicating clearly, deciding who does what, and quickly adjusting to changing situations will give you a big advantage. Transforming your group of individual players into a highly effective unit is the key to completing the most challenging missions the game offers. Let’s explore how to improve your team’s performance and take it to the next level.
Assign Roles for Success
Before you start a mission, your team needs a simple plan. Decide who will handle dangerous crowds and who will take out heavily armored enemies. Each Super Destroyer ship offers different types of Helldivers, so make sure your squad has a good mix. Think of it like choosing equipment, but for your whole team. Having specific roles – like someone to focus on tanks, a scout to find objectives, and a player to provide support and defenses – will make sure you’re prepared for anything. That way, you won’t be caught off guard by a tough enemy and realize you don’t have the right gear.
Communicate Like a Pro
Good teamwork depends on clear communication. Don’t just report enemy positions – let your squad know when you’re using special abilities, need supplies, or are reloading a powerful weapon. Use the in-game ping system to highlight dangers, goals, and important locations. A quick ping can protect a teammate from an attack or help them focus fire on an enemy’s weak point. When everyone shares information easily, your team can work together smoothly and pull off complicated plans without needing to constantly talk.
Adapt Your Tactics on the Fly
Things rarely go as planned in Helldivers 2, and you’ll often encounter much tougher resistance than expected. Successful teams are adaptable. If your orbital bombardments aren’t working because of the Super Destroyer’s position, switch to Eagle strikes or deploy sentry turrets instead. If a teammate specializing in anti-armor weaponry is defeated, another player needs to step up and take on that responsibility. Adjusting your tactics to match the changing situation is the key to completing missions and escaping safely.
Secure the Win
Your main objective is to complete the mission. The Super Destroyer’s purpose is to help ground troops succeed and win the war for Super Earth. Focus on completing objectives rather than trying to eliminate every enemy. It’s often better to retreat from a losing battle and concentrate on the bigger picture. Protecting the extraction point is just as crucial as the initial attack. Work together, communicate clearly, and be flexible with your strategies to use the ship’s support effectively, ensuring victory and the spread of managed democracy.
Related Articles
- Deus Ex LFG: Connect with Other Augs in LFG Feature on Z League App
Frequently Asked Questions
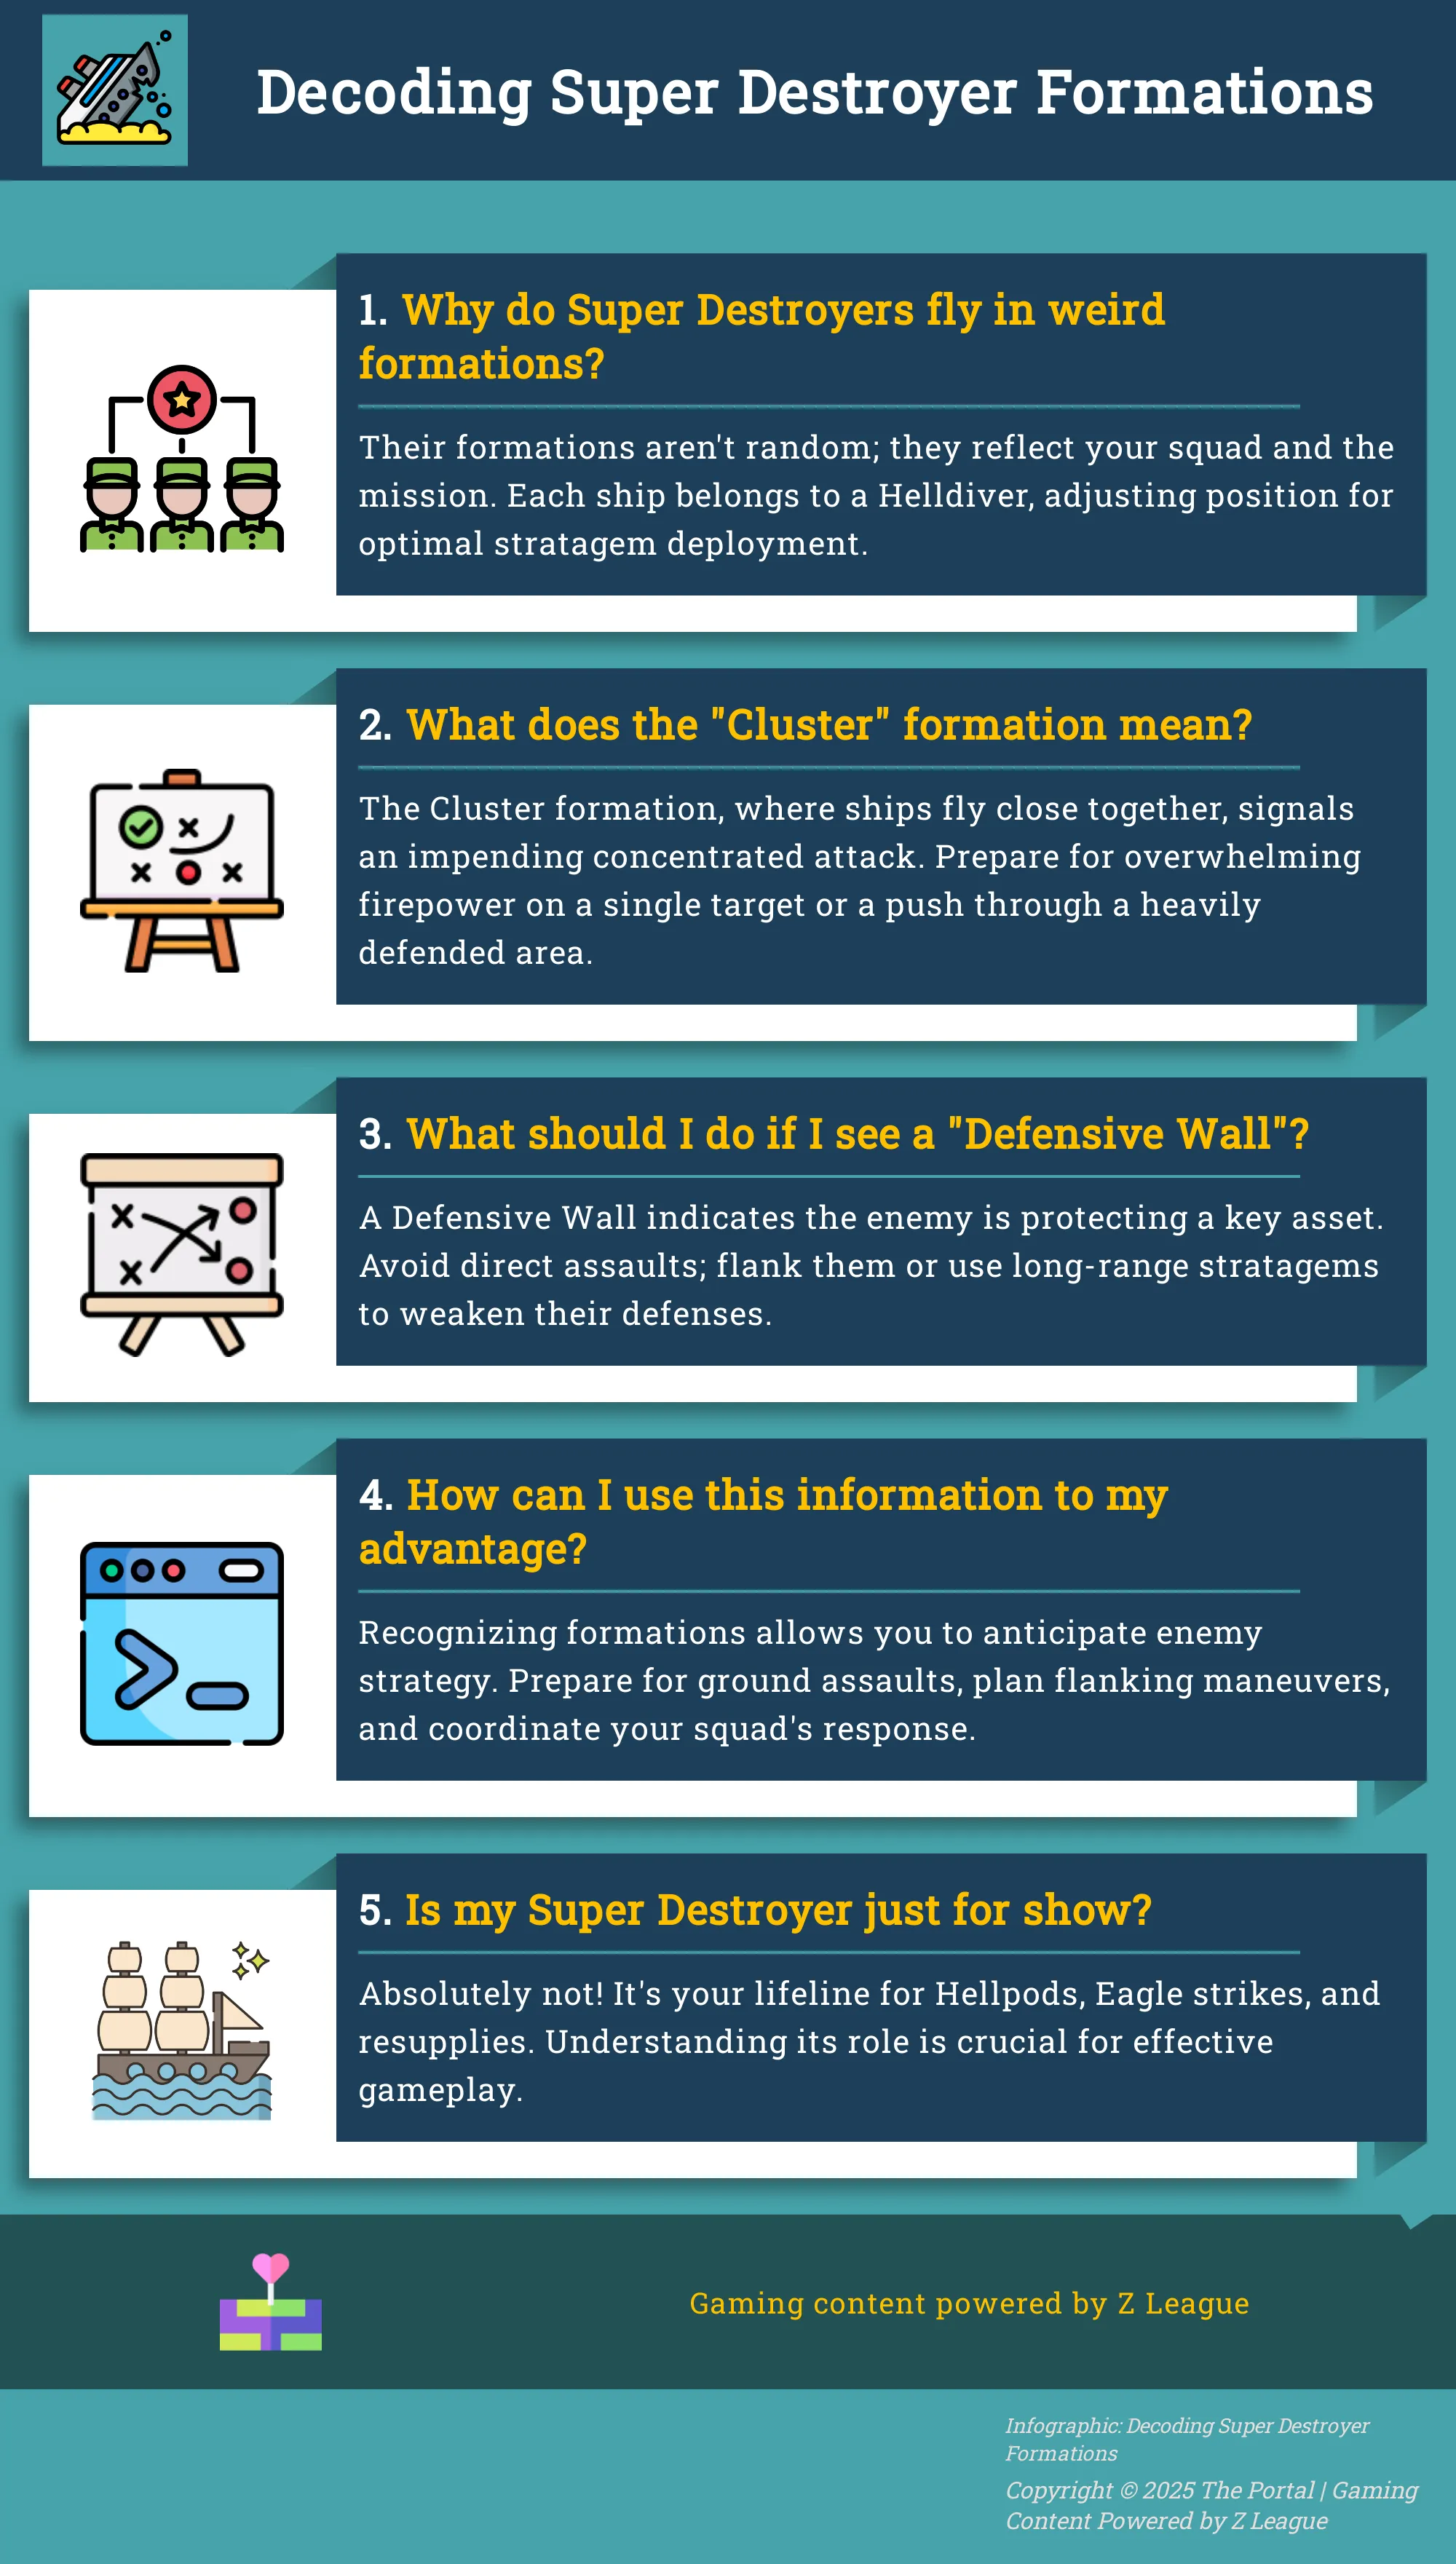
The number of Super Destroyers visible in the sky changes depending on how many players are in your current game. Each ship represents a player, so a full team of four will show four Super Destroyers. If someone leaves the mission, their ship disappears, letting you quickly see how many teammates are still active.
Should I be particularly concerned about one enemy formation? While all formations indicate a threat, the Cluster formation is the most dangerous. When enemy ships group closely together, they’re about to unleash a massive attack on a specific point. This is their main offensive tactic, so if you see them gathering, your team needs to immediately find strong cover or move to a safer location.
Ever notice enemy ships seem to focus fire on *you*? You’re not imagining things! The game’s AI is designed to recognize the most dangerous players. If you’re dealing a lot of damage – like with an anti-tank weapon or consistent critical hits – the AI will naturally target you first. It’s actually a sign you’re doing well, but it also means you should always be ready to move to cover.
You don’t directly control your Super Destroyer’s movement. Instead, you act as its commander, and the ship responds to your strategic decisions. You tell it where to deploy reinforcements and stratagems, and it will automatically position itself in the atmosphere to best support your ground forces. Essentially, you lead the battle, and the ship follows, providing support from above.
Understanding enemy formations gives you a significant edge in battle. It’s like knowing what they’re going to do before they do it. For example, if you see they’re preparing for an Orbital Drop, you know to get ready for a quick ground attack. Recognizing a Line formation means they’re focused on taking and holding territory. This lets you anticipate their moves instead of just reacting, giving your team a major tactical advantage.
Read More
- United Airlines can now kick passengers off flights and ban them for not using headphones
- Crimson Desert: Disconnected Truth Puzzle Guide
- All 9 Coalition Heroes In Invincible Season 4 & Their Powers
- Mewgenics vinyl limited editions now available to pre-order
- Assassin’s Creed Shadows will get upgraded PSSR support on PS5 Pro with Title Update 1.1.9 launching April 7
- Invincible Season 4 Episode 6 Release Date, Time, Where to Watch
- Grok’s ‘Ask’ feature no longer free as X moves it behind paywall
- The Boys Season 5 Spoilers: Every Major Character Death If the Show Follows the Comics
- Grey’s Anatomy Season 23 Confirmed for 2026-2027 Broadcast Season
- Viral Letterboxd keychain lets cinephiles show off their favorite movies on the go
2025-09-14 16:12