Grounded 2 continues to be popular, and the recent updates have added a lot to the game, including the new Brookhollow Park area. Players can now also ride the Ladybug Buggy, which is a larger vehicle, though not as big as the Orb Weaver Buggy.
This vehicle is located in a newly added part of the game, making it somewhat difficult to get. While you don’t have to defeat the Masked Stranger to unlock it, doing so will make getting around the park much simpler.
Before you can drive the buggy, you’ll need to complete a few steps. It’s a good idea to start by building a new base in the new area to make things simpler. This guide will show you everything you need to do, with tips to save time so you can get back to enjoying the ride!
How to Prepare for the Ladybug Buggy
Want to jump back into your old save and start using this powerful vehicle right away? Unfortunately, it’s going to take a while. You’ll first need to upgrade your Omni-tool Axe, which isn’t too hard, but it does require a trip to the new area.
As soon as you start, go to the area just north of the Dr. Tully Statue. In the corner, you’ll see a new anthill. It’s full of Red Ants at first, but if you go inside, you’ll find Black Ants. Collect as many resources from them as possible.
After you pass through this anthill, you’ll reach a new area with hopefully enough materials to improve your axe. Then, you can find and defeat a Praying Mantis Nymph or two to collect any remaining items you need.
Omni-Axe Upgrade:
- Raw Science x3000
- Black Ant Mandibles x3
- Praying Mantis Claw x2
You can find these items in the new area, and you’ll also find a Research Station where you can upgrade your Omni-Axe as you explore. After upgrading, your next goal is to go to the cabbage patch and collect the Turbo Optical Disk.
While you’re in this area, you can defeat some Potato Bugs to collect the materials needed to improve your Omni-Hammer.
Getting the Turbo Optical Disk
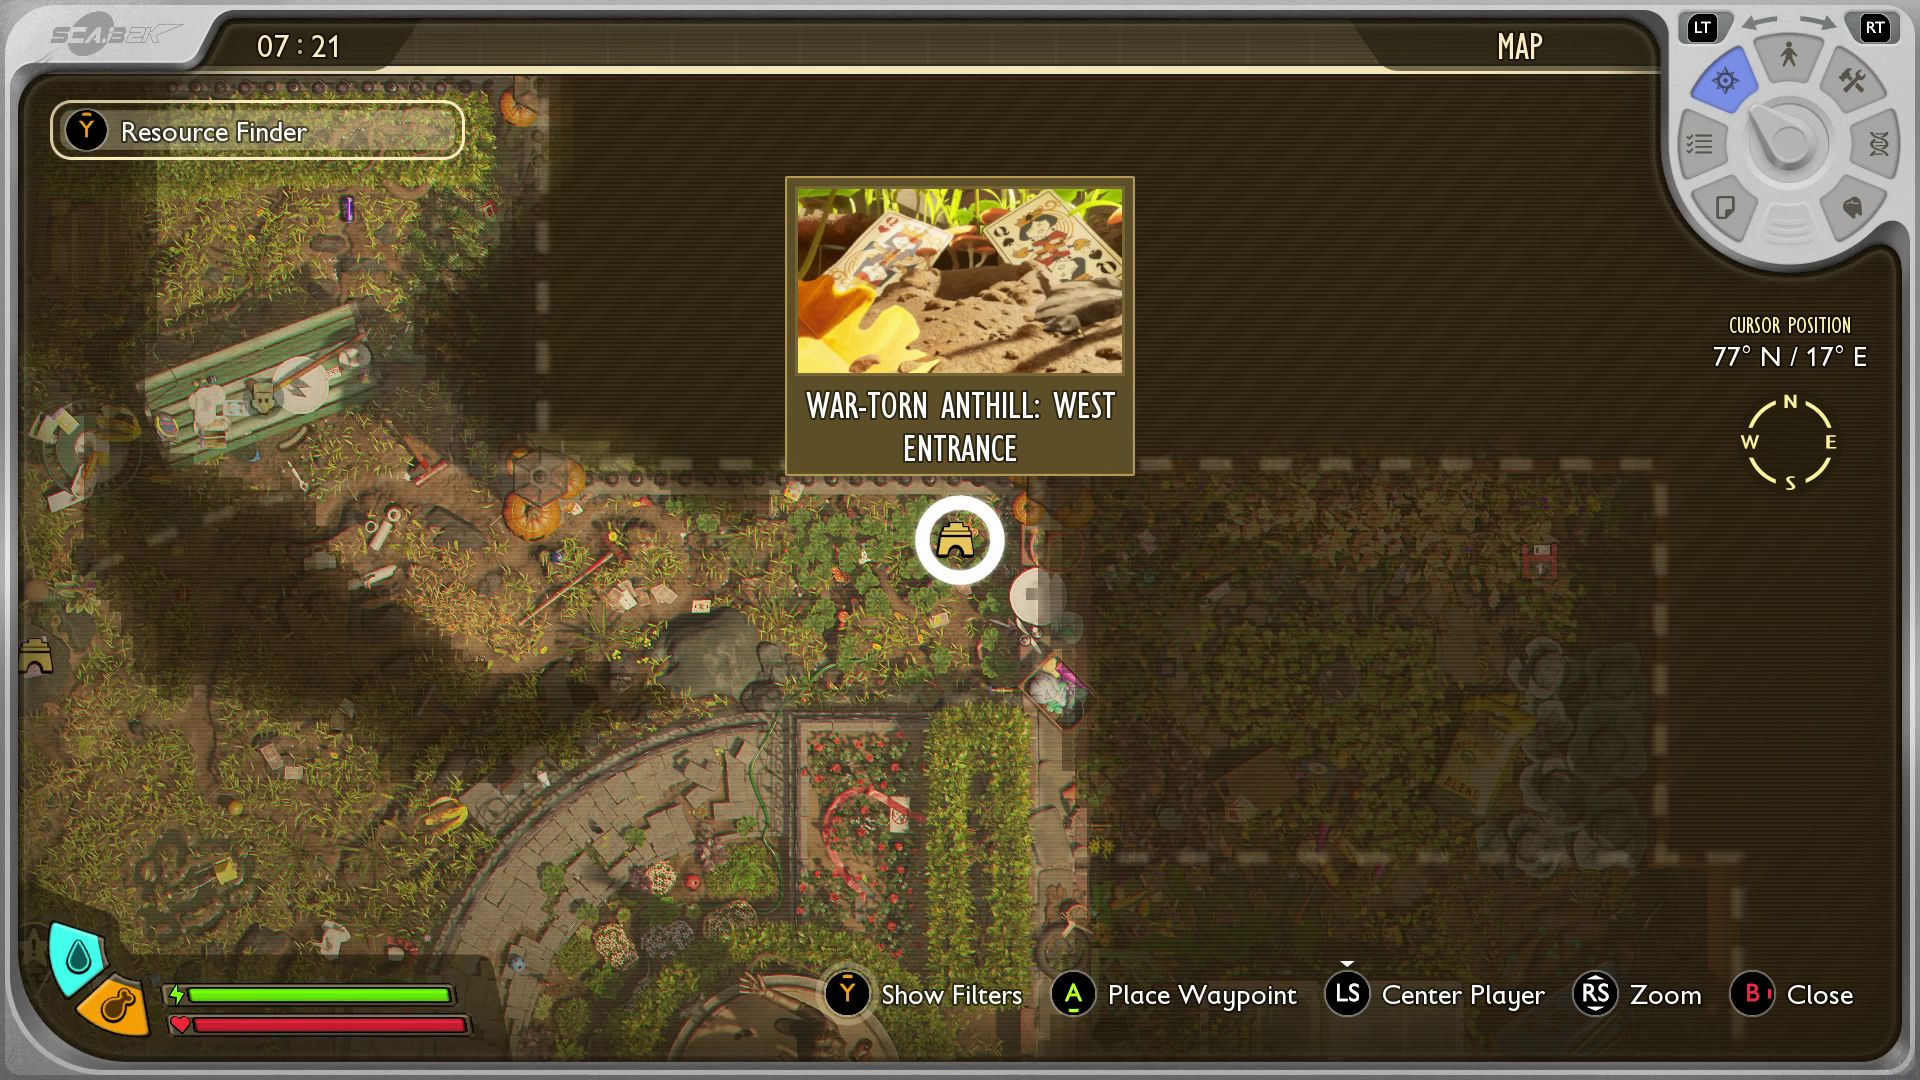
To find the disk, go to the back of the cabbage patch, as shown in the picture. Look under a cabbage leaf near the wooden boards. There’s a hole there that leads to the facility where the disk is located.
If you continue down this path, you’ll reach the Candy Processing Facility. You’ll encounter a new enemy called the OGRE Rust Beetle, but it’s possible to avoid it by going this way.
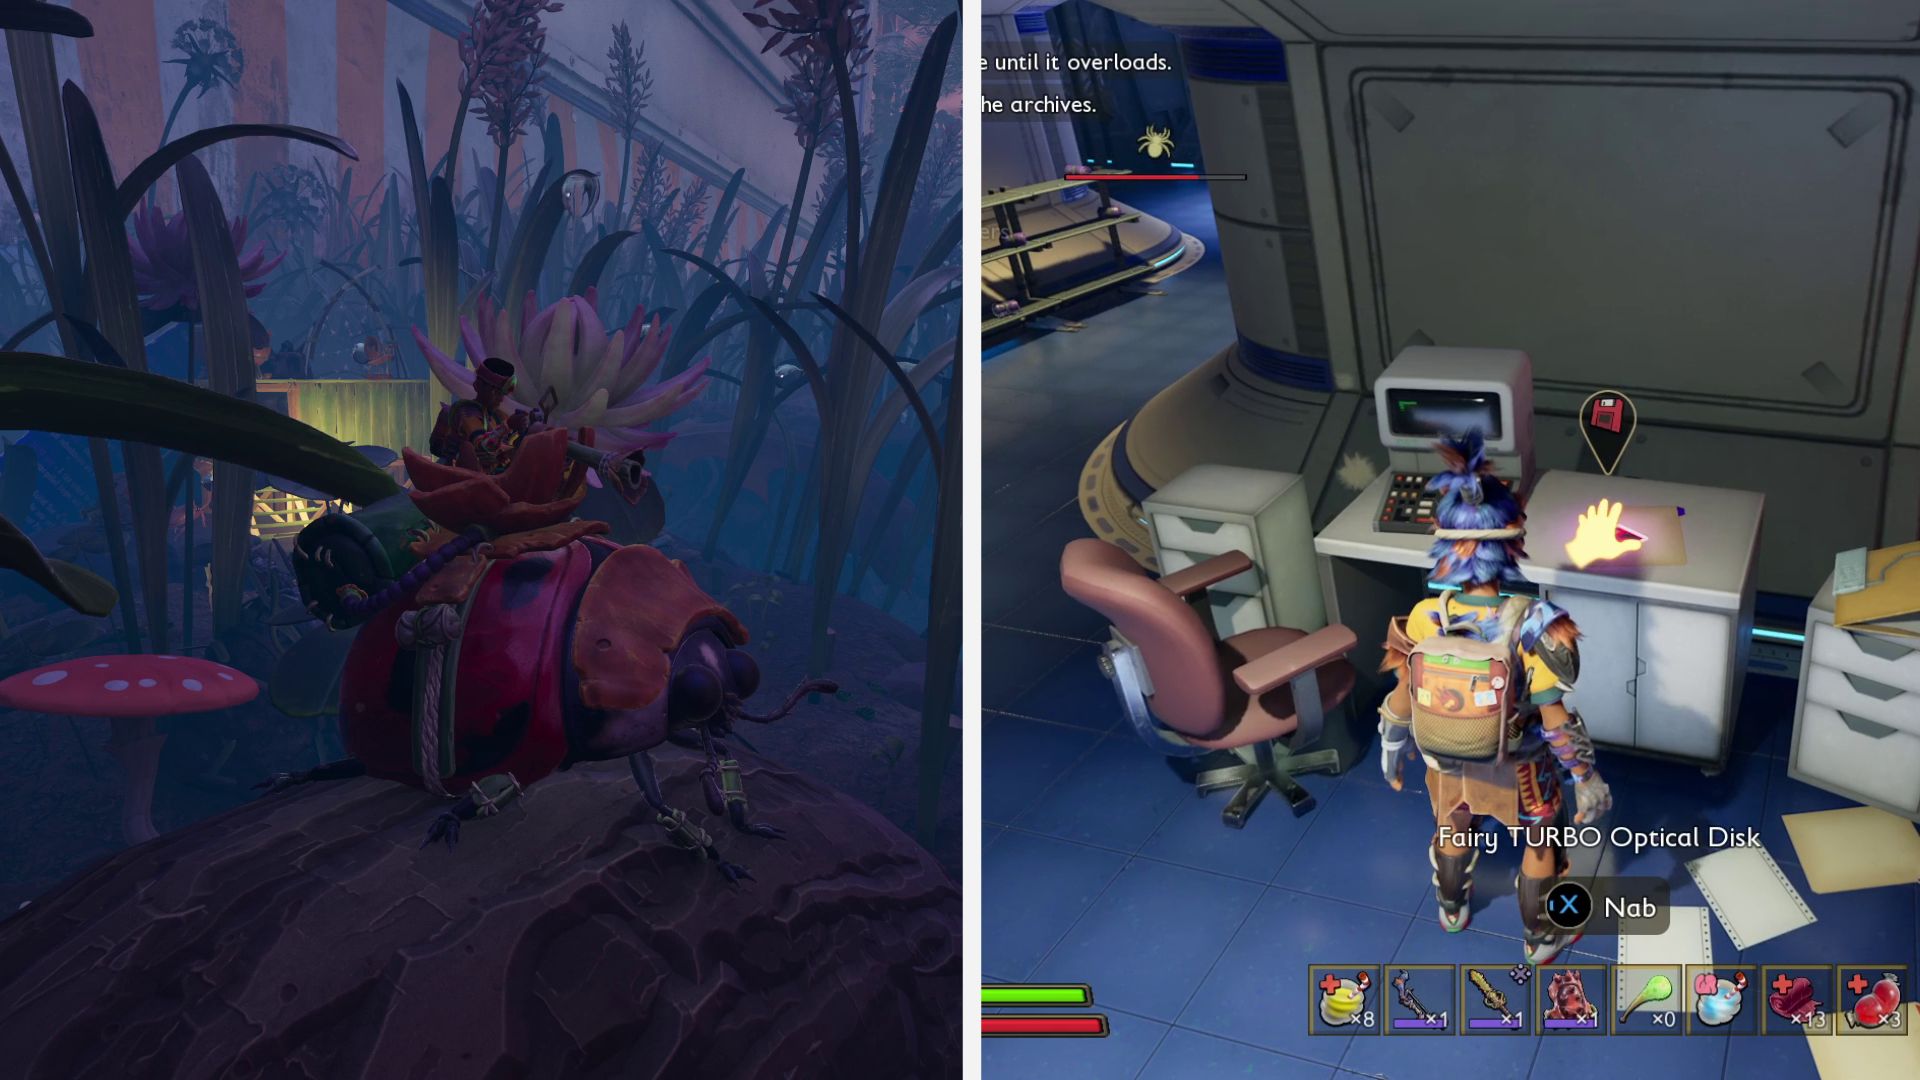
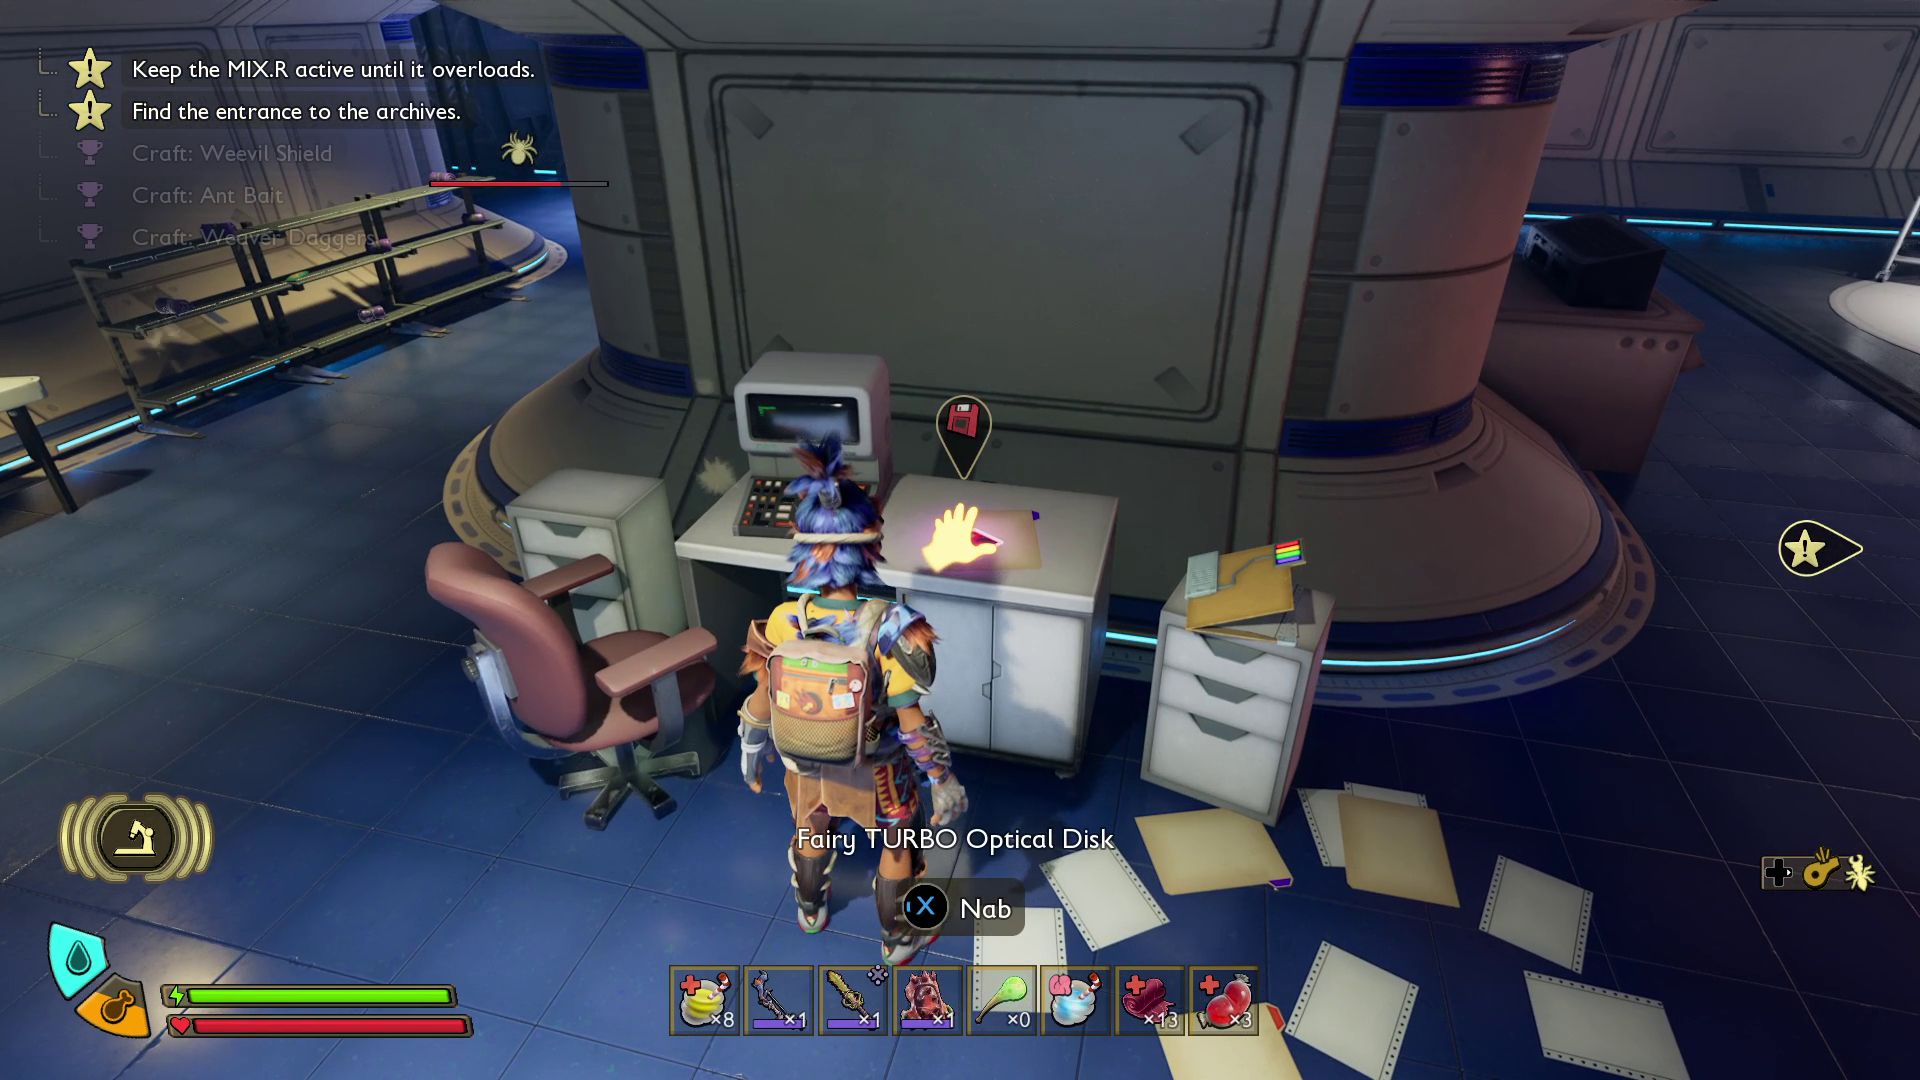
You can find the disk you need in the Research Station area, on a desk directly across from the station itself. Once you have it, simply insert it to unlock the items you need using Raw Science. If you don’t have enough Raw Science, you can collect more by exploring the world or scanning any new objects you discover.
Once you’ve unlocked the area, the next thing to do is collect the necessary materials. If you haven’t already, I suggest upgrading your Omni-Axe before exploring, because you’ll need a lot of resources before you can return to the previous part of the park.
Getting the Materials for the Hatchery
Okay, so building this hatchery isn’t too bad. Most of the stuff you need is pretty easy to find, but there’s one thing you can only get in that new area – specifically, in the cabbage patch we just explored. Keep an eye out for these cocoons hanging down and shoot them. Then, give ’em a few whacks with your weapon to collect the materials you need. It’s a bit weird, but that’s where it’s at!
Ladybug Nest:
- Flower Petal x5
- Chrysalis Leather x6
- Weed Stem x3
- Lint Rope x5
You craft Chrysalis Leather by combining three regular hide pieces at a workbench. Considering the effort of getting those hides – including hatching the egg – you’ll likely need about 30 Chrysalis Chunks in total.
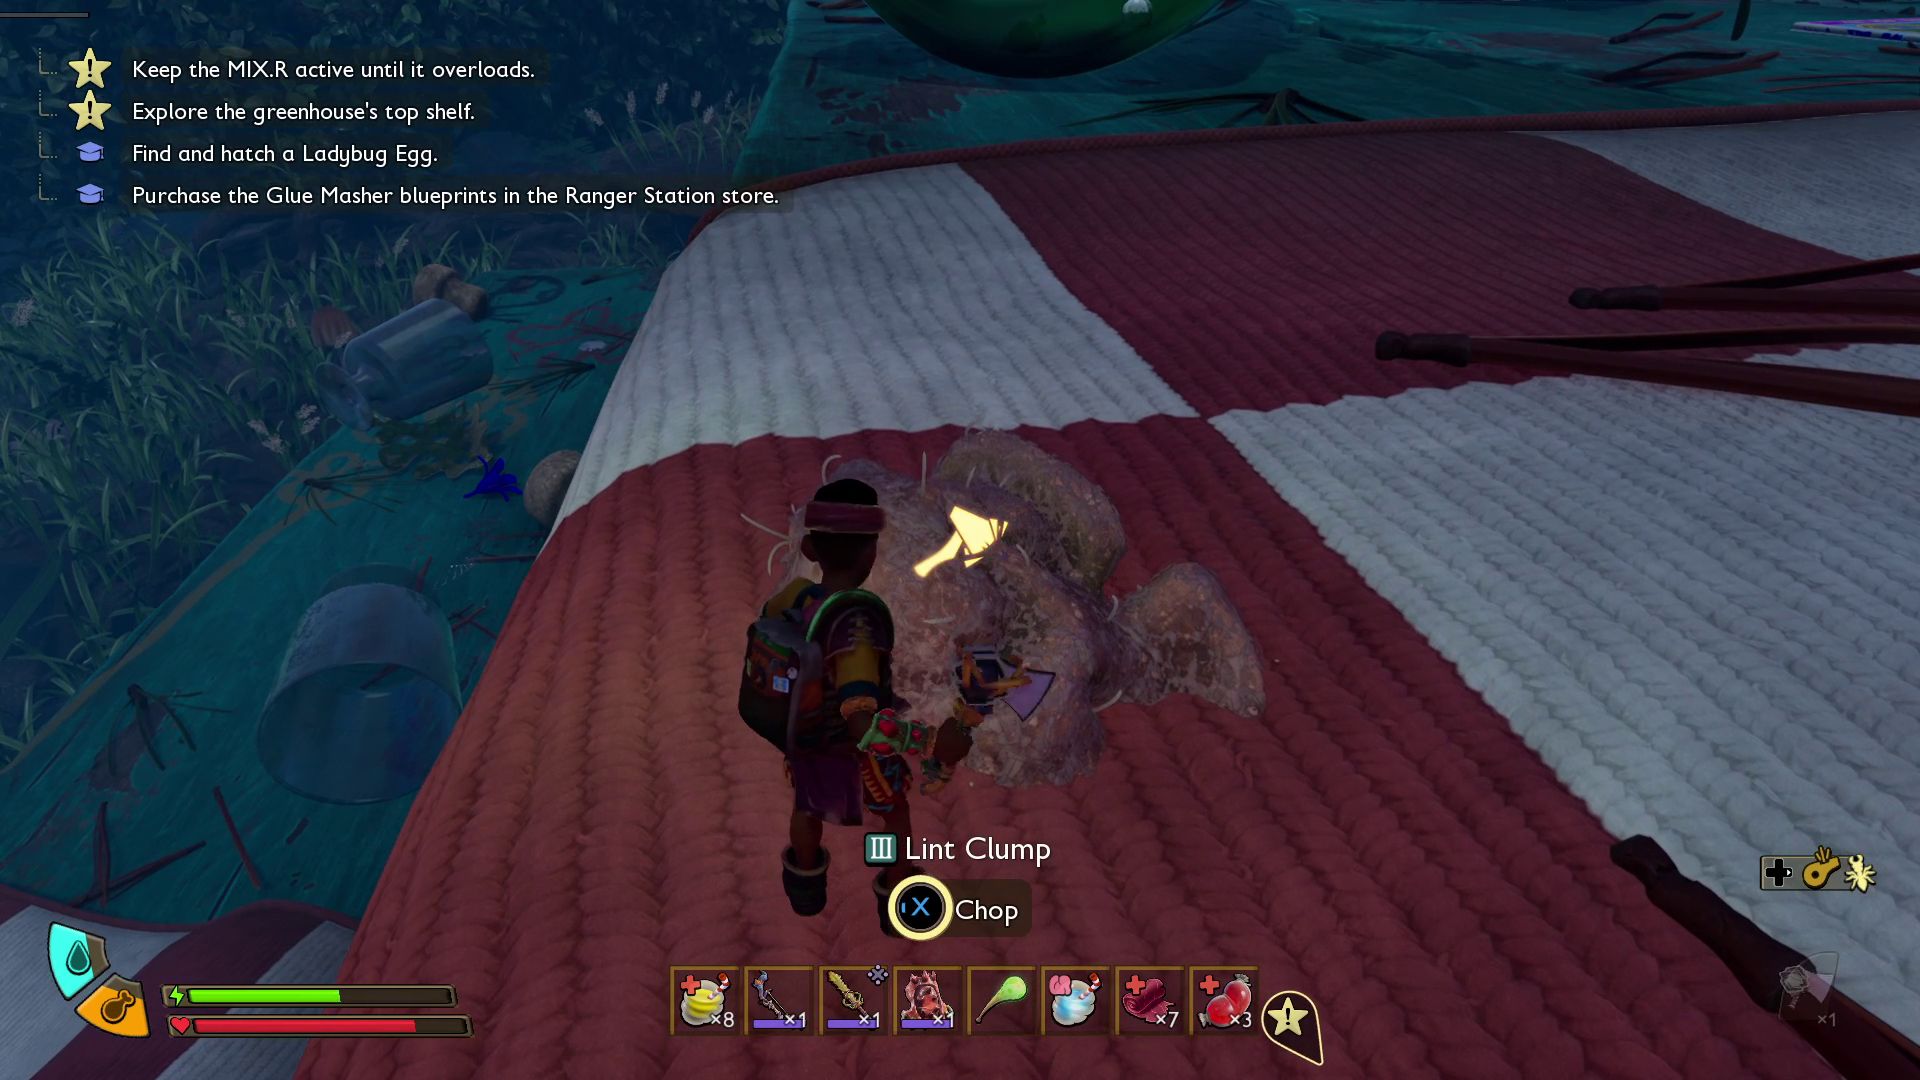
To collect lint, go to the picnic table with your Omni-Axe. You’ll find small pieces stuck to the blanket. Be careful not to miss them! Bring the lint you gather to the Spinning Wheel to make Lint Rope.
When collecting Chrysalis Chunks, it’s a good idea to use your Red Ant Buggy to pick up a Ladybug Egg on your way back to base.
Hatching the Ladybug Egg
To hatch one of these eggs, you first need to obtain one – you likely encountered them while destroying Chrysalises. Once you have an egg, simply bring it back to your base camp to begin the hatching process.
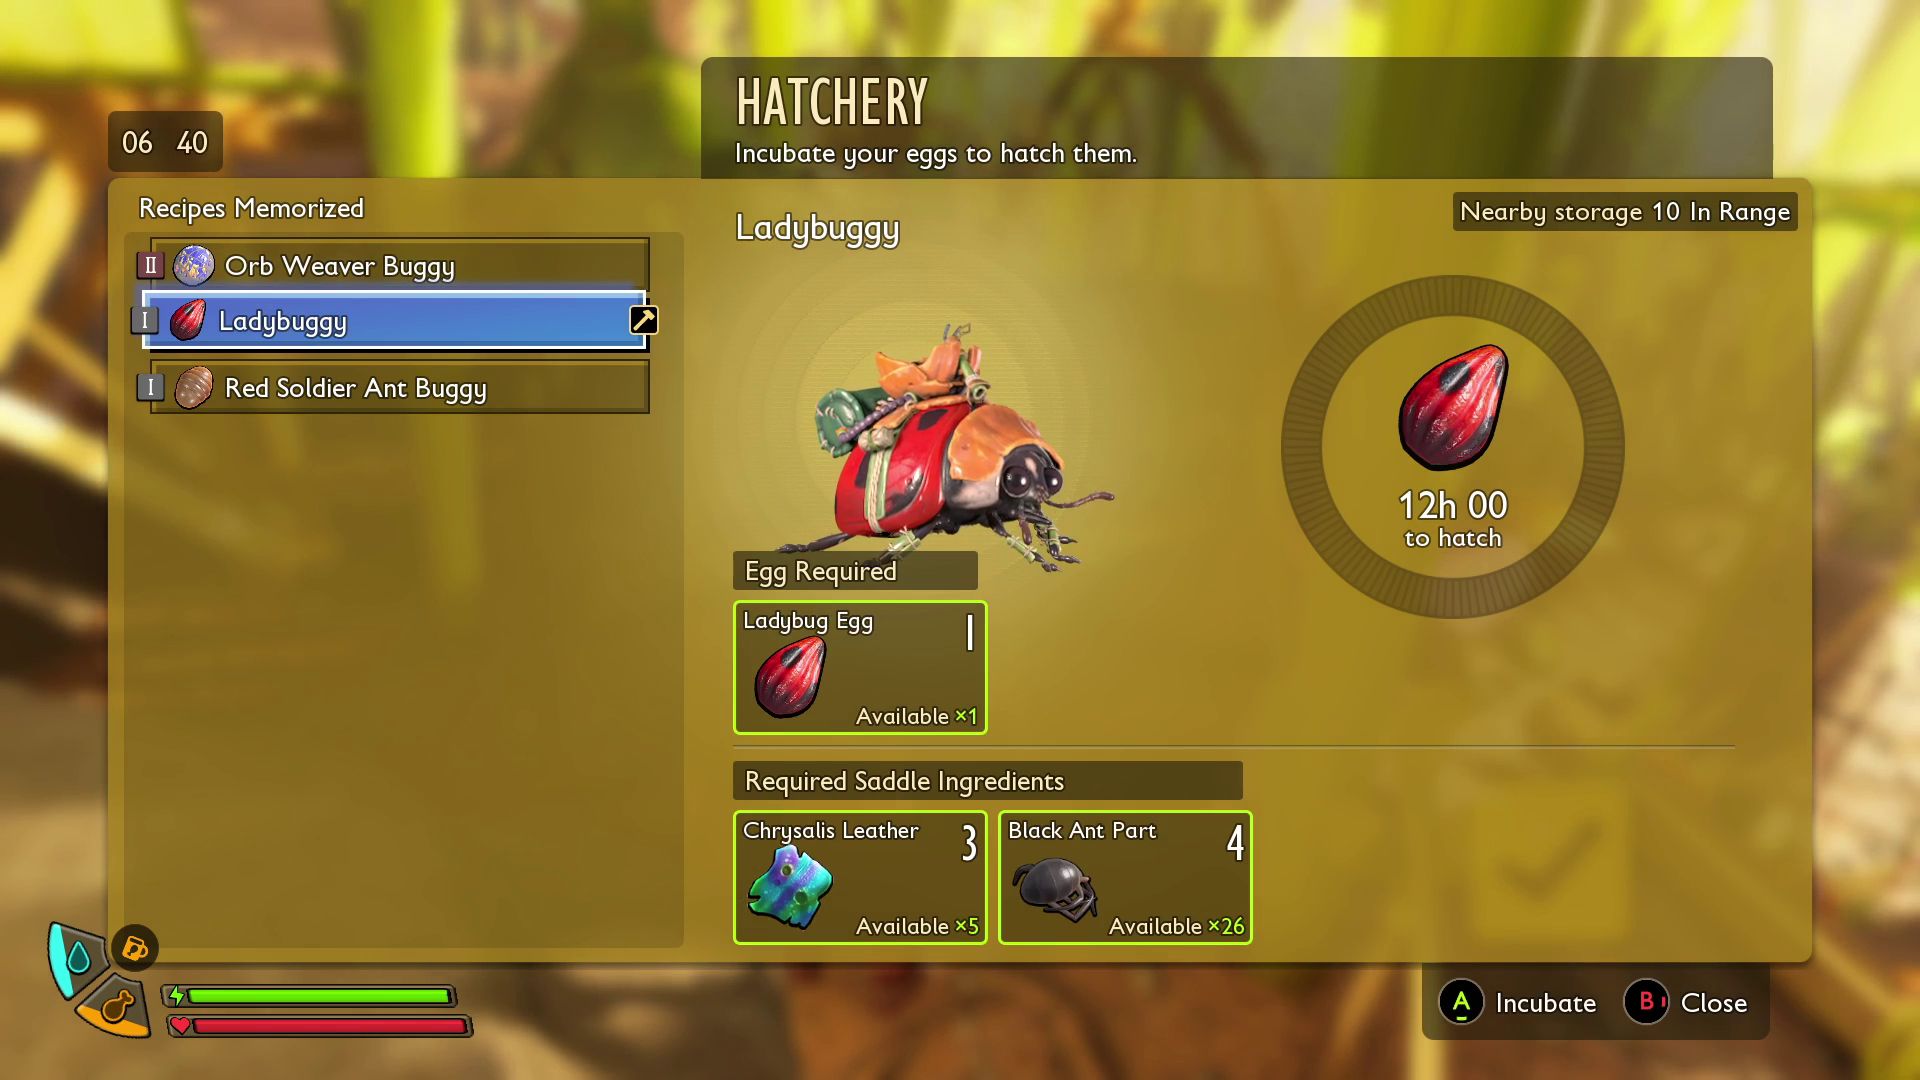
You might need a couple more things, but ideally, you have everything you need already. Once you have your egg, simply go to your hatchery and use this recipe.
Subscribe to the Newsletter for Essential Grounded Guides
Ladybuggy:
- Ladybug Egg x1
- Chrysalis Leather x3
- Black Ant Part x4
Okay, so after about 12 hours of gameplay, my new tank is fully upgraded and seriously powerful. It handles way differently than the other vehicles I’ve been using, which is cool – I definitely recommend taking it for a spin and getting used to how it works.
How the Ladybuggy Works
The Ladybuggy is a fast-moving virtual vehicle, but it tires out quickly. It attacks with a water cannon, and you can reload it by collecting water from the environment.
Right now, the main job of this vehicle is to remove the orange residue found throughout the park. It also helps you get around the new area more easily, reducing damage while you explore.
The new update adds a story section that requires the Ladybuggy, so it’s best to finish up current tasks quickly and start exploring that. There’s still a lot to discover in the game, so keep an eye out for anything new that catches your interest!
Read More
- United Airlines can now kick passengers off flights and ban them for not using headphones
- Crimson Desert: Disconnected Truth Puzzle Guide
- All 9 Coalition Heroes In Invincible Season 4 & Their Powers
- Mewgenics vinyl limited editions now available to pre-order
- The Boys Season 5 Spoilers: Every Major Character Death If the Show Follows the Comics
- Invincible Season 4 Episode 6 Release Date, Time, Where to Watch
- Grok’s ‘Ask’ feature no longer free as X moves it behind paywall
- Does Mark survive Invincible vs Conquest 2? Comics reveal fate after S4E5
- Assassin’s Creed Shadows will get upgraded PSSR support on PS5 Pro with Title Update 1.1.9 launching April 7
- Grey’s Anatomy Season 23 Confirmed for 2026-2027 Broadcast Season
2026-01-15 22:40