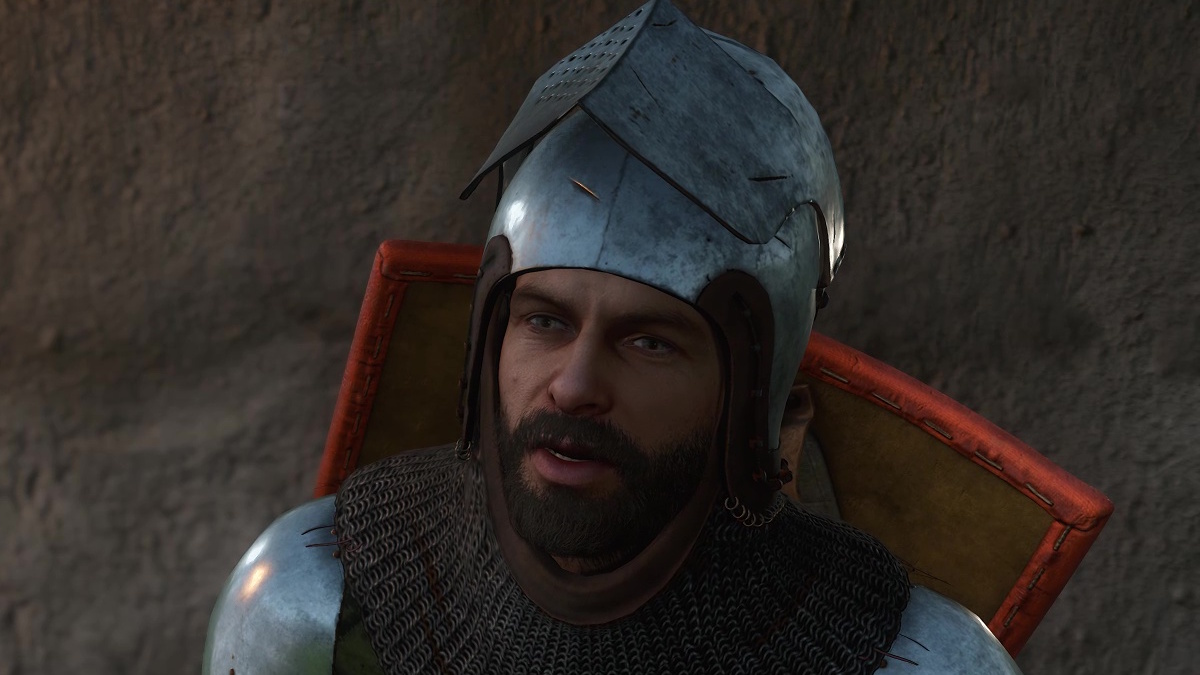
During your thrilling journey in Kingdom Come: Deliverance 2, you might encounter a mission where you need to locate a notorious bandit chief named Canker. However, catching him isn’t easy as he’s hidden away in a secluded camp tucked deep within the forest. Here’s how to find and apprehend this outlaw and dismantle his gang.
In Kingdom Come 2, I managed to unveil the Canker side activity once I wrapped up the side quest known as The Jaunt. Post-mission, I made my way back to Semine to hunt down Gules.

The wealthy criminal, thanks to his aristocratic lineage, is currently serving his sentence as a prison guard; instead of hanging, he was saved by his high status. Often, you might spot him relaxing on a bench within the castle-like fortress, usually near the staircase.

Canker, an old bandit ally of Gules, is currently concealed in the forest stretching between Troskowitz and Nebakov Mill. He’s been posing as a monk to catch his victims off guard. To locate him, follow the road until you’re ambushed by his men, and then extract information from one of the survivors about Canker’s whereabouts. Once found, Gules wants Henry to eliminate the bandit and retrieve his club as proof of the task completed.

How to get Canker’s camp location from his men
The area of the woods infested with Canker’s bandits is east of Semine and north of Nebakov Mill.

If the fortress is already open on your map, quickly teleport there to start luring bandits for your adventure. The game hints that you should traverse along the road within the activity’s boundaries. I unexpectedly encountered an ambush just north of Nebakov Mill, before the road bends sharply into a hill.
Important Note: Keep in mind that you’ll encounter several armed assailants ahead. Prepare yourself by gearing up with good armor and weapons. If you haven’t done so already, consider rescuing Mutt to have an extra ally during the battle.
You can also use an alchemy bench to concoct several useful potions, such as:
- Marigold Decoction to heal your wounds
- Artemisia to increase strength
- Buck’s Blood to increase stamina
As I strolled along the roadside, I came across an unusual sight: a monk clad in black robes, seemingly asking for alms. But this monk, armed with weapons and donning a metal helmet, struck me as rather peculiar, didn’t it? Approaching him cautiously, he sprang into action, revealing that he wasn’t alone – he had companions ready to join the fray.

Two more men, each carrying weapons like the first monk, emerge from concealed locations among the trees. From afar, a fourth individual aims and shoots arrows at you, making the situation quite challenging.

Make sure to subdue all bandits except for one, who should be left alive to provide information about their camp. Strategically approach each bandit and use the hill and trees as your advantage to draw out the archer. If handled properly, the archer may retreat once the others are defeated. Given his relatively weaker status among them, it’s crucial to prioritize keeping him alive until the final confrontation is over.
Avoid letting Mutt attack the last bandit. If he does, there’s a chance he might unintentionally kill him, which would hinder your ability to obtain information.
When only one outlaw remains, engage in a fight until he yields. Since you aim to avoid any unintentional harm, be prepared to use your bare hands instead of weapons. The outlaw should eventually plead for mercy as a result of sustained injuries. Interrogate him about Canker’s location, and he will likely reveal it. He can also provide information on the camp, such as its size and whether or not Canker is present among the group.

It’s up to you if you want to leave him alive. If you do, he’ll run off screaming into the forest.
Where to find Canker’s camp in Kingdom Come 2
Canker’s hideout is nestled within the forest, right beside the river in the valley. There are a total of five adversaries there, with Canker being one of them. Be sure you’re well-prepared before engaging, as it would be wise to use a bow or crossbow to take down one of the outlaws before the confrontation ensues, giving you an advantage in the ensuing skirmish.


Canker is there, dressed in black monk robes.

Once the bandits are dealt with, your subsequent mission is to find Canker’s mace. It ought to be lying near where he fell, but if it landed in the grass, good luck locating it. If you encounter any difficulty, an in-game indicator on your HUD and map should help you find it.

Make sure to explore the camp prior to your arrival. Inside, you’ll find two treasure chests filled with enticing items like groschen, Weak Marigold Potion, Sharp Arrows, a Silver chalice, a Silver cup, and a recipe for Nighthawk Potion.
As a devoted admirer, I make my way back to Sir Gules and present him with the mighty mace, wrapping up our quest. For my diligence, he generously bestows upon me 85 groschen. If I so desire, I can even request to retain this formidable weapon for myself.
Read More
- Best Crosshair Codes for Fragpunk
- How to Get Seal of Pilgrim in AI Limit
- Lucky Offense Tier List & Reroll Guide
- Wuthering Waves: How to Unlock the Reyes Ruins
- Enigma Of Sepia Tier List & Reroll Guide
- Are We Actually Witnessing a Crunch Time for ADA? 😲📈
- TenZ rips into Valorant’s “Power Rangers” meta and calls for CS2-inspired changes
- Final Fantasy Pixel Remaster: The Trials of Resurrection and Sleeping Bags
- Why You Might Prefer a $20 Temu Wheel for Sim Racing: A Community Perspective
- Nintendo Switch 2 logo to appear on Seattle Mariners jersey this season
2025-02-13 19:47