
We’ve all been in that frustrating situation: a Prince is rushing towards your tower, you get flustered, and accidentally send your Knight right into the enemy’s attack, getting destroyed. It’s tempting to think of the Knight as just a cheap, basic defender, but that’s a big error. The Knight is actually a really solid card, and learning to use him well is like learning the fundamentals of Clash Royale itself. He’s not strong just because of his stats; it’s about how you position him, making smart elixir trades, and quickly switching from defending to attacking. If you feel stuck in your progress, revisiting the basics with this common card could be exactly what you need. Let’s explore how to transform this simple swordsman into a powerful strategic asset.
Key Takeaways
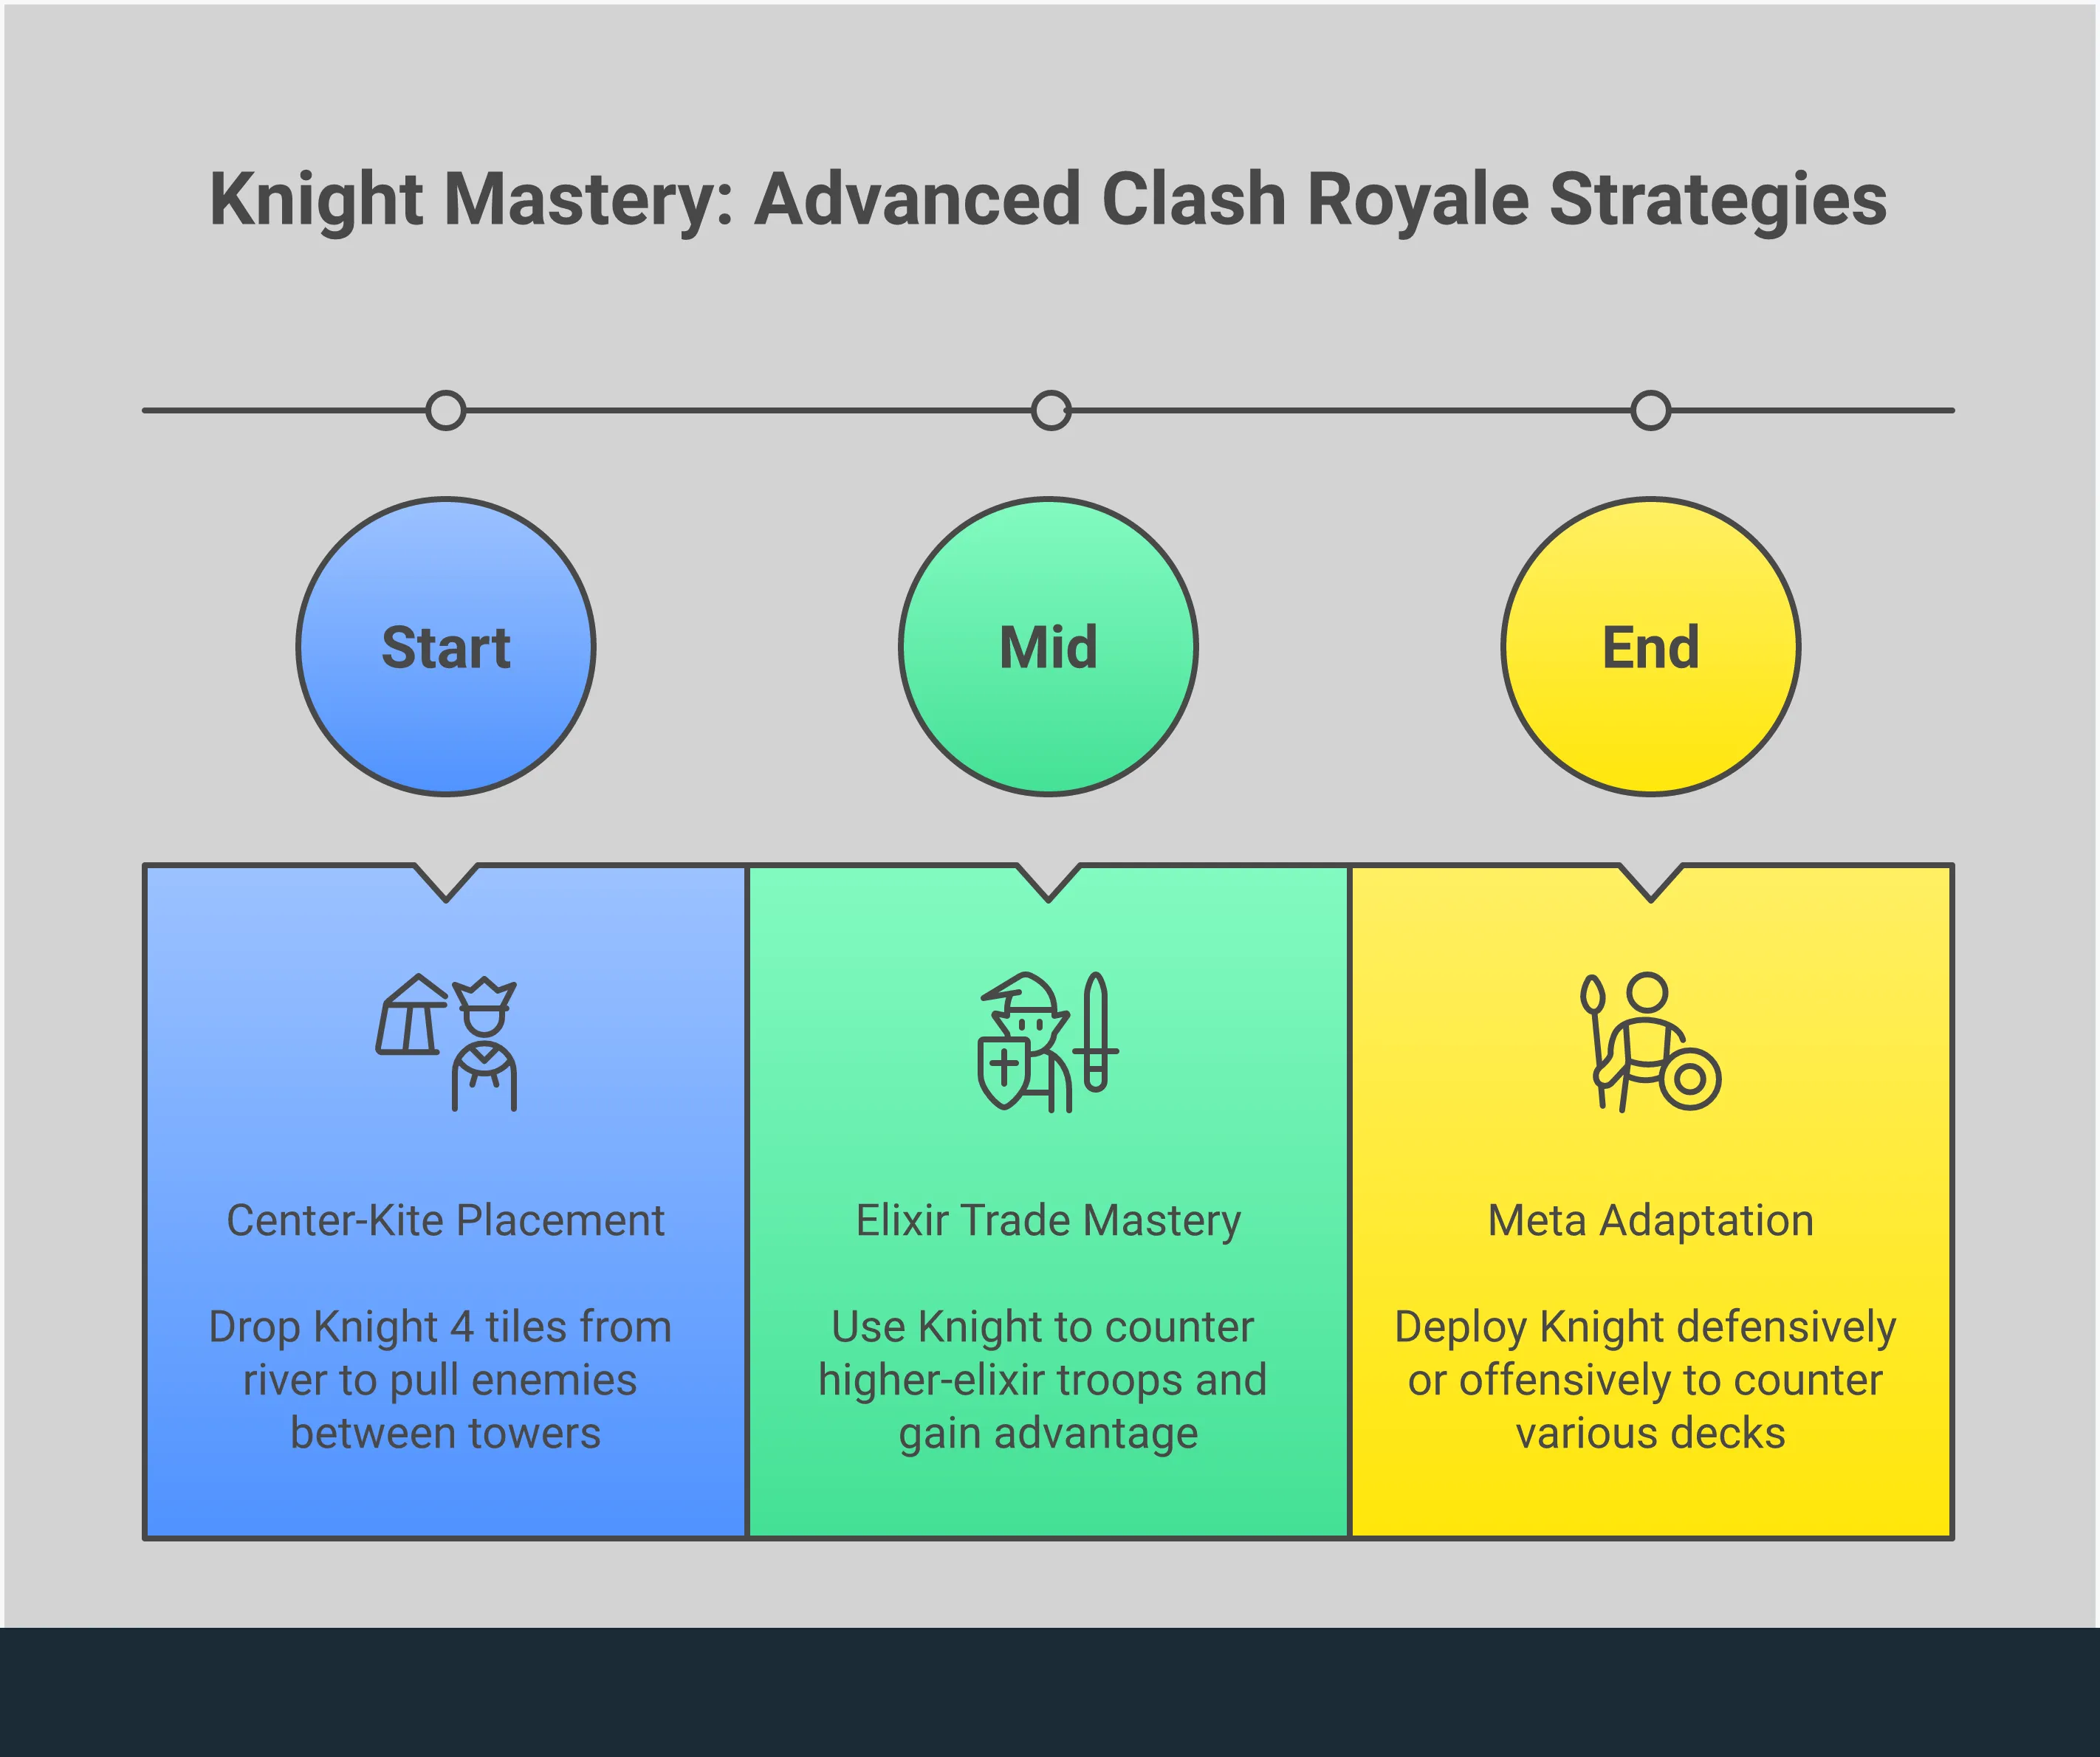
- Master Positive Elixir Trades: The Knight’s 3-elixir cost is his superpower. Consistently use him to defend against more expensive ground troops, creating an elixir advantage that you can immediately turn into a threatening counter-push.
- Make Him Your Offensive Bodyguard: Never send the Knight to attack alone. His true offensive power comes from absorbing damage for your win conditions. Place him in front of units like the Hog Rider or Archers to clear a path and let them do the real work.
- Play Around His Weaknesses: The Knight can’t target air units and struggles against ranged attackers from a distance. Always assess the entire enemy push and support him with spells or air-targeting troops to ensure he provides value instead of being a wasted play.
What Makes the Knight a Strategic Powerhouse?
The Knight isn’t as flashy as some other troops like the Mega Knight or as powerful as a P.E.K.K.A., but don’t underestimate him. He’s a remarkably reliable and effective card, available from the very beginning of the game and still useful even at the highest levels. What makes him so strong? Simply put, he offers incredible value. For just three elixir, you get a unit that can take a lot of damage, deal solid attacks, and work well in almost any battle situation.
The Knight is a versatile player, like a jack-of-all-trades on your team. He might not be your main attacker, but he consistently makes important contributions across the battlefield. He can defend against strong opponents, shield weaker units, or put pressure on enemy towers, all without costing much elixir. This affordability is his biggest strength, letting you gain an elixir advantage and build a lead. Because he attacks ground units directly, he has both strengths and weaknesses, making him a reliable and effective card when used strategically. Knowing how to best utilize his core abilities is the key to turning this common card into a winning play.
A Tank for Just 3 Elixir
The Knight is a surprisingly tough unit for its low cost. It can act as a mini-tank, soaking up damage from powerful attacks like those from a Mini P.E.K.K.A. or even surviving a Fireball. This allows it to stay in the fight and protect your weaker, but high-damage troops, such as Archers or Musketeers. By positioning the Knight in front, you make your opponent focus on eliminating him first, giving your other units time to destroy the enemy’s attack. This basic defensive tactic is a key part of many winning Clash Royale strategies and is essential for keeping your towers safe.
Reliable Ground Damage
The Knight is known for absorbing a lot of damage, but he’s surprisingly effective at attacking too. He deals consistent damage, quickly defeating weaker enemies like Goblins and Skeletons. He can also confidently fight medium-health units, often winning battles against cards that cost as much or even a little more elixir. Because of this steady damage, opponents can’t afford to leave him unchecked. If a Knight reaches the enemy tower, he’ll deal considerable damage, forcing your opponent to react. This makes him a strong, reliable card for putting pressure on your opponent without taking much risk.
Versatile Placement
The Knight is a strategically valuable unit because he’s so adaptable. Defensively, he’s great at drawing attention away from your towers, especially from fast-moving troops like the Hog Rider or Ram Rider. On offense, he excels at leading a counterattack. When combined with units that target buildings, the Knight can absorb damage while your other troops, like the Hog Rider or Battle Ram, focus on destroying the enemy tower. He can also shield a Graveyard push or help Wall Breakers break through defenses. Plus, his low cost allows you to play him frequently, either to respond to immediate dangers or to slowly build up a powerful attack from your side of the arena.
What Are the Knight’s Core Strengths?
The Knight isn’t as showy as some of the more powerful cards, but his straightforward design is deceptive. He’s a common choice in decks at all levels because he’s a remarkably solid card. He doesn’t win games with one big trick; instead, he offers a great balance of health, attack power, and affordability. Think of him as a dependable teammate who consistently delivers, whether you’re protecting your tower or launching an attack.
To become truly skilled with the Knight, it’s important to understand what makes him so consistently effective. He’s strong in three main areas, allowing him to work well in many different team compositions and strategies. He’s affordable as a defensive unit, reliably deals damage to ground targets, and can be strategically positioned almost anywhere on the map to provide value. Let’s explore how these three strengths combine to make him such a powerful character.
A Tank for Just 3 Elixir
The Knight is incredibly valuable for its low cost. At only three Elixir, it’s a durable unit that can take a lot of damage, making it a real asset in battle. This affordability is key because it lets you defend against powerful enemies like the Mini P.E.K.K.A. or Valkyrie and still have enough Elixir left to launch a counter-attack. As one of the first mini-tanks unlocked in the Training Camp, the Knight is easy to learn and rely on. It’s a low-risk, high-reward card that lets you quickly cycle through your deck while keeping a strong defense.
Reliable Ground Damage
The Knight isn’t a powerhouse on his own, but he deals reliable, moderate damage and attacks fairly quickly, making him great for taking out weaker enemies. He really shines when he protects your more vulnerable units by drawing enemy fire. Combine him with troops like the Hog Rider or Wall Breakers, and he acts as a durable shield, absorbing damage while your main attacking force pushes forward. This lets him switch easily from defending to being a key part of your attack.
Versatile Placement
The Knight is incredibly versatile – he can do a little bit of everything. This adaptability is his greatest strength. You can use him in various positions: support a slow advance from the back, pressure opponents at the bridge, or lure enemy troops towards your princess towers from the center. This allows you to counter whatever strategy your opponent uses. Placing him unexpectedly can throw off their plans and turn their attack into a failure. He’s useful for both defense and surprise attacks, keeping your opponent unsure of what you’ll do next.
How Does the Knight Excel on Defense?
The Knight is a surprisingly effective defender, often overlooked but incredibly useful. For a low Elixir cost of just three, you get a tough, ground-unit that can stop enemies and even help you win a match. What makes the Knight so good is how straightforward he is – you don’t need any special strategy to use him. Just place him well, and he’ll handle threats like charging Princes or lone Wizards consistently and reliably.
He’s a reliable defender who offers great value for his cost. He can take a lot of damage, giving you time to gather Elixir or get the cards you need. Consider him a protector for your towers. While he’s not spectacular, his ability to create Elixir advantages often wins matches. A strategically placed Knight can stop a more expensive attack, putting you ahead and allowing a strong counter-attack. That’s why he’s used in decks at all skill levels, from beginner to competitive.
Countering High-Damage Troops
The Knight is a key defensive unit, especially good at stopping strong, single-target attackers. If enemies like the Mini P.E.K.K.A., Prince, or Lumberjack are heading for your side, the Knight is a great choice to counter them. He’s tough enough to withstand their powerful attacks and can slowly damage them in return. Placing him in their path can eliminate the threat before they reach your towers.
This is a great example of getting good value in battle. The Knight is a particularly dependable and affordable card when defending. By spending only three Elixir to counter an opponent’s four or five-Elixir unit, you gain an immediate Elixir advantage. This smart trade is key to a solid defense and allows you to launch a powerful counterattack.
Handling Swarms Effectively
Although the Knight doesn’t deal area damage, he’s actually quite good at handling groups of enemies if you have the right cards. What he really excels at is staying alive. He can absorb a lot of damage from groups like Skeleton Army or Goblin Gang, giving your Princess Tower time to eliminate them one by one. This keeps the swarm from overwhelming your tower and causing a lot of damage.
He’s great at quickly eliminating support troops hidden within a larger group. For example, if your opponent attacks with a Hog Rider and Goblins, you can deploy the Knight to handle the Goblins while he concentrates on the bigger danger – the Hog Rider. The Knight effectively protects your towers by taking damage from the weaker troops, letting you focus on stopping your opponent’s main attack.
Drawing Fire from Your Towers
In Clash Royale, a smart defensive move is called “kiting,” and the Knight card is perfect for it. If you place the Knight in the middle of your side of the arena, you can draw enemy troops away from your towers. This makes them walk a longer route, leaving them vulnerable to attacks from both of your Princess Towers at the same time.
This tactic works great against tough, slow enemies like the P.E.K.K.A., and even ranged attackers like the Musketeer. By using the Knight to attract attention, you can pull enemies away from your defenses, giving your towers and other units time to take them down safely. It’s a straightforward yet very effective move that can stop an opponent’s attack in its tracks.
Why Do Players Underestimate the Knight’s Offense?
The Knight is often seen as a simple, tough defender – he’s inexpensive and excels at stopping enemy ground units. However, it’s a mistake to only view him that way. His real strength isn’t in his direct attacks, but in how he sets up opportunities for his teammates. Because he’s so cost-effective and resilient, he’s ideal for quickly switching from defense to offense, launching surprise counter-attacks. While many players use him reactively, skilled players understand he can control the flow of the game.
Okay, so as a player, I’ve found the Knight is all about setting up plays, not necessarily being the one making the big damage. For just 3 elixir, he’s a tank – he soaks up a ton of damage, which is amazing for protecting my glass cannons. What I really like is how he forces my opponent to respond – they have to deal with him, and often spend more elixir than they planned, which throws off their whole strategy. He’s not going to win a fight on his own, but he creates the perfect opening for my win condition to really shine. Once I understood he’s a facilitator, I started applying constant pressure and keeping my opponent guessing. He’s seriously the ultimate utility player – he just makes my whole deck better.
Tanking for Support Units
The Knight is best used as a protector for your high-damage, fragile units. His primary role in an attack is to lead the charge and absorb damage, allowing your main damage dealers to get into position. This tactic works particularly well with quick units that target buildings. Combining the Knight with a Hog Rider or Battle Ram creates a strong and straightforward attack. The Knight draws fire from the Princess Tower and defending troops, creating an opening for the Hog Rider to deal significant damage. This puts your opponent in a tough spot – do they focus on eliminating the durable Knight, or stop the fast-moving Hog Rider, often resulting in a defensive mistake.
Pressuring Control Decks
Control decks aim to gradually weaken your towers by using elixir efficiently. The Knight is a particularly strong counter to this strategy. At only 3 elixir, you can place him near the bridge to constantly pressure your opponent without much risk. This simple tactic forces control players to react, often using cards they’d rather save for a larger attack. By making them respond to your low-cost units, you can throw off their strategy and make them use their important defensive cards prematurely. The Knight’s durability allows him to soak up damage while advancing, keeping your opponent constantly reacting and preventing them from establishing a comfortable game plan.
Supporting Counter-Pushes
A great way to succeed in Clash Royale is to quickly turn a good defense into a powerful attack, and the Knight excels at this. For example, if you use your Knight to stop an enemy Prince, don’t just let the Prince retreat! Instead, immediately support your Knight with a ranged unit like an Archer Queen or even some inexpensive Skeletons. This turns your defending Knight into a strong attacker, catching your opponent off guard. Since they just used elixir on their attack that failed, they’ll be forced to quickly defend against your counter-attack.
What Are the Knight’s Toughest Matchups?
The Knight is a strong unit, but he can be defeated. Understanding what beats him is just as crucial as knowing what he’s good at. Sending him into a difficult battle without a strategy is like wasting your Elixir. Some card combinations and specific cards can easily stop him, ruining your attacks and leaving your towers open to damage. Identifying these weaknesses during a match lets you change your plan, hold onto your Knight for better opportunities, and support him effectively when you have to use him in a tough situation. Here are the three biggest threats to watch out for.
Air-Heavy Decks
The Knight’s biggest weakness is his inability to attack air units. Because he can only target ground troops, he’s ineffective against decks that use cards like Minions, Baby Dragon, or Balloon. When facing aerial attacks, the Knight can only advance and take damage. If your opponent focuses on air units to win, the Knight won’t be able to stop them. To use the Knight effectively, you need to support him with troops that can attack air, such as Archers or a Musketeer, or have spells like Arrows prepared. Otherwise, he’ll be easily defeated by aerial attacks.
Spell-Cycle Decks
The Knight is known for being very durable, but certain decks focused on spells can quickly reduce his health. These decks win by repeatedly hitting your towers with spells. The Knight often has trouble against them because opponents can use fast-acting spells like Fireball or Zap to lower his health and eliminate him as a threat. This means your opponent can easily make your 3-Elixir investment a waste, and even damage your tower in the process. This leaves you in a difficult spot where your main defensive unit is too weak to protect you, allowing your opponent to launch a powerful attack.
High-DPS Ranged Units
Melee troops struggle with distance, and the Knight is no different. Powerful, long-range attackers pose a big threat – units like the Musketeer or Wizard can defeat the Knight before he can even attack. If these ranged units are shielded by other troops or positioned safely behind cover, your Knight will be kept at bay and quickly eliminated. To prevent this, support your Knight with spells that stun or damage ranged enemies, or use other troops to draw their fire while the Knight advances.
Knight Synergies That Actually Work
I absolutely love the Knight! He’s strong by himself, but he really gets going when you build a good team around him. He’s not the type of card you can just throw out there and expect to win; he’s the backbone of a strong push or a super-solid defense. Honestly, thinking about which cards to play with him is what makes his 3 elixir cost totally worth it. There are certain combinations that just consistently work, putting pressure on your opponent and shutting down their attacks before they even realize what’s happening. If you focus on creating these small, smart synergies, you can make the Knight a real threat no matter what!
Pairing with Ranged Support
The Knight is best used as a tank, protecting your main attacking units so they can deal damage without getting destroyed. He works especially well with quick, building-focused troops like the Hog Rider or Battle Ram. By placing the Knight in front, he’ll draw enemy fire and eliminate ground troops, making it easier for your core attack strategy to succeed. This aggressive approach forces your opponent to respond right away. He’s also great at protecting ranged units like Archers or the Musketeer, shielding them from ground attacks while they safely damage enemy defenses.
Combining with Buildings
The Knight is your best defensive unit, and when combined with a defensive building like a Cannon or Tesla, it creates a very strong defense. If a powerful enemy like a P.E.K.K.A. or Mega Knight is attacking, place the building in its path to draw its attention. Then, quickly deploy your Knight to attack it. This is a cost-effective way to stop strong attacks, and often leaves your Knight alive to lead a counter-attack. It’s a straightforward strategy that can shut down enemy pushes before they reach your towers.
Supporting with Cheap Spells
I’ve learned you don’t need to break the bank with elixir to make your Knight really effective. Honestly, sometimes just a little boost from a cheap spell or a card that cycles quickly is all it takes. Like, a perfectly timed Zap or Snowball can wipe out those annoying Skeleton or Goblin swarms, letting your Knight keep pushing towards the tower. And dropping an Ice Spirit behind him? That little freeze can give him just enough time for an extra hit on a key defender. It’s those smart, low-elixir plays that really make a difference, turning a fair trade into a win and keeping your opponent on the defensive. That’s what separates the good players from the great ones, in my opinion!
How to Master Knight Placement
The Knight appears straightforward, but his strength lies in strategic positioning. He’s a reliable card, but simply playing him won’t guarantee success. Knowing when and where to deploy him is crucial to transforming this low-cost unit into both a strong defense and a powerful attack. Effectively using his stats and elixir cost allows you to outplay your opponent. Let’s explore how to maximize the impact of every placement.
Mastering Your Positioning
The Knight is a versatile card you can use in many situations. Because he’s available from the beginning of the game, he’s great for learning how to place your troops effectively. When defending, try to draw enemy units towards the middle of your side of the arena. This tactic, called “kiting,” makes them walk a longer distance and exposes them to fire from both of your Princess Towers. Placing the Knight strategically can stop powerful attackers like the Mini P.E.K.K.A. or a Wizard.
When attacking, the Knight acts like a durable shield. He’s great when paired with quick, building-focused troops like the Hog Rider or Battle Ram, as he can take damage and help clear obstacles. Position him just ahead of your main attacking units to protect them from enemy defenses, giving them a safe path to the tower.
Timing Your Deployments
The Knight is a versatile troop that only costs 3 elixir, but he’s most effective when played at the right moment. Don’t usually send him across the bridge alone – he needs backup to really shine. A single Knight is easily overwhelmed, so use him to respond to your opponent’s moves. For example, if they place a Witch, wait until she’s near the bridge, then send in your Knight to quickly eliminate her.
A well-timed defense with your Knight can quickly turn into a strong attack. Once your Knight blocks an enemy strike, immediately follow up with quick, inexpensive units like Goblins or Bats. This unexpected counter-attack is what makes the Knight so effective. He’s versatile – he can reliably defend, and also launch a powerful offensive that can win the game.
Reading Your Opponent
Successfully using the Knight isn’t just about how you play it, but predicting what your opponent will do. You can use the Knight to lure out their defenses. For instance, if your opponent always uses their Valkyrie against your groups of units, play the Knight first to make them use it, then attack with a Skeleton Army on the opposite side. This either forces them to spend elixir inefficiently or leaves one side of the arena vulnerable.
Watch how your opponent responds when you play a Knight. Do they seem to disregard him, or do they use a strong card to counter him? Use what you observe to guide your strategy. While a Knight can often easily take a tower in the early arenas, he becomes more of a support unit as you climb the ranks. Knowing how the Knight fits into the current game and how to use him against your opponent’s specific cards is the mark of a skilled player.
Common Knight Mistakes to Avoid
It’s surprisingly easy to misplay even simple cards, and the Knight is a prime example. Its straightforward nature can sometimes lead to careless mistakes that waste your elixir and cost you the game. We’ve all likely made the quick, hopeful Knight drop at the bridge, only to see it instantly defeated. Luckily, these common errors are easily corrected. With a little focus on where you place your Knight, how you manage your elixir, and a good understanding of the whole battlefield, you can transform the Knight into a key part of both your defense and offense. Let’s look at the three most frequent mistakes players make with the Knight, and how to avoid them.
Poor Placement
Using your Knight without a good strategy is a waste of elixir. A common mistake is dropping him directly onto an enemy when a smarter placement could protect your towers. To use him effectively, you need to think ahead. Instead of dropping him in panic, try placing him in the center of your side of the arena to draw powerful units like the P.E.K.K.A. or Prince towards your towers. When attacking, never send your Knight in by himself. Support him with troops like Archers or a Wizard so he can take damage while they deal the finishing blows. Good placement makes your Knight a valuable defender or the start of a strong counterattack.
Overcommitting on Defense
The Knight is a strong defensive unit, but it’s important to use him at the right time. A common mistake is spending too much elixir to deal with small attacks. For example, using a Knight to stop a single Hog Rider when cheaper cards like Skeletons or Ice Spirit would be enough is a waste. This can leave you with too little elixir, making you vulnerable. Smart elixir management is key – quickly evaluate each threat before deploying your Knight. Can you handle it with a cheaper card, or is the Knight truly necessary? Knowing when not to play the Knight is just as important as knowing when to do so.
Forgetting About Air Threats
It’s easy to make this mistake, even for experienced players, when a battle gets intense. You might see a strong attacker like a Valkyrie or Prince heading for your tower and quickly deploy a Knight to defend. However, you could overlook weaker units – like Minions or a Baby Dragon – flying behind them. Since the Knight can only attack ground troops, he’ll be defenseless against anything in the air. While he’s occupied with the initial attacker, those air units can easily destroy him and your tower. Before using your Knight, always look at the entire enemy attack. If there are air units, be prepared with your own air defense troops or a spell to counter them. The Knight is best in specific situations, so understanding his weaknesses is key to winning.
Advanced Knight Strategies for Competitive Play
After you’ve learned the fundamentals, it’s time to consider how the Knight can help you win competitive matches. While he appears straightforward, the Knight truly excels when you plan your moves carefully. Skilled players don’t just use him to defend against a Prince; they use him to control your elixir, adapt to the current popular strategies, and effectively counter common decks. He can either solidify your defense or unexpectedly lead a small counterattack into a powerful push that takes down a tower. Let’s dive into the details of making this iconic warrior a key part of your winning game plan.
Managing Elixir in a Pinch
The Knight is a dependable and affordable card that can give you an edge in battle. Always aim to spend less elixir than your opponent. For example, if they play a 5-elixir Wizard or Witch, a strategically placed Knight can take the hit and defeat them, giving you a 2-elixir advantage and a Knight with half health to help with a counter-attack. You can also use the Knight to distract strong, slow-moving troops like the P.E.K.K.A., pulling them towards the center of the arena. This buys you time for your towers to deal damage and for your elixir to recharge, allowing you to build a strong defense.
Adapting to the Meta
The Knight isn’t usually a game-winning card by itself; it excels at supporting your other cards. While popular strategies change, the Knight consistently functions as a reliable, small-scale defender. To really make it work, you need to combine it with other cards – like buildings that draw enemy units or low-cost cards like Ice Spirit to slow down opponents. When attacking, the Knight is great at protecting your main damage dealer. Place it in front of fast, building-targeting units such as the Hog Rider or Battle Ram. This will cause the Knight to move towards the enemy tower, taking the first hit and allowing your main attacker to do its job.
Countering Popular Decks
I love the Knight! What makes him so good is how flexible he is. He’s a really cheap unit, but he can do so much, which is awesome because it throws opponents off when they’re expecting something specific. If someone’s building a big push with giants, I use him to take out the support troops behind it – things like a Witch or Wizard. And against speedy bridge spam decks, he’s perfect for stopping a Bandit in her tracks or soaking up a Battle Ram’s charge, giving me time to actually defend. He doesn’t have crazy abilities, but his health and damage are consistent, making him a reliable answer to a lot of the stuff I see when I’m climbing the ladder.
Frequently Asked Questions
The Knight is a versatile unit best used for both defending and attacking. He’s most effective immediately after successfully defending against an enemy attack. A Knight with half health, moving forward after a defense, creates a great opportunity to launch a counter-attack. Quickly deploying a faster unit behind him can catch your opponent off guard and create a powerful offense they may not be able to counter due to elixir limitations.
What’s the most common mistake players make with the Knight? It’s easy to forget he can’t hit flying troops. When you’re focused on stopping a ground unit like a Prince, you might miss air troops like Minions or Baby Dragon attacking your tower. This leaves your Knight useless while taking damage from above. Before using your Knight, always scan the entire enemy attack to see all their units.
The Knight is a great addition to many decks because he’s inexpensive and flexible. He excels in quick-cycle decks, letting you rapidly return to your winning strategy thanks to his low cost. He’s also effective in control decks, providing strong defense and favorable elixir exchanges. While less common in aggressive ‘beatdown’ decks, those strategies generally prefer larger, more durable units like the Golem or Giant to lead attacks.
There are times when using the Knight isn’t worth the 3 elixir cost. Don’t send him to attack a tower alone – he’ll be quickly defeated. It’s also a waste to use him on small groups of enemies, like Skeletons, that your Princess Towers can eliminate without costing you any elixir. And definitely don’t play him against air troops, as he can’t attack them and will just be a wasted card.
If you’re looking for a substitute for the Knight, the Valkyrie and Dark Prince are both good options. The Valkyrie excels at dealing damage to groups of enemies all around her, making her a solid mini-tank. The Dark Prince can charge into battle and also has a shield for defense. Both cards cost 4 elixir, which is more than the Knight, but they offer unique strengths in exchange for his low cost.
Read More
- United Airlines can now kick passengers off flights and ban them for not using headphones
- Gold Rate Forecast
- All Golden Ball Locations in Yakuza Kiwami 3 & Dark Ties
- 8 Actors Who Could Play Blackbeard In One Piece Live-Action Season 3
- 15 Lost Disney Movies That Will Never Be Released
- How to Solve the Glenbright Manor Puzzle in Crimson Desert
- How to Complete Bloom of Tranquility Challenge in Infinity Nikki
- How to Get to the Undercoast in Esoteric Ebb
- Wartales Curse of Rigel DLC Guide – Best Tips, POIs & More
- What are the Minecraft Far Lands & how to get there
2025-12-09 17:21