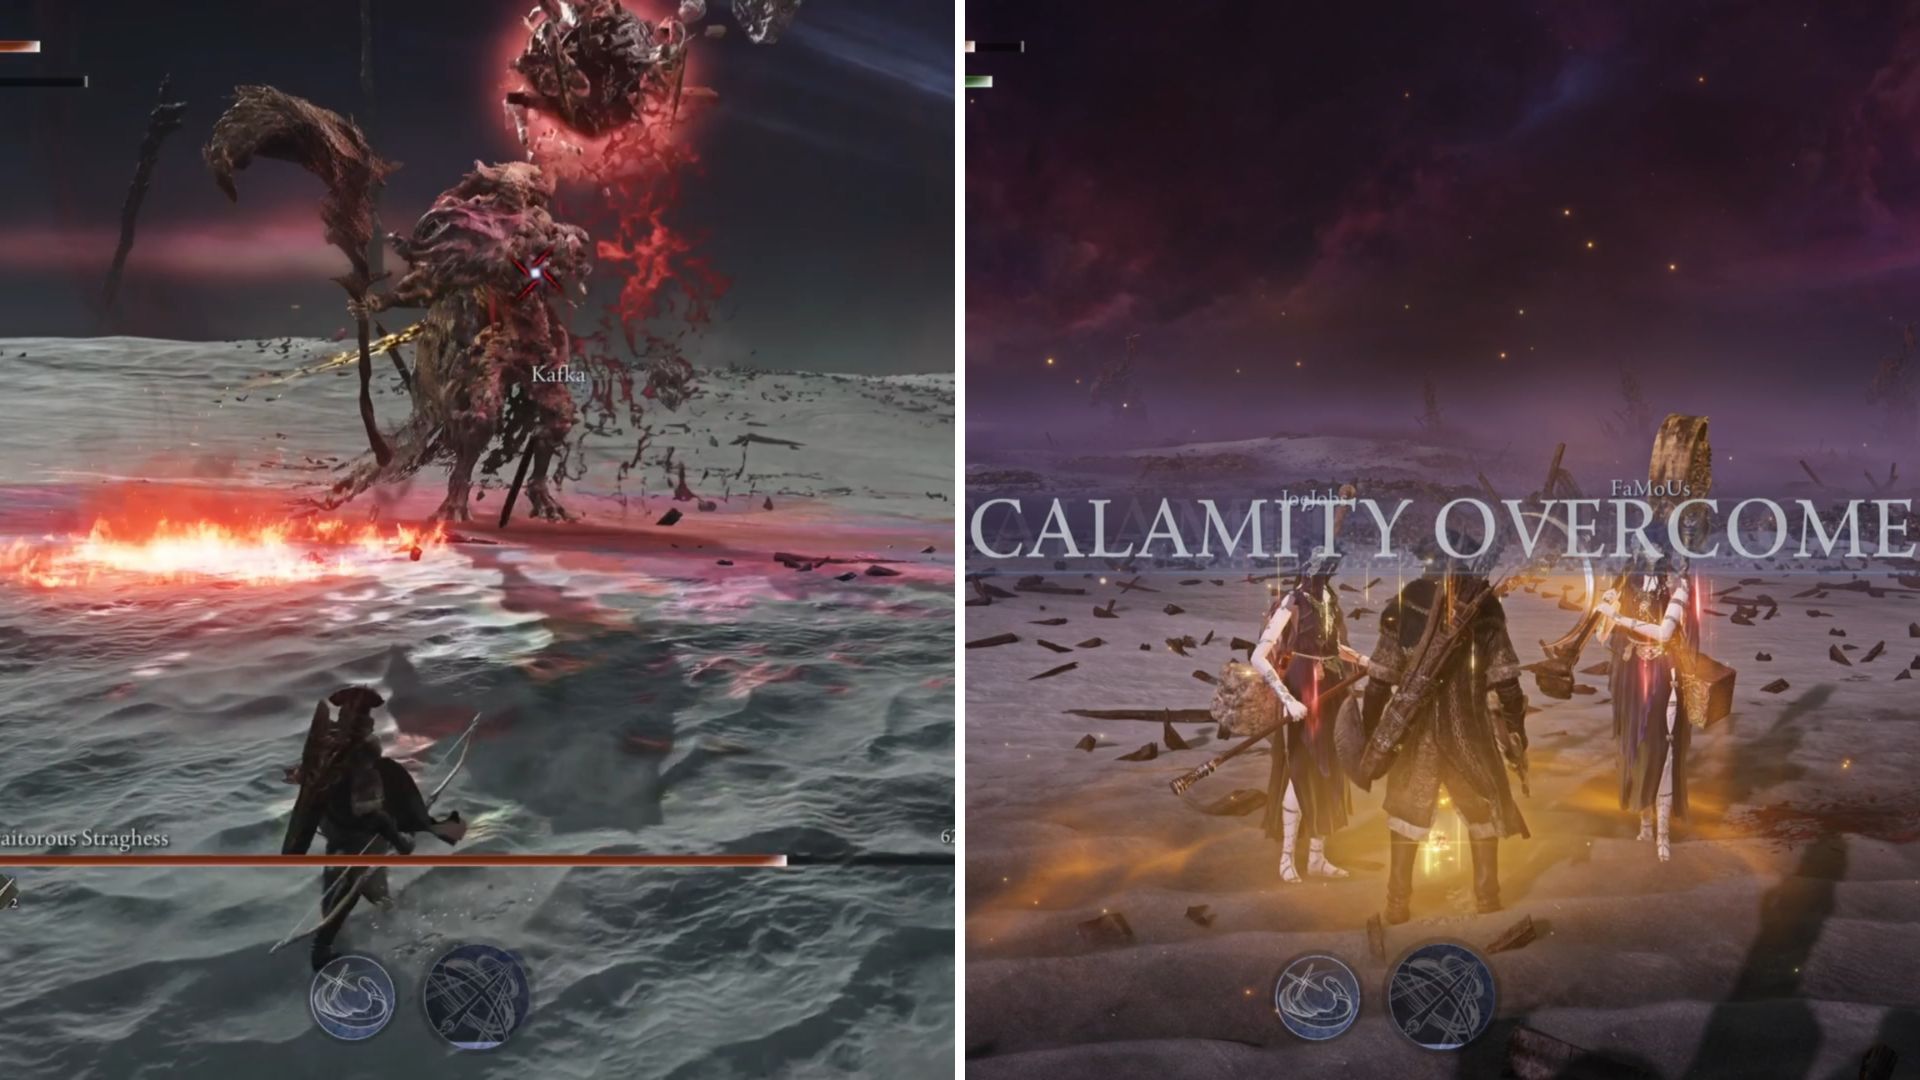
The last boss you’ll face in Elden Ring’s Nightreign DLC, The Forsaken Hollows, is called the Dreglord, but many know her as Traitorous Straghess. This is a tough battle where you need fast reactions, the ability to resist the Scarlet Rot, and skills to dodge large area-of-effect attacks.
Beating the Dreglord is actually quite achievable with the right preparation. Make sure you’re at the highest level, have items to protect against Scarlet Rot, and bring a well-rounded party to maximize your chances of winning.
Man, the Dreglord was tough! I really had to keep at it before I finally beat him. I’ve put together this guide with everything I learned to help you take down the Dreglord (Traitorous Straghess) in Elden Ring’s Nightreign: The Forsaken Hollows. Hopefully, it’ll make your fight a little easier than mine was!
Recommended Party Composition
To easily defeat the Dreglord, the ideal team setup is two Undertakers and Ironeye. Undertaker is a new character added with the downloadable content, and she’s particularly strong thanks to her unique ability, called “Confluence,” which is considered the best in the game.
Okay, so playing as Undertaker, I’ve figured out a cool combo! If one of my teammates uses their Ultimate Art, it lets me use mine right away. Because I fill my own Ultimate meter too, I can actually pull off Loathsome Hex twice in a row – it’s a really powerful way to chain attacks!
She can use her most powerful ability more often than any other character, and because it does significant damage and can temporarily disable bosses, it’s a major advantage when fighting the Dreglord.
Using two Undertakers lets you use your powerful Ultimate Art more frequently, which means the Dreglord will take more damage and be stunned more often. Ironeye is a fantastic support character because he can revive teammates from a distance, making it simple to help fallen allies.
Dreglord Weaknesses and Preparation
The Dreglord, a Night Lord in Elden Ring: Nightreign, is unique because it doesn’t have any particular weaknesses. You won’t need to worry about exploiting any specific conditions when fighting it.
When upgrading runes, focus on increasing your physical attack power – it’s the most effective way to damage the Dreglord. While the Dreglord doesn’t have specific weaknesses to Holy or Fire, those elements still do significant damage, so they’re good options too. Don’t forget to equip relics that boost your attack power before starting the run.
If you’re exploring and encounter the Scarlet Rot from the Dreglord, be sure to find Preserving Boluses. They reduce the buildup of the Rot, helping you avoid extra damage.
If you’re playing as Ironeye, prioritize weapons with the ability to reduce incoming fire. This helps you safely attack the Dreglord from a distance and revive fallen teammates without becoming a primary target. Just having these weapons in your inventory activates the benefit – you don’t need to have them equipped.
Make sure to explore as much as you can and aim to reach level 15. Facing the Dreglord at a lower level will make the battle significantly harder.
Before you go into the Night Lord arena on Day 3, be sure to spend any remaining runes at the shop. I suggest buying Exalted Flesh to boost your attack and any health flasks you can afford.
Dreglord Moveset
In Elden Ring’s Nightreign, the Dreglord boss fight happens in two stages. You might think you’ve won after the first one, but it will continue! The following will explain the Dreglord’s attacks in each phase, and give tips on how to dodge them and minimize damage.
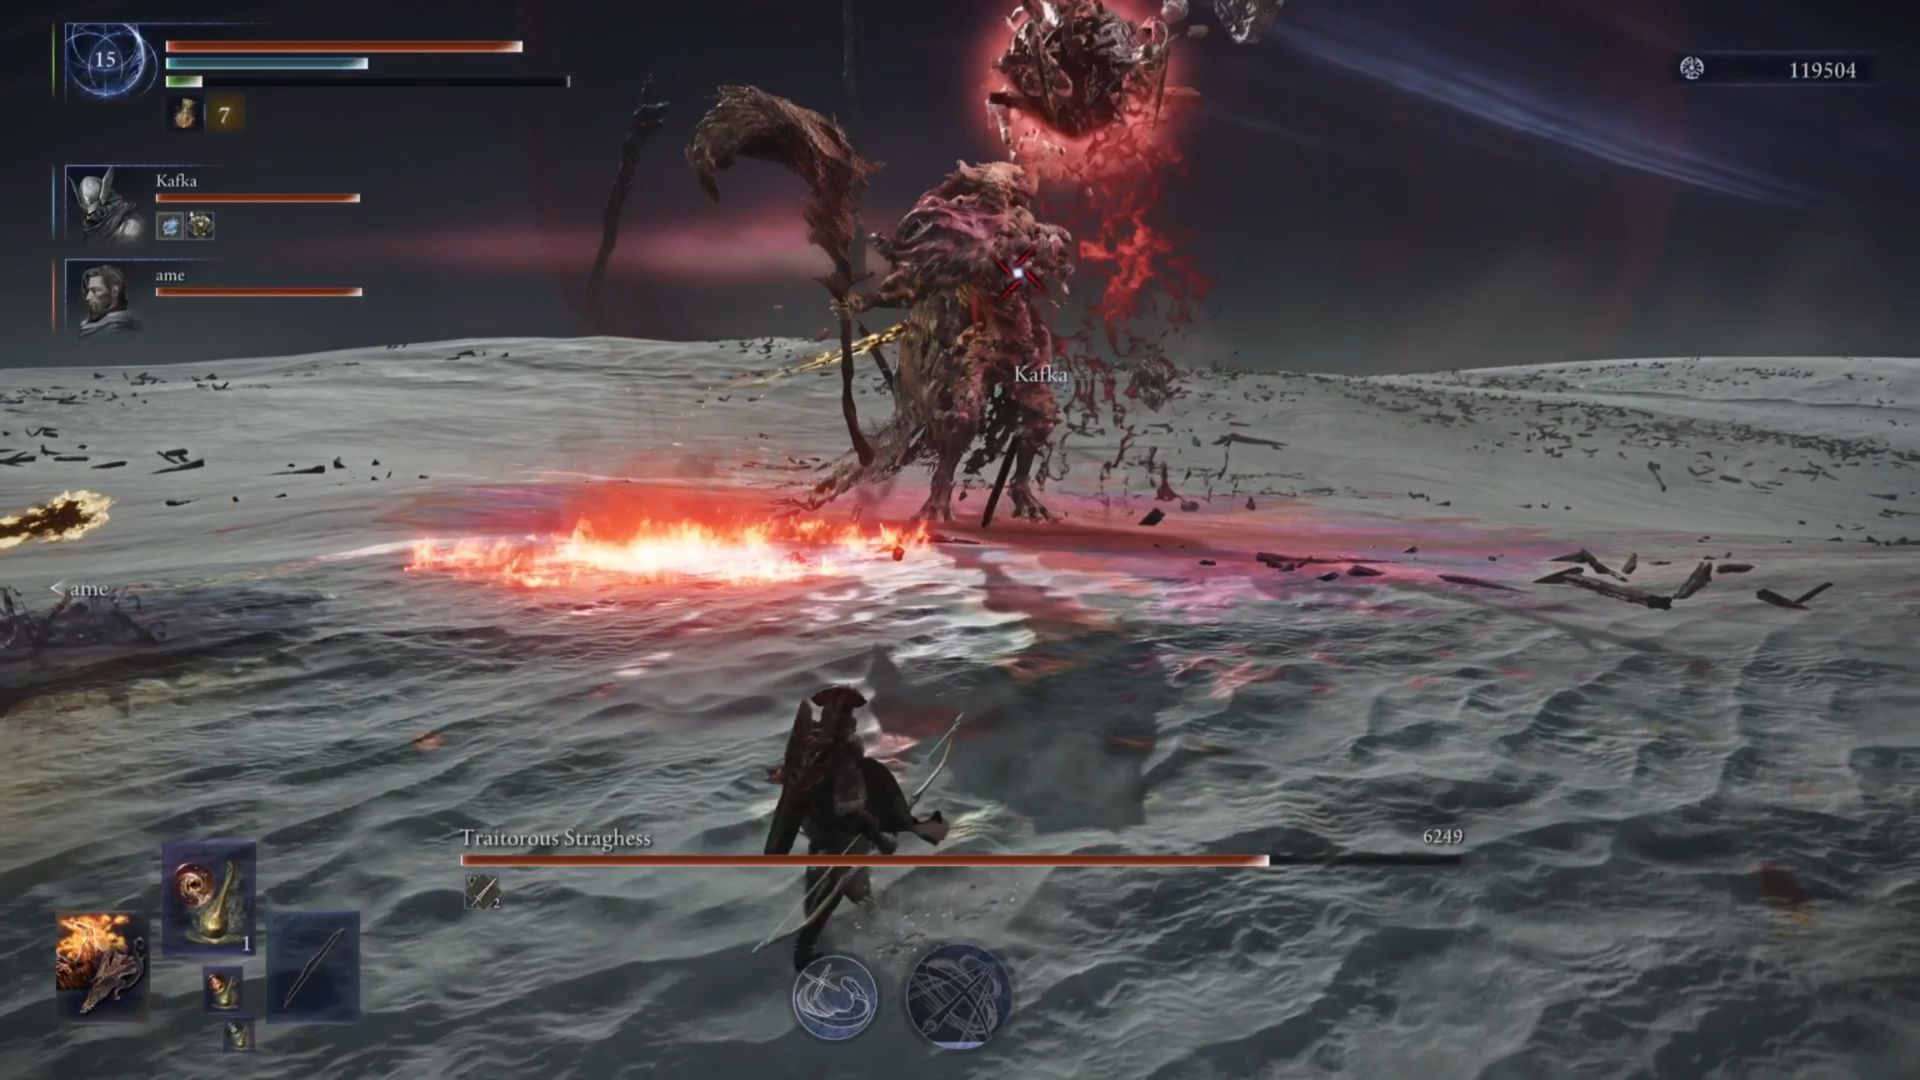
Dreglord First Phase
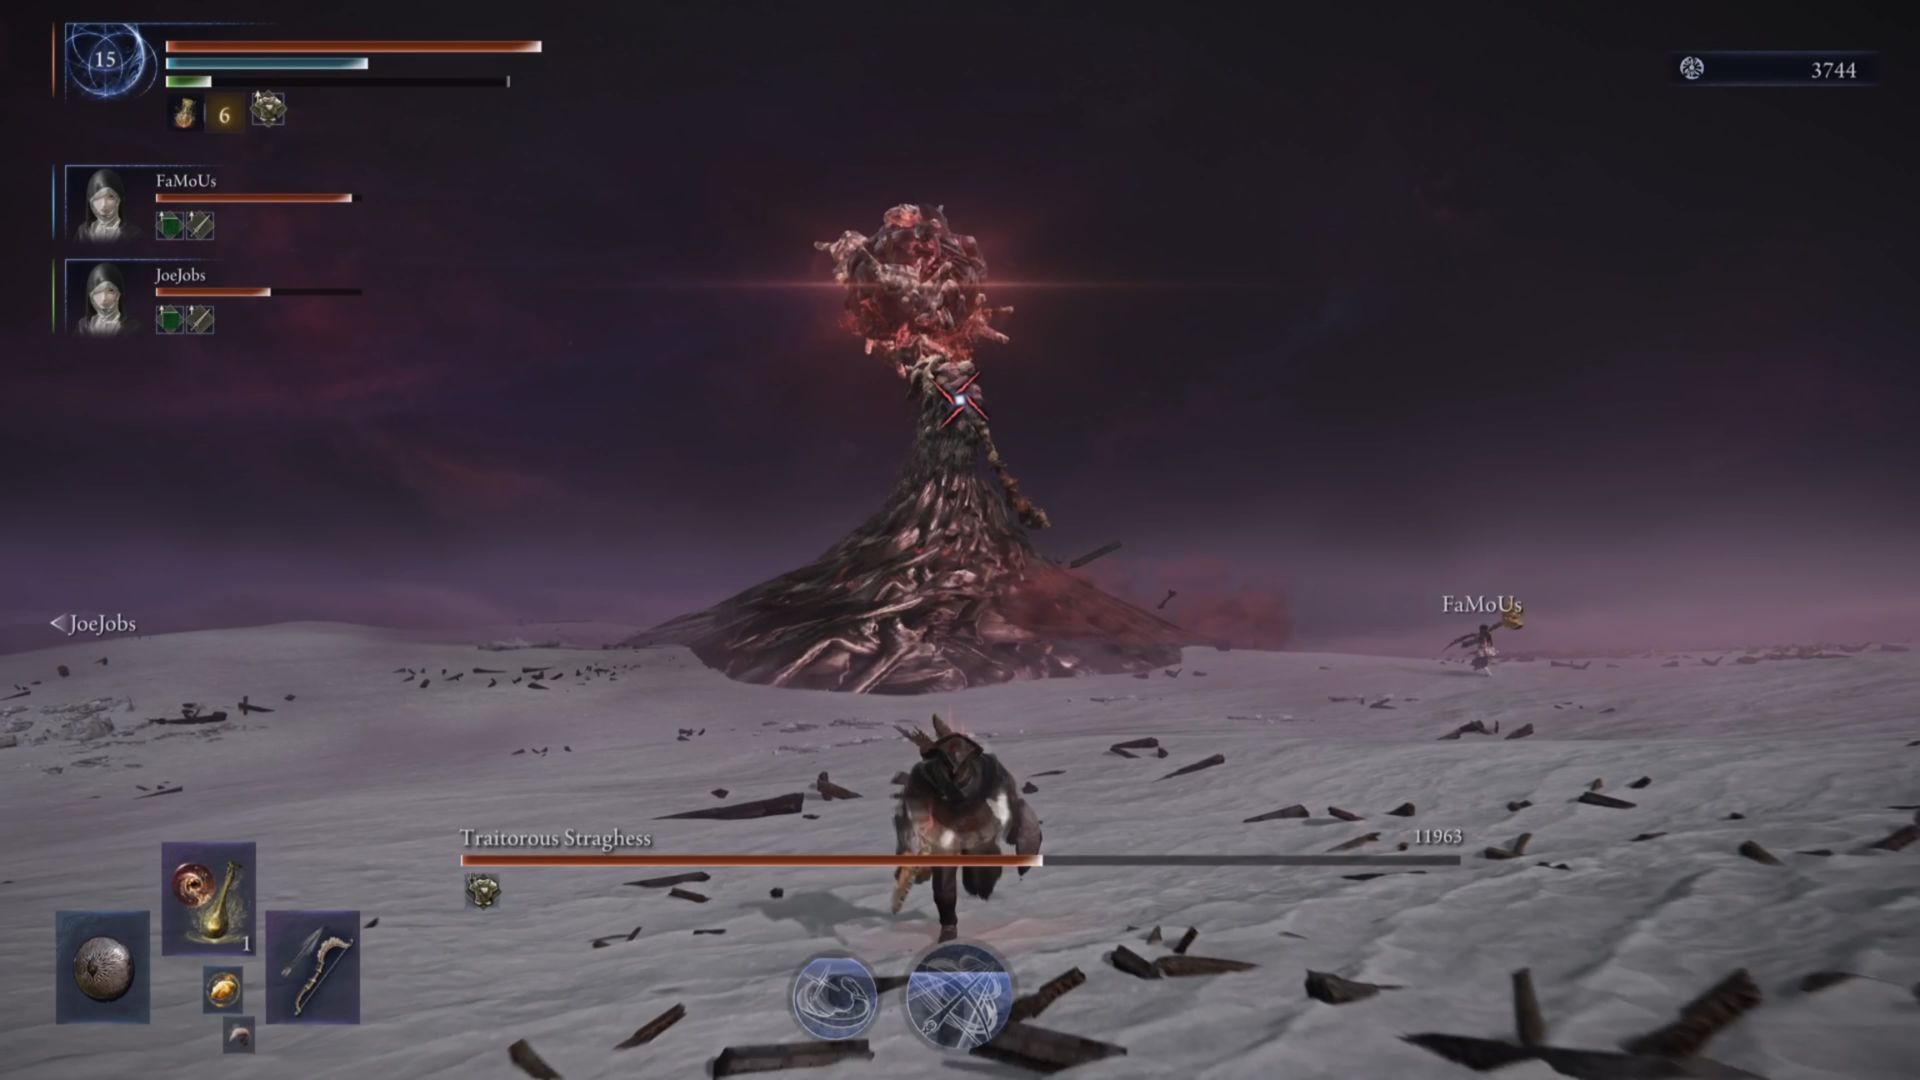
The first stage of the Dreglord fight is fairly straightforward in terms of his attacks, and he’s more vulnerable to regular attacks during this phase than in the second.
| Attack | Description | Counter |
| Scythe Slam | Dreglord will raise his scythe and slam it down to the ground one time. | Dodge into the attack. |
| Scythe Double Slam | Dreglord will raise his scythe and slam it down to the ground two times in a row. You can differentiate this from “Scythe Slam” when Dreglord raises the scythe higher up. | Dodge backwards twice. |
| Double Swipe | Dreglord will use his fist and swipe twice, once to the right and then to the left. | Dodge backwards twice. |
| Scythe Smash | Dreglord will put both hands on his scythe, turn it sideways, and smash it to the ground, dealing AOE damage. | Dodge into the attack. |
| Pink Burst | Dreglord will conjure a pink hue from his fist and smash his fist into the ground, creating a pink burst that sucks players toward him. | Run away. |
| Scarlet Rot Crater | Dreglord will reach into the ground, grab a large Scarlet Rot crater, rise up on a hill, and make the crater explode. The arena will begin to rain Scarlet Rot, and smaller enemies will begin to appear. | Run as far as possible to avoid the explosion. |
| Scarlet Slam | Dreglord’s fist will glow pink, and he will slam down twice. Each slam has an AOE burst and has a pool of Scarlet shoot out from the ground, dealing damage. | Dodge backward or to the side to avoid the AOE. |
| Scythe Drag | Dreglord will swing his scythe in a circle and then drag it on the ground, charging toward you. The boss will swing the Scythe a total of five times here. | If playing as Ironeye, use the Marking ability to dodge through the boss. Otherwise, consistently dodge each attack. |
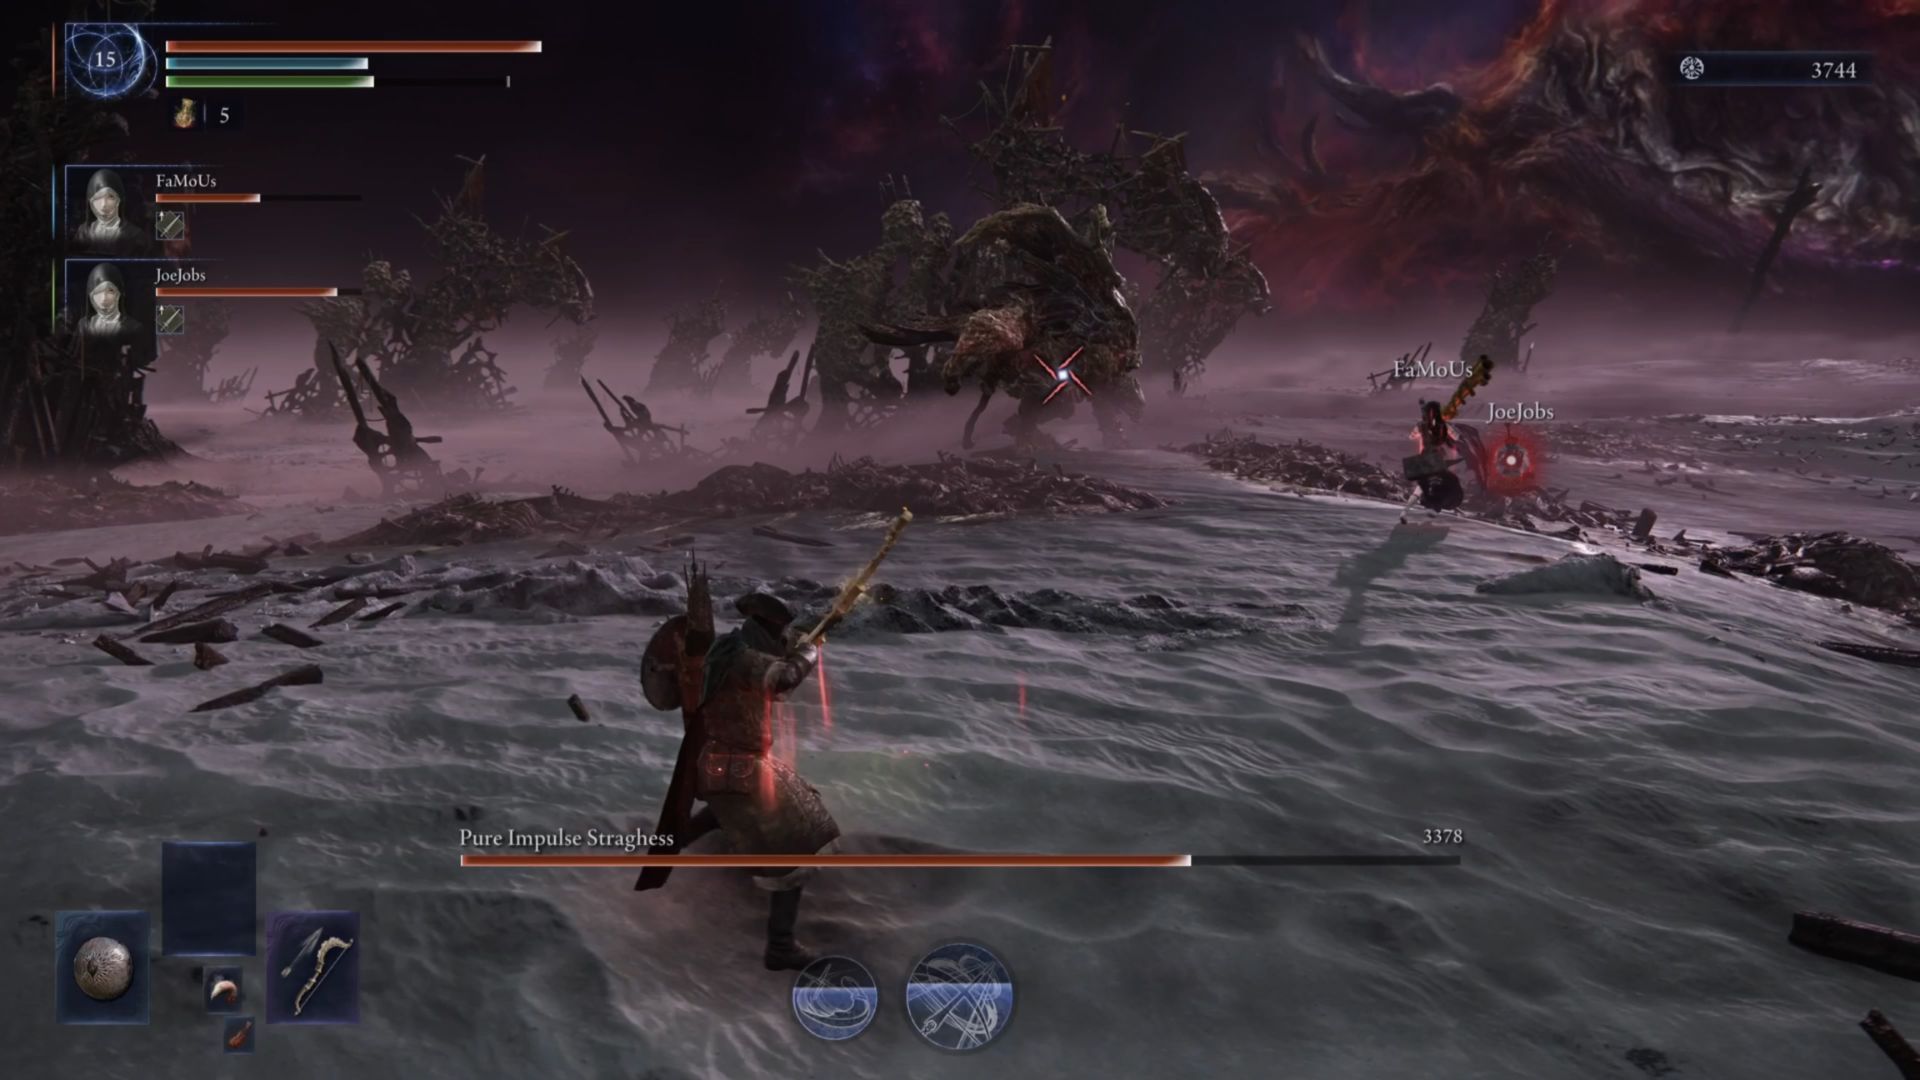
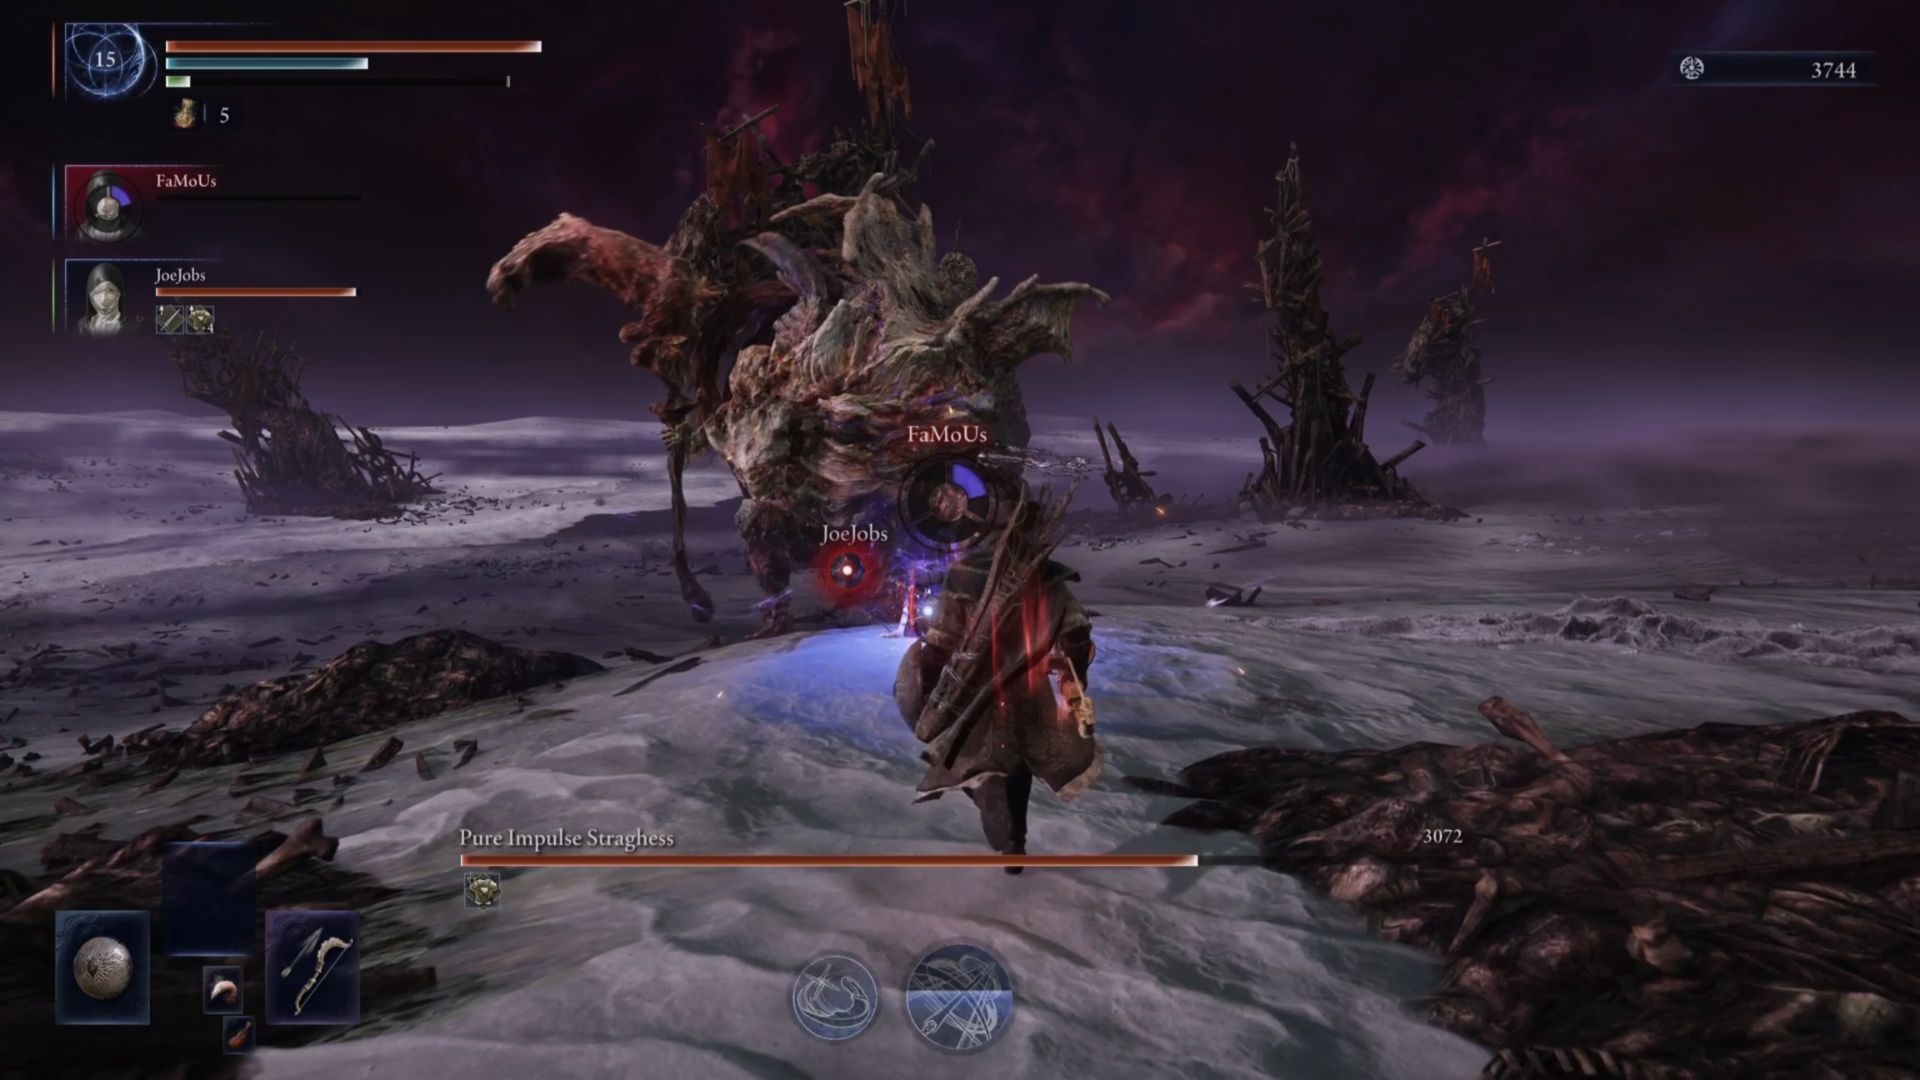
Dreglord Second Phase
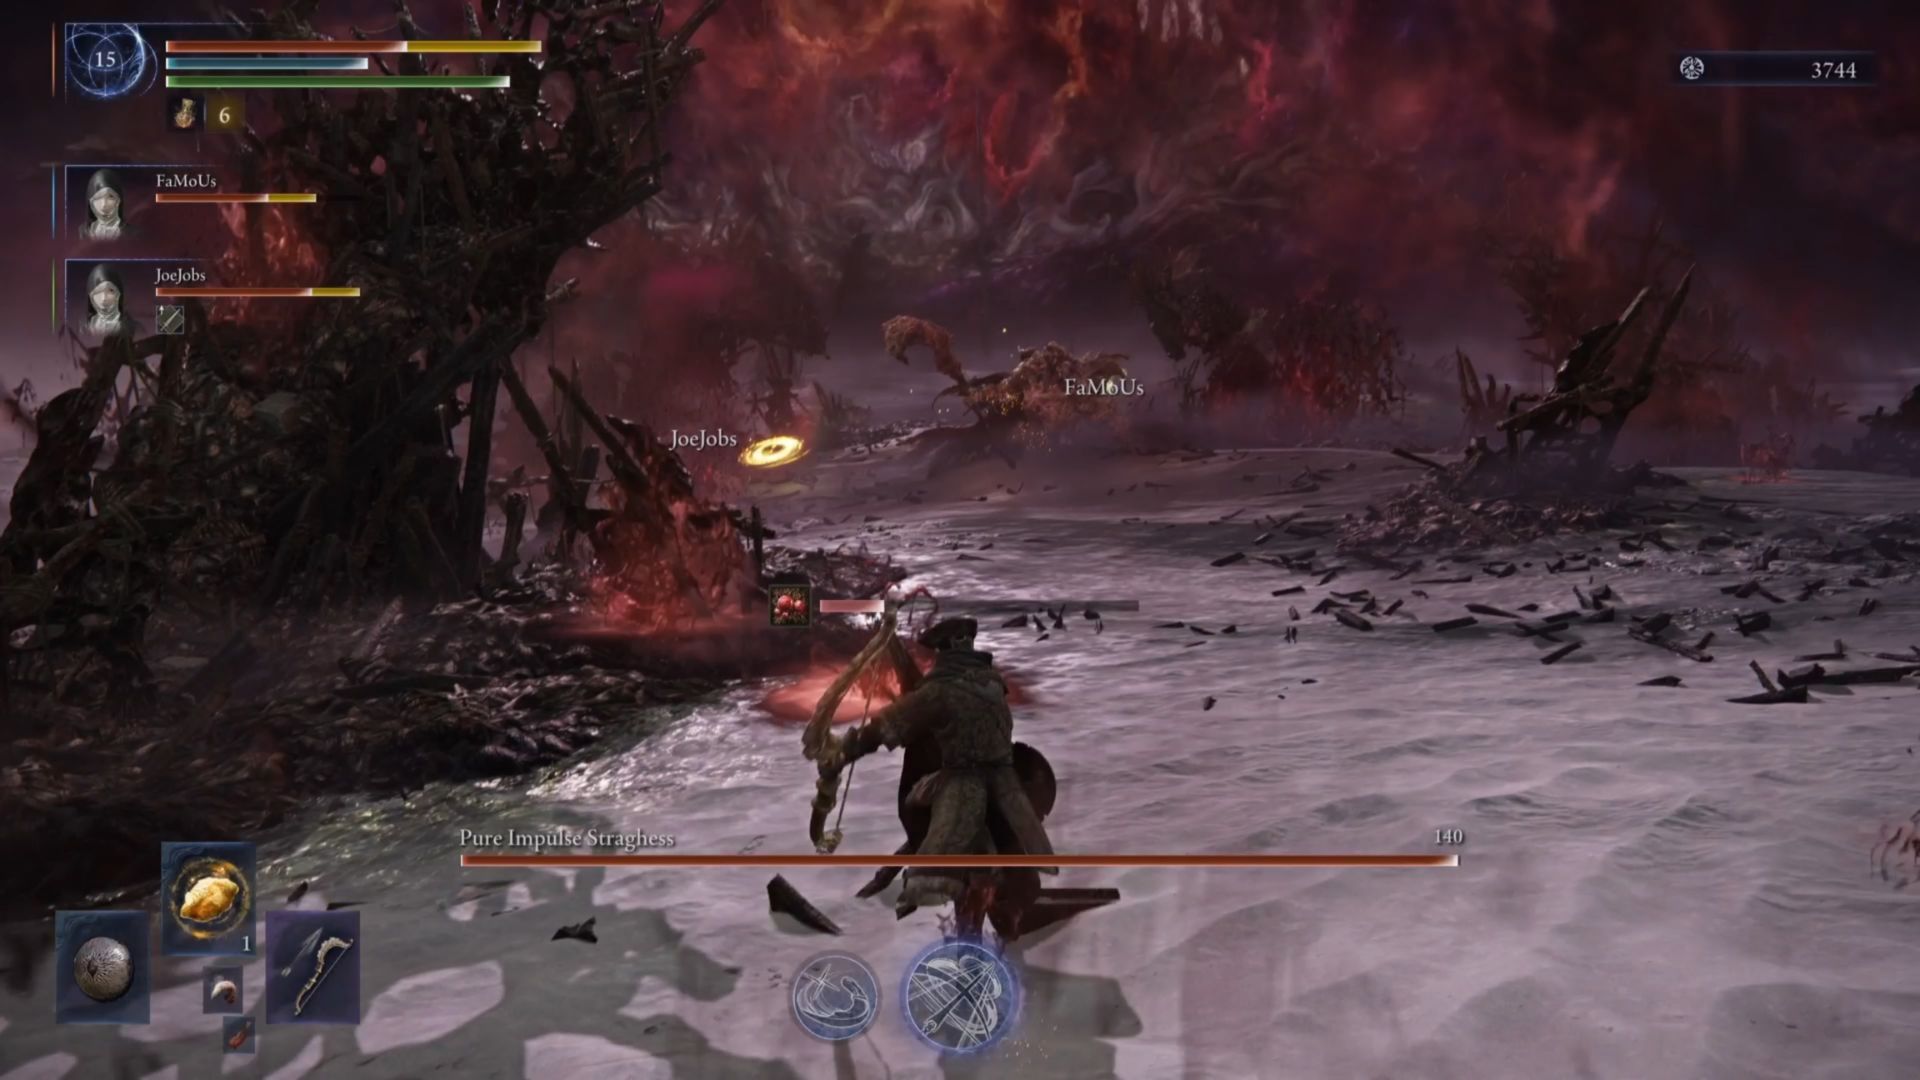
The second phase of the Dreglord fight is challenging because of its many area-of-effect attacks. However, all of these attacks can be avoided by dodging or simply running away. A complete list of the attacks used in this phase is shown in the table below.
| Attack | Description | Counter |
| Scythe Swipe and Punch | Dreglord will swipe his scythe to the side and follow up immediately with a punch. | Dodge into the swipe and to the side to avoid the punch. |
| Charge Swipe | Dreglord will charge toward the player and spin in a circle, swiping his scythe in a large circular fashion. | Dodge into the attack. |
| Lunge Attack | Dreglord will leap toward a player and throw a punch. | Dodge into the attack. |
| Howl Pillars | Dreglord will howl and conjure a series of pillars that rise from the ground. He will target one player, lunge down to attack them, and bounce up to another pillar. He does this twice, and when he lands on the ground a second time, he will smash his fist to the ground, creating waves of Scarlet Rot that deal a ton of damage. | Be prepared to dodge when the Drelord lunges down. It’s extremely fast, so use quick reflexes. |
| Pillar Smash | Dreglord will summon a series of pillars and bounce between a handful of them before smashing to the ground, creating a large explosion. Be prepared for three explosions here that shoot out waves of Scarlet Rot, all covering great distances. | Run away from the explosions. |
| Scarlet Rot Ball | Dreglord will conjure a large ball of Scarlet Rot and throw it at the player, creating an explosion. | Run away |
| Targeted Attack | Dreglord will target one player (indicated by a red dot on the person’s body) and leap forward to execute a series of attacks. There are 5 swipe attacks here and then a 6th attack where the Dreglord jumps up and slams to the ground, creating an explosion that deals AOE damage. | Dodge the first 5 swipe attacks and then wait a second for the last explosion attack. Dodge into Dreglord when he slams to the ground. |
| Slam Waves | Dreglord will slowly approach with his scythe on his back and then quickly slam his scythe to the ground, creating lines on the ground that eventually explode. | Dodge to the side, or run away from the lines on the ground to avoid the explosion. |
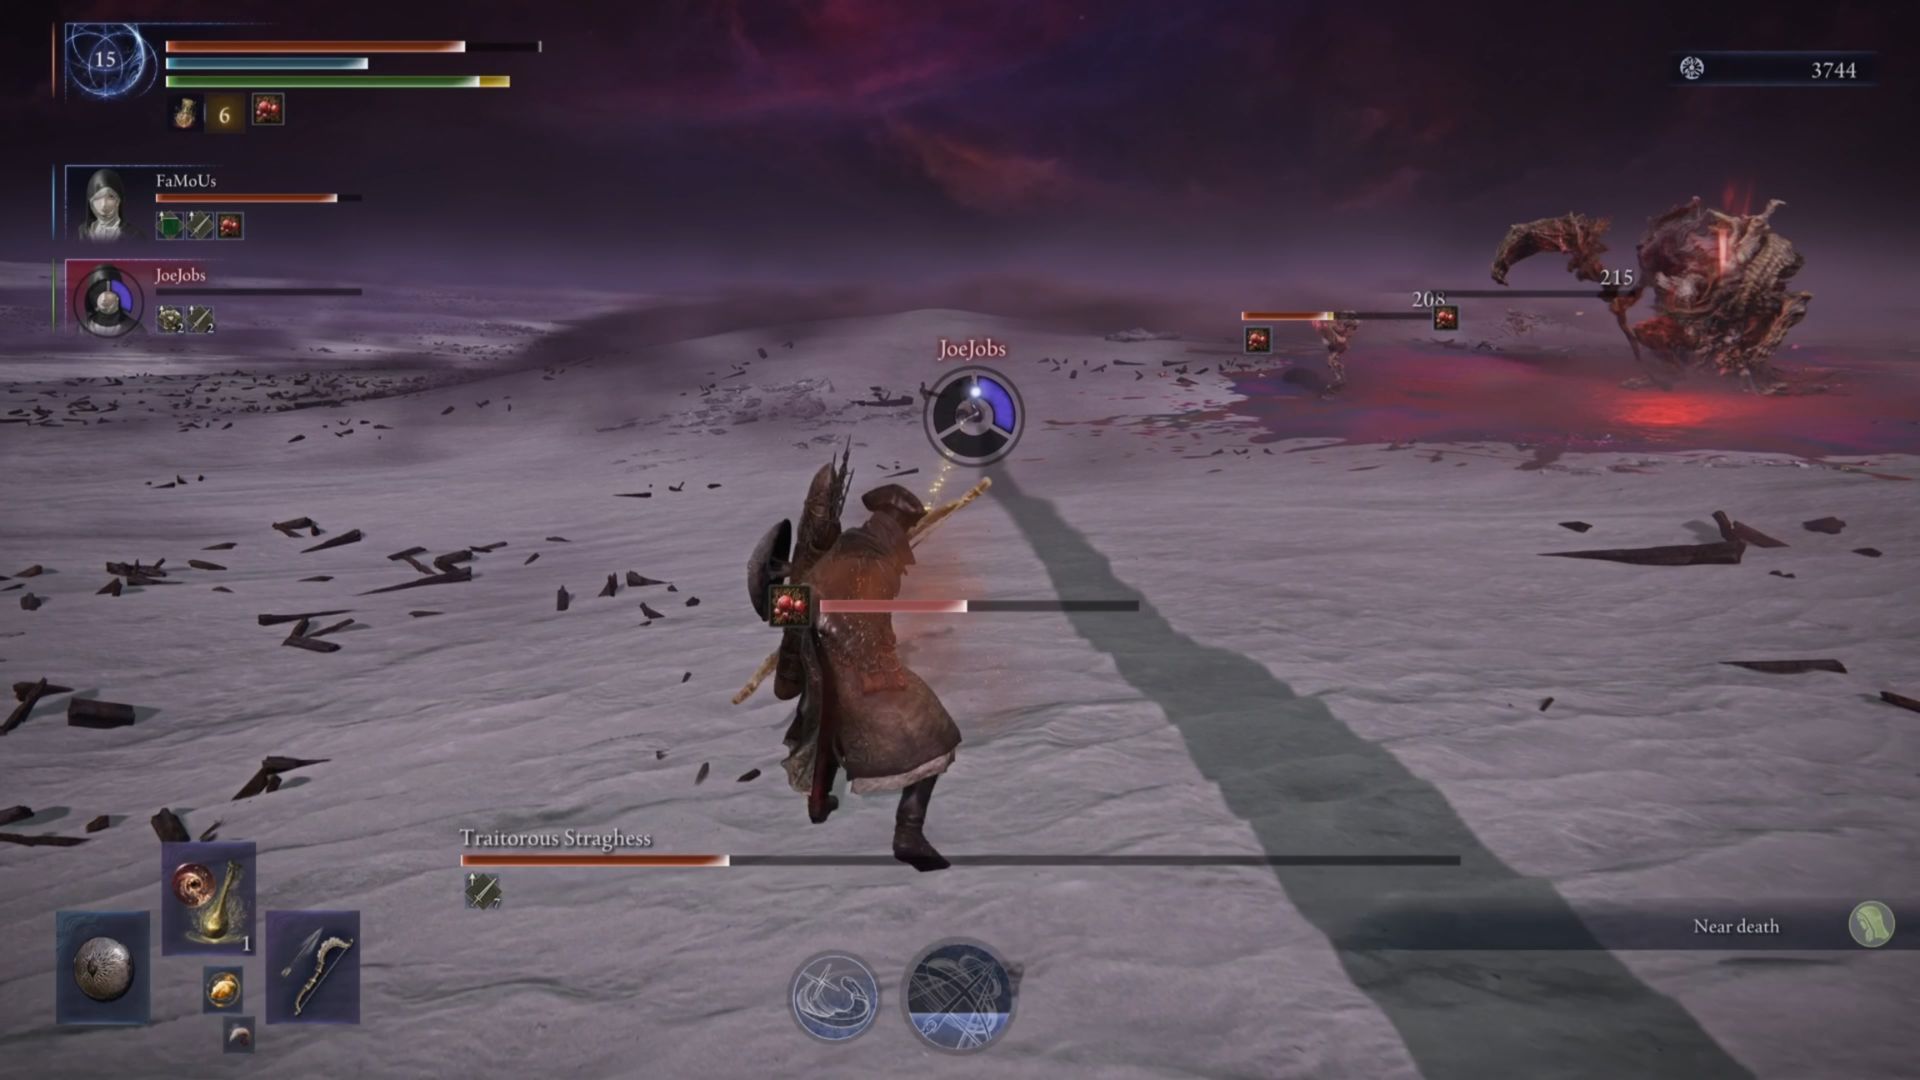
How to Defeat Dreglord in Elden Ring: Nightreign
Winning the fight against Nightreign, the Dreglord in Elden Ring, requires learning how he attacks and recognizing when you can strike. We’ll focus on a party setup of two Undertakers and Ironeye, as that’s the most effective strategy.
When playing as Ironeye, focus on long-range attacks. Only move in close enough to use your Mark skill. Marking is a special ability that makes enemies take extra damage when attacked repeatedly.
Whenever Ironeye’s special ability is ready, immediately use it on the Dreglord. Even if the Dreglord already has the mark, use the ability anyway. Applying the mark multiple times doesn’t change how much damage you need to do to trigger a critical hit, but it will make the mark last longer.
Ironeye’s main job is to use the Ultimate Art as often as possible, allowing both Undertakers to use theirs one extra time. Also, Ironeye should be the first choice for bringing any fallen teammates back into the fight.
When fighting the Undertakers, focus on sticking near Dreglord and dealing as much damage as you can. Knowing how Dreglord attacks – as we talked about before – will help you find consistent chances to strike. And don’t forget to move away from Dreglord when he’s preparing a large area-of-effect attack.
Whenever an opponent uses their special move (Ultimate Art), be sure to use yours immediately. If the icon for your special move turns pink, it means you copied it from your opponent. This copied ability doesn’t stay active for long, so use it quickly!
When the Dreglord enters his second phase and starts using a lot of Scarlet Rot attacks, quickly use Preserving Boluses to remove the buildup. The Dreglord already does a lot of damage, and letting Scarlet Rot damage add up will make the fight much more difficult.
Read More
- United Airlines can now kick passengers off flights and ban them for not using headphones
- Crimson Desert: Disconnected Truth Puzzle Guide
- All 9 Coalition Heroes In Invincible Season 4 & Their Powers
- The Boys Season 5 Spoilers: Every Major Character Death If the Show Follows the Comics
- Mewgenics vinyl limited editions now available to pre-order
- Invincible Season 4 Episode 6 Release Date, Time, Where to Watch
- Assassin’s Creed Shadows will get upgraded PSSR support on PS5 Pro with Title Update 1.1.9 launching April 7
- Grok’s ‘Ask’ feature no longer free as X moves it behind paywall
- TikToker’s viral search for soulmate “Mike” takes brutal turn after his wife responds
- All Golden Ball Locations in Yakuza Kiwami 3 & Dark Ties
2025-12-07 20:42