
Being trapped by enemy fire is a common challenge in Helldivers 2. But the new Breaching Hammer offers a straightforward, explosive way to break free and create your own path to safety. This weapon fundamentally changes how you play, letting you destroy obstacles, open up new lines of sight, and dictate the battlefield like never before. It’s also fantastic for quickly stopping tough, armored enemies. To really master it, you’ll need to think strategically about how to use its destructive power. Let’s explore the best tactics for the Breaching Hammer.
Key Takeaways
- Master tactical demolition: The hammer is more than a melee weapon; it’s a key to the battlefield. Break down walls to create surprise attacks, escape routes, and clear sightlines to give your squad a decisive advantage.
- Focus on staggering elite enemies: Don’t waste your swings on small fry. The hammer’s real value in a fight is its power to stop dangerous units like Chargers and Devastators in their tracks, giving your squad a safe window to attack.
- Gear up for the front lines: The hammer requires you to get close, so survival is key. Pair it with a Shield Generator Pack for protection and a versatile primary weapon to handle threats you can’t reach.
What is the Breaching Hammer?
Ever wish you could just break through obstacles to solve problems? Helldivers 2 now lets you with the Breaching Hammer, a powerful new melee weapon unlocked in the Siege Breakers warbond. It’s more than just a weapon—it’s a handheld tool that can really change how you play, similar to the One True Flag.
Okay, so this hammer is seriously awesome! It’s just so satisfying to smash through anything in your way – enemies, walls, you name it. I love how it lets you get really creative with how you cause chaos. Whether I’m making a path for my teammates or knocking a big enemy off its feet, it’s a blast. Honestly, it’s just pure, simple fun and it completely changes how you approach a fight – you can literally reshape the battlefield with every swing!
How it works
Okay, so the Breaching Hammer is seriously good, both for straight-up attacking and for setting up plays. I’ve found it’s amazing for just smashing enemies – really satisfying! What’s cool is it can stagger even the big guys, which is a lifesaver for my team because it gives us the perfect chance to unload everything we’ve got. Plus, it hits hard, so even on the tougher levels, it’s a reliable weapon to bring.
Honestly, what I love most about this thing is how it completely changes the battlefield. You can smash through walls with it, which is amazing! It lets you create your own paths, sneak around enemies, or just get out of a sticky situation when things get too hot. It’s opened up so many cool strategies for my squad – we can approach objectives in ways the other team never expects. It’s a total game-changer!
Is it just another melee weapon?
The Breaching Hammer is truly exceptional. It’s a melee weapon, but it works very differently from typical options like bayonets or stun batons. Players are quickly recognizing it as the best melee weapon in the game, and it’s easy to see why. It excels at controlling groups of enemies and disrupting tougher opponents, making it a powerful tool to take charge of combat, not just something to use when you’re cornered.
The hammer has a limited number of uses, making each swing feel powerful and requiring careful timing. Many players combine it with a supply backpack to keep it usable against stronger enemies for the entire mission, rather than holding onto it for a single, crucial attack.
Why bring the Breaching Hammer to the fight?
In a universe filled with enemies, using a hammer might seem like a strange choice. But the Breaching Hammer isn’t just a close-combat weapon – it’s a powerful and adaptable tool that completely changes how you fight. It combines brute strength with clever tactics and the ability to destroy parts of the environment, giving you a real edge in battle. If you want a weapon that’s both effective and fun to use, the Breaching Hammer is worth considering. It’s not just about breaking things; it’s about breaking them strategically.
Stagger enemies and deal massive damage
The Breaching Hammer’s biggest strength is its incredible impact. It doesn’t just nudge enemies – a strong hit can really knock them off balance. This is great for disrupting enemy attacks and creating opportunities for you and your team to deal damage. It’s particularly effective against robotic enemies, easily breaking through their armor and defeating tough opponents, even on harder settings. If you need to quickly disable an enemy up close, the hammer sends a clear message they won’t ignore, making it a surprisingly good choice for players who like to fight on the front lines.
Control the battlefield
The Breaching Hammer isn’t just about dealing damage – it’s great for controlling groups of enemies. If you’re surrounded, a swing can knock down several smaller foes, giving you time to reload, move, or call for backup. It lets you control the battlefield and dominate close-range fights. And honestly, it’s just incredibly fun to charge into a crowd and send enemies flying! It’s a really powerful weapon that feels great to use.
Reshape the map to your advantage
The Breaching Hammer is a game-changer on the battlefield. It lets you break through walls and other obstacles, completely altering the environment to your advantage. Trapped and being chased? Blast through a wall to escape. Need a better view of an objective? Create an opening. This tool allows for quick flanking routes, shortcuts, and emergency exits. A skilled Helldiver can use the hammer to help their whole team gain a tactical advantage by essentially weaponizing the environment itself.
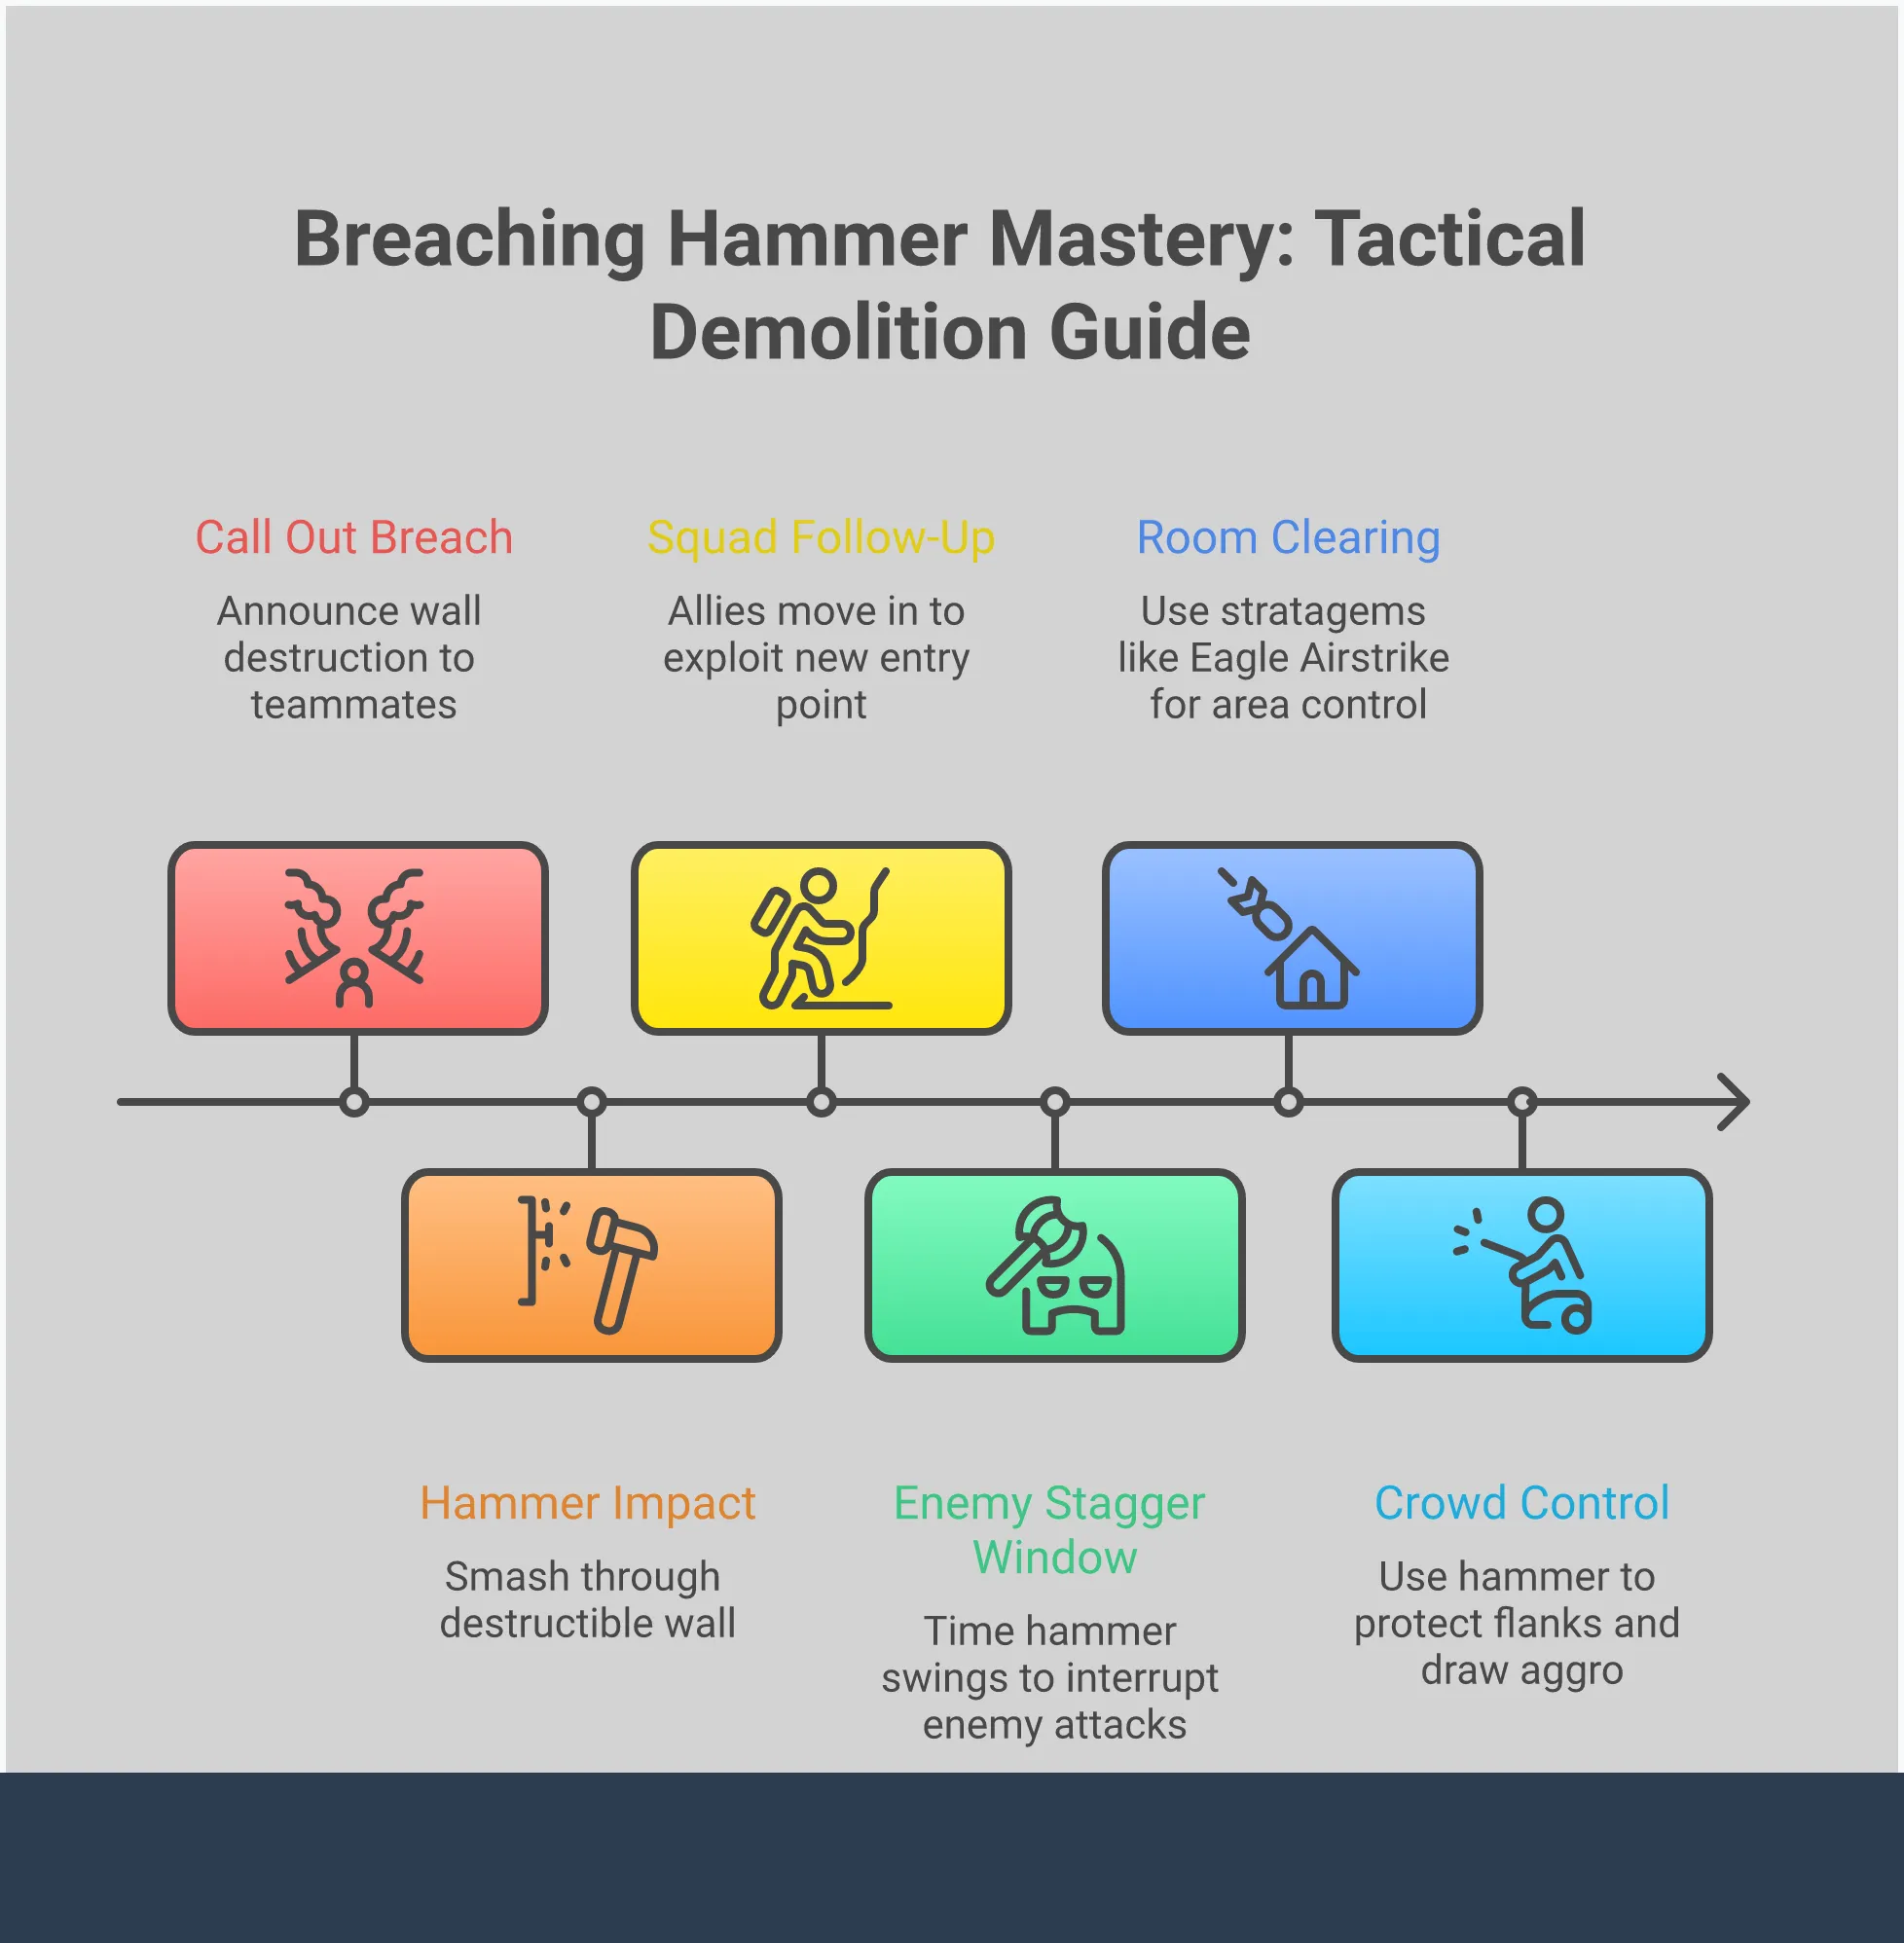
How to use the Breaching Hammer’s destruction power
The Breaching Hammer isn’t just for crushing opponents—it’s a powerful tool for changing the battlefield itself. Think of it as a way to open up new routes and gain a strategic edge. It’s not about simply causing destruction, but about using smart demolitions to win fights. Let’s explore how to use its explosive power to control the map and gain an advantage.
Break down walls and forge new paths
The Breaching Hammer is like having a portable demolition tool. Stuck under fire with nowhere to go? Just break through a wall to create an escape. Want to surprise an enemy patrol? Instead of going around, blast a new path through a building to flank them. This ability fundamentally changes how you tackle objectives. What once seemed like a dead end can become an entrance, and a strong enemy defense can suddenly be attacked from an unexpected direction. It’s all about getting creative and using the environment to your benefit in new ways.
Gain a tactical edge with smart destruction
Creating holes is enjoyable, but skilled players focus on making the right holes. Using the hammer effectively gives you a significant tactical edge. You can break through walls to create clear lines of sight for teammates or eliminate the cover enemies are using. This ability to change the environment is particularly useful against the Automatons, who rely heavily on cover. On harder difficulties, the hammer becomes a strong choice because it allows you to control the battlefield by removing enemy defenses and forcing them to fight in the open.
Set your squad up for success
The Breaching Hammer is most effective when your team works together. As the one breaking down walls, you create openings for your teammates to attack. Clear communication is essential – tell them your plan so they can be prepared with weapons or special abilities to quickly eliminate enemies on the other side. Coordinating your attacks this way lets you overwhelm opponents and clear rooms swiftly and powerfully. This teamwork is very satisfying and significantly increases your squad’s overall strength. You’re not just using a hammer; you’re leading your team to victory.
Which enemies fear the Breaching Hammer?
You’ve got a powerful, explosive hammer, and the real question is: what can’t you hit with it? The Breaching Hammer isn’t limited to just one type of enemy. It’s surprisingly effective in many situations thanks to its explosive power, ability to stun opponents, and wide area of attack. Whether you’re up against strong defenses or swarms of creatures, this hammer can handle it.
As a huge fan, I can tell you this weapon is amazing at smashing through enemy defenses and totally messing up their plans. If you’re facing a tough, armored enemy, one good hit can create openings for your team to really do some damage. And when you’re surrounded by tons of smaller enemies, a perfectly timed swing can give you the space you need to survive. Honestly, it’s the kind of weapon that solves problems and prevents those frustrating mission failures. Let’s talk about exactly which enemies should be scared when they see me getting ready to swing!
Take on high-level Automatons
Having trouble with tough Automaton enemies? The Breaching Hammer could be what you need. It can quickly turn the tide in challenging fights against powerful bots like Devastators and Berserkers with a single, strong hit. The hammer’s explosive power does a lot of damage and stuns enemies, stopping their attacks and giving your team time to strike. It’s a really effective tool against the game’s hardest enemies, making those scary encounters much more manageable – and satisfying – as you watch them fall apart.
Handle elite and heavy units
The Breaching Hammer is incredibly effective against tough enemies. It’s likely the strongest melee weapon for taking down powerful units on either side. A single hit can halt a charging enemy or knock back a large one, creating a crucial opening for you and your team to attack their weak points safely. Instead of having to constantly move and avoid a large enemy, the Breaching Hammer lets you stand firm, deliver a powerful blow, and quickly eliminate the threat.
Clear out swarms with ease
The Breaching Hammer is incredibly powerful against single enemies, but it’s also surprisingly good at controlling groups. If you’re surrounded by fast-moving enemies like Terminid Hunters or Automaton Troopers, a single swing can push several of them back, giving you time to reload or move to a safer spot. Each hit also has an explosive impact, which weakens groups of enemies and sets them up for a grenade or other attack. It’s a great way to create space when you’re overwhelmed, making it a dependable weapon for both offense and defense.
Common Breaching Hammer mistakes to avoid
The Breaching Hammer is incredibly fun to use, but it’s easy to get caught up in all the destruction. Like any strong weapon, it takes practice to master. A few mistakes can quickly send you back to the starting point.
Let’s look at some common mistakes players make when using the Breaching Hammer. Knowing these errors will help you avoid them and unlock the weapon’s true power. Instead of focusing on what not to do, think of this as a guide to becoming the powerful, wall-destroying player your team relies on.
Getting caught out of position
The main problem with using melee weapons is getting close enough to hit enemies without taking a lot of damage. It’s easy to want to rush in swinging, but that’s a quick way to get defeated. The Breaching Hammer is most effective when you choose your attacks carefully. Hitting an enemy with it feels powerful, making it a good choice even against tough enemies on the hardest settings – but only if you can actually get within striking distance.
Look, getting caught out in the open is basically a guaranteed death in this game. I’ve learned to always move from cover to cover when pushing. What works really well is having my teammates lay down some suppressing fire – that keeps the enemy heads down – while I try to flank them. Seriously, rushing in without a plan just gets you killed, wastes your time, and puts your whole squad at a disadvantage. It’s all about smart movement and teamwork!
Missing key breaching opportunities
The Breaching Hammer is more than just a melee weapon – don’t forget its ability to break through walls! Players often overlook this key feature, but it’s what truly makes the tool valuable. By destroying obstacles, you can create new routes and change the flow of the battlefield for your team. This wall-breaking capability is central to how the Breaching Hammer is meant to be used.
Missing chances to change the battlefield is a big error. Stuck in a bad spot? Find a new way out. Need a clearer view of your target? Make one. Becoming truly powerful in this game means understanding the map isn’t just a background – it’s something you can actively control. Always watch for walls or objects you can destroy to help your team gain an edge.
Wasting your ammo and resources
The Breaching Hammer is a truly powerful weapon, but it’s not unlimited. Each swing matters, particularly when playing on harder levels where supplies are limited. A lot of players think the Breaching Hammer is worth the cost of the Warbond on its own, so use it wisely and make the most of it.
Don’t waste your hammer on every little enemy. Instead, save it for tougher opponents that are giving you trouble. Use it to knock down large enemies, destroy armor, or create an opening when you’re overwhelmed. Think of your hammer as a special tool for difficult situations, not your go-to weapon. By using it wisely, you’ll find it’s incredibly helpful when you really need it.
How to use the Breaching Hammer in a squad
The Breaching Hammer is powerful, but it’s most effective when used as part of a team. While swinging it can leave you vulnerable, its strength lies in setting up opportunities for your teammates. Combining its destructive force with coordinated fire from your squad creates an overwhelming attack. It’s about transforming raw power into a smart, team-based strategy that completely overwhelms the enemy.
Combine it with strikes and support
The Breaching Hammer is great for setting up team attacks. Hitting a strong enemy with it can stun them, giving your teammates a chance to deal a lot of damage or call in support like an Orbital Strike. Your role is to distract enemies and knock them off balance, while your team protects you and keeps the pressure on. This kind of teamwork makes the Breaching Hammer a valuable strategic weapon, despite being a close-range option.
Create openings for your teammates
As the hammer wielder, you’re the team’s expert at creating opportunities – breaking down barriers in every sense of the word. Need a new route for a flanking attack? Demolish the wall. Is a powerful Automaton Hulk threatening your team? A quick hit can stun it, giving everyone time to attack its weak point. You don’t just fight; you change the battlefield, opening up new paths and disabling key enemies to help your squad win.
Find your role in the squad
The Breaching Hammer is powerful, but it takes skill to use effectively, and moving around with it can be slow and risky. Before a mission starts, decide what your job will be. Will you lead the way and remove obstacles? Or will you focus on disabling tougher enemies like Chargers and Bile Titans? Coordinate with your team to find the best role for you. Knowing exactly what you’re responsible for helps you use the hammer’s strengths and avoid getting into trouble. This weapon is most effective when used as part of a team, not by someone acting alone.
The best loadouts for the Breaching Hammer
You clearly enjoy using the Breaching Hammer – and it’s a lot of fun! But to really succeed with it, you need to build a good set of gear around it. The hammer is fantastic at close range, capable of stunning powerful enemies and creating new openings. However, it has limitations. A well-planned loadout will help overcome those weaknesses and maximize its strengths, making you a formidable opponent. Consider the hammer your main weapon, and everything else as support. Your other gear, from your primary weapon to your boosters, should all work together to keep you alive and allow you to keep smashing. Let’s dive into the details of building a truly effective hammer loadout.
Must-have support items and boosters
When you’re fighting at close range, staying alive is the most important thing. You can’t destroy enemies if you’re quickly defeated. For boosts, the Vitality Booster is a must-have, giving you extra health to survive an unexpected attack. I also recommend combining it with the Experimental Infusion booster, which makes your stims work better, improving your speed and how quickly you recover stamina. Together, these boosts let you quickly get close to enemies and escape danger. As for your backpack, the Shield Generator Pack is incredibly helpful, creating a personal shield that can take a lot of damage while you prepare your attacks.
Pair it with the right weapons and stratagems
The Breaching Hammer is surprisingly good against robotic enemies, even on harder levels, but you’ll still need weapons with range. For your main weapon, the Sickle is a great choice because of how efficiently it uses ammo, or you could use the Breaker shotgun to quickly deal with groups of smaller enemies. Choose stratagems that support your role as a close-combat fighter. The Eagle Airstrike is ideal for clearing out areas you’ve just captured, and an Orbital Laser can take down tough enemies like Bile Titans or Factory Striders from a safe distance. Basically, use your stratagems to handle threats you can’t reach up close.
Balance melee power with ranged support
The Breaching Hammer is a blast to use, but it’s best as a secondary weapon, not your main one. Don’t just charge into battle swinging – you’ll quickly be defeated. The key is to combine its strong close-range attacks with good long-range options. Your gear should allow you to deal with any enemy, whether they’re right in front of you or far across the map. A good way to do this is to pair the hammer with a flexible support weapon like the Autocannon or Grenade Launcher. This lets you take out tough, armored enemies and clear out enemy bases from a safe distance, while saving the hammer for powerful, close-quarters attacks.
When to pick the Breaching Hammer
Using the Breaching Hammer effectively comes down to knowing when to use it. It’s not useful in every situation, but when you need it, it can completely change how a mission goes. Consider it a tool that can turn a difficult challenge into a success. Let’s look at the specific times when the Breaching Hammer is the best choice.
For close-quarters missions
When navigating narrow spaces like hallways or bunkers, the Breaching Hammer is an essential tool. It’s perfect for close-quarters combat where visibility is limited. This hammer allows you to break through walls, creating new pathways for your team – whether for surprise attacks or a fast exit. Besides breaking down barriers, it’s incredibly effective in close combat. A strong swing can quickly stun enemies, giving you the advantage you need to take them down. It’s the best way to dominate chaotic, confined battles.
Based on enemy types and terrain
The Breaching Hammer is more than just a tool for destroying obstacles – it’s a powerful weapon against enemies. It’s especially useful when fighting heavily armored opponents that can withstand standard gunfire. If you’re facing tough enemies like Automatons on a difficult mission, the hammer is a surprisingly good choice. Its strong attacks quickly defeat armored targets that would normally absorb a lot of damage. It also works well in environments with lots of cover, where accurate shots are hard to land. When long-range attacks aren’t possible, getting close and using the hammer is a very effective way to take down your enemies.
On the right difficulty levels
The Breaching Hammer is fun to use at any level, but it really shines when things get tough. On easier difficulties, you might clear enemies quicker with a standard weapon. However, as the challenge increases, the hammer’s strategic benefits become clear. It can control the battlefield, disrupt strong enemies, and create opportunities for attack – all of which can mean the difference between succeeding and failing a mission. That’s why many players consider it one of the best melee weapons, because it rewards players who are smart, bold, and need every edge they can get to survive.
Frequently Asked Questions
The Breaching Hammer isn’t meant to replace your main weapon. Instead, it’s best used as a strong tool for specific situations or to help support your team. It’s great for briefly stunning powerful enemies, creating openings, or dealing with enemies who get too close, but you’ll still need a standard weapon for fighting at a distance. The Breaching Hammer works best with your gun, not instead of it.
The hammer doesn’t have unlimited uses – each powerful swing uses up one of its explosive charges. If you run out of swings during a mission, you can request a resupply pod. For consistent use, especially on harder levels, equipping a supply backpack is even better, as it lets you recharge the hammer while you play.
This weapon is effective against both robots (Automatons) and bugs (Terminids), but it’s particularly strong against Automatons. It can stagger tough robotic enemies like Devastators and Berserkers, which can turn the tide of a battle. While it’s good for controlling groups of Terminids and stopping charging enemies, its real strength lies in its ability to break through the robots’ defenses and armor, making it one of the best options for fighting them.
While the Breaching Hammer is incredibly powerful, it can’t destroy absolutely everything. It’s best used on weaker walls, barricades, and specific terrain, especially inside enemy bases. Don’t expect to demolish entire buildings or huge rocks! Getting good with the hammer means learning which objects it can break to create useful openings for your team.
New players often make one big mistake with the hammer: they only use it to attack enemies, forgetting it can also be a strategic tool. It’s common to get caught up in hitting opponents and completely overlook the hammer’s ability to break through walls. Rushing into a fight is a fast way to get defeated. Skilled hammer users focus on controlling the battlefield by creating new openings and flanking routes to help their team.
Read More
- United Airlines can now kick passengers off flights and ban them for not using headphones
- Crimson Desert: Disconnected Truth Puzzle Guide
- All 9 Coalition Heroes In Invincible Season 4 & Their Powers
- Mewgenics vinyl limited editions now available to pre-order
- Assassin’s Creed Shadows will get upgraded PSSR support on PS5 Pro with Title Update 1.1.9 launching April 7
- Grok’s ‘Ask’ feature no longer free as X moves it behind paywall
- Grey’s Anatomy Season 23 Confirmed for 2026-2027 Broadcast Season
- Viral Letterboxd keychain lets cinephiles show off their favorite movies on the go
- Crimson Desert Guide – How to Pay Fines, Bounties & Debt
- All Golden Ball Locations in Yakuza Kiwami 3 & Dark Ties
2026-02-25 17:49