I’m so excited Resident Evil Requiem is finally out, and honestly, it’s amazing! There’s tons to do, and even more stuff to find. I’ve been collecting all the Files, and it’s not just boring old paperwork! They’re everywhere – things like signs you see around the environment, old floppy disks, journals… really, all sorts of things!
Reading every file in the game unlocks the “Case Closed” trophy. Luckily, any files you miss during one playthrough will carry over to your next, so you don’t have to start completely over!
Be prepared to find a large number of documents – a total of 75 Files spread throughout the four areas of the game. You’ll need to search carefully in every corner to find them all. It’s a bit tricky, though – the files appear in a specific order in your menu, but you won’t discover them in that same order while playing (thanks, Capcom!).
But don’t worry, we’ve got them all laid out here.
Okay, so I’m writing this as a fan, and I want to help others out. I’m trying really hard not to ruin the story for anyone, but just talking about how the game works means I might accidentally mention some small things that happen. Just a heads up – it’s not a big deal, but consider yourself warned if you want to go in completely blind!
Wrenwood Files (6 Total Documents)
Wrenwood City Guide
At the very beginning of the game, while playing as Grace and exploring Wrenwood, you’ll find the Wrenwood City Guide. It’s posted on a board near where you start, and provides some information about the city. Be careful not to wander too far – if you see Missing Persons posters, you’ve gone past it.
If you didn’t get a chance earlier, you can still get this as Leon right after you exit your Porsche.
Investigation Report
You’ll find this file automatically in the game, and the game will ask you to read it. It’s the Investigation Report that Grace is working on – it’s the reason she’s at this location.
Hotel Pamphlet
You can find the Hotel Pamphlet inside the hotel, lying on the floor amongst burned papers. It’s the only one you can still read, a sad reminder of how grand the hotel used to be before the fire.
Notice of Closure
The Notice of Closure is the only document in Wrenwood that’s a bit hidden – it’s easy to overlook in the dark. Look near the front desk in the lobby; there’s an office with a desk and a drawer. You’ll find your next file inside that drawer.
Also, don’t forget the map that’s hung up right by the desk. It might come in handy.
Alyssa’s Journal
You’ll receive this information automatically, but you need to access it yourself. Behind the painting, you’ll discover a leather bag containing Alyssa’s Journal – read that first. There’s also a floppy disk inside, but you won’t need to worry about that just yet. It’s a helpful item we’ll use later on.
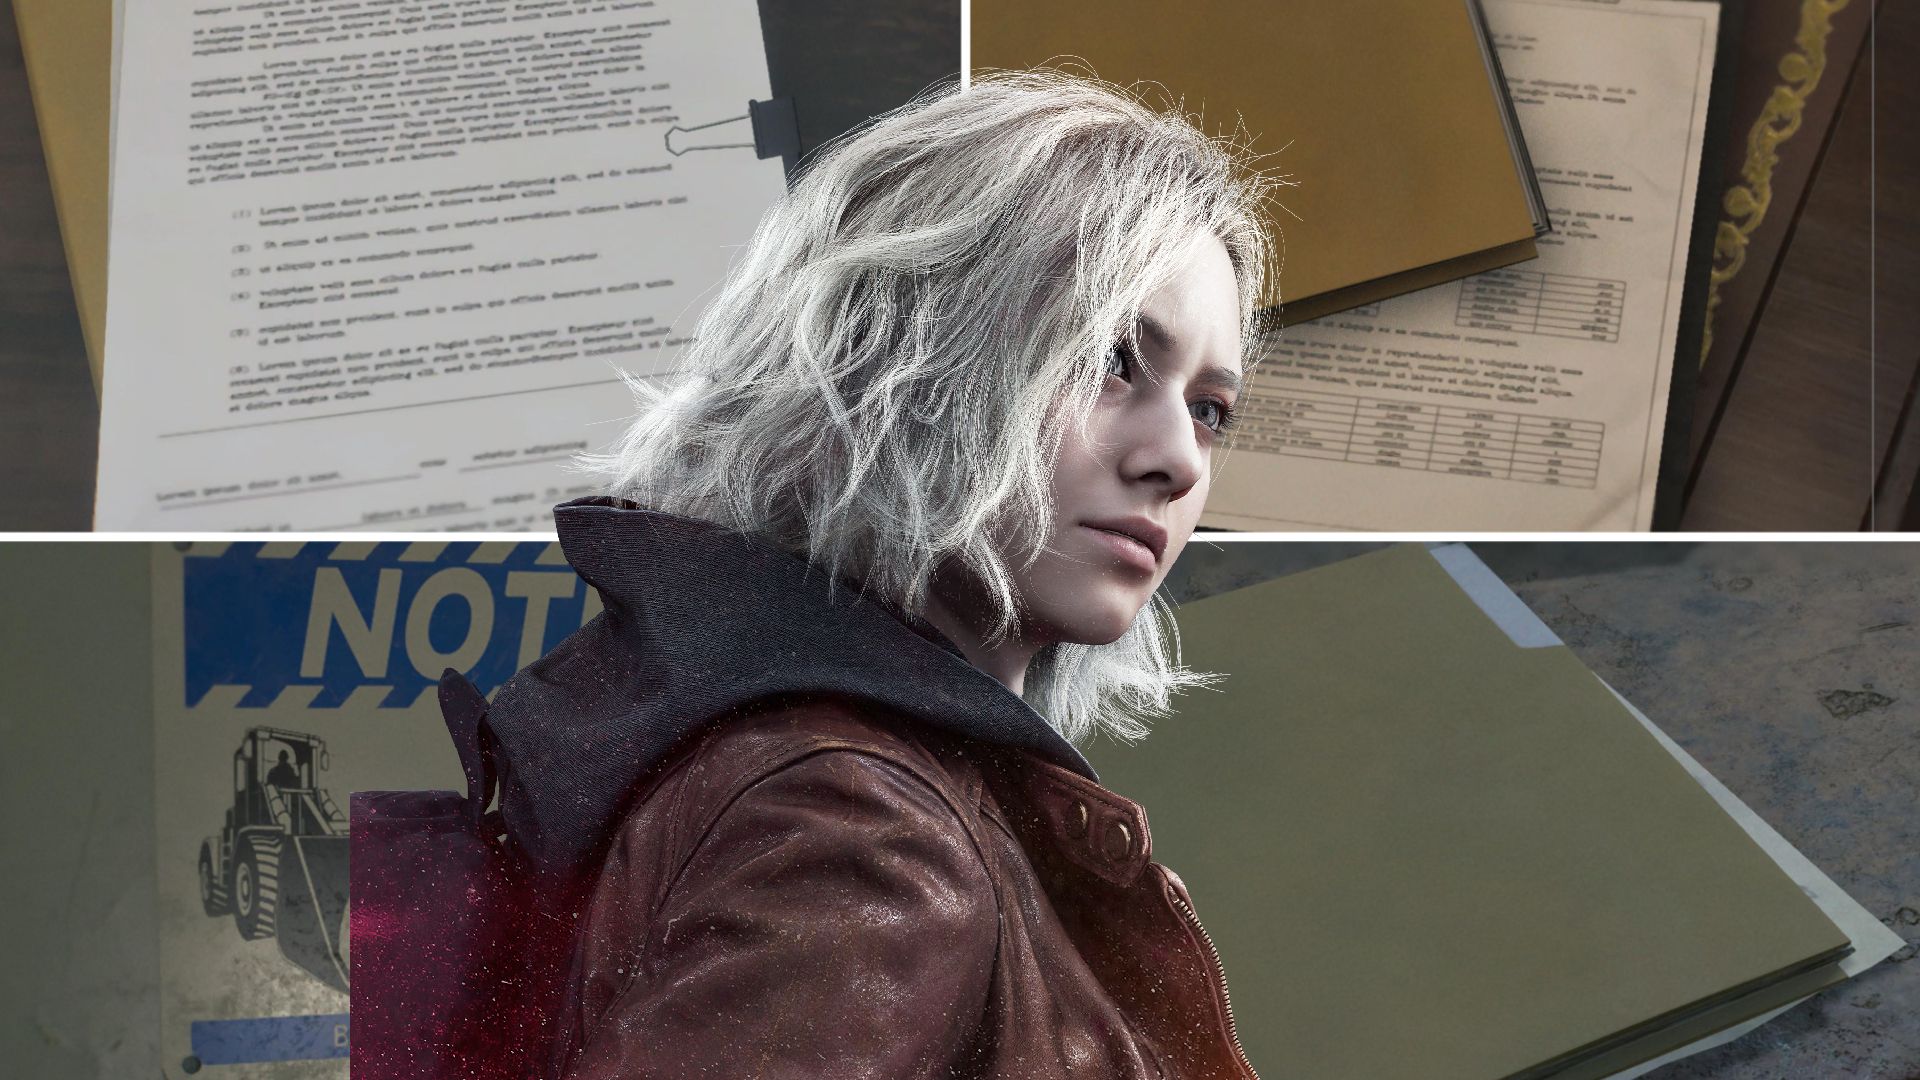
Report on Victor Gideon
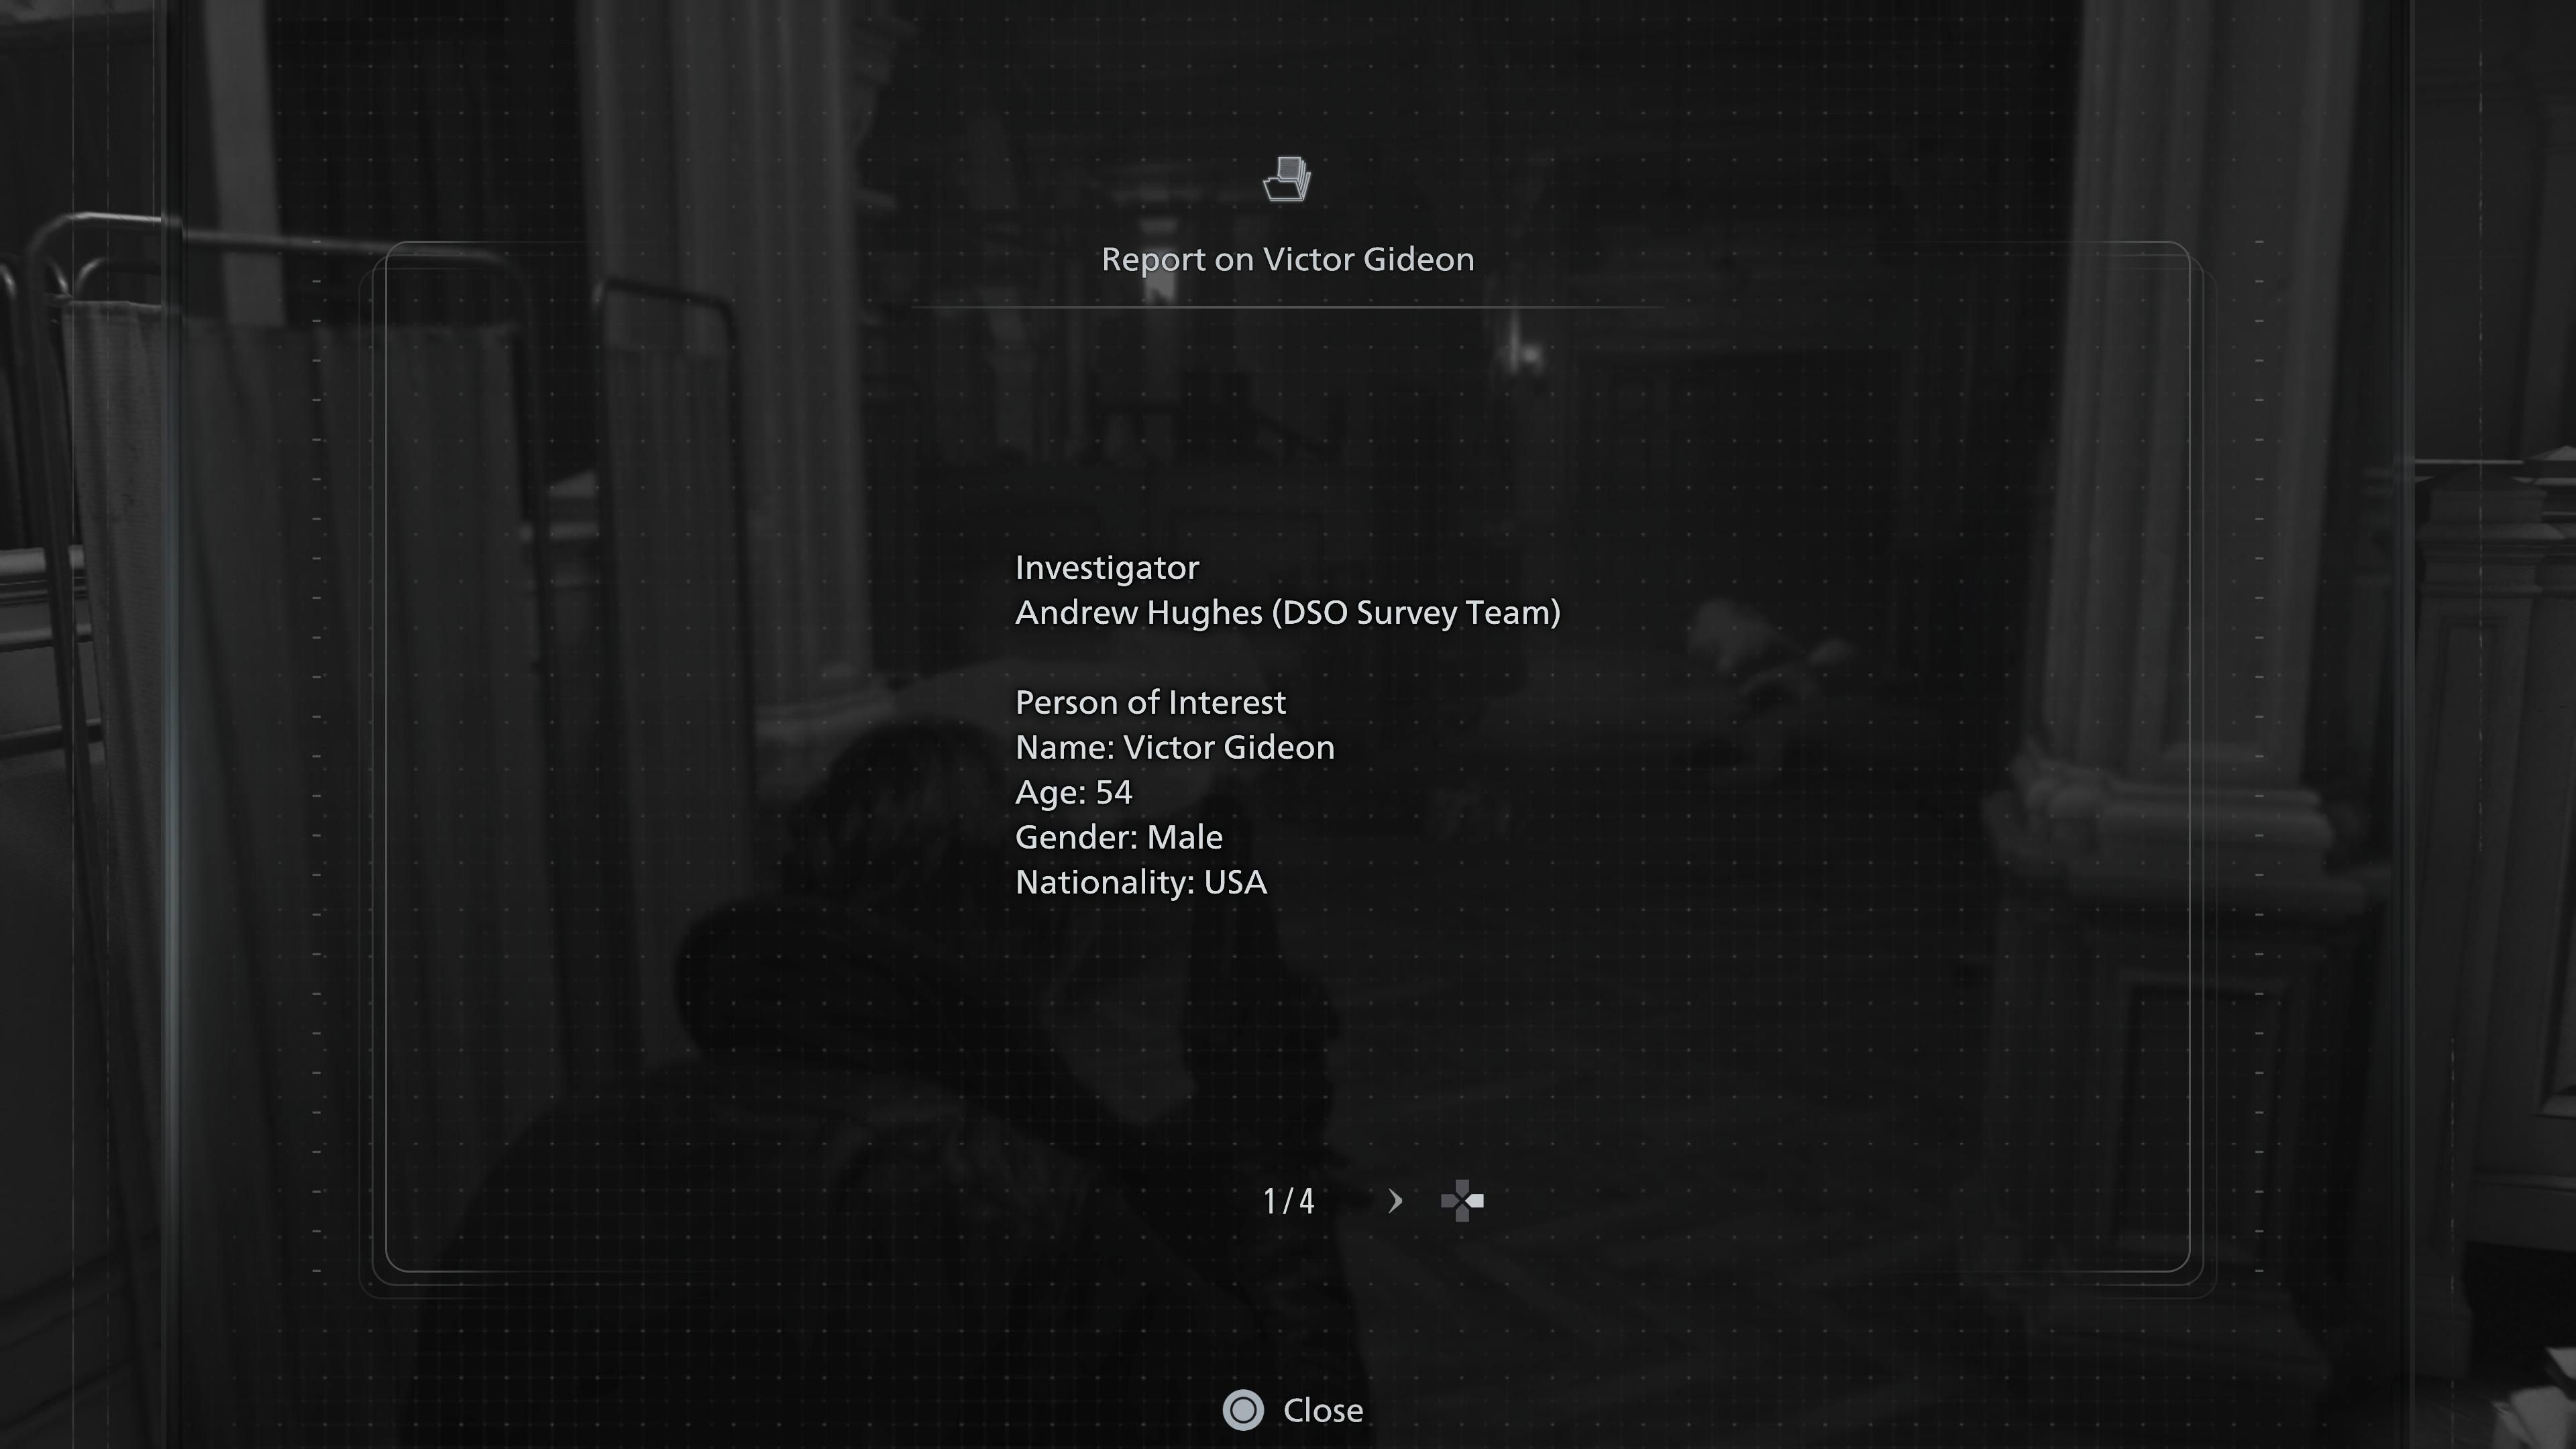
Good news – the Wrenwood report is simple to get. You’ll receive it automatically during the Leon introduction cutscene as information about Victor Gideon. It’ll then be available in your in-game files whenever you resume playing.
Rhodes Hill Files (41 Total Documents)
Progress Notes
Once you begin playing as Grace on Rhodes Hill, you’ll find a clipboard with progress notes on a table in the first room. Reading these notes will quickly reveal how unsettling your situation is, and create a feeling of dread.
Note on Cardboard Box
Once you have the lighter, head to the next room – the one that was previously too dark to see anything in. Open the closet, brace yourself for a scare, and you’ll find the Note on Cardboard Box.
That spooky children’s book you see isn’t another case file—it’s a small guide explaining how to handle The Girl.
Care Center Pamphlet
After playing as Leon, when you switch back to Grace, you’ll find a Save Room right away. It has a box and, on the Classic difficulty, some Ink Ribbons. The music doesn’t start instantly, but when it does, it’s really beautiful – one of the best themes in recent games.
While listening, feel free to look around the room. You’ll quickly spot a brochure for the Care Center on the coffee table, which reveals how much power Victor holds at this facility.
Whiteboard Scrawl
Back in the Save Room, check the whiteboard. You’ll see some writing in the bottom left corner – this note is about the room located behind the one you’re currently in.
Folded Note
While exploring the care center – and things are likely quite dangerous – you’ll discover a doctor’s coat on a rack near the Chairman’s Office. Inside its pockets, you’ll find a note. Looking around the office, you’ll also notice a highlighted quartz object.
Chairman’s Note
In the Chairman’s Office, you’ll see a journal with a missing page. Though the ripped page is unreadable, you’ll find a pencil on the desk nearby.
Return the pencil to the journal and use it to rub the page. This will reveal the code for the Moon Puzzle Box, which unlocks the Moon Quartz. You’ll also receive the Chairman’s Note in your records, for future reference.
Copy of an Email to a Manager
Before you reach the desk itself, look for a copy of an email to a manager on the cabinet nearby. It discusses getting clearance for certain areas, so it’s important to review it to ensure you can also obtain the necessary clearance.
Note to the Chairman
In the Chairman’s office, look in the trash can in the corner right after you grab the pencil. You’ll find a crumpled note – it’s a message to the Chairman.
This note is signed off by V, and we can make a good guess about who that is supposed to be.
Blood Compound Synthesis
Once you enter the Blood Lab, you’ll discover a document explaining Blood Compound Synthesis – the game’s blood crafting system, which is highly customizable. You’ll also find the Blood Collector right next to it, and you’ll be using that a lot while playing as Grace.
Safe Replacements
In the Waiting Room, you’ll discover an open safe filled with Antique Coins. Next to the safe is a file called “Safe Replacements” which tells you where to find the other safes.
Not the codes, though. That would be too easy.
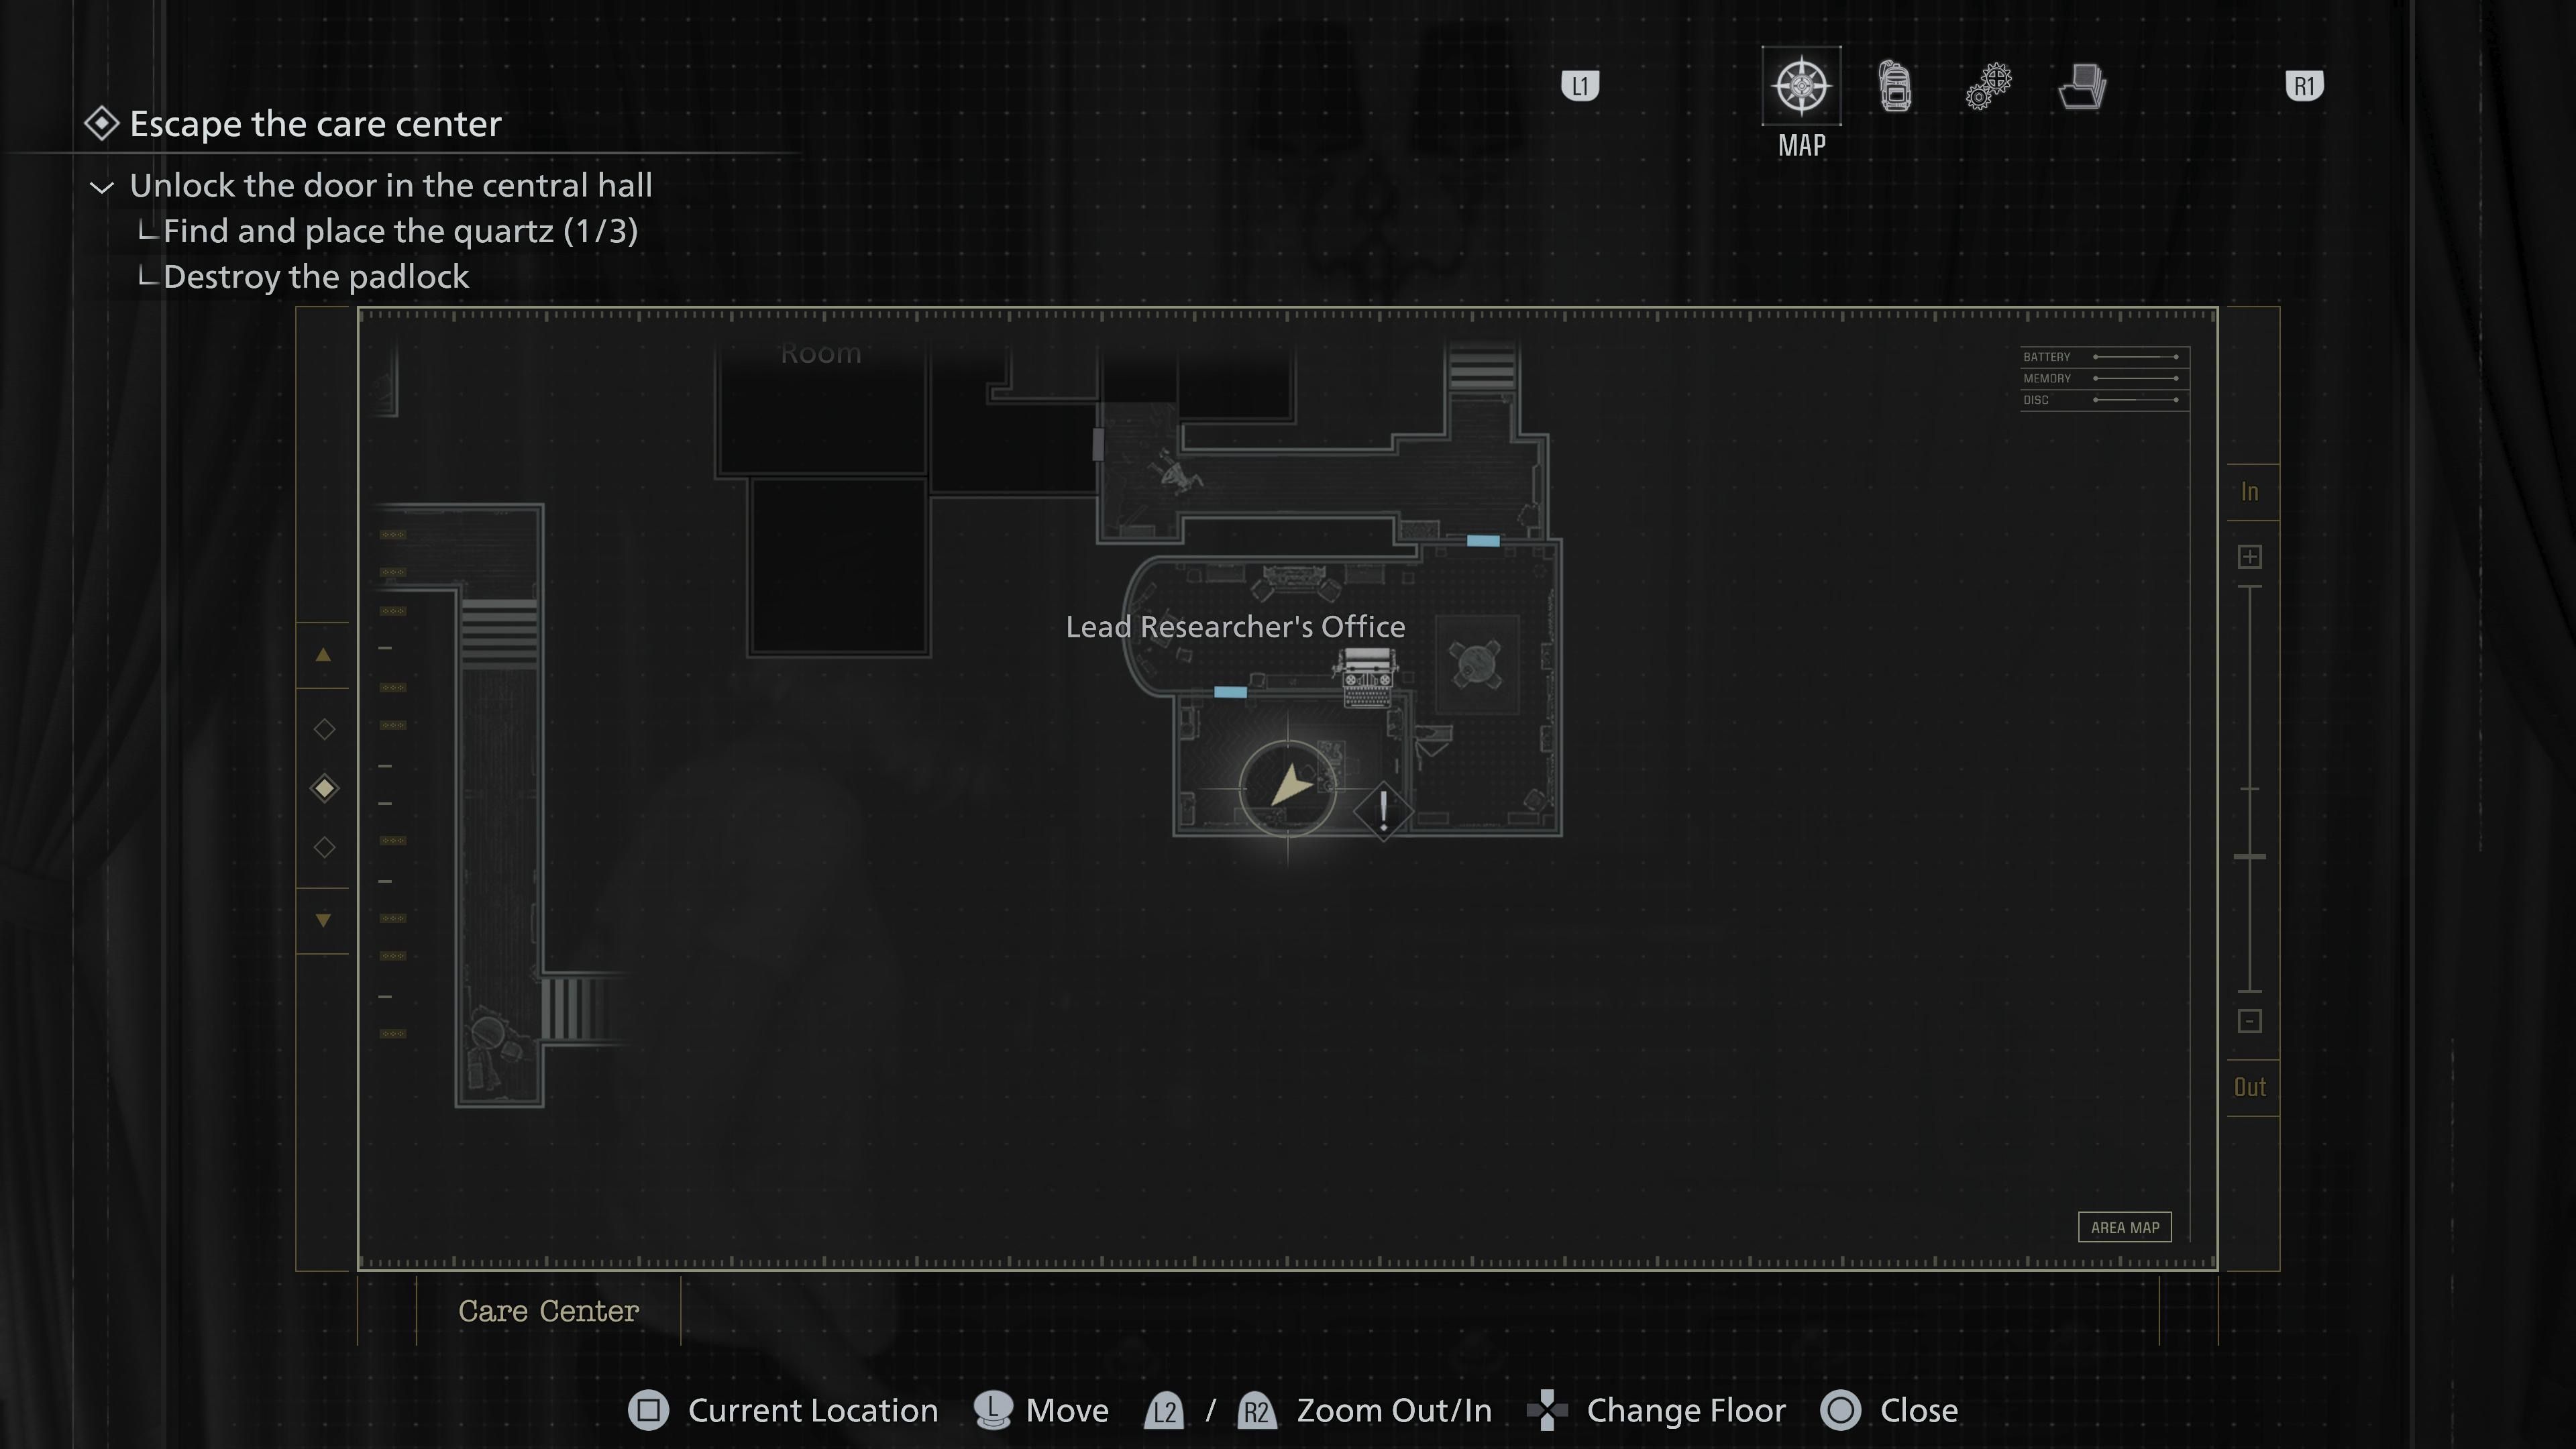
Lead Researcher’s Message
Head upstairs to the Lead Researcher’s office, and you’ll discover the Sun Box Puzzle – solving it will give you the Sun Quartz. You’ll also find a lot of documents there.
The Lead Researcher left a message explaining that the corrosive needed to solve the puzzle box is located in the conference room.
Lead Researcher’s Picture 1
While you’re still in the office, head over to the desk near the puzzle box. You’ll see three pictures there. The first one, labeled “Lead Researcher’s Picture 1,” will give you a clue on how to solve the Sun Puzzle Box when you get a chance to work on it.
Lead Researcher’s Picture 2
The second photo on the desk, labeled “Lead Researcher’s Picture 2,” depicts the team responsible for artificial organ transplants.
Lead Researcher’s Picture 3
Also on the desk, you’ll find the final item: Lead Researcher’s Picture 3. This picture, the one in the frame, clearly displays the completed Moon Puzzle Box for those still working on it.
Examination Room Safe Code
As you head to the conference room, you’ll find a damaged area with lockers. You can get both blood and your next file there – a very important one containing the Examination Room Safe Code.
Remember, if you choose a difficulty level higher than Standard (Classic), the cheat codes will be different. You’ll need to find the new code files to use them.
Patient Medical Records
As you search for the corrosive, you’ll discover the Patient Medical Records file. It details the different kinds of zombies you’ve faced, and now reveals their names.
Spencer’s Research I
Once you open the Sun Puzzle Box, you’ll discover a leather journal. Inside, you’ll find your next document, Spencer’s Research I, which is told from the point of view of Victor Gideon.
Unlocking the Organ Transplant Box
The next file, titled “Unlocking the Organ Transplant Box,” is found within the leather-bound journal. It provides detailed instructions for opening the organ box in the garage – a step you’ll need to complete to achieve Level 2 Clearance.
Victor’s Journal Entry
You might notice this item appearing a bit early in the game, which could make your files seem out of sequence, but don’t worry about it. If you return to the Blood Lab with Level 1 Clearance, you can find Victor’s Journal Entry in the back room.
Construction Notice
Just before you drive into the garage, you’ll see a sign – a construction notice for the workers. As a teacher at a school currently being renovated, it immediately reminded me of all the construction we’re dealing with here.
Bar and Lounge Safe Code
As you retrace your steps through previously inaccessible areas, you’ll find an office containing important documents, including the code to the Bar and Lounge safe.
And just like with the other safes, you’ll have to re-find the file on insanity.
Background Check
You’ll find a Background Check on one of the desks in the office. After reviewing it, you’ll discover it’s about Grace Ashcroft, and the level of detail seems unsettling.
Disposal Team Report
The Records Room, right beside the office, holds another file – the Disposal Team Report. This document details the destruction of evidence related to a crime that feels disturbingly personal.
Double Mutation
Once you reach Level 2 Clearance, you can access the Isolation Ward, where you’ll find the Star Puzzle Box. Emily will solve the puzzle for you, but you need to ensure the area is safe before bringing her there.
As you explore the ward, you’ll find some papers and items, including a document titled Double Mutation.
Nurse’s Log
In the same area of the Isolation Ward, you’ll also find the Nurse’s Log sitting on a desk.
Satiety Suppression Medical Records
Okay, so after that scene with Victor, you’re back as Leon. The game will pretty much guide you along a path, and that’s what you should do. Just don’t head up to the Attic right away. If you start pushing bookshelves around, you’ve gone too far!
Just before entering, you’ll find a desk with the next file on top: ‘Satiety Suppression Medical Records’.
Basement Safe Code
As Leon, you can now open dressers with damaged wood. These contain various items, including the code for the Basement Safe, which you’ll find right after leaving the attic. Since Leon doesn’t use safes, this code is clearly for Grace.
Dishwasher’s Note
Just beyond the Chairman’s Office, before you reach the Bar and Lounge, you’ll find a strange, old wardrobe. Inside, you’ll discover the Dishwasher’s Note, which explains why you need to defeat The Butcher.
That is, if we didn’t absolutely annihilate him with a Hemolytic Injector as Grace.
Special Directive for Raccoon City
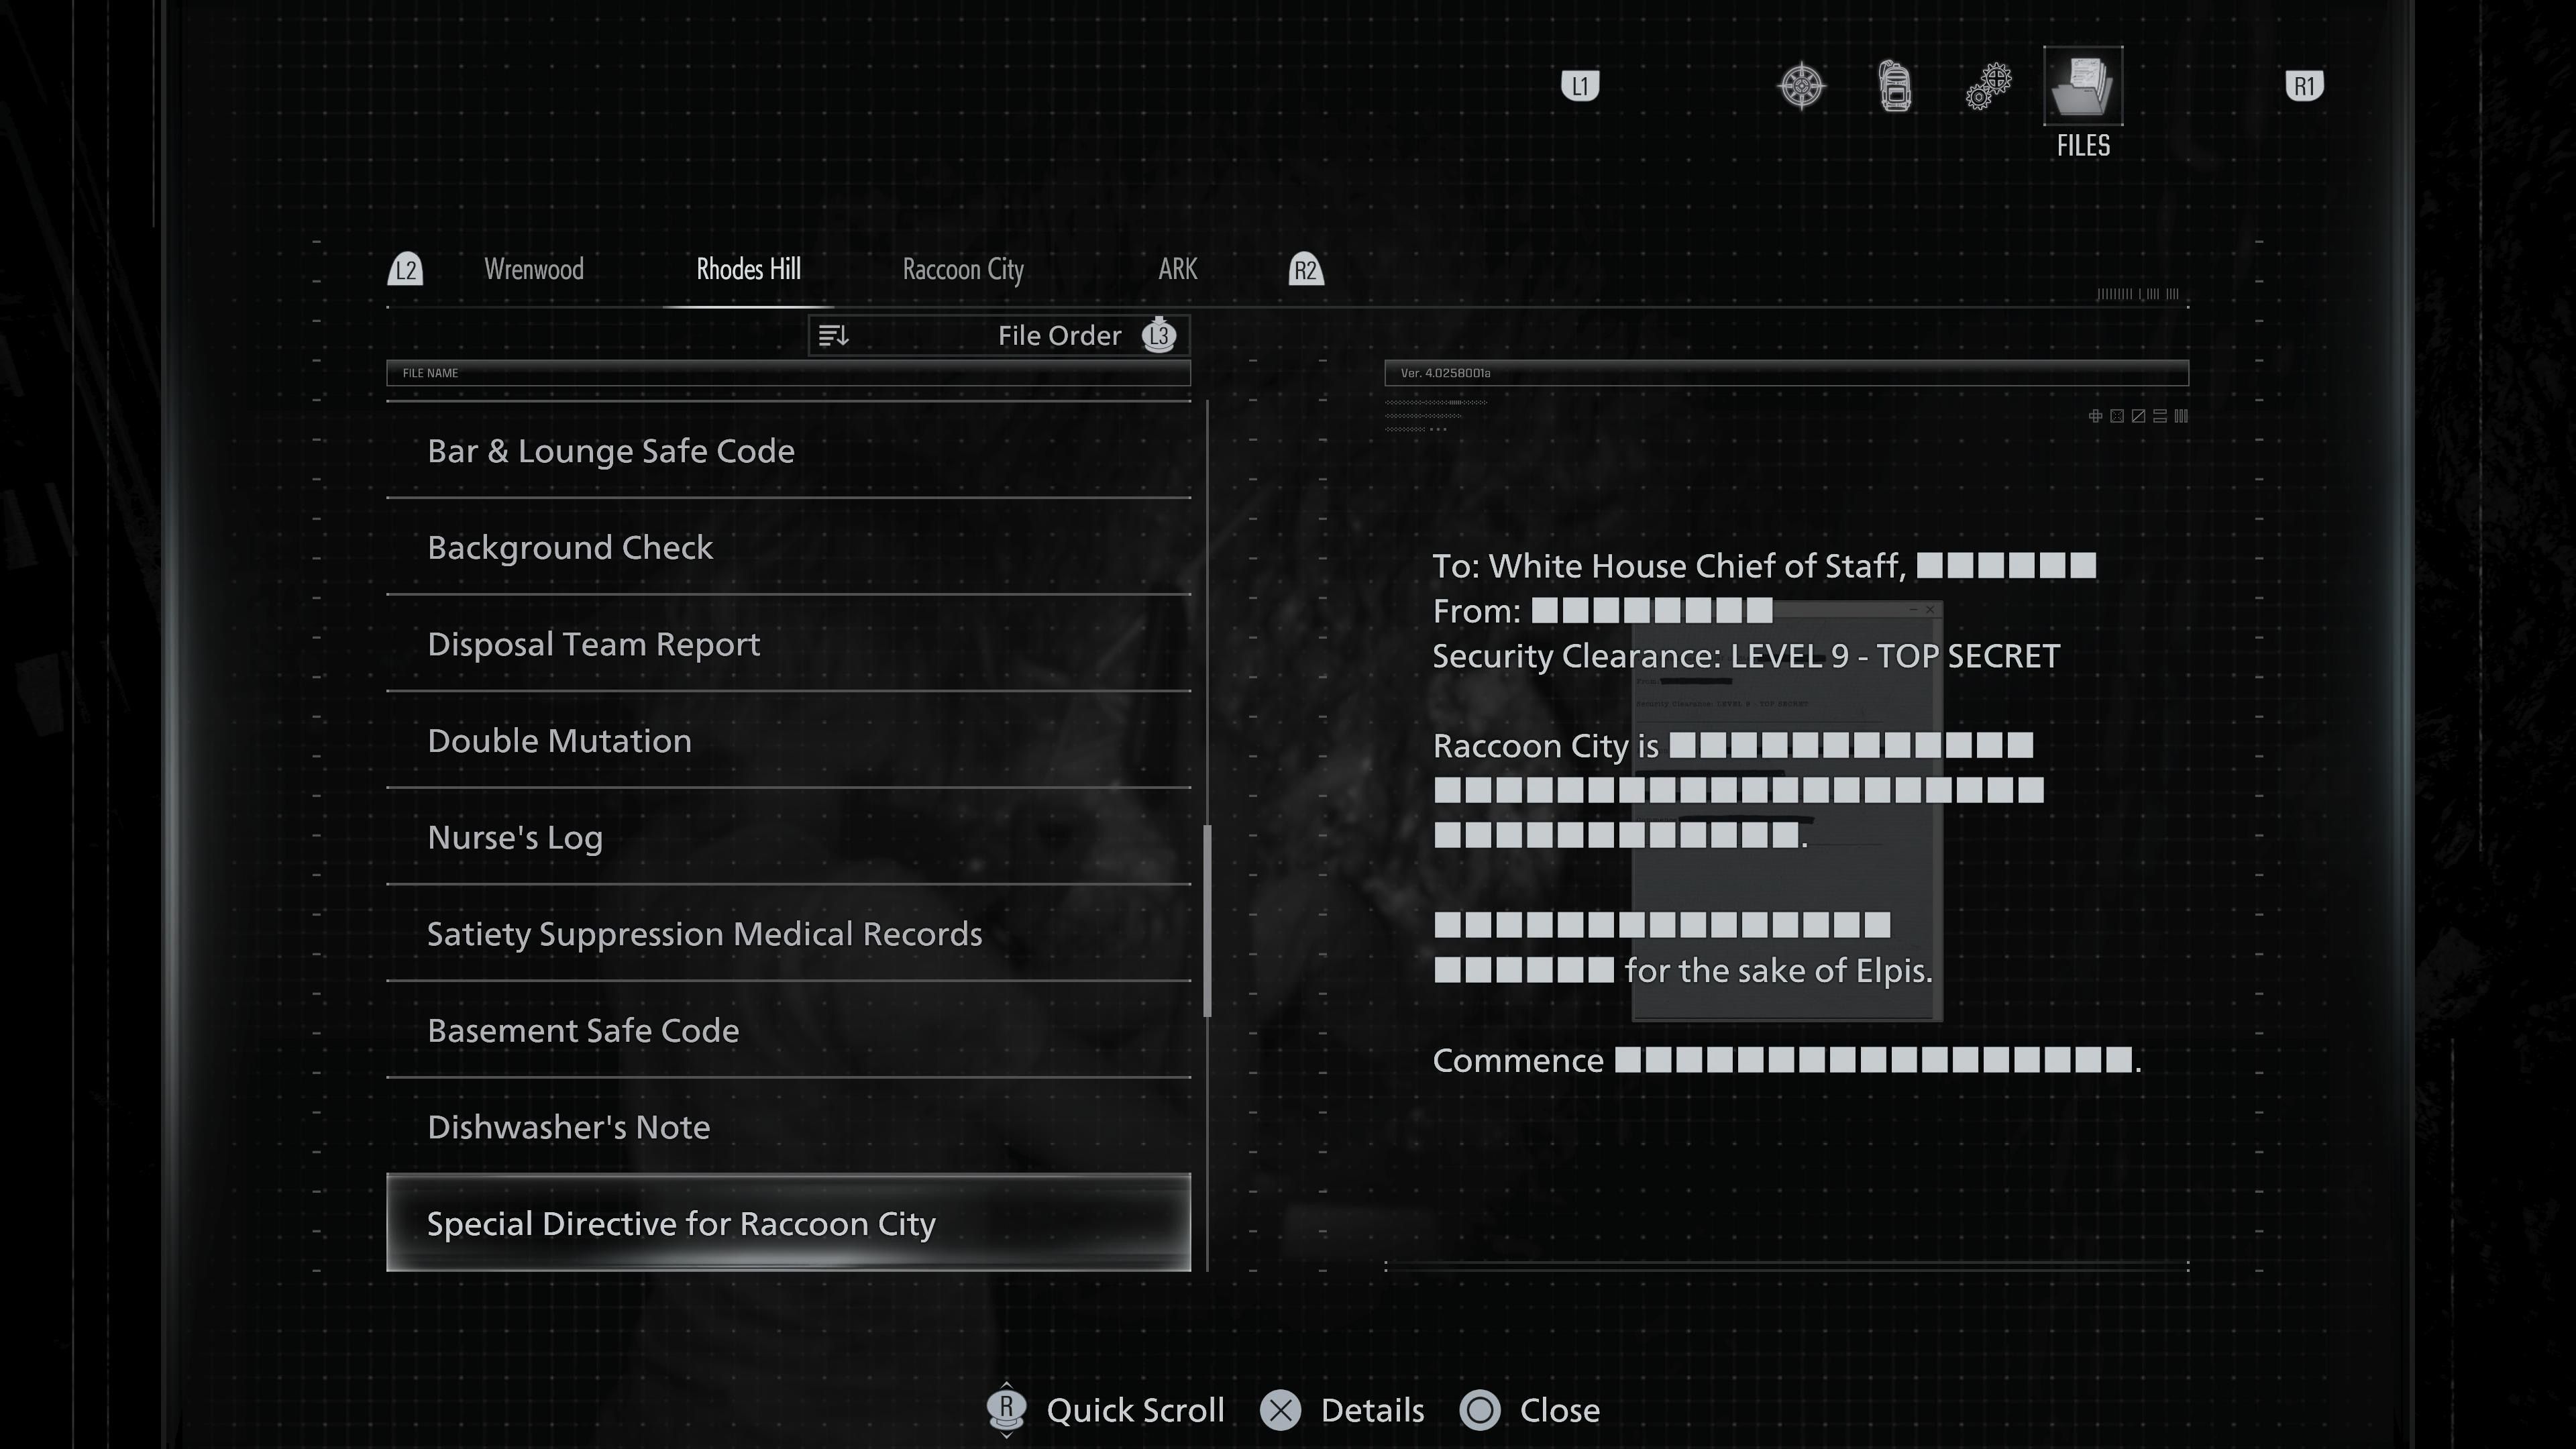
Once you get to Victor’s office, a cutscene will begin. During the cutscene, you’ll see the next file, called “Special Directive for Raccoon City.” You can find the complete file in the menu later, though most of it is hidden, making it hard to read.
Report on Raccoon City Syndrome
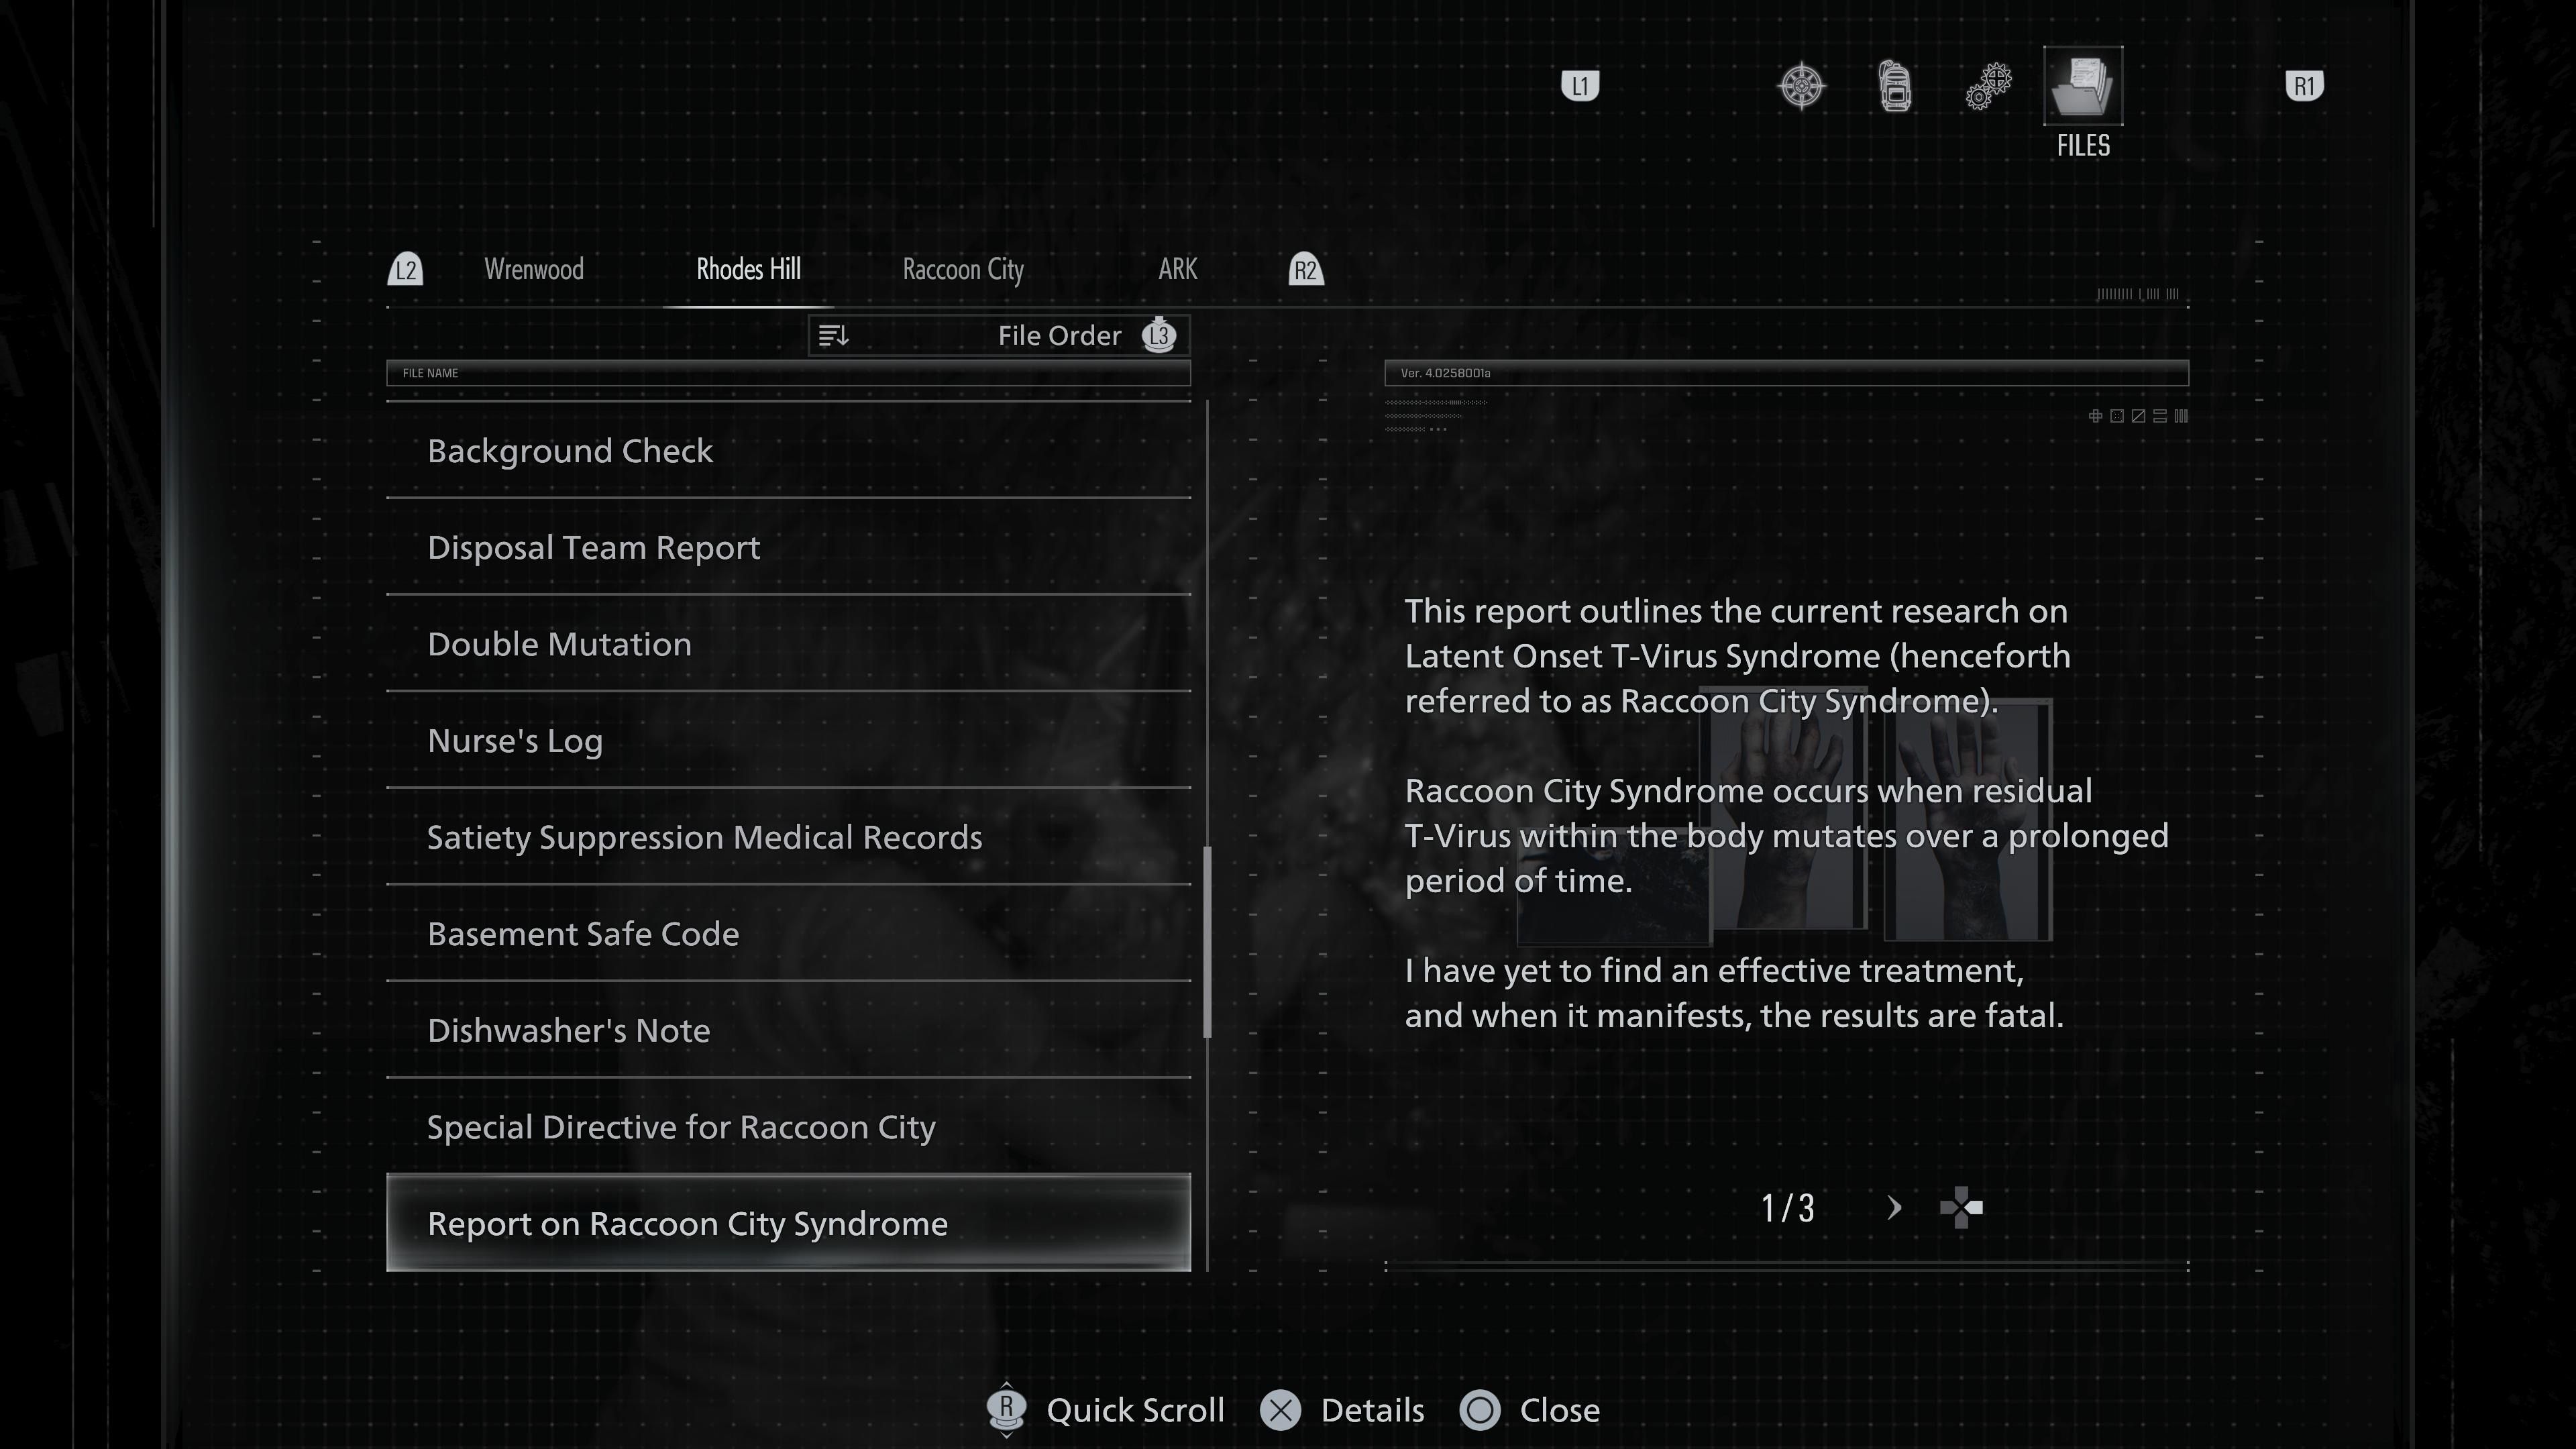
You’ll get the Report on Raccoon City Syndrome during the same cutscene as the last file. This time, you can actually read the report in the game’s menu.
Staff Member’s Last Words
Returning to the basement at Rhodes Hill as Grace, we quickly discover a body. Lying nearby is our next clue, a note titled ‘Staff Member’s Last Words,’ which seems particularly grim.
Operation to Eliminate “The Girl”
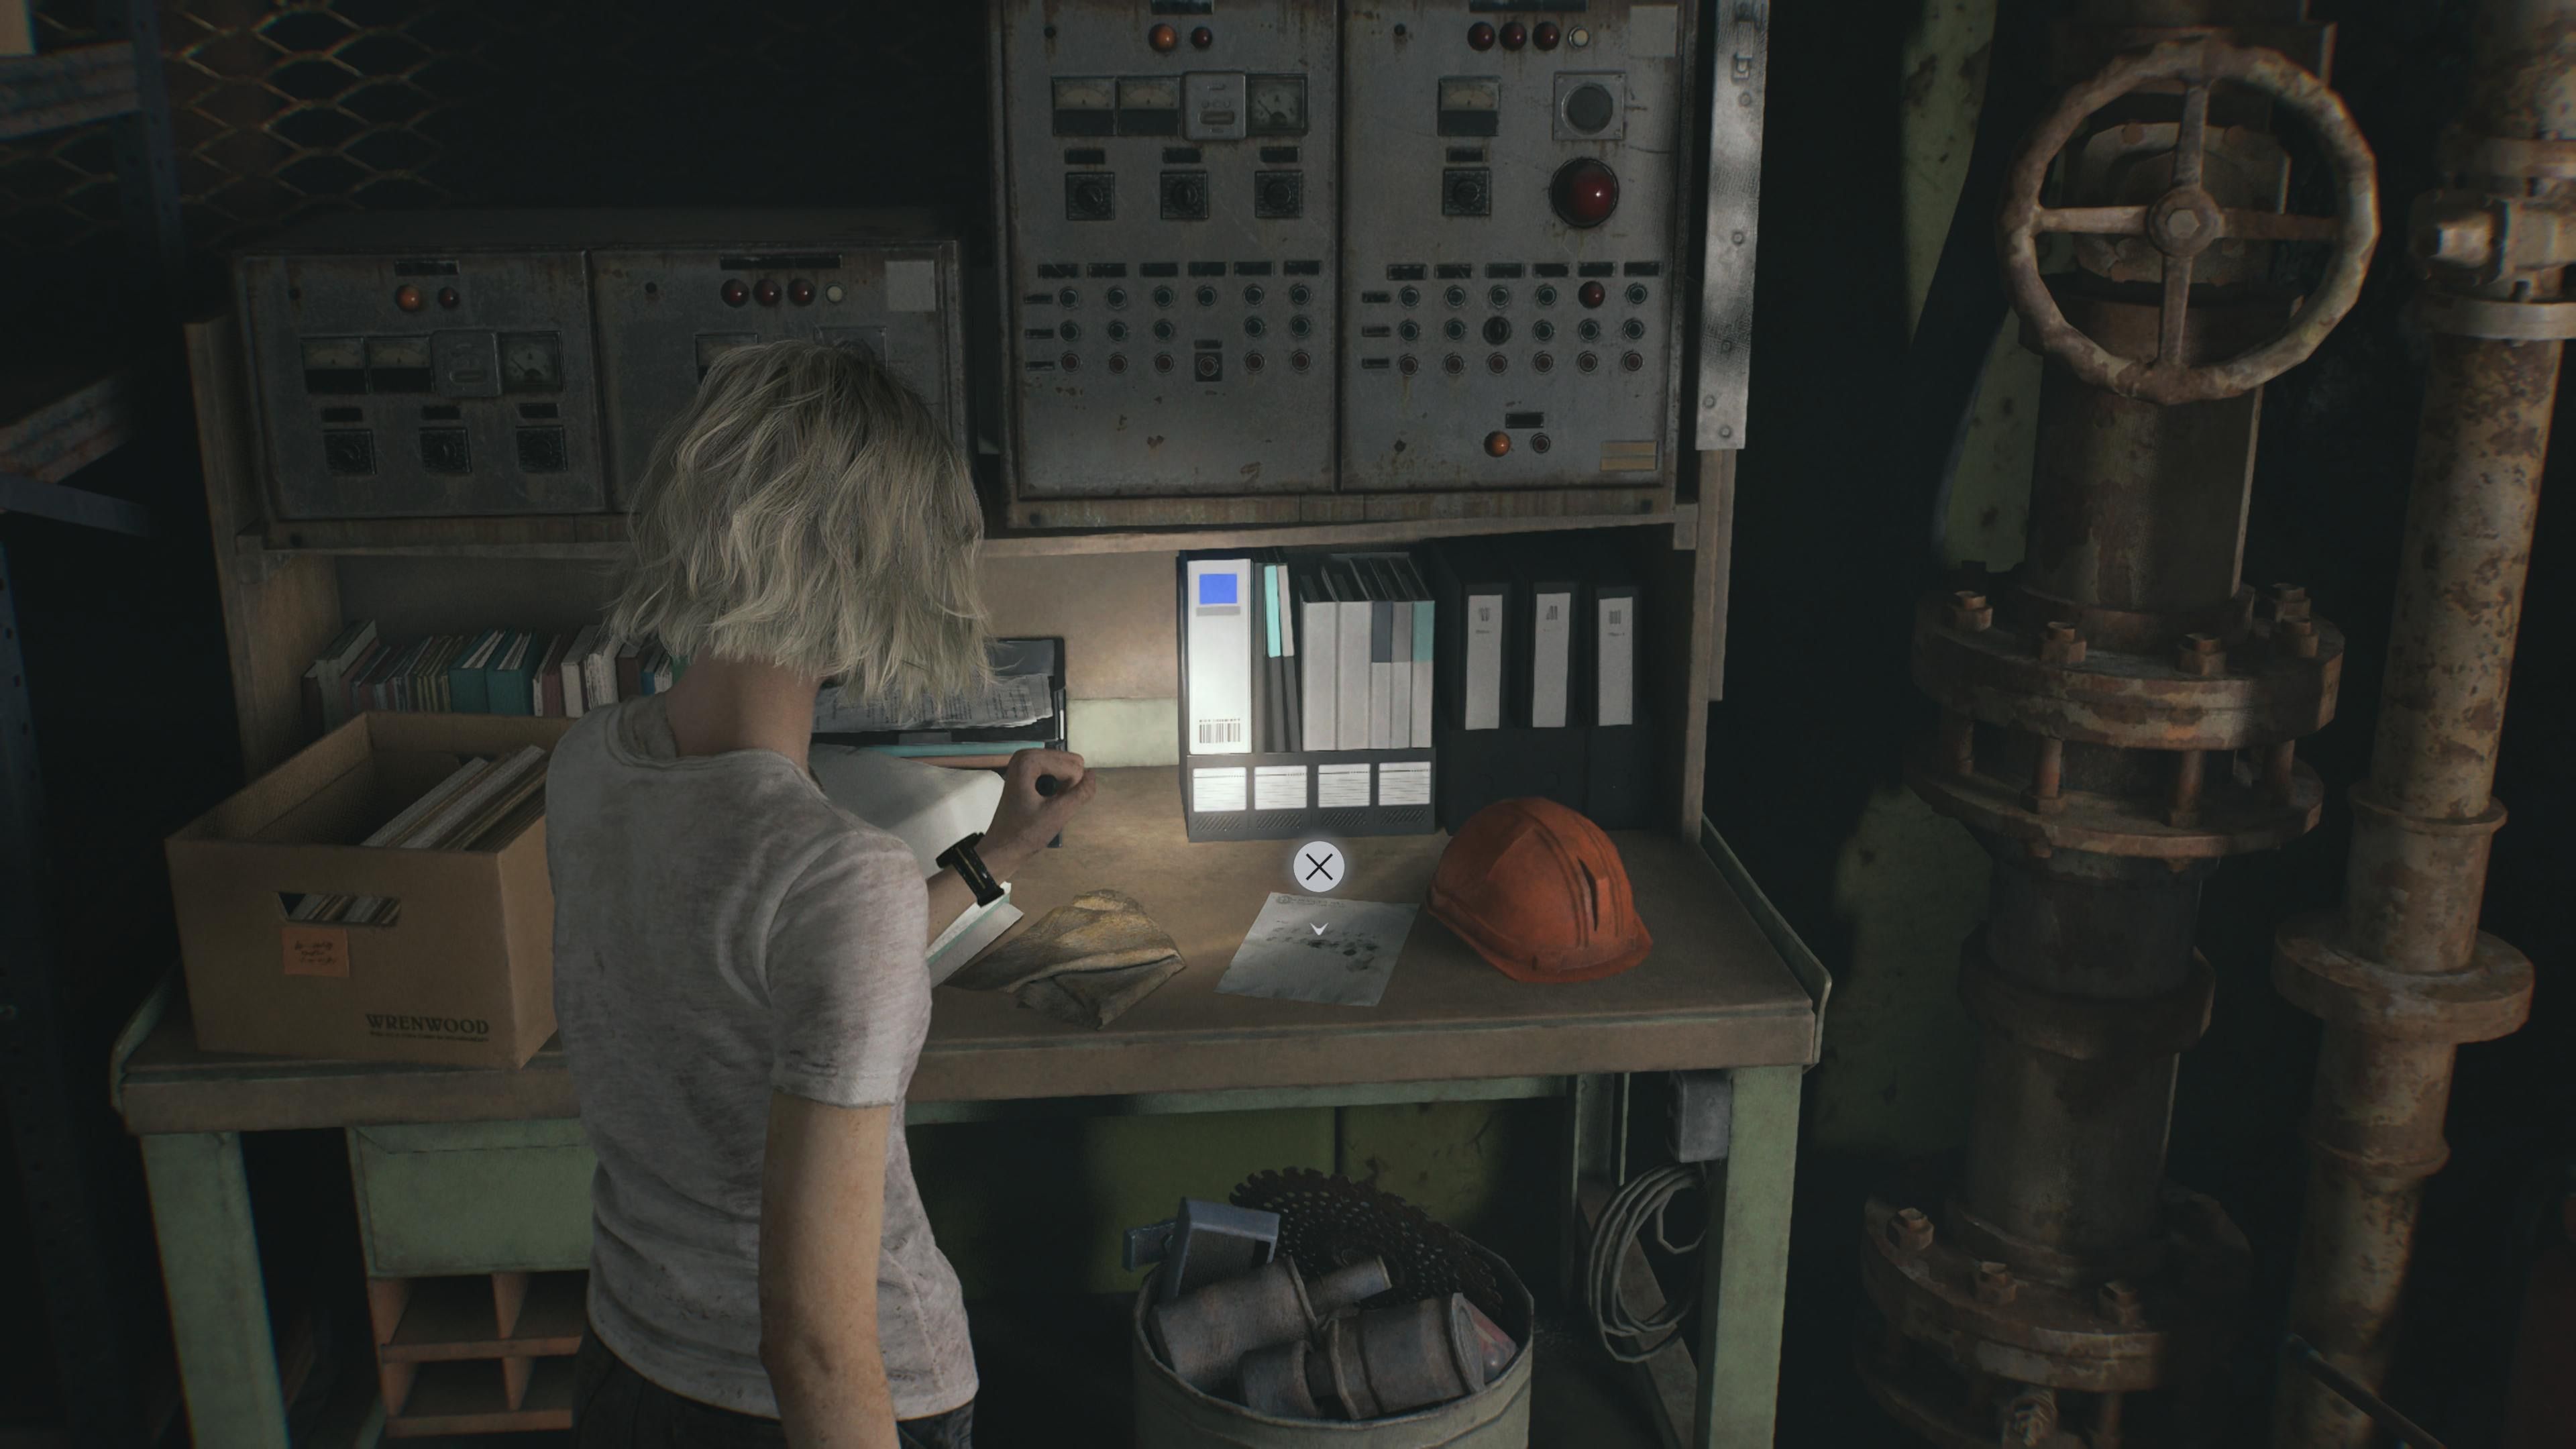
Okay, so I was exploring the basement and found a really creepy document in the save room. It was lying on a workbench, right next to a hard hat, and it’s called “Operation to Eliminate ‘The Girl’!” Basically, it confirms what we probably suspected – The Girl is super sensitive to light. It’s all laid out in the document, detailing how she reacts to it.
Unlocking the Cells
Once you’ve run past the Holding Cells – and avoided a fright! – and gone past Emily at the end of the hallway, you’ll notice a sign on the wall. It explains how to Unlock the Cells, and you’ll need to do this to rescue Emily.
Security Guard’s Report
Okay, so there’s this little area – it doesn’t really have a fancy name. I noticed a forklift that’s locked up, and there’s this plug sticking out of the wall. But the coolest part? There’s a tiny room hidden away, and inside, on a desk, I found the Security Guard’s Report! It seems important.
Technician’s Note
Inside the Workshop—you’ll need a joint plug to enter—you’ll immediately see a Mr. Raccoon Memoriam Statue. You’ll also find the Technician’s Note, which provides clues about the location of some tools.
Visitor Record
Once you’ve rescued Emily and located a potential way out, you’ll need to find a key to actually escape. This key is hidden inside a house, and you’ll discover it within a book called the Visitor Record, which you’ll find on a small bar inside the house.
Note Regarding Research Results
Once I got inside the VIP Suite, I spotted a note about some research results on a desk. There was also this cool hourglass there—it didn’t seem like much at first, but the sand actually flows when you turn it! I even timed it, and it takes exactly one minute for all the sand to run through.
Spencer’s Research II
So, after a weird elevator trip, I found this safe spot – it’s not really a ‘Save Room’ since the music doesn’t play, but it lets you save your game. And right next to the save box was another file! It’s a sequel to ‘Spencer’s Research II’, and it looks like we’re back to seeing some crazy scientists up to no good.
Subject 170 Record
As you explore the Collection and Testing area, you’ll discover a file on a bench. This is the Subject 170 Record, which provides further details about one of the creatures you’ll encounter.
Grace Ashcroft Blood Analysis Report
Things get even stranger for Grace when she discovers the “Grace Ashcroft Blood Analysis Report.” It’s a document that does exactly what it says – details her blood analysis – and you can find it in the Private Lab, directly in front of a computer.
Roof Hatch Manual
Following a sad event, our last report about Rhodes Hill is now available. After entering the Storage Bay, you’ll see a cutscene in the quiet Safe Area. The final document, the Roof Hatch Manual, is located right next to the typewriter and the box.
This guide explains how to open the roof hatch, bringing in light that will hopefully brighten things up and help us overcome our difficulties.
Raccoon City Files (18 Total Documents)
Report on the Raccoon City Incident
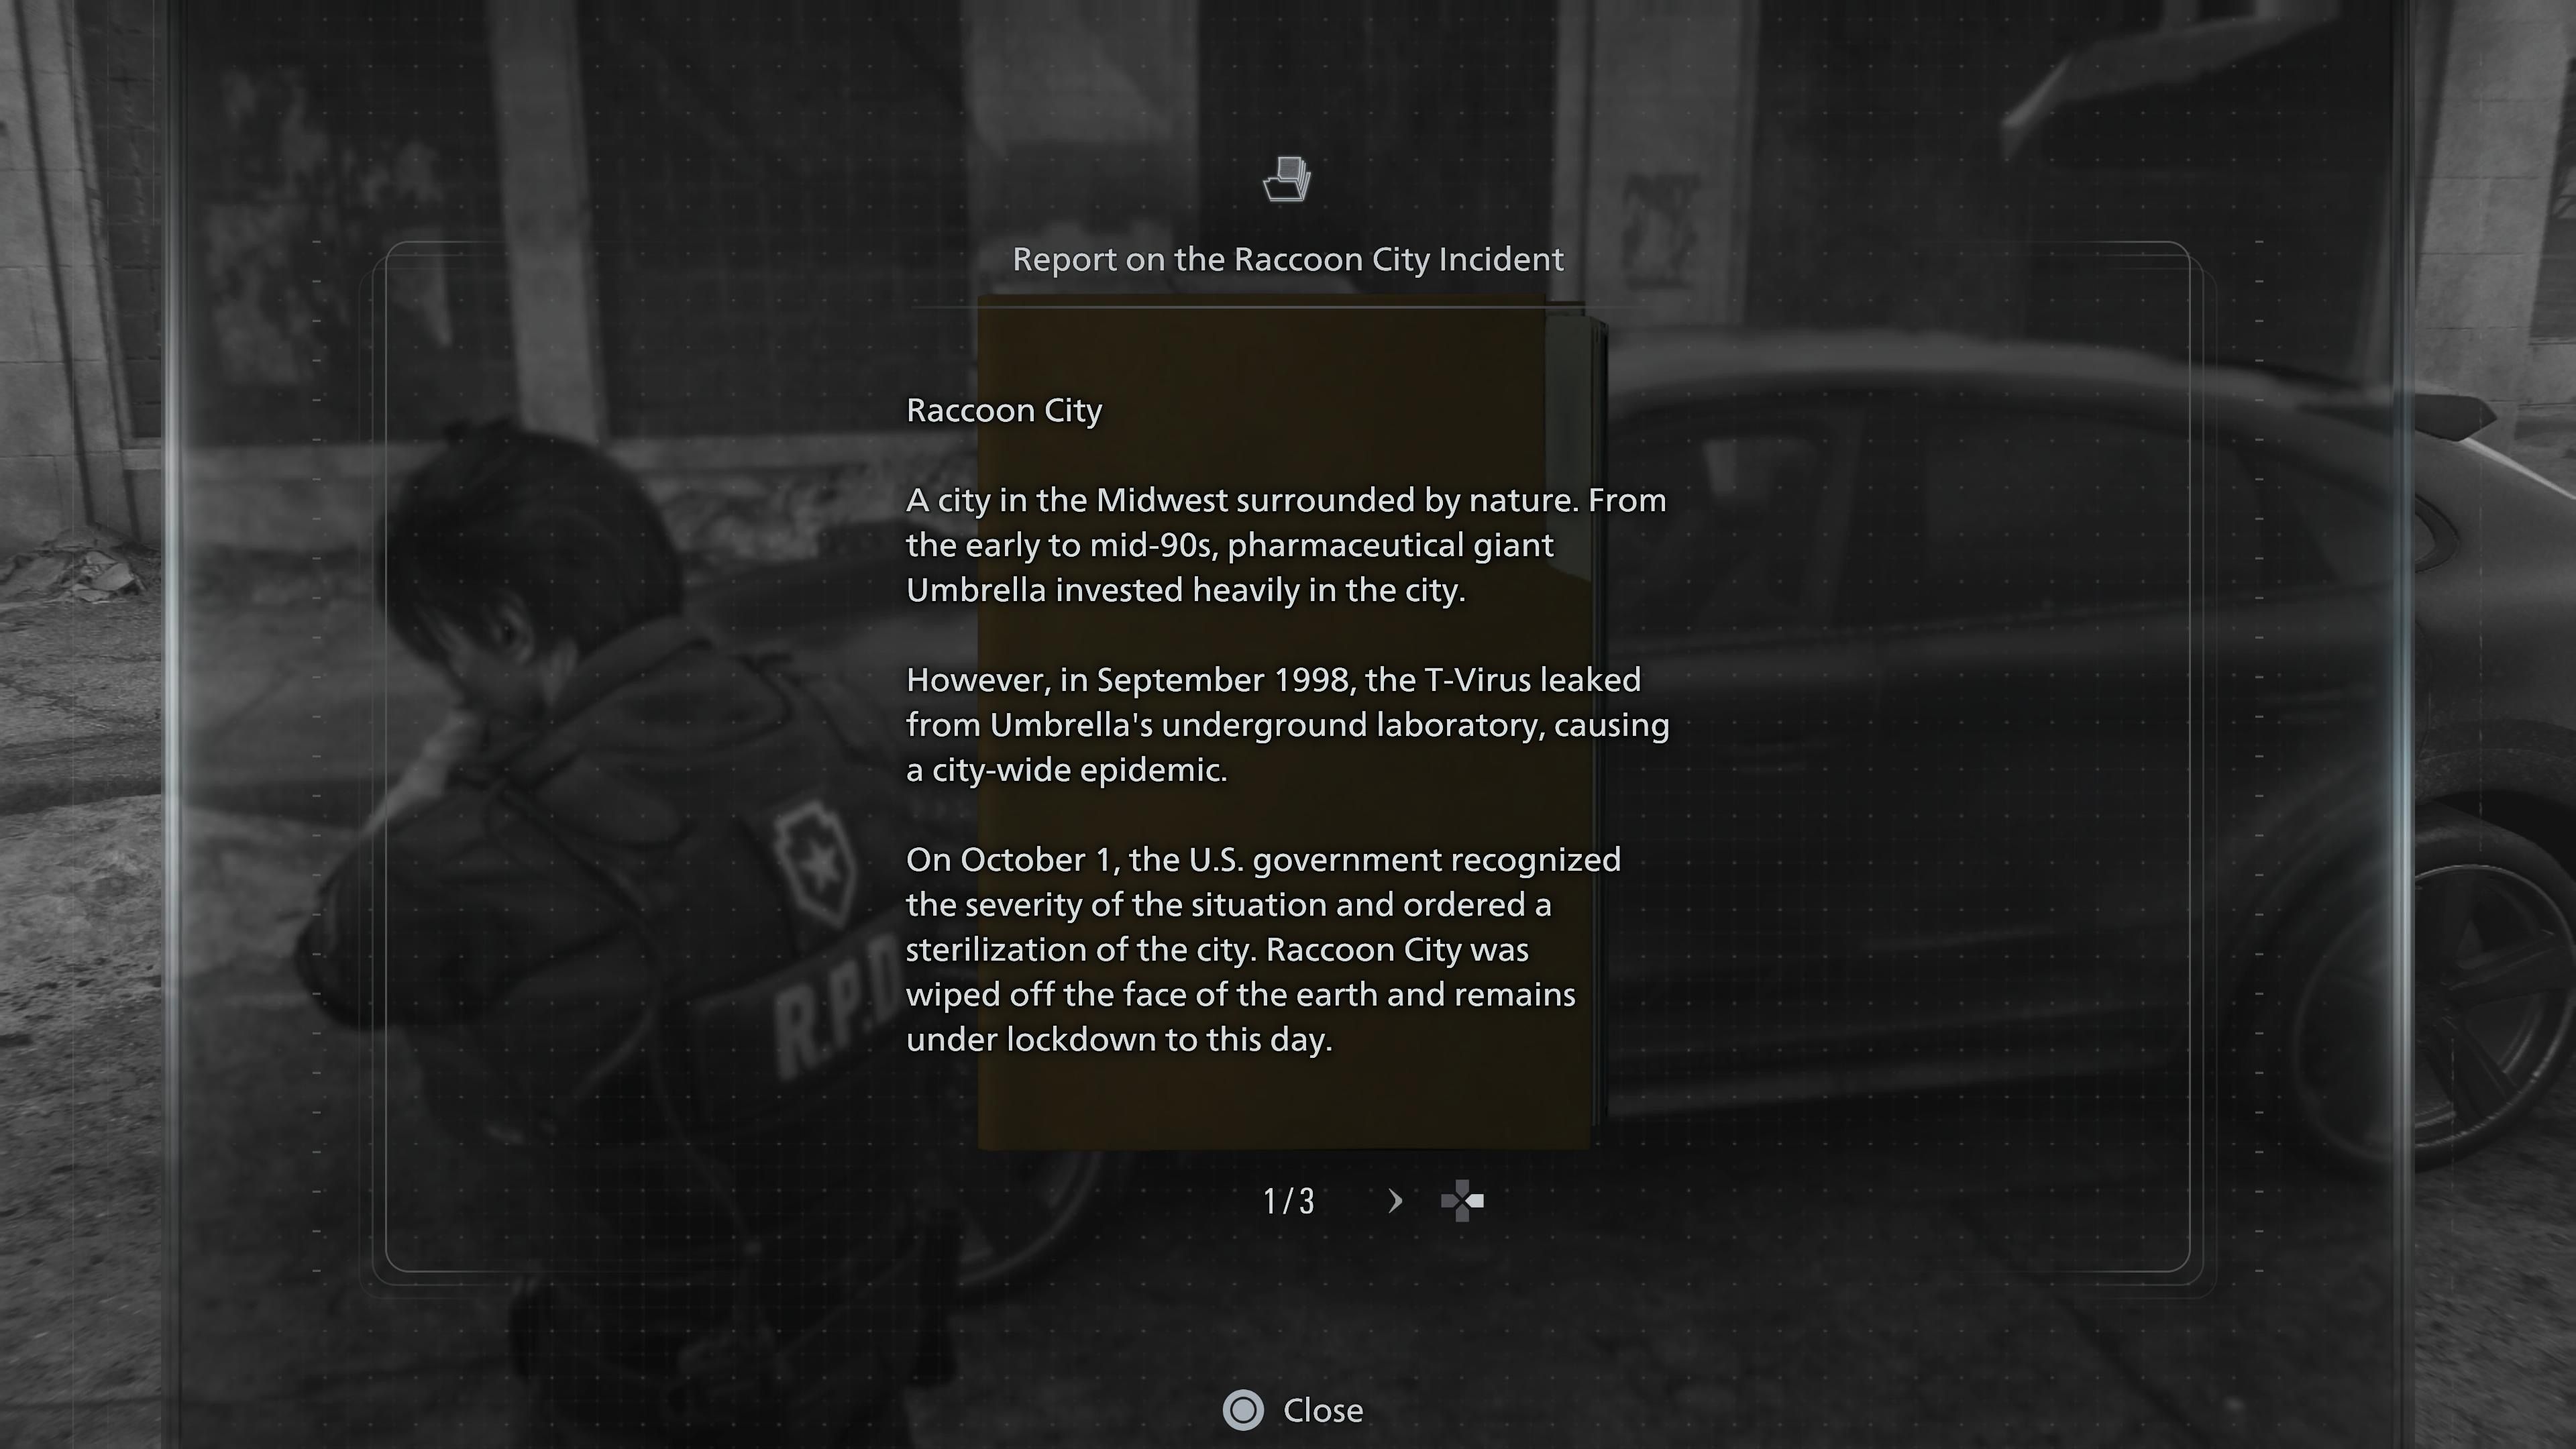
When you start a new game as Leon, you’ll find yourself in Raccoon City. Luckily, the game automatically provides a helpful document through a voice guide. This file, called the Report on the Raccoon City Incident, is designed for new players to the Resident Evil series, offering background information on the events that took place.
Raccoon City Incident Newspaper
Okay, so right near where we park the car, I always spot this newspaper just lying on the ground. It’s seriously stuck there, like a snapshot from the past – it’s the Raccoon City Incident Newspaper! It’s kinda weird, even when everything’s going to hell, someone still managed to put out a paper, I guess.
Orders for the Engineer Corps
Once you restore power to the old camp, you’ll find a file labeled “Orders for the Engineer Corps.” It lists the parts needed to build a detonator and, luckily, tells you where to find them – exactly what we need right now.
Battery Storage Locations
In the parking garage, you’ll find a box of batteries. You need to take two of them to open the gate ahead. Be careful – a zombie is trying to break through the gate too, but you can deal with him however you choose.
This box contains our next file, “Battery Storage Locations,” which tells you where the batteries are kept.
Inventory List
Following a cinematic sequence explaining the fate of a military group, you’ll discover one of their damaged and open cargo crates. Inside, you’ll find an Inventory List attached to a box, which details the locations of all the remaining containers.
Engineer Corps Note
So, I checked the roof of Cedarbrook Apartments and found one of the detonator parts, but it’s busted. Luckily, there was also a note from the Engineer Corps with it. It tells me where to find the kit I need to fix it, which is awesome!
R.P.D. Perimeter Report
When we returned to the Raccoon City Police Department, we discovered the military had moved in, leaving crates and documents behind. We found the R.P.D. Perimeter Report on a crate right in front of the statue.
Top Secret Operation
After you gain access to the R.P.D., the main path guides you directly through the West Office. There, on a friend’s desk, you’ll find a book outlining a highly confidential operation, specifically designed for a new police officer back in 1998.
Record of Events
As you head to the Operations Room, you’ll find a list of what happened written on a chalkboard.
Subscribe for Collector Guides and Puzzle Solutions
Another document will go missing soon, but you won’t be able to get it for quite a while. Don’t worry about it right now – just focus on getting out of the R.P.D.
Library Card
As you climb the stairs and enter the familiar S.T.A.R.S. office – a place that once bustled with activity – you can explore and find a piece of its history. Specifically, you’ll be able to open a drawer in Wesker’s office and discover his library card.
Interesting choice of book there, Wesker.
Barry’s To Do List
Barry’s to-do list was still sitting on his desk – the one on the left – in the S.T.A.R.S. office. It was a reminder of all the things he hadn’t been able to accomplish after the city fell into chaos.
Scavenger Hunt – Clue 1
Back at the S.T.A.R.S. office, you can examine a jacket on the wall. Doing so reveals “Scavenger Hunt – Clue 1,” a message Barry left for his fellow officers.
Scavenger Hunt – Clue 2
Just before you exit the office, you’ll find some lockers. Inside, you’ll discover Barry’s second clue, labeled “Scavenger Hunt – Clue 2,” which will lead you to the next step in the hunt.
Photograph
Okay, so after I left the S.T.A.R.S. office, I made my way to the library – seriously, that place gives me the creeps and brings back bad memories of Mr. X! I went upstairs and walked across that walkway, and I found a book I could actually interact with. It was kinda hidden, but definitely there.
The next file is a photograph, and it shows Rebecca Chambers, possibly offering a clue about the S.T.A.R.S. office.
Toe Tag
As you progress, you’ll encounter sections where you play as a young girl, requiring you to hide and run to avoid danger. Once you reach the Underground Chapel, you’ll discover a room filled with small coffins. If you open one, you’ll find a toe tag identifying a seven-year-old girl named Charlotte.
Series 60 Results
As you continue playing as the child, you’ll enter a Research Lab. Right when you walk in, you’ll see a file on the desk directly ahead of you: the Series 60 Results.
New Researcher’s Handbook
Still playing as the girl in the Research Lab, you’ll find another document on a desk nearby – a “New Researcher’s Handbook.” It turns out even mad scientists can develop parasocial relationships, according to the handbook.
Guide Pamphlet
Once you’re playing as Leon again, you’ll find the last document in Raccoon City. After the cutscene, stay in the R.P.D. and don’t go downstairs. Instead, turn around immediately to find the final file – it’s the Guide Pamphlet, which you might remember from the Resident Evil 2 Remake.
ARK Files (10 Total Documents)
N0-AH Status Report
Okay, so when you first get to the ARK, there’s a little bit you need to do outside before you can even get in. But once you’re inside, your first stop should be the Staff Room on the main floor – it’s near the statues. It’s basically a safe room where you can find the N0-AH Status Report displayed on one of the screens. Definitely check it out!
Product Catalog 1 (2026)
Once you’ve climbed the stairs in the entrance, turn right immediately to find the Guest Lounge. Inside, you’ll see several information screens. The first screen displays our Product Catalog 1 (2026), which shows all the BOWs currently available for purchase.
They’re also quite pricey, which makes you question why anyone would spend so much on them – it’s a strange way to try and feel powerful.
Raccoon City Bioweapon Research – Report
On another screen in the same room, there’s a report called ‘Raccoon City Bioweapon Research’ that provides details about ARK and the biological weapons research happening there.
Product Catalog 2 (2026)
You can also view the Product Catalog 2 (2026) on a screen in the Guest Lounge. You might recognize some of the products featured!
Access Log: 51st Assembly Minutes
After you regain control of Grace and help Leon with the crane, you can explore and find him. In the Monitor Control Room, you’ll discover a safe and can read the ‘Access Log: 51st Assembly Minutes’ on a nearby screen. This room also contains crafting recipes that will be useful when facing upcoming enemies.
Sterilization Chamber Safe
As you enter Bioweapon Repository 05, you’ll see several cubicle-like containers. These can be opened to find items, and the first one you find contains the code for the Sterilization Chamber Safe.
Again, just remember you’ll have to relearn this on harder difficulties.
Monitor Control Room Safe
As you explore the cubicles in Bioweapon Repository 05, you’ll eventually find one containing the code for the Monitor Control Room Safe. Good news: if you’re playing on Standard or Casual difficulty, the game remembers this code for you. You only need to find it each time if you’re playing on Insanity difficulty.
Access Log: First Assembly Minutes
Okay, so the last document I needed to find was the Access Log: First Assembly Minutes. It’s actually on a screen in the Archives, just before you get to the main computer area. It’s kinda hidden off to the side, so if you’re rushing to the next story part, you might walk right past it!
Alyssa’s Interview Notes
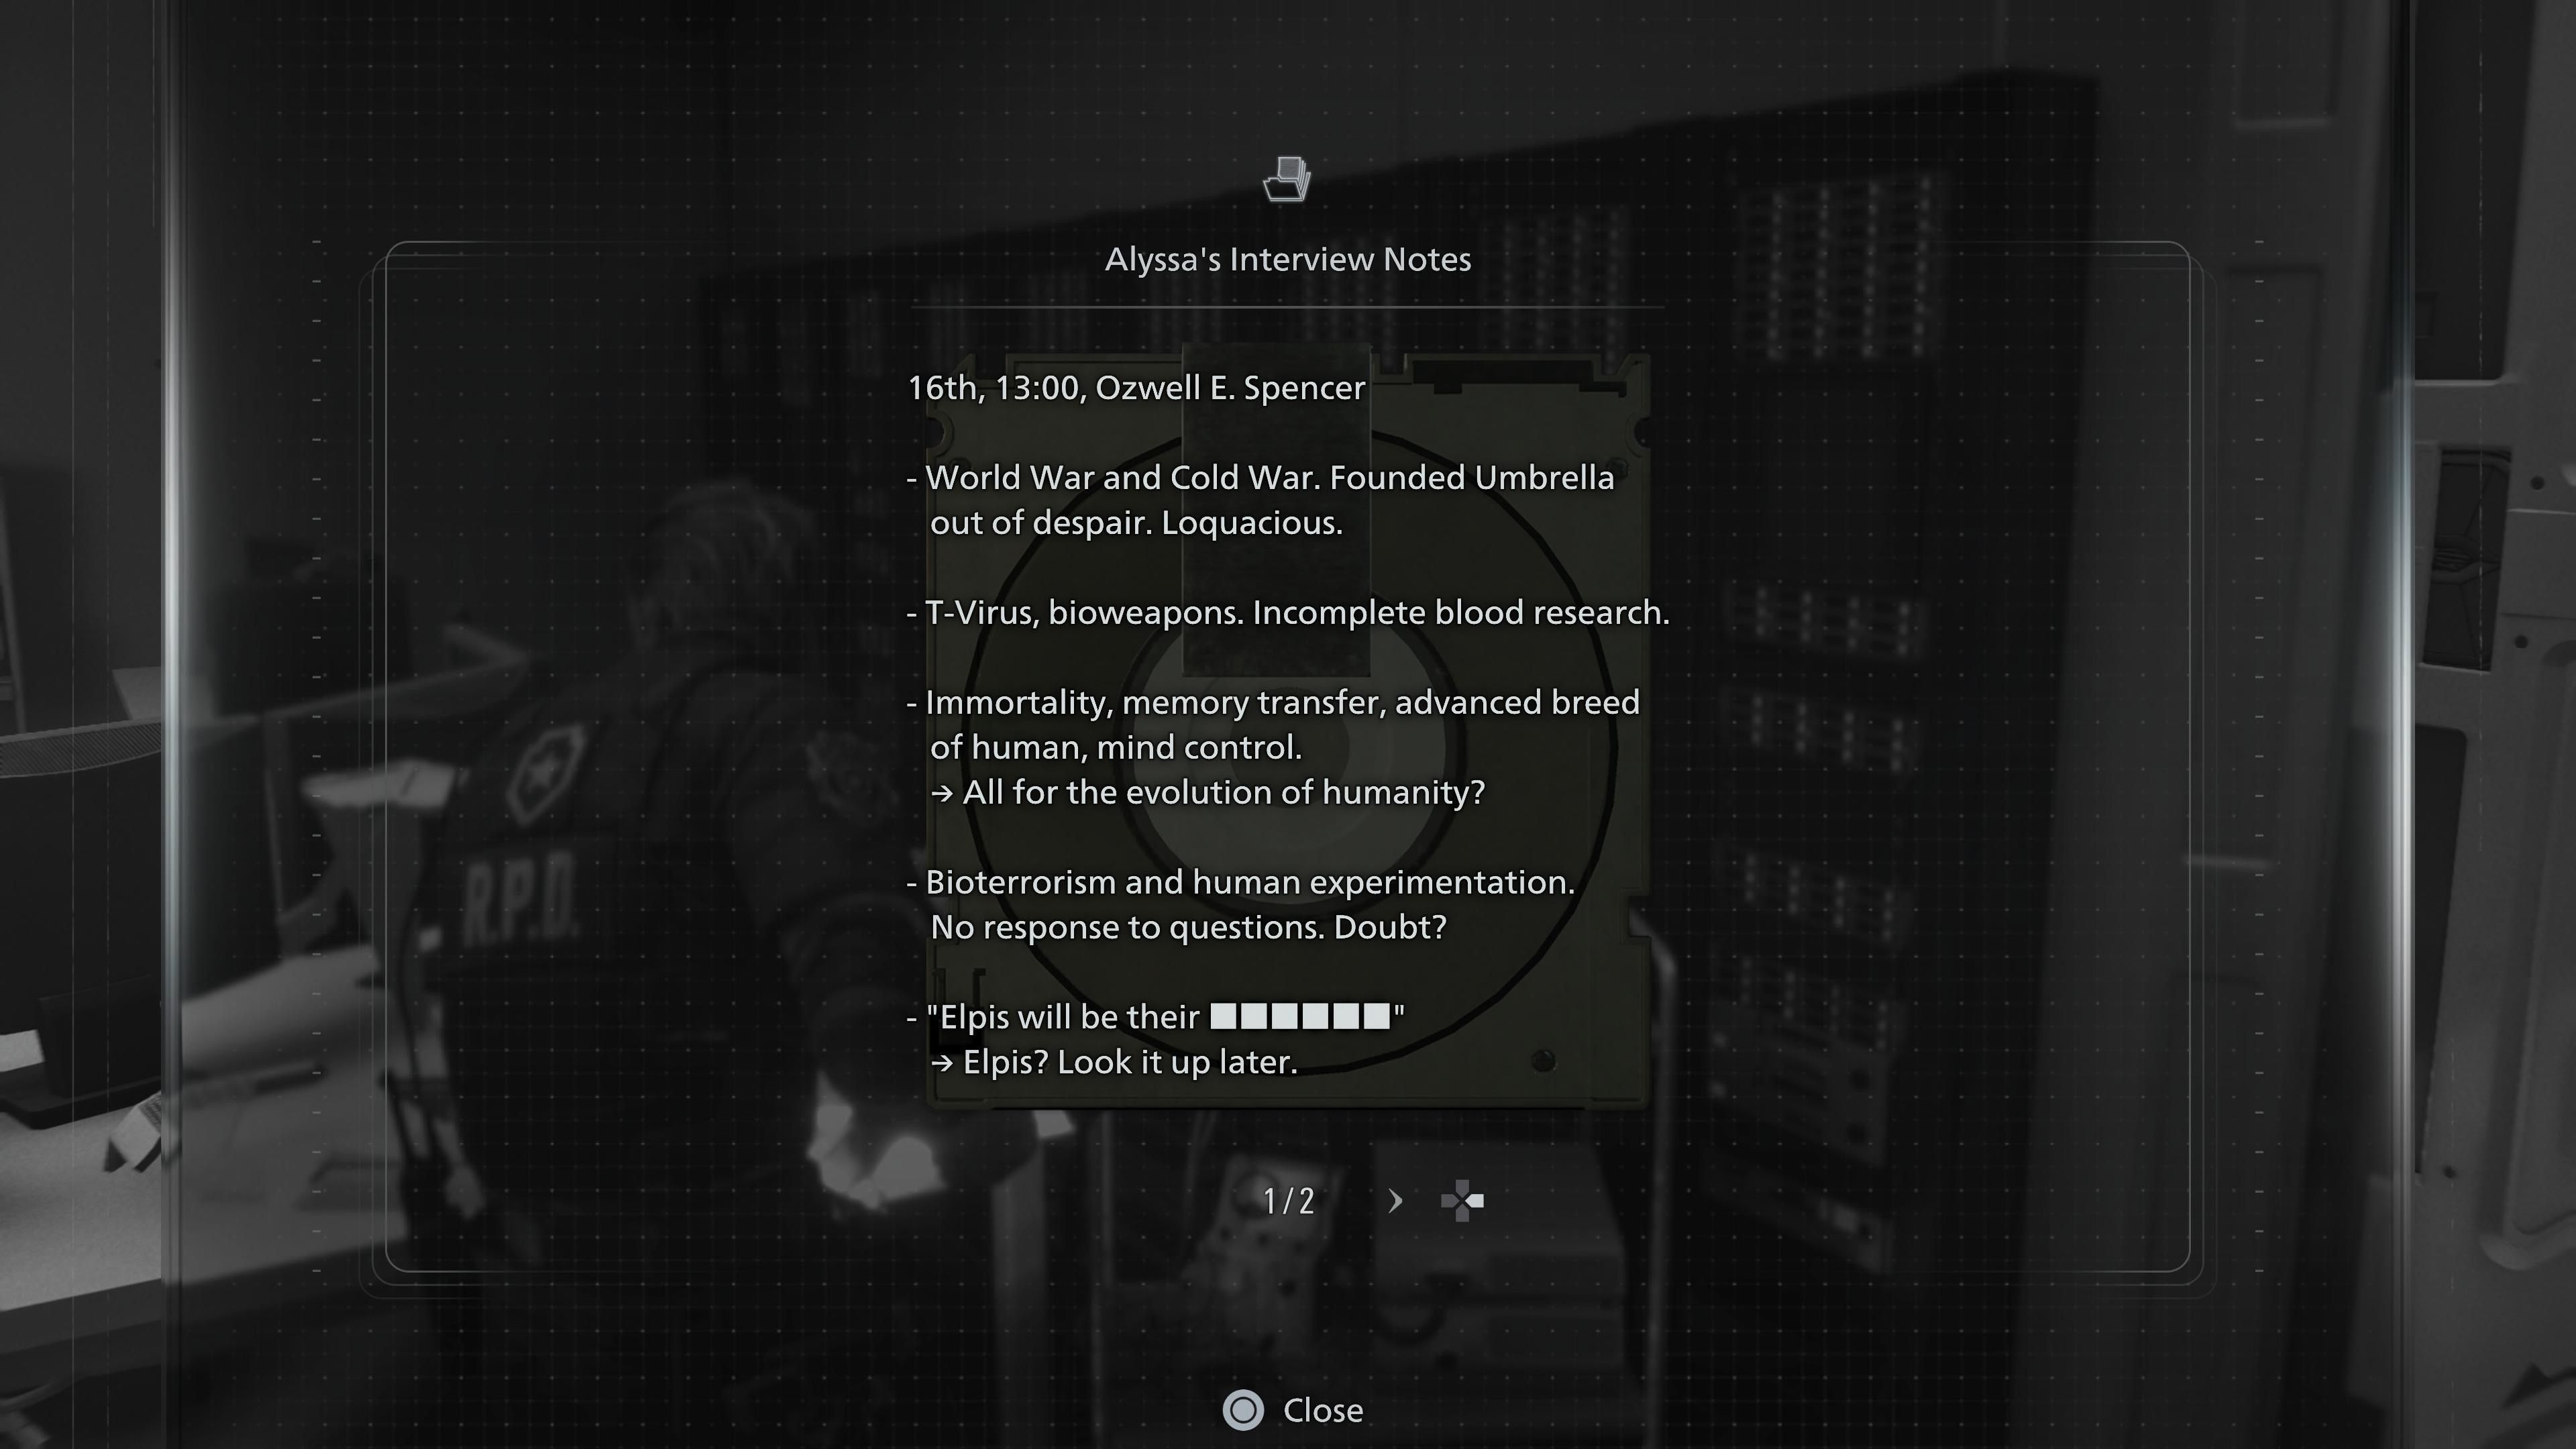
Following a cutscene with Grace at the Archives, you’ll receive Alyssa’s Interview Notes. These notes were saved on the floppy disk you found earlier.
Letter from Patrick

So, after that cutscene with Grace – the one that happens after you’ve played as Leon for a bit – I automatically got “The Letter from Patrick.” That meant I’d finally collected all the files in Resident Evil Requiem! It unlocked the Case Closed trophy, which was a really satisfying feeling.
You’re one step closer to a platinum, now to just speedrun the game in less than four hours.
Read More
- United Airlines can now kick passengers off flights and ban them for not using headphones
- The Boys Season 5 Spoilers: Every Major Character Death If the Show Follows the Comics
- Solo Leveling’s New Manhwa Chapter Revives a Forgotten LGBTQ Story After 2 Years
- Grok’s ‘Ask’ feature no longer free as X moves it behind paywall
- Invincible Season 4 Episode 6 Release Date, Time, Where to Watch
- Assassin’s Creed Shadows will get upgraded PSSR support on PS5 Pro with Title Update 1.1.9 launching April 7
- All 9 Coalition Heroes In Invincible Season 4 & Their Powers
- Mewgenics vinyl limited editions now available to pre-order
- TikToker’s viral search for soulmate “Mike” takes brutal turn after his wife responds
- How do you Fast Travel in Crimson Desert?
2026-02-27 03:47