
The War Strider isn’t just a tough enemy; it’s a challenge that requires a smart approach. Simply shooting at its armor won’t work – it’s like trying to solve a puzzle with brute force. Everything about the War Strider, from how slowly it turns to the details of its armor, provides a hint on how to defeat it. Once you understand its design, you’ll be able to conserve ammunition and target its weak points effectively. This guide will show you exactly how to do that, explaining its mechanics so you can take it down with precision.
Key Takeaways
- Target Specific Weak Points: Don’t waste ammo on the War Strider’s main body. Concentrate your fire on its most vulnerable areas—the lower middle plate between its legs, the hip joints, or the exposed pilot—to bring it down quickly and efficiently.
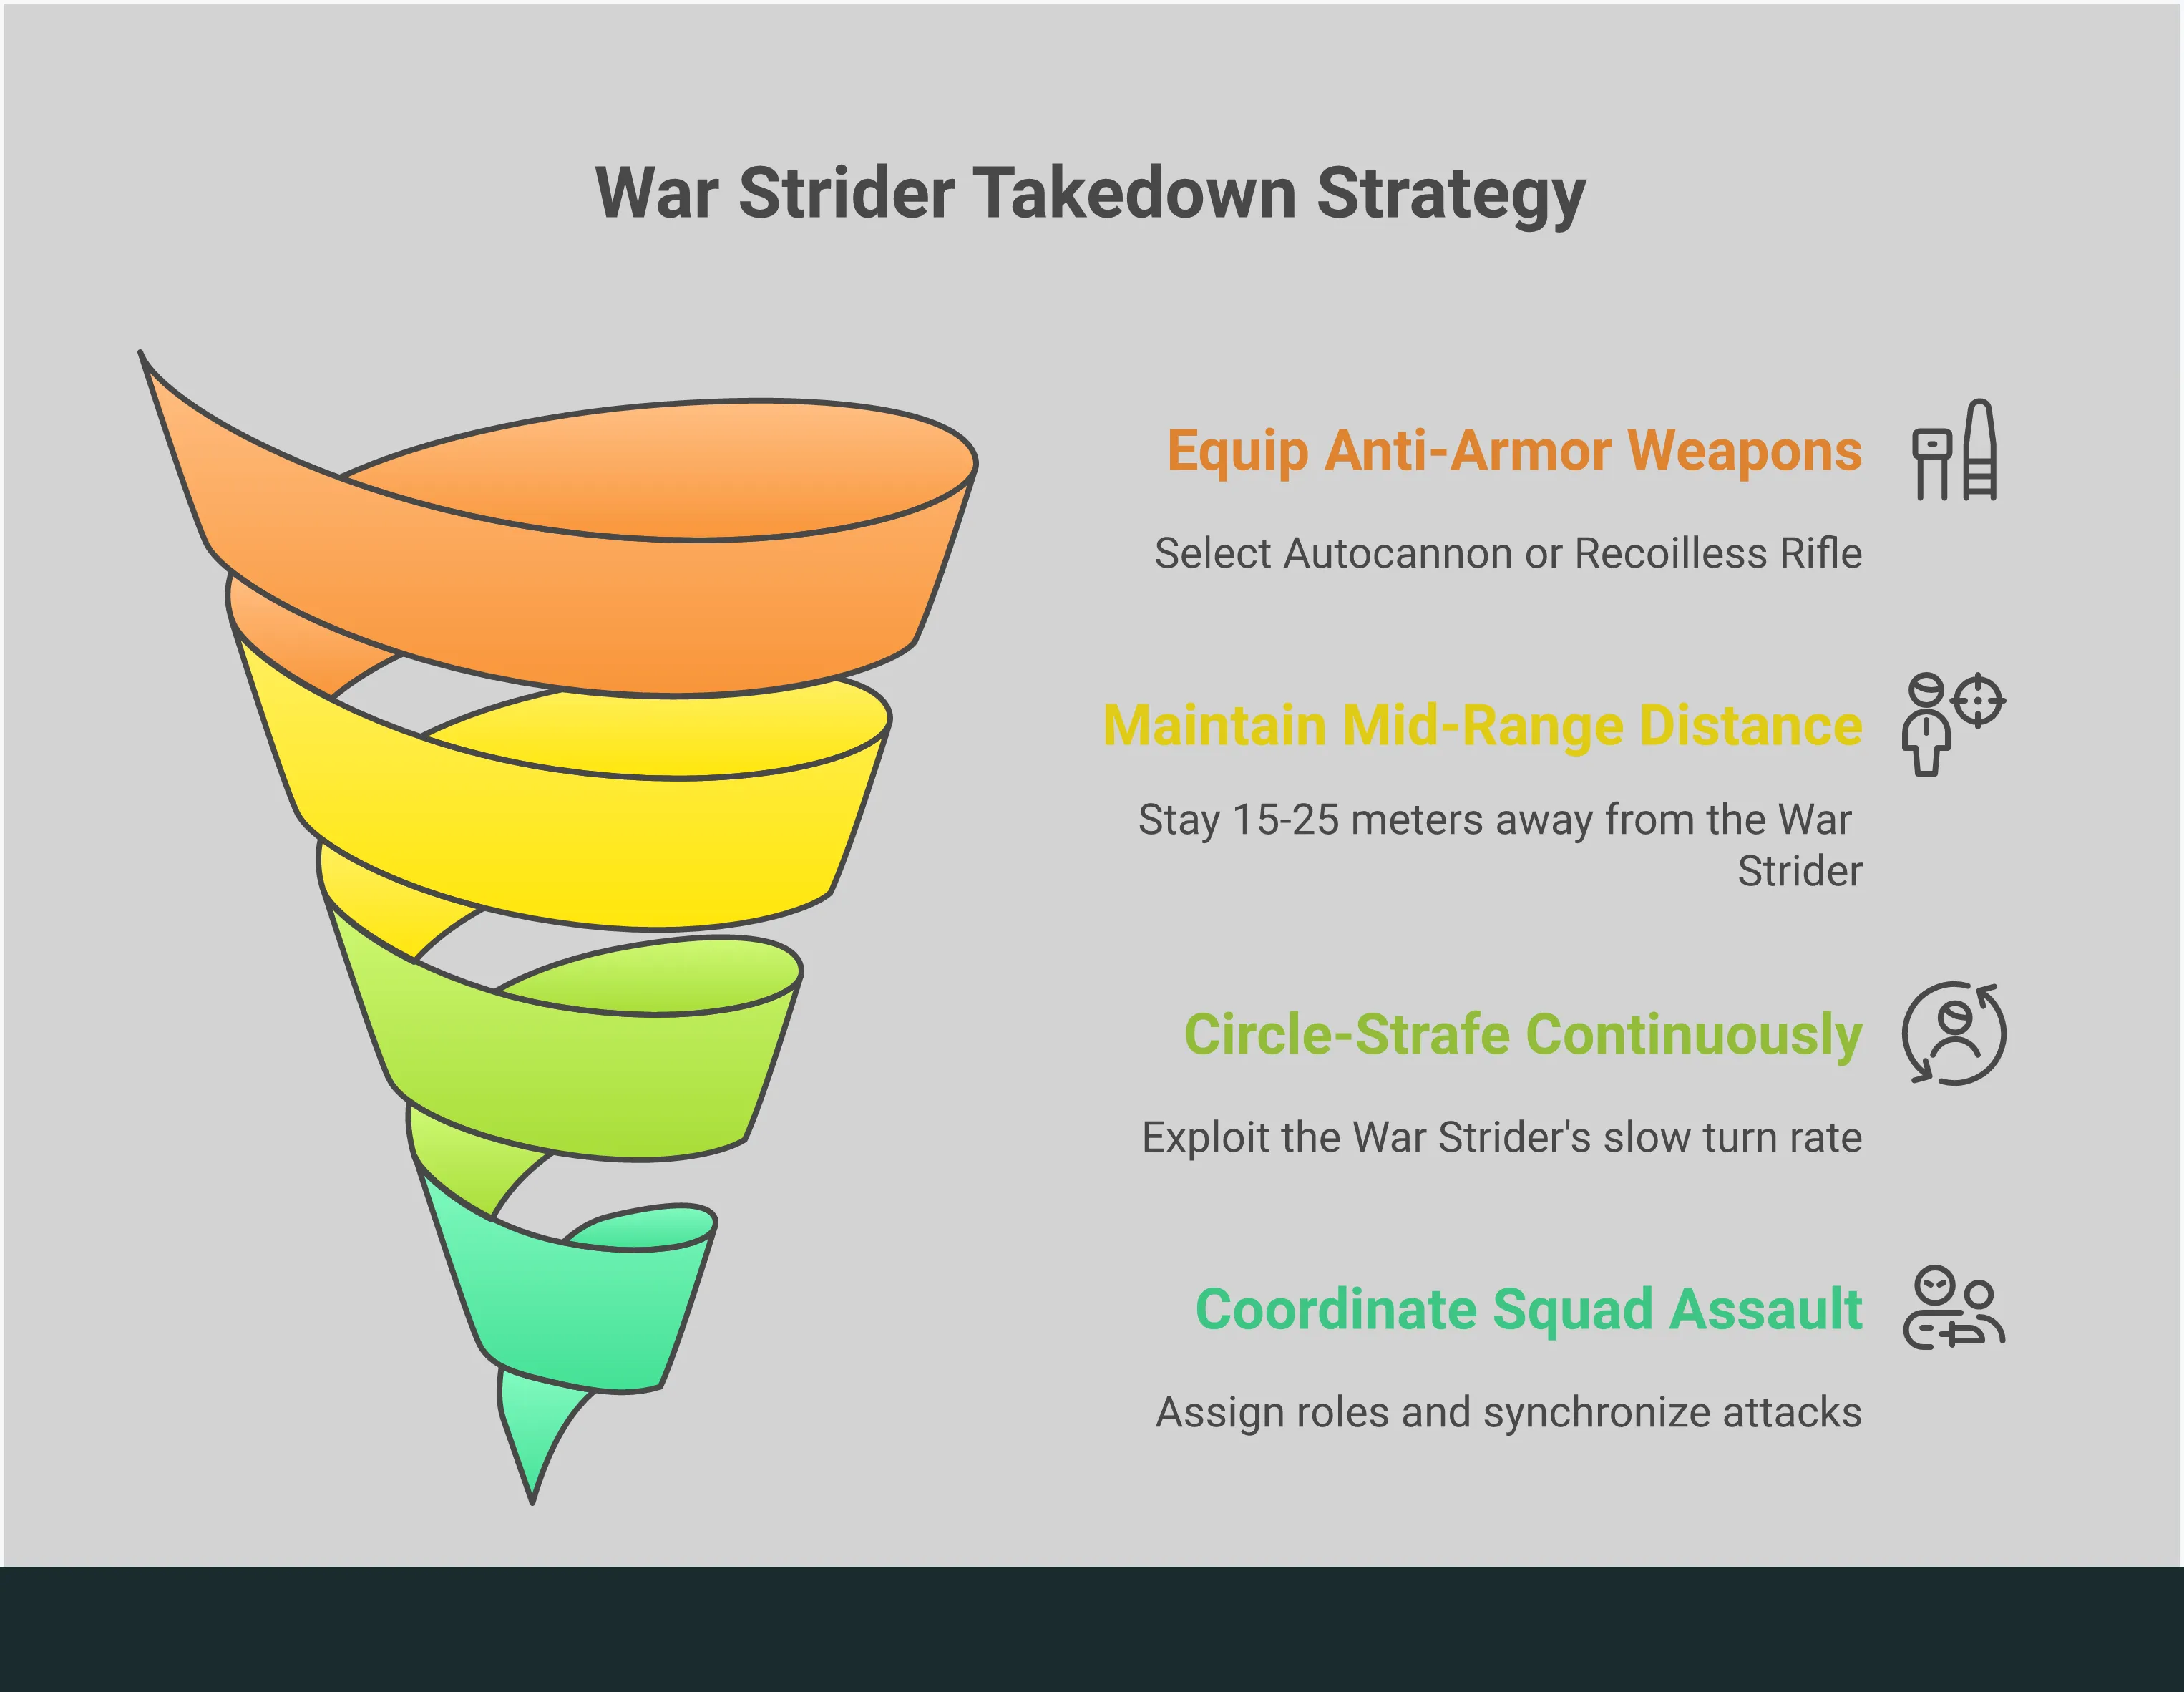
- Combine Heavy Weapons with Stuns: A War Strider’s heavy armor requires anti-tank weapons like the Autocannon or Recoilless Rifle. Pair these with stun grenades or EMS stratagems to immobilize the machine, creating a perfect window for your team to land critical hits.
- Use Movement as Your Best Defense: A War Strider is slow and struggles to track moving targets. Constantly circle it to stay out of its line of fire, forcing it into clumsy turning animations while your squad takes easy shots at its exposed sides and back.
Why Are War Striders So Tough?
Anyone who’s encountered a War Strider knows the shock of suddenly facing one. These massive, walking tanks can intimidate even experienced Helldivers. They’re huge, noisy, and incredibly powerful. But what makes them so dangerous in battle? Figuring out how they’re built is the key to destroying them. Let’s take a look at what makes these machines so tough.
Their Firepower and Range
War Striders are heavily armed, boasting cannons with the same destructive power as a Bunker Turret. They can inflict massive damage from long distances, and their attacks often affect a wide area, potentially knocking you and your team off balance and leaving you exposed. This long-range threat means you need to constantly watch your surroundings and stay protected, as being caught in the open can quickly lead to defeat.
How They Move
War Striders are dangerous no matter how far away you are. If they spot you from a distance, they’ll bombard you with lasers and grenades, forcing you to get closer. But getting too close is equally risky – they can crush you with a stomp. Because they’re a threat at both long and short range, you need to be flexible and change your tactics depending on the situation, whether you’re far away or right underneath them.
Assessing the Threat
War Striders look tough with all their armor, but they can be taken down. Like any machine, they have weak points. To defeat them quickly, you need to aim for specific spots that aren’t as heavily protected. Focus on their hip joints, legs, and the area around their central plate – these parts won’t withstand as much damage as the rest of the War Strider. Hitting these vulnerable areas consistently is key to destroying them and keeping your team safe.
Where to Shoot a War Strider
Seeing a War Strider lumber onto the battlefield can be intimidating – they’re essentially heavily armed, mobile tanks. Don’t waste ammunition by shooting at its thick armor; you’ll just end up as target practice. The trick to taking one down quickly is to target its weak spots. While most of the Strider is heavily protected, there are a few key areas where focused fire can really do some damage. Let’s go over the best places to aim and turn this mechanical threat into wreckage.
The Infamous Crotch Plate
Believe it or not, a surprisingly effective way to disable a War Strider is to target its lower front armor plate. It might sound a bit strange, but this area is a key weak point. Although still well-protected, the components there aren’t as durable as the main body or weapon systems. Focusing your strongest weapons on this spot will bring the Strider down much faster than trying to power through its front. So, set aside any hesitation and tell your team to aim low – it’s the fastest path to winning.
Target the Hips and Joints
If you can’t hit the Strider’s vulnerable core, aim for its legs and hip joints instead. Damaging these areas will slow it down and make it easier for your team to take out. Keep in mind that the Strider is heavily armored, so you’ll need powerful, armor-piercing weapons. Focus on the joints where the legs connect to the body – a few accurate shots from weapons like a recoilless rifle or autocannon can be very effective.
Aim for the Lower Middle Plate
If you’re aiming for maximum damage, the best place to shoot is the plate located between its legs – consider it the critical hit zone. Reports from the field show this is its weakest point, with the least amount of health. It’s a small target, so accuracy is key, but hitting it consistently will quickly destroy the enemy and protect your team from danger.
Go for the Eye
Okay, so sometimes you just can’t blow a Strider up right away, and you need to deal with it while it’s still kicking. What I’ve learned is to focus on its ‘eye’ – that glowing red cockpit. That’s where the big cannon is, and trust me, that thing will one-shot you! It’s tough to hit, but if you can take out that cannon, it basically removes the Strider’s biggest threat. It can still walk around and be annoying, but it won’t be able to do nearly as much damage, giving us time to get our bearings, reload, and finally finish it off as a team.
Best Weapons and Gear for the Job
Facing a War Strider without proper equipment is a recipe for disaster—it’s like trying to fight a volcano with a water pistol. These massive machines require serious firepower and a carefully planned strategy to take them down. Your regular rifle just won’t be enough. You’ll need powerful weapons, strong explosives, and useful tools to stop them. Let’s make sure you have the right gear to turn these walkers into wreckage.
Picking Your Heavy Weapon
If you’re up against a heavily armored enemy, you’ll need a weapon with significant firepower. Your main objective is to break through the outer armor and damage the vulnerable parts inside. Weapons like the Autocannon, Recoilless Rifle, and Railgun are ideal for this, as they can penetrate the armor and hit the War Strider’s weak points – its hip joints and legs. Although these parts are tough, a few accurate hits from a powerful weapon will disable the machine, slowing it down and making it easier for your team to destroy. As soon as you spot a Strider, don’t hesitate to call in these heavy weapons for support.
Why Explosives Are Your Friend
Think of heavy weapons as precise tools, and explosives as brute force. The War Strider has a clear weakness: a spot on its lower front, between its legs. This area is lightly armored, making it ideal for explosive attacks. Grenade launchers are great for hitting this weak point from a safe distance. Even better, powerful Stratagems like the Eagle 500kg Bomb or an Orbital Laser can destroy a Strider with a single blast. If you time your explosions right and target this vulnerable spot, you can bring down these massive robots quickly.
Using Stuns Effectively
Okay, so War Striders are super dangerous when they’re moving, but honestly, they’re just sitting ducks if they stop. That’s where stun grenades and EMS Stratagems become lifesavers. These things turn really slowly and have trouble hitting anything quick. If I can chuck a stun at its feet, it’s frozen for a few seconds, which is all my team and I need to really let loose. I can even sprint around a stunned Strider and take out the pilot on the back – it’s a sweet spot! Seriously, coordinating a stun with a heavy weapon strike is one of the best team plays you can pull off.
Our Top Loadout Recommendations
What’s the best way to take down Striders? A good starting point is a loadout focused on speed, versatility, and strong attacks. Using light armor will let you move quickly and dodge enemy fire. For weapons, bring something explosive like a Grenade Launcher or Autocannon, and combine it with Stun Grenades to create opportunities to strike. As for Stratagems, an Orbital Railcannon Strike can instantly destroy a Strider, while an EMS Mortar Sentry can slow down the Strider and any other enemies nearby. This setup gives you everything you need to manage the fight and take down Striders effectively.
How to Outsmart a War Strider
Taking down a War Strider isn’t about having the most powerful weapons; it’s about being clever. While these massive machines look tough, they follow predictable patterns. Victory depends on your strategy, not just how much damage you can deal. You’ll need to use quick movements and understand the machine’s weaknesses to succeed. Forget trying to overpower it directly – instead, learn to dodge its attacks, create opportunities for your team, and strike at the right moments. Let’s explore the key strategies that will help you confidently defeat these robots.
Find the Right Position
Successfully attacking a War Strider depends on where you position yourself. Don’t run straight at it – you’ll likely be defeated. The front is heavily armored and very dangerous. Instead, try to get to its side or, ideally, behind it. Use cover like rocks and buildings to approach safely. Once you’re on its side, you can target weaker areas like the joints and legs. This will make the Strider turn to face you, creating an opening for your team to attack.
Manage Your Distance
To beat a War Strider, maintaining the right distance is crucial. Getting too far away makes you an easy target for its lasers and grenades, while getting too close leaves you vulnerable to a devastating stomp. The ideal spot is mid-range – just outside of where it can stomp you. This lets you hit its weak points with your attacks and still have room to dodge its long-range fire. It might take some practice, but learning this distance will give you control of the battle.
Stay Mobile
When fighting a War Strider, the most important thing is to keep moving. Staying still makes you an easy target, but these machines struggle to hit players who are constantly on the move. Many players have discovered that the Strider turns slowly, which is its biggest weakness. Continuously move in a circle around it to make it clumsily rotate, making it hard for it to aim. While it’s trying to follow you, you and your team can attack its vulnerable sides and rear.
Stun and Strike
To quickly destroy powerful enemies, like War Striders, use stuns to create an opening for attack. Things like EMS Mortars or stun grenades can temporarily stop a War Strider, making it vulnerable. When that happens, your team should focus all their firepower on the weak spot between its legs – this lower middle plate has the least armor and will fall fastest. A well-timed stun followed by a concentrated attack can take down a War Strider before it can react.
Taking Down a War Strider with Your Squad
War Striders are incredibly dangerous and require a coordinated team effort to defeat. Attempting to fight one alone is almost certain to result in failure. Winning isn’t about brute force, but about teamwork and synchronized action. When a squad works perfectly together, even the most powerful War Strider can be destroyed.
Success in this fight depends on teamwork and clear communication. A well-coordinated team can quickly defeat the enemy, but a disorganized one will be eliminated just as quickly. Let’s go over how to work together effectively, so everyone understands their role and can perform it flawlessly.
Assign Roles
Before starting, your team should quickly decide who will focus on what. It’s not about strict roles, but making sure everyone plays to their strengths. You need at least one person dedicated to destroying heavily armored enemies – think of them as your ‘opener’. Their main job is to bring a weapon like a Recoilless Rifle or Autocannon to break through tough armor, like the Strider’s. Another player should handle smaller, weaker enemies. The remaining two players can provide backup fire, point out enemy weaknesses, and help the anti-armor player reload or stay protected. Keep in mind this game is designed for teamwork, so coordinate with your squad!
Communicate Clearly
Look, clear communication is everything when we’re taking down a Strider. Seriously, we need to know what it’s doing all the time. If I see those laser cannons locking onto someone, I’m yelling it out so the team can use that opening to deal damage. And if it starts rushing in for a stomp, a quick warning lets everyone dodge. Even simple stuff like calling out “Reloading!” or “Focus the leg!” can totally change the fight. It’s all about keeping that info flowing so we can react fast, stay ahead of its attacks, and turn what could be a messy free-for-all into a clean, coordinated takedown.
Coordinate Your Attack
Trying to damage a War Strider with scattered shots is pointless – it’s too heavily armored. To really hurt it, you need to focus your attacks on its weak spots. When one player manages to break through a plate of armor, everyone should immediately target that same exposed area. Good targets include the area between its legs, the pilot’s viewing port, and its hip joints. The key is to overwhelm one spot with damage to take it down fast. A helpful strategy is to have someone use an EMS Mortar or stun grenades to briefly stop the Strider, giving your team a clear shot at its vulnerable points.
Create a Distraction
War Striders are powerful but slow and don’t turn well, which you can use to your advantage. One player should act as a distraction, constantly moving and circling the Strider to draw its attention. This makes it hard for the Strider to target them, creating an opening for the rest of the team to attack its vulnerable back and legs. This tactic, like a matador dodging a bull, keeps the Strider focused on the distraction, allowing your other players to attack safely and deal significant damage.
Breaking Down the War Strider’s Armor
Taking down a War Strider requires a smart approach, not just a lot of firepower. It’s like solving a puzzle – understanding where to shoot and what kind of armor it has is crucial. Forget thinking of it as a typical tank; it’s more like a heavily armored, walking machine with hidden weaknesses. Let’s break down exactly how to destroy these things effectively.
How Much Health Does It Have?
Despite its imposing size, the War Strider doesn’t have a huge amount of health – players estimate it’s between 500 and 700. While that’s still a decent amount, it’s less than many other large enemies. This means that once you break through its armor, you can take it down fairly quickly. The biggest difficulty with the War Strider isn’t its health, but actually getting your attacks to deal damage.
Understanding Its Armor Type
The War Strider is completely covered in extremely tough armor – classified as AP4 heavy armor – meaning regular assault rifles won’t do any damage. Unlike other enemies, it has full body plating, so you can’t target weak spots. You’ll need weapons specifically designed to penetrate thick metal to have any chance. Without anti-armor weaponry, you’re just making noise and putting your team at risk.
Where to Land Critical Hits
The War Strider is heavily armored, but it has vulnerable spots. Focus your attacks on its legs, hip joints, and especially the area between its legs – that’s its biggest weakness. While still protected, these areas don’t have as much health, so you’ll do the most damage by targeting them. Accurate shots to this weak point will bring the machine down quickly.
Damage Resistance Explained
The War Strider is a challenging enemy because it doesn’t have any easily exposed weak points. Unlike other enemies, you won’t find a vulnerable spot to target. You have to break through its strong armor with the right weapons and tactics. This fight isn’t about getting lucky; it’s about being prepared with the proper gear and a solid strategy. So, plan carefully and make sure you’re equipped to deal with its heavy armor.
Common Mistakes to Avoid
Even experienced Helldivers can be quickly defeated by War Striders. These massive machines don’t allow for many mistakes, and even a small error can wipe out your entire team. Often, it’s less about powerful weapons and more about avoiding basic, deadly errors. Things like getting too close or forgetting to coordinate with your teammates are often the biggest threats.
Knowing how to avoid common mistakes is the key difference between a new player and an experienced one. It’s about being strategic, not just using brute force. Here’s a look at the four biggest errors players make when fighting a War Strider, and how to keep your team safe. With a better plan and good teamwork, you can defeat these powerful enemies and finish your mission.
Bad Positioning
Seeing a War Strider appear can be frightening, but reacting impulsively could be fatal. The most common error is getting too near. Its stomp attack is incredibly powerful, and being caught underfoot is instantly deadly. You need to constantly keep a safe distance – far enough to avoid cannon blasts and close-range attacks, but close enough to hit its vulnerable areas. It’s like a careful dance: keep moving and find the perfect balance between dealing damage and staying safe. Use cover to your advantage, but don’t get trapped. Staying mobile is the best way to survive against this heavily armored enemy.
Wrong Target Priority
When you see a huge War Strider, it’s easy to get fixated on it. Many teams make the mistake of focusing all their attacks on the Strider and forgetting about the smaller enemies surrounding them. Keep in mind that Helldivers 2 is about managing groups of enemies. While you’re trying to destroy the Strider, a lot of smaller creatures can quickly defeat your team. Your squad needs a plan to decide which enemies to attack first. Ideally, one or two players should use anti-tank weapons on the Strider, while the rest eliminate the smaller threats. Defeating the big enemy won’t matter if you’re taken down by a smaller, faster enemy from behind.
Poor Teamwork
Attempting to defeat a War Strider alone is almost certain failure. Its vulnerable areas are small and hard to target, particularly when it’s moving. Teamwork is essential. Poor communication will quickly lead to defeat. Your team needs to work together, pointing out weak spots and concentrating fire on one area to quickly damage its armor. For example, one player could use an EMS Mortar to slow the Strider, giving another player with a Railgun or Autocannon a chance to land a powerful blow. Without a plan, you’ll just be wasting ammunition on a heavily armored enemy.
Wasting Your Resources
Okay, so dealing with War Striders can be seriously tough if you’re not careful. I’ve learned the hard way that just spraying bullets at its legs or body armor is a total waste of ammo! You really need to be precise with every shot. What works best is targeting its weak spots – I aim for the lower plate right between its legs, or that glowing red eye. If you hit those areas with your strongest anti-tank stuff, you’ll take it down way faster and save your good gear for whatever comes next. Trust me, you don’t want to blow all your best weapons on its armor and then be caught unprepared!
Advanced Tips to Master the Fight
After you understand the core strategies, you can start improving your technique. These more advanced methods focus on carefully using teamwork to target the War Strider’s vulnerabilities. Learning these skills will help you become a skilled Strider hunter, making it much easier for your team to complete missions with less difficulty. It’s about being strategic and efficient, rather than simply relying on overwhelming force.
Create Flanking Opportunities
The War Strider looks scary, but it’s surprisingly clumsy and slow to turn. This is its main weakness, and you should take advantage of it constantly. While its front cannons are powerful, it has trouble hitting targets that are moving, particularly if you circle around it. Try to get to its sides or, ideally, behind it. Running around the War Strider will leave the pilot vulnerable, and a few accurate shots at the driver will destroy the machine much faster than trying to break through its armor. This is a very effective way to defeat one on your own.
Know When to Retreat
Getting too close to a War Strider is instantly deadly. If it can reach you, its stomp attack will likely kill you in one hit. Learning when to retreat is crucial. Watch its movements carefully and make sure you’re not in its path. If it starts moving towards you, immediately back away and find a safer position. There’s no need to be a hero – staying alive is more important than dealing damage. Make sure you have enough stamina to quickly escape when it charges, as that’s your best defense.
Combine Your Firepower
Although it’s good to attack from the side, you’ll sometimes have to confront a War Strider directly with your team. When that happens, working together is key. Everyone needs to focus their fire on the same weak spot to quickly deal damage and break through its tough armor. The best place to target is the lower front plate, between its legs. Clearly announce the target so everyone with armor-piercing weapons can concentrate their fire there. Hitting this spot as a team will destroy the War Strider much faster than if everyone shoots randomly at different parts.
Frequently Asked Questions
Want to take down a War Strider quickly? The fastest way is to concentrate your attacks on the small plate on its lower front, between its legs. This is the machine’s weakest point. A good shot with a Recoilless Rifle or a direct explosive hit there can defeat it almost immediately. For an easier shot, ask a teammate to use a stun grenade to temporarily stop the War Strider, giving you a clear opening.
When fighting a War Strider, it’s best to stay at a medium distance. Getting too far away makes you vulnerable to its laser, while getting too close risks being crushed. The ideal spot is just outside the range of its stomp attack, allowing you to move and dodge its lasers while still being able to hit its weak points, like its legs.
If you’re the only one on your team with a weapon that can damage heavily armored enemies, your job is crucial, and your teammates need to help you. They should prioritize eliminating the smaller robots that will attack you and keep the War Strider’s attention. This will give you the breathing room to reload and aim for its weak spots without being overwhelmed. It’s really important to communicate clearly with your team so they know when you need help.
Your standard weapons aren’t doing any damage? That’s because the War Strider is covered in incredibly strong armor. Normal bullets just bounce off – there’s no exposed flesh to hit. You’ll need powerful, armor-piercing weapons like the Autocannon or Railgun, or use heavy explosives, to break through its defenses. This fight requires specific gear to succeed.
Yes, shooting the pilot in the back is a very effective way to take it down, particularly when you’re on your own. War Striders are slow to turn, so running around it in a circle is a good tactic. This exposes the pilot on its back, making them an easier target than the armored front. A few accurate shots at the pilot will completely disable the machine.
Read More
- Netflix’s Little House On The Prairie Reboot: Release Date, Cast & Everything We Know
- Off Campus Season 1 Soundtrack Guide
- YouTuber arrested after viral AI bodycam videos spark real police complaints
- Silver Rate Forecast
- Prime Video’s New R-Rated Spy Thriller Is Officially No.1 On Streaming Despite Poor Reviews
- Brent Oil Forecast
- EUR ZAR PREDICTION
- Peaky Blinders: The Immortal Man’s Tommy Shelby Is a Better Father Than Michael Corleone
- Gold Rate Forecast
- Bulgakov’s Take: Koreans Bet the Farm on Chips, Crypto, and Chaos
2025-11-05 13:50