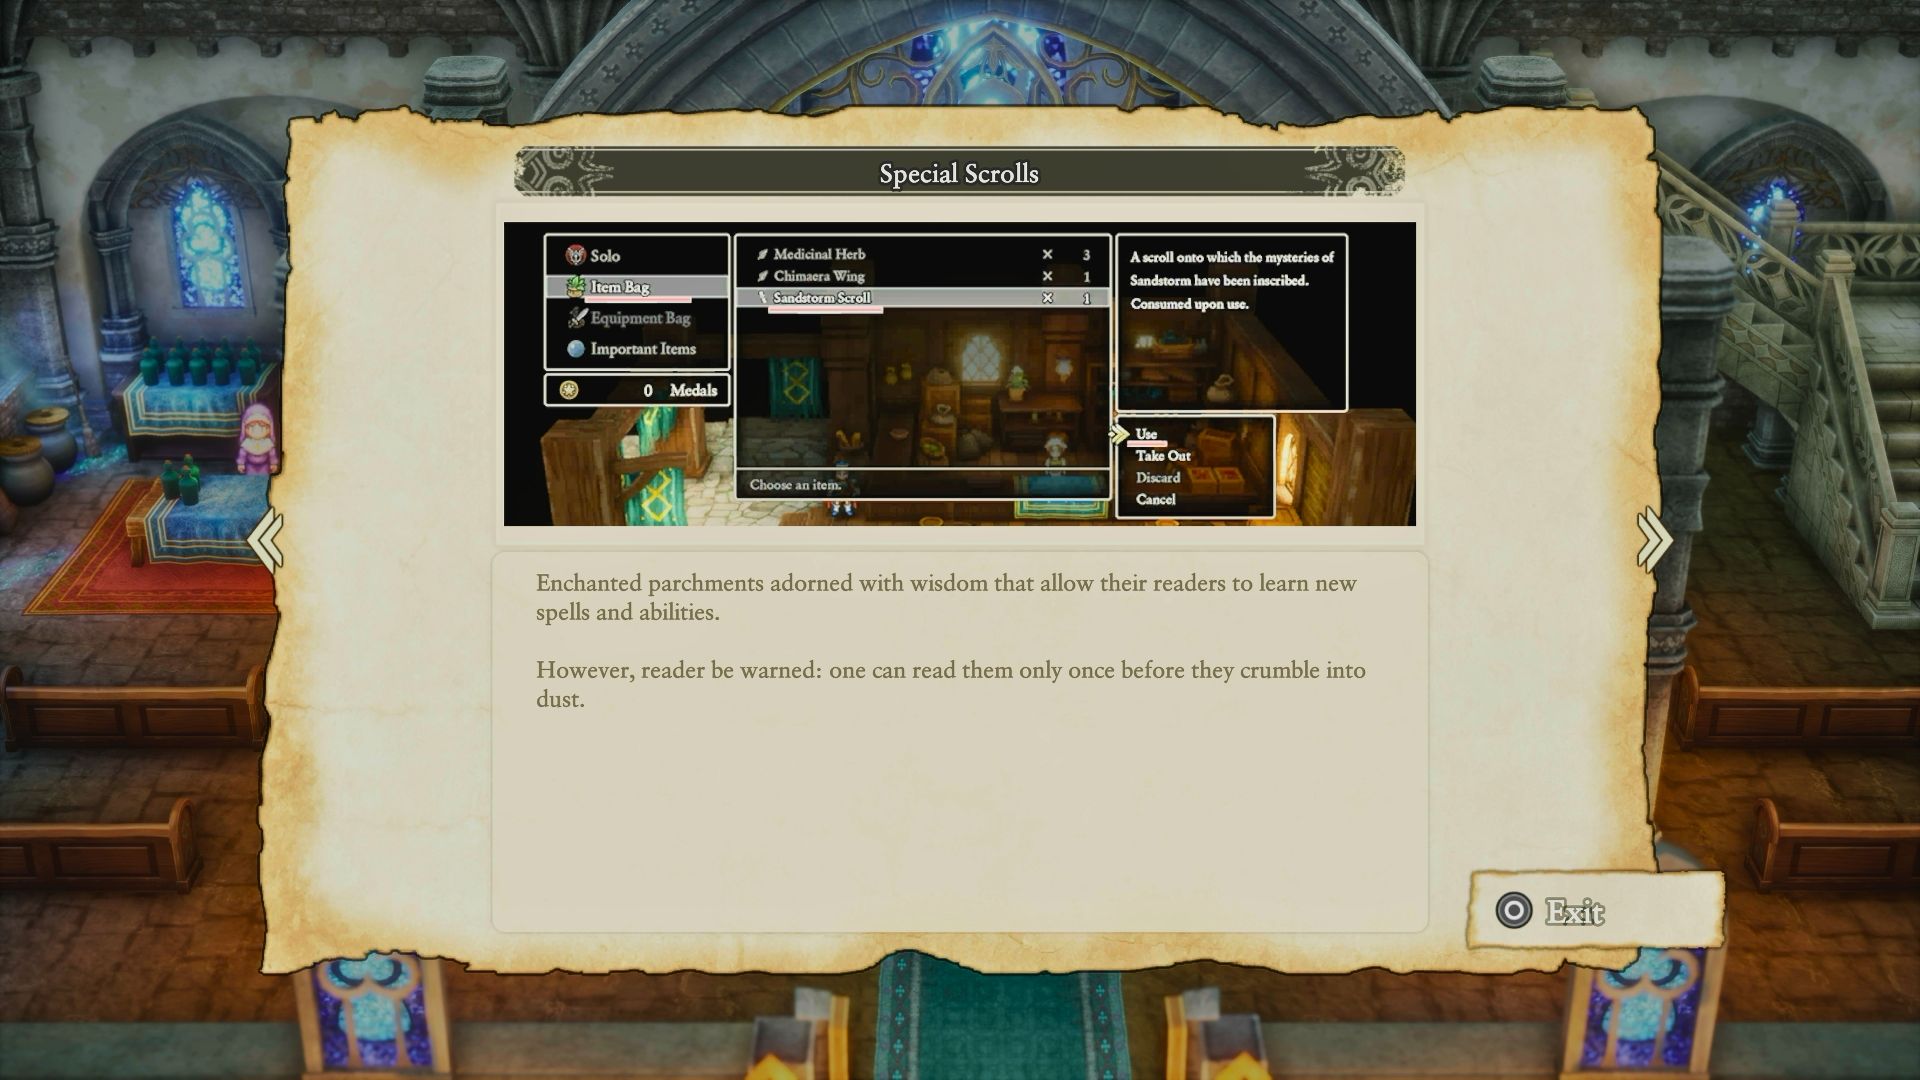
The Dragon Quest I&II HD-2D Remake added a new feature called scrolls. These items permanently unlock new skills and spells for your character, making battles more interesting and strategic.
As a big fan, I love how these scrolls let you fill gaps in your team! If I’m missing a rogue-type character, I can use them to pick up skills usually only thieves get, like finding hidden treasure or getting the inside scoop on things. “Nose for Treasure” and “Snoop” are definitely my go-to choices – they’re incredibly useful!
This guide will help you find all the scrolls in Dragon Quest I HD-2D Remake. I created it while playing the game, so you can use it as a walkthrough from the very beginning of your adventure.
Every Scroll Effect in Dragon Quest I HD-2D Remake
Players who have experienced previous Dragon Quest games will likely be familiar with these scrolls and their effects. But for newcomers to the HD-2D Remake, the scrolls’ functions will remain a mystery until discovered.
Here’s a breakdown of all the abilities and spells you can learn from scrolls, along with what they do, so you can decide if it’s worth searching for them.
| Scroll | Effect |
|---|---|
| Safe Passage | Avoid damage from hazardous ground. |
| Sandstorm | Decreases enemies’ physical attack accuracy. |
| Crack | Ice-aspected spell. |
| Muster Strength | Increases the damage of your next attack. |
| Nose for Treasure | Shows how many treasures there are in the area. |
| Whistle | Enter a battle. |
| Magic Barrier | Raises magic and debuff resistance. |
| Miracle Slash | Heals the user based on a portion of damage dealt. |
| Undead Undoer | Deals increased damage to undead enemies. |
| Crackle | Ice-aspected spell against a group of enemies. |
| Snub | Nullifies all spells cast on the user for a few turns. |
| Demon Demeanor | Deals increased damage to demon enemies. |
| Padfoot | Decreases random battle encounter rate. |
| Reheal | Regenerates HP per turn. |
| Wild Side | Allows the user to repeat the same action twice. |
| Focus Pocus | Regenerates MP per turn. |
| Attack Attacker | Attacks and reduces the enemy’s strength. |
| Moreheal | Restores at least 164 HP to the target. |
| Kacrack | Ice-aspected spell against all enemies. |
| Snoop | Shows if there are hidden items on the premises. |
| Kacrackle Slash | Ice-aspected slash attack. |
| Meditation | Restores 500 HP to the user |
Safe Passage
Galenholm
To the southwest of Galenholm, there’s a single house that isn’t an establishment.
Enter it and check the bookshelf to get your first scroll. Safe Passage will come in handy shortly.
Sandstorm
Erdrick’s Hollow – B1
In the center of the map, there’s a chest housing the Sandstorm scroll.
Crack
Shrine of Rain – 1F
To find the Crack scroll, head to the Shrine of Rain and climb the main stairs. Then, go through the east hallway and continue southeast until you reach the chest.
Muster Strength
Craggy Cave – B2
To find this scroll while in Craggy Cave, head to the northwest corner and take the stairs down to the next level. You’ll find a single chest there containing it.
Nose for Treasure
Craggy Cave – B1
Head to the furthest eastern room to discover a chest containing the ‘Nose for Treasure’ scroll – it’s one of the tools I used to create these guides!
You’ll get the Thief’s Key shortly, allowing you to open red chests.
Whistle
Grave of Galen – B1
With the Thief’s Key, let’s return to Galenholm. Go inside the large building with the red door and continue to the back until you reach the entrance to the Grave of Galen, then go down inside.
Within the grave, head to the room in the northeast corner – you’ll find three chests there. One of them holds the Whistle scroll. Currently, you can only explore the first floor of the grave.
Magic Barrier
Rimuldar
When you get to Rimuldar, you’ll need to go around the village to find the home of the Doorlocks expert.
Once a cutscene plays out, return inside the house and open the chest for this scroll.
Miracle Slash
Cave of the Dwarves – B1
After you go through the red door, head down the stairs on the northeast side. Once you’re on level B2, take the northernmost stairs to reach a quiet room on level B1.
The chest there contains the Miracle Slash scroll.
Undead Undoer
Cave of the Dwarves – B2
Continue exploring the Cave of the Dwarves until you find the room in the north on level B2. This room will take you to the beginning of level B3.
There’s a chest beside the southern entrance of this area.
Crackle / Snub
Faerie Village
The game will ask you to stay the night in the western house in Faerie Village.
First, look in one of the chests for the Crackle scroll, then check the furthest right bookshelf for the Snuff scroll.
Demon Demeanor / Padfoot
Damdara
If you travel south from Faerie Village, you’ll soon find yourself in a desert. The town of Damdara is located in the northeast part of the desert, but be warned – the enemies there are particularly dangerous.
On the map, enter the town from the east. This will put you near the only building you can enter. Once inside, look for the Demon Demeanor scroll inside a barrel.
Go back to the world map and enter Damdara from the west side. Just north of the poisonous swamp, you’ll find a metal shield. Check it – it contains the Padfoot skill, which is perfect if you want to avoid unwanted battles.
Reheal / Wild Side
Citadel of the Monarch of Medals
The Citadel is located just southeast of the Field of Flowers. Inside a red chest on the left platform, you’ll discover the Reheal scroll.
You’ll get the Wild Side scroll after giving 10 Mini Medals to the Monarch. If you’ve been diligently collecting them, you should already have enough!
Focus Pocus
Weirdwood
When you first start, you can only explore the initial part of Weirdwood. As the story progresses, you’ll unlock a new section of the woods, allowing you to return and continue your adventure.
Once further inside, go straight north to find a chest with the Focus Pocus scroll.
Attack Attacker / Moreheal
Cantlin
Upon reaching Cantlin, go to the western house in the middle of the village and head upstairs.
You can find the Attack Attacker scroll hidden in a closet, and the Moreheal scroll on one of the bookshelves.
Kacrack
Weeping Isle – Exterior
While exploring the Weeping Isle, you’ll find yourself outside twice. Towards the end, you’ll come to a fork in the path: one way will be to your left, near where you entered, and the other will be after climbing some stairs.
Head to the entrance on the left and walk down the hallway. When you come out, you’ll be outside again. Continue forward and you’ll see some pots, barrels, and two chests. The red chest holds the Kacrack scroll.
You’ll get the Ultimate Key shortly, allowing you to open dark green chests.
Snoop
Tantegel Castle – 1F
Once you’ve completed Weeping Isle and gotten the Ultimate Key, you’ll be able to return to earlier areas to find hidden scrolls.
Perhaps the most helpful item, though it might make much of this guide unnecessary, is the Snoop scroll. You can find it in Tantegel Castle, hidden behind a locked door.
Kacrackle Slash
Grave of Galen – B3
To continue the story, you’ll need to explore further into the Grave of Galen. Once you reach area B2, head down the second set of stairs on the west side.
Then, keep going west until you find a room with a chest holding this scroll.
Meditation
Citadel of the Monarch of Medals
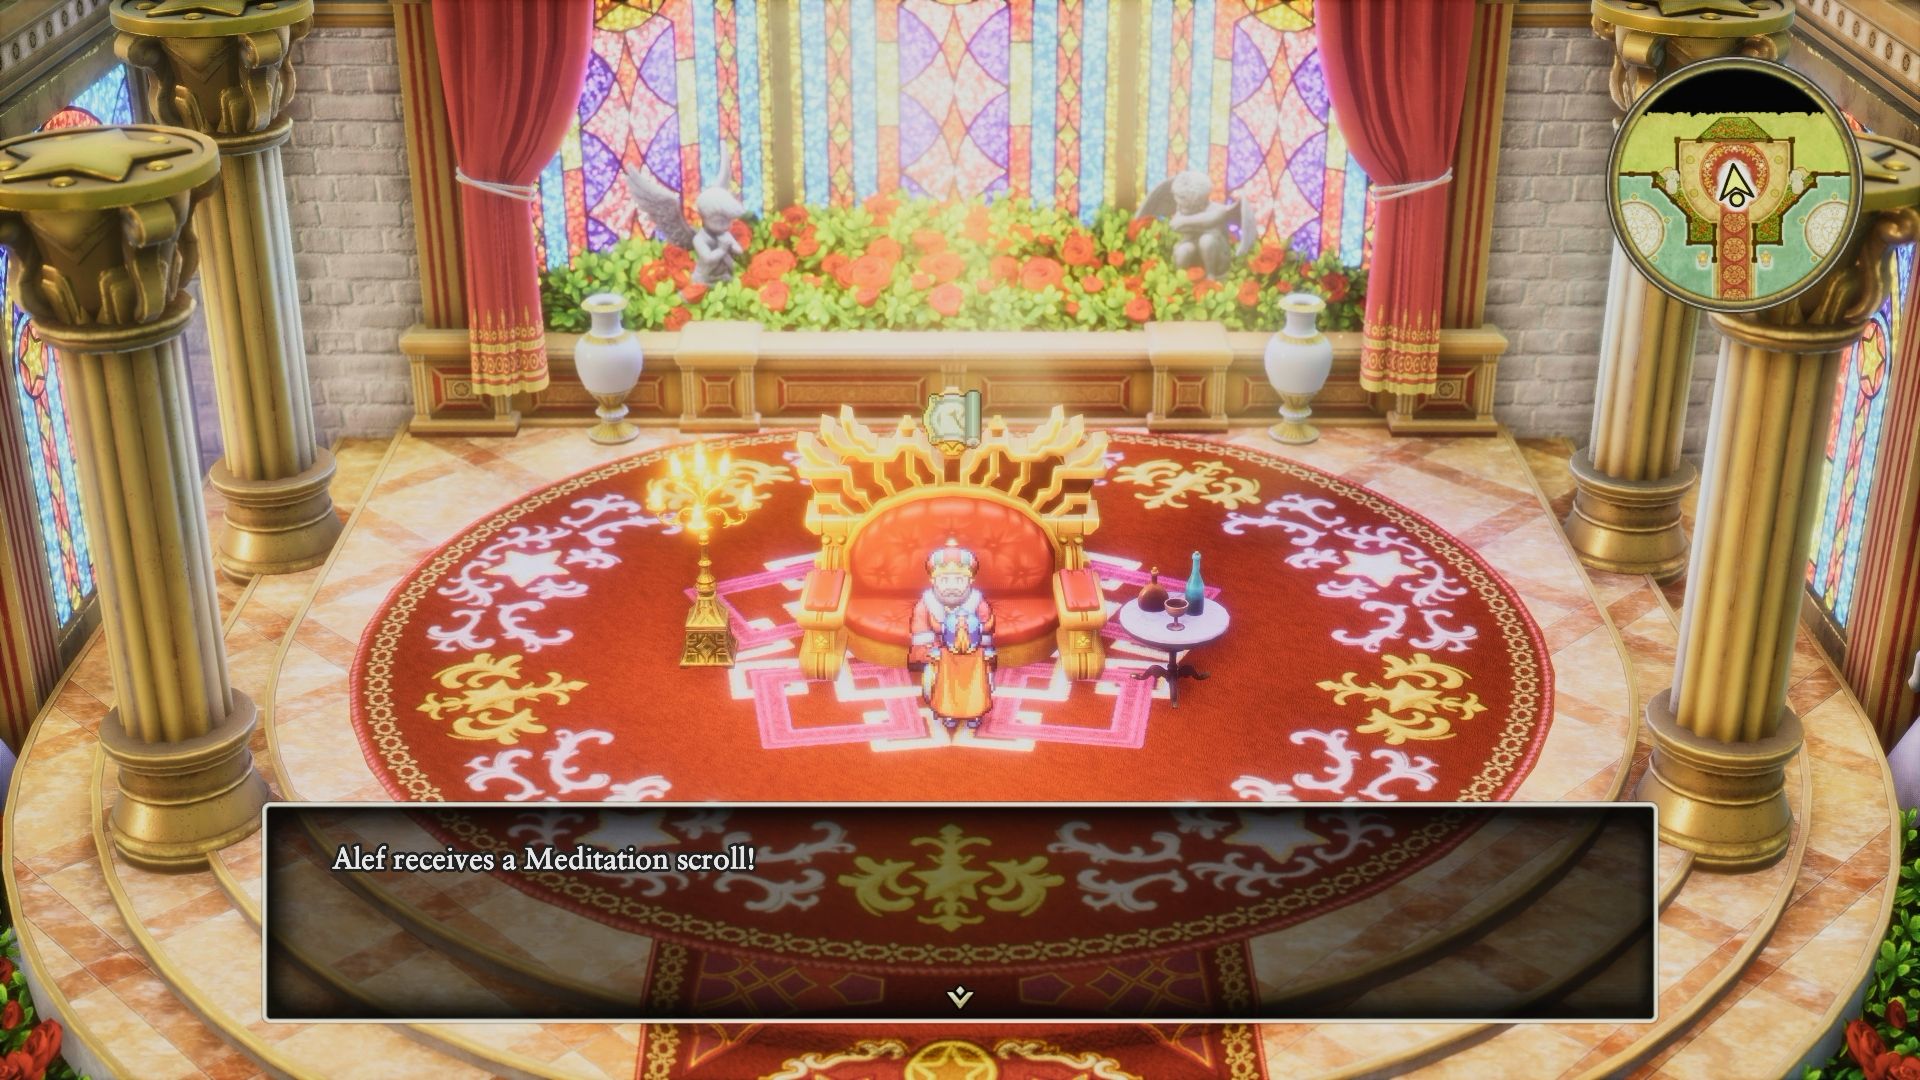
Okay, so I’ve learned that once I collect 35 Mini Medals, I can head back to the Medal Monarch and trade them in for a Meditation scroll. Pretty cool reward, right?
You really should learn meditation, as it’s the most powerful healing skill in the game. Not only does it restore a large amount of health – 500 HP with one use – but it also lets you bypass enemies who can block magic.
This scroll is the final collectible in Dragon Quest I HD-2D Remake. Getting it will unlock the “A Man of Many Talents” achievement or trophy once you’ve mastered all spells and abilities through leveling up.
Read More
- Gold Rate Forecast
- Avengers: Doomsday Spoilers & Leaks Addressed By Director Joe Russo: “It’s Over-Policed”
- Assassin’s Creed is getting a live stage spin-off with parkour and choreographed fights
- Crimson Desert Guide – How to Pay Fines, Bounties & Debt
- Apple TV’s Imperfect Women Becomes No. 1 Most-Watched Show Globally
- What is Omoggle? The AI face-rating platform taking over Twitch
- Pragmata: Every Hacking Mode, Ranked
- Blake Lively & Justin Baldoni Settle It Ends With Us Lawsuit 18 Months After Bitter Feud Began
- Man pulls car with his manhood while on fire to raise awareness for prostate cancer
- The 7-Part Dystopian Series Streaming For Free This Month Deserves Its 93% Rotten Tomatoes Score
2025-10-31 20:42