Valorant Madness: An Epic Match Against Pro Players!
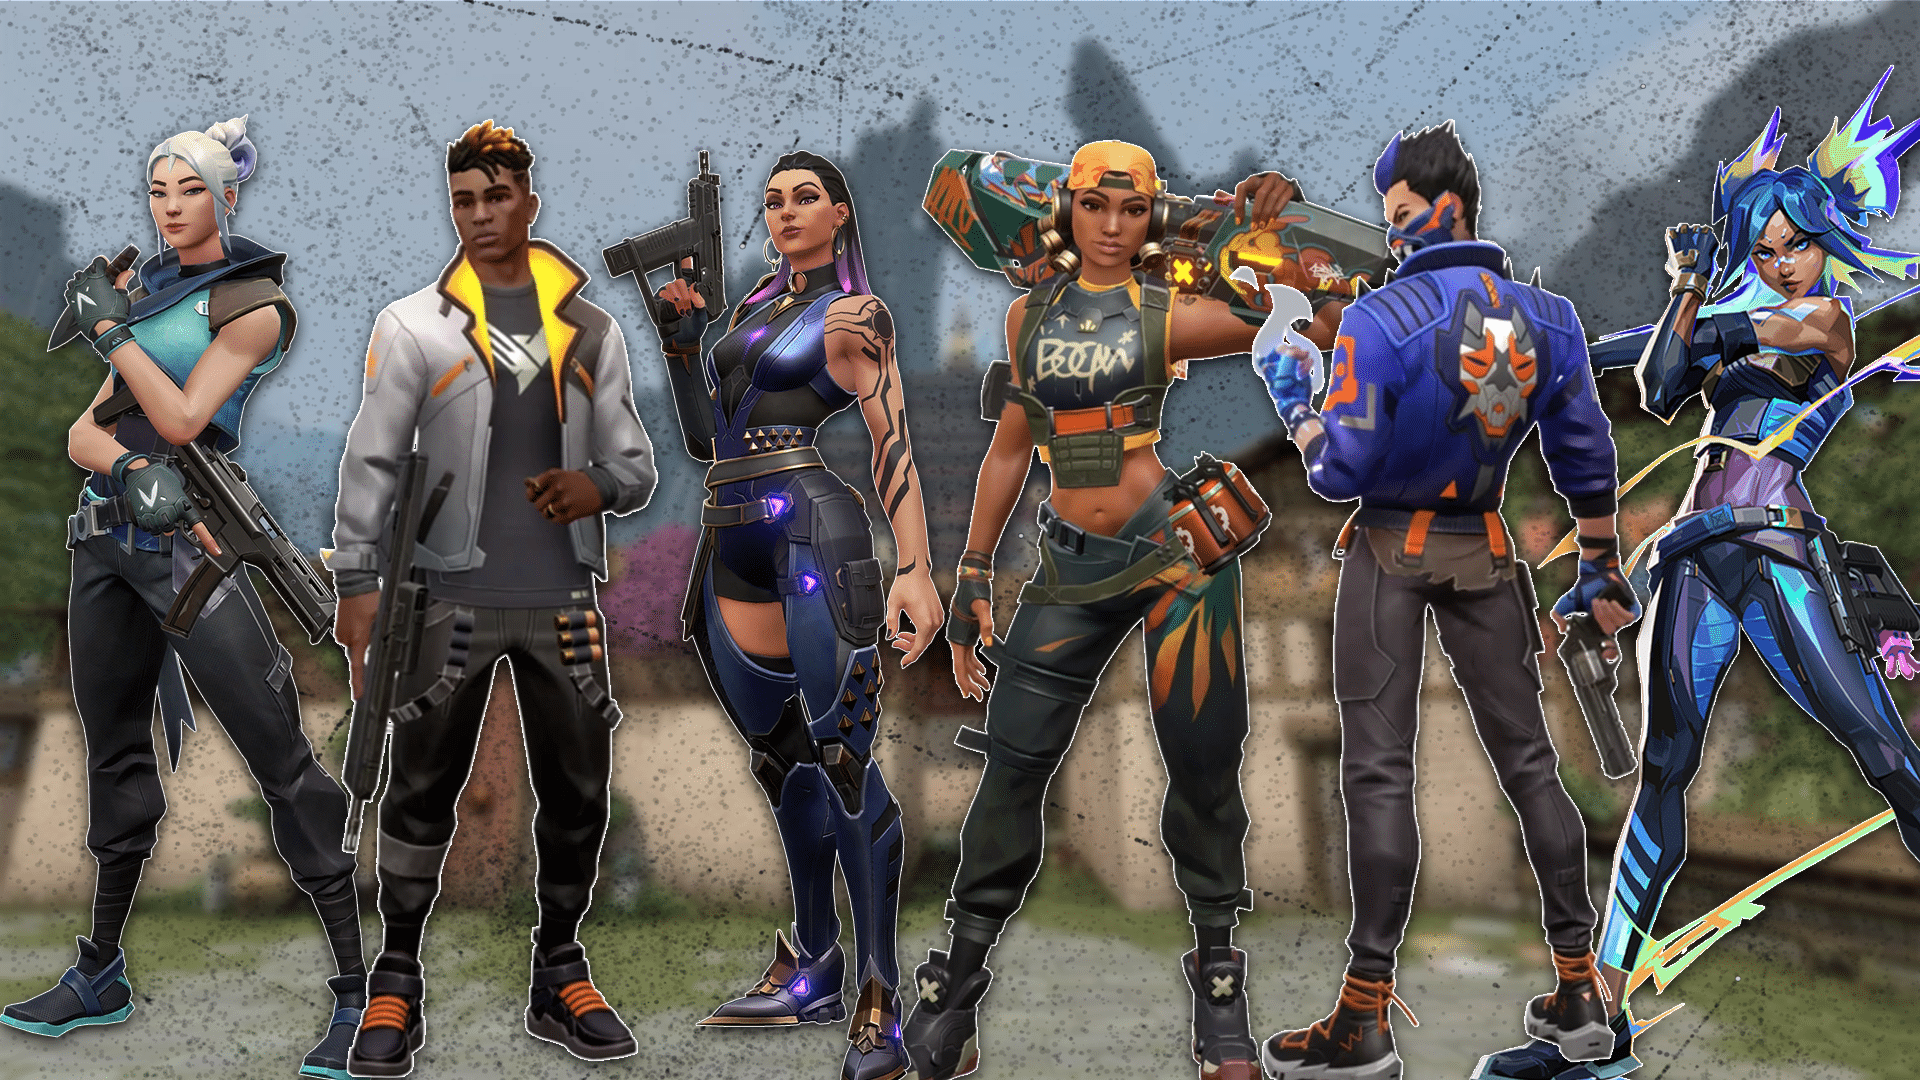
The user initially sought a casual warm-up for sharpening their skills before jumping back into competitive matches. Instead of finding other Silver players, they stumbled upon Valorant virtuosos! Many seasoned gamers have spoken of their own unexpected challenges turning into chaos during warm-ups, and this experience was no exception. The user found themselves overwhelmed in every corner as they faced off against these pros. As the exhilaration and disappointment set in, the excitement seeped through in their posts. Gamers from all walks of life responded, eager to share their own stories of unexpected encounters with experts.