Crimson Desert features a lot of challenging puzzles that might leave you stumped. You’ll encounter these puzzles both while exploring the game world – like the one in Trembling Woods – and as part of the main story.
The Forbidden Knowledge quest involves several challenging tasks. You’ll need to break rocks, navigate tricky terrain, solve a difficult puzzle, and defeat a flying boss to progress.
Here’s a guide to finishing the Forbidden Knowledge quest in Crimson Desert, with a step-by-step explanation of everything you need to do.
Accessing Scholastone
The “Forbidden Knowledge” quest in Crimson Desert can start in a few different ways. We personally received a letter from Alustin delivered by a messenger bird. However, other players have reported getting the quest from a beggar in Hernand or finding the letter delivered directly to their camp, so be sure to check for those possibilities.
Once you’ve read the letter, go to Darroch in Harnand to get your Scholastone Uniform. You’ll need this uniform to be able to talk to people in Scholastone.
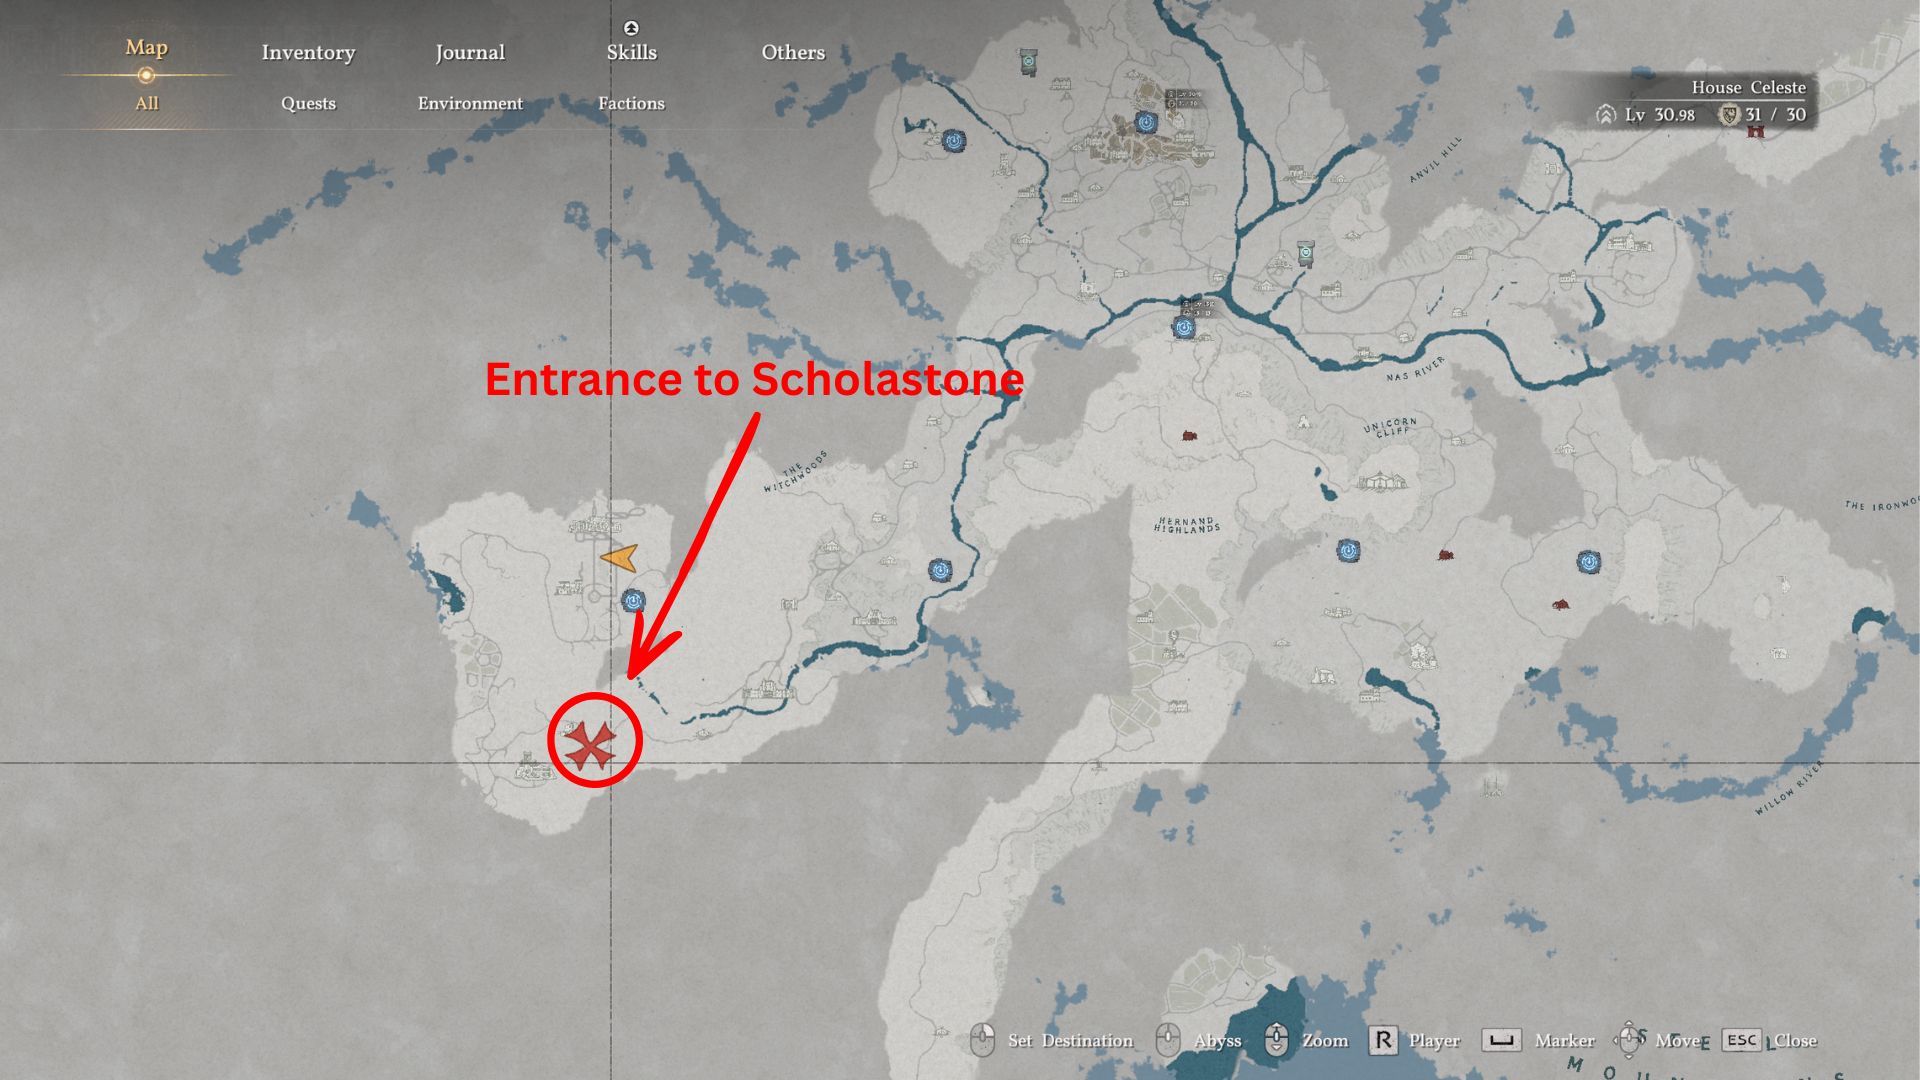
Your next goal is to travel to Scholastone, located southwest of Hernand, close to Fort Perwin. Be careful, as the fort may still be occupied by Bleed Bandits if you haven’t already taken it. Once you’re there, you can also unlock a fast travel point nearby to help you get around more quickly.
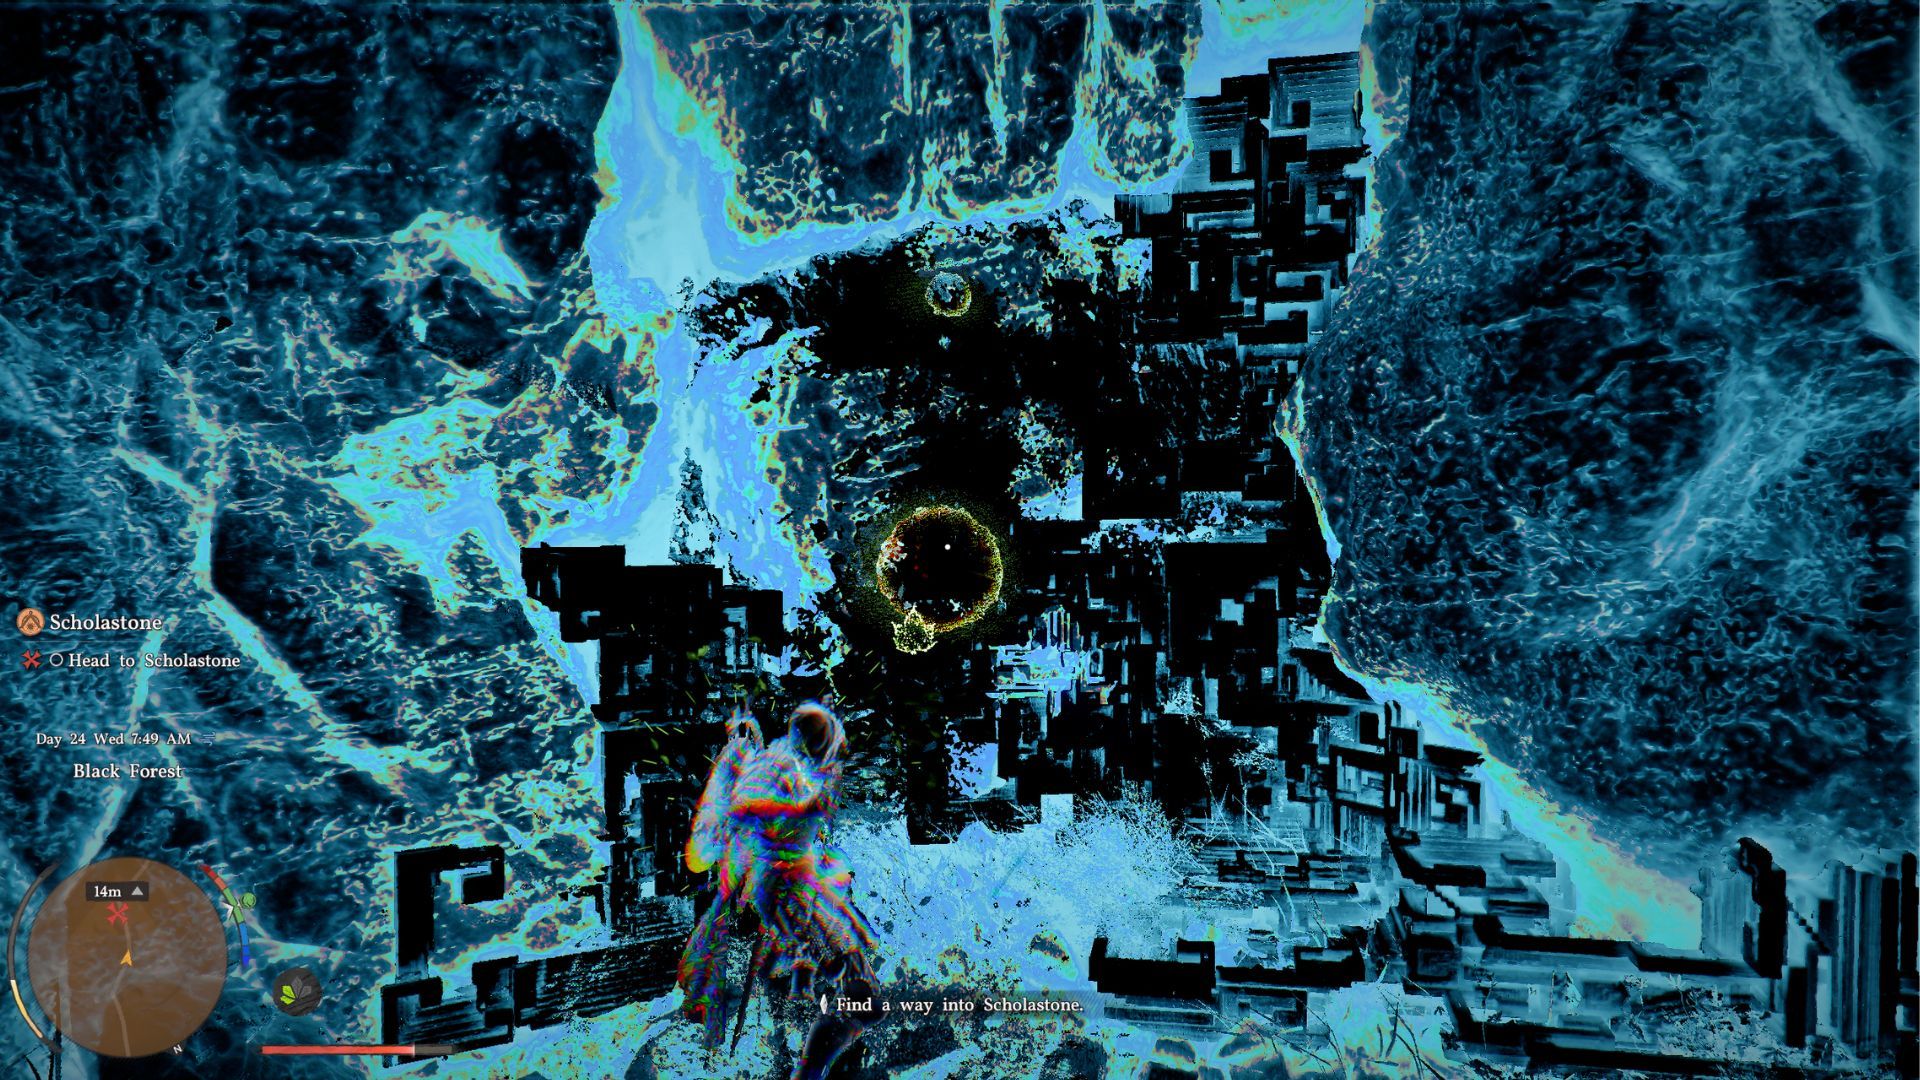
On your way to Scholastone, you’ll encounter walls of glowing rocks. To get past some, you’ll need the Scholastone Uniform. For others, you’ll have to use the Focus Force Palm technique – use it on the energy within the rocks to shatter them and clear the way.
When you arrive at Scholastone, a troll will explain everything about the institute. However, they’ll only talk to you if you’re wearing the Scholastone Uniform, so don’t take it off!
Head to the Scholastone Institute and talk to Dean Grundir. He’ll introduce you to Octavius. After that, you’ll need to wait 24 hours before you can continue with the quest.
Helping With Octavius’ Experiment
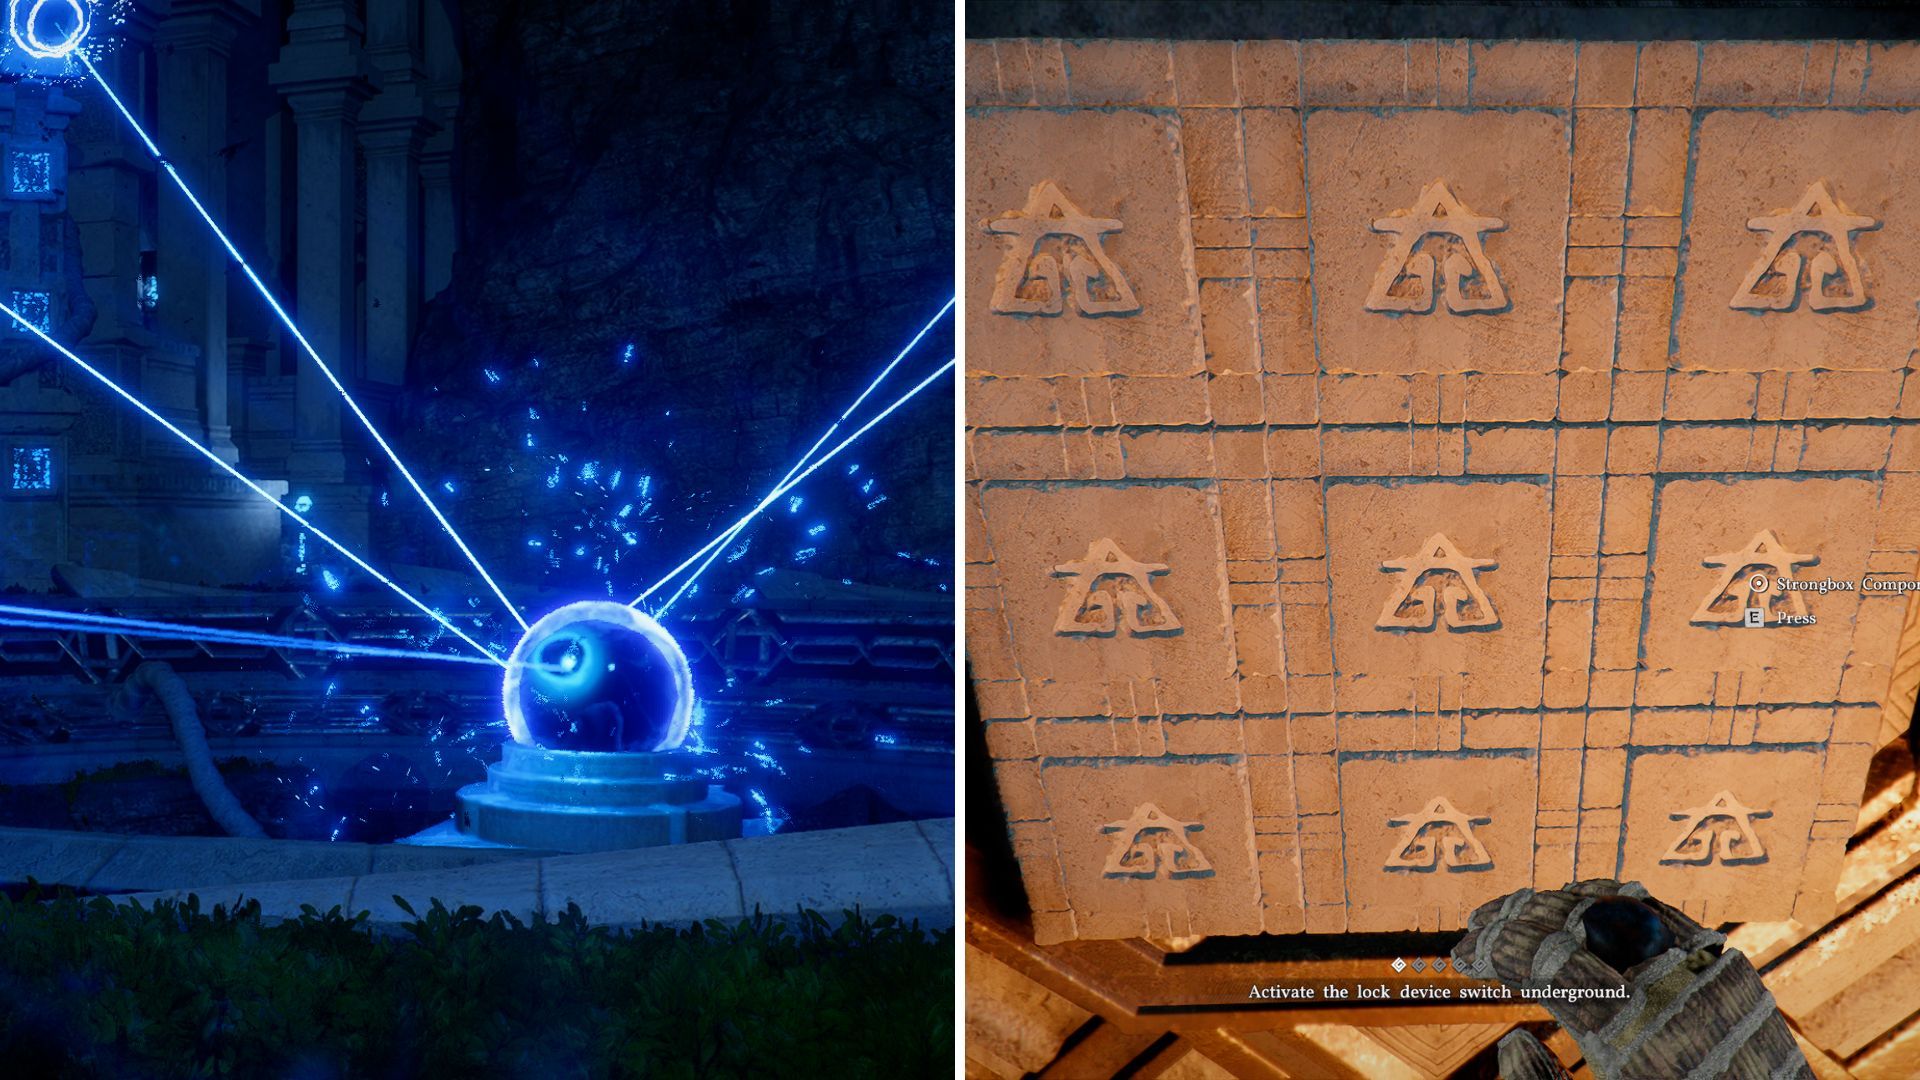
Once you’re ready, talk to Octavius to start the experiment. You’ll need to solve a puzzle to activate a lever and open the dome. You can reach the puzzle area by taking the nearby stairs or by gliding down from the cliff. The puzzle involves pressing different blocks until they all retract and light up.
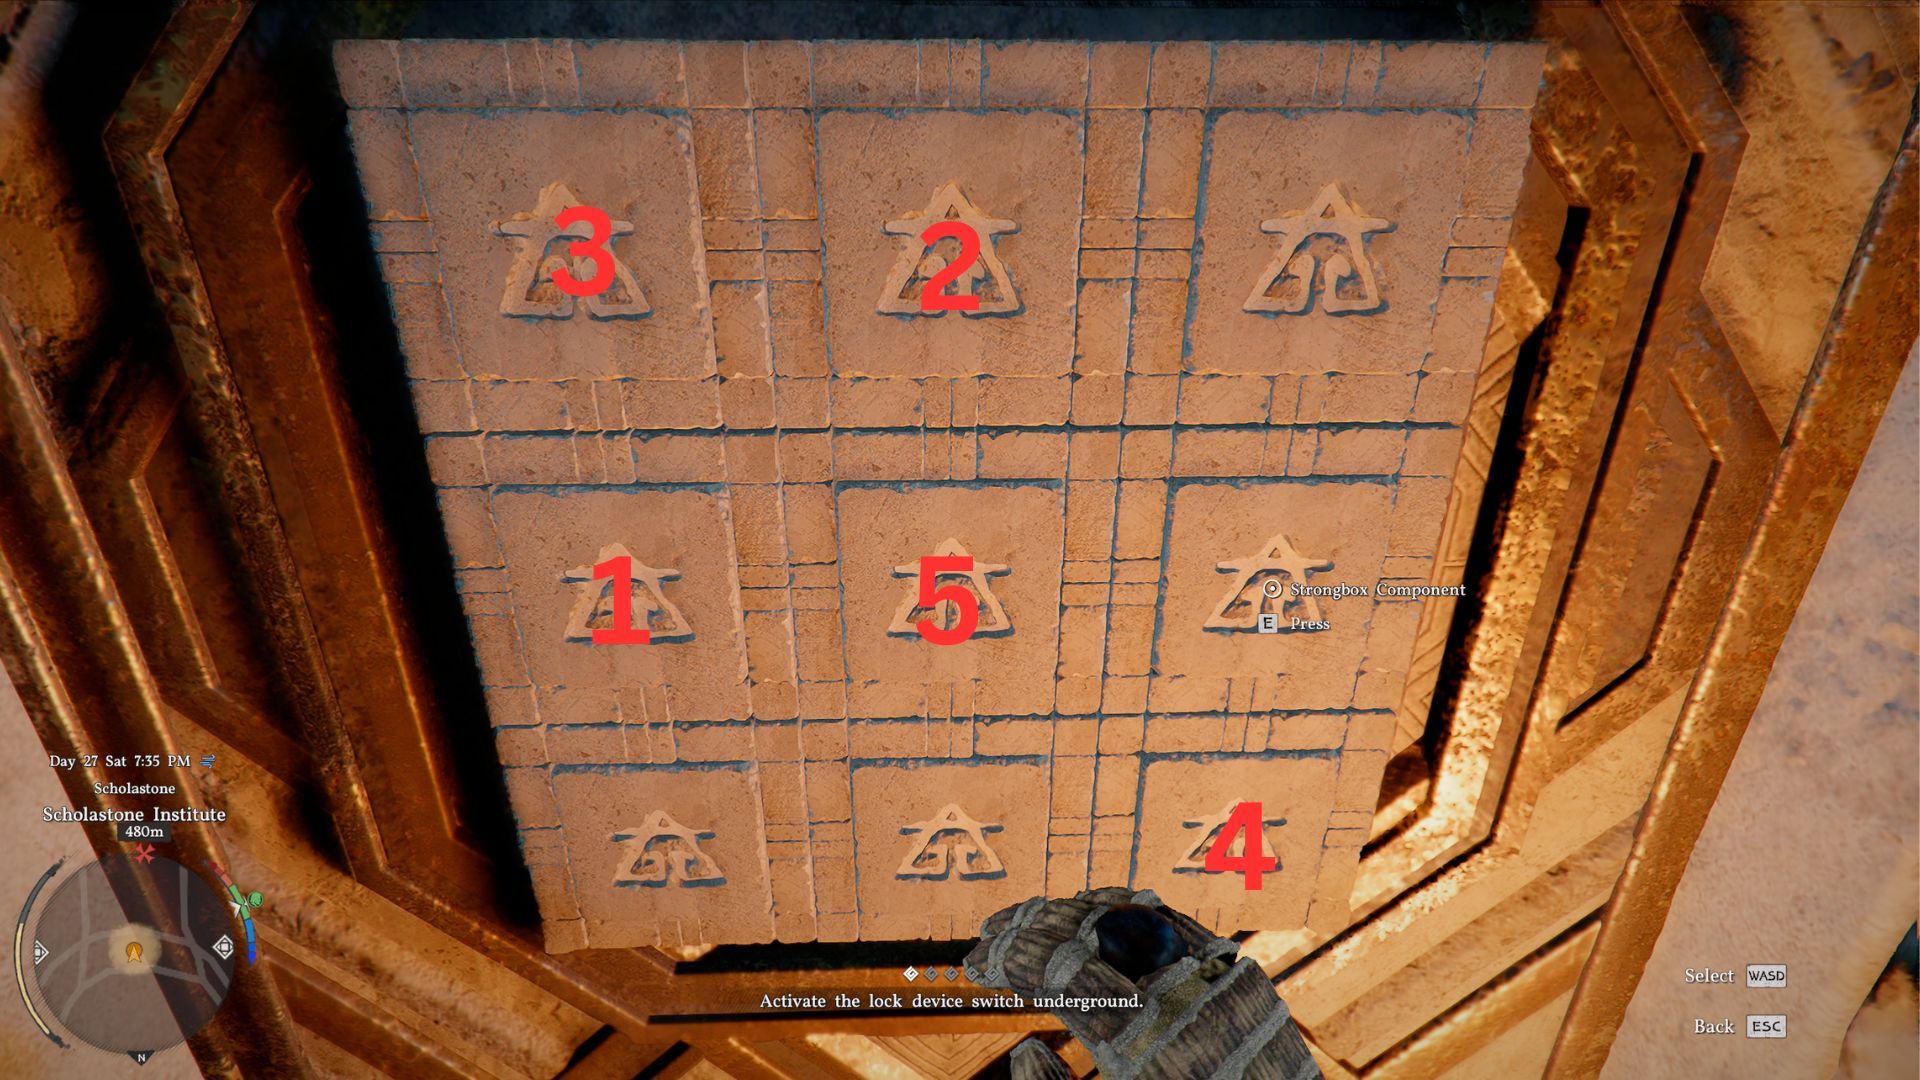
The fastest solution we have found to the puzzle is the following:
- Press the left button in the middle row.
- Press the middle button in the top row.
- Press the left button in the top row.
- Press the right button in the bottom row.
- Press the center button.
Pushing the buttons in the correct sequence will solve the puzzle and cause the dome to open. Then, place the four cubes into the columns directly above Octavius.
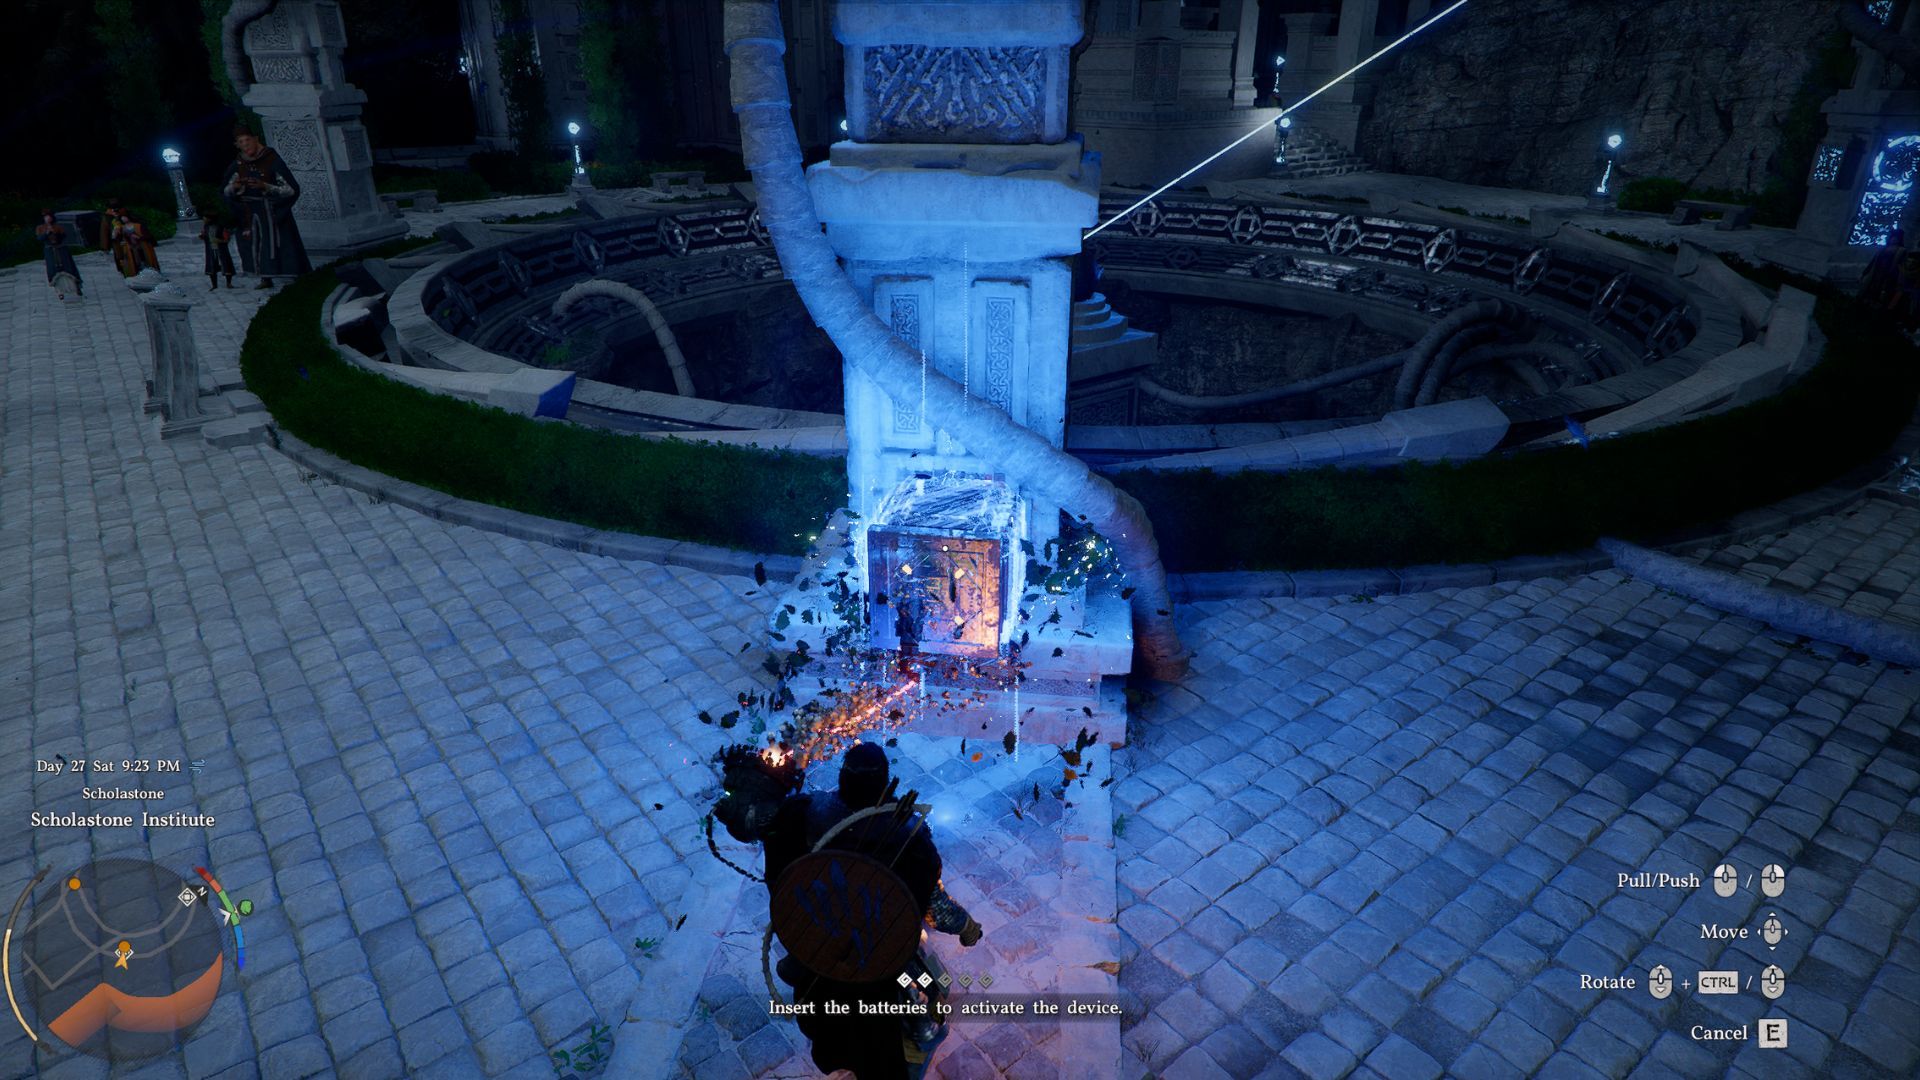
To put the cubes into the columns, lift one with your Axiom Force and position it over the column’s opening. Then, use Force Palm to push it in.
After you place all four cubes into their columns, lasers will fire towards the central core, triggering a cutscene with Octavius. You’ll discover the core is corrupted and needs to be removed. Use your Axiom Force ability to pull the core out, which will start the boss fight. It’s a good idea to have some food prepared beforehand to restore your health.
Defeating Tenebrum

You can easily defeat Tenebrum by using the arena’s columns and your Force Palm. Start by climbing one of the columns – if you’ve upgraded your Axiom Force ability, you can climb quickly by pulling yourself up.
Climb to the top of a column, then run and jump towards Tenebrum, gliding as you go. As you approach, use your Force Palm ability to inflict significant damage.
You’ll probably only need to do this a few times – around three or four. We beat Tenebrum with Force Palm after three successful strikes.
The Spire of Stars
Now that Tenebrum has been defeated, you need to climb the mountain to the Spire of Stars. When you arrive, place the core into the door to unlock it.
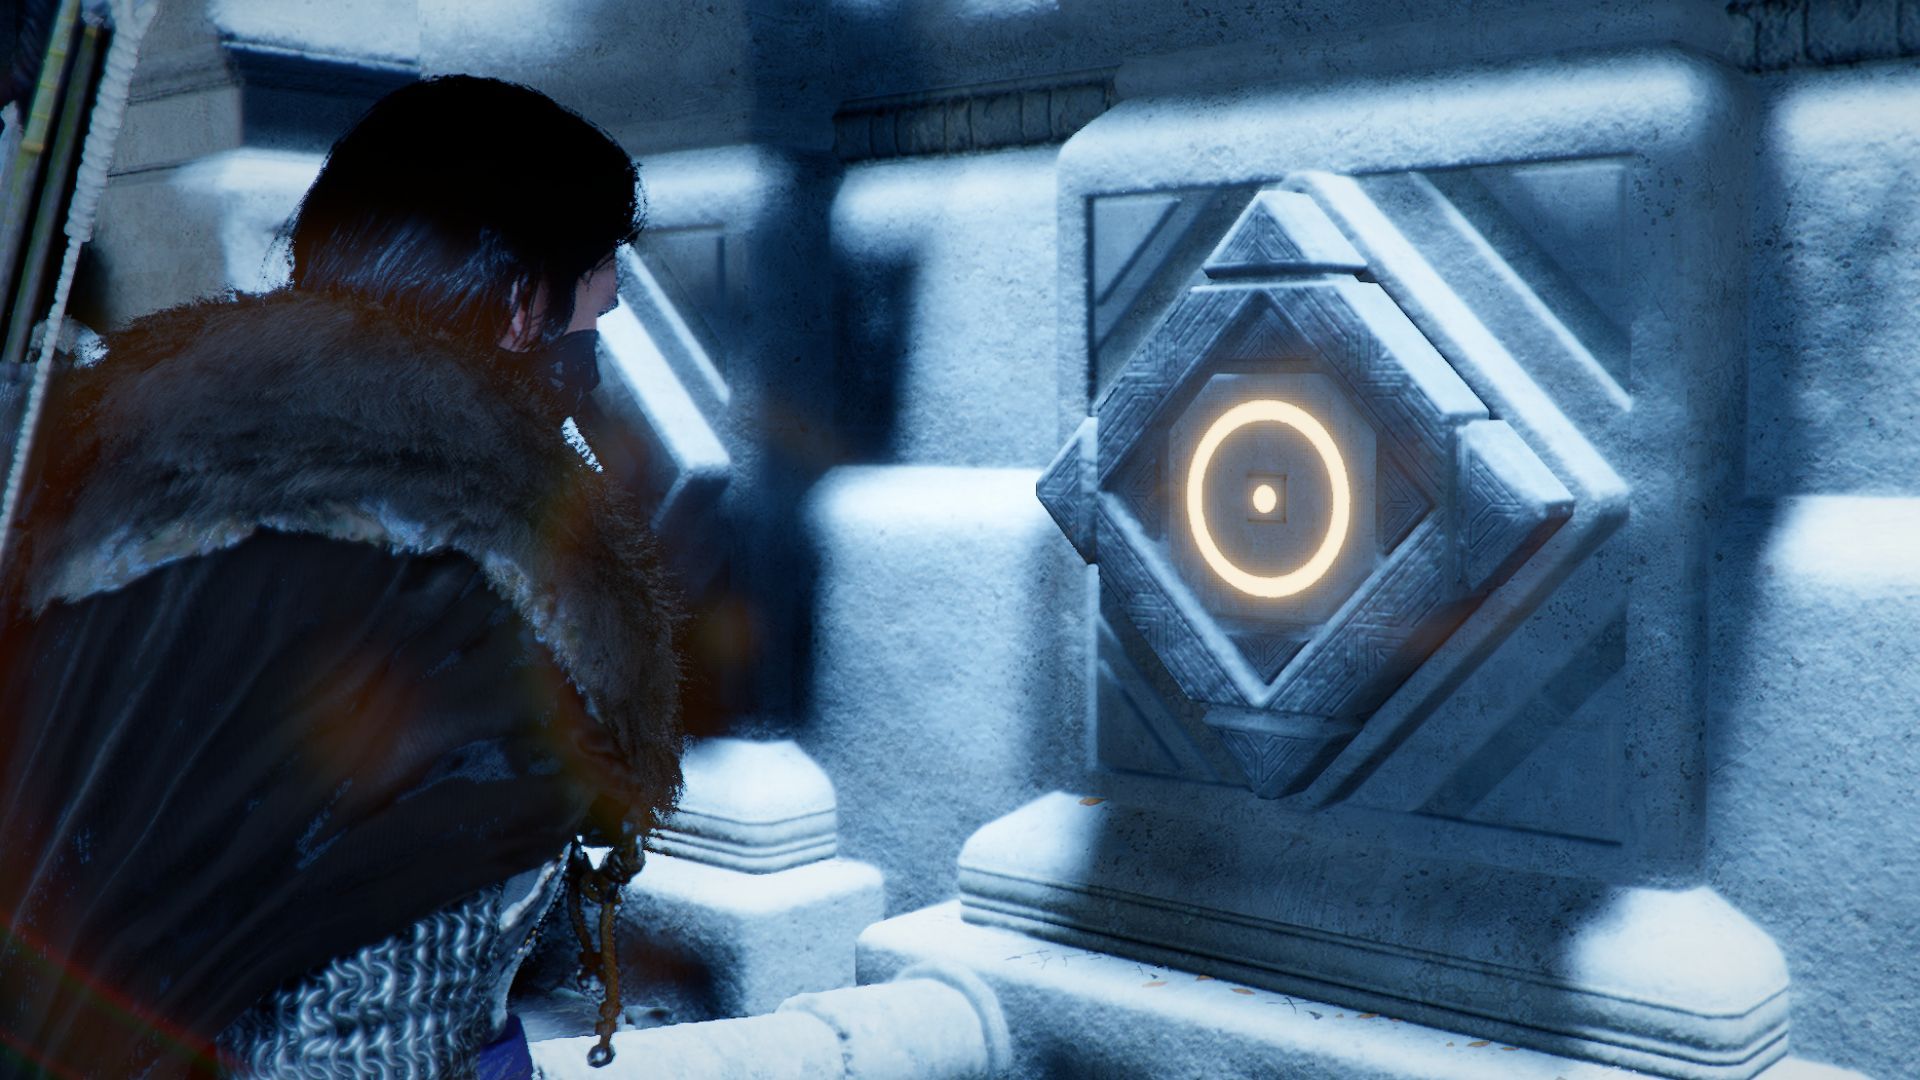
Once you’re inside, you’ll find another puzzle to solve, and we have a detailed guide to help. It involves arranging shapes in the correct sequence.
Newsletter: Crimson Desert guides and puzzle tips
After you arrange the shapes correctly on the wall, the Abyss Gate will open, allowing you to enter.
Investigating the Abyss
Once you go through the Abyss Gate, your mission is to explore the Abyss. You’ll encounter Octavius inside, but he’ll vanish as soon as you get close.
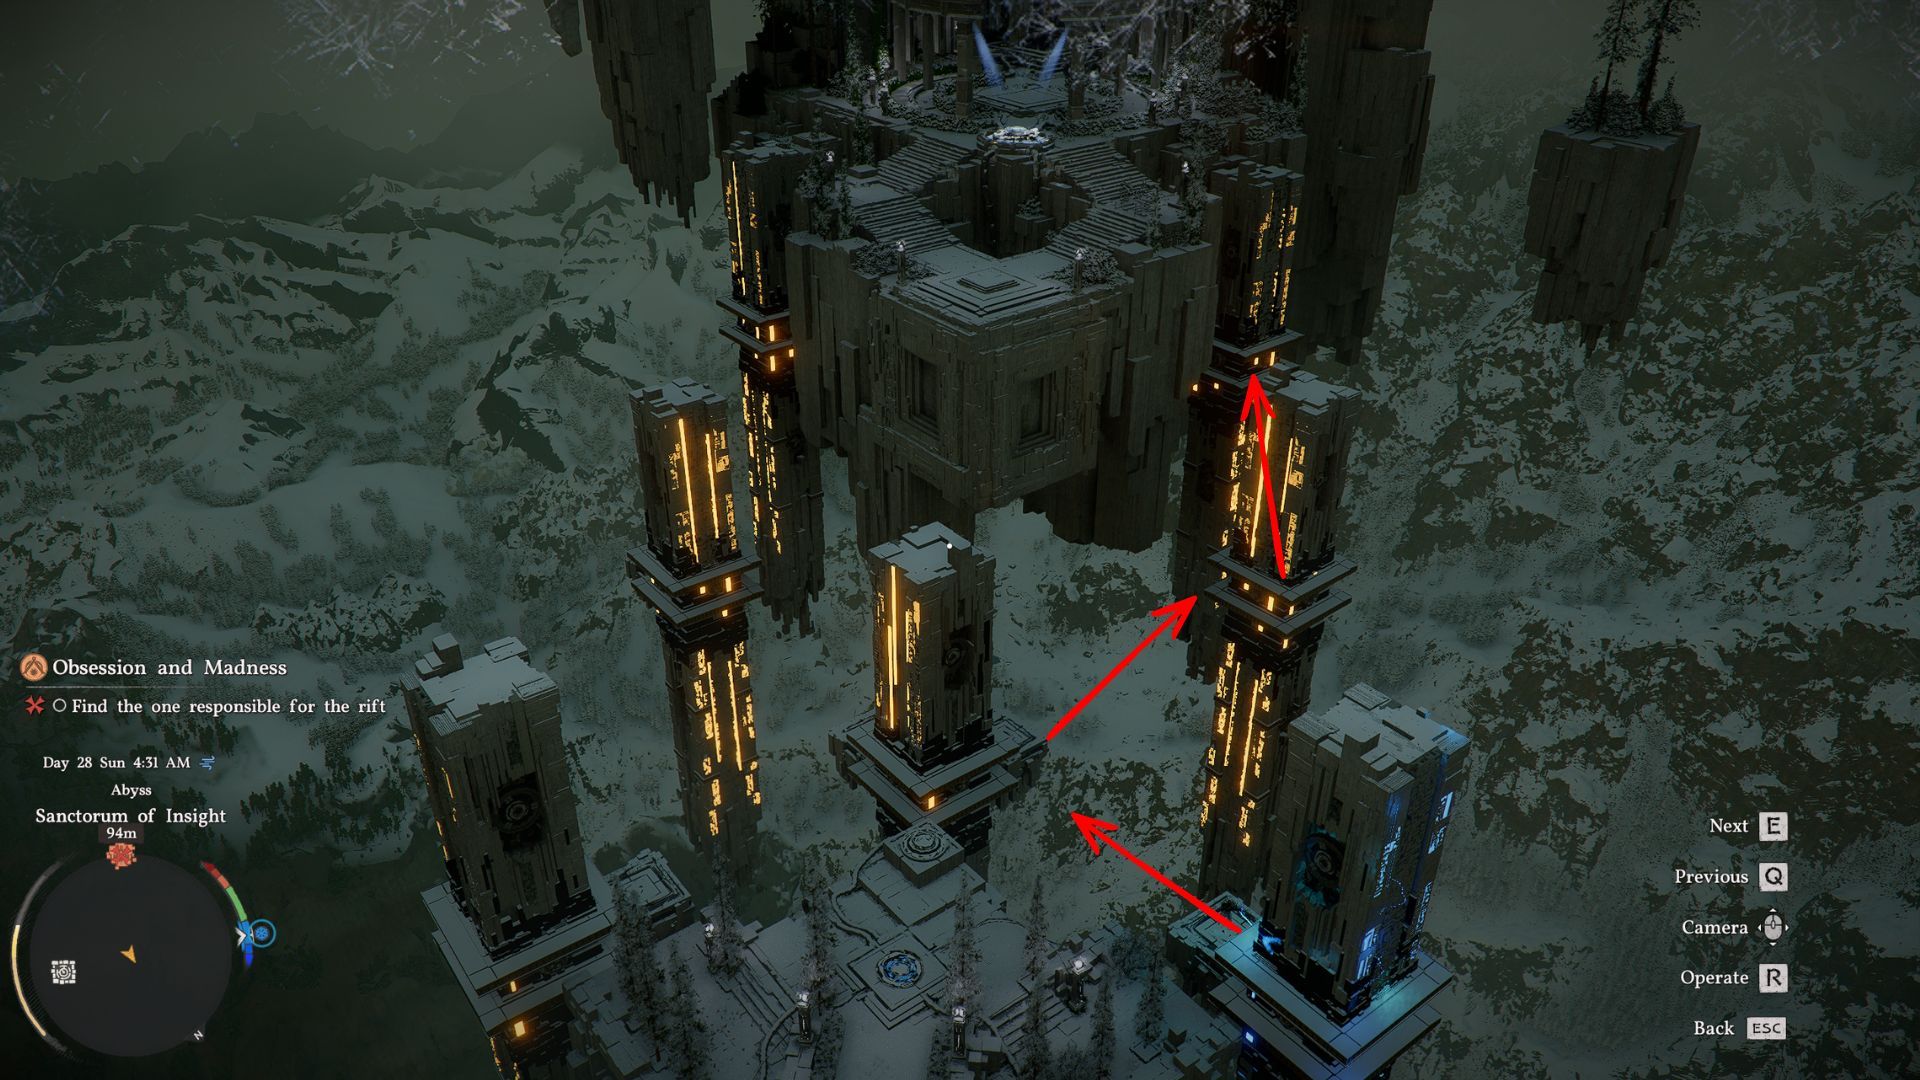
Begin by activating the Abyss Nexus. This creates a quick travel point, letting you easily return if you make a mistake or fall. To get around the Abyss, you’ll need to use the towers and floating platforms.
Step onto the floating platform. Use Axiom Force on the yellow circle to power up a tower. Choose which tower you want, then activate it – this will transport the platform to your selected tower.
Head along the path shown in the picture to cross the Abyss. Then, climb the tower to get to the platform above. When you reach the target area, use your Force Palm ability on the lit-up pressure switch to start a cutscene.
Completing this section will transport you to Scholastone after the cutscene finishes. After you’ve spoken with Grundir, return to camp to complete the quest.
Read More
- Off Campus Season 1 Soundtrack Guide
- DoorDash responds after customer uses AI to make food look bad and get a refund
- Gold Rate Forecast
- All Golden Ball Locations in Yakuza Kiwami 3 & Dark Ties
- 8 Movie Trilogies That Are More Rewatchable Than The Lord of the Rings
- 10 Most Universally Beloved Sci-Fi Movie Villains, Ranked
- Euphoria Season 3’s New R-Rated Sydney Sweeney Scene Proves The Show Is Trolling Us
- Jon Bernthal Explains Why Marvel Let Him Make The Darkest Punisher Story Ever
- YouTuber arrested after viral AI bodycam videos spark real police complaints
- Shocking AI Crypto Heist: $175K Vanish and Reappear-You Won’t Believe Why!
2026-03-21 01:10