Get ready, Elden Ring fans! The new “Nightreign” DLC is here, adding new bosses, characters, enemies, and story events. Be warned: this expansion, called “The Forsaken Hollows,” makes an already challenging game even harder.
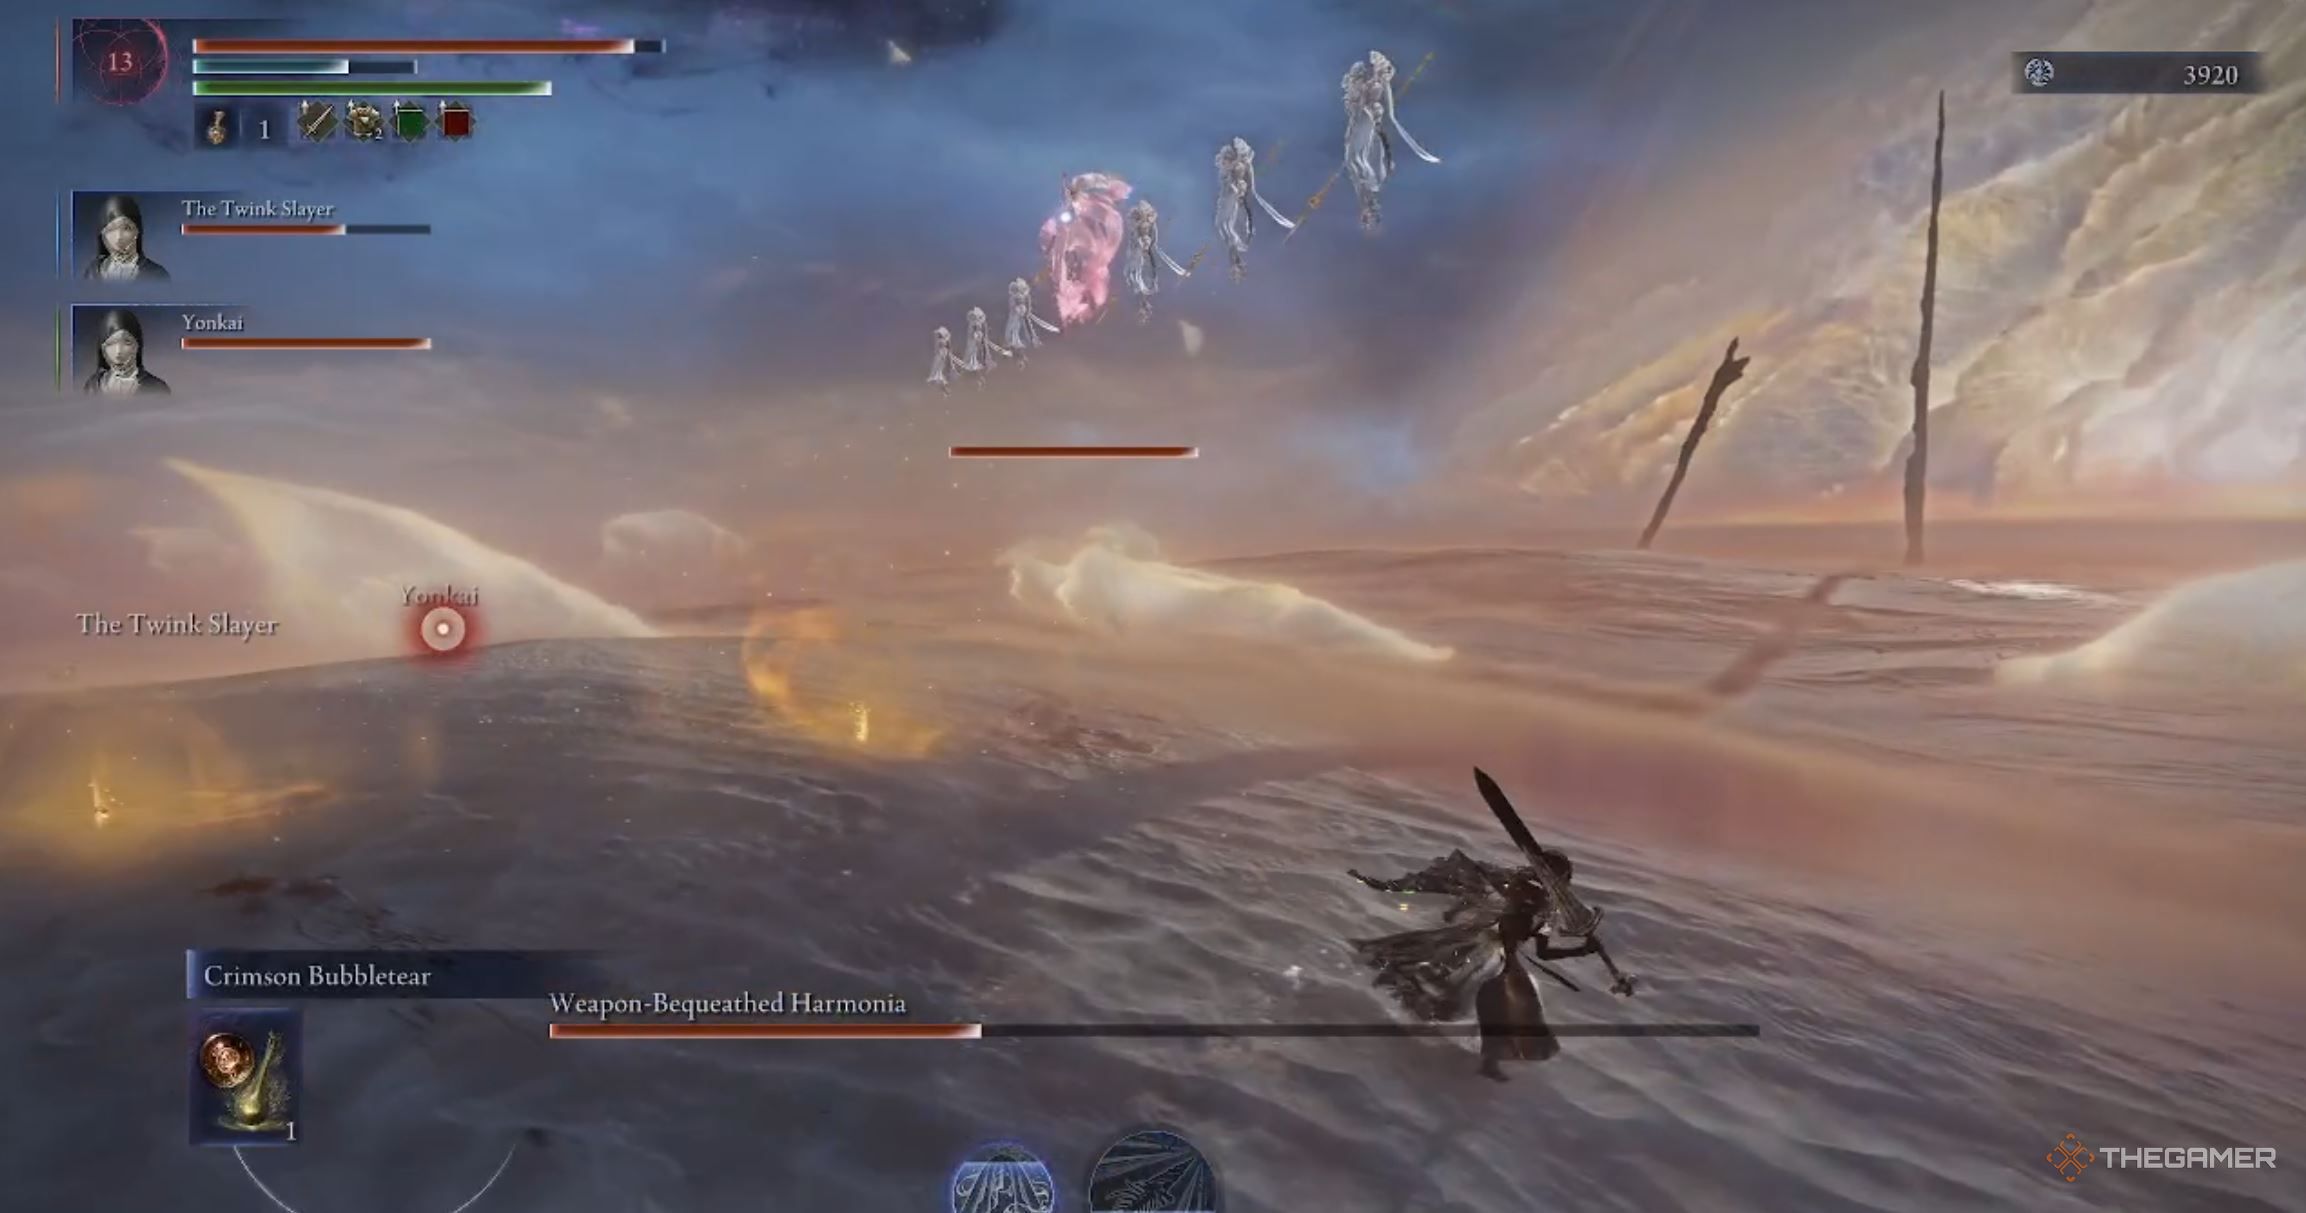
The first major challenge players will face is defeating the Balancers, also known as Weapon-Bequeathed Harmonia. This group of angelic enemies, a Nightlord-type boss, is incredibly difficult and can quickly defeat unprepared teams. This guide will show you how to beat the Balancers, including their weaknesses and the rewards you’ll receive for defeating them.
What Is The Balancers’ Weakness
Before facing the boss, it’s best to prepare as much as you can. The most important thing is to find a weapon that can inflict Sleep. This fight involves multiple enemies, and all of them are vulnerable to being put to sleep. This lets you take them on one by one during the first stage, and then focus on the main enemy in the later stages.
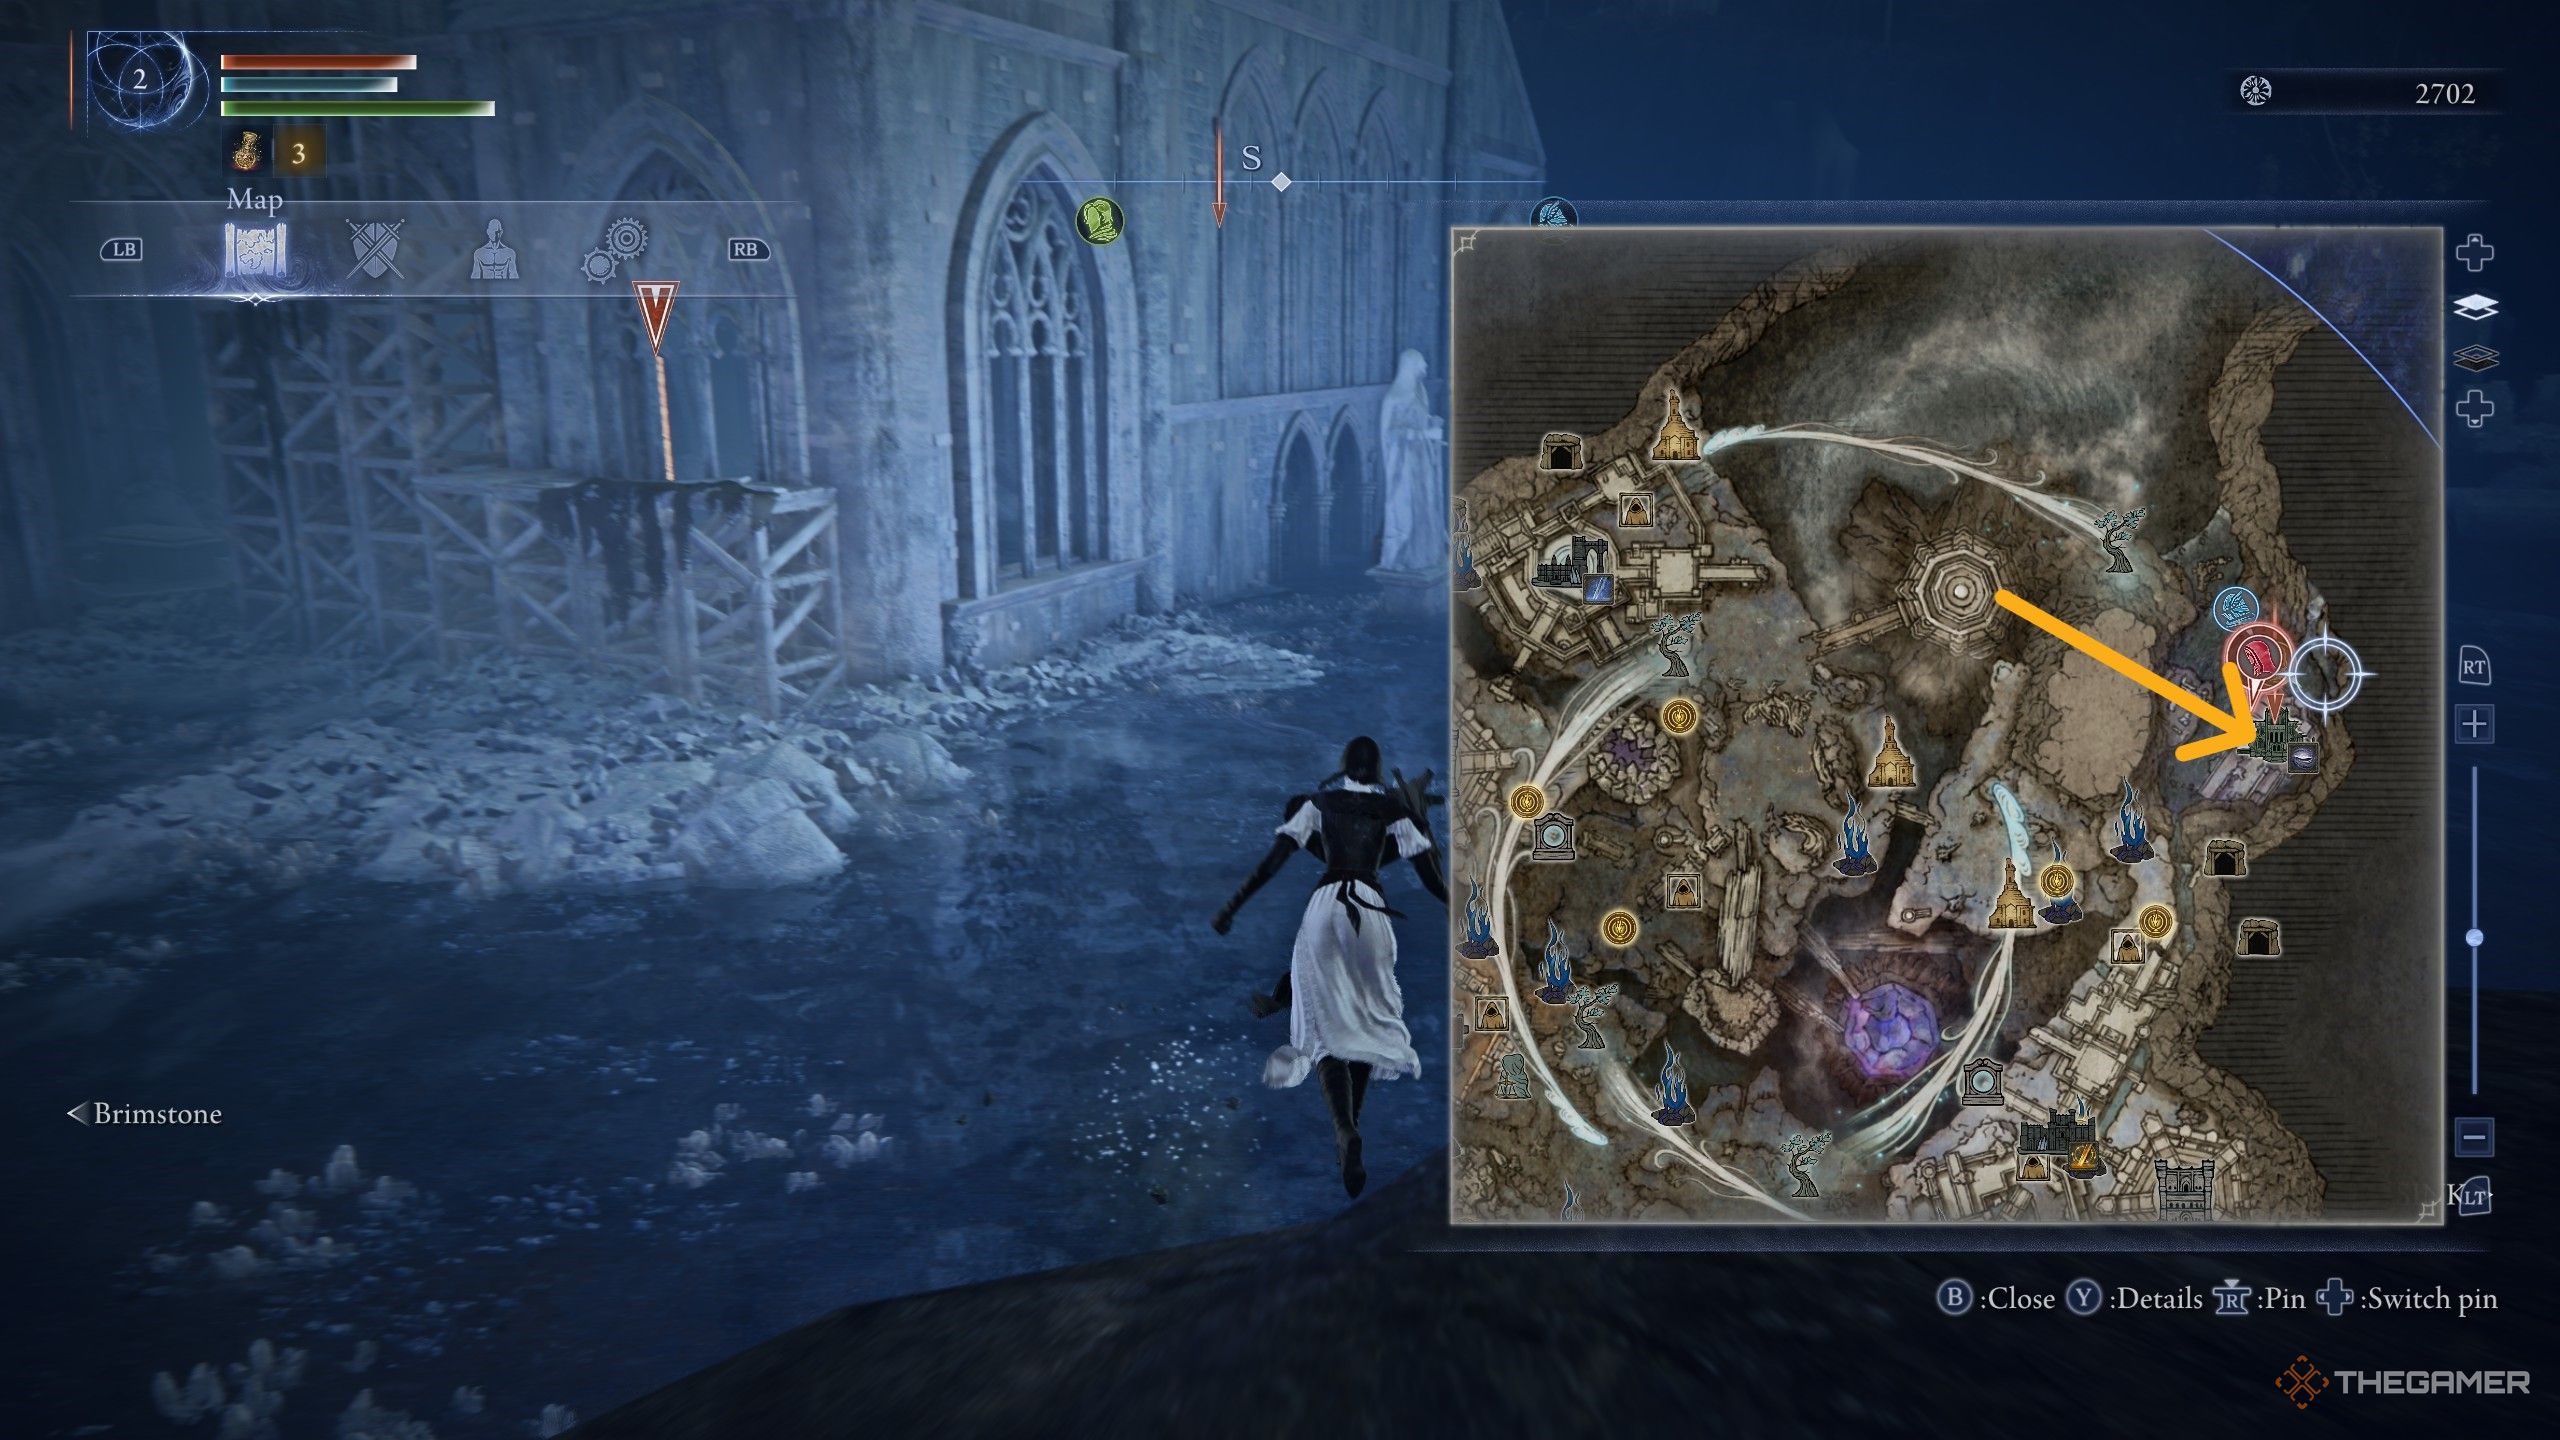
Okay, so to get this weapon upgrade, you’ve got a couple of options. You can find a camp with the Sleep symbol – it looks kinda greyish-blue – or just buy a weapon that already has that Sleep element from the shop. If you go for the camp, you’ll need to blow up those little mines that pop up to get the material. Just a heads-up, these Sleep weapons are usually pretty common, so don’t expect anything super rare!
Although you can defeat the Balancers without a sleep-inducing weapon, using one will make the battle much easier and less frustrating.
How To Defeat The Balancers
The Weapon-Bequeathed Harmonia encounter has two main stages. It challenges players with large waves of enemies and attacks using holy spears. We’ll cover each stage separately, explaining the attacks from the Balancers and how to successfully navigate them.
This battle is challenging, so don’t worry if you don’t win right away. Success comes from learning enemy attacks, knowing when to attack, choosing the best equipment, and, honestly, a little bit of chance.
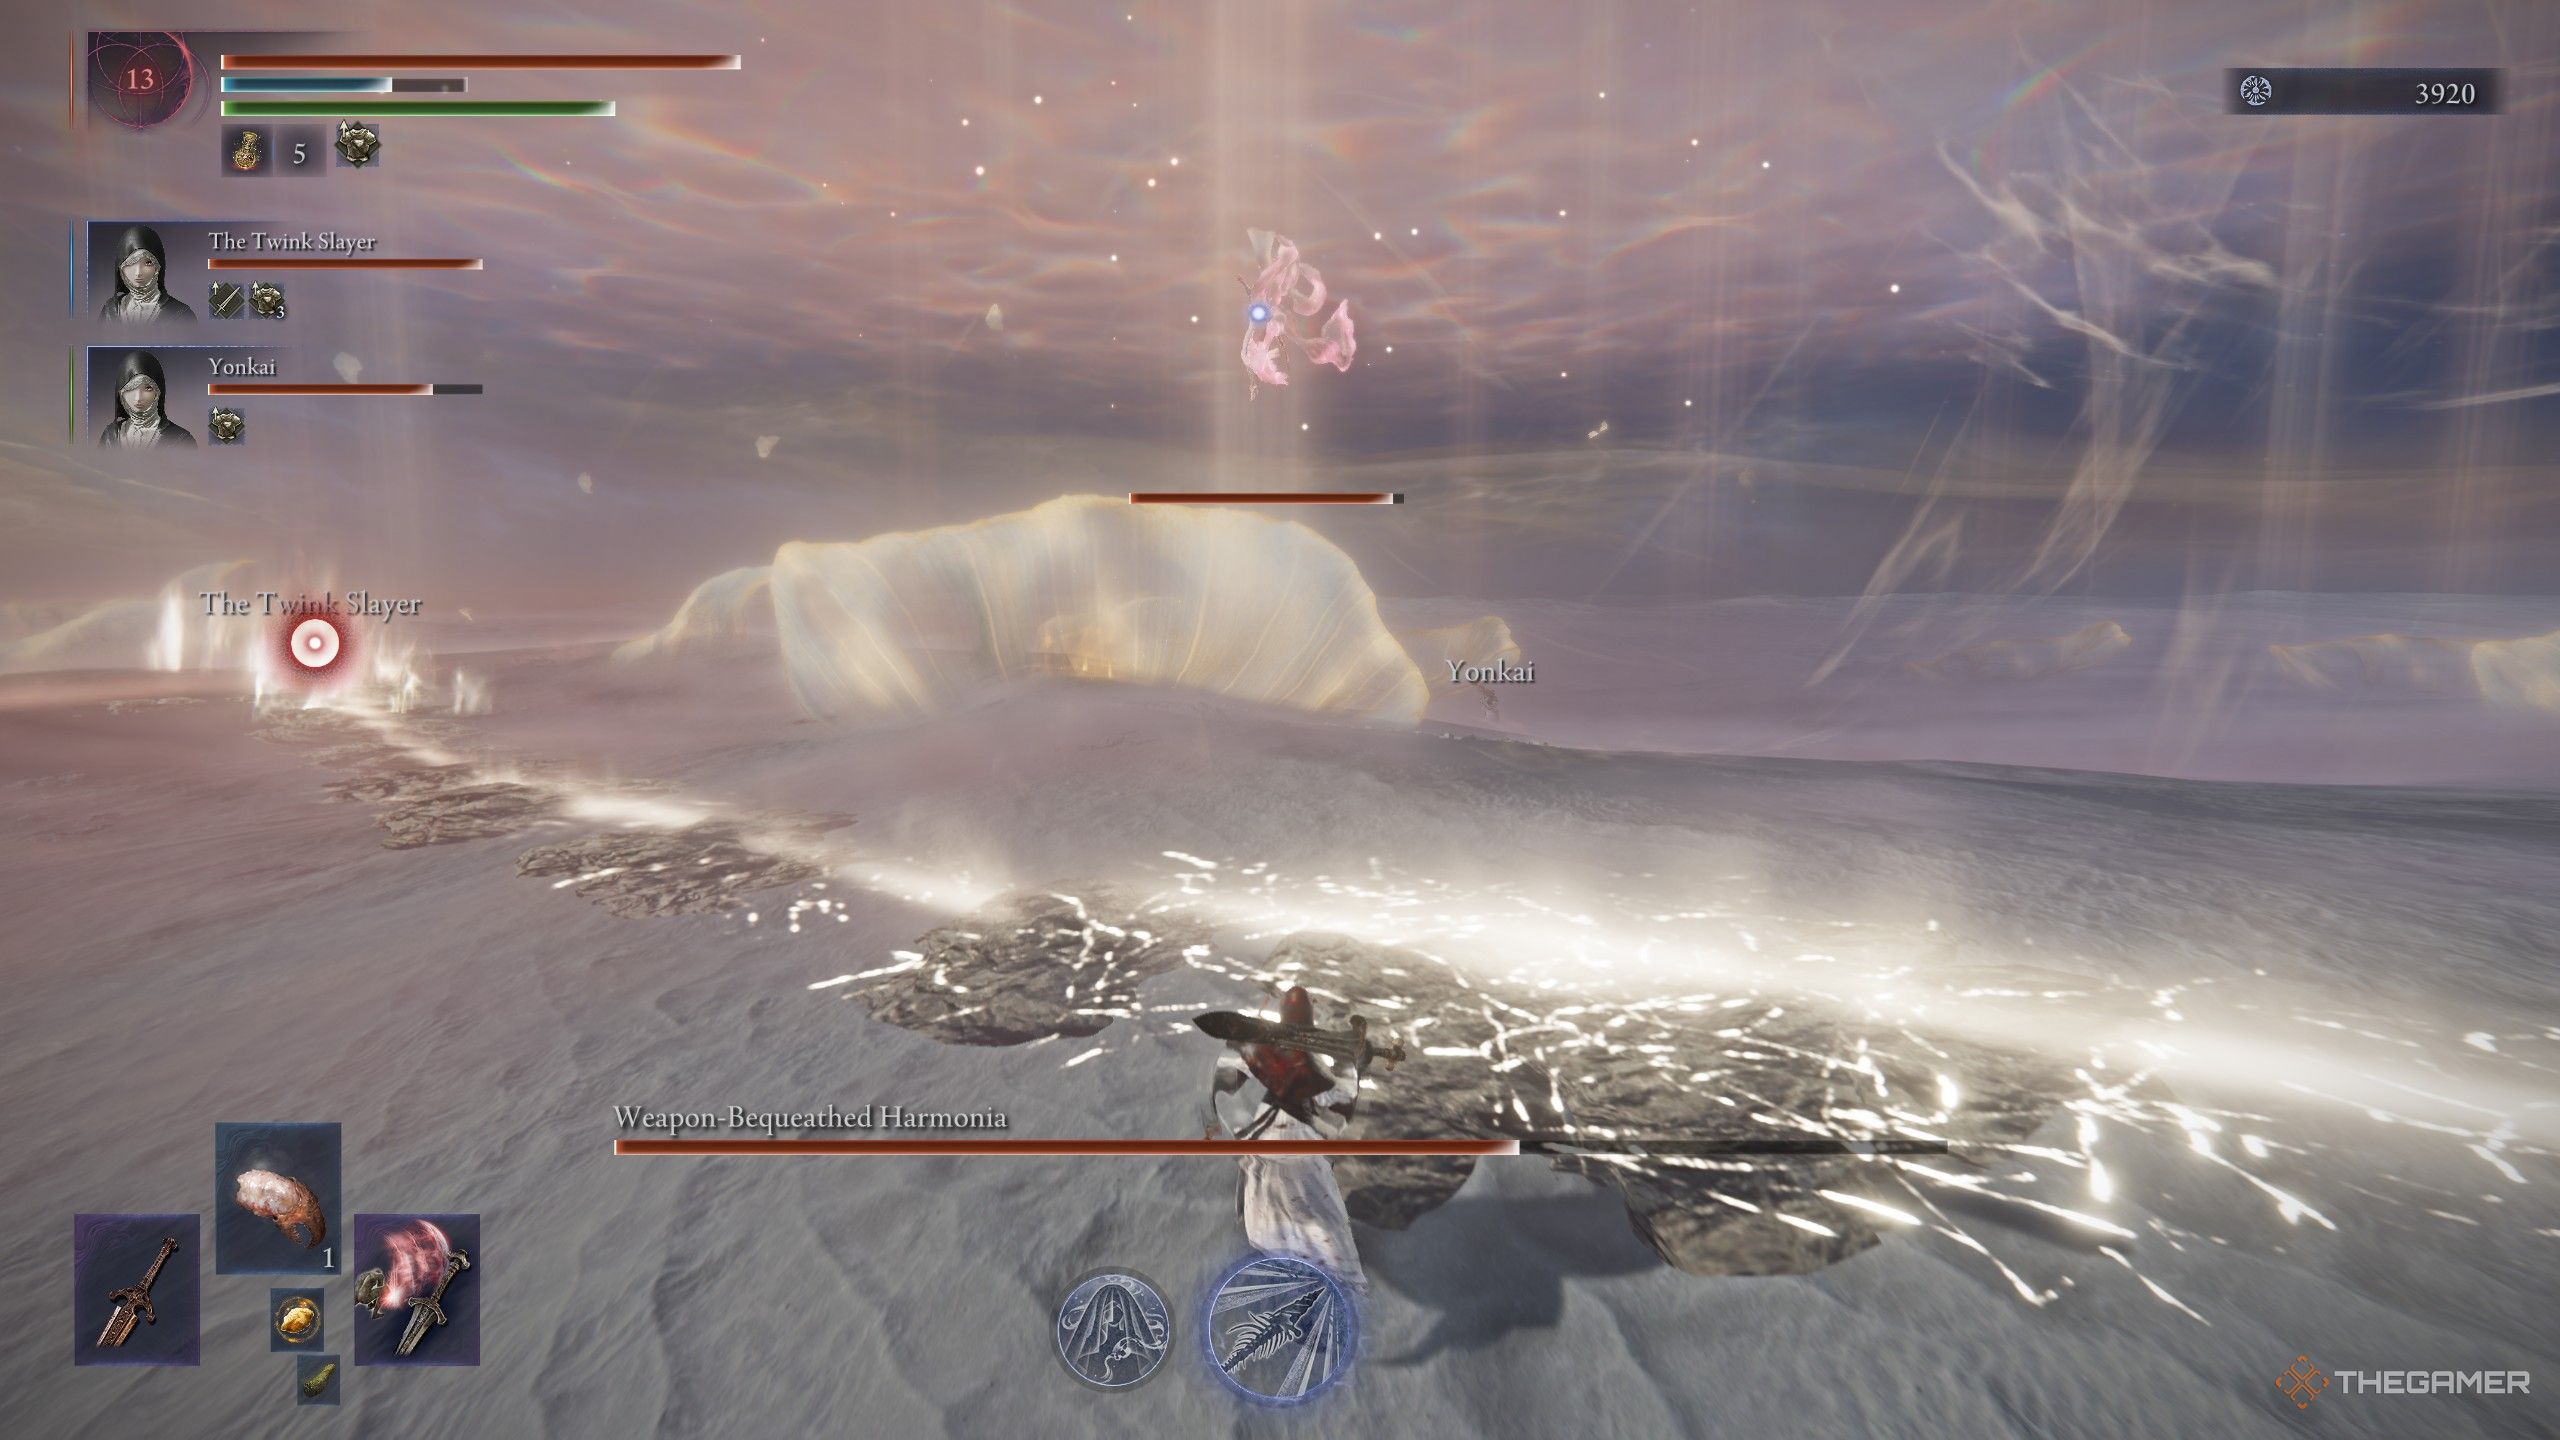
Weapon-Bequeathed Harmonia Phase One
| Attack | Description |
|---|---|
| Spear AoE | This Area of Effect attack has a Balancer kneeling onto the ground for a few seconds as a glowing ring forms around it. Once it finishes channeling, several spears will shoot out of the ground and damage anyone caught inside the ring. |
| Spear Thrust | A Balancer will thrust his spear forward twice at the player. This attack is usually a two-hit combo, with the second half seeing the Balancer running a little forward with the spear. |
| Horizontal Slash | The Balancer slashes his spear horizontally in front of them. They can either slash once or twice this way. |
| Forward Summoning Spears | Similar to the Spear AoE, the Balancer kneels and channels for a few seconds before unleashing a bunch of spears from the ground directly in front of her. |
| Grab | The Balancer lunges forward several feet and tries to grab the player with one hand. |
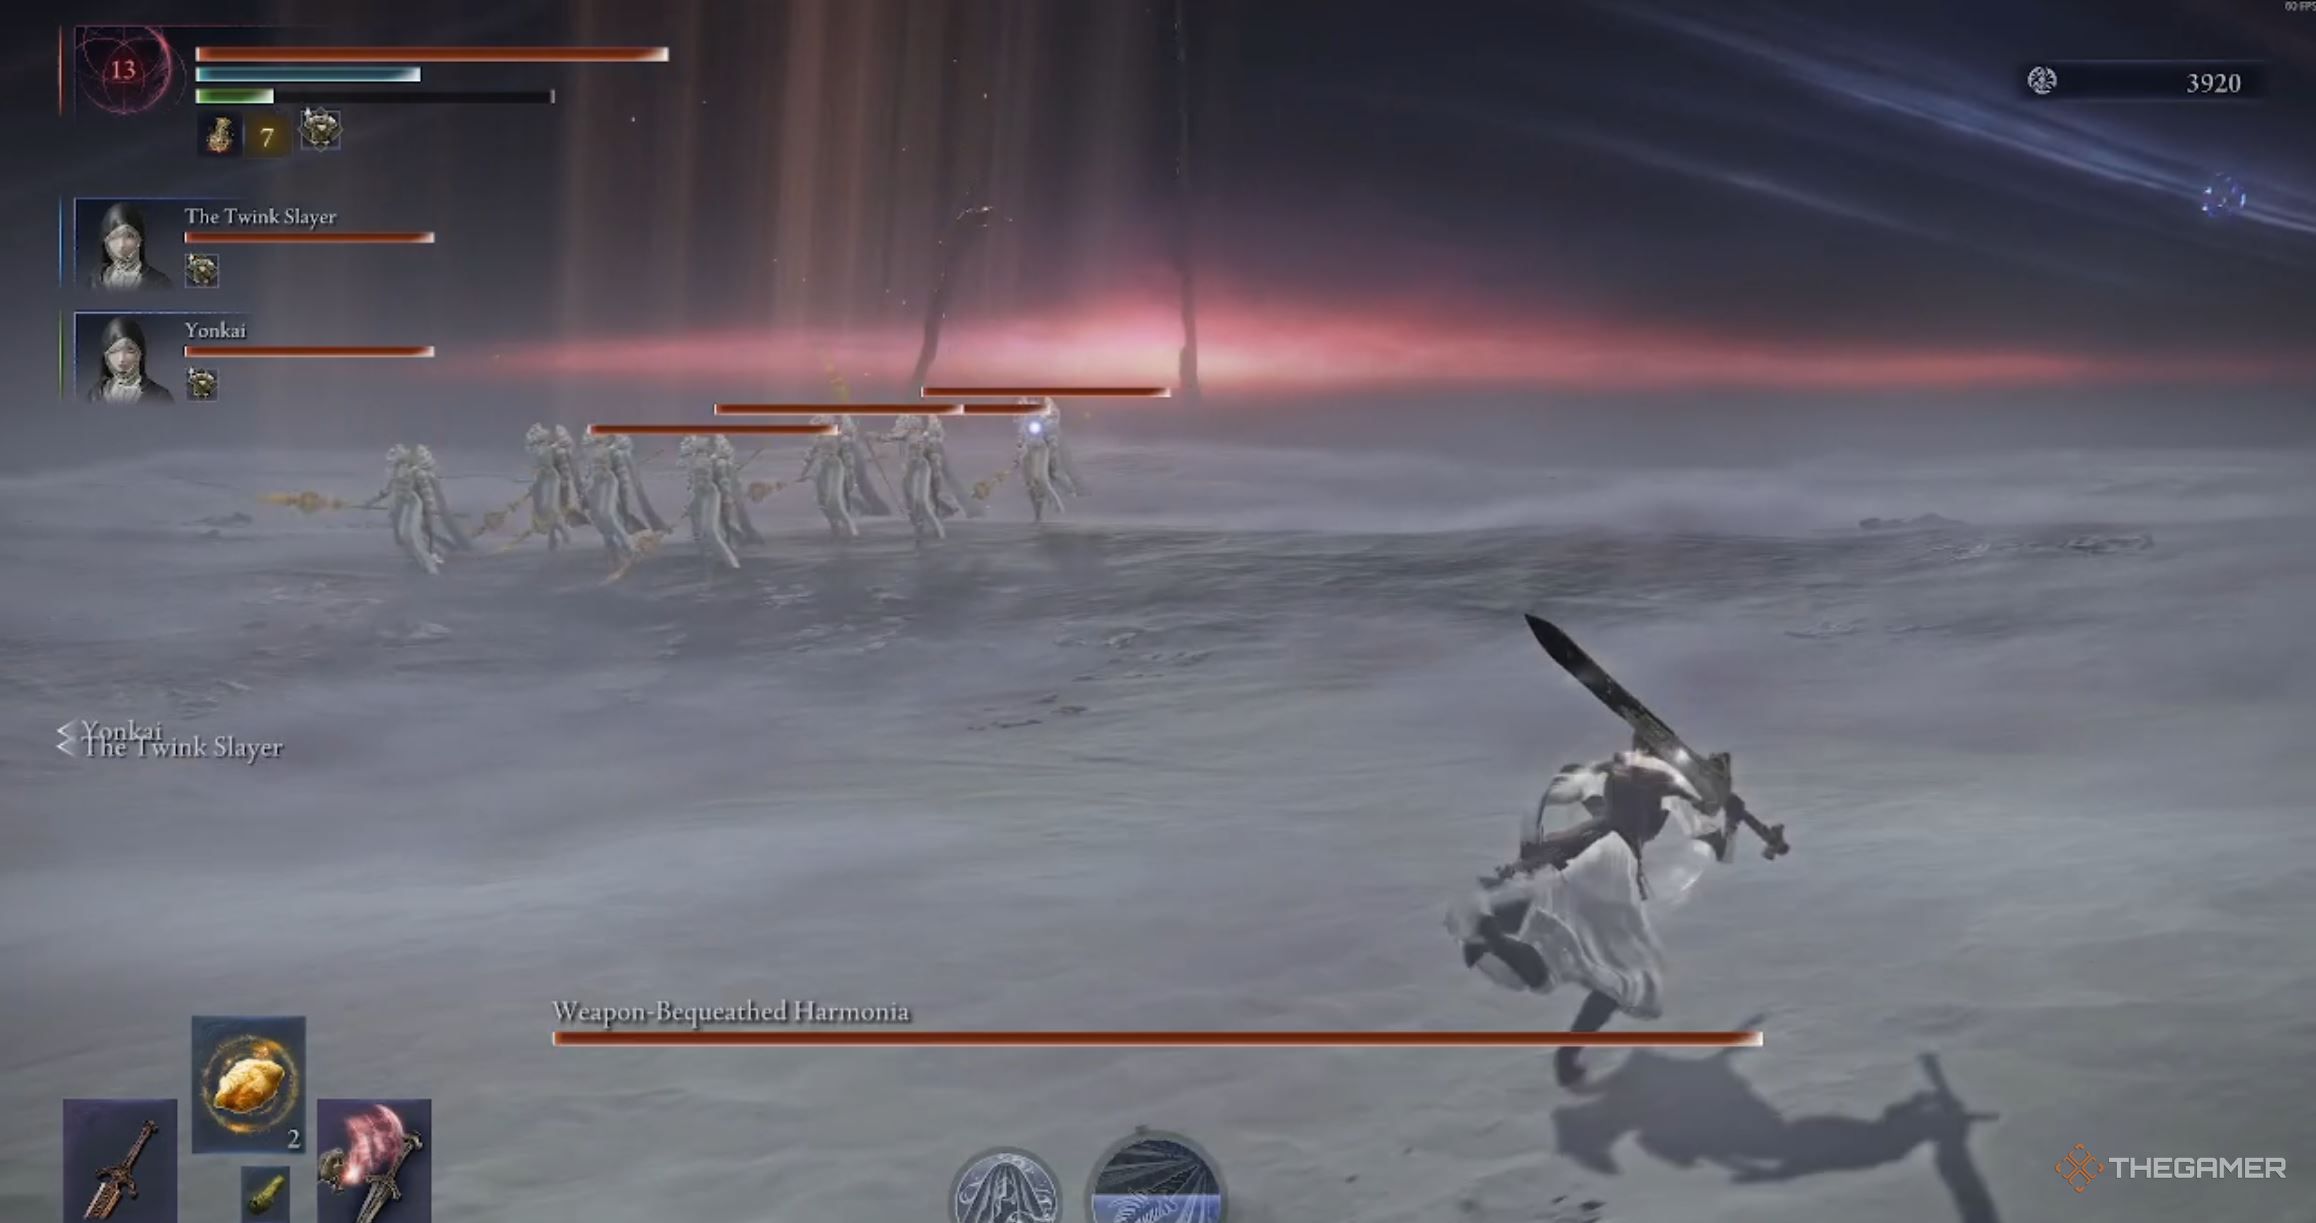
The first part of the Balancers encounter isn’t too challenging. Seven Balancers will appear on the opposite side of the arena when it begins. You need to defeat them all to move on. To make this easier, spread out and try to draw 2–3 Balancers away from the main group. This prevents them from all focusing on one player and simplifies managing their attacks.
If you’re using a weapon that causes sleep, focus on knocking enemies out one by one. While they won’t stay asleep forever, reducing the number of active Balancers will make the fight easier. The Forward Summoning Spear is the most vulnerable attack – you can safely attack from any direction except directly in front of the enemy.
The main goal of this part of the fight is to reduce the number of Balancers you’re facing. Try to lead them into smaller, more manageable groups. If you’re playing alone, focus on putting as many as possible to sleep before dealing with them one by one. Once they’re defeated, they stay down, so you don’t have to worry about them reviving.
After you defeat all seven Balancers, the boss will lose half of their health and Phase Two will begin.
Weapon-Bequeathed Harmonia Phase Two
Balancers will be able to use all of their existing attacks, plus some new ones. These new attacks originate from a special Balancer – it’s larger, with bigger wings and a pink glow.
| Attack | Description |
|---|---|
| Ariel Assault | Essentially the Main Balancer’s ultimate attack, this sees all the Balancers join the main one in the air and form a line. Each Balancer will peel off and launch an attack from above in a straight line over the arena. This will briefly rupture before exploding upwards along the path that Balancer took. Once every normal Balancer has performed this, the Main Balancer will gather energy in the air before slamming down. When she does this, giant spears will strike the ground in what appears to be an X formation around her and explode. |
| Spear Rush | The Main Balancer has a fairly lengthy combo that sees her constantly striking her spear in front of her. She will quickly attack with the spear a few times before launching into the ground and slamming it down in front of her doing a small AoE blast. |
| Grab | The Main Balancer raises her unarmed hand high into the air, and it will glow purple for a second. She will then lunge at the player and attempt to grab them. She can cover a long distance with this lunge, so be careful! |
| Buff Attack | For this move, the Main Balancer will begin channeling energy and form a pink ring around her. This will cause her to buff both herself and the other Balancers with Attack Power 2 and launch spears outwards in a circular radius three times. |
| Spear Slam | The Main Balancer raises her spear into the air, where it is struck by energy. She will then quickly slam it into the ground three times in a row before twirling into the air for a final, more powerful slam that causes a medium-sized AoE burst around her. |
| 6-Way Attack | The final move in the Main Balancers’ arsenal has her raise her spear into the air as it is struck with energy. The other Balancers will gather around her as she launches out numerous spears from the ground in 6 directions around her. |
There are a lot of attacks happening, but don’t worry, it’s manageable. If you’re fighting with a group, the strategy is the same as the first part of the encounter. When the fight starts, the Main Balancer will target one player, marking them with a large red ring. This means the Balancer will primarily focus its attacks on that player.
If you find yourself in this situation, try to create as much space as possible between yourself and the other Balancers. Remember, the goal is to divide them into smaller, easier-to-handle groups. While this isn’t always achievable, prioritize isolating the Main Balancer whenever possible. Dealing damage and defeating other Balancers will contribute to the boss’s overall health, but regular Balancers won’t respawn until the boss reaches the last third of its health.
The Scholar is surprisingly effective against this boss. Their ultimate ability connects all the other enemies, allowing you to hit them all at once. If you’re playing with a team, coordinate your strongest attacks to follow the Scholar’s ultimate – this will quickly reduce the enemy’s numbers.
The second phase always begins with the Ariel Assault, and I highly suggest creating distance to avoid it. The timing for dodging the Main Balancer’s slam is difficult, so watch for the spears to appear in the air and roll immediately after. If you time it right, you’ll successfully avoid the attack.

If you’re not currently being attacked, try to either get some sleep or eliminate the regular Balancers. They can be a real nuisance if they swarm you, so reducing their numbers is important. You could also simply put the regular Balancers to sleep and then concentrate on damaging the Main Balancer. Both strategies work well, but the best choice depends on how comfortable the player being targeted by the Main Balancer feels.
If you’re being attacked, be especially careful of two moves: Spear Rush and Buff Attack. Spear Rush is a fast combo where she lunges and then attacks repeatedly in front of you. When it starts, try rolling behind her. Then, either roll behind her again as she turns, or run far enough away to be safe. After she finishes the combo with a slam, you’ll have a brief window to attack her back.
When she uses her Buff Attack, don’t be tempted to immediately attack. The spinning spears around her are meant to punish anyone who gets too close, so it’s safer to create some distance and wait for the attack to finish. You can try stunning her with a powerful move, but even a strong Ultimate Art like Undertaker’s wasn’t enough to interrupt it, so it might not work.
If you defeat the Main Balancer, it will briefly stun all the other Balancers. But she’ll quickly come back to life by taking over one of them.
When Harmonia’s health drops to around one-third, she’ll revive all the Balancers one last time and use her Ariel Assault attack again. After that, she’ll start using her Spear Slam and 6-Way Attack much more often.
Okay, deep breaths, everyone! The most important thing is to stay calm and really focus on the Main Balancer. We need to pick them off one by one, or in small groups. Getting swarmed now, especially when our flasks are running low, is a quick way to wipe. Let’s stick to the plan: isolate those adds as much as possible, and whoever’s tanking the Main Balancer needs to stay alive. Once those minions are down, we can really focus all our damage on the main body and finish this!
Once you defeat the Weapon-Bequeathed Harmonia, you’ll get the “Will of the Balancers” relic. This relic boosts your melee and skill attack power, and it also restores your FP over time. It’s really powerful, so I highly recommend using it when available. You can also purchase new outfits for the Undertaker and Scholar classes – enjoy the new looks!
Read More
- Netflix’s Little House On The Prairie Reboot: Release Date, Cast & Everything We Know
- Off Campus Season 1 Soundtrack Guide
- YouTuber arrested after viral AI bodycam videos spark real police complaints
- Silver Rate Forecast
- Prime Video’s New R-Rated Spy Thriller Is Officially No.1 On Streaming Despite Poor Reviews
- Brent Oil Forecast
- Peaky Blinders: The Immortal Man’s Tommy Shelby Is a Better Father Than Michael Corleone
- Gold Rate Forecast
- EUR ZAR PREDICTION
- Bulgakov’s Take: Koreans Bet the Farm on Chips, Crypto, and Chaos
2025-12-04 23:07