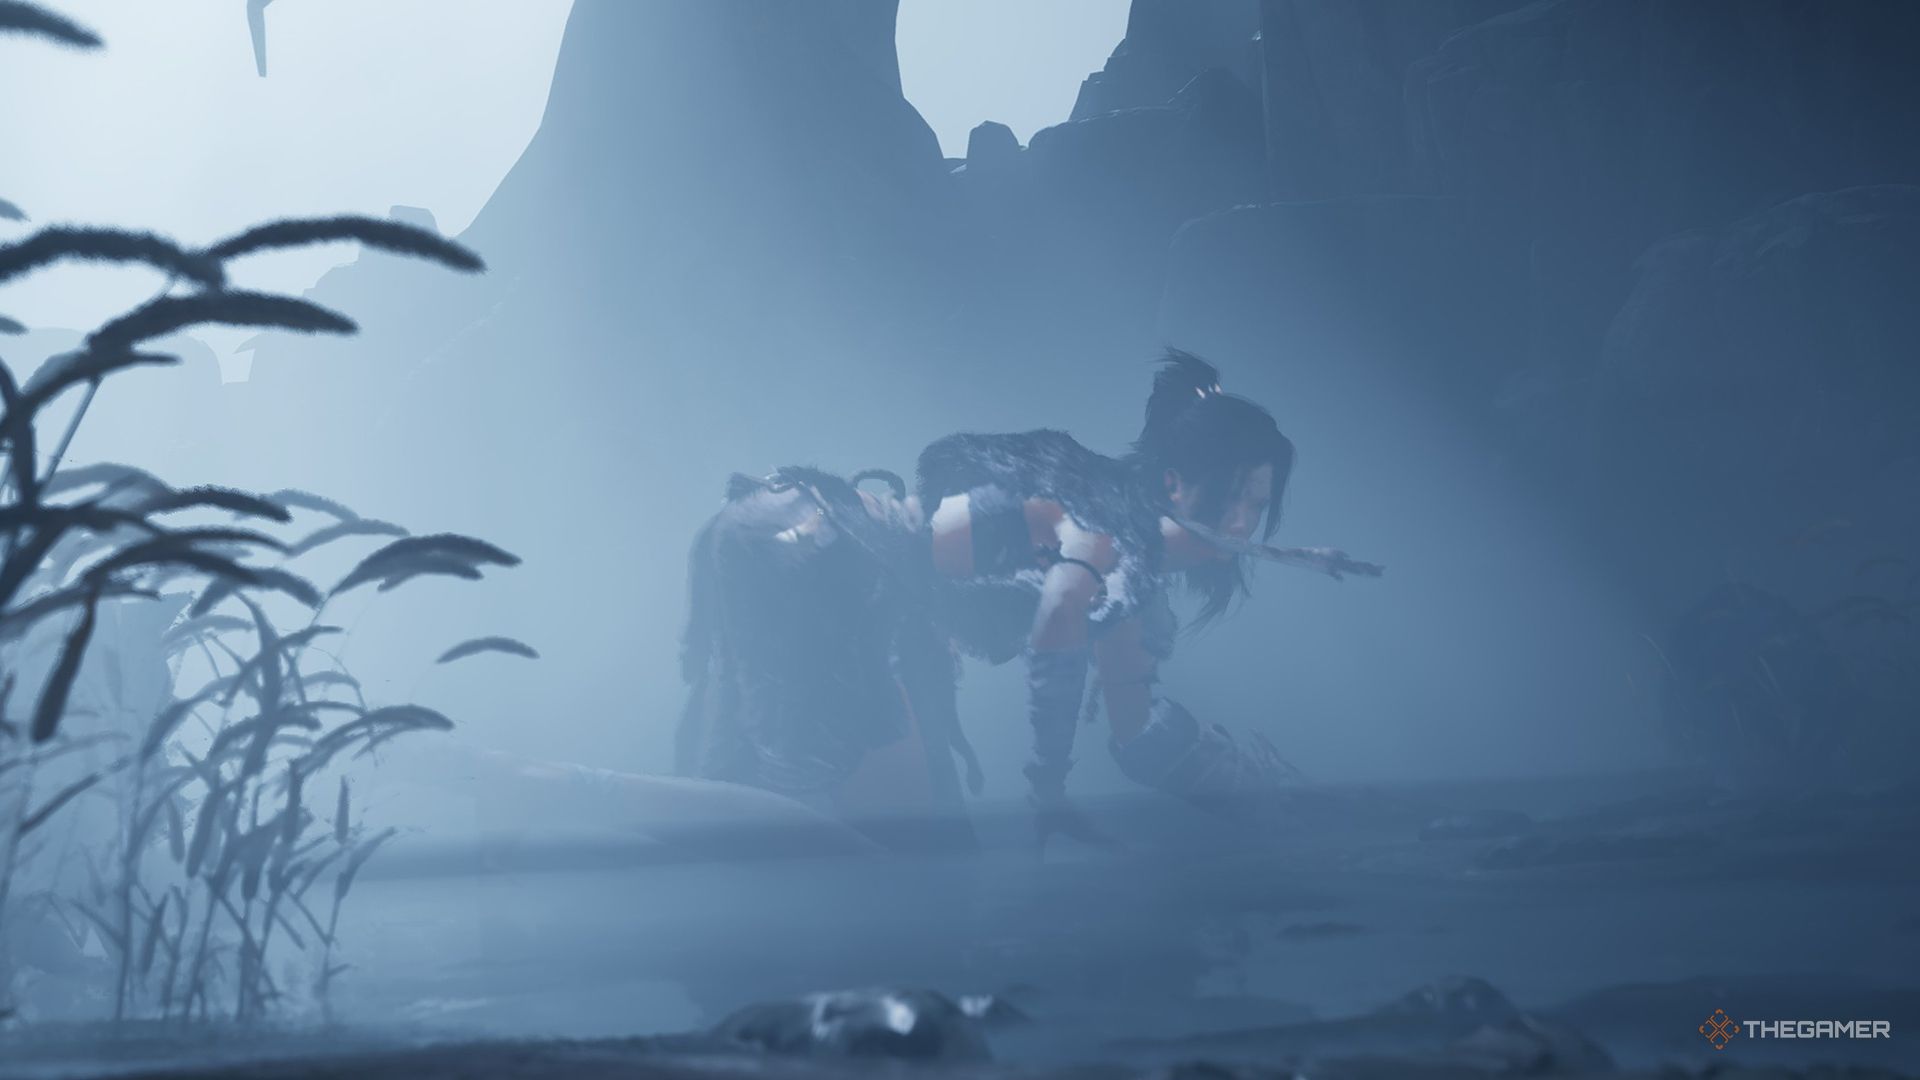
The Wolf Maiden is a powerful World Boss found in the Kiafeng area of Where Winds Meet. She’s currently one of the hardest bosses to defeat in the game, known for her surprising attacks and high damage output, making her a challenge for even experienced players.
You can find the Wolf Maiden both while exploring the open world and during the Feast Before the Beasts quest. Either way, defeating it will require a high level of skill. We’ll cover all of its attacks and strategies to help you win.
Wolf Maiden Boss Location
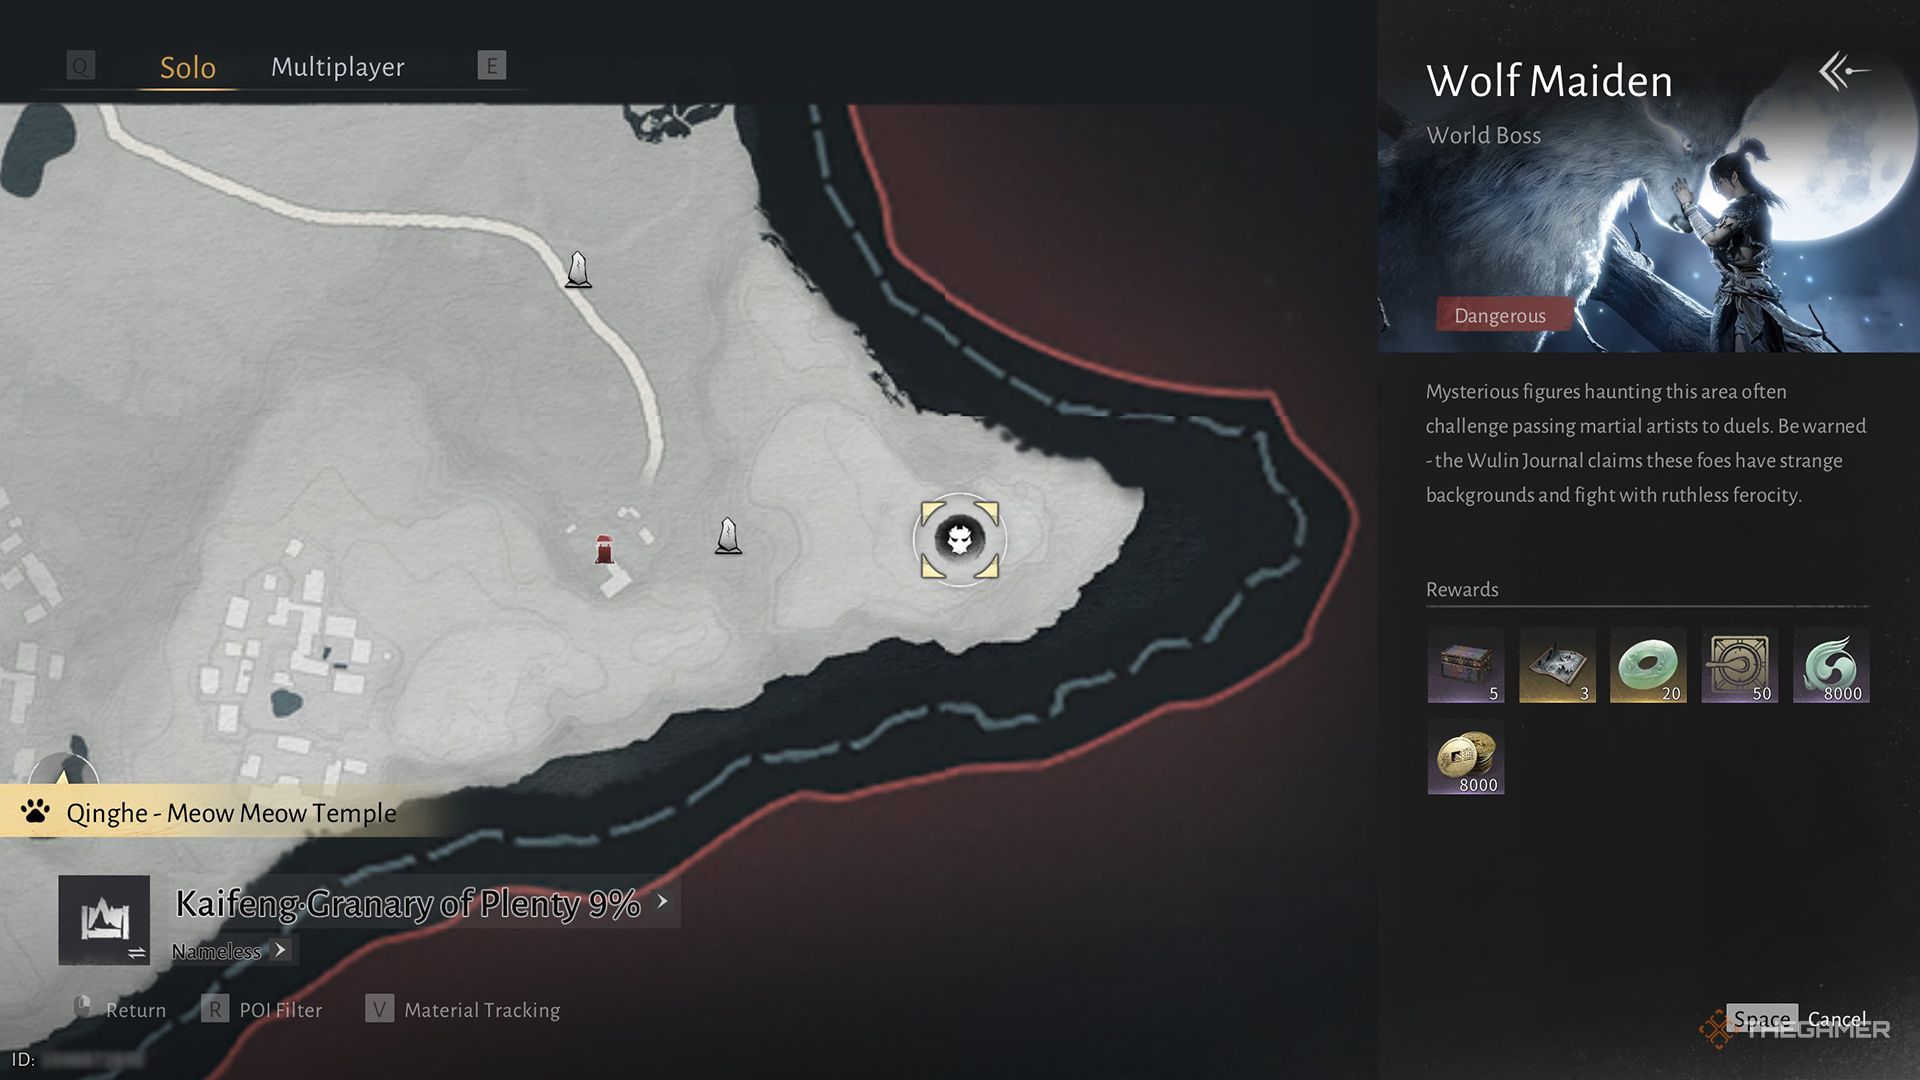
You can find the Wolf Maiden in Desperation Ridge, which is in the southeastern area of Kaifeng. To begin the battle, set the game’s time to nighttime and then enter the arena.
Wolf Maiden Boss Fight Walkthrough
As soon as the battle starts, the boss will climb onto the tree, and a wolf will appear. After a short delay, the wolf will howl and then rush towards you. This happens twice before the boss jumps down from the tree. You can avoid the wolves’ attacks by dodging or blocking, but blocking won’t affect the boss’s energy meter.
Once you’ve evaded the two wolves, the Wolf Maiden will leap down, unleashing a golden attack as she falls. Time your dodge perfectly – right at the last moment – to avoid a powerful blow, and then the real fight will start.
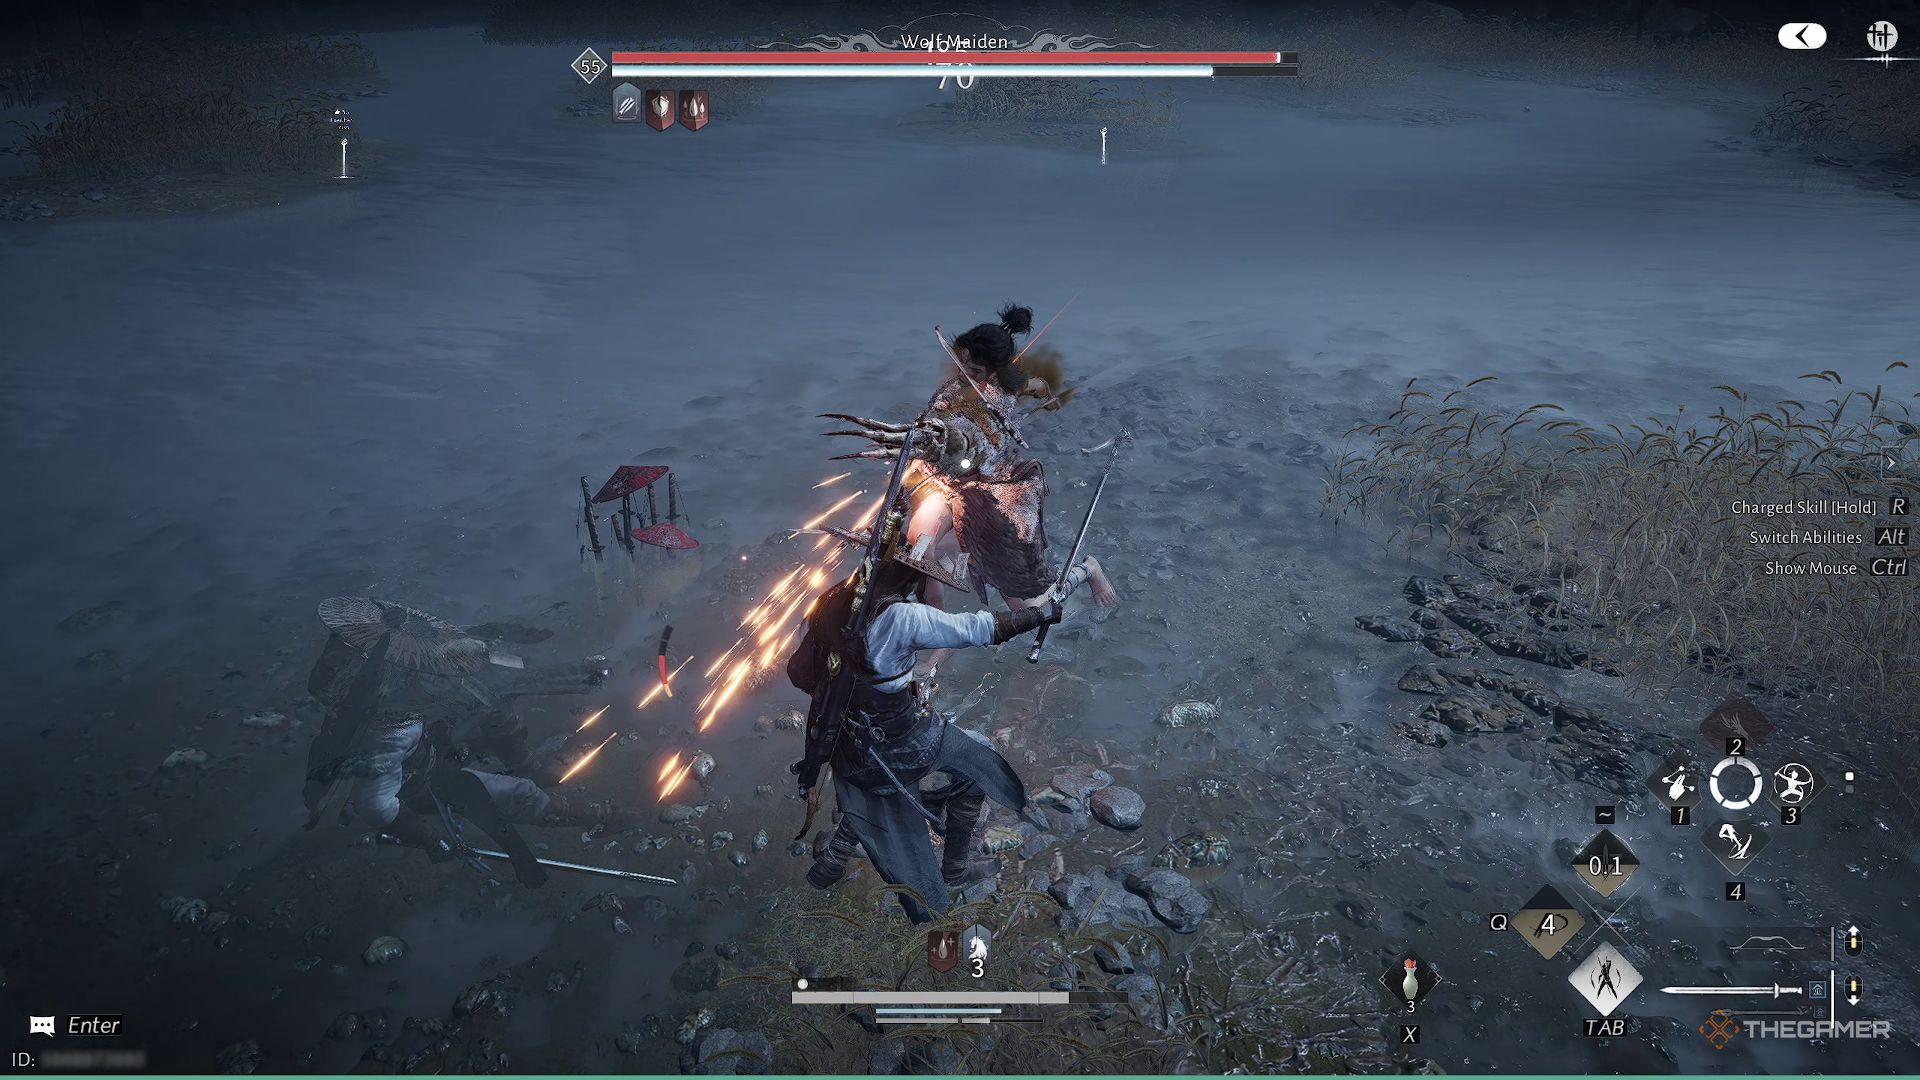
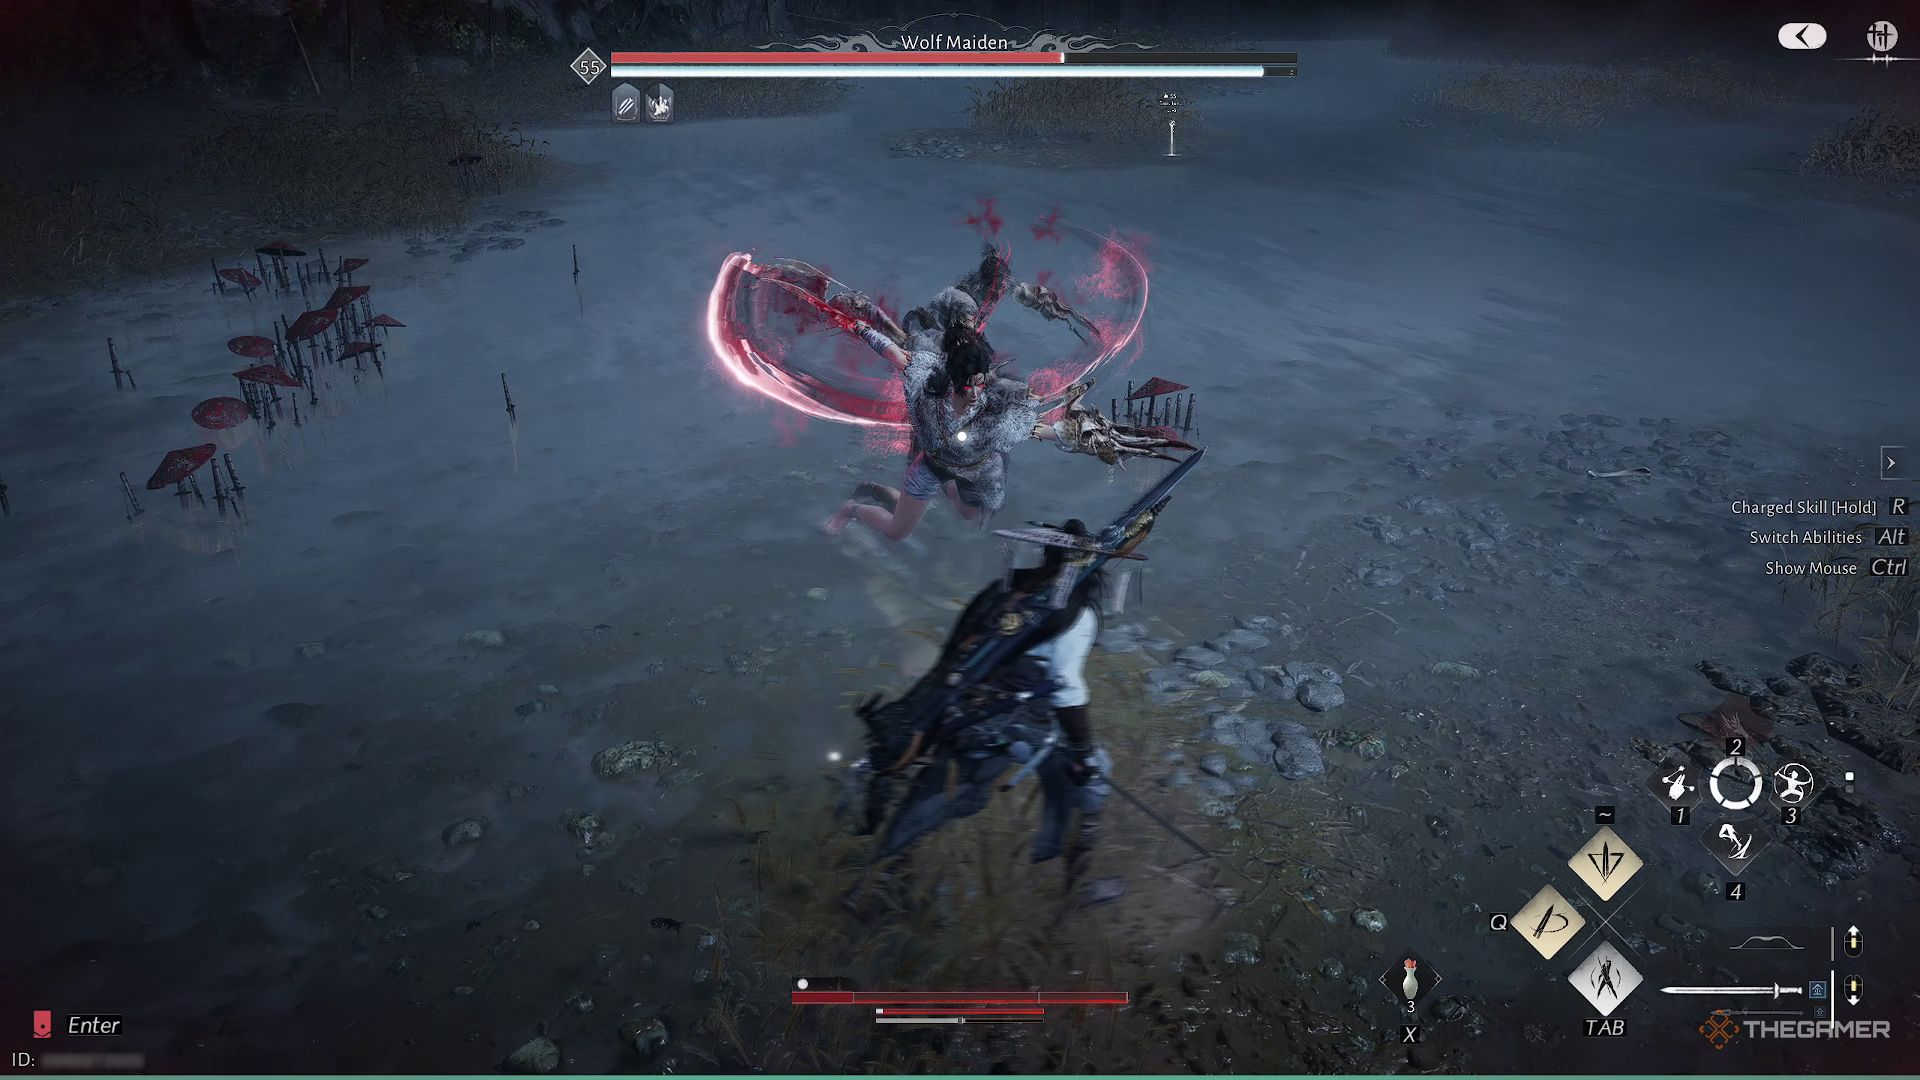
The Wolf Maiden usually attacks by slashing with her claw and dagger in a sweeping arc. Each strike in her combo requires a different timing for a parry, making it hard to block everything. We suggest parrying the initial attacks, and then dodging to avoid the rest.
The Wolf Maiden attacks by swinging her weapons and launching silver projectiles at you. If you create enough space, you can deflect these projectiles, which will deal additional Qi damage.
Okay, so this boss has a tricky move – she’ll dodge to the side, and then immediately come charging at you! You really have to pay attention to when she does this to avoid getting hit. Sometimes, instead of charging right away, she’ll dodge and then shoot something at you, so be prepared to block or dodge that too. It’s all about watching her pattern!
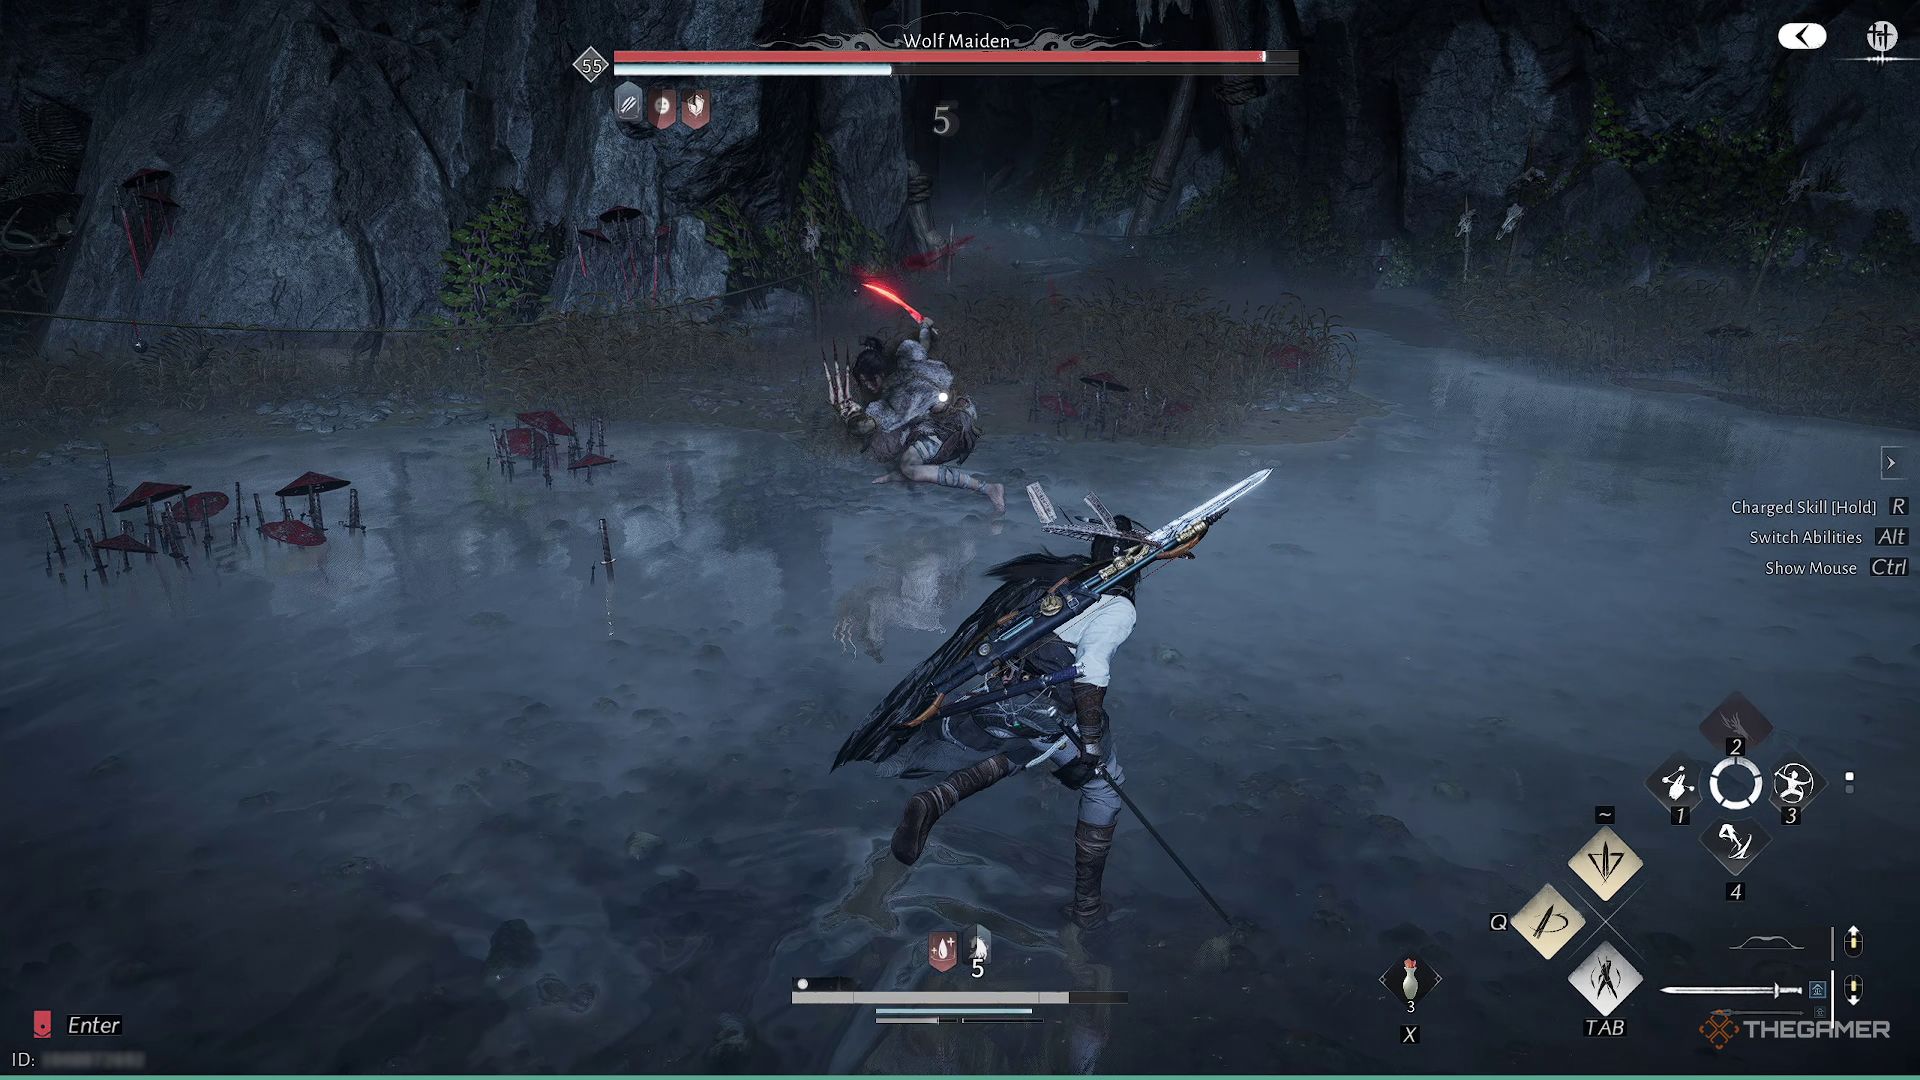
The Wolf Maiden’s red attack involves her quickly lunging forward with a dagger, followed by a backflip kick. While it’s a red attack, successfully blocking both parts doesn’t always lead to an automatic counterattack. However, blocking is still relatively easy and a good idea when she uses this move.
The Wolf Maiden has a powerful attack where she first wets the blade of her dagger with her tongue. Then, she rushes forward, spinning and slashing rapidly to inflict several blows. The attack concludes with a final, sweeping cut that delivers another hit.
When fighting the boss, time your defenses carefully. As she charges towards you with a whirlwind attack, block just as she gets close. Then, quickly block two more times to avoid the final slash and the energy it releases.
Phase 2
When the boss reaches around 75% health, she’ll start charging red energy and then unleash a powerful howl. This attack damages nearby players and begins the next stage of the fight.
Okay, so during this part of the fight, the Wolf Maiden’s special meter will slowly fill up on its own. But I need to stay aggressive, parrying as much as possible, to completely drain that meter before it gets too full. Basically, I gotta keep the pressure on!
At the beginning of this phase, the Wolf Maiden will start with a golden attack. She’ll jump around the edges of the arena and then rush towards you. Avoid it just like you did before.
In this phase, the Wolf Maiden’s attacks become stronger, doing extra damage and causing Bleed. She’ll also mix things up with new attacks and altered versions of her previous ones, making the battle much more unpredictable.
The Wolf Maiden attacks with a quick combination of dagger slashes, ending with a powerful thrust of a red dagger. If you can block that final thrust, you’ll have a chance to counterattack.
During this stage, she gains a powerful golden attack. It starts with a flurry of slashes as she does a cartwheel, then she jumps into the air and dives towards you, releasing a burst of energy. Because this attack is golden, you need to dodge the dive – you can’t block or parry it.
This fight can be really challenging! We strongly suggest getting help from computer-controlled characters or other players. Even on the easiest difficulty setting with helpful features turned on, victory isn’t certain. If you’re playing on a harder difficulty like Expert or Legend, be prepared to try it many times to master it.
As a player, I’ve found that fixing the Bell of Demoncalm is a really smart move. It makes those tough World Bosses a lot easier to handle! If I’m not looking for a super challenging solo fight or don’t want to rely on co-op, I definitely put in the effort to get that Bell repaired – it’s totally worth it.
Read More
- Off Campus Season 1 Soundtrack Guide
- Euphoria Season 3’s New R-Rated Sydney Sweeney Scene Proves The Show Is Trolling Us
- Gold Rate Forecast
- How to Get to the Undercoast in Esoteric Ebb
- Brent Oil Forecast
- Olympian Says Heated Rivalry Tugged At His Heartstrings
- Why is there no Jujutsu Kaisen this week? Missing Season 3 Episode 8 explained
- Jailbreak codes (April 2026)
- What is Omoggle? The AI face-rating platform taking over Twitch
- Popeye Slasher Horror Film Officially Kicks Off Production on ‘Bigger & Bloodier’ Sequel
2025-11-26 05:35