Sometimes a new enemy comes along that doesn’t just add to the challenge-it completely transforms how the game is played. The Hivelord is one of those enemies. When it appears, even familiar missions become intense, high-pressure fights for survival. Players have had to completely rethink their tactics, choose different gear, and focus more on working together. This isn’t a simple problem to fix; it represents a new standard for what a truly dangerous enemy looks like. This guide will help you adjust to this new challenge and learn how to overcome it.
Key Takeaways
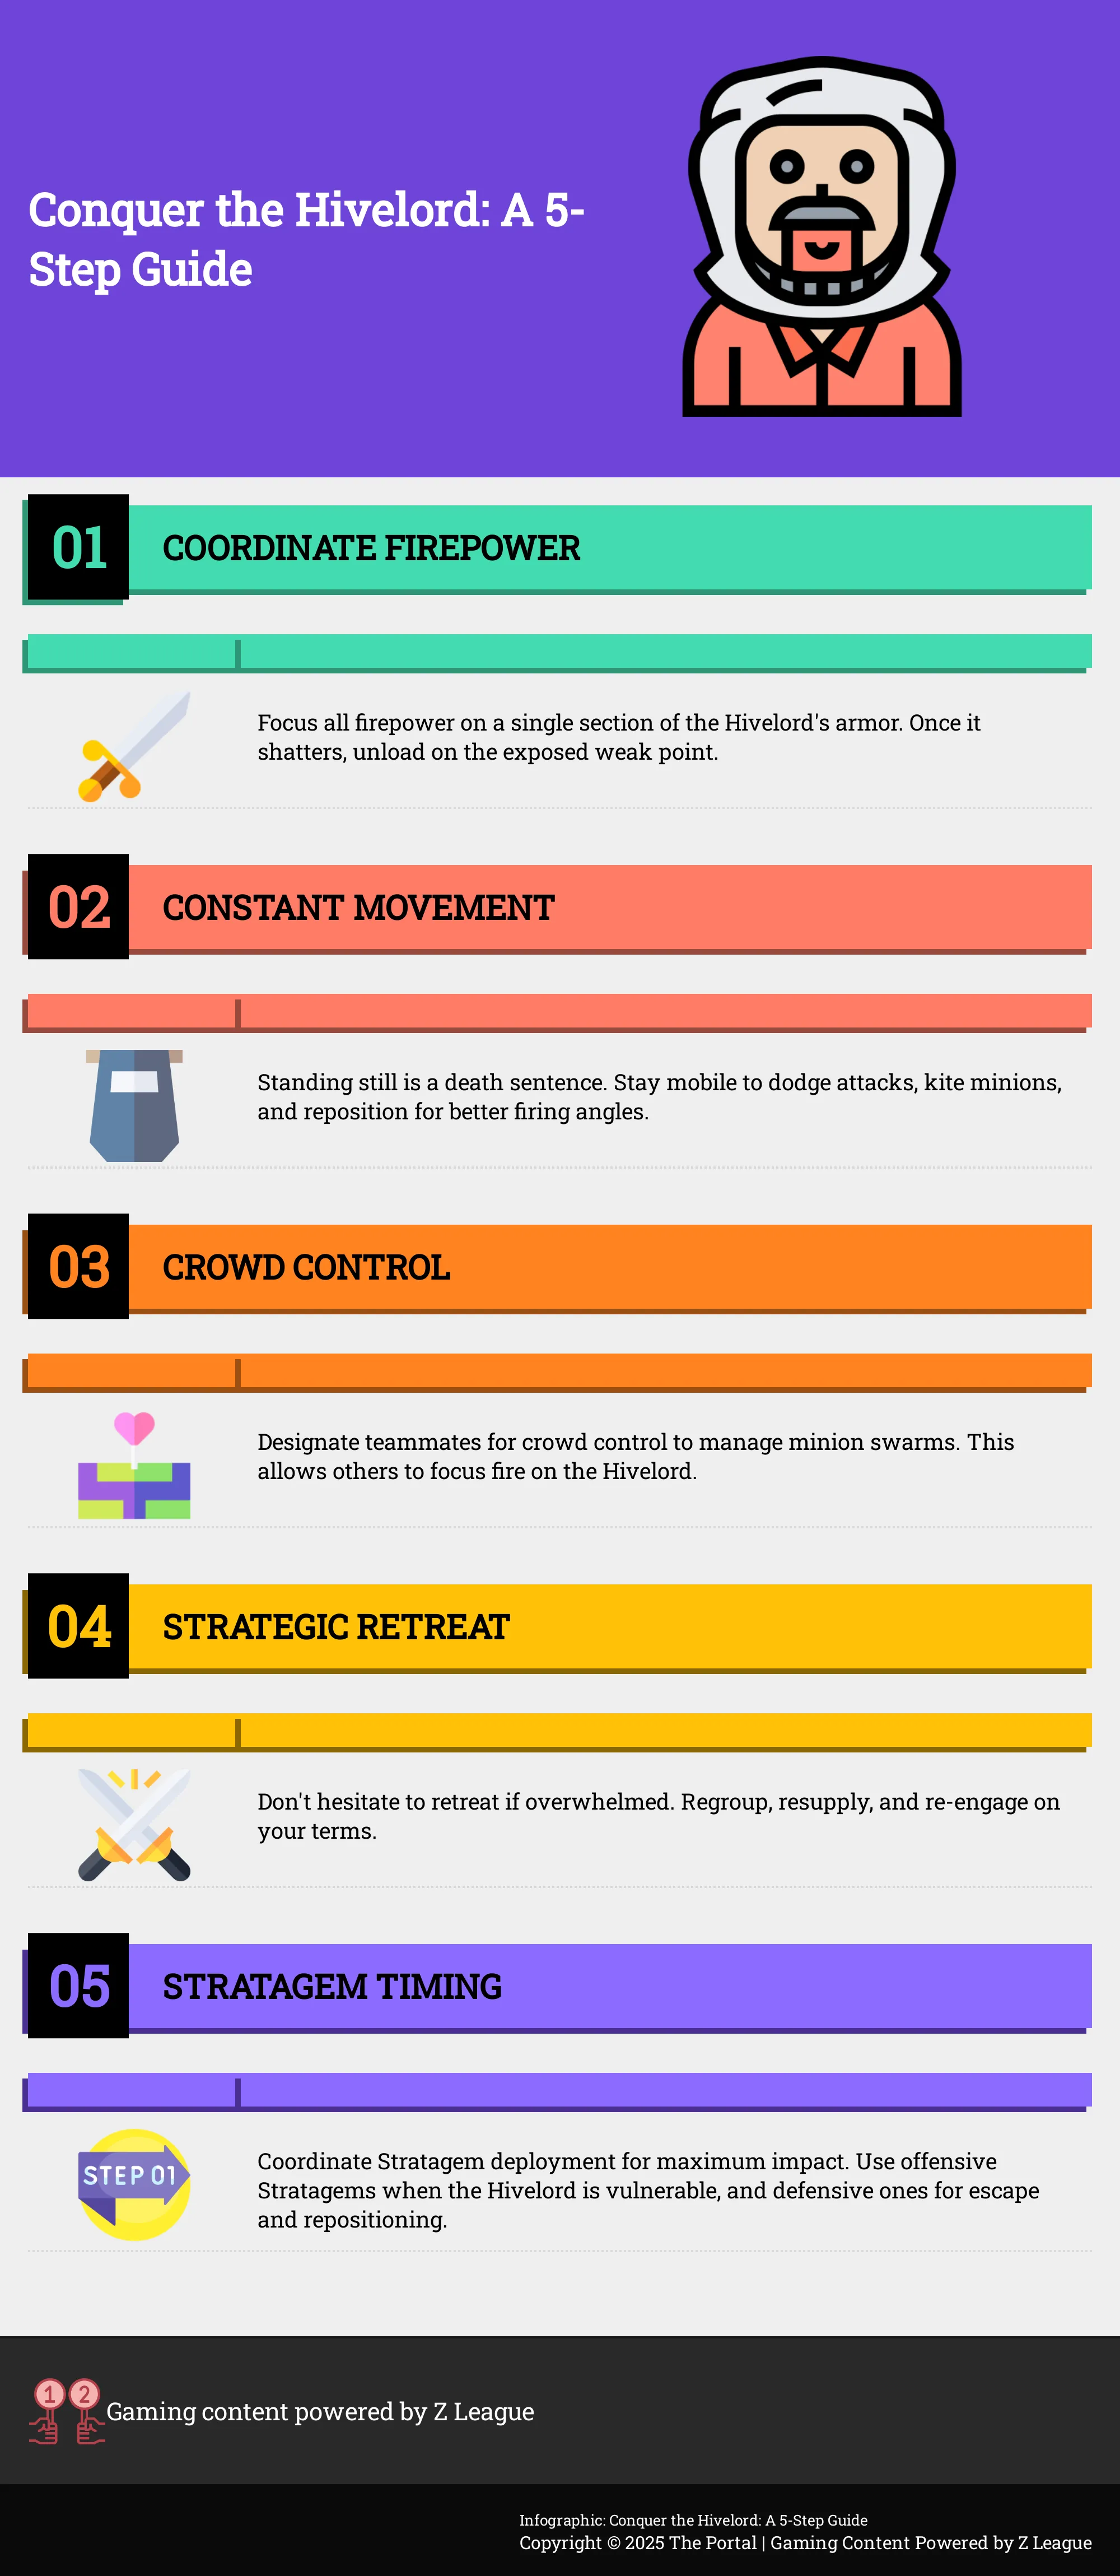
- Prioritize Armor Breaks Over Brute Force: Don’t waste ammo shooting the Hivelord randomly. Coordinate with your team to focus all firepower on a single section of its armor until it shatters, then unload your heavy weapons on the exposed weak point.
- Constant Movement is Non-Negotiable: Standing still is a death sentence. You must stay mobile to dodge its telegraphed attacks, kite its minion swarms, and reposition for better firing angles, turning the fight into a deadly dance of survival.
- Communication is Your Strongest Stratagem: The Hivelord is designed to dismantle uncoordinated squads. Use your mic to call out its attacks, designate roles for crowd control, and time your Stratagem drops together to maximize damage and ensure your team survives.
What Makes the Hivelord So Terrifying?
When you’re fighting bugs in Helldivers, you quickly learn they come in different levels of danger. But the Hivelord? It’s on a whole other level. It’s not just a bigger bug to kill – it’s a massive threat that can shake the screen and scare even experienced players. The Hivelord truly deserves its reputation as a terrifying enemy, and any squad that runs into it without being ready will have a tough time.
What truly makes this creature terrifying isn’t a single feature, but a combination of intense psychological stress, the way it throws your strategies into chaos, and its sheer power. The instant it appears, everything changes – your plans become useless, and simply staying alive is all that matters. Let’s examine exactly what makes the Hivelord such a dreaded enemy for Helldivers.
The Sheer Intimidation Factor
Seeing a Hivelord for the first time is unforgettable. The ground shakes, dust flies, and then this massive, worm-like creature explodes onto the scene, towering over everything nearby. It’s a truly startling moment that immediately creates intense suspense. The sheer fear it evokes is central to the Hivelord encounter – many players have even had to pause the game just to take it all in. It’s more than just a difficult fight; it’s about facing a creature that feels like a natural disaster, making you feel tiny and helpless in battle.
How It Shatters Teamwork
When facing the Hivelord, a team needs to be perfectly coordinated or they’ll quickly fail. This boss is a real test of teamwork, severely punishing groups that don’t communicate and work together. Its strong attacks and ability to move underground and reappear force players to constantly change positions, making it impossible to just stay put and fight. Success depends on calling out the boss’s location to your team and focusing your attacks when you have an opening. It transforms a normal mission into a chaotic, high-pressure situation where even a small mistake can wipe out the entire squad.
Its Overwhelming Size and Power
The Hivelord isn’t just large-its size is its greatest weapon, controlling the entire battlefield. It has so much health that quick attacks won’t be enough to defeat it; this fight will be a long, drawn-out struggle. When the Hivelord appears, it immediately becomes the main threat, forcing you to react to it. Its powerful attacks can destroy protective barriers, create new hazards, and push your team into dangerous spots. It completely changes the landscape, turning what you know into a deadly arena where it dictates the terms of the fight. The Hivelord is a major game-changer that requires your complete focus and demands respect.
Know Your Enemy: The Hivelord’s Moveset
The first time you fight the Hivelord, it can feel incredibly difficult – it’s huge, aggressive, and seems to shrug off damage. But don’t be discouraged! It’s not impossible to defeat, you just need to figure out its pattern. Instead of simply shooting at it, pay attention to how it moves, when it attacks, and where it’s vulnerable. Once you understand its timing, this intimidating enemy becomes much easier to handle.
This battle is like a dangerous dance. Pay close attention to the Hivelord’s every move – they’re all clues about what it will do next. Everything it does, from powerful attacks to spreading chaos, has a weakness. Learning its patterns is the most important thing you can do to defeat it. Let’s go over exactly what you need to prepare for.
Decoding Its Attack Patterns
The Hivelord isn’t sneaky – its attacks are huge, obvious, and meant to really hurt. It mainly uses three moves: a powerful charge that can wipe out a whole team, a burrowing attack where it dives underground and pops up beneath you, and a toxic spray that leaves dangerous areas behind. The key to surviving is watching for its telltale signs. It roars and pulls back before charging, and its jaws glow before it sprays poison. These are your signals to dodge, run, and get to safety. Because it hits so hard and has so much health, you can’t just stand and fight – focus on avoiding its attacks first.
Dealing with Its Minion Swarms
Dealing with the Hivelord is tough enough, but it also summons waves of smaller enemies to help it. These swarms can quickly defeat your team if you don’t manage them. This is a common boss-fight trick to distract you. Your team should assign one or two players to handle the smaller enemies while the rest focus on damaging the Hivelord itself. Ignoring these smaller enemies will likely lead to failure. If you get surrounded by a dozen Hunters, the Hivelord will have a clear shot at you. The best strategy is to keep moving, prevent the swarms from getting too large, and then deal as much damage as possible to the Hivelord when you have an opening.
Watching for Environmental Dangers
Okay, so the Hivelord isn’t just some enemy you fight – it *changes* the battlefield as it moves! Seriously, this thing is massive and just plows through everything, so that rock formation you were counting on for cover? Gone. When it tunnels, the ground shakes and you can get totally disoriented, leaving you wide open. Plus, it kicks up so much dust, it’s hard to see anything – the Hivelord *and* all those annoying little creatures it brings with it. You really have to stay focused and keep track of everything around you. I’ve learned to *always* have an escape plan, because what’s safe one second can be a pile of rubble the next!
Mastering Your Movement and Positioning
If you’re up against a powerful enemy that can defeat you instantly, your most valuable asset is your ability to move. Staying still means certain death. Keep running, creating space, and finding better positions. Sometimes, simply running away is the smartest move – it’s not about being afraid, but about strategically repositioning yourself. By leading the enemy around the area, you give your team opportunities to attack from the sides, use special abilities, or reload their weapons safely. Use the environment to your advantage, putting objects between you and the enemy’s path. Don’t try to stand and fight; instead, focus on outsmarting and maneuvering around the enemy until you find the perfect moment to attack.
Your Game Plan for Taking Down the Hivelord
The Hivelord is a massive and intimidating enemy, but don’t be discouraged! A good strategy and teamwork can help you defeat it. This battle will really test your abilities, but it’s definitely winnable. Let’s go over a plan to help you and your team achieve victory.
Choosing the Right Weapon Loadout
Okay, listen up, because we’re not messing around with this Hivelord fight. Forget finesse – we need raw power. Everyone needs to bring the biggest, most explosive weapons you’ve got. Seriously, this thing can take a *ton* of damage, so think rockets, grenade launchers, anything that really hits hard. A lot of us have found Hellbombs are super effective, so make sure someone’s got a good supply. We only get short bursts to deal damage, so focus entirely on maximizing that output. Leave the weaker weapons behind – this isn’t a fight for peashooters. Bring the boom!
Nailing Your Stratagem Timing
Okay, so this Hivelord fight is all about timing. Seriously, this thing *hits hard* and has a ton of health, so you absolutely can’t waste your Stratagems. You need to work with your team and unleash the offensive stuff when it’s weak – like right after it bursts out of the ground. But don’t forget defense and movement! Something like the LIFT-850 Jump Pack is a lifesaver, letting you dodge its crazy attacks and get into a better position to fight back. It’s like a really dangerous dance – you’ve gotta know when to attack and when to just *move*.
Managing Your Ammo and Supplies
You’ll use ammunition quickly in battle, so managing your resources is key to survival. A smart tactic is knowing when to retreat – it’s not about being scared, but about being strategic. If you’re running low on supplies or your team gets separated, falling back lets you gather yourselves, request more supplies, and re-engage the enemy when you’re ready. Remember, the goal is to defeat the Hivelord, and you can’t do that with an empty gun. Make every shot count and don’t hesitate to create distance to save ammo for when it matters most.
Making Team Coordination Your Top Priority
Trying to defeat the Hivelord alone is a recipe for disaster. This battle is all about teamwork, so clear and constant communication is essential. You’ll need to call out the Hivelord’s attacks, coordinate your special abilities, and focus your fire on its weak spots. Working together is your strongest advantage. The key to victory is simple: keep moving, fight as a team, and unleash a coordinated attack when the Hivelord appears. By combining your efforts, you can deal maximum damage and defeat the creature before it overwhelms you. Stay united, and you’ll have a good chance of winning.
Pro Tips for Dominating the Fight
Okay, so fighting a Hivelord is seriously intimidating, but trust me, it’s totally doable with the right approach. It’s not about just having the biggest guns; it’s about *how* you use them. I’ve seen so many squads rush in all guns blazing and get completely destroyed because they treat it like a normal enemy. This thing is different – it’s like a complicated puzzle! You really need to work as a team and think things through. It’s all about staying mobile, aiming carefully, and knowing when to push and when to fall back. Honestly, it feels like a dangerous dance where every move matters. If you can learn its attack patterns and exploit them with your squad, you’ve got a real shot. These aren’t just random tips, either – they’re the key to getting out of there alive, with all the samples and bragging rights for Super Earth!
Stay Mobile, Stay Alive
When fighting a Hivelord, the most important thing is to keep moving constantly. Staying still will almost certainly get you crushed or overwhelmed by its creatures. While the Hivelord hits hard, its attacks are usually pretty obvious, giving you a chance to dodge if you stay mobile and find a good position. Remember, this fight requires teamwork! Focus on drawing the Hivelord’s attention, helping up teammates who fall, and creating opportunities to attack. Manage your energy carefully to sprint to safety, lead smaller enemies away from your allies, and always be prepared to quickly dodge attacks. A Helldiver who keeps moving is a Helldiver who survives.
When to Focus Your Firepower
Don’t waste ammunition by shooting at the Hivelord randomly. Its armor is very tough, so it’s important to be strategic. The best way to defeat it is for your whole team to focus all your fire on one specific part of its armor. Keep shooting at the same spot until the armor breaks, revealing a glowing weak point. That’s when you can really start damaging its health. Talk to your teammates and agree on a target – like a leg, the head, or a particular armor plate – and keep firing until it’s destroyed. Focusing your fire like this is much more effective than spreading it around.
Knowing When to Retreat and Regroup
Don’t feel bad about retreating. It’s often the most sensible move. If your team is weak, out of supplies, or spread out, stubbornly fighting will likely lead to everyone getting eliminated. A smart retreat lets you regain control of the situation. Move to a safer spot, get more supplies, heal your team, and prepare your abilities for another attack. Many players have learned that sometimes the best tactic is to simply run away and regroup. This allows you to catch your breath and come back with a well-thought-out plan instead of acting impulsively.
Using the Terrain to Your Advantage
The environment is a powerful tool in battle. Don’t fight the Hivelord in a wide-open space – you’ll be too vulnerable. Instead, look for narrow passages or areas where the smaller enemies will gather. This lets you use attacks like orbital strikes or grenades effectively. Use rocks and hills as shields to protect yourself from its long-range attacks, giving you time to heal or reload. Getting to higher ground gives you a better angle to hit its weak spots and makes it harder for the smaller bugs to reach you. Each map offers opportunities to gain an advantage. Before you start fighting, take a moment to look around and figure out how you can use the environment to your benefit.
Is the Hivelord Too Hard? The Great Nerf Debate
When a tough new enemy appears in any game, players immediately start asking if it’s too strong. The Hivelord in Helldivers 2 is causing the same discussion. This massive creature is defeating players frequently, leading to heated debate. Some players want the Hivelord weakened, believing it’s too difficult and frustrating. They say it causes instant team defeats and makes players feel powerless, which they see as a design flaw.
Players are also strongly defending the game’s difficulty, arguing that the intense challenge is core to what makes *Helldivers 2* enjoyable. They believe the game should feel like a desperate fight against overwhelming odds, and the Hivelord boss perfectly captures that feeling. This creates a common debate: should games be easy to pick up and play, or offer a truly hardcore experience? The Hivelord falls right into the middle of that discussion. So, is this challenging boss a great way to test players and reinforce the game’s unique style, or is it simply too difficult and unfair? Let’s look at the different viewpoints.
Gauging the Current Challenge
Let’s be upfront: the Hivelord is a truly formidable enemy. It’s not simply tough to defeat; it’s a powerful, overwhelming force that can quickly destroy an unprepared team. Its huge health and incredibly damaging attacks require perfect teamwork and skill. When you discover a Hivelord is the target of a mission, the atmosphere immediately shifts – playful conversation stops, and everyone focuses intensely. This isn’t a battle you can win by luck. It’s a harsh, high-pressure fight that challenges even experienced players. Its immense power is what makes it so unforgettable, and for many, so challenging.
What the Community is Saying
If you check the Helldivers subreddit, you’ll find a heated debate happening right now. Players are constantly posting about the Hivelords – some begging the developers not to weaken them, while others share videos of getting quickly destroyed. The community is really divided. Some believe the Hivelords’ strength is central to the game’s challenge – that you’re meant to feel like an underdog fighting a hopeless battle. Others think winning depends too much on having the right equipment or just plain luck. This kind of passionate discussion is what makes gaming communities so engaging – everyone cares about how the game evolves.
How It Affects Overall Game Balance
This incredibly strong boss significantly changes how players approach the game. The Hivelord demands new strategies and equipment, particularly focusing on powerful armor-piercing abilities and teamwork. While this can be positive, encouraging players to coordinate and manage resources carefully, it also risks making other playstyles feel ineffective. Some players are even suggesting the best way to beat the boss is to avoid it altogether, which raises concerns about balance. Does the Hivelord overshadow other enemies, or does it simply offer a very difficult, but achievable, new challenge?
The Upside of a Steep Learning Curve
Although the Hivelord is very challenging, there’s a good reason to leave it as it is. Overcoming its difficulty creates incredibly rewarding experiences. That first victory after many failed attempts feels amazing! These tough battles are what truly build strong teams, forcing players to communicate effectively, coordinate their strategies, and depend on each other. With careful planning and teamwork, you can definitely defeat the Hivelord. It’s a difficult test, but succeeding makes you a much better Helldiver.
Why the Hivelord Is Perfect As Is
More and more players are asking for the Hivelord to be made easier, and it’s understandable why – this massive worm can quickly defeat an entire team. However, before demanding changes, it’s important to think about what we’d lose. The Hivelord isn’t just a difficult enemy; it’s a key part of the game that forces players to work together, think strategically, and feel genuinely challenged. Its difficulty isn’t a problem – it’s what makes defeating it so satisfying and memorable, encouraging players to improve their skills and coordination.
Fear Makes the Game More Exciting
The game really needed a moment of intense, unexpected danger, and the Hivelord delivers that perfectly. It doesn’t feel like just another enemy; it feels like a powerful, overwhelming force determined to destroy you. The sudden way it bursts from the ground creates a truly thrilling and tense experience that was missing before. This isn’t an enemy you fight repeatedly for items – it’s a dramatic event. The fear it creates makes every second of the fight more exciting, and winning (or even trying to) feels incredibly rewarding. It perfectly addresses a missing piece of the gameplay.
Forging Stronger Teams Through Fire
Defeating a Hivelord requires a team effort – trying to take it on alone simply won’t work. With its huge health and powerful attacks, coordination is essential. Players need to communicate constantly, focus their attacks together, and support each other. Success depends on perfectly timed strategies and calling out enemy actions. When you finally win, it’s a victory earned by the whole team, not just one person. That shared challenge builds stronger teamwork and creates unforgettable gaming experiences, turning an ordinary mission into a legendary battle.
A True Test of Player Skill
As a player, I can tell you the Hivelord is the *real* test of skill. It absolutely crushes teams that aren’t ready for it – you have to be organized and know what you’re doing. It’s not enough to just be good at shooting; you need to *really* understand how the game works – how to move, where to be, and how to use everything you’ve got. Just surviving the fight feels like a huge accomplishment, and actually winning? That proves your team is truly skilled. It’s what separates the newbies from the pros. Honestly, facing the Hivelord makes you a better player, because it forces you to learn, adjust, and figure out how to beat something that feels impossible.
Adding Real Strategic Depth
Simply shooting at the Hivelord won’t be effective. This battle is more like a puzzle that requires careful planning. You’ll need to choose your weapons wisely, bringing strong anti-armor gear and useful support abilities. The fight is dynamic, so you have to keep moving to avoid attacks and find the best angle to strike. Knowing when to attack and when to retreat is crucial. This encounter adds a welcome strategic challenge, making you think like a commander instead of just a fighter.
How the Hivelord Changes the Game
The Hivelord isn’t a typical enemy; it completely changes a mission. What starts as a simple bug hunt quickly becomes a complex, strategic battle. You’ll need more than just good shooting skills – you and your team need to rethink your entire approach to combat. It’s a true game-changer, forcing players to adapt or fail. The Hivelord doesn’t just make things harder; it introduces a whole new level of challenge.
Forcing Smarter Tactical Choices
You can’t defeat this enemy by just shooting endlessly. The Hivelord demands strategic thinking. Because of its powerful attacks and huge size, you need to study its behavior, find its vulnerabilities, and time your attacks perfectly. Staying stationary or simply firing non-stop will quickly lead to defeat. This enemy forces you to use your surroundings, work as a team, and carefully choose when to attack. Each fight becomes a challenging situation where clever tactics are more effective than raw power.
Making Communication Non-Negotiable
Forget trying to handle this boss solo. The Hivelord will easily destroy teams that aren’t working together. With its huge health and strong attacks, you absolutely need to stay close, focus your attacks, and communicate constantly. Call out what the Hivelord is doing, coordinate your special abilities, and quickly revive fallen teammates. A well-coordinated team has a real chance, but those who go it alone won’t last long. In this fight, your headset and clear communication are more important than any weapon.
Redefining Resource Management
Facing the Hivelord with typical weapons is a huge mistake – it’s like trying to fight a nuclear bomb with a knife. This boss demands serious preparation and a specialized loadout designed for massive, armored enemies. Think powerful anti-tank weapons, calling in orbital strikes, and using devastating Hellbombs. But having the right gear is only half the battle. You also need to carefully manage your resources during the fight. Using your strongest abilities too soon or running out of ammo will quickly lead to defeat. The Hivelord will quickly teach you that every shot and every cooldown matters.
Pushing Your Combat Skills to the Limit
The Hivelord is incredibly challenging, and that’s precisely what makes it so enjoyable. It’s not just another enemy to fight; it’s a real test of your abilities that pushes even experienced Helldivers to their breaking point. It’s a truly frightening opponent that leads to both intense panic and incredible victories. Despite the difficulty, most players agree: don’t make it easier! This challenge is what makes winning feel so rewarding. It forces you to improve your skills, learn to move effectively, aim accurately, and work as a team under pressure, creating the memorable gaming experiences we all crave.
Related Articles
- Deus Ex LFG: Connect with Other Augs in LFG Feature on Z League App
Frequently Asked Questions
The biggest problem teams have when fighting the Hivelord is treating it like a regular enemy. Simply standing still and trying to deal damage will quickly lead to defeat. Success in this fight depends on constant movement and clear communication. Your squad needs to be constantly talking, moving, and coordinating to avoid attacks and focus fire – otherwise, you’re likely to fail.
Your team’s having trouble dealing damage? It’s probably not just your weapons. The most important thing when fighting the Hivelord is to focus your fire. Its armor is extremely strong, so spreading attacks around won’t be effective. Instead, everyone needs to aim at the same spot until the armor breaks and reveals a weak point.
Dealing with lots of little bugs can be tough – how do we avoid getting overrun? It’s a mistake to ignore them. The best strategy is to assign one or two players to focus on controlling the swarm. This lets the rest of the team concentrate on attacking the main boss. If everyone tries to deal with the small bugs, the boss will have a clear chance to attack your scattered team.
Should you use your special abilities (Stratagems) right away, or save them for later? It depends on the situation. Don’t waste a powerful attack like an Orbital Strike when the enemy is hidden underground. The best time to use these abilities is immediately after the enemy emerges, or when it’s briefly stunned. Coordinating with your teammates to combine attacks is key – this allows you to deal a huge amount of damage when the enemy is at its weakest.
Let’s be real: is retreating *always* a bad idea? Actually, it can be a smart tactic. If your team is running low on supplies, hurt, or spread out, falling back is often the best choice. It lets you create space, get more resources, recover, and then rejoin the fight when you’re in a better position. Stubbornly staying in a losing battle just because of pride is what leads to failure.
Read More
- Scientology speedrun trend escalates as viewers map out Hollywood facility
- Makoto Kedouin’s RPG Developer Bakin sample game is now available for free
- NBA 2K26 Season 6 Rewards for MyCAREER & MyTEAM
- Where Winds Meet’s new Hexi expansion kicks off with a journey to the Jade Gate Pass in version 1.4
- What Fast Mode is in Bannerlord and how to turn it on
- MrBeast lets fans from every country vote for Beast Games Season 3 contestants
- Vegan nugget startup founder charged with assaulting influencer ex-girlfriend Evelyn Ha
- How to Get to the Undercoast in Esoteric Ebb
- Seeing Beneath the Surface: AI Advances in Skin Disease Diagnosis
- Exclusive: First Look At PAW Patrol: The Dino Movie Toys
2025-09-14 16:05